Me: “I’ve lost my mind.”
Husband: “Now what?”
Me: “I no longer know what I own. And even if I know what I own, I can’t find it.”
Husband: …(no response)
Me: I’ve looked everywhere for my edge punch that I bought last year to do favors for Auntie Geri’s 80th.”
Husband: “OK. You know you just haven’t looked deep enough. We’ve been through this. It’s in a bin somewhere. It’s in a shoebox in a bin. It’s in a plastic bag in a shoebox in a bin. It’s in a paper bag in a plastic bag in a shoebox in a bin. Look deeper.”
I hate it when he’s right.
When I went back to the place where I would put it away NOW if I had it and looked inside a few bags…there it was.
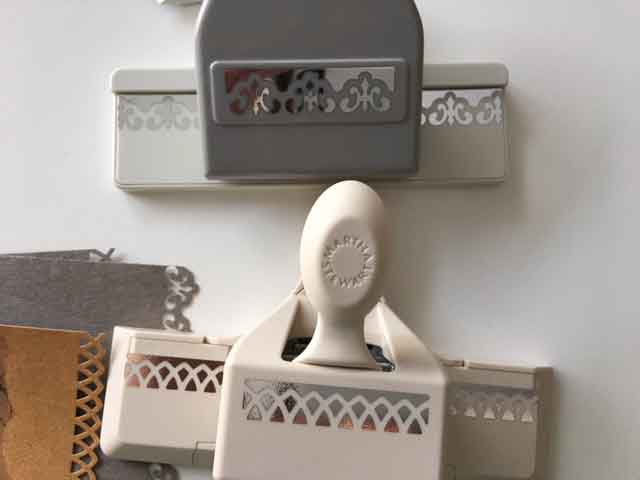 My main sewing machine needs a new part, so I am working on some sewing-related projects (even though I have another machine that works just fine.) Above, with the “Martha Stewart” logo is the punch I could not find. She doesn’t make it any more, so it’s not even available online anywhere that I could find.

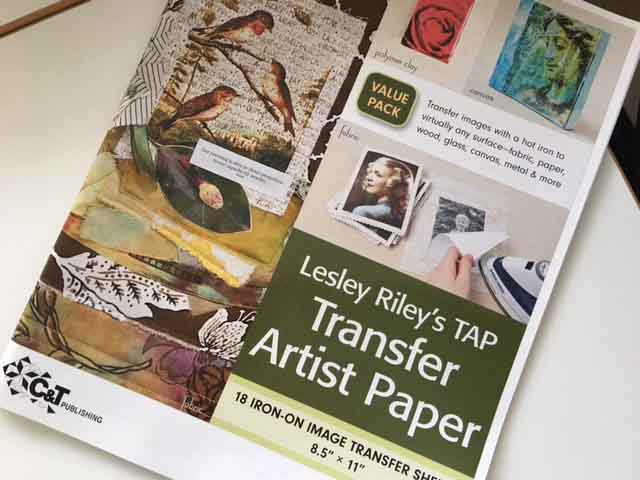
Been playing with both Kraft Tex and Transfer Artist Paper to make cards and Valentines and to just see what I can do with the combination. Both are readily available online and I’m sure your local quilt shop can get them in too.
The beauty of working with these products is:
- Kraft Tex doesn’t fray at the edges, so it doesn’t need any finishing.
- It’s washable.
- So is anything that’s been transferred via the Transfer Artist Paper.
- TAP can be used on cloth, wood, glass, basically anything you can iron …and on Kraft Tex too.
- I can sew on any of this, and I can mix in some card stock tools like the paper punch.
So conceivably, I should be able to wash any of these finished cards.
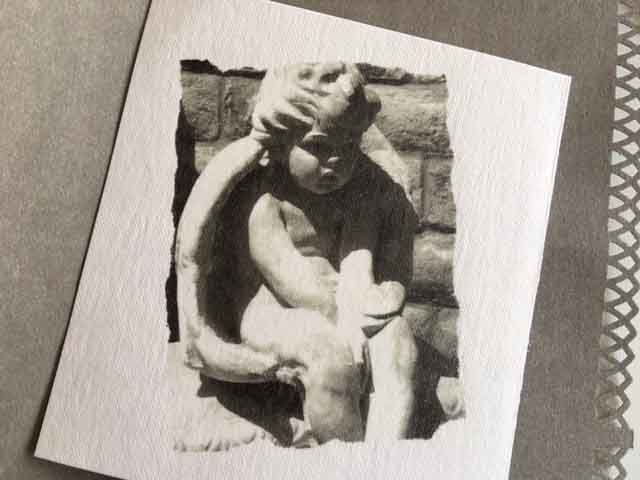 This little cherub is from my own photography.
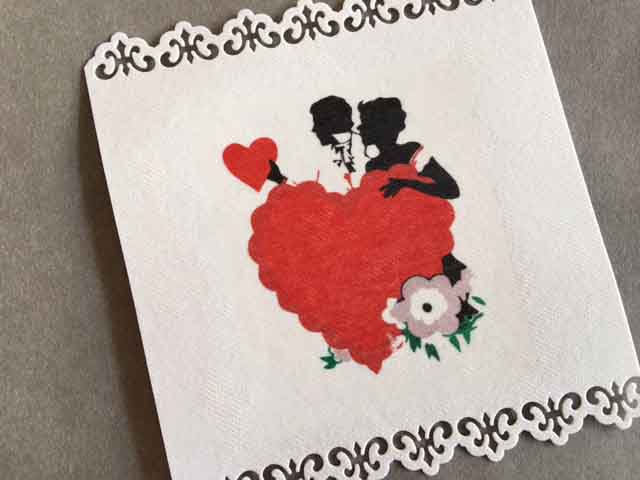 This one reminds me of the scene from Holiday Inn, “Be Careful, It’s My Heart…” Free clip art is all over the place for Valentine’s Day.
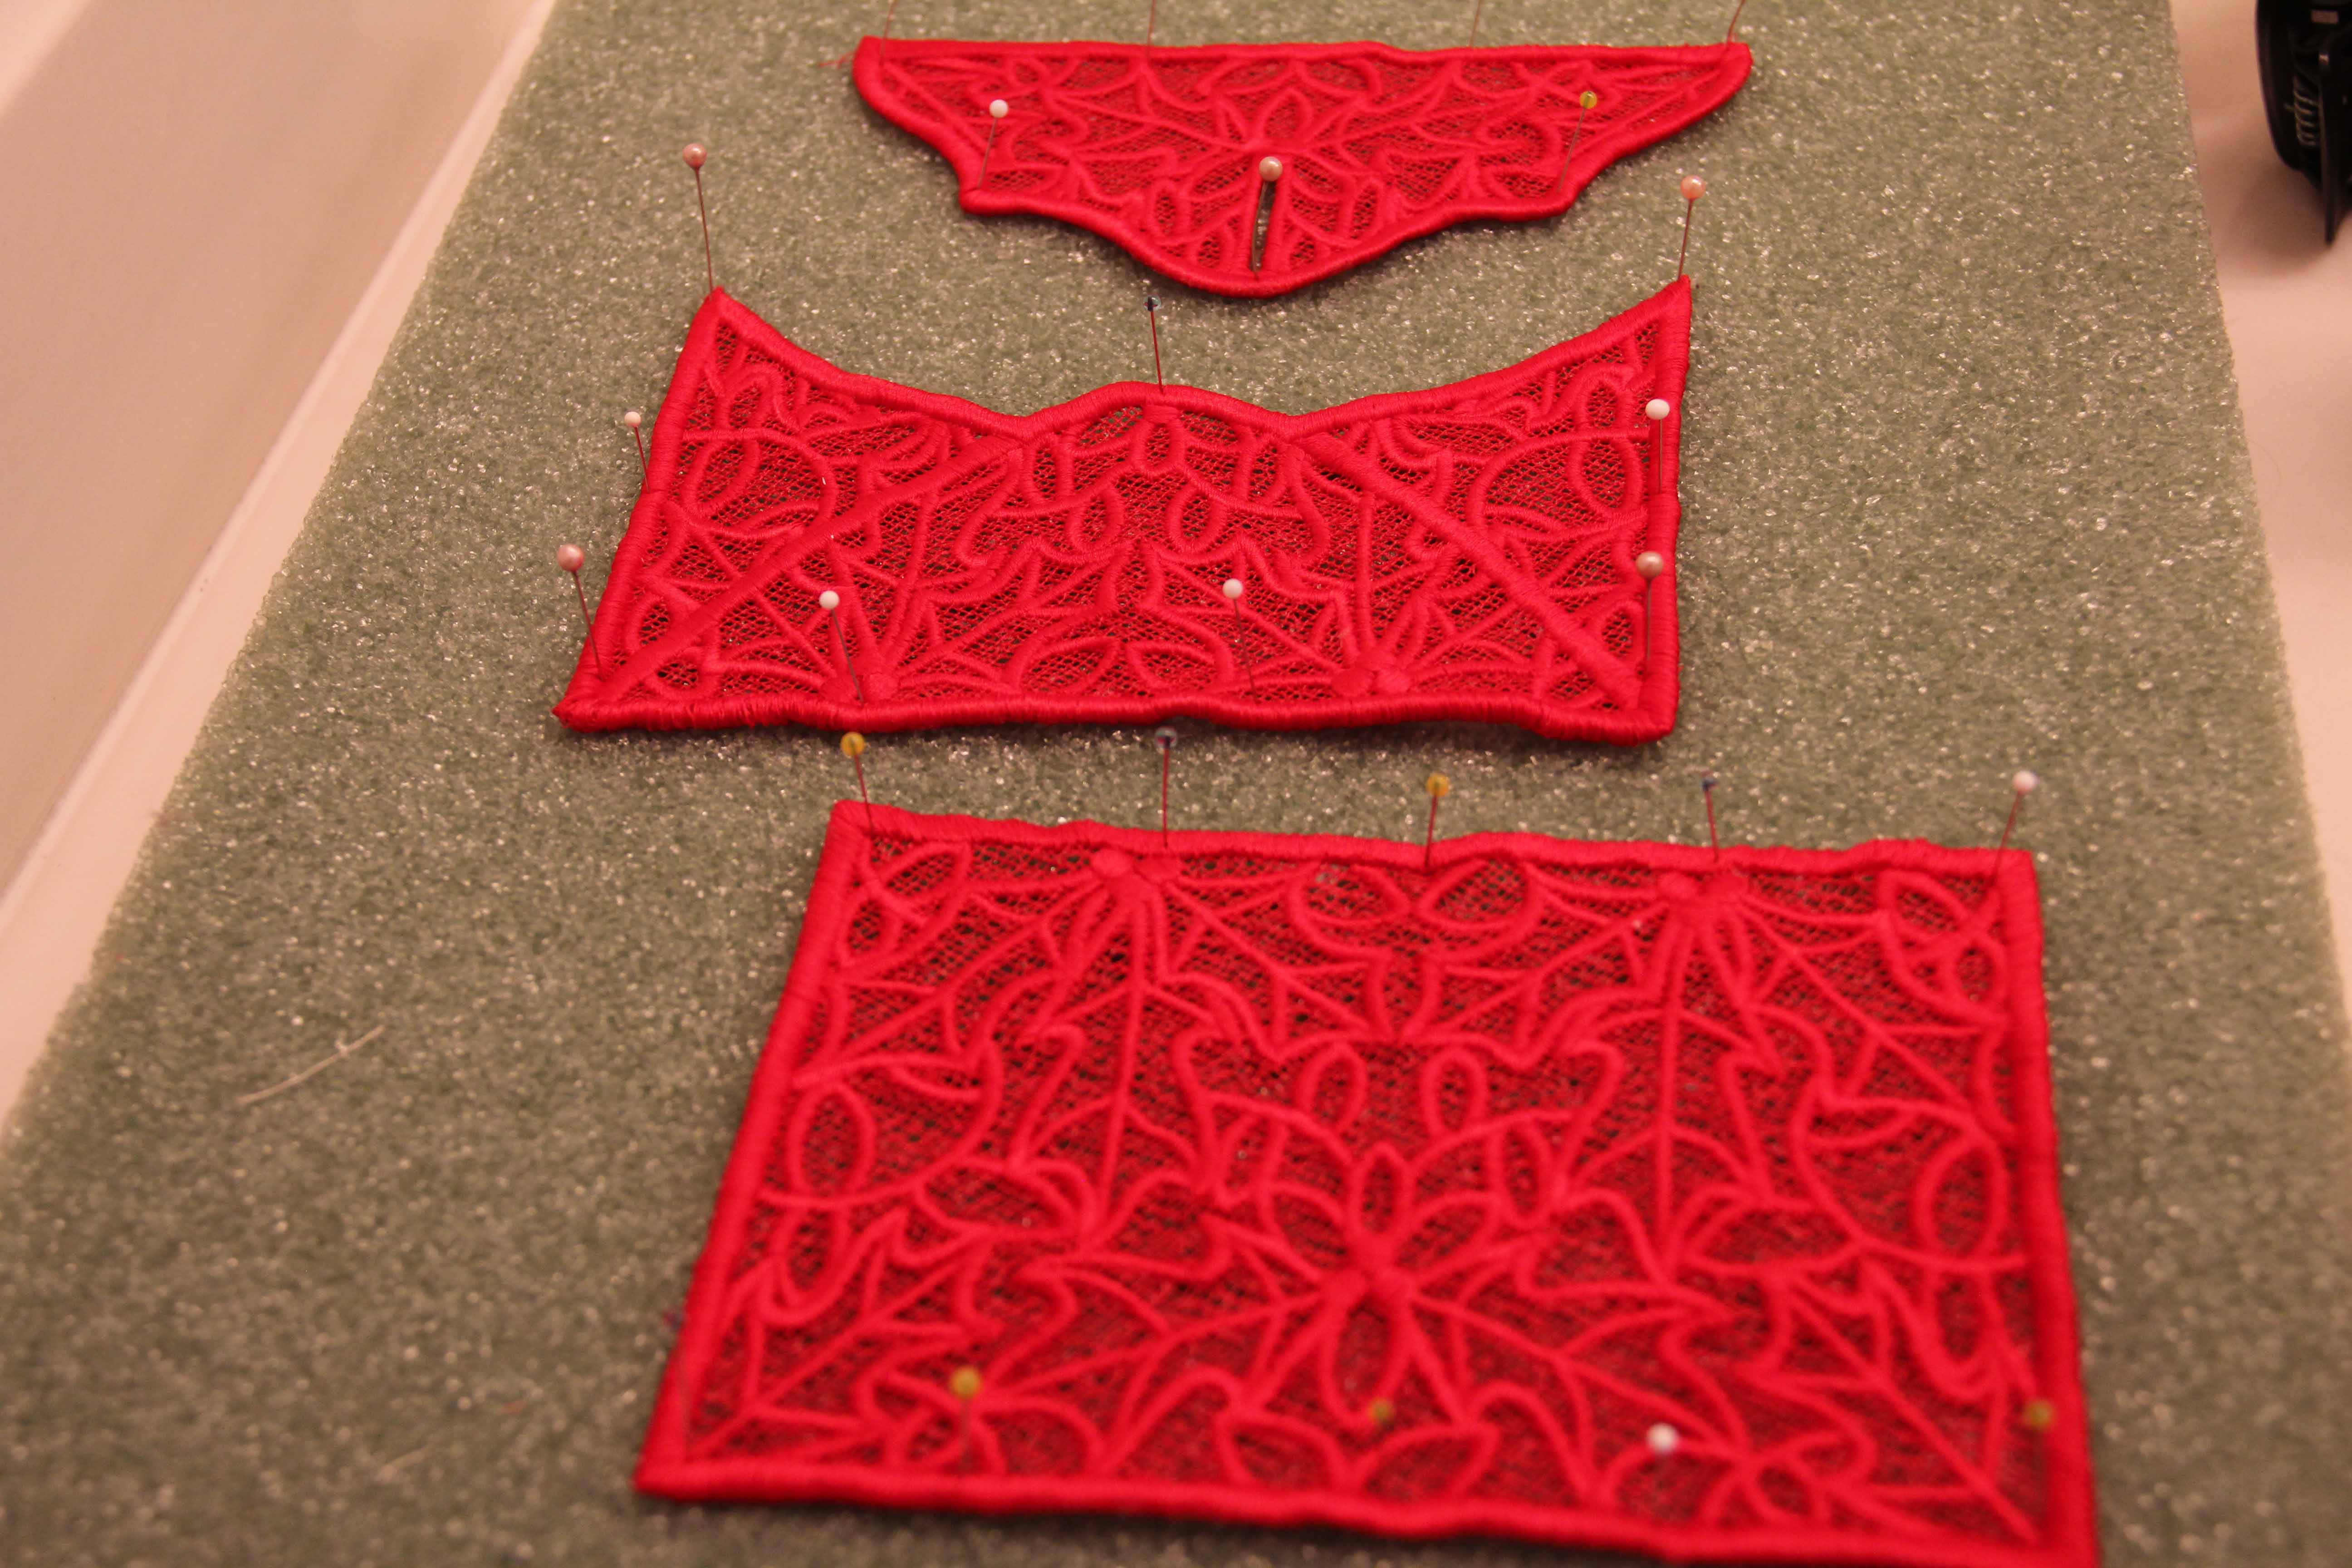
 And in this one, I used some free vintage art and added a pic to personalize. A good place to try is thegraphicsfairy.com. I think this one will end up as this year’s Valentine. It will fit perfectly into one of the lace envelopes I recently created.
On this card, the transfer of our pic was on top of the first transfer, and I probably would not recommend that. I should have used a graphics program for that work and only transferred once. Still, the photo looks old and worn and I love it.
Hmmm…so when I throw all these in the wash, they should come out whole. I know that they will soften and get a little wrinkly like the Levi jeans tag.
Even so, I can’t wait to play around with this more. I’ll share some after a washing…should be interesting!