It’s a chicken soup kind of day.
My son came home after his first few days of high school with a nasty cold. I’m not surprised. The place is a breeding ground for experimental teenage germs.
On top of that, the weather turned cooler today…for how long, I’ve no idea. But it’s cloudy and cool right now.
Furthermore, like everyone else in the sewing industry, I read Nancy Zieman’s latest blog with a heavy heart. Whether you watched her show or not, you know Nancy. You buy her notions or you attend Quilt Expo in Madison. I’ve learned many tips from Nancy along the way, but my favorite line was this: ” I sew at least one quilt a year for charity.” She never said “You should…” She told us what she did, and then she did it, among all the other wonderful charitable contributions she made within the industry (and outside of it).
So, yes, it’s a chicken soup kind of day.
While the soup bubbled away, I sat down with my laptop and organized some of the Halloween designs I want to make in the very near future.
I use Bernina Embroidery Software 8, and I’m planning on making tiny pillow-like ornaments to hang on my Halloween tree.
The designs I’m using came from urbanthreads.com, a favorite of mine for cute and/or spooky embroidery.
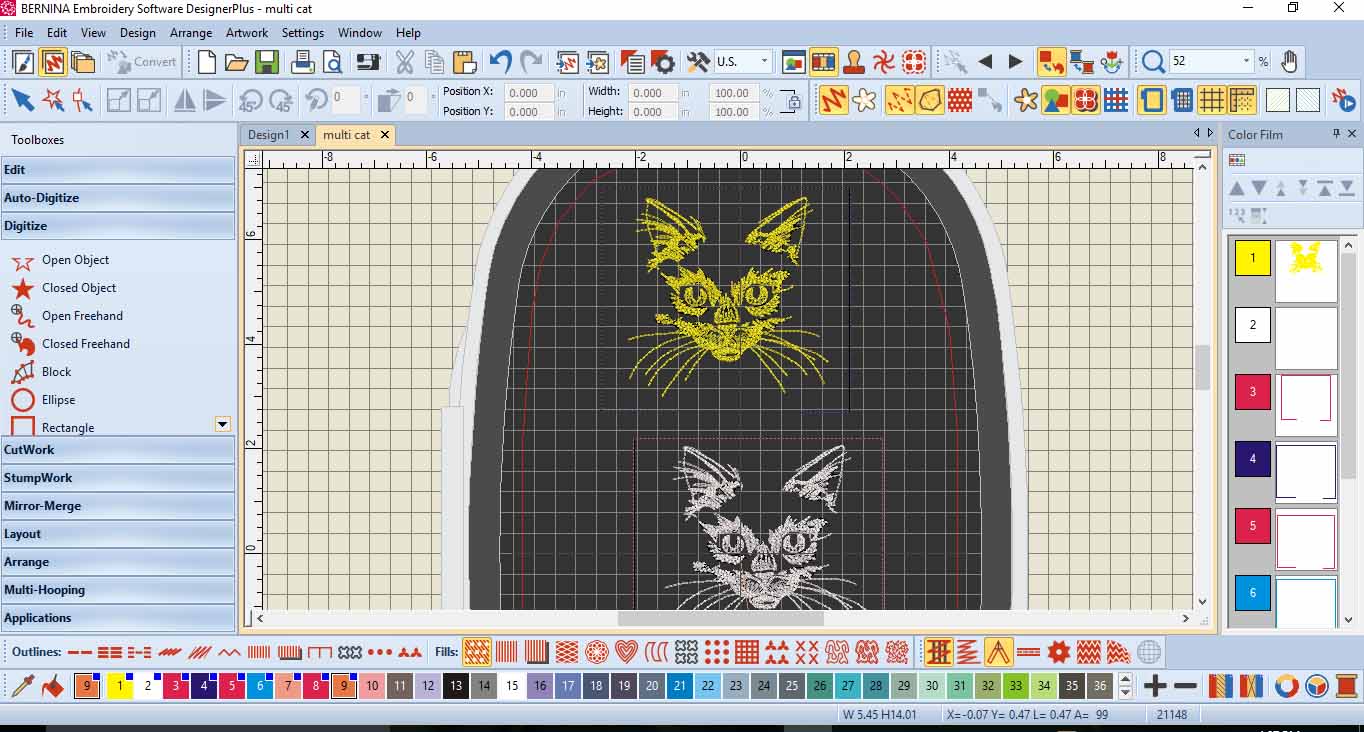
 It’s hard to see the design in this shot but it is a single thread color of a cat. I used a feature that people rarely take advantage of in the ‘design” menu. Click on “background” and change the background color in the hoop.
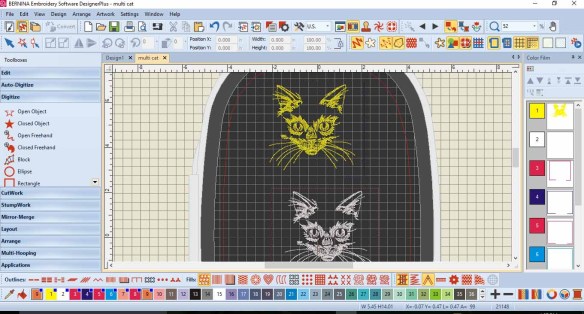 Now you can actually see what the design will look like stitched out on dark grey or black fabric. In the prior shot, you can see where I added stitching in a square around the outside. Before I stitch that, I will add a square of fabric and a ribbon for hanging. I’m not stitching out today, but I promise to share when I do.
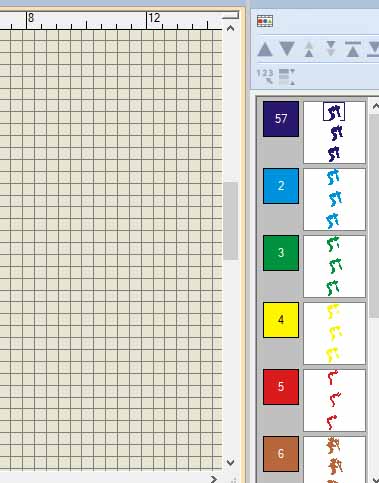
 In this design, I’m stitching the profile of this cat, but it has multiple thread changes for each cat. For some reason, the.exp file I’m using has changed all the colors from shades of purple to random colors. I did not take the time to fix the thread colors on screen because I will just use the correct ones as I stitch out.
 The important thing to note here is that on the side, in the color film, I used the “Sequence by Color” tool. This way, I’m able to stitch all the same colors at once instead of changing threads each time for each color on each cat. Whew!
It makes a big difference in the amount of time it takes to stitch out. Also, I will have to cut the jump stitches in between each thread change, as I have the thread moving around quite a bit.
Still, I have loaded all this onto my USB stick and am ready to stitch as soon as I prep some fabric, stabilizer and fabric for the backs of these cute little ornaments.
Can’t wait to get started, but I won’t have time for a couple of days.
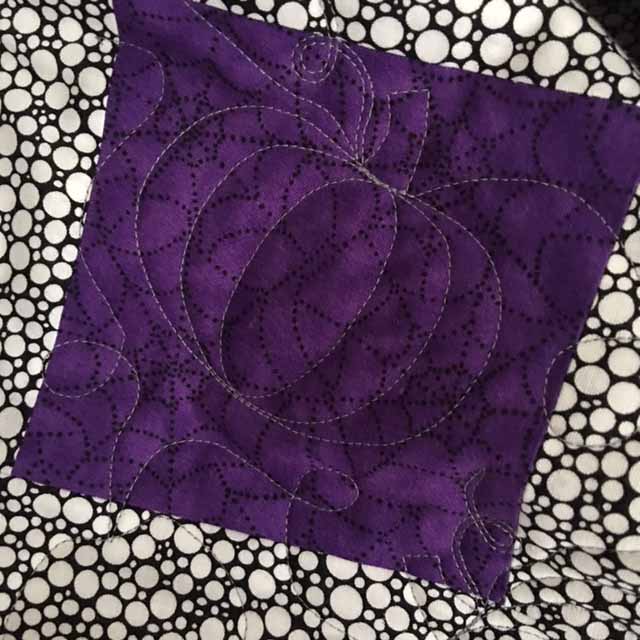
My Halloween quilt is complete, and ready for its debut! Stay tuned. It may be early September, but it’s already time for a cool change.

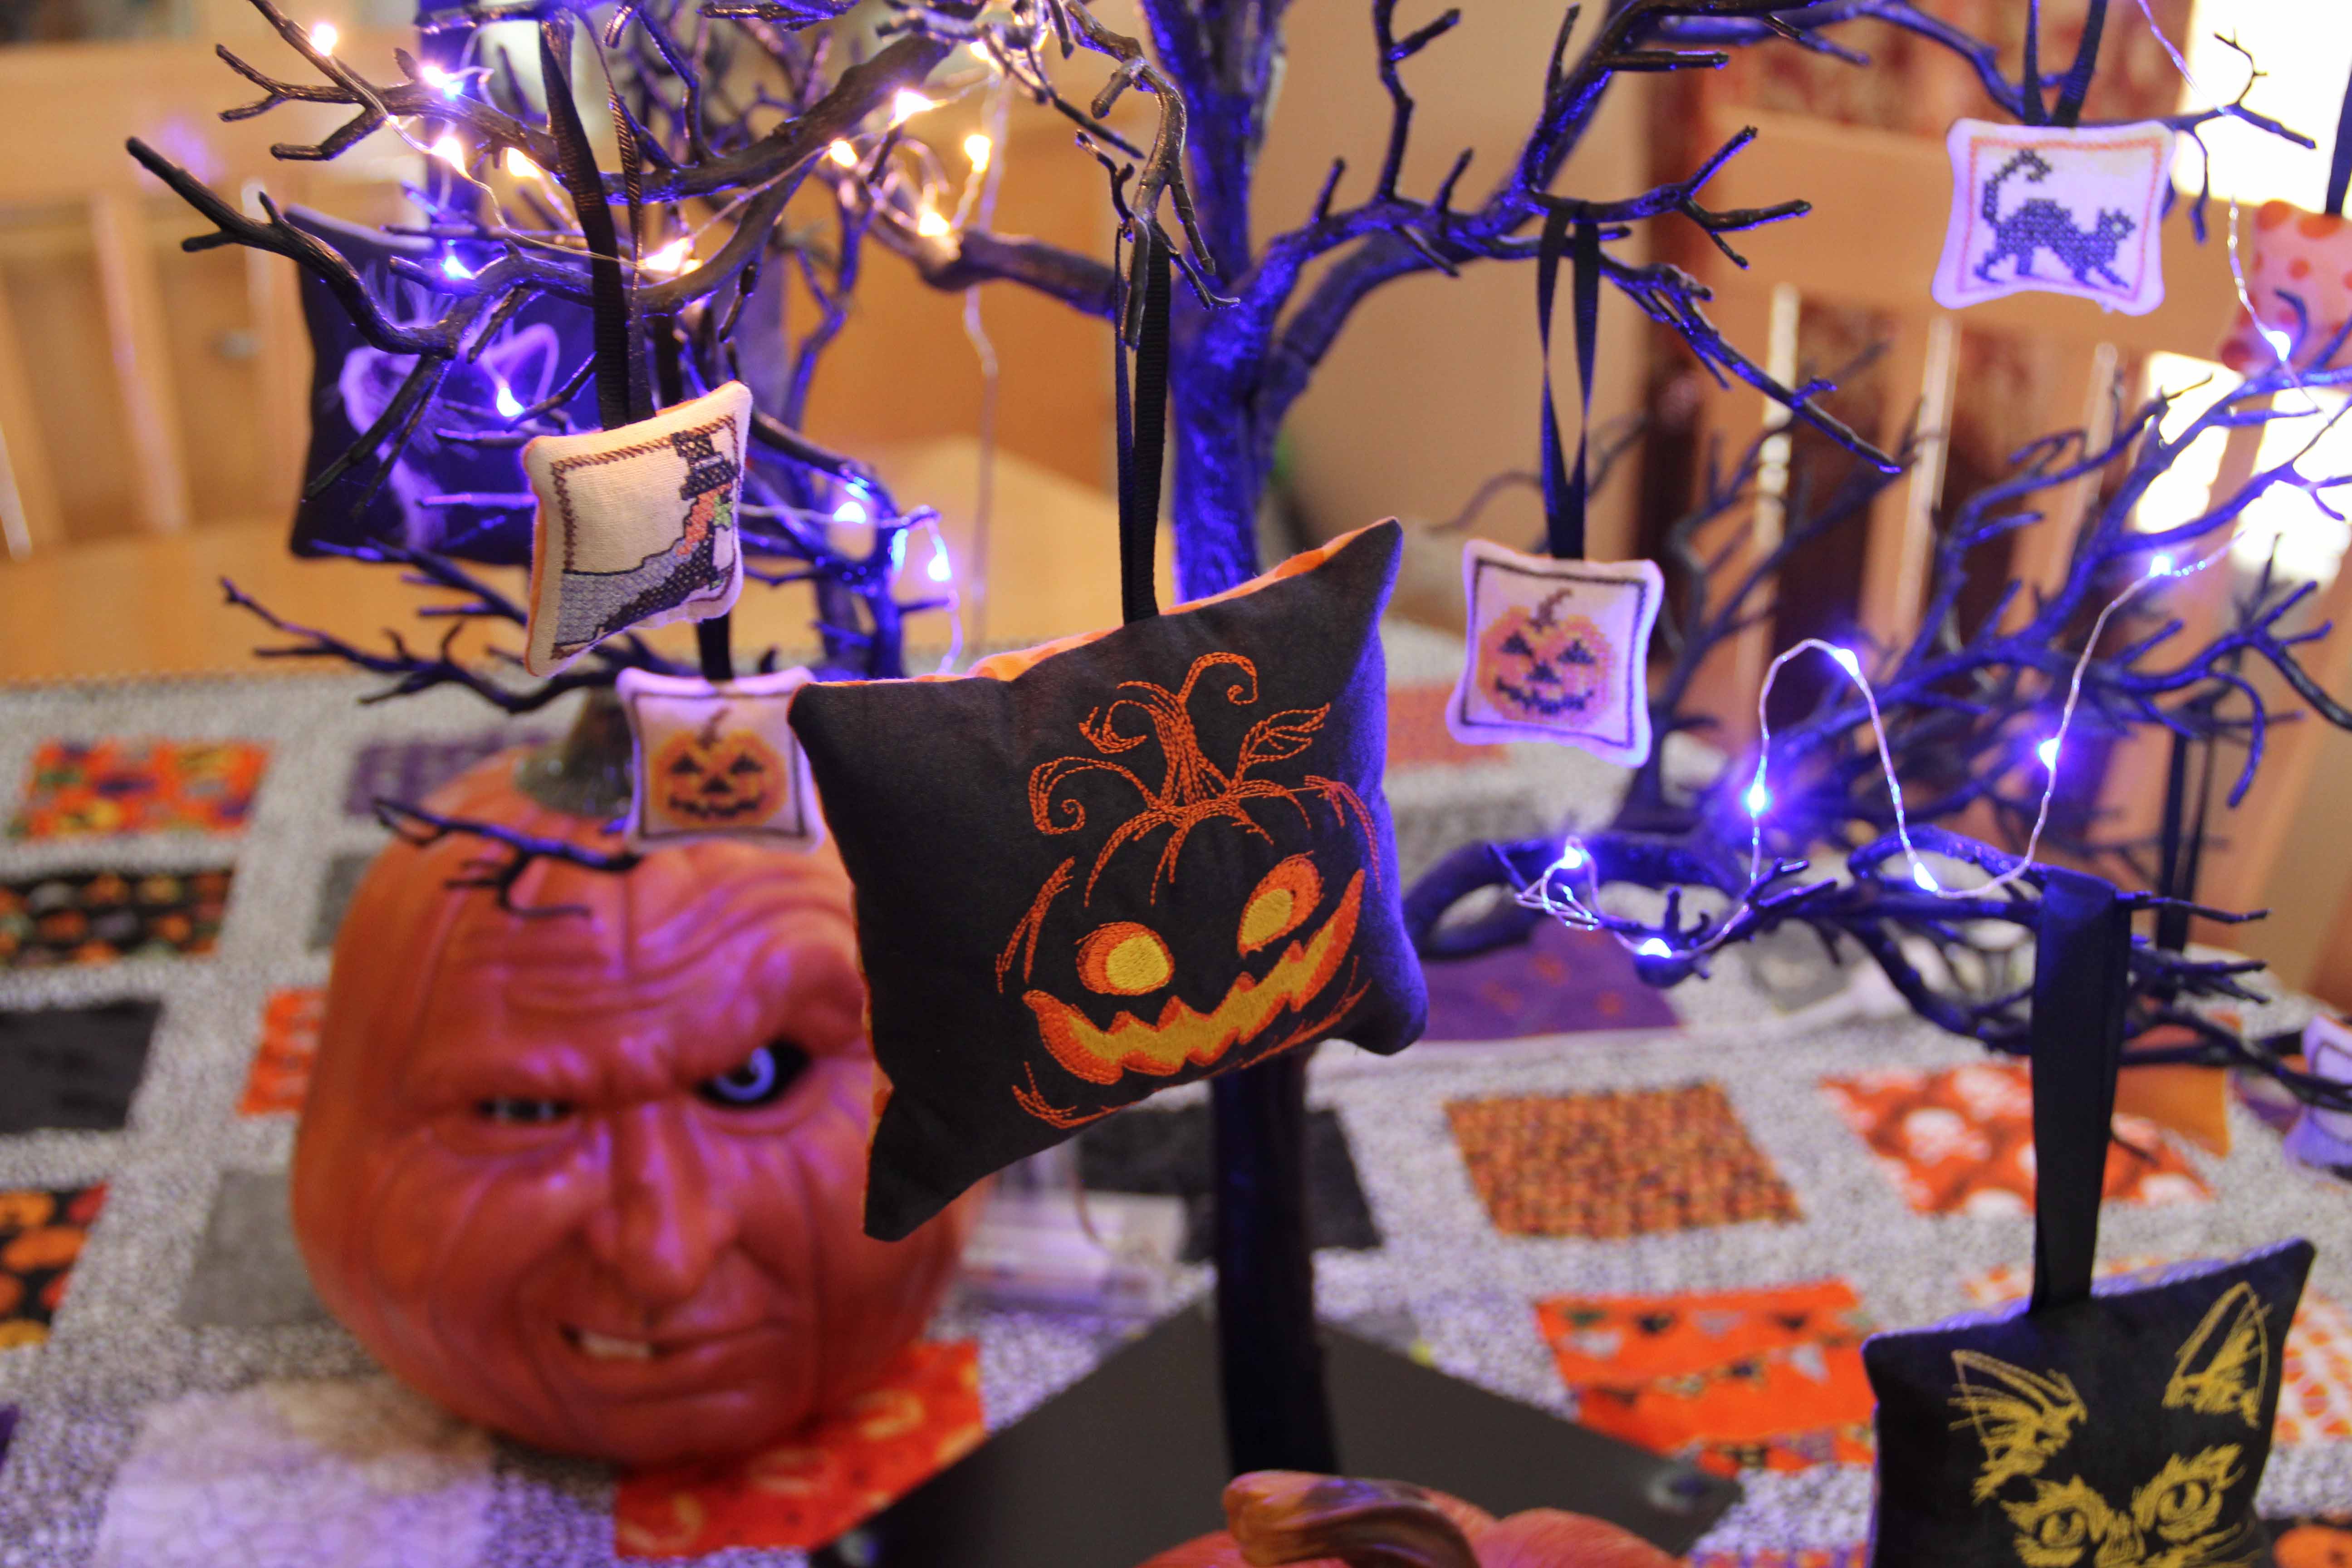 It’s a silly thing, I know. But we get a kick out of it. I make all the ornaments in machine embroidery as in-the-hoop projects.
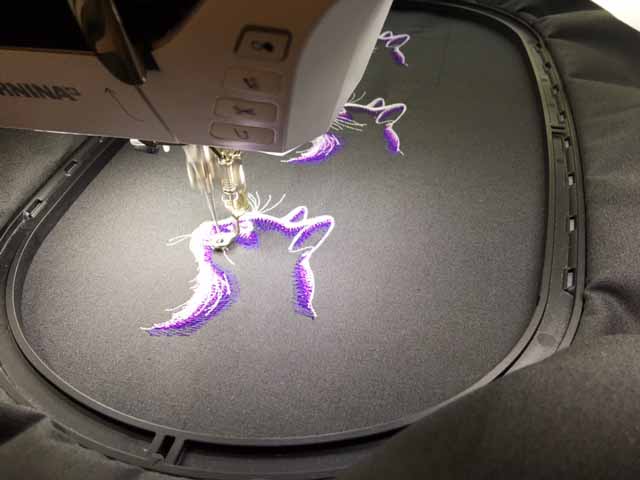 First, the actual embroidery design is stitched out.
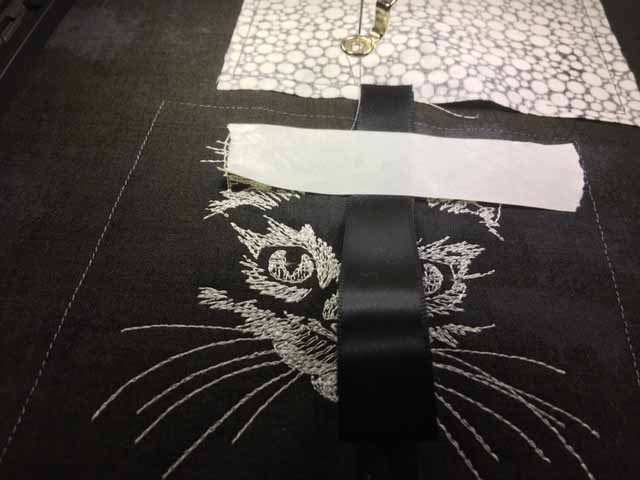 A placement line is stitched, so I can see where the backing will be placed. Before the backing, I tape down a ribbon for hanging. Then the backing is laid down with right sides together.
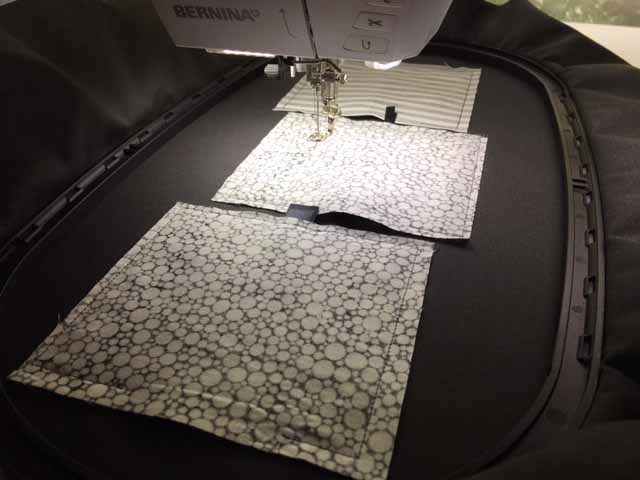 The backing then gets stitched down with an opening at the bottom which allows for turning the item inside out. Once the backing is stitched down, I can take the whole thing out of the hoop and trim 1/4 inch around the outside, clipping the corners, and turn it inside out.
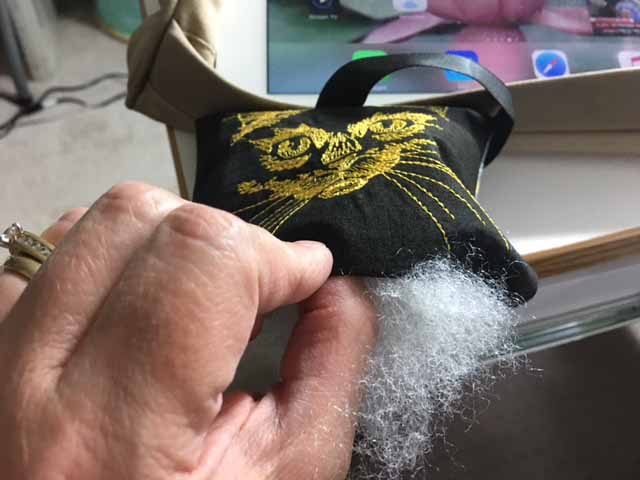 Just add a bit of stuffing, stitch up the bottom and you’re done! Three at a time at this size. When I make them even smaller, six at a time is just as easy!
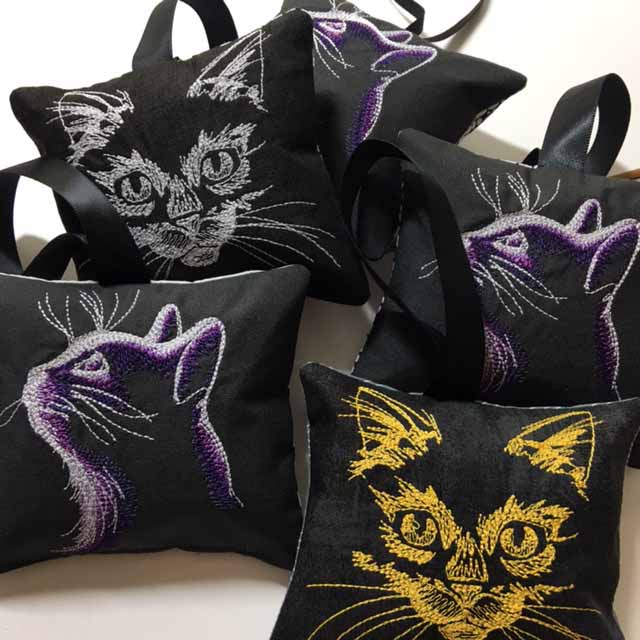 Finished and ready to hang on the tree.