I love minky.
I hate minky.
I have a love/hate relationship with minky.
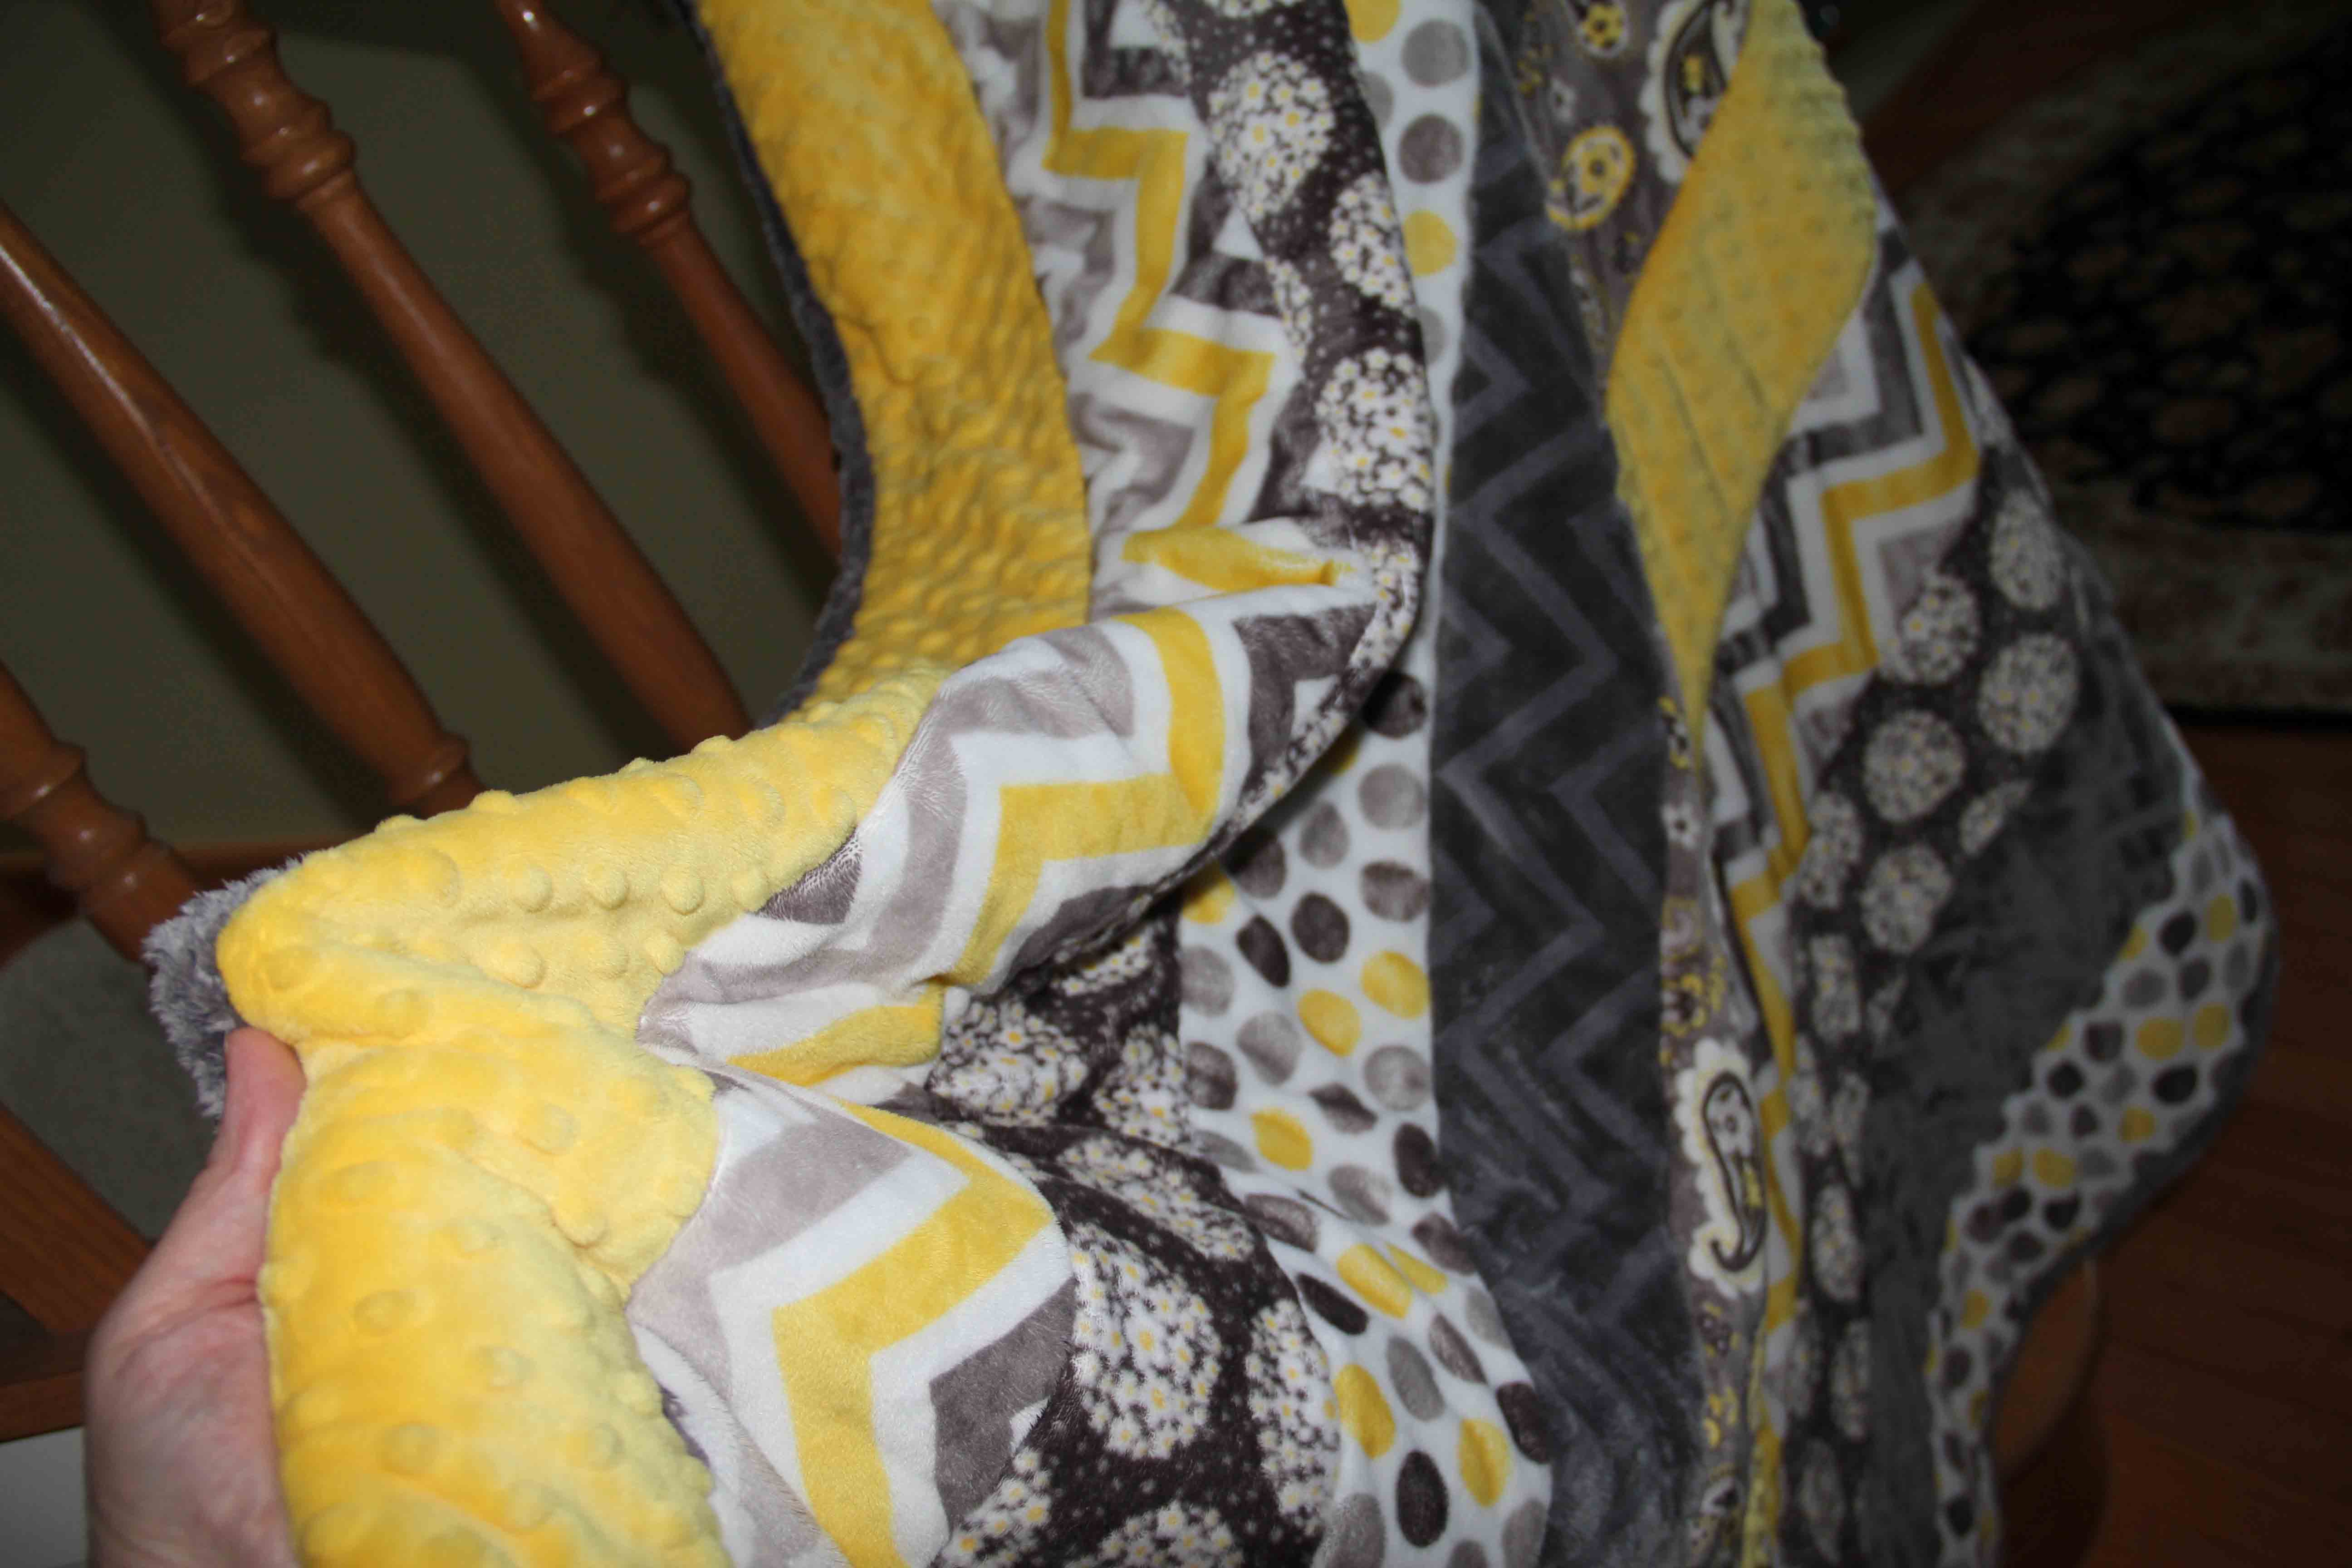
It started with this little box of pre-cut minky fabric I bought in Shipshewana.
 Yummy, right? Like a box of candy. They came with a matching backing in a textured grey.
Now, just like everyone else, I had read a little about working with minky. It’s hard to describe. You want to forgive all its faults and difficulties because it is so delightfully soft to touch.
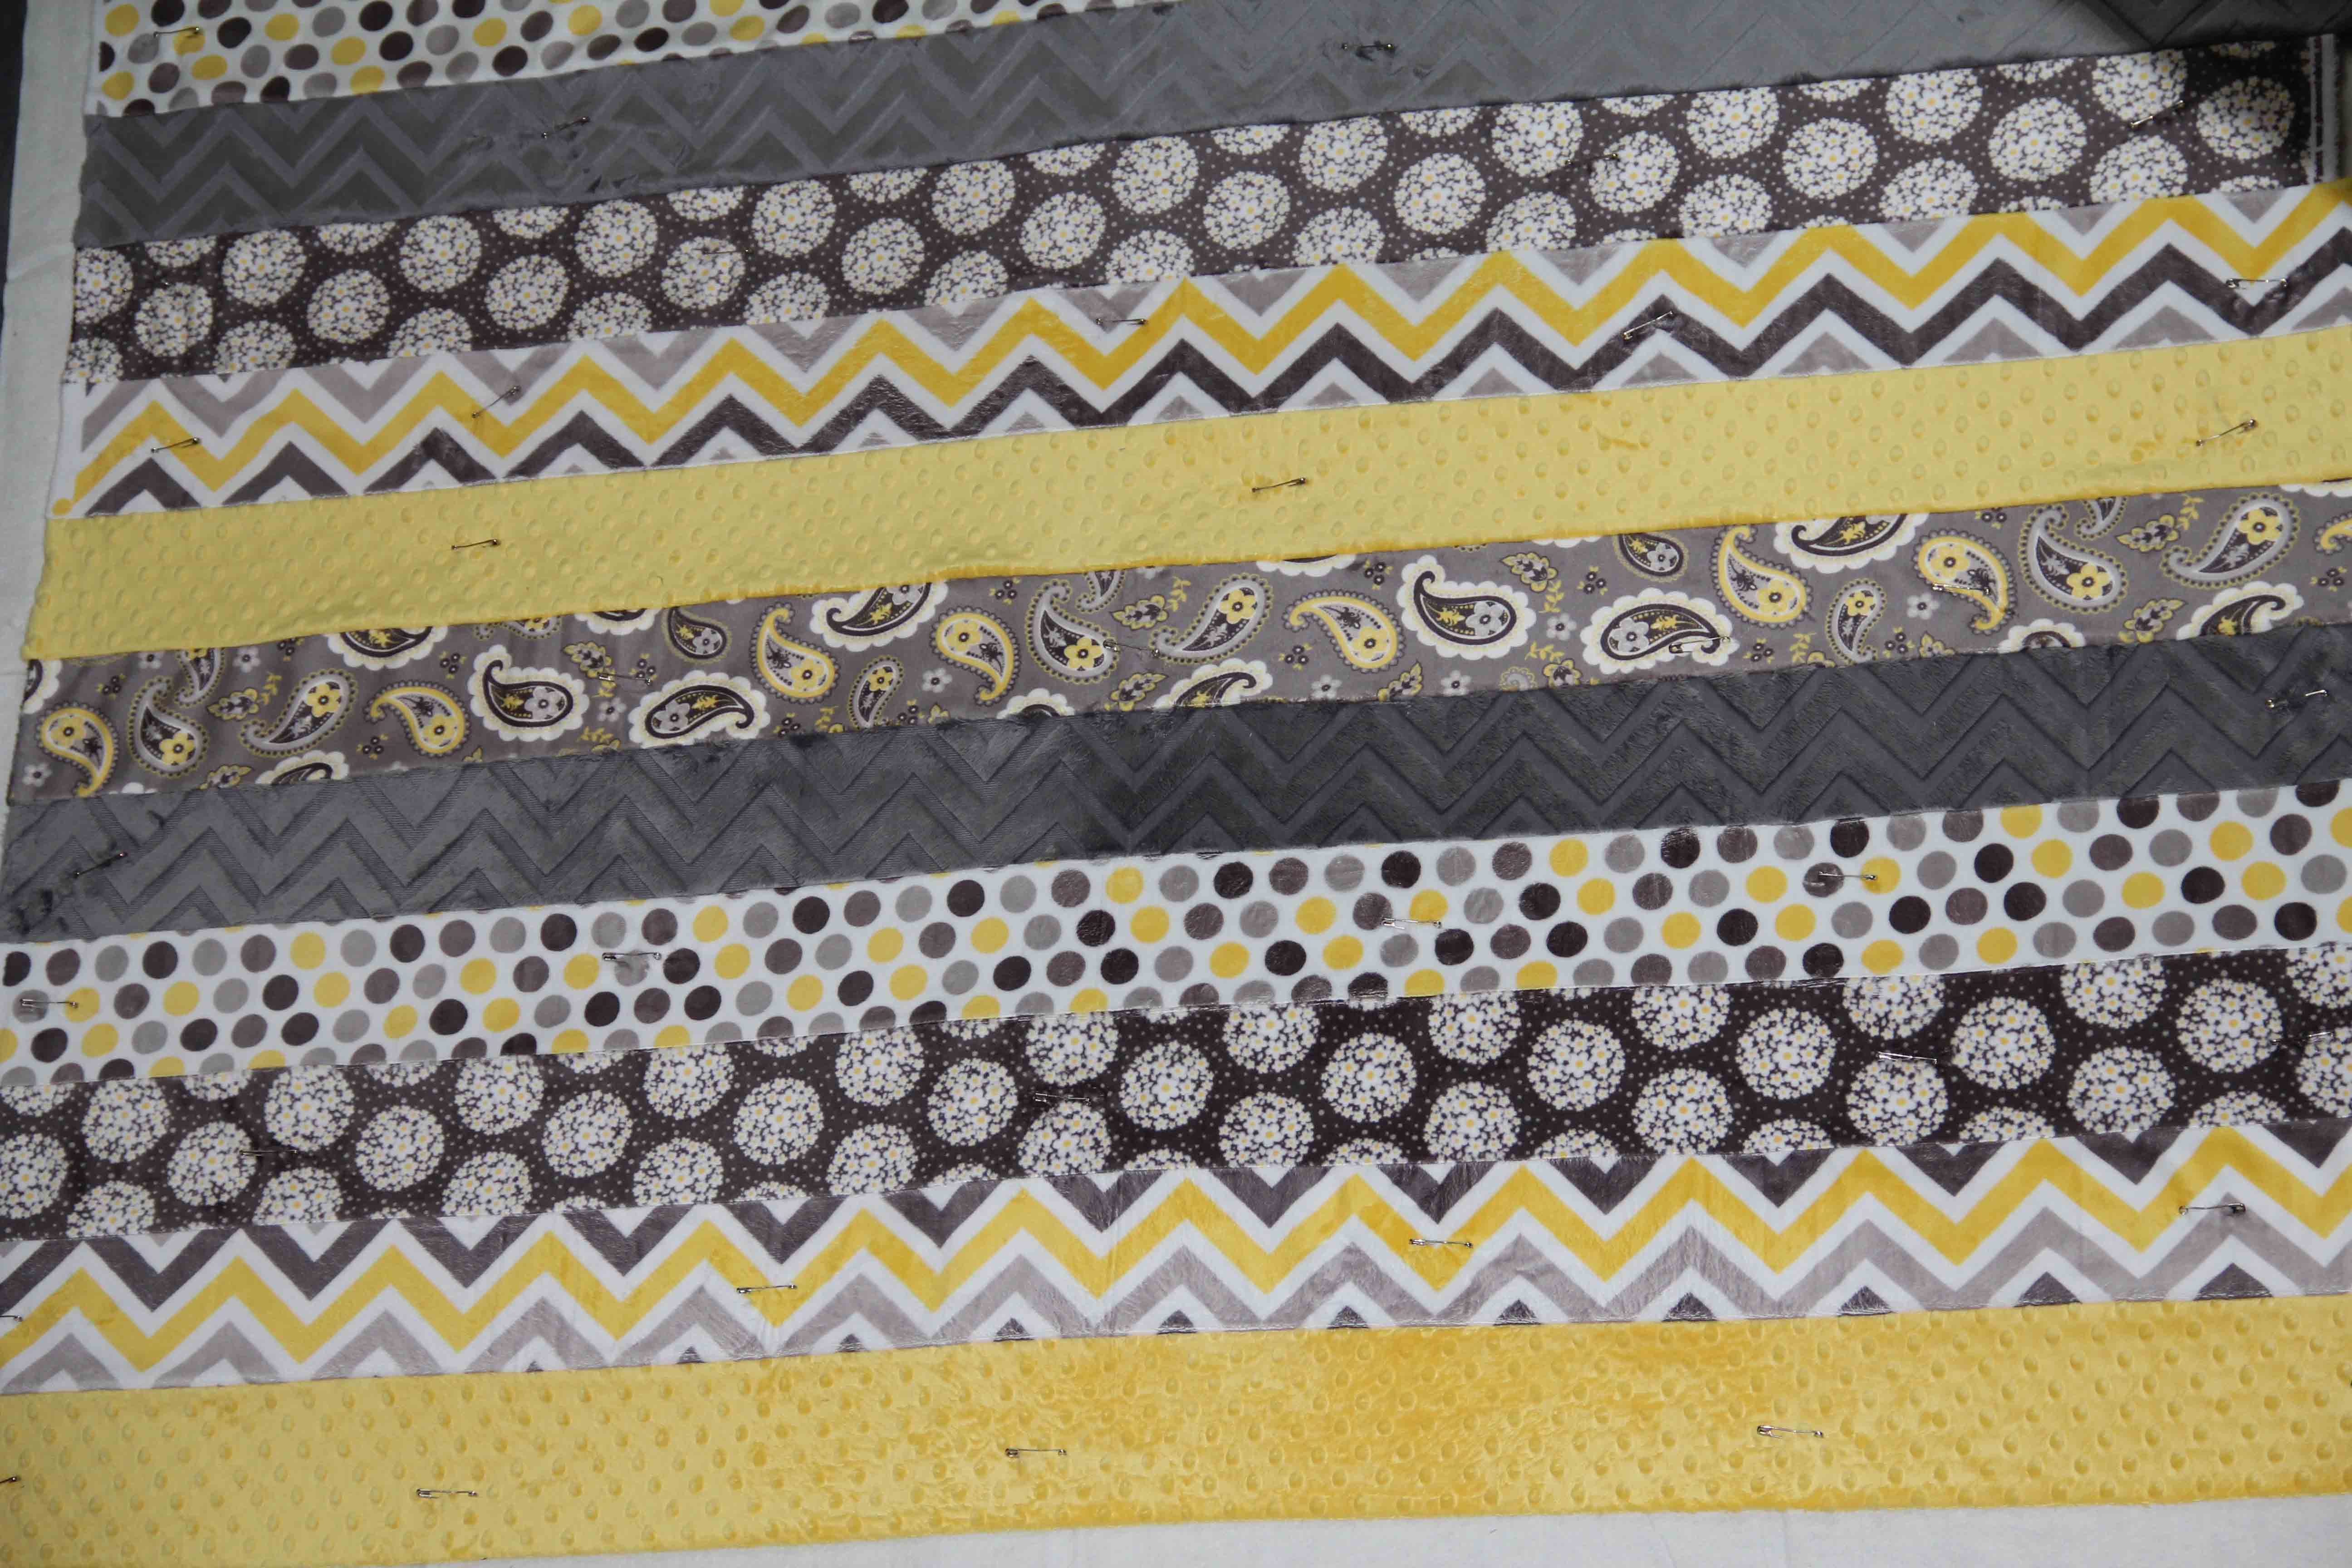
But it behaves like a knit. The gal at the store recommended a stretch needle. I armed myself with a 90/14 stretch needle and some So Fine thread from Superior Threads. I’m sure this seems like a mismatch because a 90/14 is a pretty big needle, and So Fine is, well, so fine. Yet, when working with minky, you have some bulk to contend with, soft as it may be. By the time I was adding the binding, I had 4-5 layers of minky with batting in between.
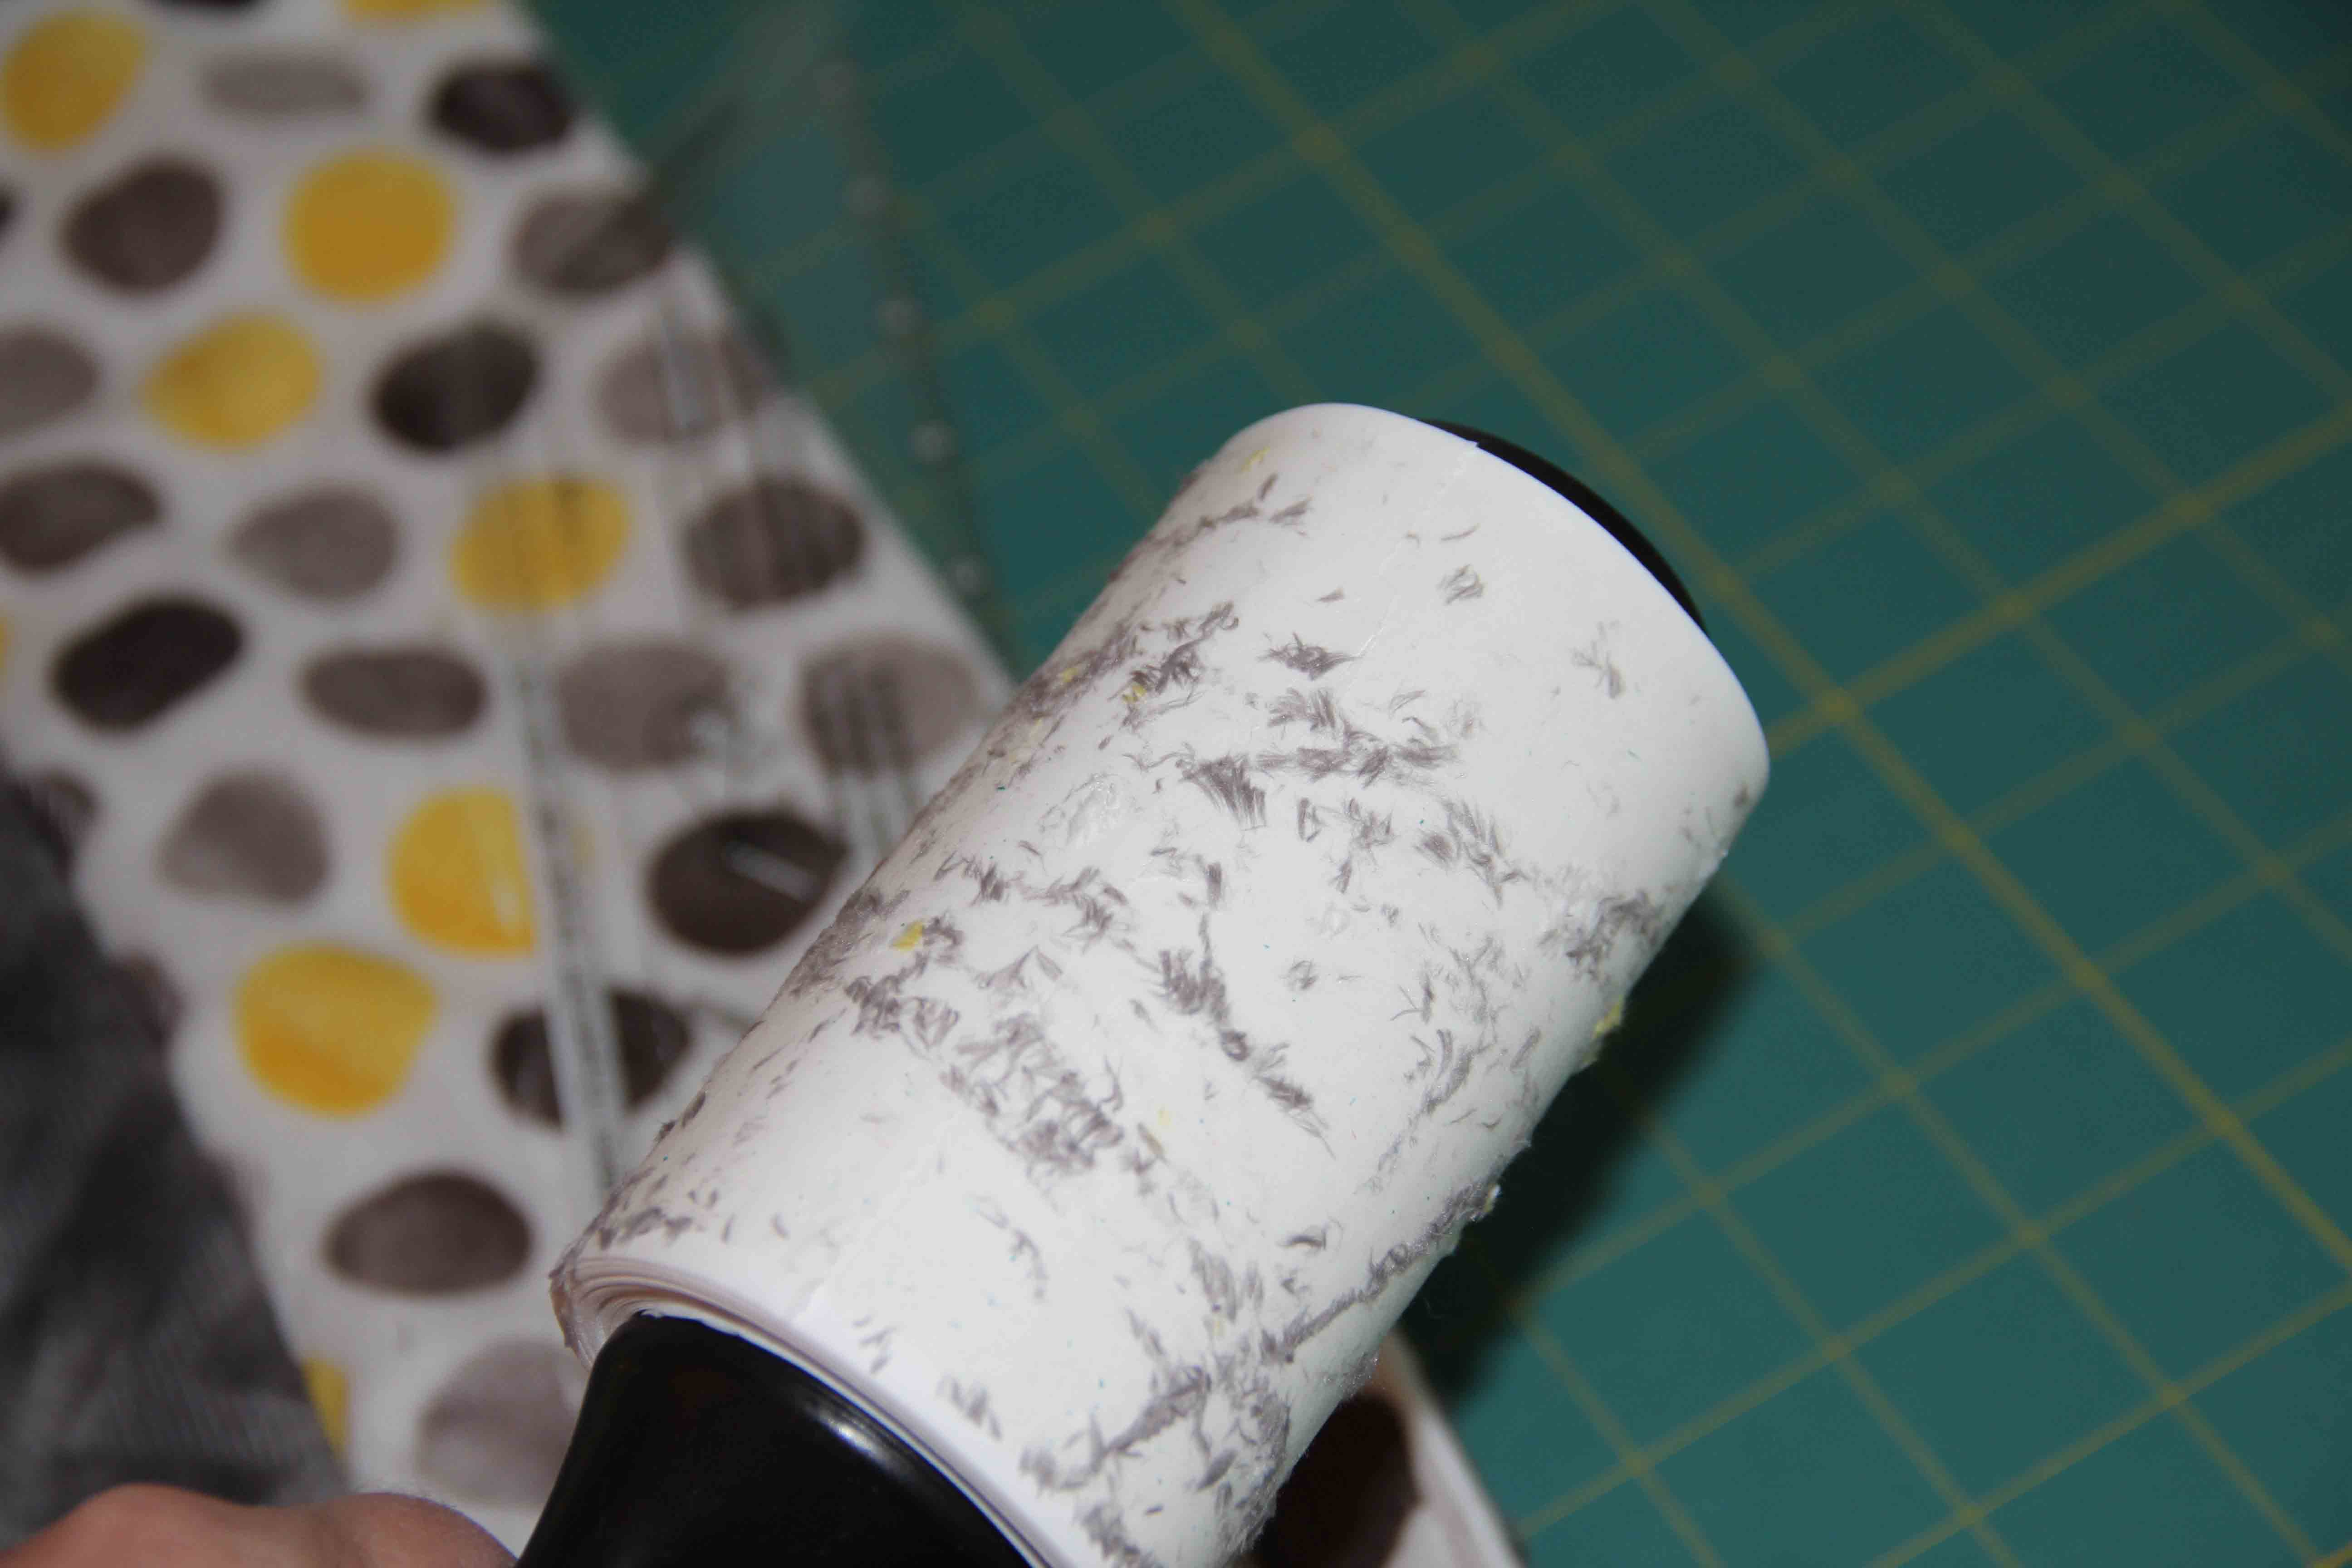
Assembling the strips was easy enough, and not too messy. Apparently, the textured minkies are the ones that do most of the shedding. It wasn’t until I cut the binding that I really started to see it begin to shed along the raw edge.
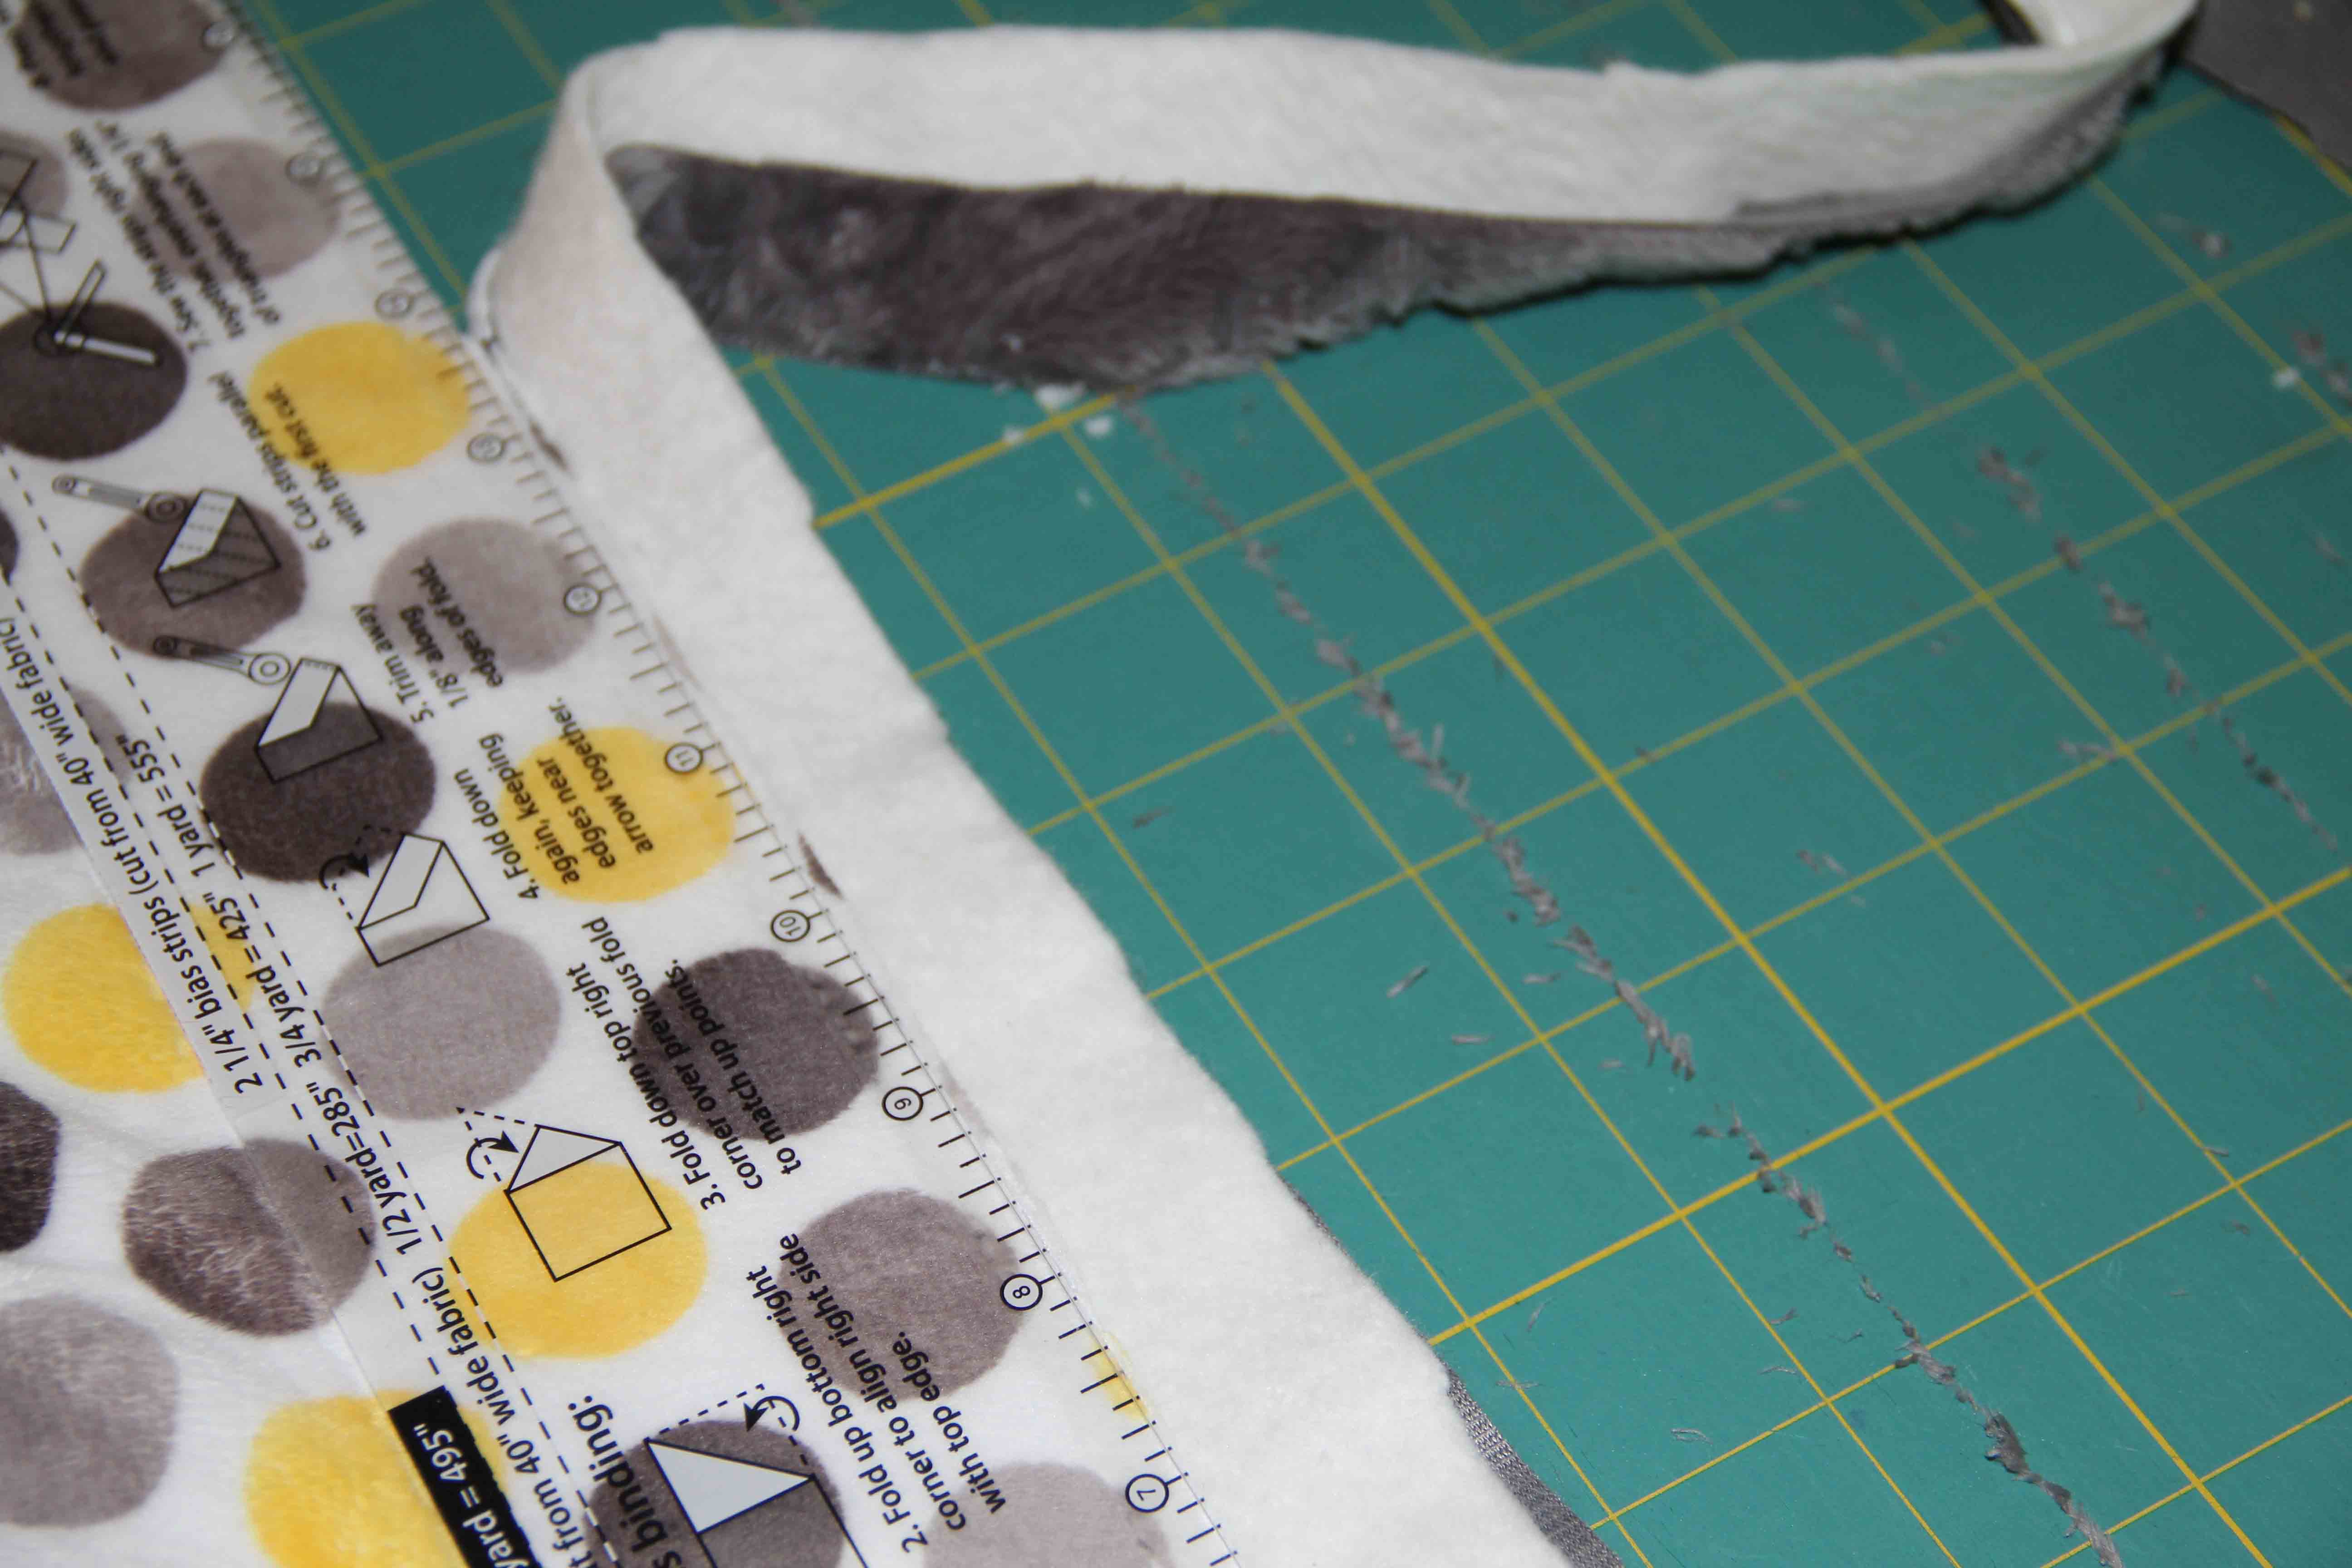 The trick to working with minky is to clean up as you go.
Even yourself. Believe me, every time I turned around I had more minky on myself than there was near the sewing machine.
Two tools you won’t be able to do without: a vacuum, and a lint roller.
I used them both basically every time I moved the quilt before the binding was finished.
 Another trick is to make sure the area you work in is already clean. In other words, don’t have a stack of your favorite fabric underneath the sewing machine where you are working on minky. In fact, move everything away from the area, so that you can see the fuzz and get at it.
I used the lint roller at least 20 times, each time taking off another layer of paper so that it would still work. I cleaned up after every cut so that I did not spread the little fuzz all over the place.
The whole process is not for the faint of heart, and I basically cleaned the entire sewing room afterward.
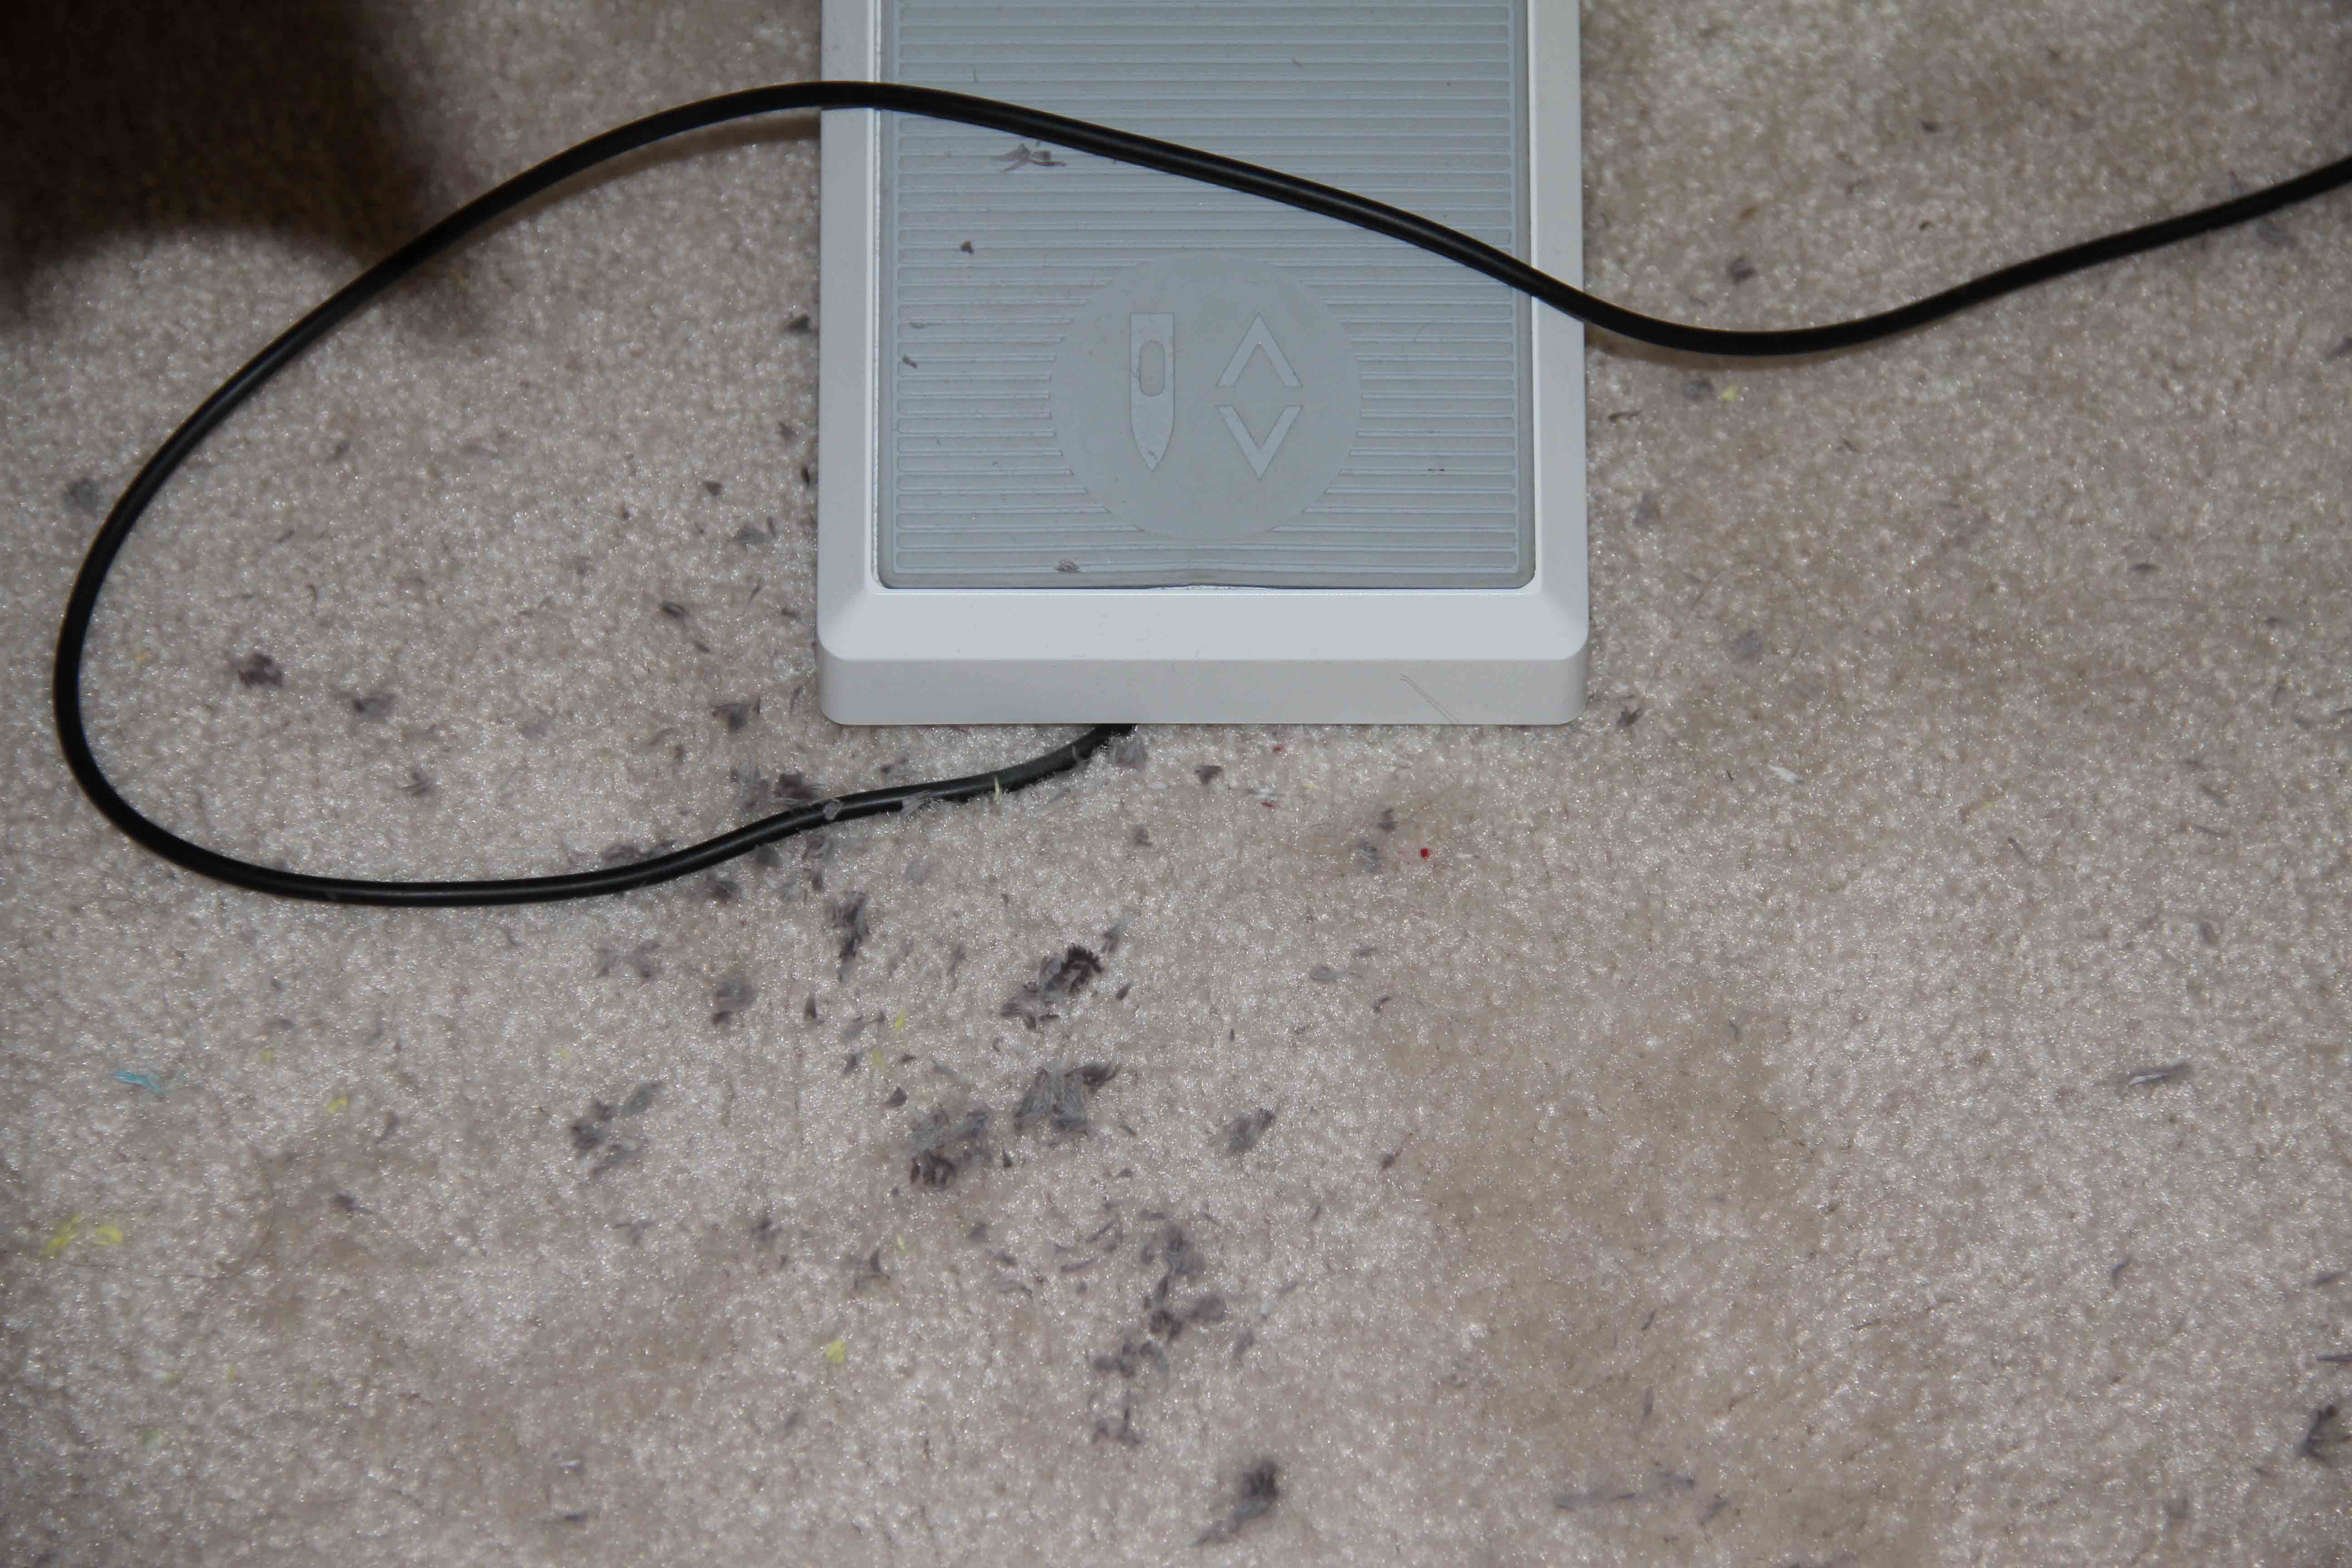
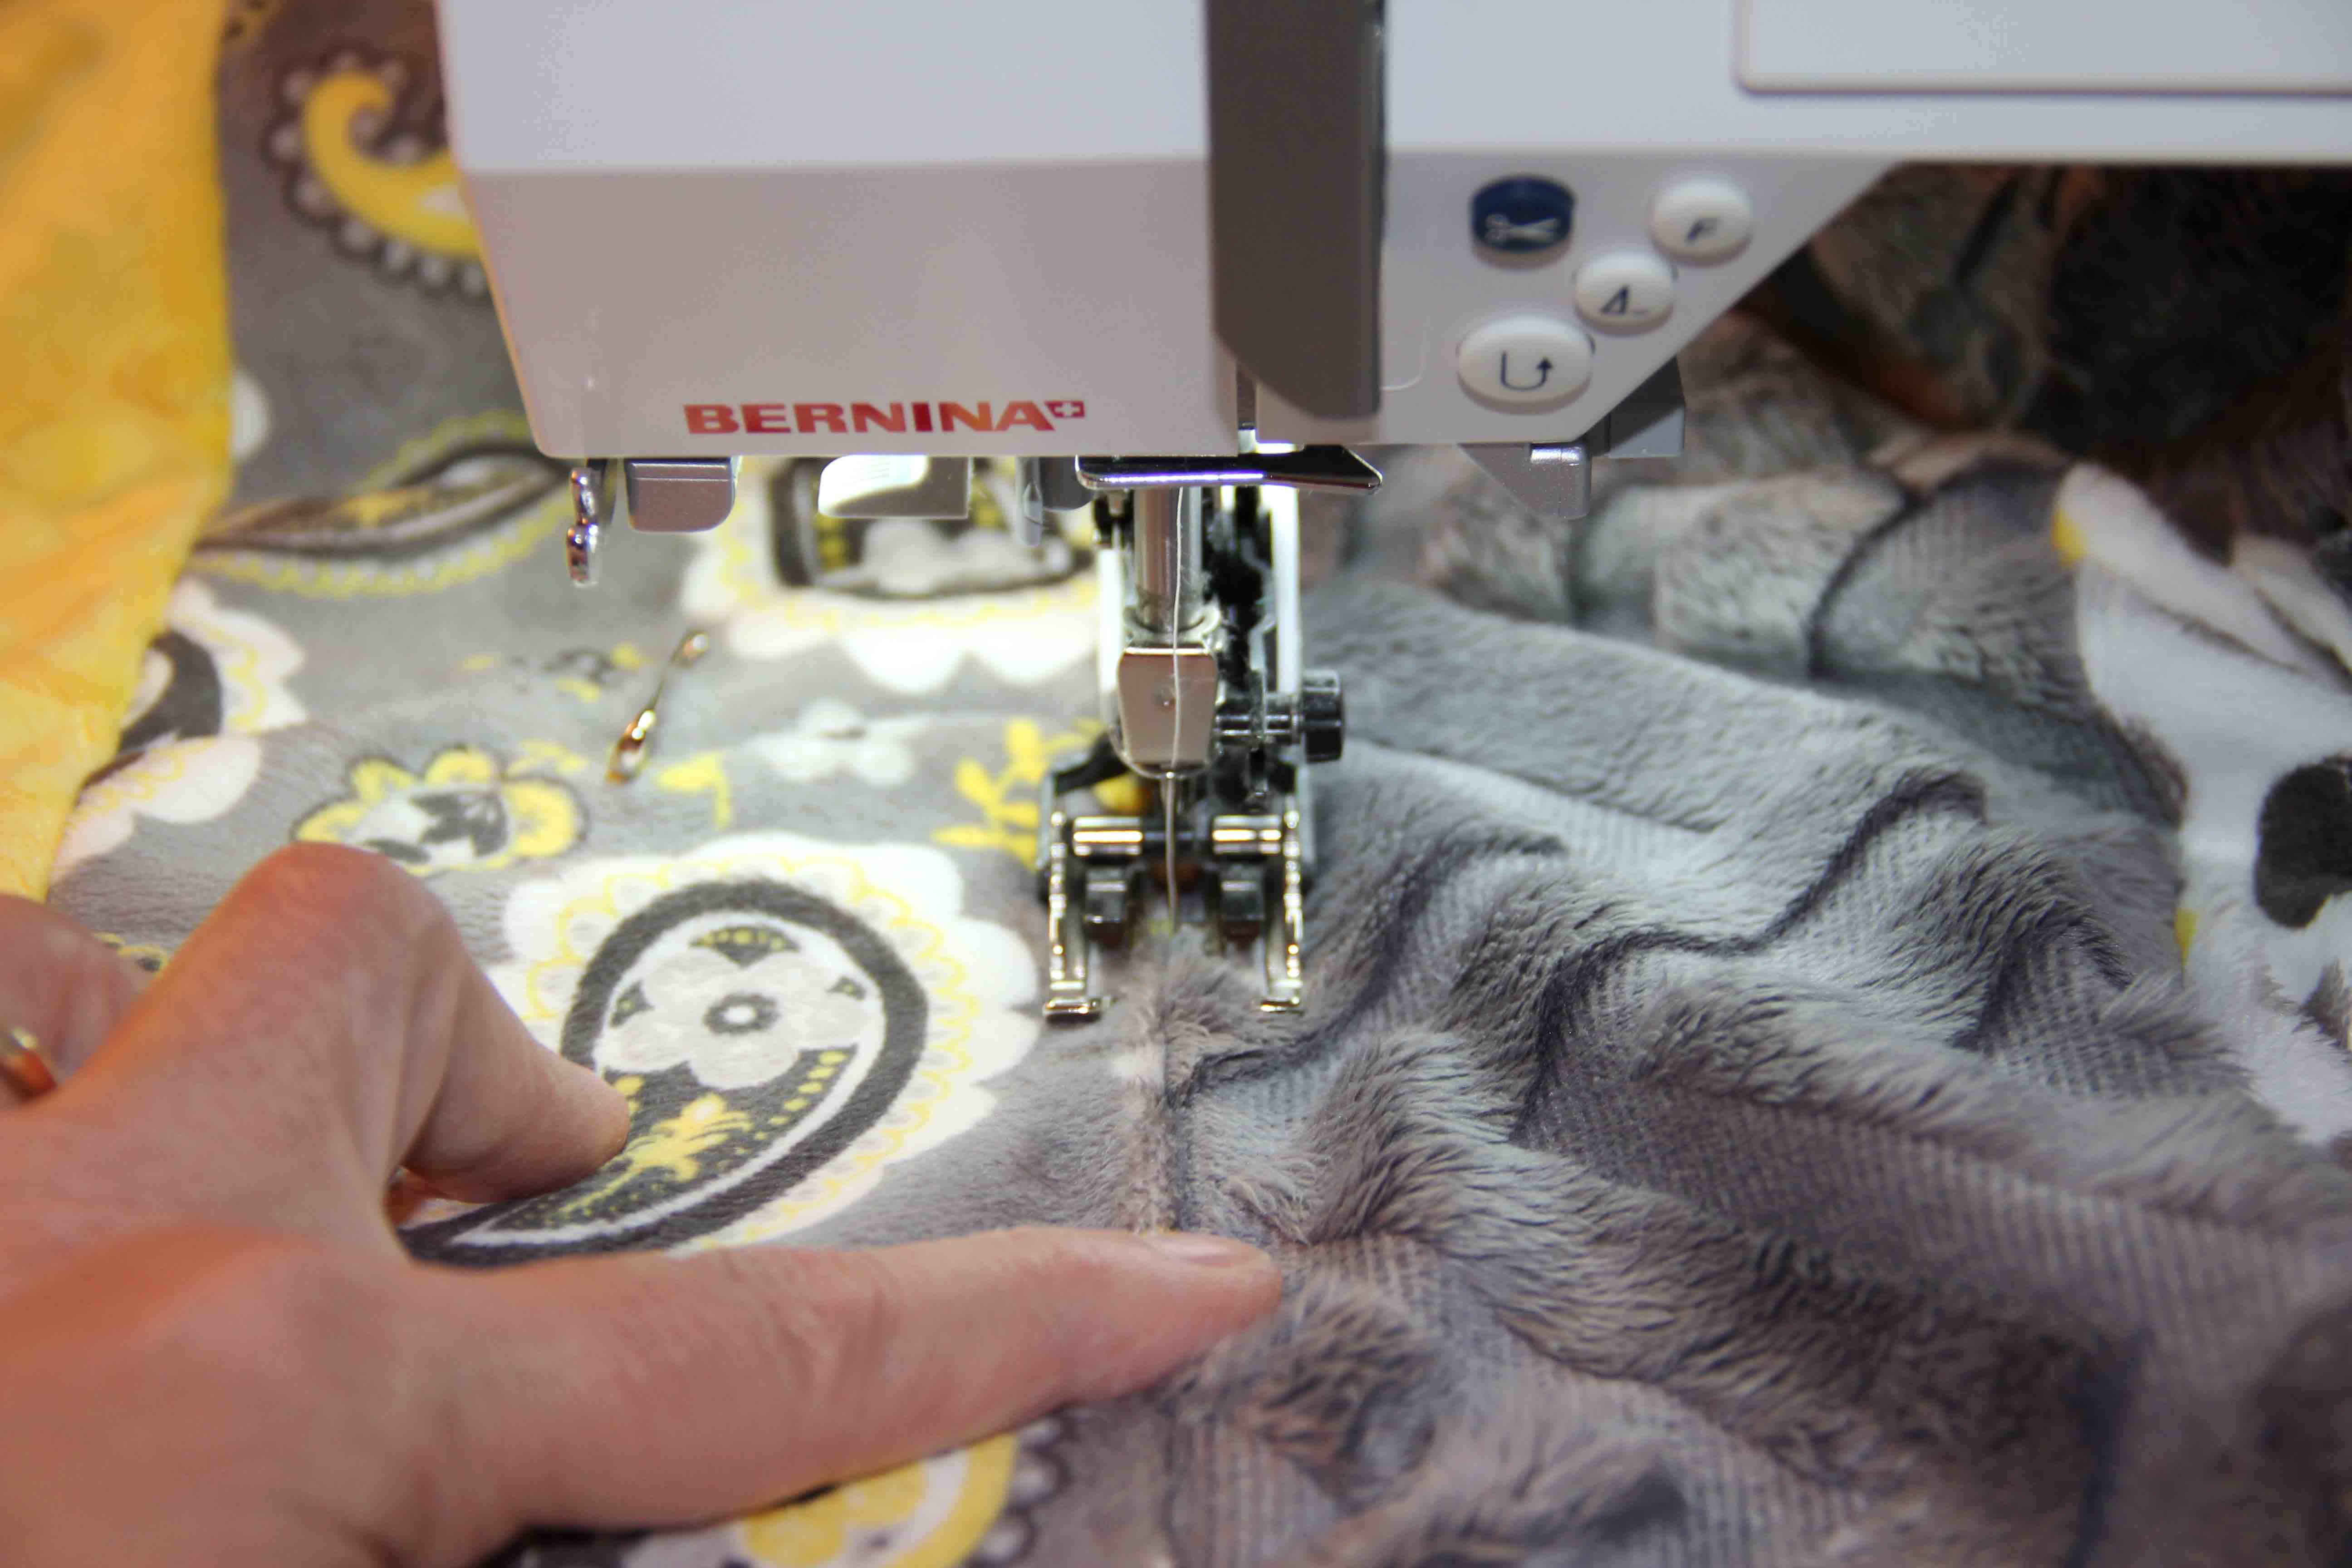
I used an older machine, just in case it dirtied my larger one too much.
 Luckily, as you can see, my machine got dirty, but it’s not the machine that takes in the most fuzz. It’s everything around you.
I used a walking foot for everything – stitching and quilting. Minky is slippery. Many people suggest pinning everything, but in a strip quilt like the one I just did, the walking foot did the job completely.
 I know all you Pfaff people and even Bernina 7 Series and 8 Series folks will think you can get away with just your IDT or dual feed.
I wouldn’t try it. Minky likes a walking foot.
When I finished, I immediately marched out the back door and shook the quilt out over the back lawn. Then went straight to the washing machine and washed and dried it. Once the raw edges are sewn in, no more fuzzies!
If you are good at cleaning up after yourself and taking care of your machine, you will do just fine. If I were going to do this again, I would likely only put minky on the back of a quilt, and I definitely would not use it for binding–even though it looks great when you’re done.
No matter how you feel about minky, this is the truth: it makes the snuggliest, cuddliest, most huggable quilts ever.