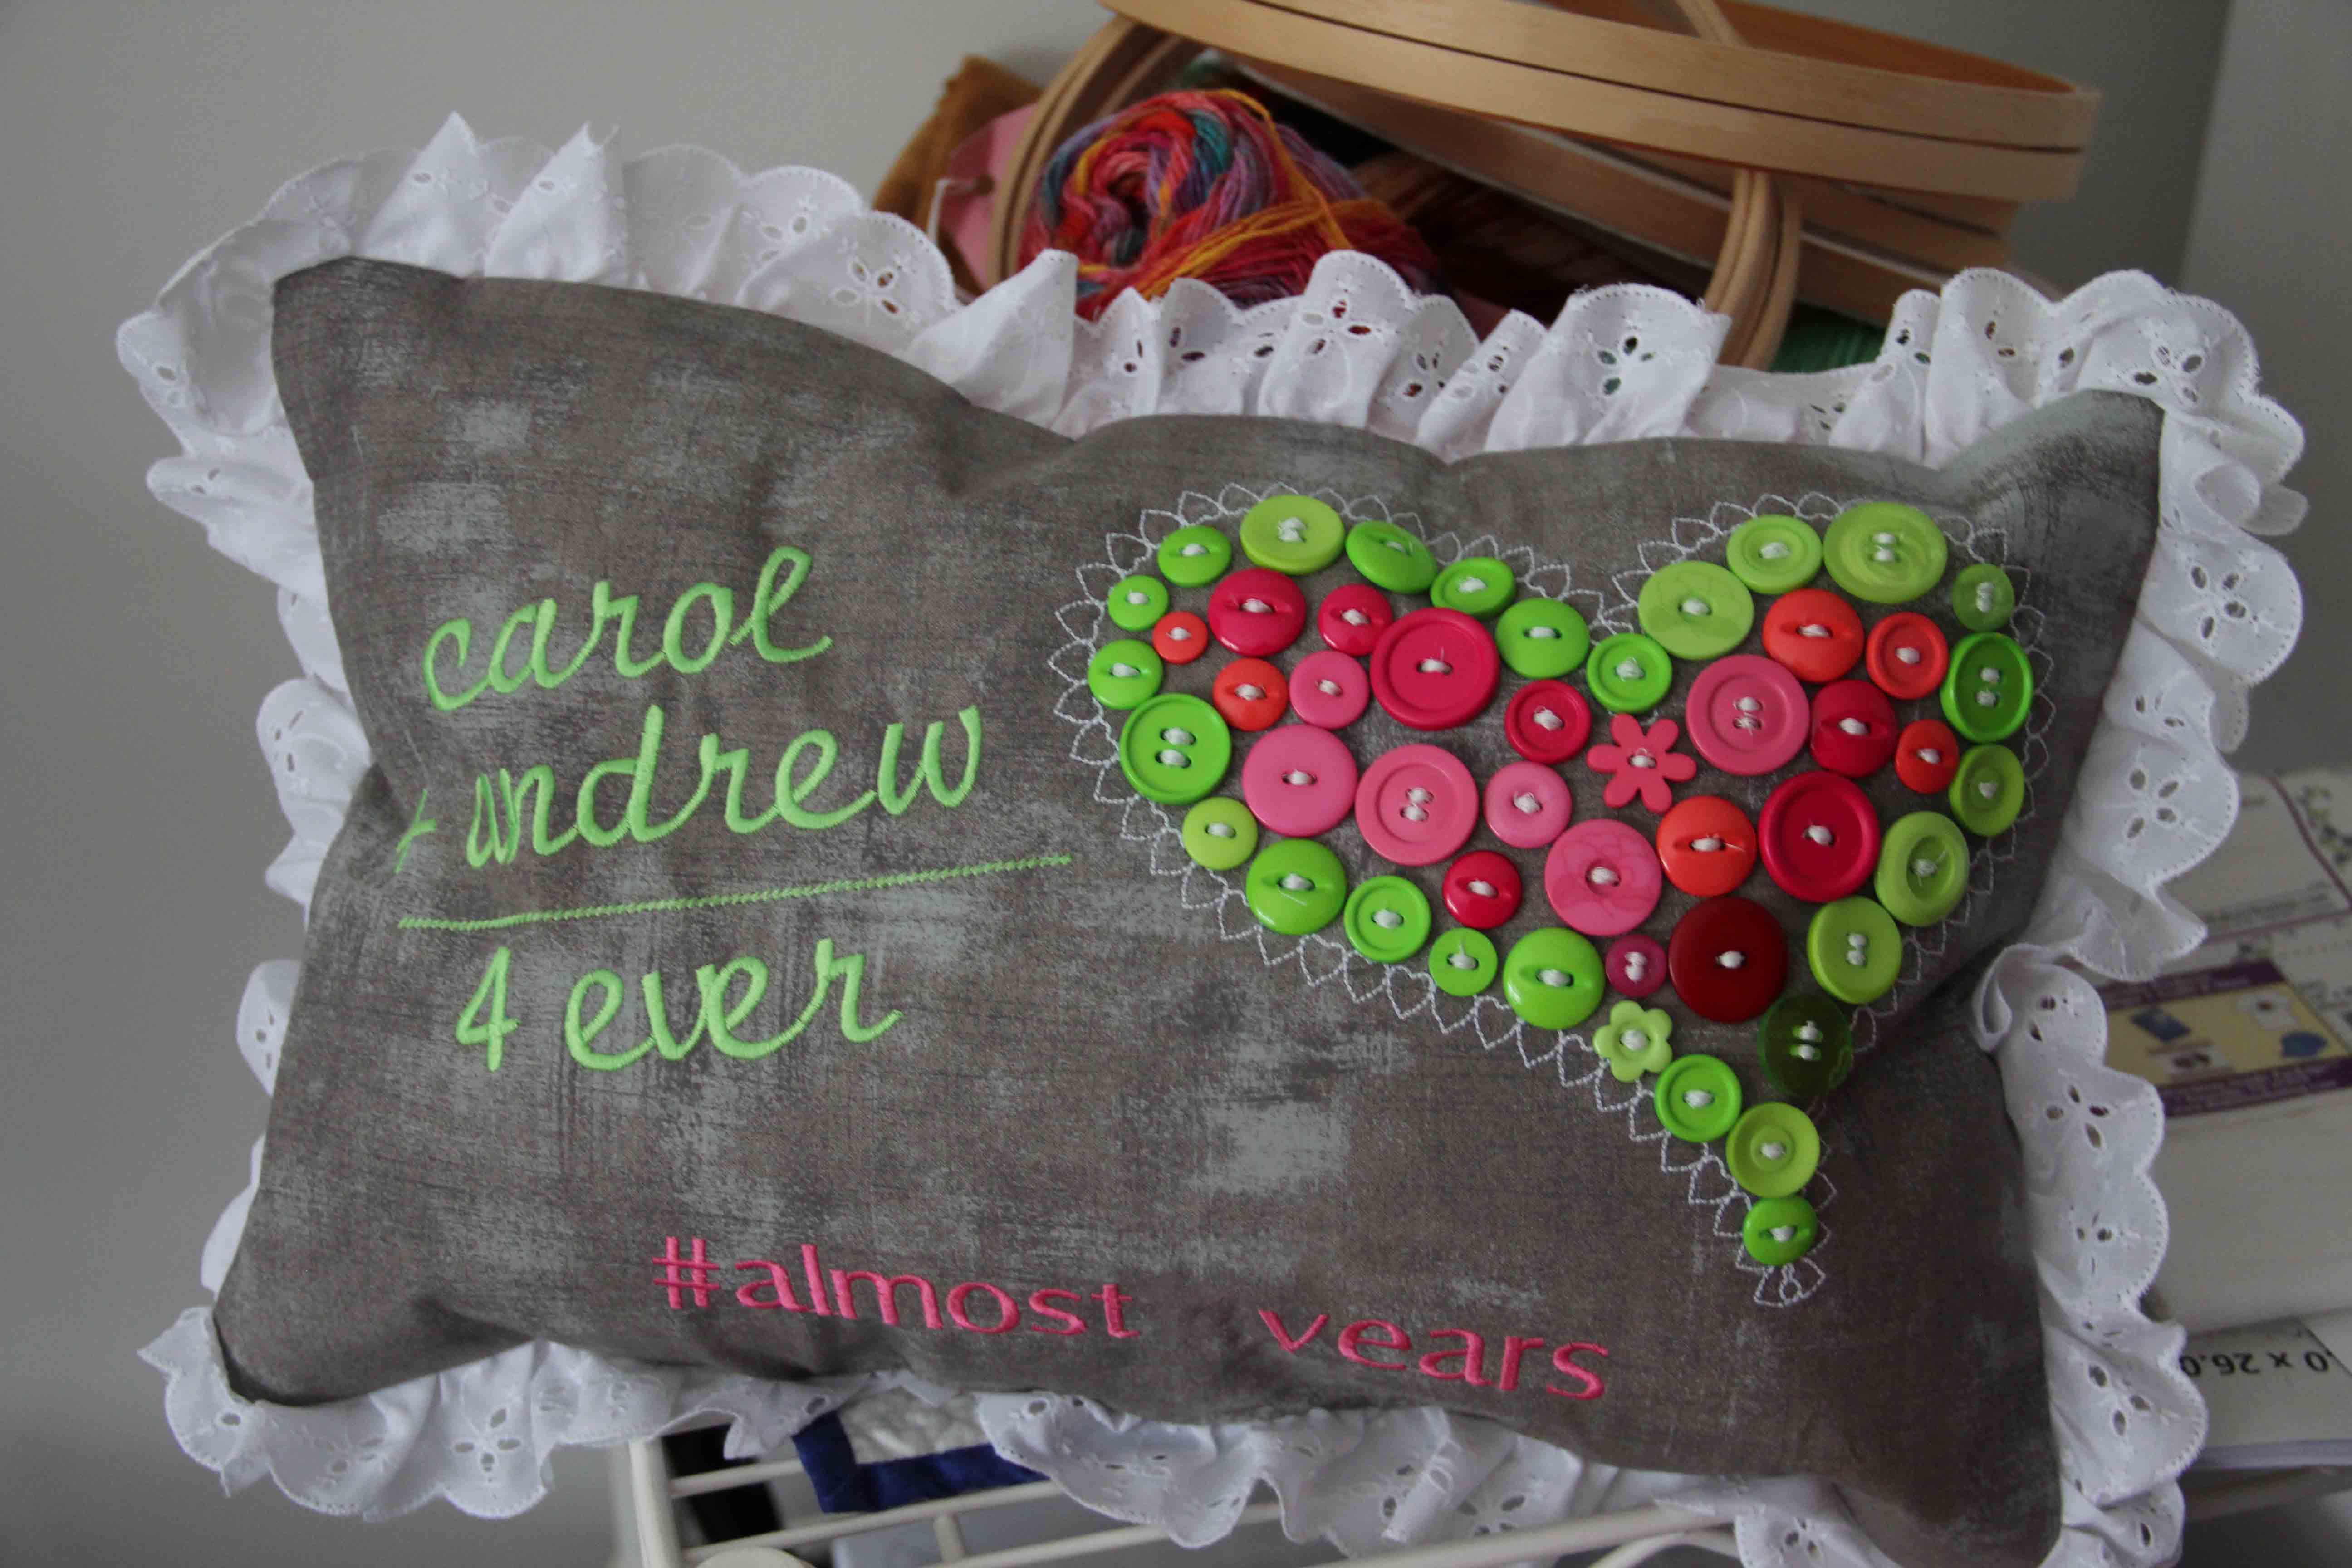
 Every year, I make something silly as a Valentine for my husband. I’m not sure what inspired this project, possibly something on Instagram which I then added to embroidery software and used the supplies I had at home.

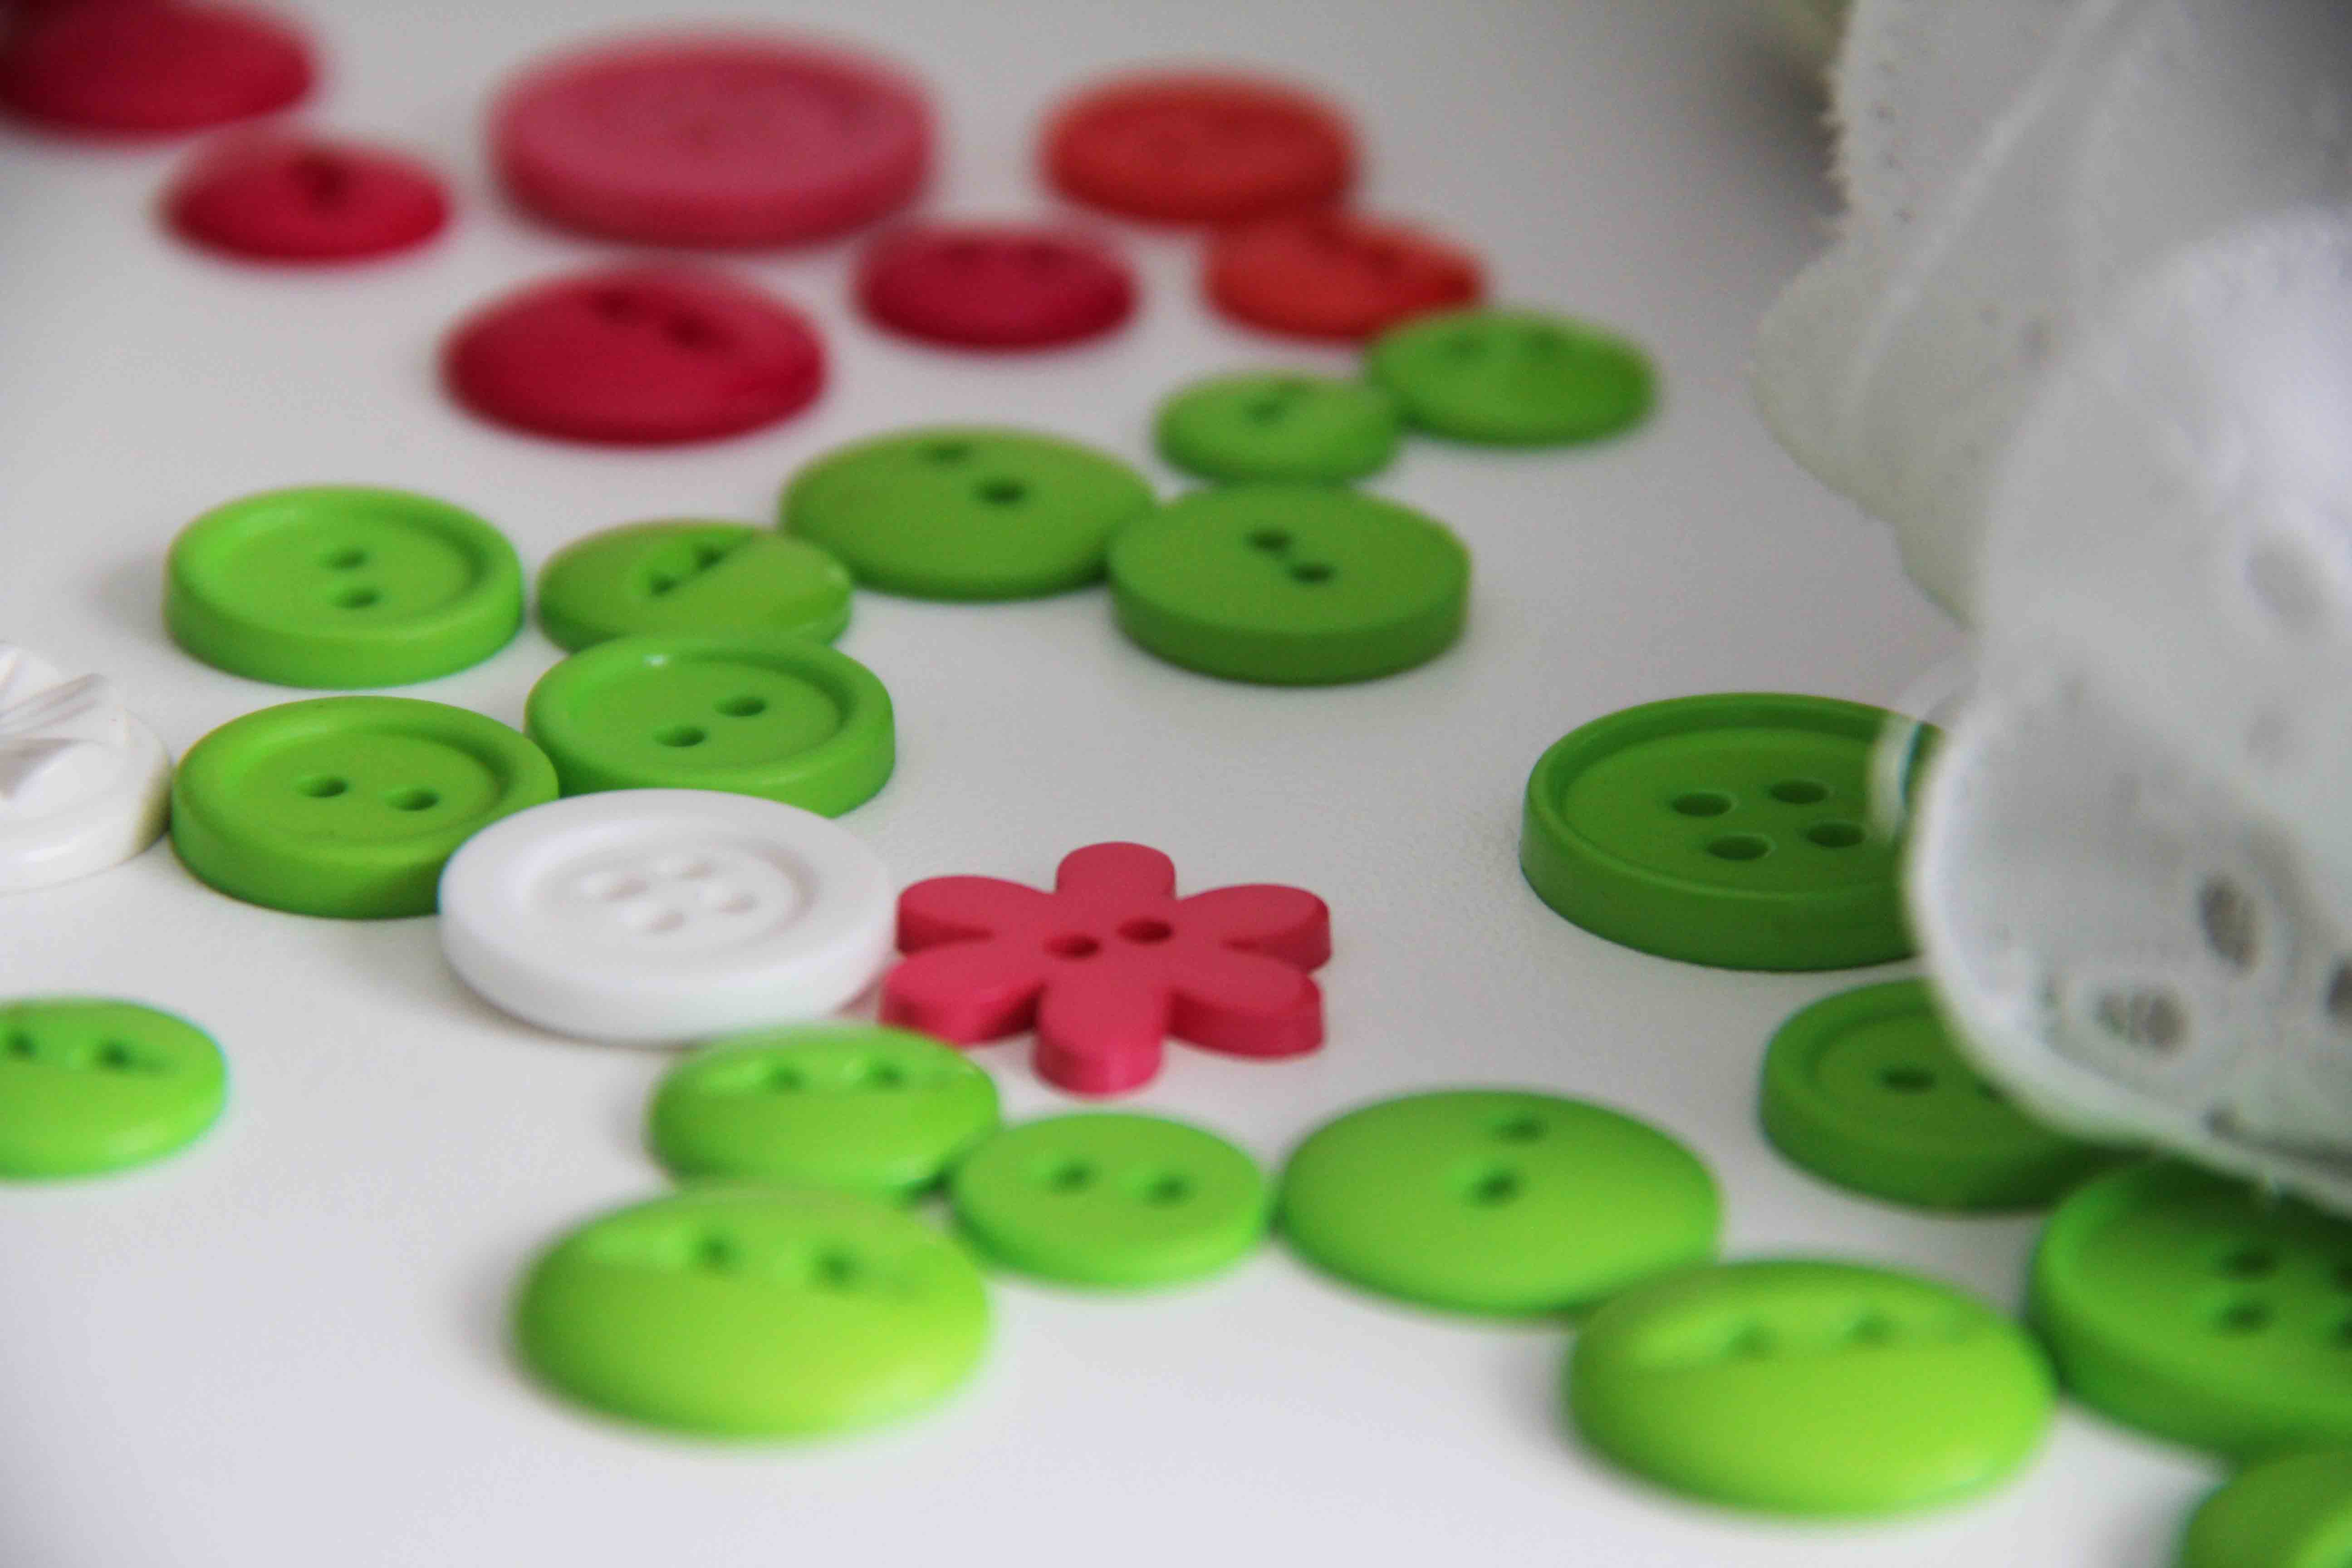
This year the theme was buttons.
The world is exploding with buttons these days. I tend to gravitate toward the antique ones. I’ve been known to hang out in an antique shop and just sort through all their old buttons, searching, searching. When you find the one that’s perfect, it’s a real treasure.

Bernina makes a button sew-on foot that I’ve used many times. The holes on buttons are set a standard distance apart. Therefore a stitch set at the right width will just sew it on, and most Bernina machines have this stitch in the buttonhole section of stitches. However, I’ve taught the use of it to others and, honestly, some people get it immediately and some people just have a harder time, and need more practice.
Here’s a link to the Bernina instructions.
Some tips:
–If you are just learning, choose a medium-sized standard button which is relatively flat. This is the easiest type of button to sew.
–If you have a 7 Series machine with “hover” you may want to turn it off in settings. The button can move around otherwise, and that’s not helpful. Use the freehand system (the knee-lift that lifts the presser foot) so your hands are free to adjust the position of the button.
–You can continue to use the hover if you are good at holding the button in place until the first few stitches are taken.
–ALWAYS run the first few stitches slowly by using the handwheel to check needle placement. I usually use the handwheel until the needle pops over to the second hole to make sure it fits nicely in both holes.
–Run the buttonhole stitch twice per button. The first time never seems to be quite enough for me.
–The screw on the foot allows you to adjust the height of the rubber pad for thicker buttons.
–Smaller buttons, though they may still be standard-sized, often benefit from reducing the stitch width slightly. After you do this enough, you’ll get a feel for the sizing.
Once you get used to using this foot, I promise, you will never want to sew a button on by hand again. If you break a needle or a button (it happens) don’t worry. It’s scary, but don’t be afraid of your machine. I do wear glasses when doing this because you can break a needle doing just about anything on a sewing machine. And I also need to see!
Have fun with this. If at first it seems a little tricky, don’t give up! These feet are engineered to make your life easier. Take advantage of them!