
Do you have someone in your life who loves t-shirts?
I do. My husband is what in the old days, they used to call a curmudgeon. He doesn’t care what he wears, as long as it’s comfortable. Being clean is preferable, holes are optional.
I do a lot of repair work on his stuff.
One day, many years ago, I was at some sort of quilt show and I ran across a t-shirt:
“My wife quilts, therefore I’m broke.”
I bought it for him and he has worn it ever since. In fact, the first time he wore it, he said that women of a certain age were giggling at him. I should mention, he also has a t-shirt that says:
“You read my shirt. That’s enough social interaction for one day.”
And so, we have a sort of running gag. As t-shirts wear out, I am always on the lookout for others that, I don’t know, fit his character. (He has Homer Simpson and the Grinch, if that helps.)
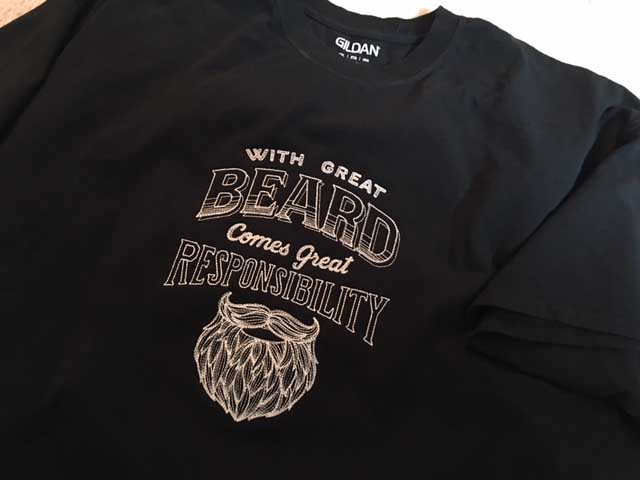
This past week, I found an embroidery design that I thought would be perfect, and decided to add to his collection.
 A couple of tips for embroidering on t-shirts:
- Use a ballpoint needle. You should make an effort to do this any time you sew or embroider on anything stretchy. It really does make a difference. A Microtex or Sharp will cut right through the fibers and it might not happen right away, but after a few washings, you can end up with a hole. Knits don’t like to be cut. A ballpoint needle will move the threads aside as it penetrates.
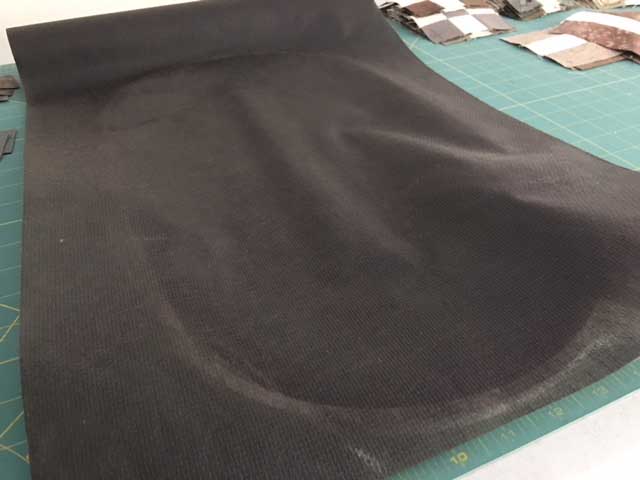
- Use cutaway stabilizer. I had a nice polymesh. But this design, at approximately 8 x 10 inches, had almost 38,000 stitches. That’s not a huge amount, but it’s not low density either. I used two layers of black polymesh cutaway. I just happened to have some black cutaway from a sweatshirt I did awhile back.
 3. Use your ironing board to help you hoop. Just slide the t-shirt over the end of your ironing board as if you were going to iron it. Take your one or two layers of stabilizer and insert them under the shirt, taking care to lay them very flat under the design. I also print out the design so I can get a good look at positioning, and pin it in place. You can then just insert you hoop underneath the layer to be embroidered and place the top part of the hoop on top. Easy.
4. Remember not to pull on this fabric. My experience has been that lots of people love to hoop their fabric and then pull it tight all they way around the hoop. DON’T DO THAT. Especially with knits. You want the design to lay flat after the hoop comes out. Your cutaway stabilizer will help you, but not if the fabric is distorted and stretched when you start. The fabric should be flat, not pulled.
5. Clean and oil your machine before you start, and load a fresh bobbin. This should go without saying before every project, but sometimes it helps to be reminded not to cut corners. Take the time to clean out your machine NOW, make sure all the parts are oiled and the bobbin is full. Why start out with issues? Make your life easy by taking care of any obvious problems before it really gets rockin’.
6. You can use Gentle Touch to fuse to the back of the design when it’s complete, to keep the stabilizer from rubbing against the skin. People use this a lot for baby onesies and kid’s clothes. My husband won’t care.
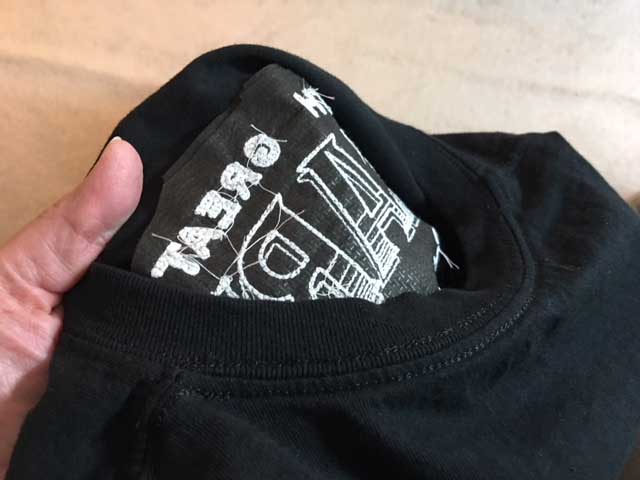
Finally, you can see in this last shot how helpful it is to use a black stabilizer against black fabric. It just keeps everything neat.
 T-shirts like this are very cheap at Michael’s or Wal-Mart. You can also purchase pretty decent t-shirts online, especially if you google “blank t-shirts.”
Maybe you have someone in your life who has great t-shirt “attitude”.
I hope so. It’s entertaining.