Top Ten Holiday Gift Ideas for a Sewist–Even If It’s You

I love a good list. So when I needed some gift ideas, I thought…why not go to my sewing room and share with you some of the tools I use the most?

They are things I probably would not want to live without, and I’m sure each of you would have your own items to add to this list. But I recently came across someone online who was fairly new to sewing and didn’t have any quilt shops nearby. And I thought, well, if someone is new to the hobby, and getting a machine for Christmas, or just is interested in the tools I use non-stop…well, here’s a peek.

Whether you are a beginner or an old pro, I hope you’ll find something to consider.

1 Karen Kay Buckley Scissors

I love these scissors because the finger holes are not small. I have several pairs of the green ones because I keep one pair downstairs for hand sewing, one in a container upstairs for binding, and another near the sewing machine for miscellaneous small tasks.

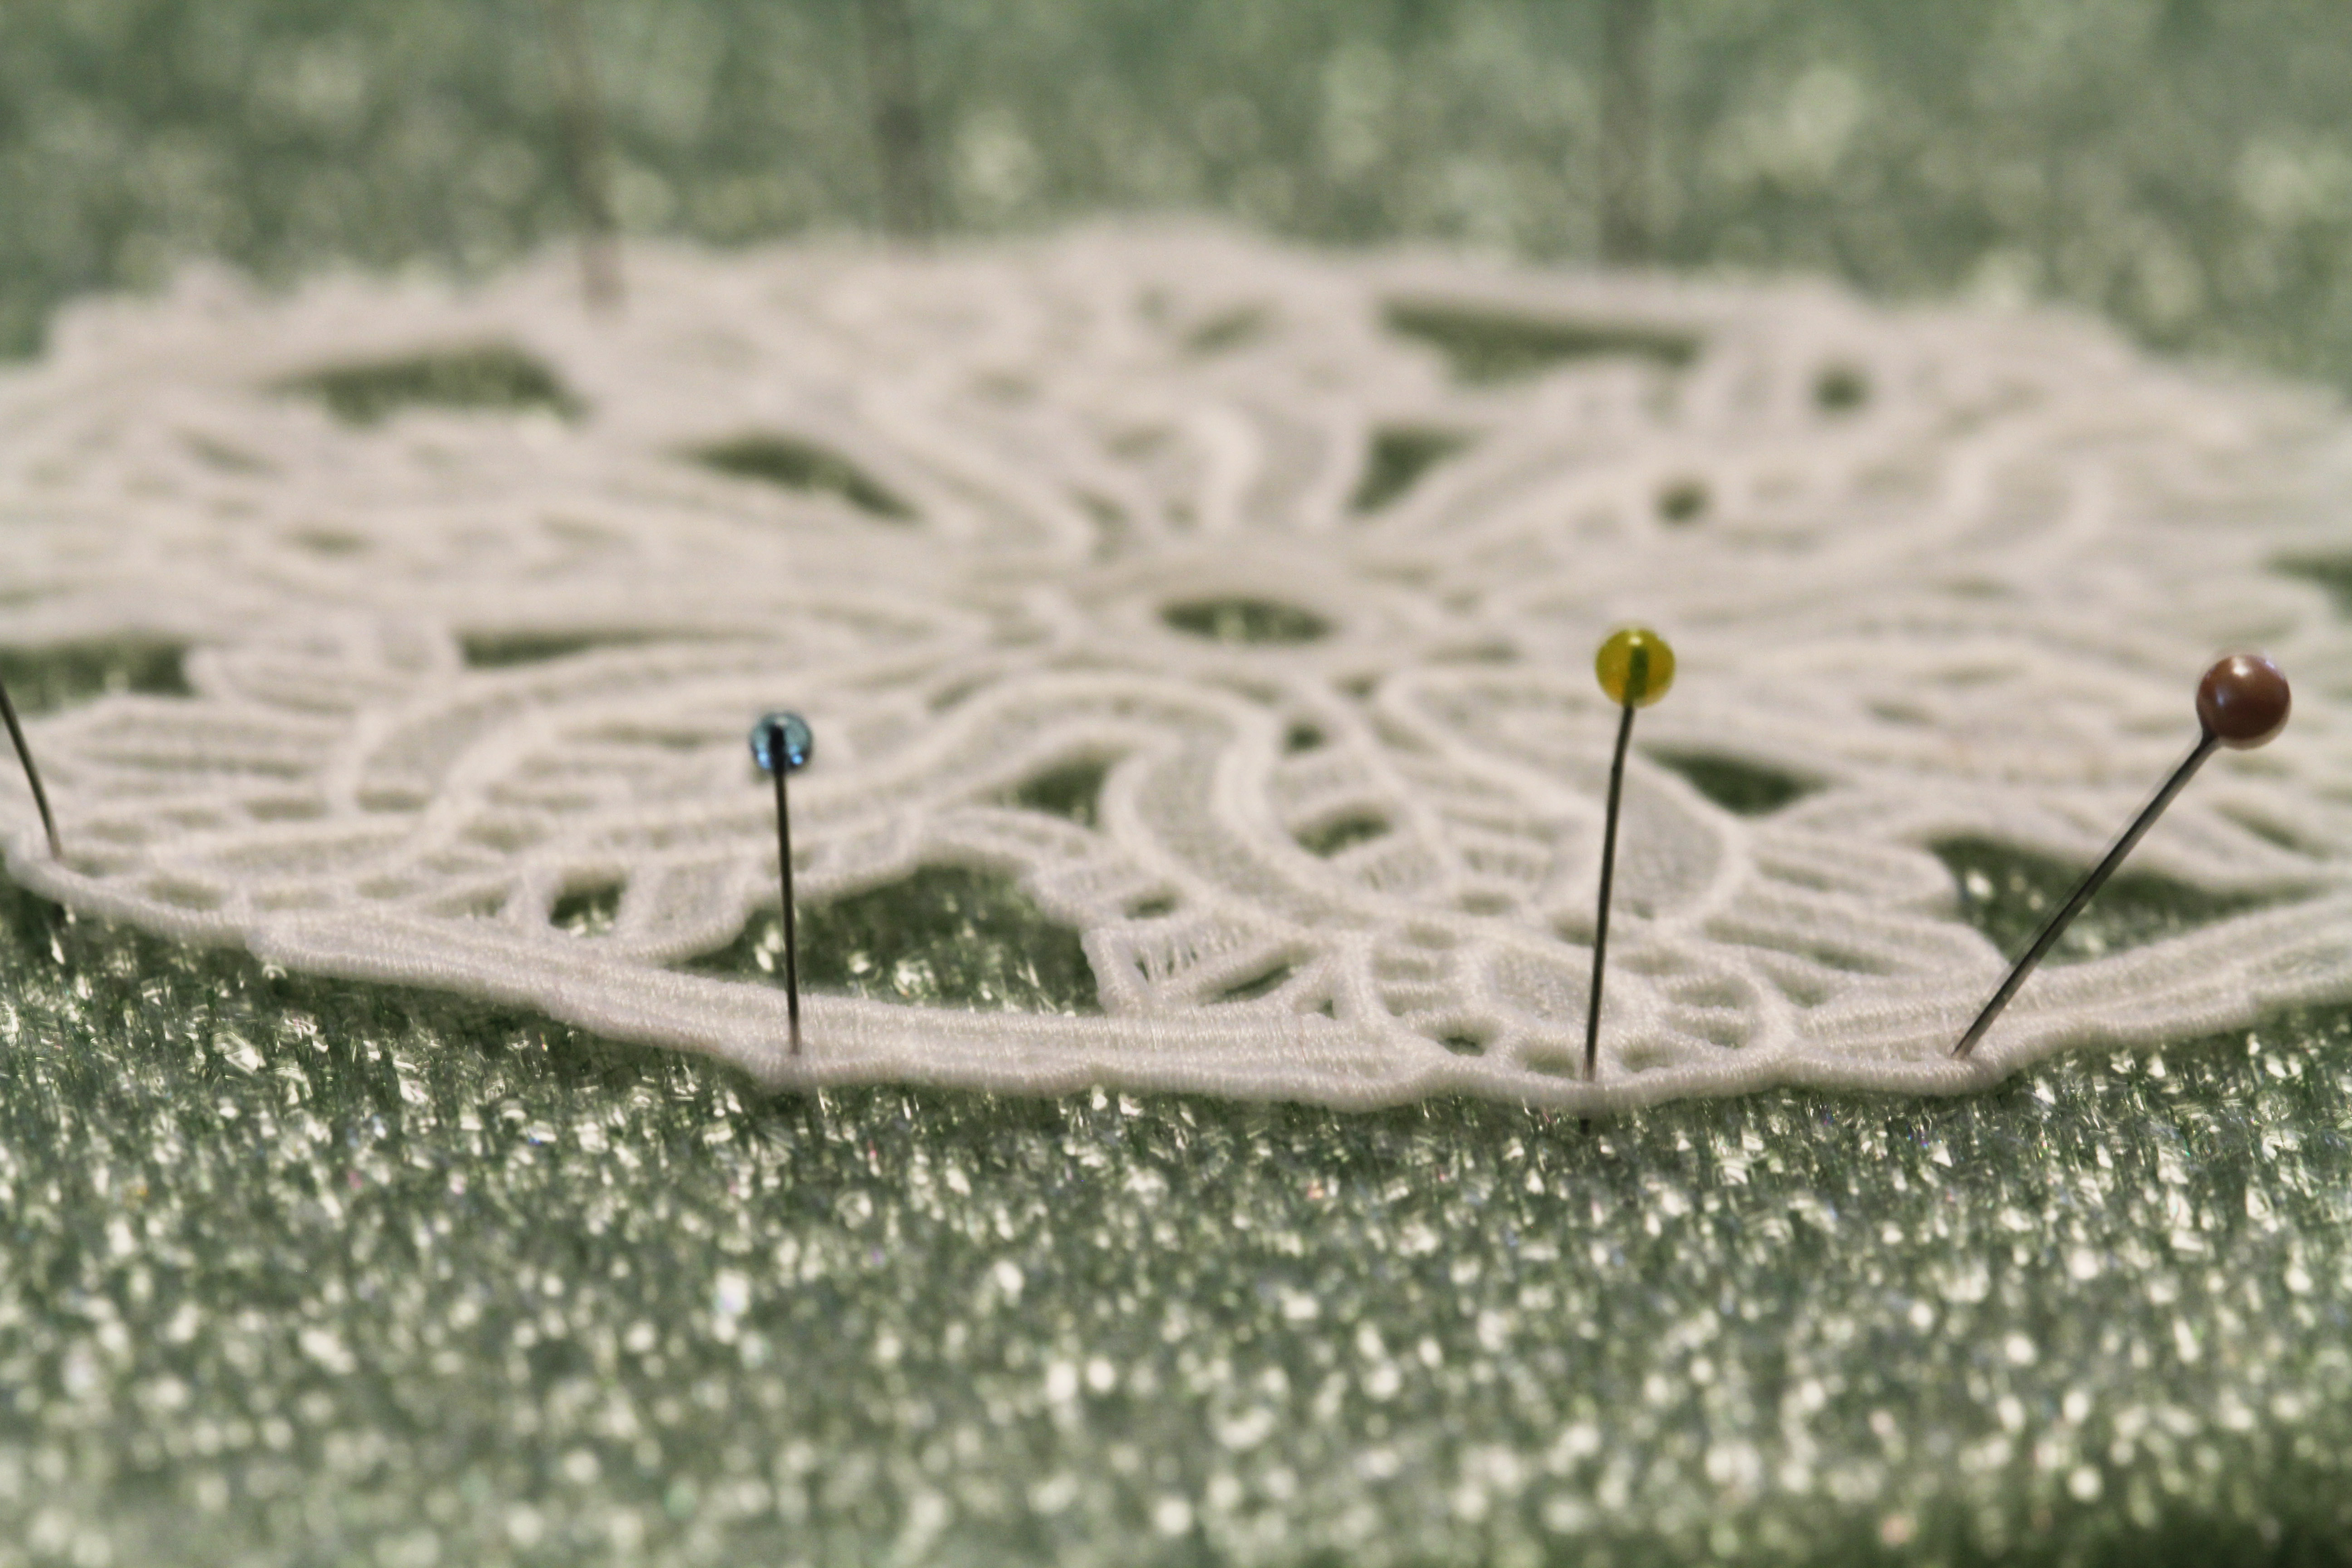
2. Numbered Quilt Pins

I never really thought I’d use these but now I would never assemble a quilt without them. I label rows and point the pin in one direction. That tells me when I go to grab all the pieces for row assembly, which direction to sew. It’s fantastic and I would screw it up every time I turned around with a stack of fabric in my hand, without these pins.

3. Telescoping Magnet

A telescoping magnet is the best tool you never knew you needed in the sewing room. And, what a great stocking stuffer. These are available at most hardware stores and online. I find more pins and screws (because I always have a screw loose) than I ever thought imaginable. And if, like me, you are clumsy and occasionally knock over a box of pins…well. Trust me, you need a good magnet to get into those corners on the floor under the machine.

4. BobbinSaver

Here’s a trendy gadget that I resisted as unnecessary until I was gifted one. And now, I don’t know what I’d do without it. They come in multiple sizes, so be sure to get the right one. My bobbins are larger than standard, so I need the larger size. Comes in regular and jumbo for those Bernina bobbins that are large.

5. Clover Roller

This humble looking little roller can really save some time. This is perfect for tiny piecing, when you don’t really want to run to an iron for every itty bitty seam. It really works.

6. Cast Iron Thread Stand

Sorry for the awkward shot. But when I taught lessons, one of the first things I suggested for someone to purchase after they got a new machine was a cast iron thread holder. Especially if you do any fast sewing like embroidery or machine quilting. I can’t speak to Viking or Brother machines. But on Berninas and many others, the spool cap can catch the thread and break it. I find that this is one of the smoothest thread paths ever, and the thread feeds like a dream.

7. Machine Embroidery Bobbin Thread

Such a simple purchase, but for a machine embroiderer, it’s something you cannot live without. Bobbin thread from OESD. You can use it in your bobbin any time you do machine embroidery. It’s inexpensive and comes on a large spool. You don’t have to use your higher priced embroidery thread in the bobbin. 5500 yards. It comes in black or white.

8. Curved Basting Pins

We can argue about this one. I don’t mind. Everyone has their own process. Obviously, someone with a longarm would not need them. But I quilt on my domestic machine at home. And I hate basting with thread. It just doesn’t work well for me. So I’ve grown to love my curved basting pins. I lay my quilt out across several banquet-sized tables and I don’t have to crawl around the floor. It works for me. So…I never have enough of these.

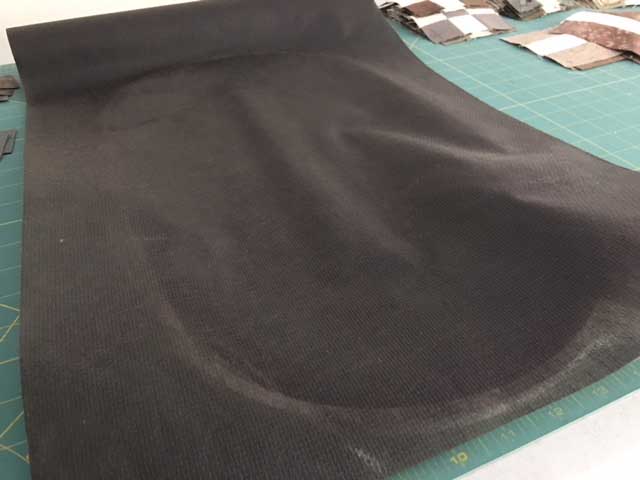
9. Stabilizer Organizer

To the naked eye, this may not look organized. But shockingly, it is a free-form sort of organization. If you are an avid machine-embroiderer, you know that stabilizer accumulates. Often you don’t know what you have, and can never find the right thing when you need it. Believe it or not, this really helps. I tuck the label inside the roll, so I always know what’s there. This particular organizer cam from Nancy’s Notions and is no longer available. BUT. I found another online that I think would be just as great. (In fact, maybe mine needs an upgrade).

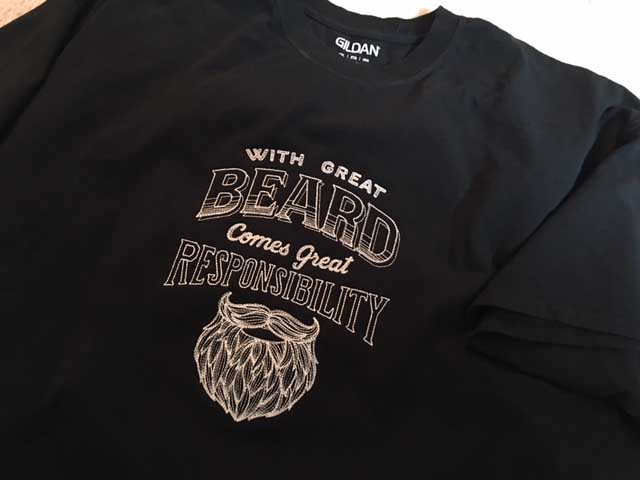
10. Babylock Accolade Serger

Finally, last but not least, you knew I would have a machine recommendation. And I would like to give a shoutout to the Bernina 435 machine which is on sale right now. It’s an excellent machine. But this Babylock Accolade serger has been one of the best investments I’ve ever made. It’s versatile. It has all the normal serger features, plus a wonderful cover stitch and chain stitch. Do not be put off by the list price. No dealer will ever charge that much. But it’s a worthwhile machine. I can make a t-shirt in about 2 hours. I hem shirts and pants professionally. I use it for quilt backs, valances, garment sewing, and 100 other things. You’ll never regret a serger. And you can see the thread dust on mine, as I often also use it to finish quilt fabric before I wash it. (I tend to wash quilt fabric before using it because I don’t like to handle the finishing chemicals) All in all a great sewing room tool and gift idea.

I hope there’s a little bit of sewing in your holidays and that you get everything your heart desires under the tree or however you celebrate the season. Remember that sewing is not just a hobby. It’s a way of life for some of us. We think in terms of this project and the next. And the next and the next after that.

May you find a way to share your love of sewing…with the next generation, with a friend, or in gifting someone with a product made by hand. That’s what the season is really about.

Merry Sewing!

This Blog Is Written By A Human. Or Is It?

So I’ll make a promise to you. I will not use ChatGPT to create content for this blog. However, I will leverage it for the sake of some fun and to prove a point.

Do you know what ChatGPT is? It’s an AI based program that generates content. And it is really pretty good at it.

The first thing I asked it is “what is machine embroidery”? And I got a very standard answer similar to what you would get from google or wikipedia.

But then of course I said, “what is machine embroidery in haiku?”

Needle swift, flows thread.

Colors blend, fabric comes alive.

Art of machine craft.

–ChatGPT

Not bad right? So then OF COURSE, I asked “what is machine embroider in limerick?”

There once was a machine named Sue,

That could stitch designs anew.

With its precise moves

It always improves,

Making embroidery look new!

–ChatGPT

By then I was on a roll and proceeded to ask it why I’m gaining weight, to compare and contrast Jesus and superman, how will humanity end, could it create a fake language that looks like English, and could it write a Python program that returns the largest odd number from a list. (By this time my husband had joined in, and the answer is yes, it can. And it did.)

But it refused to give me its personal opinion on anything, telling me that it is just a computer program.

With that out of the way, I started to think about how it might actually be useful. So my next question was “Discuss the pros and cons of organic cotton.”

And here I was surprised by how accurate and informative the answer was:

What was exciting to me is that this time, it DID draw a conclusion. Organic cotton is a more sustainable and environmentally friendly alternative to conventional cotton. But it’s sometimes hard to get.

Well, let me tell you: that might not be exactly the way I’d say it, but it sure is accurate. And do you really need my particular voice on my blog? Well guess what. The next generations of this thing are already developed.

With enough input (say 10 years of blog posts) an AI program can start creating content that sounds like me. It can pick up patterns and ways of phrasing and imitation WAAAAY better than any human can (maybe even me.) And it will be able to write in my voice.

And ChatGPT is already in beta stage with a program that has a sense of humor. Don’t ask me how that gets developed. I barely understand how humans develop a sense of humor.

So while I can promise you that I will always write this blog, I cannot promise that I won’t dabble in new technology or ideas or fun. But I will always credit the author…even if it’s some faceless program. But I have no incentive to cheat or fool anyone. Others do. (Teachers, my heart goes out to you).

And other media? Good luck folks.

Be careful out there…things are gonna get weird really fast.

Kraft-Tex Christmas Village

So here’s a very easy use of Kraft-Tex and machine embroidery to create a charming village.

I re-upped this border design which I used on my last quilt project. Some simple white Kraft-Tex and an exacto knife, and I trimmed the whole thing.

I attached it with crazy glue to a 1 x 1 block painted white. Honestly, the simplest of ideas. And yet, it’s really effective. For anyone who’s not familiar with Kraft-tex, it’s a tough, durable leather-like textile. It withstands a lot. It won’t rip. It’s washable, if that’s what you want to do.

But I just used a sticky-back tearaway stabilizer (Stabilstick) with a piece of the white Kraft-Tex on top. This particular design is ideal for this application. It’s not stitch heavy, but enough to hold its visibility.

I created three of these village scenes, added some fairy lights, with a backdrop of a white birch, which I already owned.

A bit of white filler which I found in the basement (for making stuffed shapes, pillows, etc.)

And when I was done, I had a charming village which would look lovely on a mantle. I have it on a book shelf in our hallway.

It took very little time to create this scenario, and of course, I wished there had been a series of these borders with other shops and scenes all in the same profile. But this worked out on its own.

I hope your holidays are peaceful and calm. May you enjoy your craft and create beautiful things. Happy Stitching!

Why We Sew and Embroider

On inauguration night Dr. Jill Biden wore an amazing ensemble of embroidered flowers from all 50 states and the territories.

All I saw on Inauguration night was a lovely white coat.

Then Threads Magazine posted something about the details.

I have to share this with all of you.

Here’s a link to all the gorgeous details of her dress and coat, including the muslin.

Be sure to scroll to the video at the bottom and scroll within it, to see all the stages and the making of the coat and dress. What a stunner. Yup, this is why we sew and embroider.

It’s my goal to be able to make a coat like that. Perfection.

Machine Embroidery by the Book

Through the years, I’ve come across a lot of machine embroidery books. Most of the time, I find they are complex, stuck in the weeds, focused on things that are not important, or are just plain hard to get through.

But this new book from Bernina really works. Because it is written and edited by Bernina educators, I thought it might simply be a hard sell for Bernina products. And make no mistake, it has no shortage of Bernina machine specifics.

However, it really gives a good breakdown of everything you need to know about machine embroidery, including tips and tricks that make life easier.

The images, graphics, tables and info in this book are all really easy to read. And the spiral binding is helpful. Nothing worse than anything step-by-step that won’t stay open.

Don’t get me wrong.

Wherever you purchase your machine, you should be sure to take the free classes they offer so you become comfortable with your machine (and all good dealers do that.). I don’t care how many books you read, you will not learn to hoop your fabric properly by reading. You can only learn that by doing.

When I teach classes, I tell my students that there are 3 variables in embroidery:

  1. Stabilizer.
  2. Your fabric.
  3. The density and size of the design

Any of these could and should change based on the others.

The book addresses all of these right up front. But more than that, it gets into techniques, and stitching on different types of fabric. Want to learn about minkee? It’s in there. In-the-hoop projects? Free-standing lace? No problem.

I’ve done all of these things, so I read with a critical eye. And I have to admit, all the categories are thorough and succinct.

Here’s a link to many of the techniques I have written about.

Will you read the book and be an expert? No. I tell my students that they will only become experts after making their own mistakes. No book can tell you what to do when your machine is acting up. Or if your thread is breaking or you haven’t cleaned your machine in awhile. These things come from experience and the only way to get that is to stitch.

But I’m putting this one on my top shelf and keeping it handy. It’s new this summer and is available anywhere Bernina machines are sold. It’s a solid resource for any machine embroiderer.

In-The-Hoop Easter Machine Embroidery

I know I’m getting ahead of the game, thinking about Easter. But I felt like I needed a bit of Easter cheer early on, so these are what I found.

Do you have an embroidery unit you haven’t taken out of the box? (You know who you are, my friends.) This is about as simple a project as you can imagine.

Go to embroideryonline.com and search for “in the hoop”. Just download them onto a USB stick.

Prepare some fabric…you only really need scraps. And find some scrap batting. You know, the stuff you cut off around the edges of your last quilt.

Tip: After cutting small amounts of batting on your cutting mat, use a lint remover to clean up the batting.

Here’s the trickiest part. You need a nylon zipper. At least 7 inches. These are unbelievably common in the sewing world. Anything over 7 inches will work.

I used 14 in. zippers because that’s what I had on hand. Here’s a source that your local quilt shop may have even used: atkinsondesigns.com

And here’s a bonus. If you purchase her zipper pulls, you can easily change the color of the pull. Here’s instructions on how to do that. Your life will never be the same.

Back to the Easter egg pouches. I’m sure they come with instructions but I never read them. (Surprise, surprise.) Take some scraps of batting, approx, 6 inches x 6 inches, along with some scraps of fabric, about 6 inches x 12 inches. You’ll need 2 of the smaller size for the top and bottom half of your egg, a larger quilt sandwich for the backing/lining.

Wrap the smaller size fabric around the batting, so you have a straight edge to lay against the fold.

As you can see here, I didn’t even cut my scraps with any precision, as they will be completely trimmed away. You are just making sure that the batting is covered front and back. The fabric shown is Modern Quilt Studio’s Dot Crazy. I love this because it has fabric with a line of larger dots through the center…no piecing necessary.

Hoop your large oval or any 5 x 7 or larger hoop with sticky back tearaway stabilizer. I used OESD Stabilstick tearaway.

The design will walk you through all the steps on your machine. The first stitch out will be the placement line for the zip, which stitches directly onto the stabilizer.

Then stitch down lines on the zipper, then you lay down the top part of the egg with the fold right up to the zipper. The design will then stitch across the top fabric on the zipper. The goal is to make sure you have enough fabric wrapped around the batting to cover both sides of the egg.

Next, it will stitch the top half of the egg down.

Then lay your bottom fabric with the fold up against the zipper, as you did with the top. The next stitch will secure the bottom fabric to the zipper, and the stitch after that will secure the bottom half of the egg.

Move your zipper pull to the middle of the design!

This will allow you to turn the pouch inside out once it has been stitched. Now, you can also add a ribbon or handle at the top before the backing/lining is stitched down. (As I did). Add a quilt sandwich with the backing and lining down on top.

The final stitch is a zigzag to secure the seams.

This entire stitch out is a total of 6 minutes–almost as long as it take to read this blog post. These are easy and really quick, using fabric and scraps you likely have lying around.

When you take it out of the hoop, trim close to the stitching. Remove the stabilizer from around the zipper, and then open the zipper as far as you can. This will help when you turn the bag inside out. Remove as much of the stabilizer on the rest of the bag as possible. You should only see a bit of stabilizer around the outside seam, and a tiny bit where the zipper is attached. Everything else can be removed. Turn your little egg inside out and press.

Use your egg pockets as decorations or gifts–a great gift card holder or candy pouch!

Now reward yourself with fine chocolate.

Valentine’s Day is coming after all.

Sewing Through the Midwestern Blizzard

#SNOWVEMBER, is what I’m told.

Actually, it’s just raining. but they say the snow is coming…and plenty of it. I am skeptical, but that’s nothing new.

These little ornaments on the tree are made from Kraft Tex. (See my previous post for more details.) I think they turned out cute, and I am anxious to try stitching them out on fabric and turning them into little stuffed ornaments. I think that would be adorable. These have designs on both sides, because I just wanted some flexibility. I’ll need to make some minor adjustments to the software file I use to stitch out the designs on fabric. On the new ones, I’ll add a seam around the outside, leaving an opening to turn them. Then it will be just a matter of stuffing them.  I’ll share when I start that.

But for this task, I wanted to show you the greatest little tool I got at the shop as it was closing. I didn’t think I’d ever need it, didn’t really have any idea why I might use it, but of course I purchased it anyway.

And it sat in my sewing room for over a year.

(Incidentally, as we speak, the rain has turned to snow out my window. Maybe they are not all liars after all.)

It’s called a Circle Rotary Cutter from Olfa. I finally decided to try it out for this project and I am in love with it. I guess I just didn’t know how desperately I needed to cut accurate circles. It has a ruler attached so you can set the radius. You basically use it like a compass, with the sharp point in the center, and a blade instead of a pencil at the end. Suddenly I am imagining all the wool projects I’d like to invent using circles, as well as paper, Kraft Tex, felt, and basically anything a rotary cutter will go through.

In minutes I had beautiful, ACCURATE circles. Do not discount the significance of getting a circle perfectly round.

I am off now, to work on a quick quilt that I must finish before the holidays. We all have those last minute projects. For those of you in the Midwest, Happy Blizzard-Sewing!

FreeStanding Lace Embroidery

It’s been awhile since I’ve done any freestanding lace. A friend recently gave me a few spools of white Isacord thread and so what else would I do with it?

I immediately purchased a few designs from OESD. Collection 12724 was perfect for what I had in mind.

When you are working on freestanding lace, you’ll want to use 2 layers of wash-away stabilizer.  I used AquaMesh from OESD. Not to be confused with Aquamesh PLUS, which is also a wash-away stabilizer, but has paper, almost like contact paper on one side, so the stabilizer is sticky.  You’d use that on towels or something where you want the stabilizer to disappear, but don’t want to hoop your fabric.

A quick look at the machine in action:

Now comes the finished product.

Once the design is complete, remove it from the hoop, trim away as much excess stabilizer as possible, then rinse it in warm water until the stabilizer has dissolved.

Next, pin it down to a piece of styrofoam or floral foam.  Cardboard will work as well, but it will get a little soggy. I invested in this piece of styrofoam years ago in the floral department of a Michael’s, JoAnn’s or Hobby Lobby. I don’t remember where. The point is that it will last for years.

When you pin, feel free to use all those pins that are bent or just not perfect for quilting or intricate sewing. These pins don’t matter much, they just have to hold the design in place. It WILL curl and stick up in strange places if you skip this step. Overnight is usually the perfect amount of time for a design to dry completely.

machine embroideryIt’s a perfect accent to a delicate teacup or a small jewel box.

I have been working on a larger project and I planned it out in Bernina Software 8. It requires a few of the pieces repeated and arranged and sewn together. I don’t know how it will look when it’s done, but I’m envisioning that it will make a nice centerpiece on a round table with a festive color underneath. It’s about 18 inches across. (It’s over half a million stitches, so…yeah, we’ll see.)

Freestanding lace, Bernina Software 8

For some of my previous postings on freestanding lace, you can click here.

And here.

My Wife Quilts…Tips on Embroidering on T-Shirts

Do you have someone in your life who loves t-shirts?

I do.  My husband is what in the old days, they used to call a curmudgeon. He doesn’t care what he wears, as long as it’s comfortable.  Being clean is preferable, holes are optional.

I do a lot of repair work on his stuff.

One day, many years ago, I was at some sort of quilt show and I ran across a t-shirt:

“My wife quilts, therefore I’m broke.”

I bought it for him and he has worn it ever since.  In fact, the first time he wore it, he said that women of a certain age were giggling at him. I should mention,  he also has a t-shirt that says:

“You read my shirt.  That’s enough social interaction for one day.”

And so, we have a sort of running gag.  As t-shirts wear out, I am always on the lookout for others that, I don’t know, fit his character. (He has Homer Simpson and the Grinch, if that helps.)

This past week, I found an embroidery design that I thought would be perfect, and decided to add to his collection.

A couple of tips for embroidering on t-shirts:

  1. Use a ballpoint needle. You should make an effort to do this any time you sew or embroider on anything stretchy.  It really does make a difference.  A Microtex or Sharp will cut right through the fibers and it might not happen right away, but after a few washings, you can end up with a hole.  Knits don’t like to be cut. A ballpoint needle will move the threads aside as it penetrates.
  2. Use cutaway stabilizer.  I had a nice polymesh.  But this design, at approximately 8 x 10 inches, had almost 38,000 stitches.  That’s not a huge amount, but it’s not low density either. I used two layers of black polymesh cutaway.  I just happened to have some black cutaway from a sweatshirt I did awhile back.

3.  Use your ironing board to help you hoop.  Just slide the t-shirt over the end of your ironing board as if you were going to iron it. Take your one or two layers of stabilizer and insert them under the shirt, taking care to lay them very flat under the design.  I also print out the design so I can get a good look at positioning, and pin it in place. You can then just insert you hoop underneath the layer to be embroidered and place the top part of the hoop on top. Easy.


4.  Remember not to pull on this fabric.  My experience has been that lots of people love to hoop their fabric and then pull it tight all they way around the hoop. DON’T DO THAT. Especially with knits. You want the design to lay flat after the hoop comes out.  Your cutaway stabilizer will help you, but not if the fabric is distorted and stretched when you start. The fabric should be flat, not pulled.

5. Clean and oil your machine before you start, and load a fresh bobbin.  This should go without saying before every project, but sometimes it helps to be reminded not to cut corners.  Take the time to clean out your machine NOW, make sure all the parts are oiled and the bobbin is full.  Why start out with issues?  Make your life easy by taking care of any obvious problems before it really gets rockin’.

6. You can use Gentle Touch to fuse to the back of the design when it’s complete, to keep the stabilizer from rubbing against the skin.  People use this a lot for baby onesies and kid’s clothes.  My husband won’t care.

Finally, you can see in this last shot how helpful it is to use a black stabilizer against black fabric.  It just keeps everything neat.

T-shirts like this are very cheap at Michael’s or Wal-Mart.  You can also purchase pretty decent t-shirts online, especially if you google “blank t-shirts.”

Maybe you have someone in your life who has great t-shirt “attitude”.

I hope so.  It’s entertaining.

Hello Sunshine! Machine Embroidery for the Season

I wanted something cheery for my basement door, and finally took down all the “Rules of the House” in pictorial form.  If my 15-year-old doesn’t know the rules of the house by now, like brushing your teeth, not jumping on the sofa, not throwing superballs, we have truly failed as parents.

Anyway, I had a nice blank door that was screaming for something to hang on it.

A while back I found these embroidery designs from Kimberbell, part of the “Hello Sunshine” quilt collection.

I wasn’t sure what I wanted to do, and didn’t really want to purchase any fabric

I had a teensy memo notebook on my desk and scribbled out a few ideas.  I printed out the embroidery designs and laid them out on some linen fabric I already owned  It was an awkward amount…not really enough for a quilt but enough for a decent wall hanging.

On the last bicycle, my machine locked up and I had to bring it into the dealer for a cleaning and tune up.

My machine is now running smooth as silk and I was able to complete the design.

I wanted something simple and cheerful.

I love these bikes as they remind me of the possibilities of the summer season.

It also gives me an excuse to create something in machine embroidery for that spot every season.

Ready for fall leaves and holiday yet?