
These are two VERY simple procedures in Bernina Embroidery Software 7. I am not going into any real details because any software owner should have classes available to them. However, if you need a quick refresher or some basic help on getting started, this will get you there.
Autodigitizing a Bitmap:
Open your software to a new file, click “insert artwork” up at the top. Navigate to your c: drive and find the “Embroidery Software 7” folder. Double click to open all the design folders. Double click on the “artwork” folder.
 Next find the butterfly, and click open to bring the bitmap into the software. All the designs in the folder entitled “artwork” are bitmaps and can be loaded the same way.
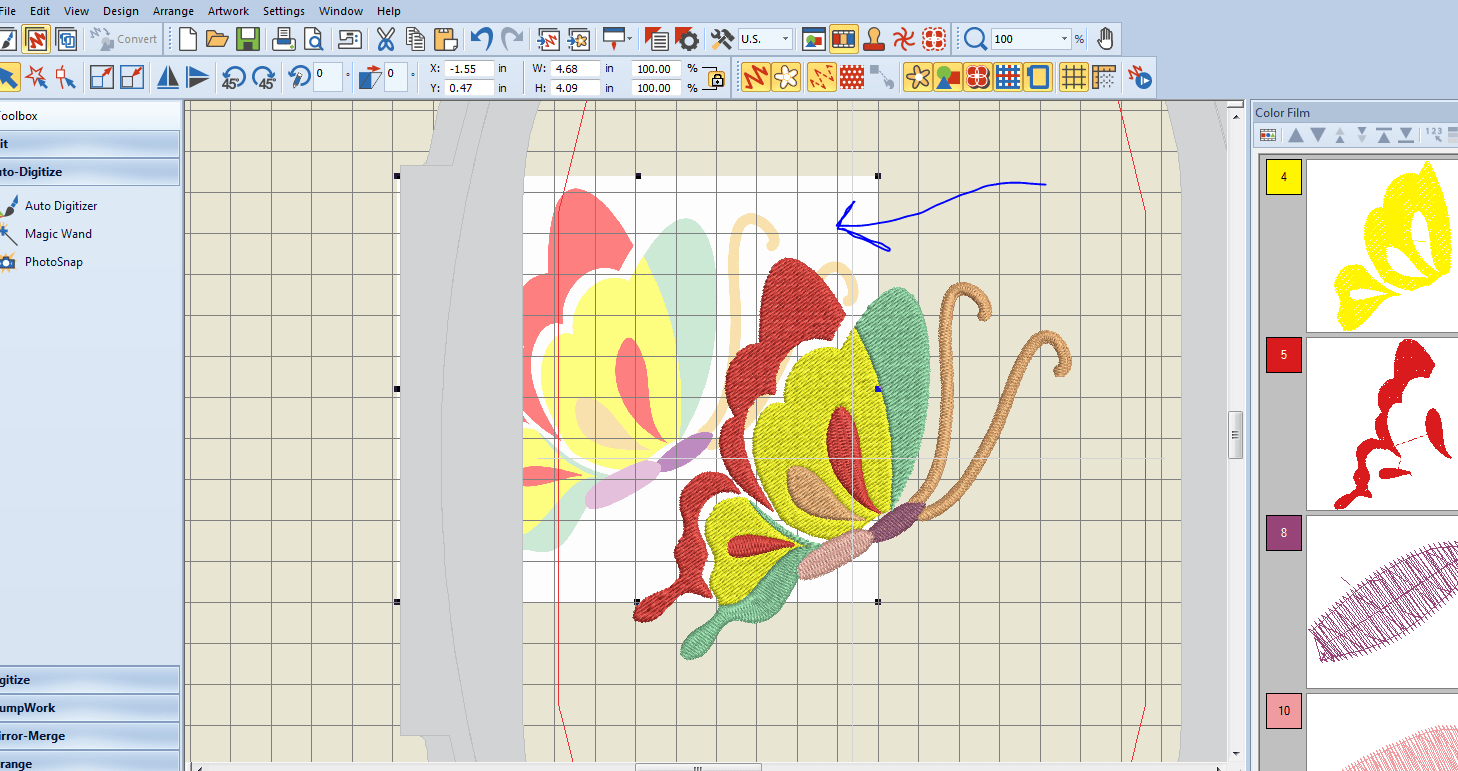
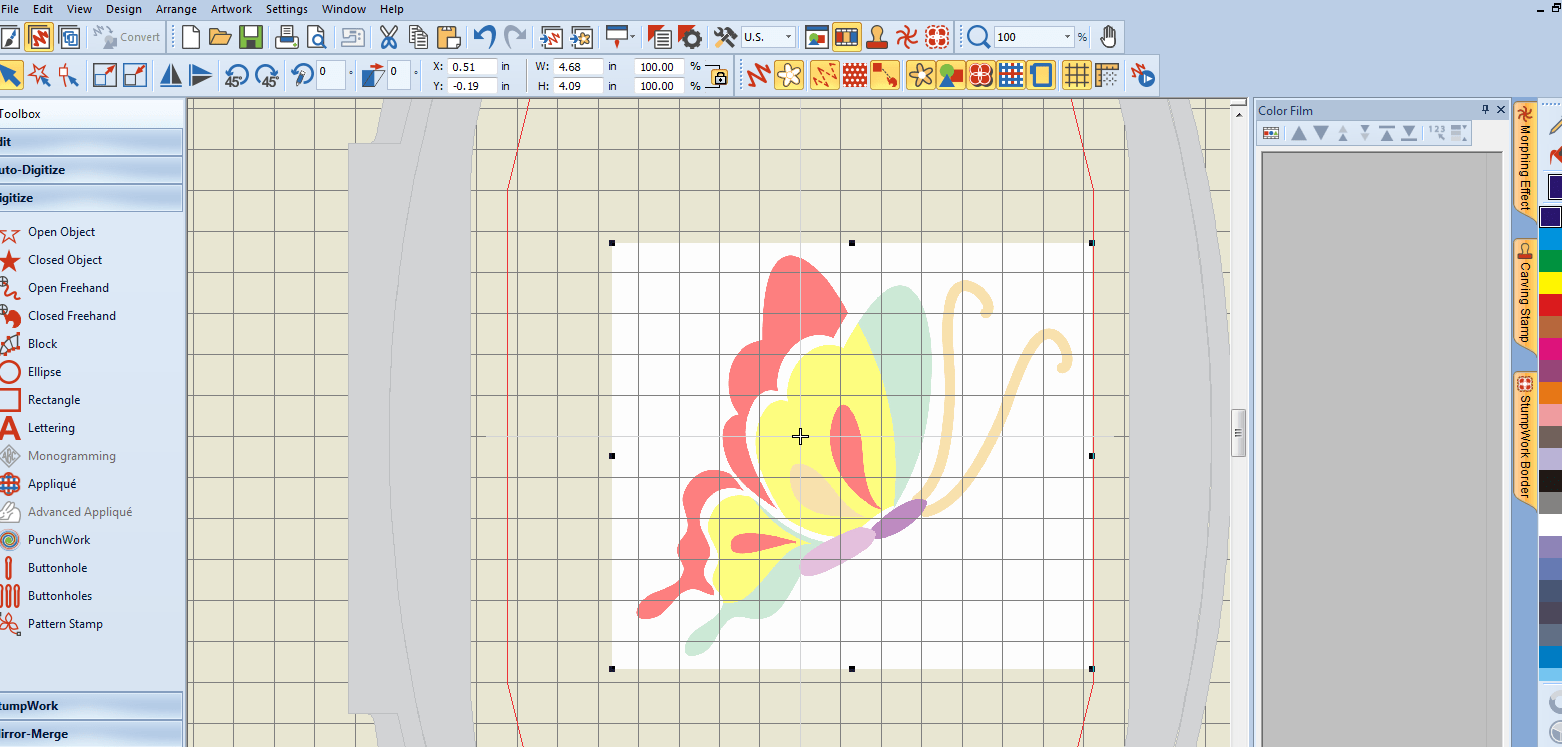 De-select the artwork by clicking outside of it. Then go over to the left side of the screen under the heading “autodigitize’ and click on “autodigitizer”. Then click on the image. So many people forget that step and then get lost. Once you click on the image, you’ll see a dialog box confirming the number of colors. Click OK. Next a dialog box will appear that allows you to omit some of the colors. Since you almost always want to eliminate the white background, click “omitted colors”, then click the white box. Click “OK ” and the butterfly will become stitches. It’s that easy. Now, obviously, you can make changes to the design and edit it an infinite number of ways. But before you send it to the machine, be sure to click on the image in the background and delete it.
 Digitizing a vector:
Vectors should almost always be brought into the software using “Artwork Canvas”. But before we get too far, be sure to move your Corel Clipart into your Embroidery Software 7 folder so you’ll have access to it. The clipart folder contains only vectors, so it’s a great resource for artwork.
(Here’s how to move it: Go to your “start” menu under “All programs”, find Corel Essentials 6. Click ONCE. You will see a folder called “content”. Click ONCE. Then right click on the “clipart” folder and hit copy. Navigate to your c: drive and find the embroidery software 7 folder. Click TWICE to open it. Find a blank area and right click, then click “paste”. The clipart folder should now appear with all your other design folders. By the way, the Mastery Book for Software 7 has all these instructions.)
Back to vectors. Open a new file in Software 7. Click on the “artwork canvas” icon to get into the Corel part of the software. This may take a few seconds the first time you go into artwork canvas. It’s a big program. When it’s open, click the “load artwork” icon, shaped like a flower, usually the first icon on the left. You’ll get a dialogue box to navigate to a file. Head over to your c: drive and find the clipart folder we just added. Click TWICE to open the folder. At this point you can choose any of the files to open. Once you click “open”, be sure to hit enter on your keyboard to place the file.
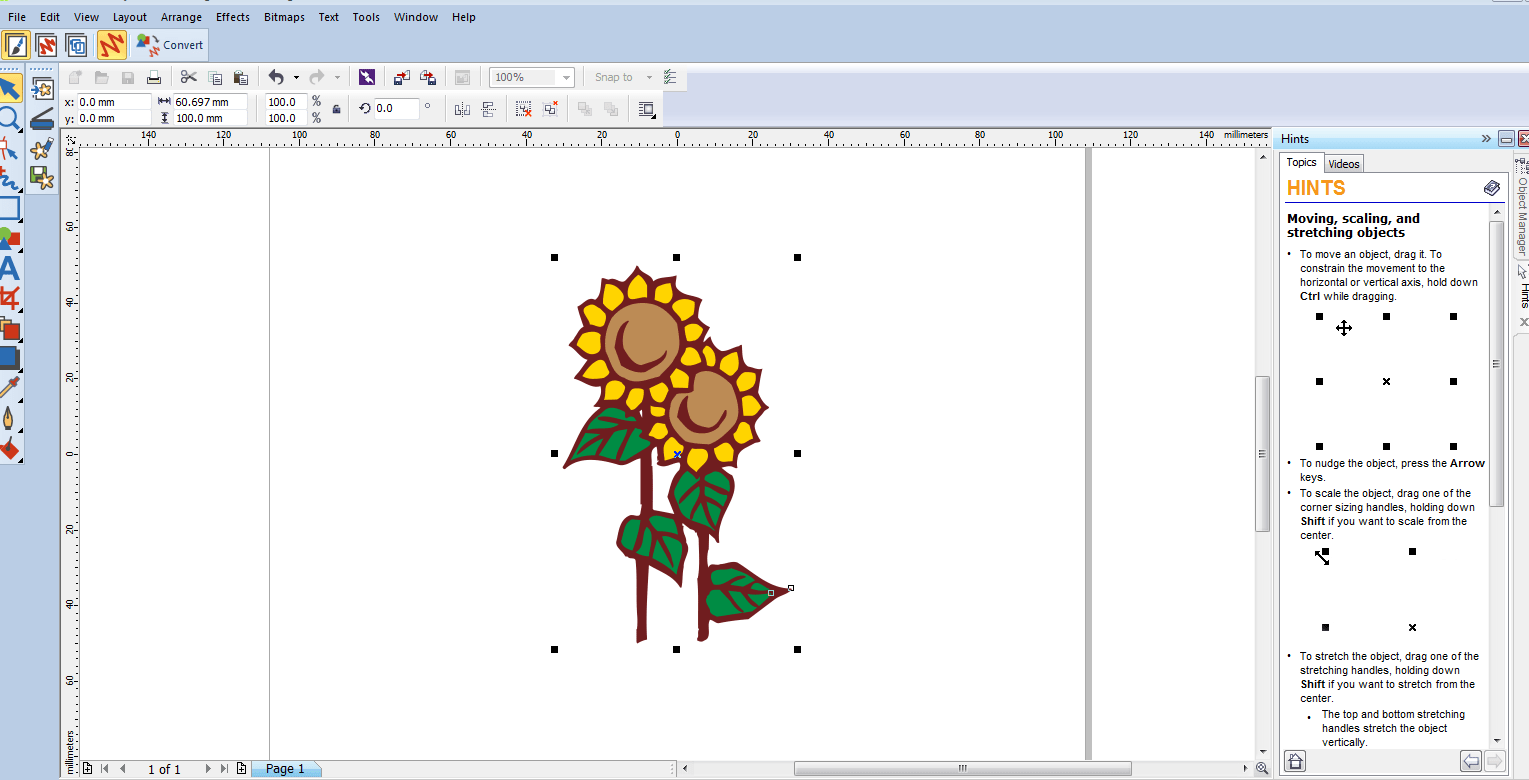 With the artwork selected, simply click the button at the top that says “Convert” . If you hover, it will say “convert vectors to embroidery”.
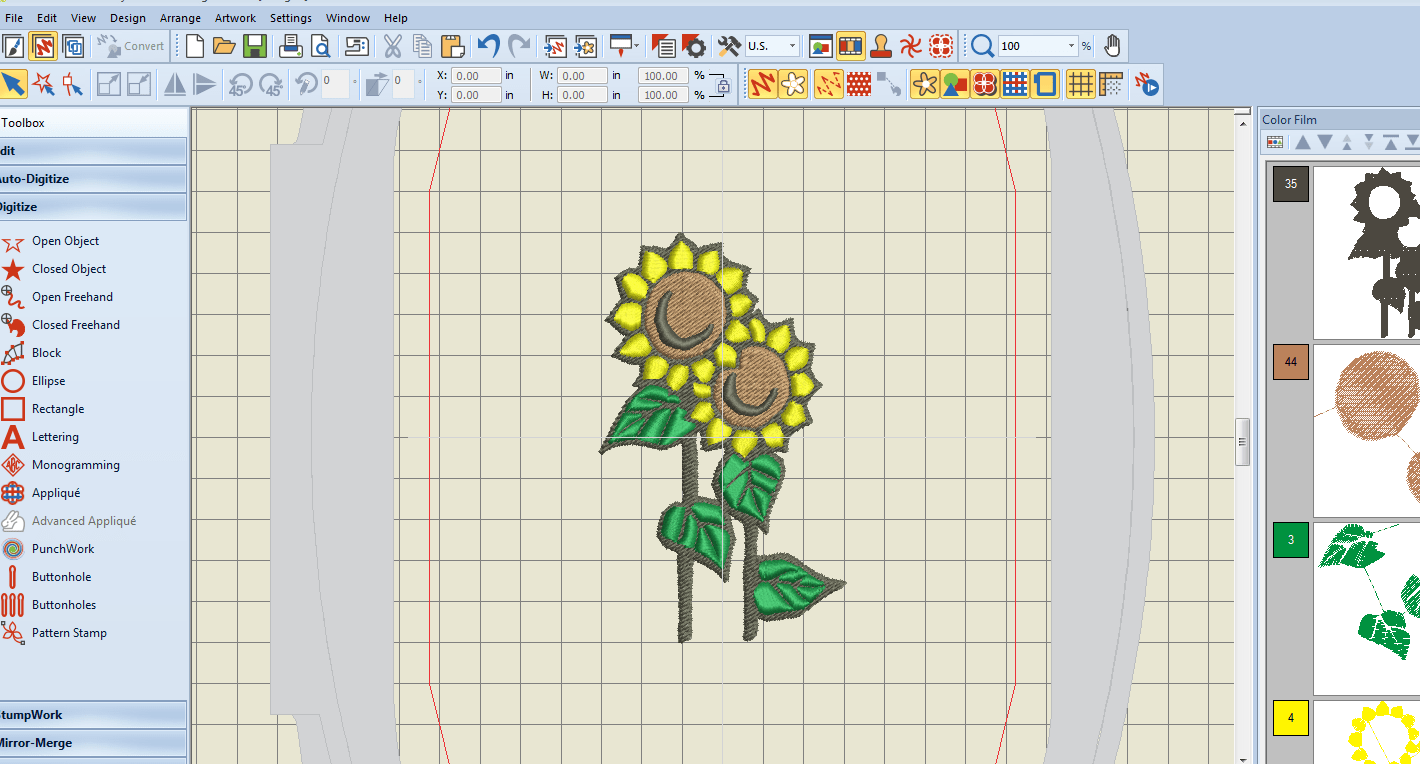 And that’s it! You’ll end up back in embroidery canvas with digitized art. Now, you may want to edit colors, stitch types, density, pull compensation etc. But for the most part, you are digitizing!
Be sure to get a copy of the Mastery Books for Software 7. It goes into detail on all the features and you’ll want to work with your dealer to learn the specifics.
Then get digitizing! Now that you know bitmaps and vectors, nothing can stop you! (Except copyrights, of course..but that’s for another time!)