
If you’ve ever done any garment sewing you know that:
1. It’s not easy.
2. If you don’t know what you’re doing, you better follow that pattern EXACTLY.
Well, I’m not much of a garment sewer, although from time to time fabric tells me what it wants to become and my job is just to do what it tells me. That’s how it was with this delicious fabric from Cotton and Steel. It’s really not an easy line to piece into a quilt as it doesn’t lend itself to small cuts. But it was just calling out to me, begging to be made into this vest.
And so I bought it and set it aside until I was ready.
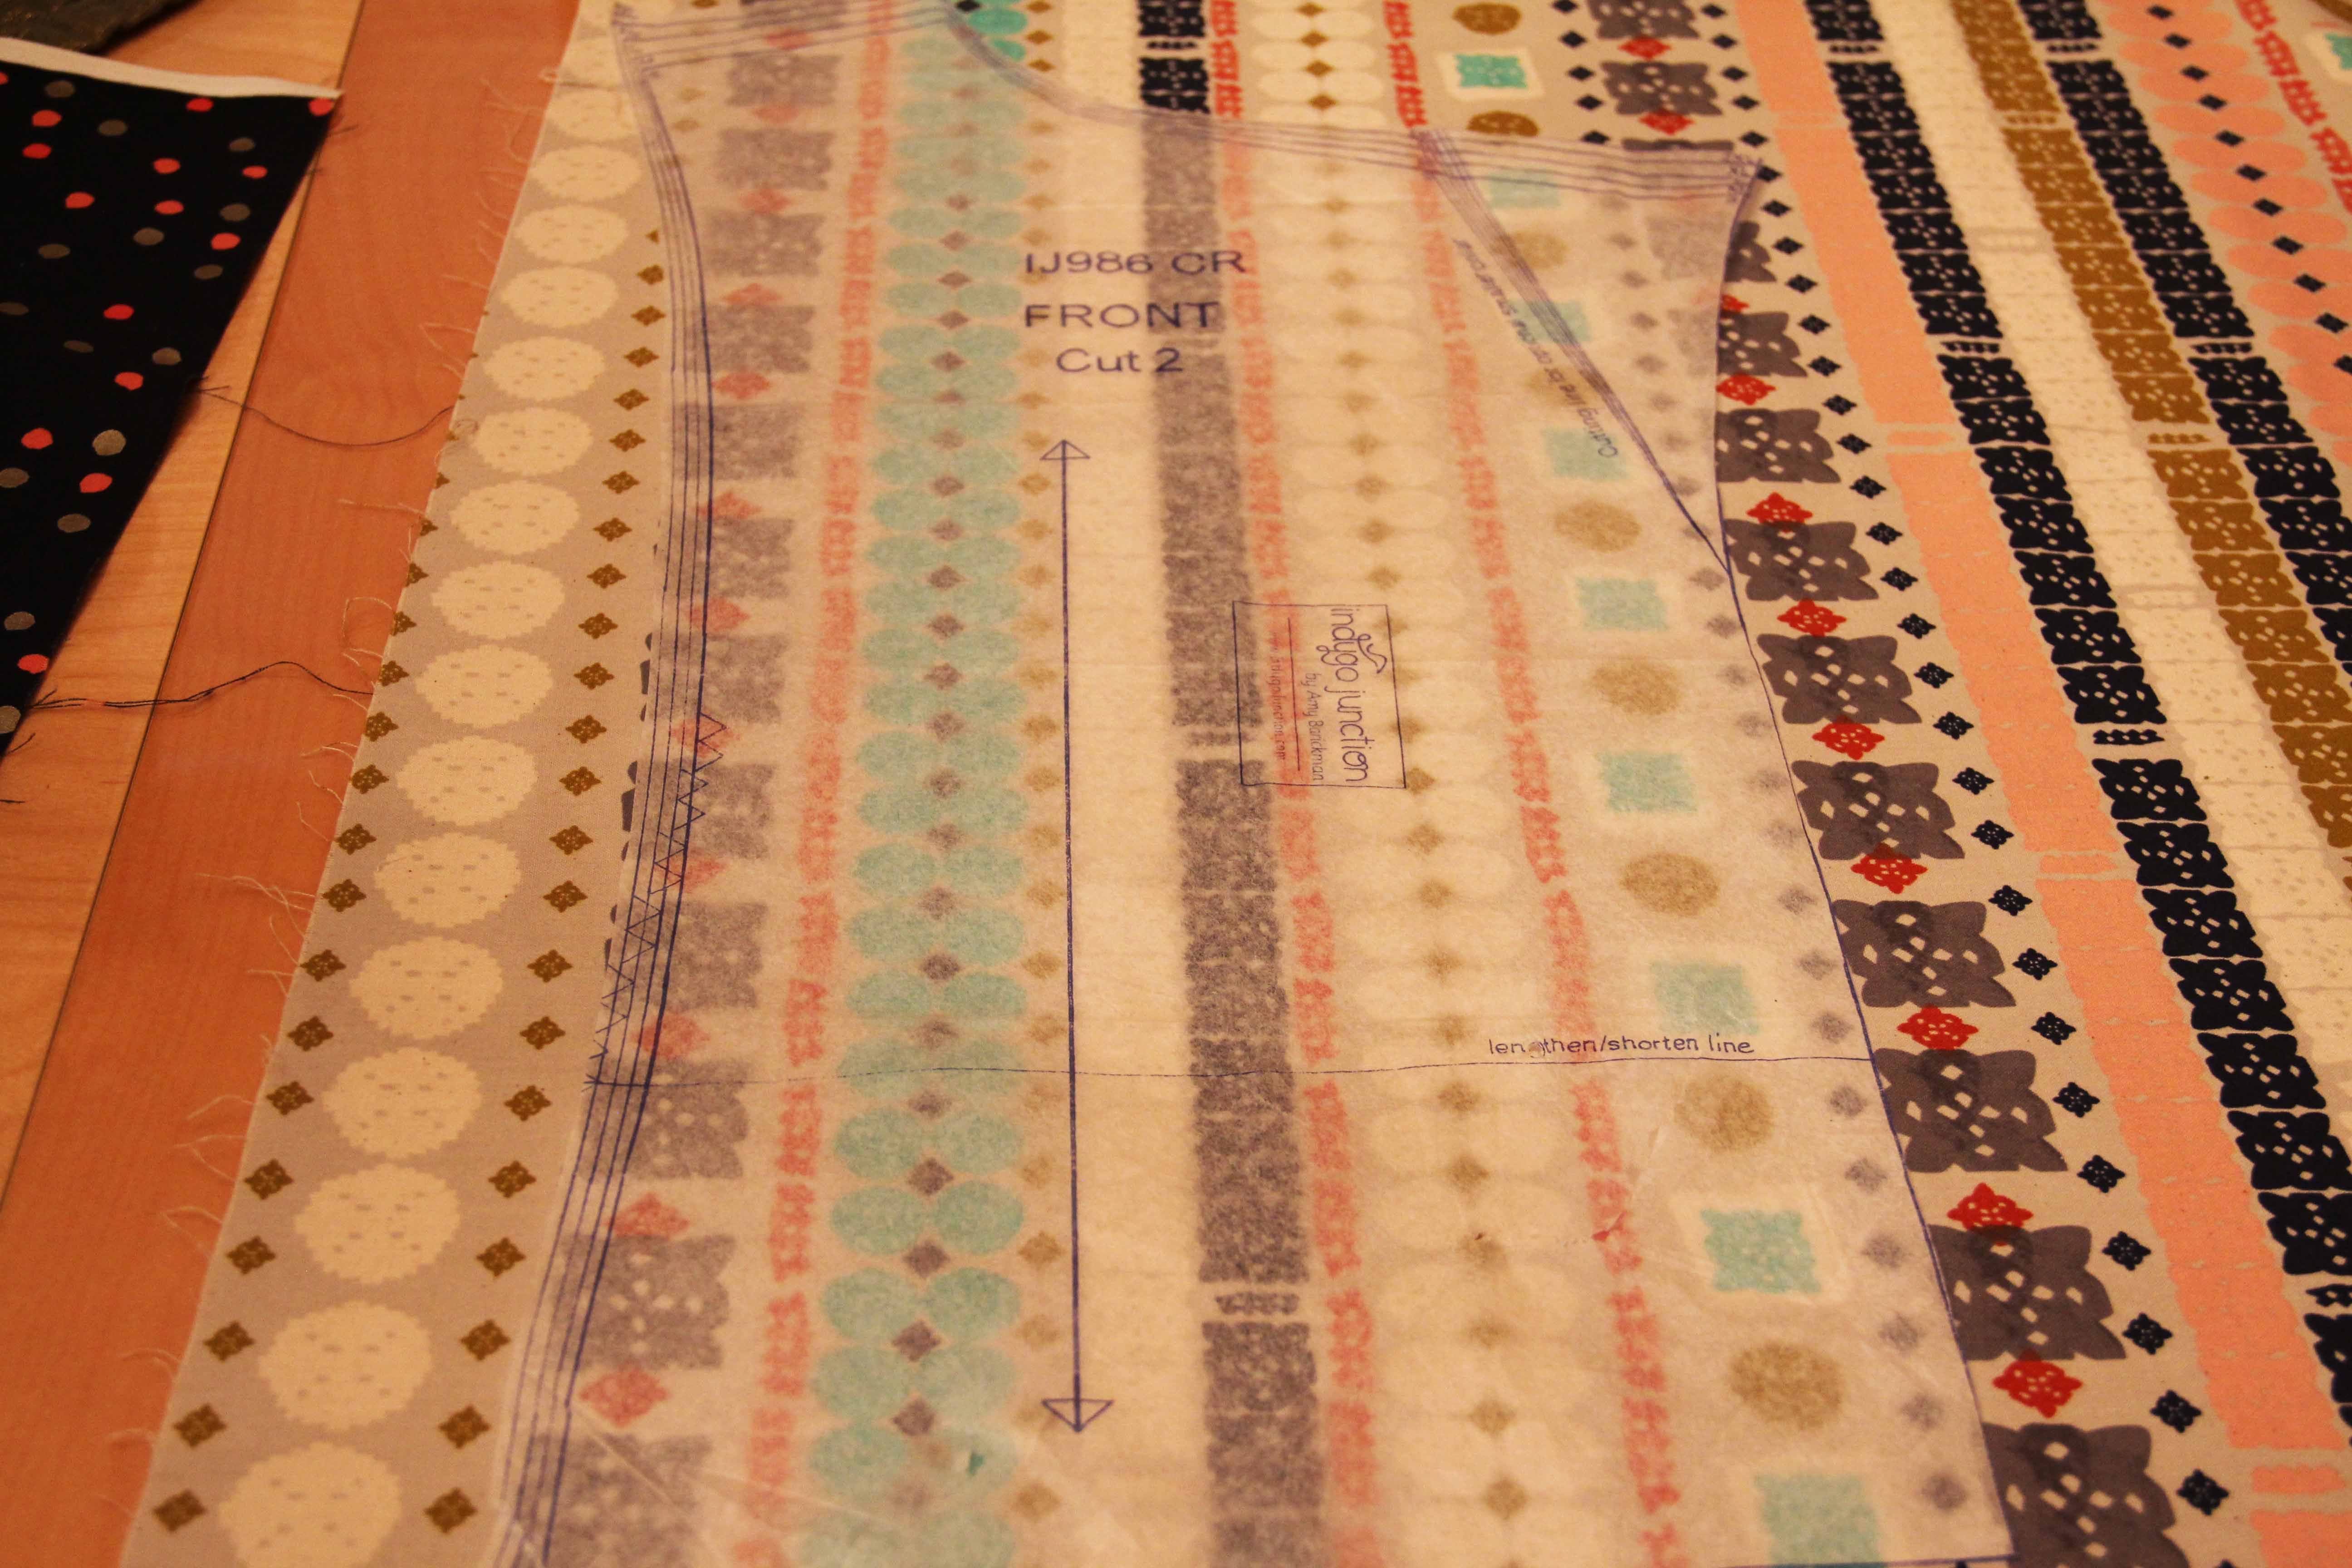
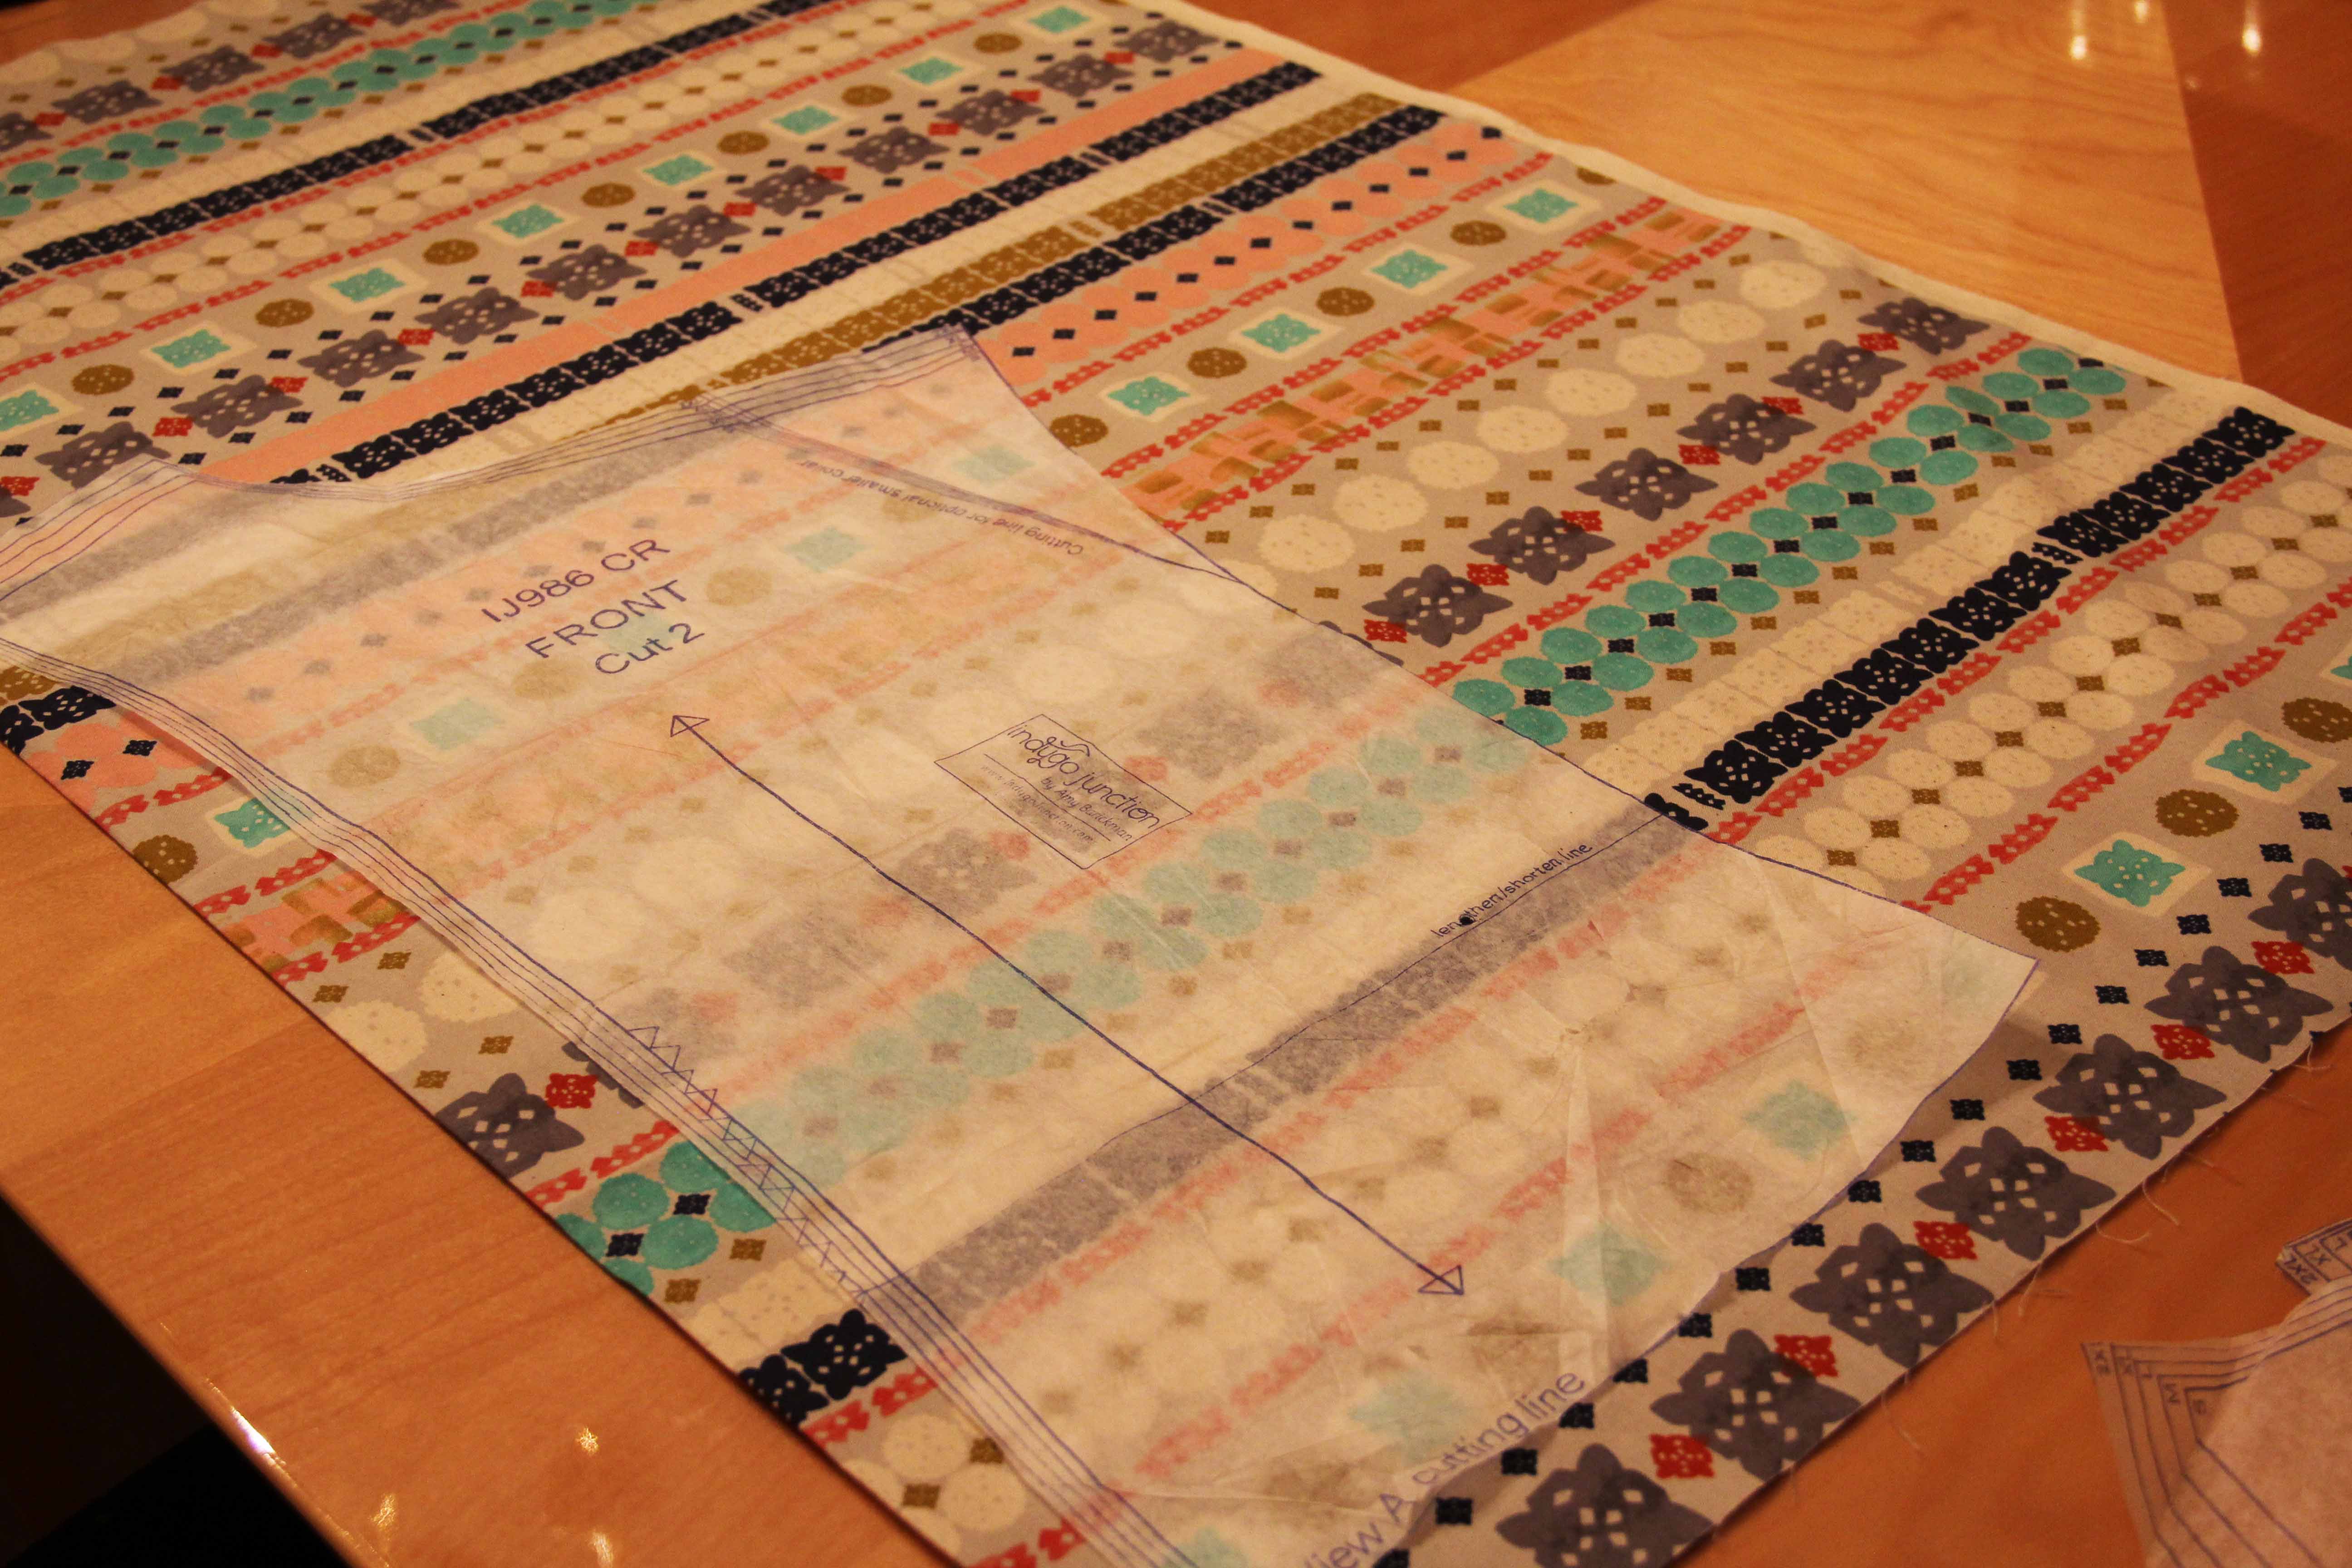 You can see that the line on the pattern indicates that the pattern should lay on the fabric the way it’s shown in the pic above — grain line parallel to the selvage.
But that wasn’t the vision. I wanted vertical stripes in front. So I began my research. What will happen if I ignore the grain line? Will the shape be distorted? Will the vest not lay properly?
I turned to the Internet where the general consensus seemed to be: Always follow the grain line. Unless you don’t want to.
Actually, most people were specific. If you wanted a pattern to run a certain way, then It’s OK to cheat the grain line a bit. Especially on a fabric that is not stretchy. Since I’m working in a pretty tight woven, I thought…I’m going for it.
 So I cut out all the pieces, along with a liner. The pattern I was using was from Indygo Junction (Modern Silhouette Vest).
As usual, I did not follow the pattern completely. I wanted it to be lined and reversible, so I modified along the way. I actually assembled the entire vest, then the entire lining, and pinned them right sides together. Then I stitched around the outside of the whole thing (very much like making a bag lining.) I also went back and serged all the unfinished edges. I left a space in the back hem to turn inside out.
***Do not sew the armholes together when it is inside out.*** Ask me how I know.
When I teach, I often tell students “Don’t worry. I make the mistakes, so you don’t have to.” It gets a chuckle, but it’s truth. I make a lot of mistakes because I try a lot of new things. I’m as comfortable unsewing as I am sewing. The seam ripper is your friend.
As long as the armholes are still raw edge, the whole thing can be turned inside out and pressed.
 You can finish the armhole by overlocking the right side and lining separately, and then turning them both under and topstitching. It forms a neat finish, with all seams hidden. The last step is to topstitch all the way around the vest and in the process turn under the back hem which was left open when you turned it inside out.
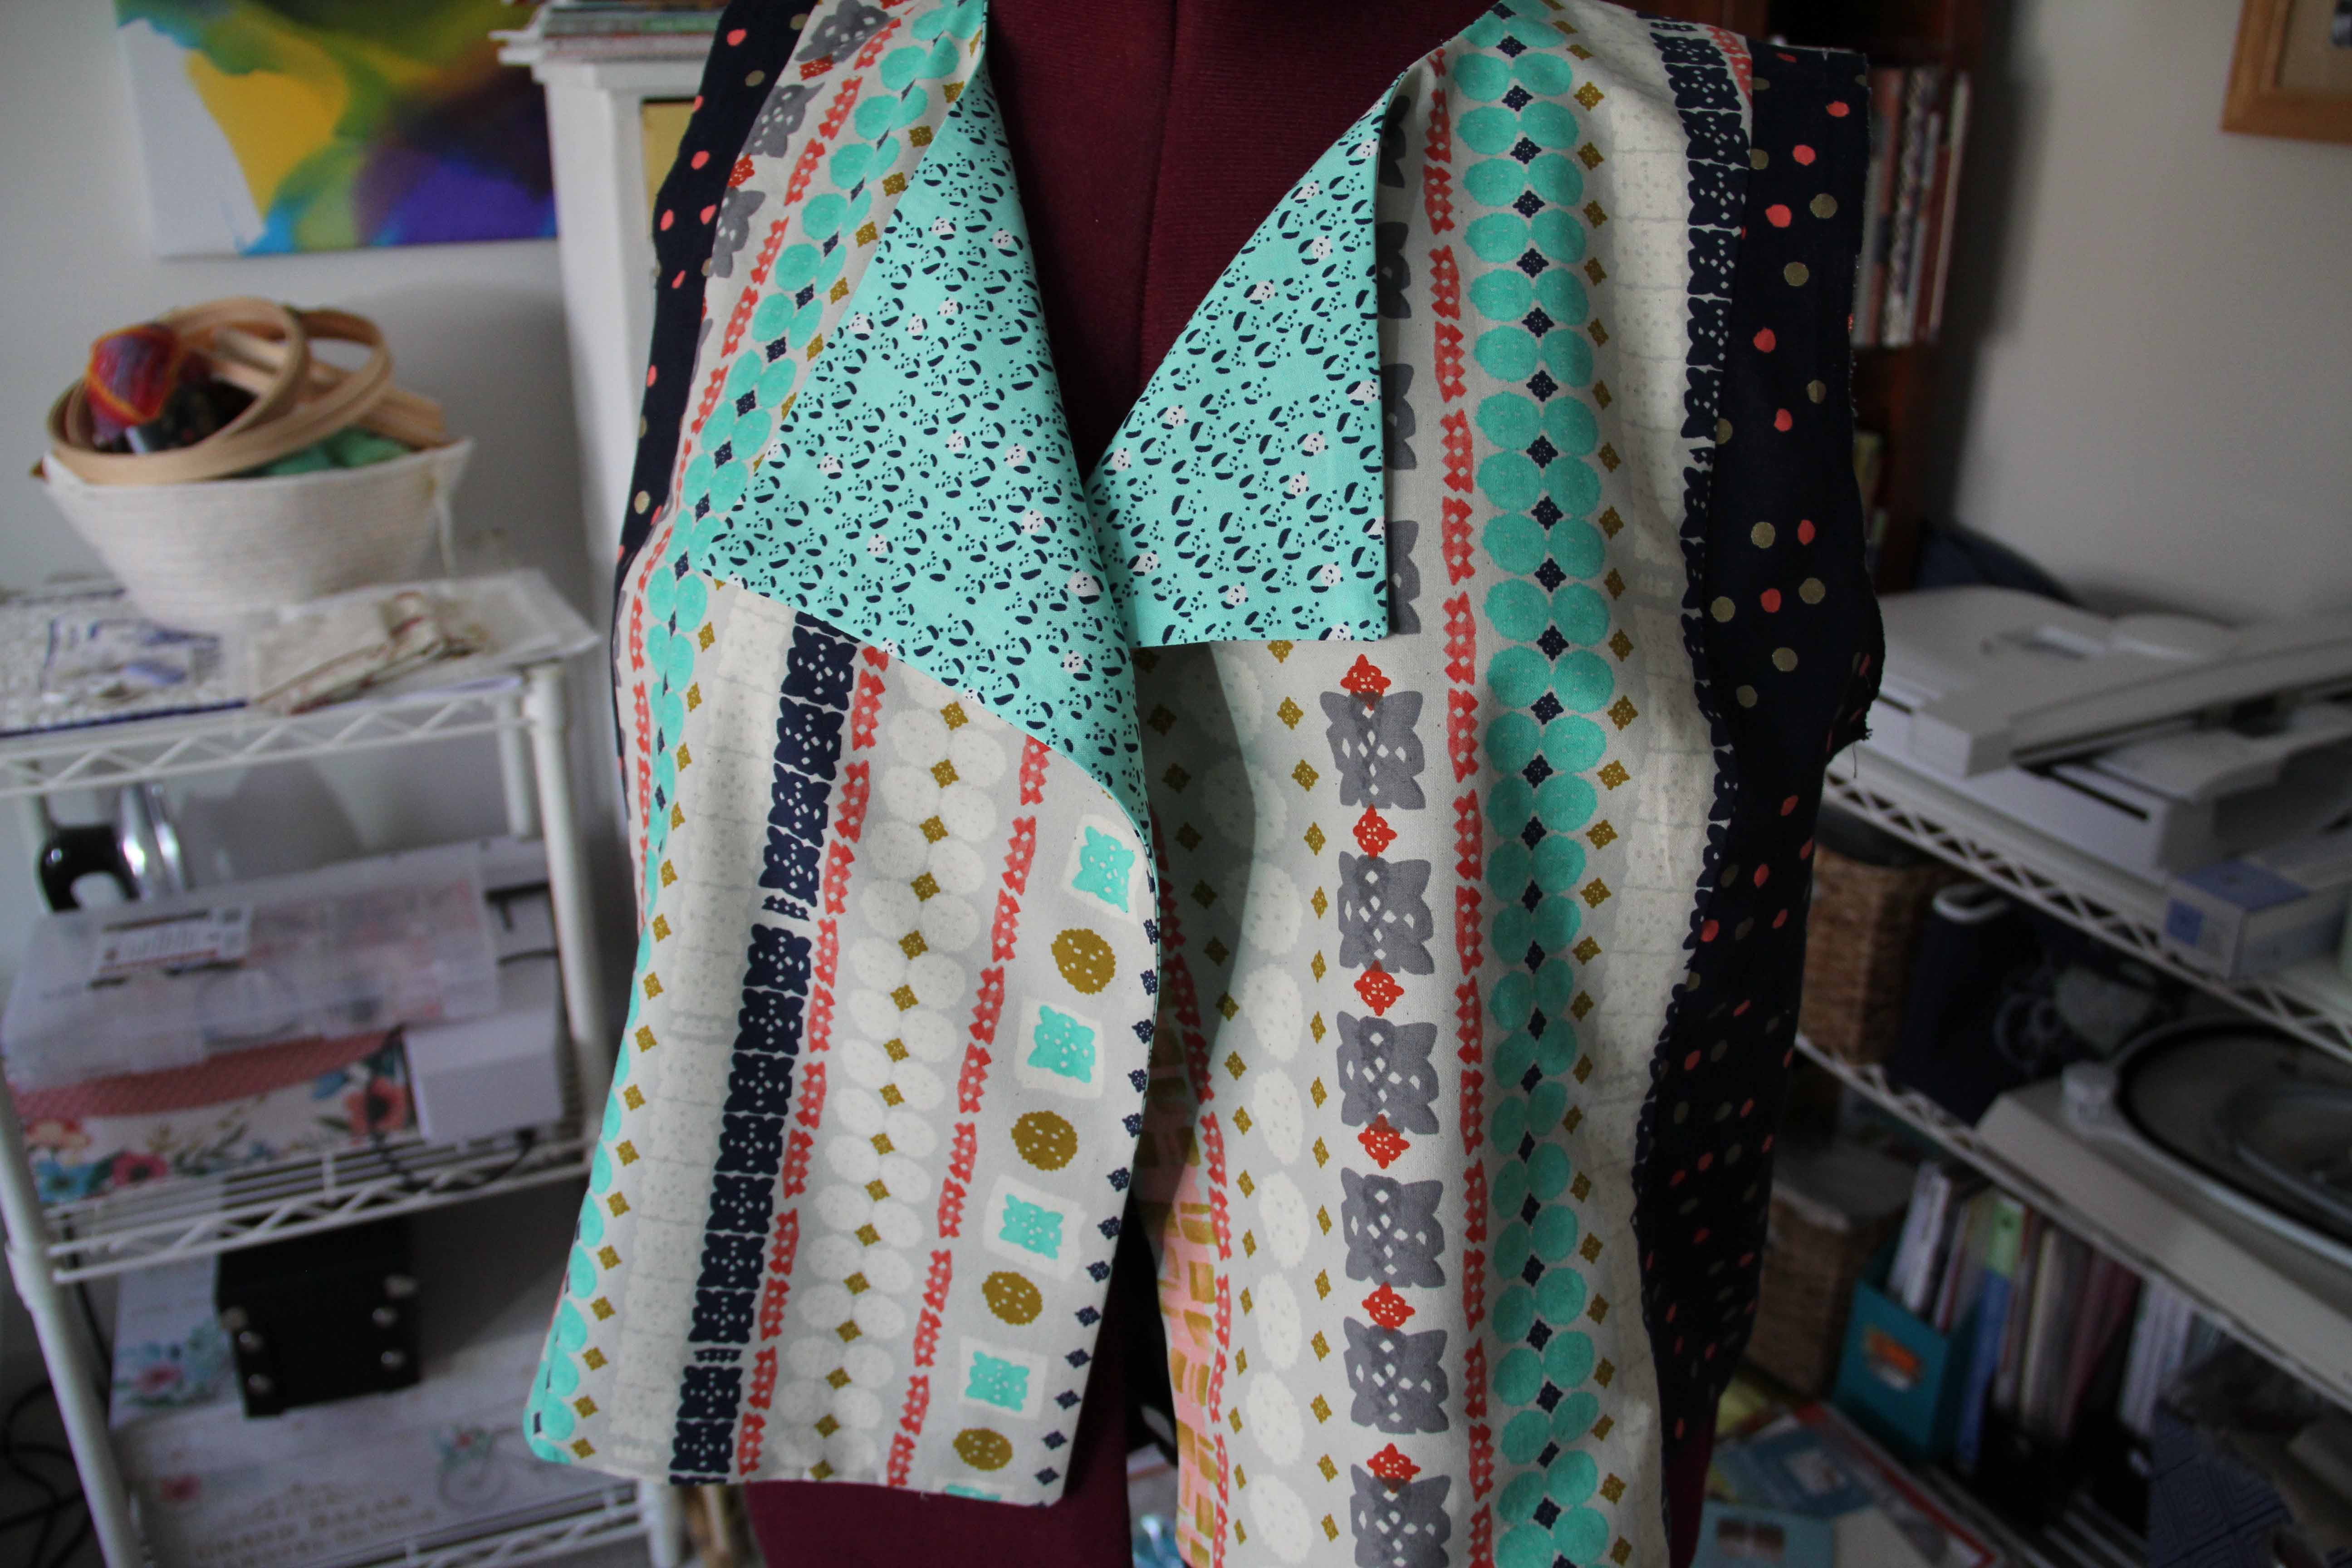
 All seams are finished and I can wear it either way.
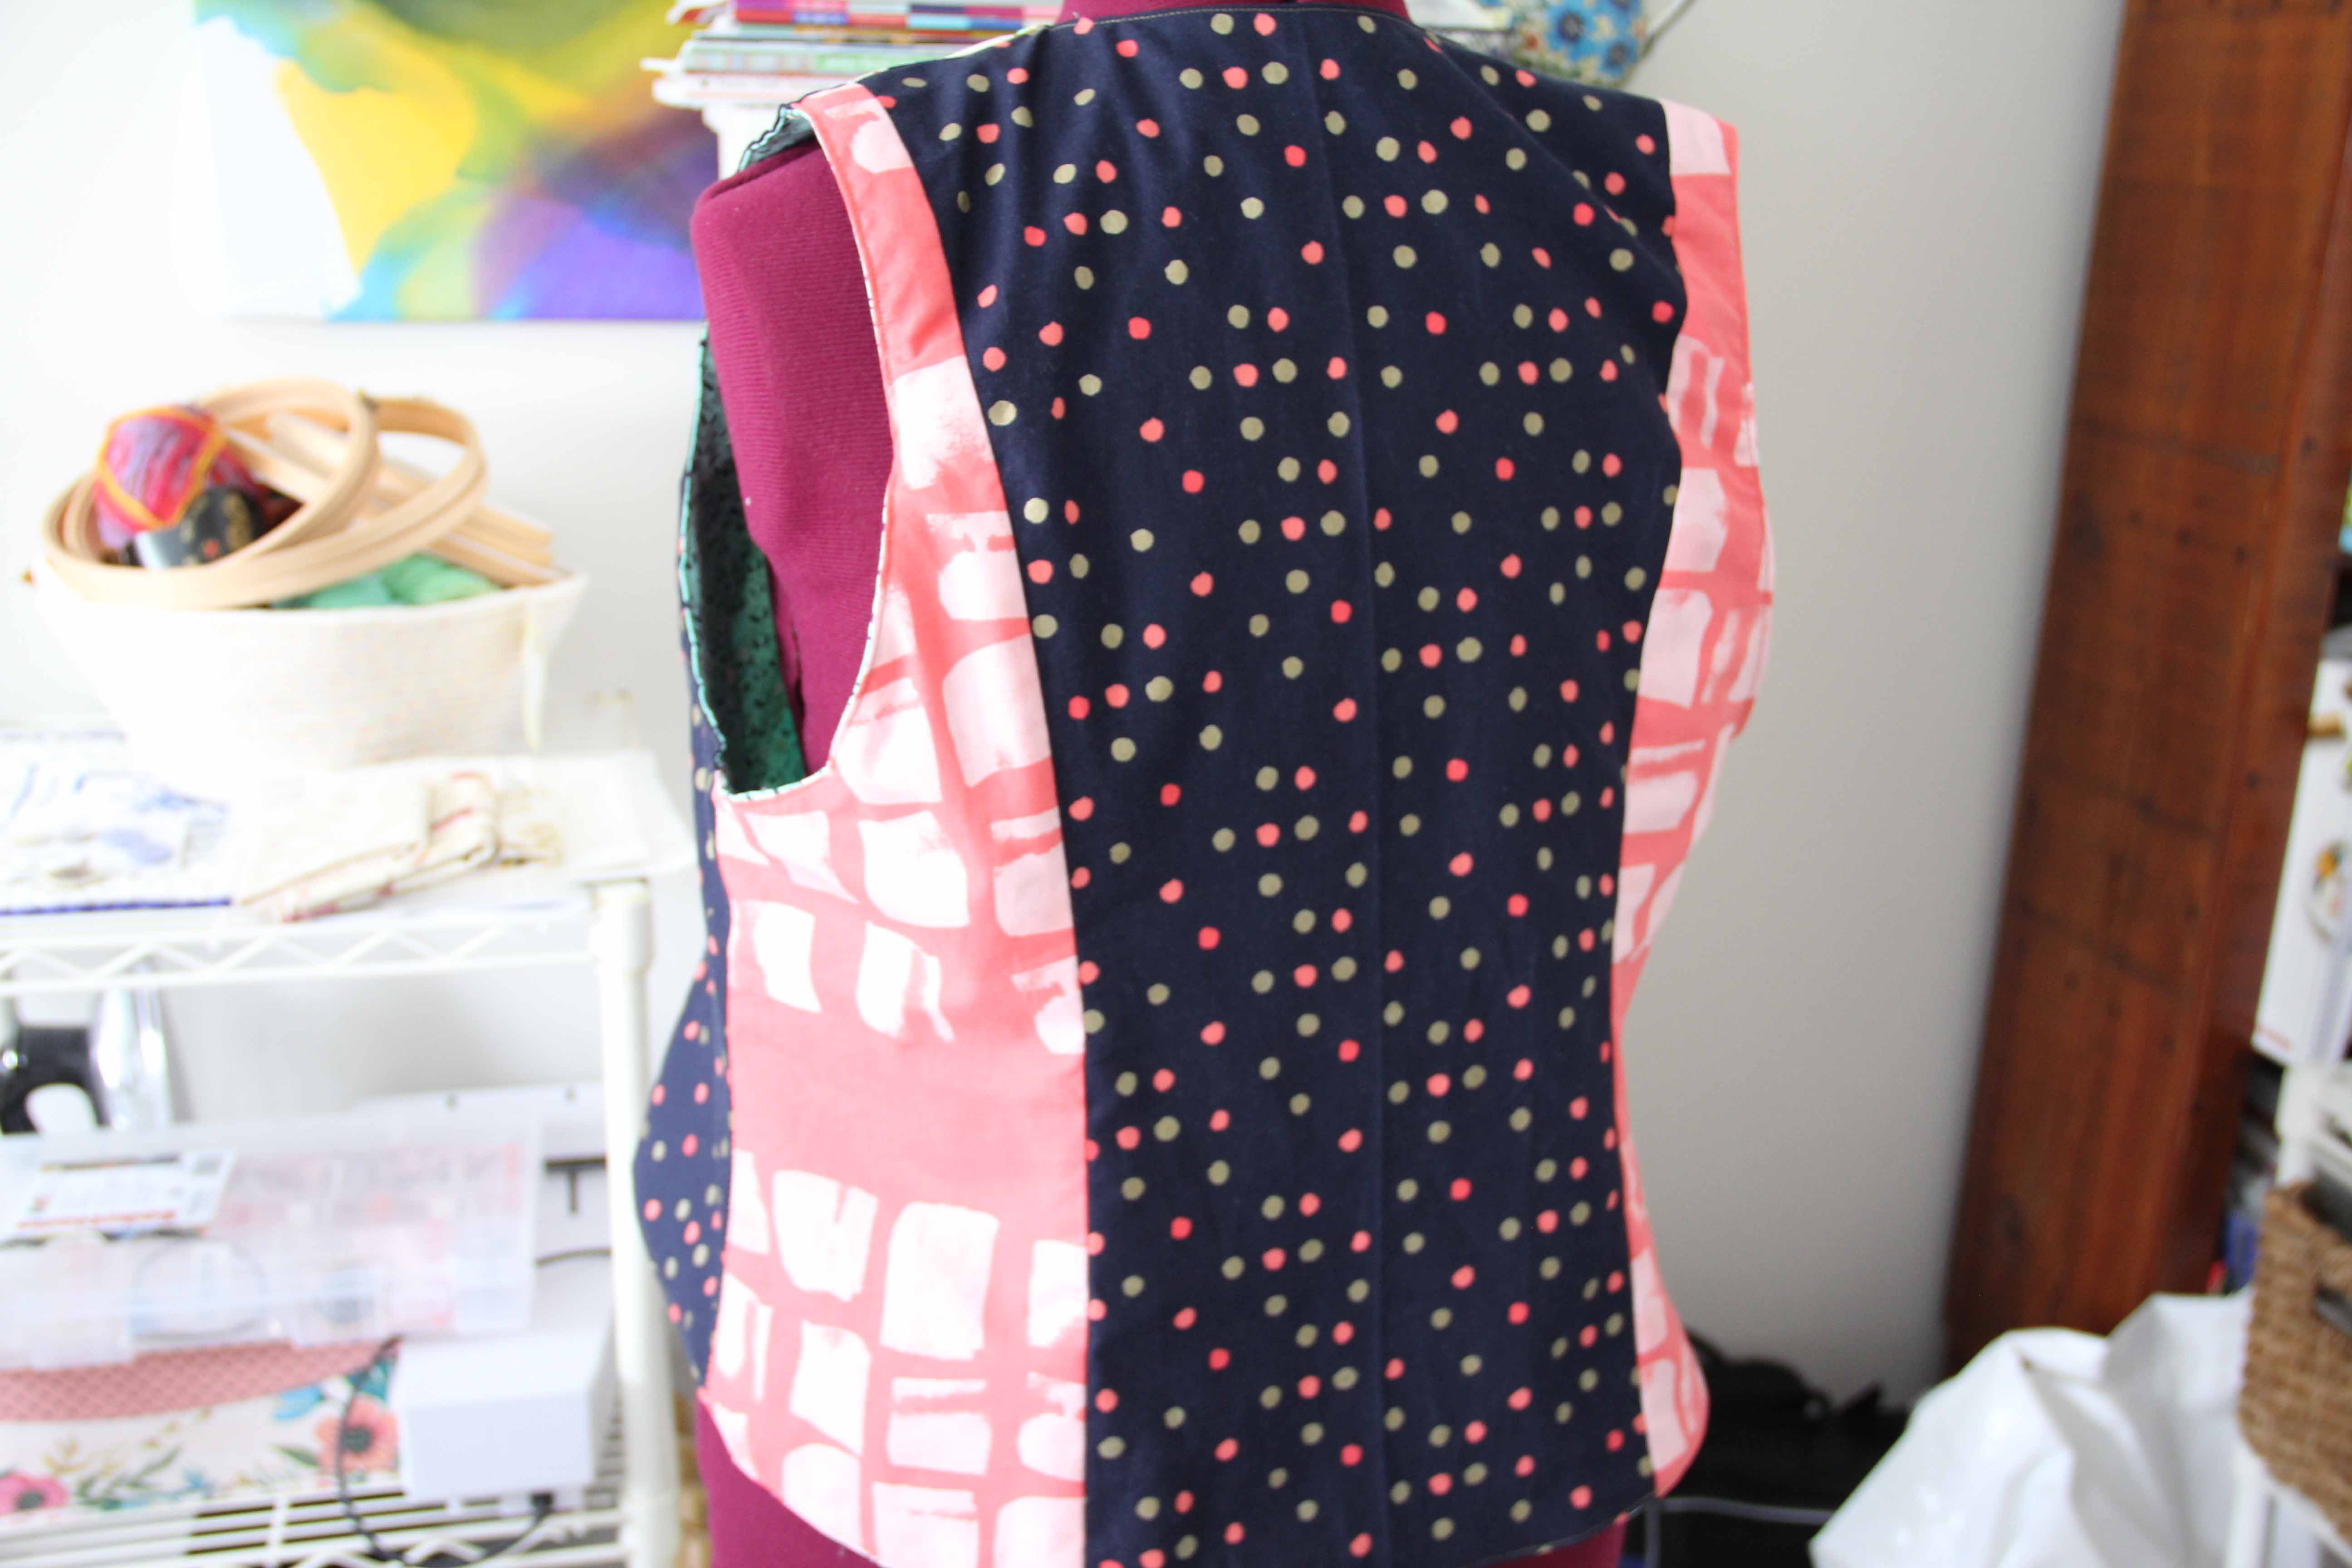 The back is pieced as well with the same line of Cotton and Steel fabric.
Final step is to add a button in front.
I think I really worried needlessly about the grain line. It lays just fine, and the little pandas were cut on grain.
 C’mon, that fabric is cute!
The bottom line is this: Don’t worry about the grain line QUITE so much when you are working with a medium or tight woven. Anything stretchy, and all bets are off.
Go ahead, try something new.
And don’t be afraid if it goes against the grain.