Garment Sewing Mania

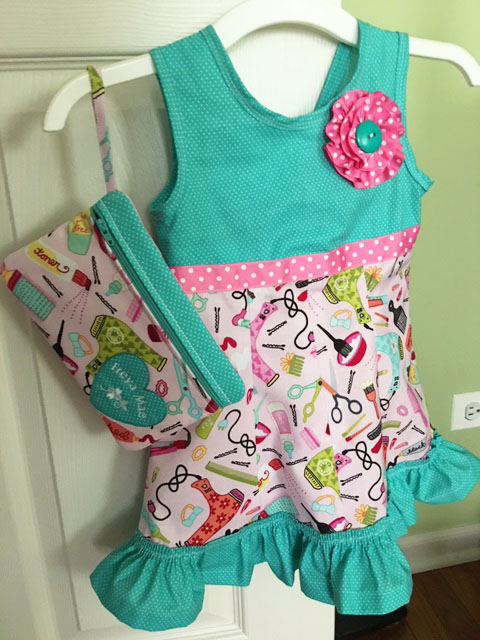
So, as you know, I’ve been sewing a lot of t-shirts for fun. I’ve basically created my own casual wardrobe this year…but only of shirts. I balance it out with a lot of stretchy pants I already own.

It’s not ideal, but it’s the thing I’m loving right now. Especially since I’m not going out and purchasing new clothes. These days I get excited when a new shipment of fabric comes in.

My next effort? A pair of stretchy pants. I know. I should aim a little higher. But I’ve never made a pair of pants. Seriously. And I’m not about to start with a pair of jeans which would be a tremendous amount of effort and I have no idea where my weaknesses are.

Well, OK, I know that I sit on my biggest weakness, but that doesn’t mean I know how to fit it. So I’m starting with something forgiving. I’ll let you know how it goes.(I’m not terribly optimistic.)

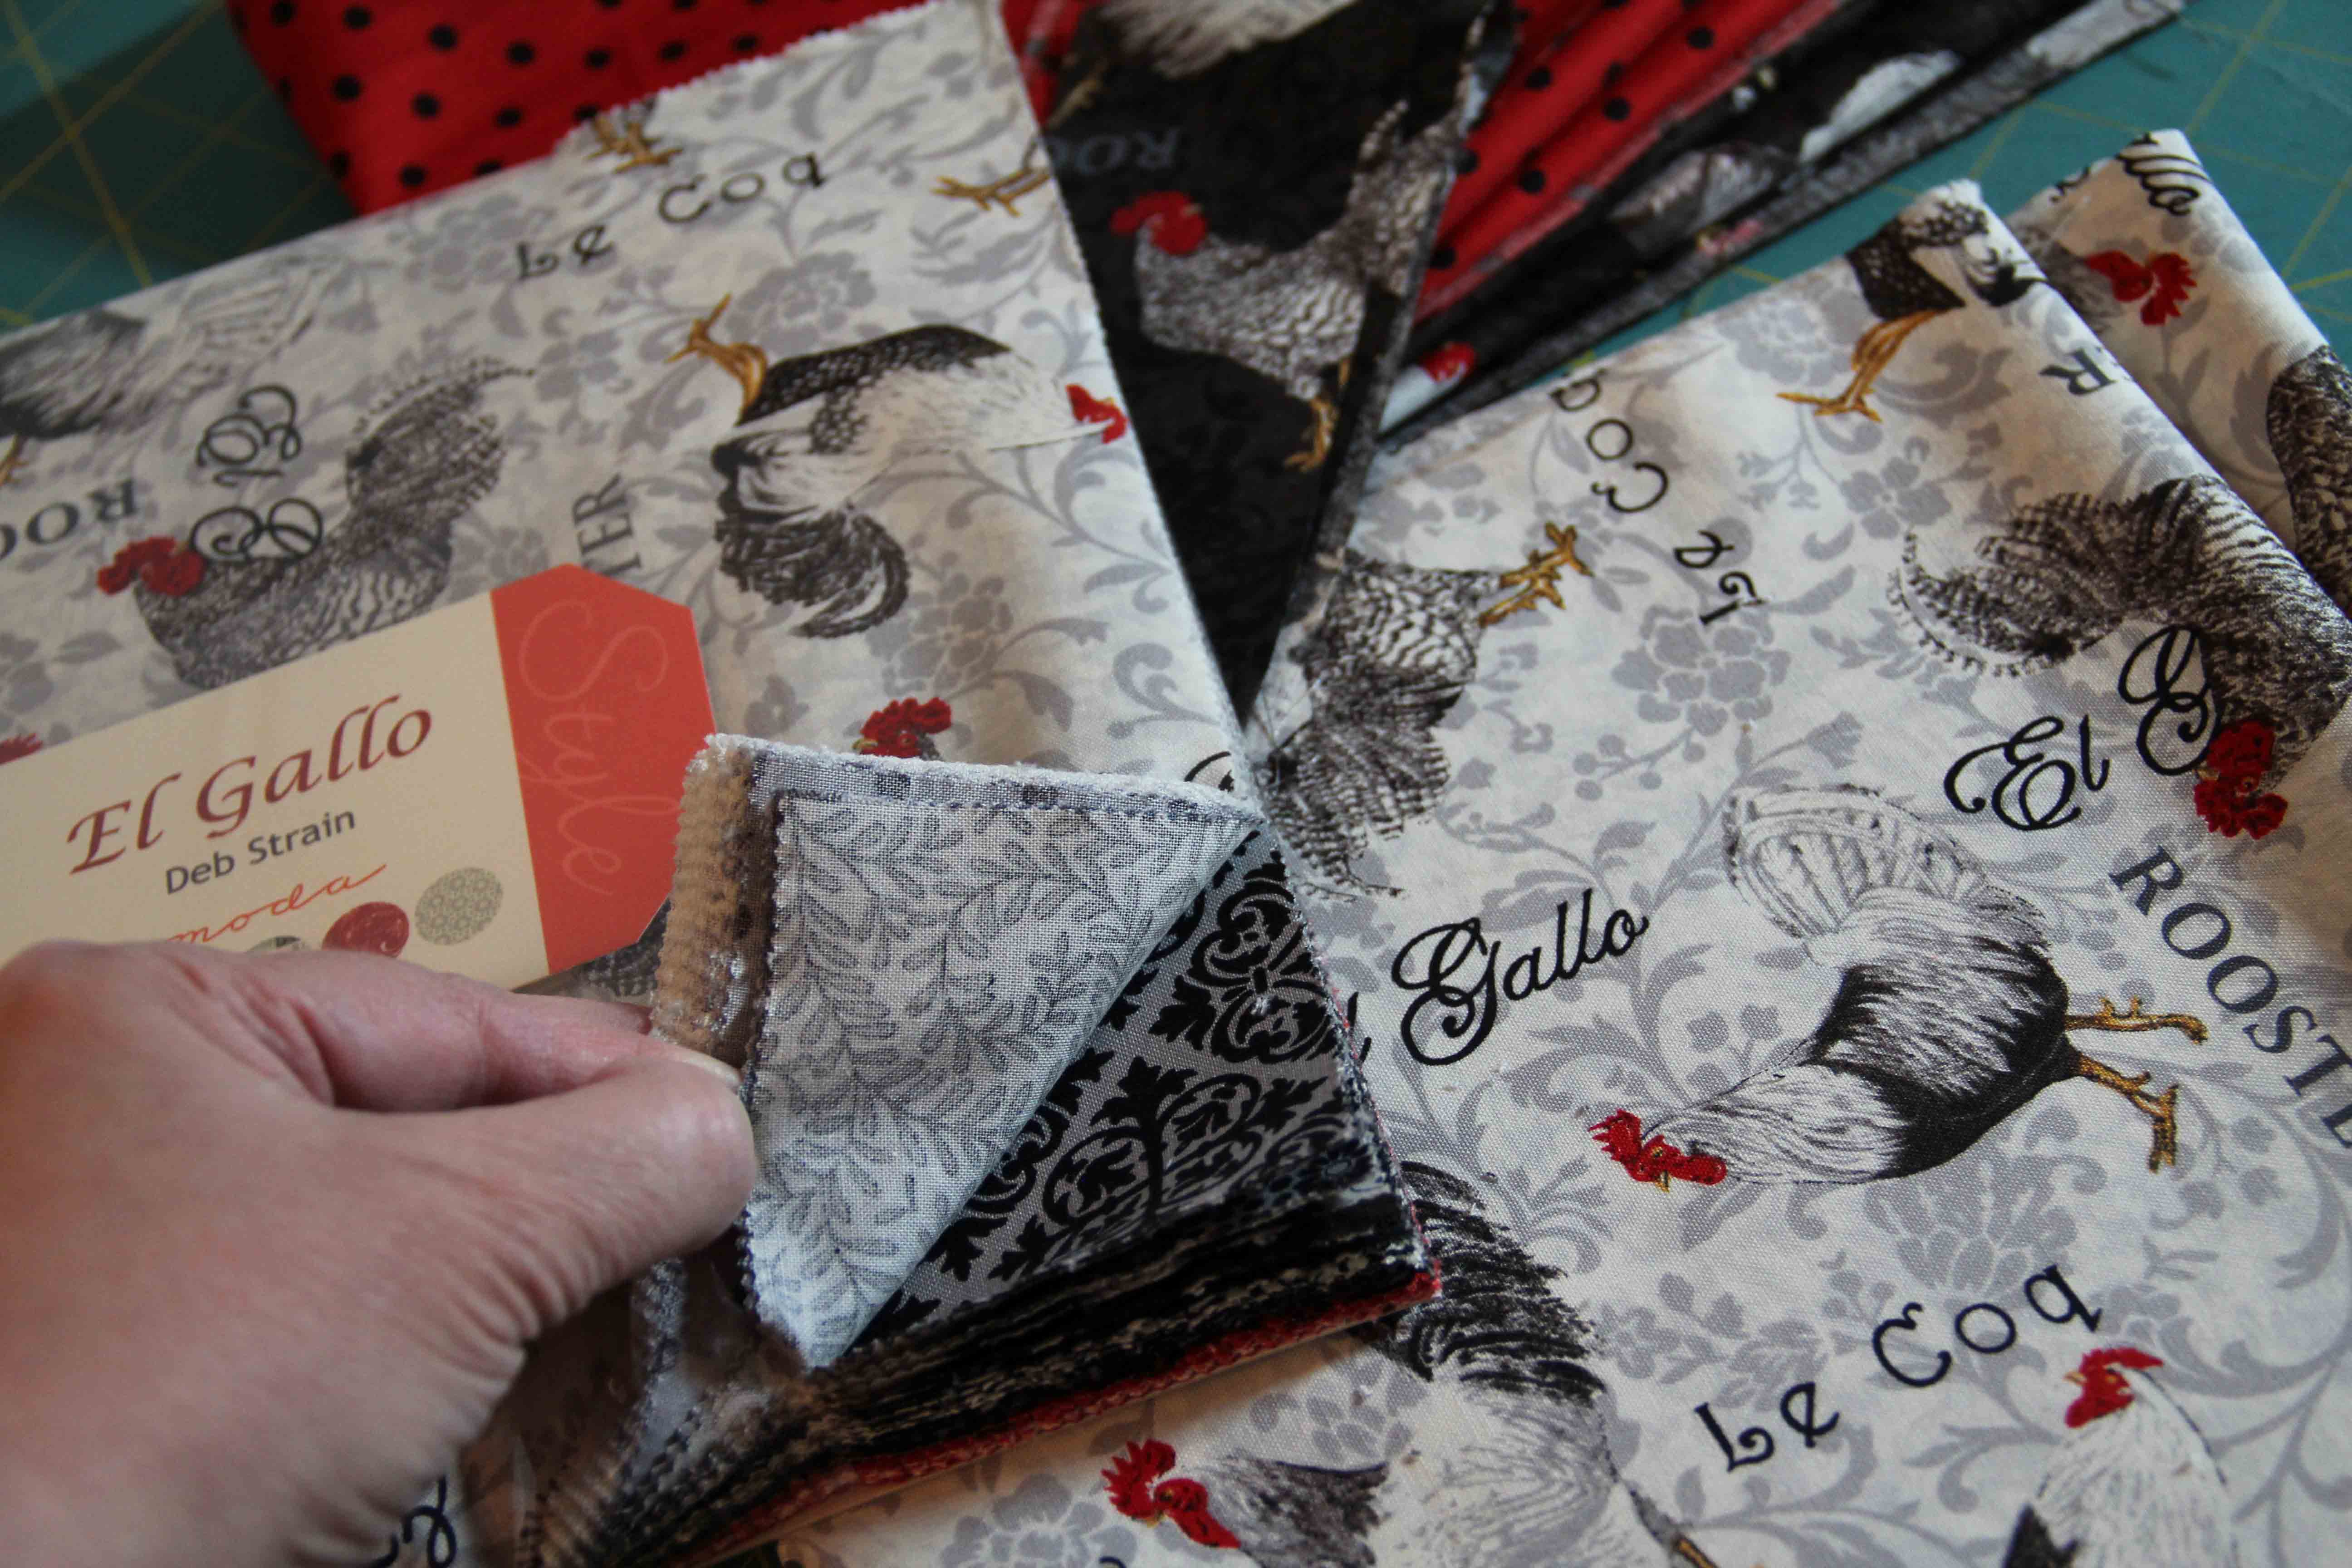
But just to give you a bit more information on my process: As many of you know, I have resolved to only purchase organic fabric for the foreseeable future. As time has gone on, I have only furthered my resolve in this area. The good news, is that the industry is slowly moving in that direction, since traditional cotton-growing is proving unsustainable to even the most stalwart purchasers. We’re talking about Levi’s and Lee and H&M and folks who are serious purchasers of cotton.

I wrote about organic cotton in detail here.

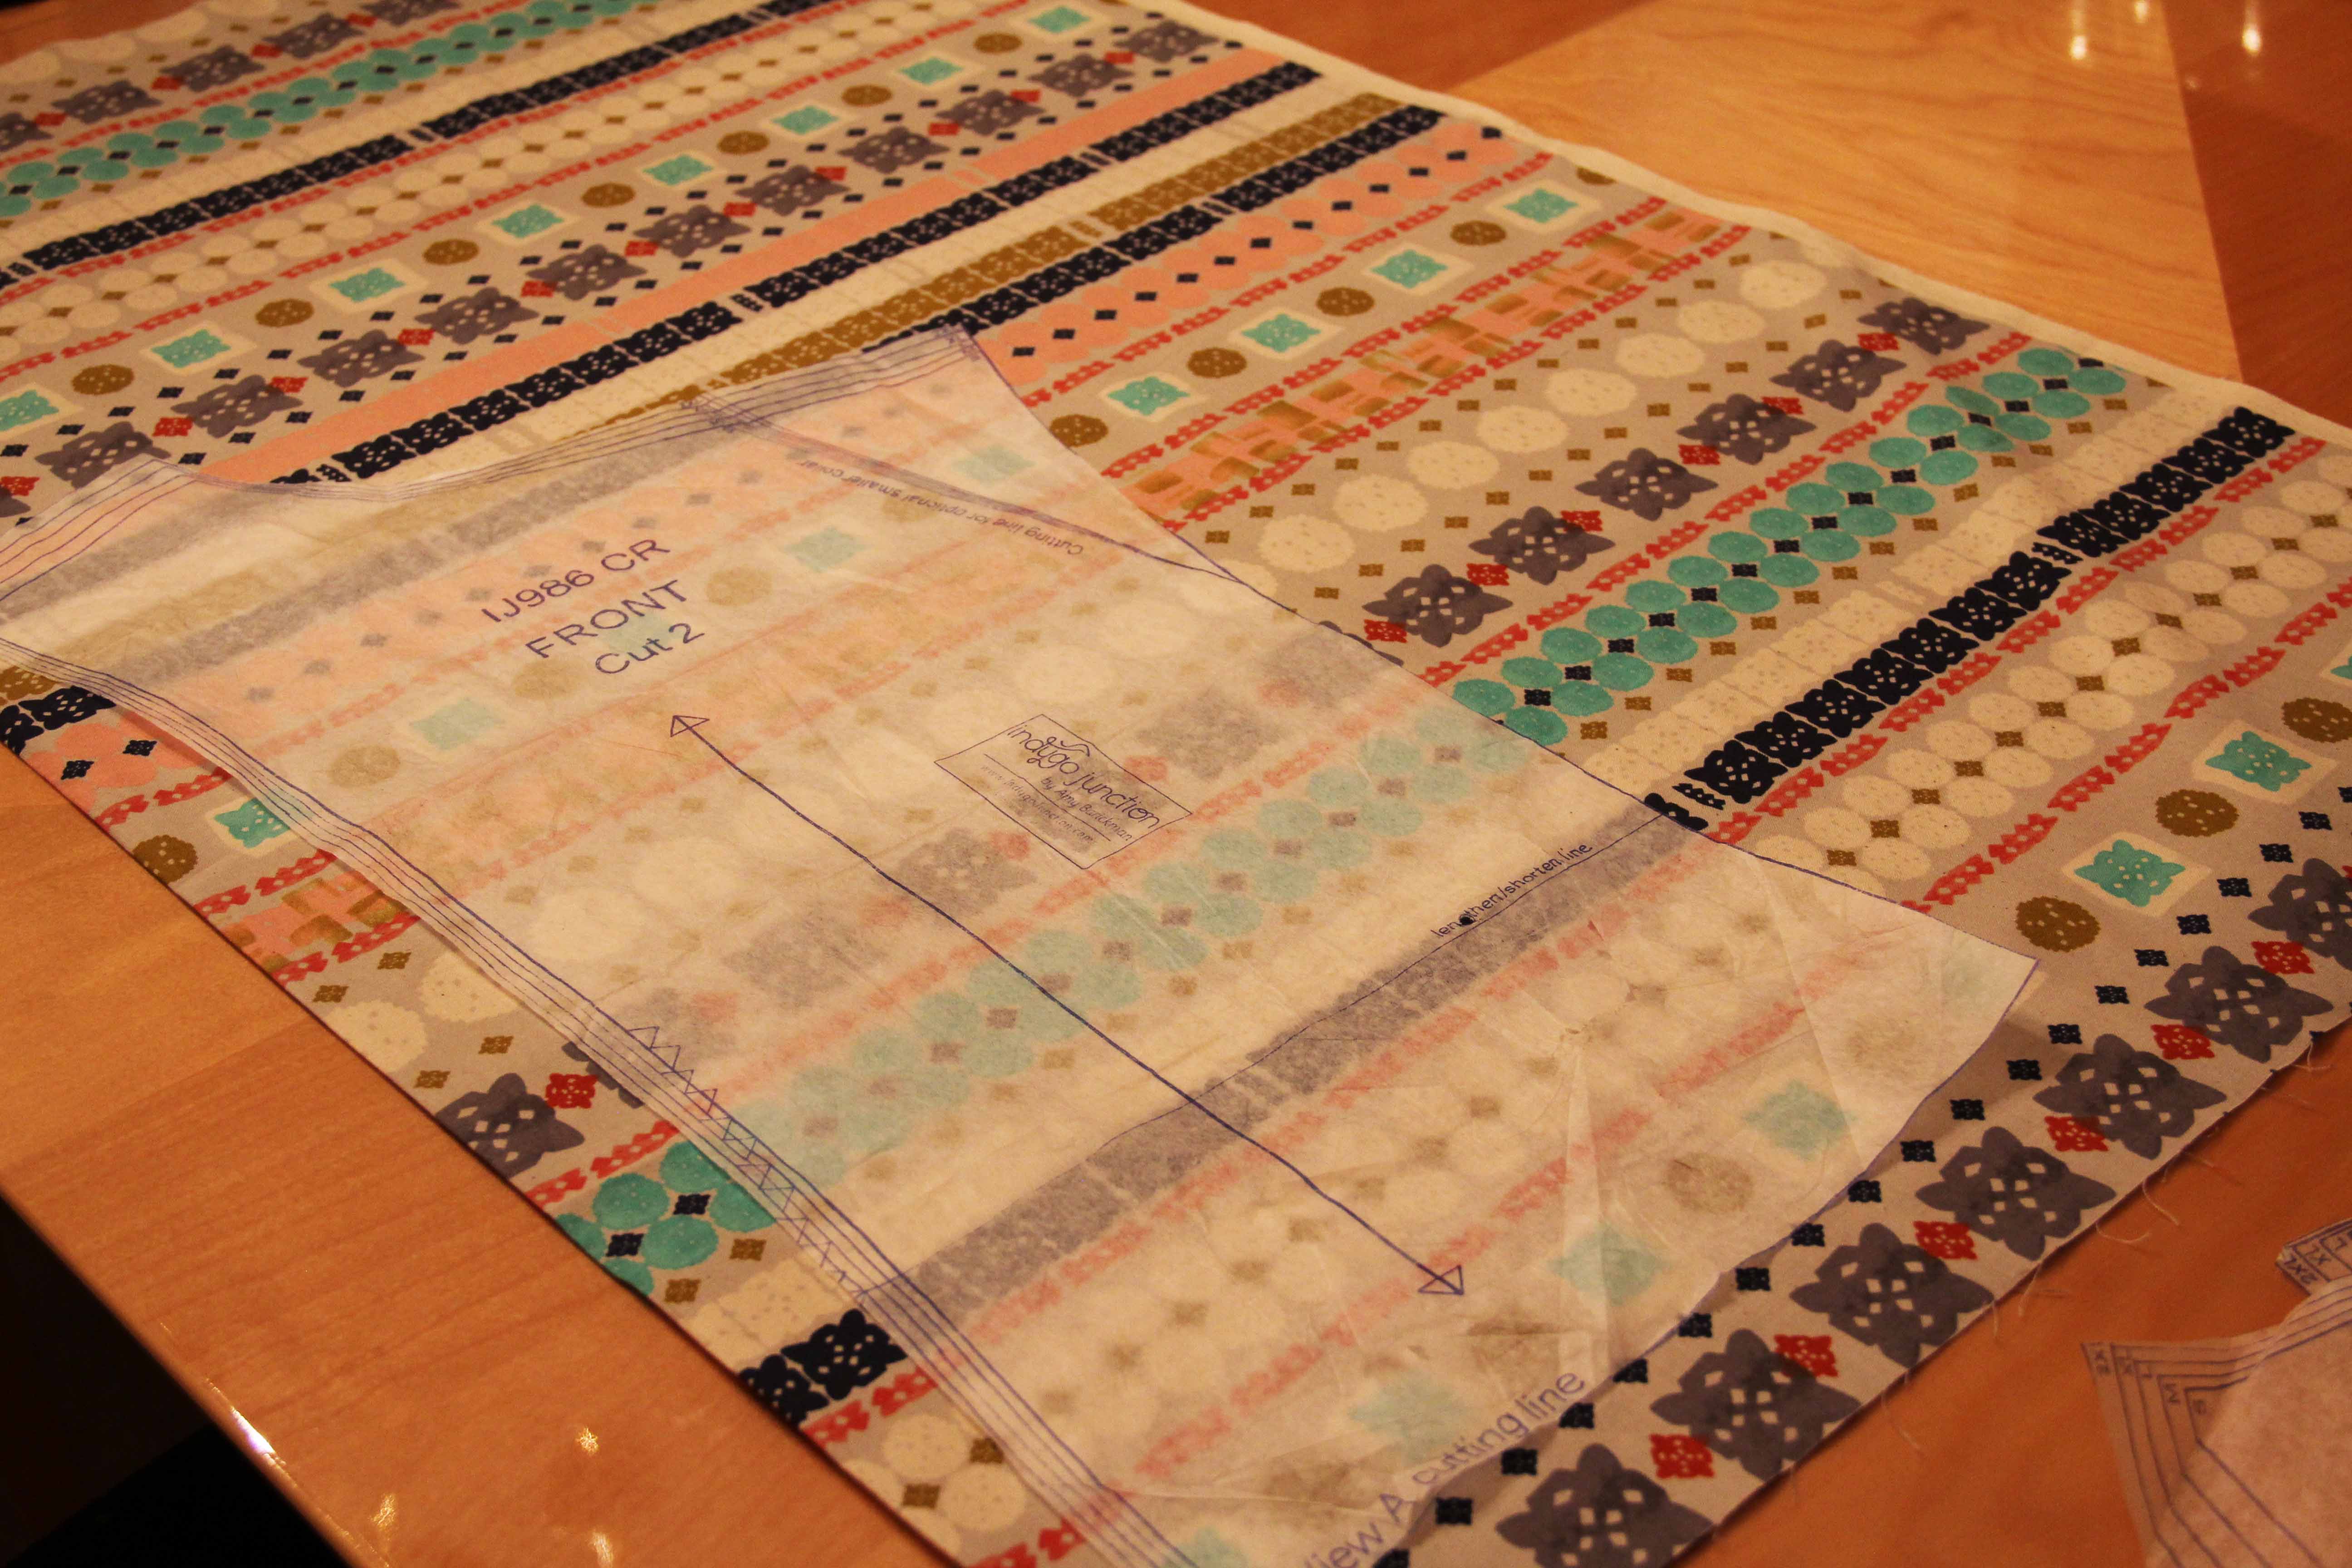
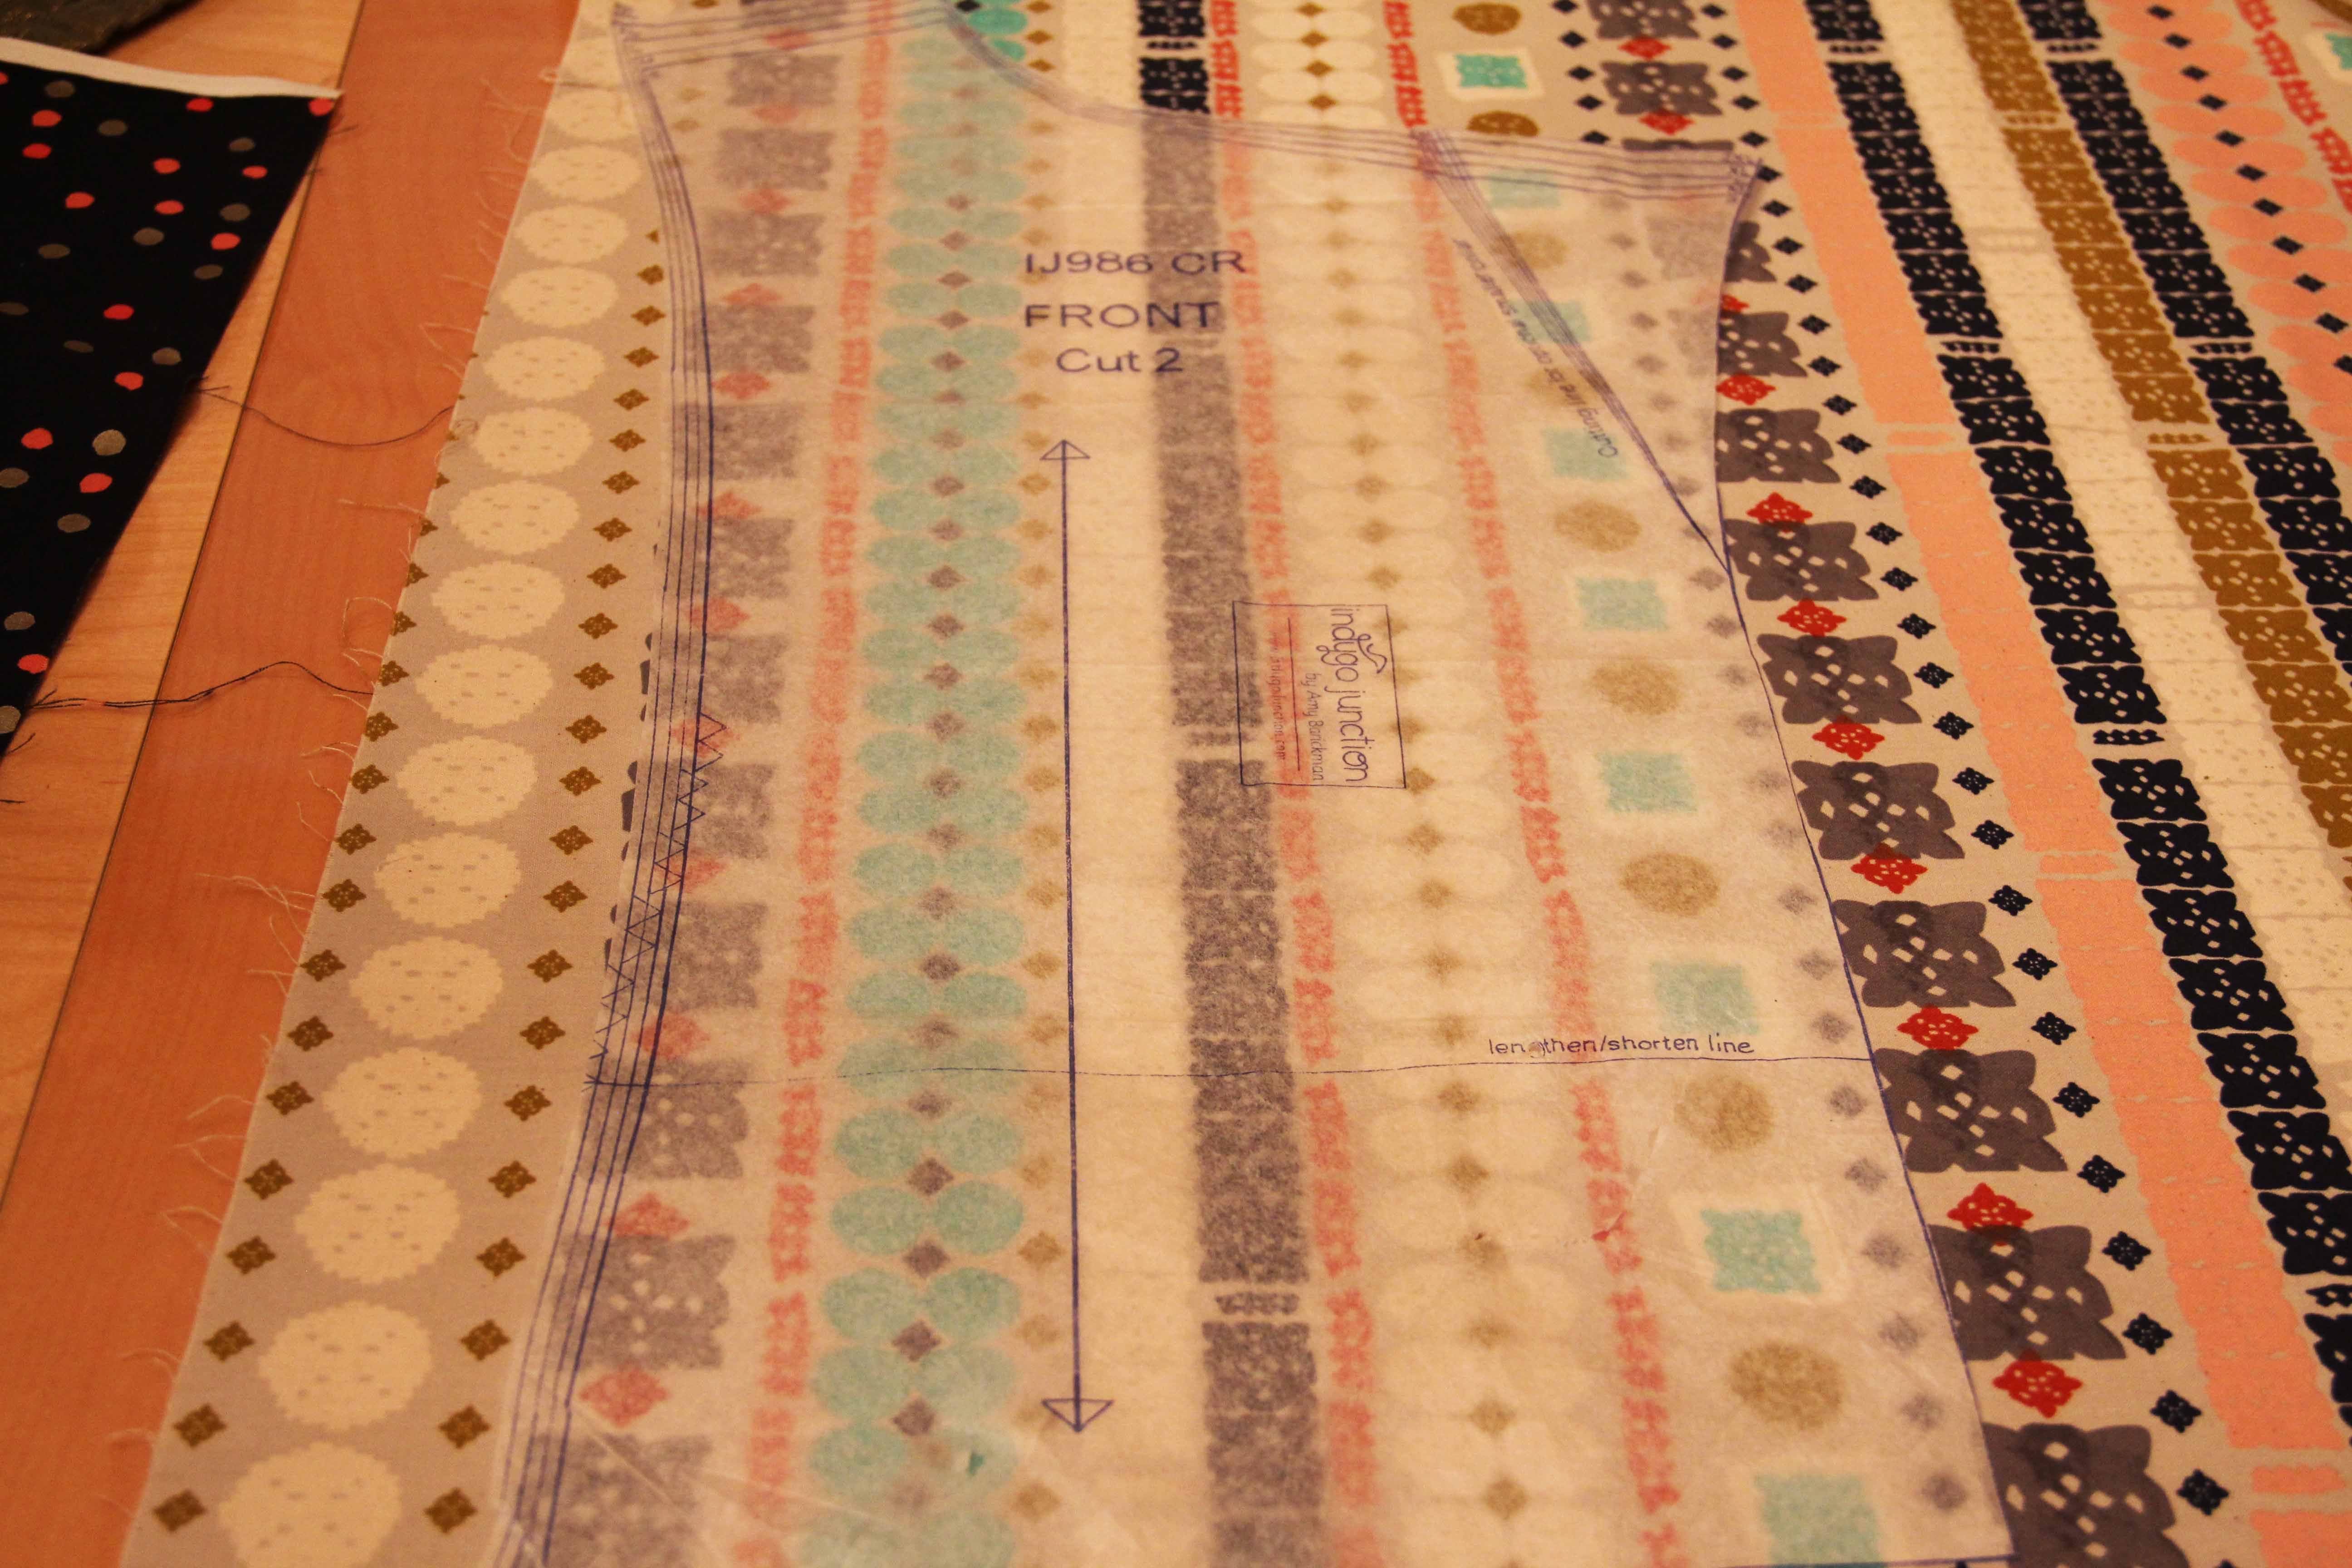
But another big concern of mine as I’ve been sewing, has been the amount of waste…fabric waste, that goes into garment sewing. Making a t-shirt requires the front and back of the pattern to be cut on the fold.

But that leaves a large amount of fabric untouched above the fold. Like half of it.

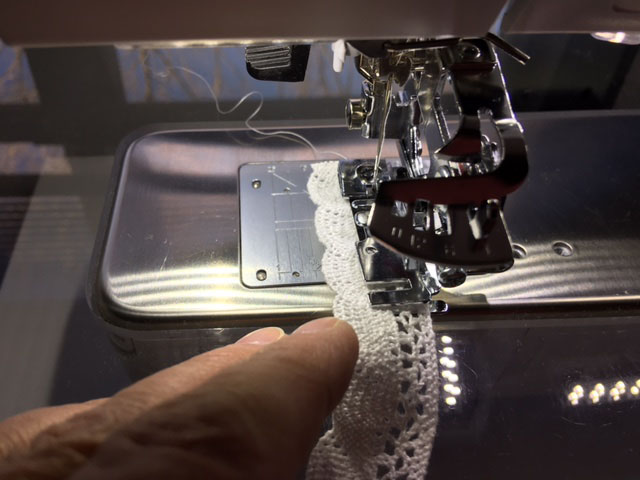
So I started something new. Of course I started editing the pattern. Instead of laying fabric on the fold, I placed it higher up on the fabric to make two pieces instead of one. I added a quarter inch to the area that would normally be placed on the fold to compensate for the additional seam allowance.

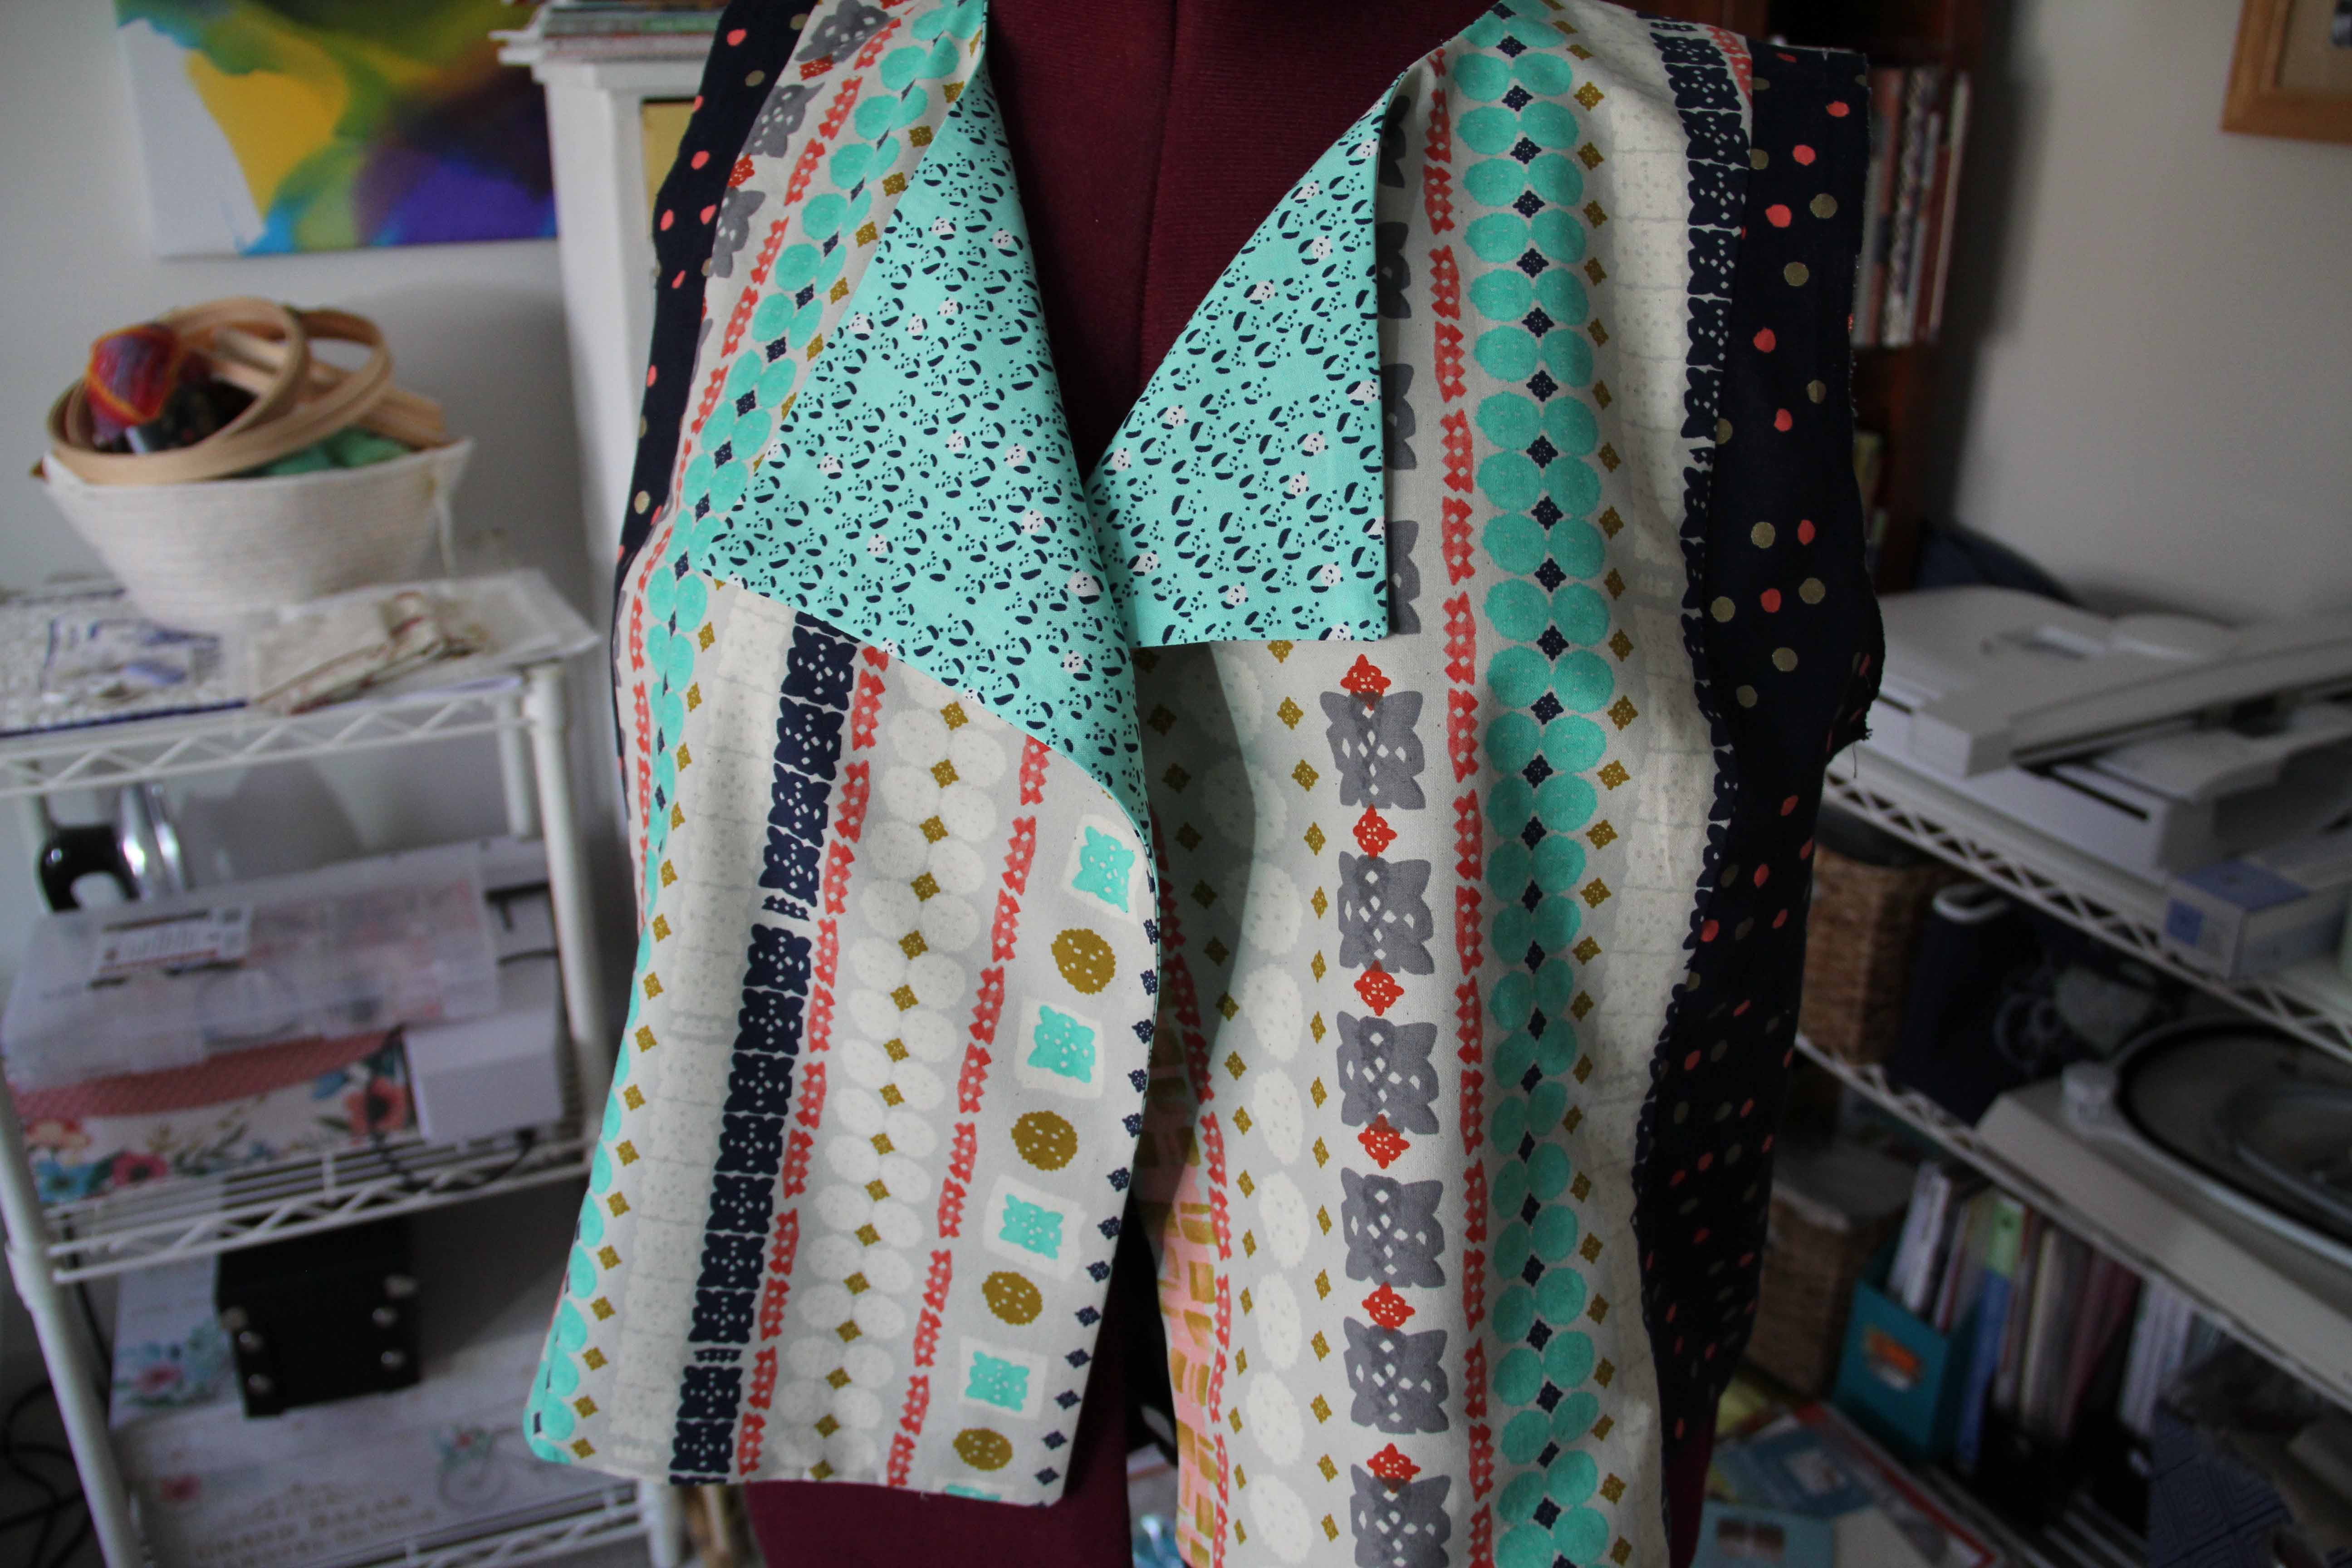
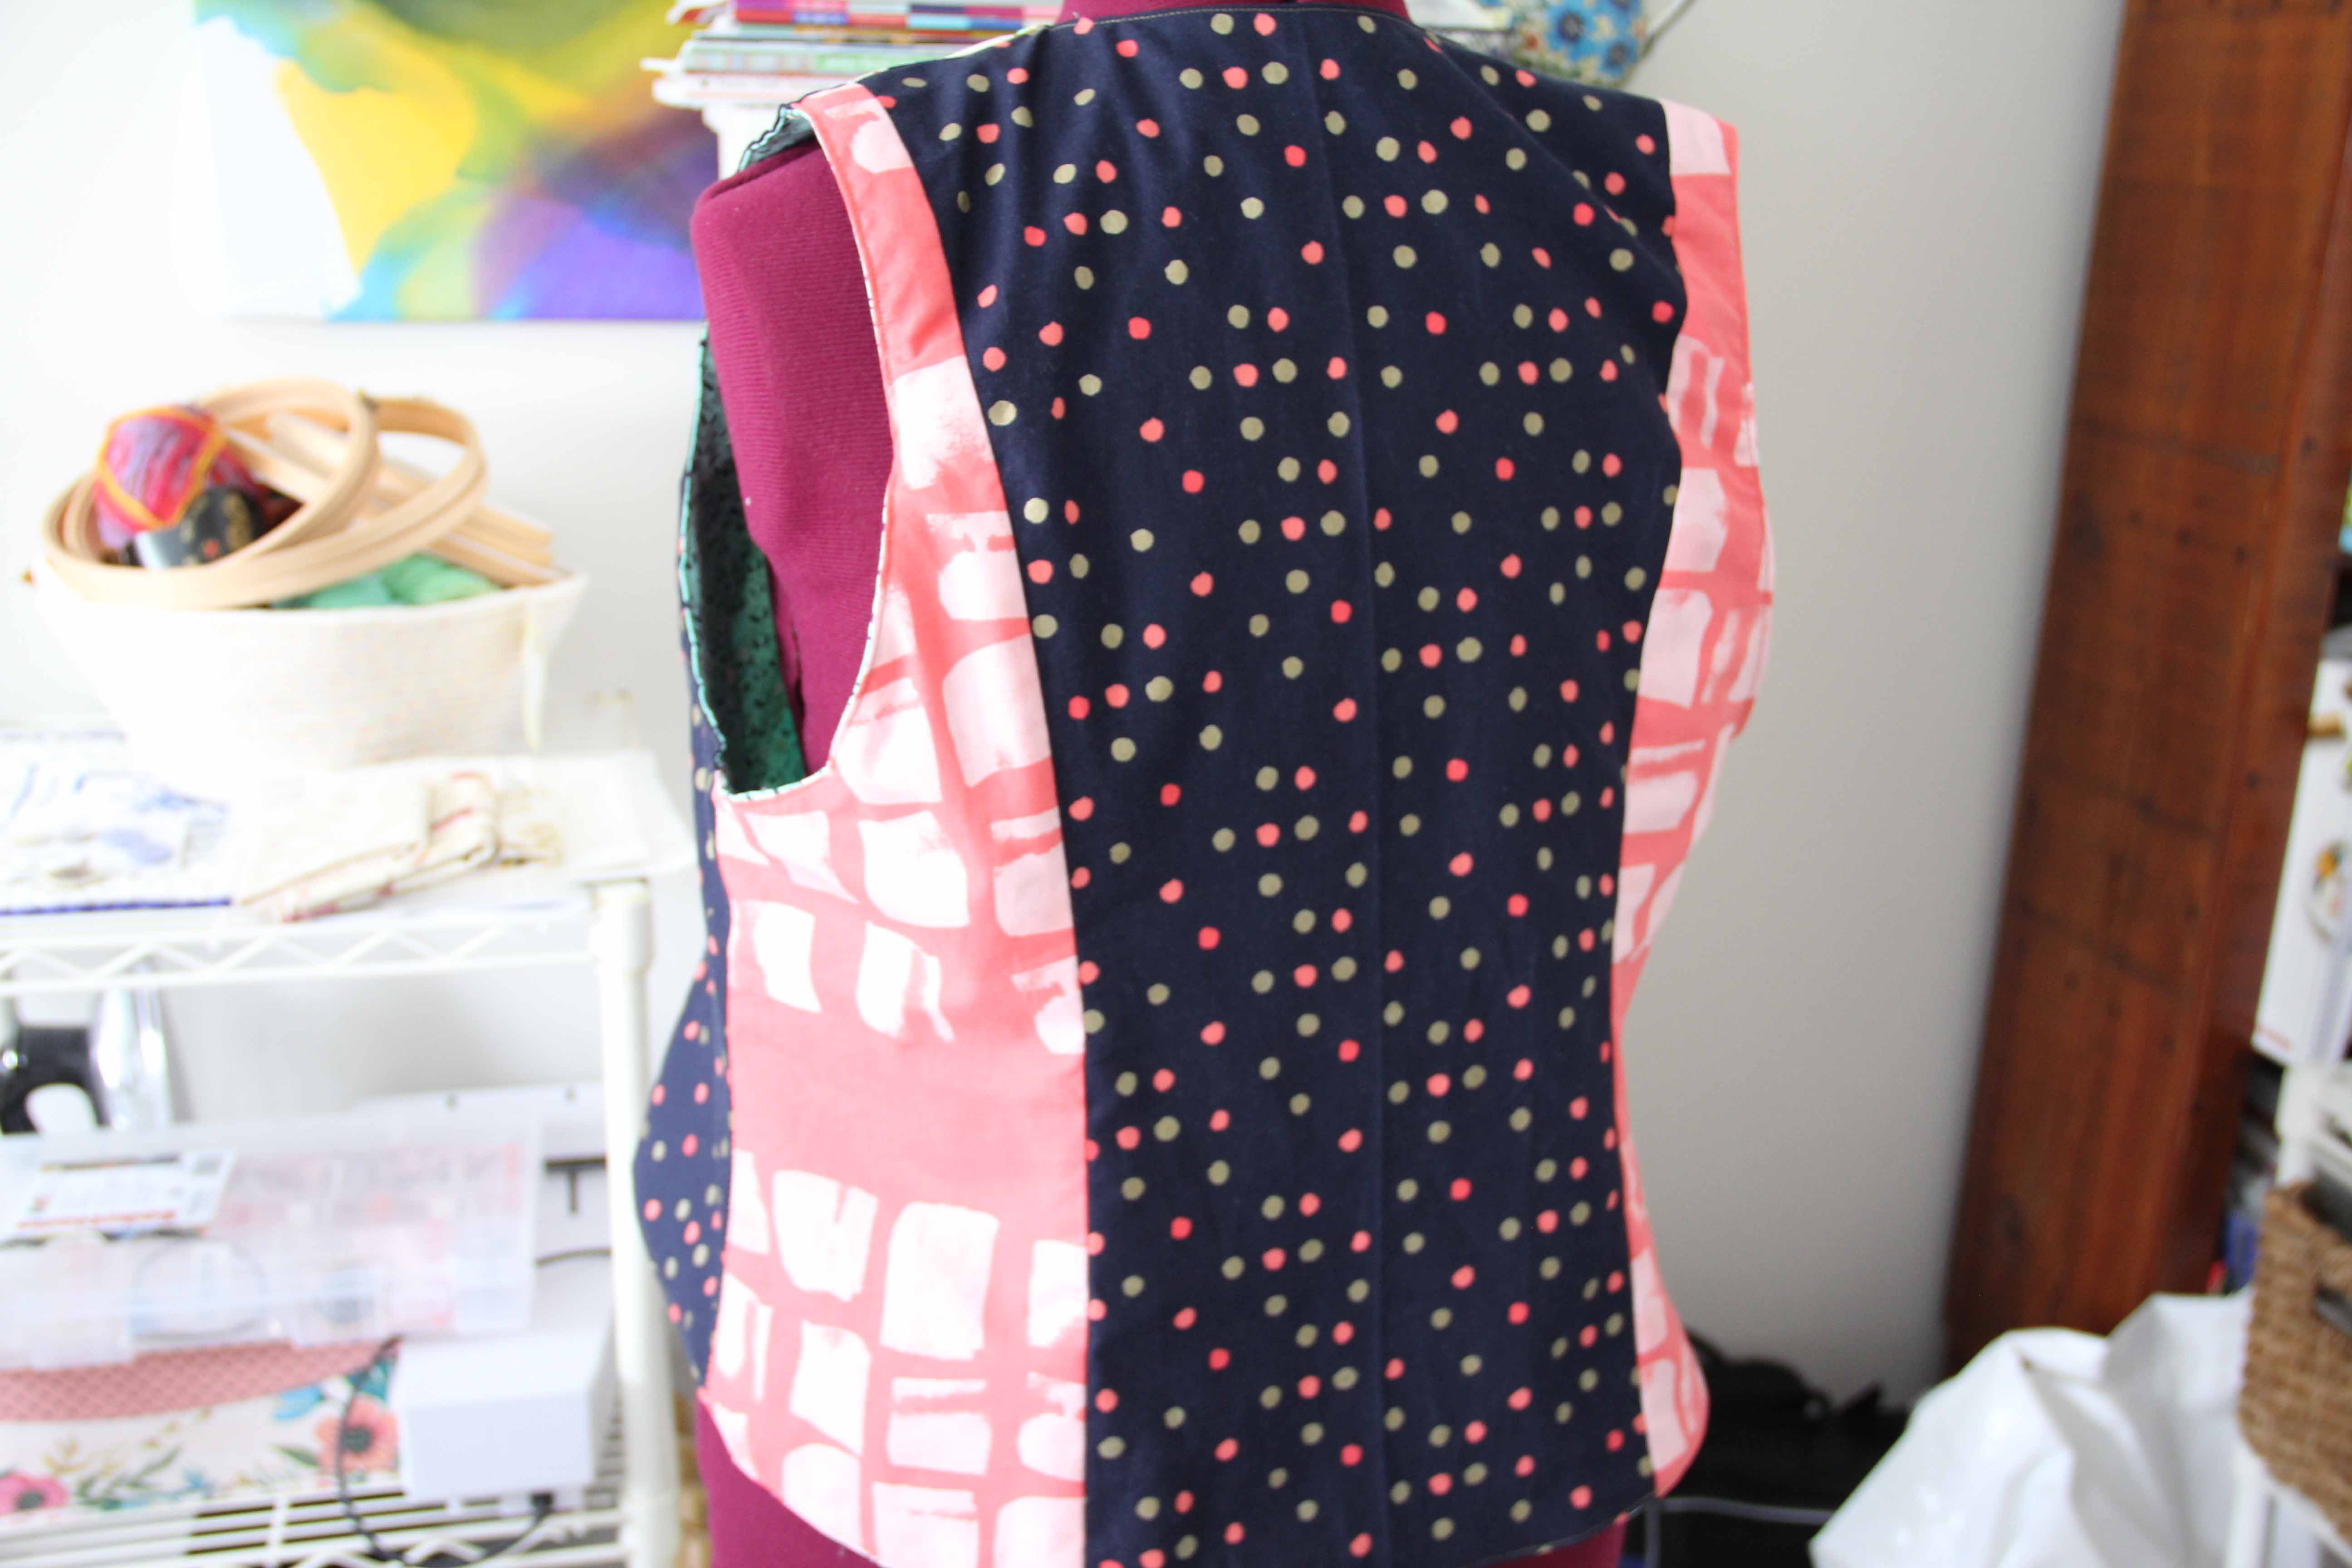
This gave me the ability to make a whole other shirt from leftover fabric. A few more seams, yes. But more clothes, yay! But what about the sleeves? What I found with the sleeves was that I often did not have enough width of my leftover fabric to accommodate the width of the sleeve pattern.

So I folded the pattern in half. I laid it out on the fabric and added the quarter inch seam allowance. I found that the slim line of the sleeve usually left me with enough fabric to make the sleeves with a seam. Instead of two pieces of sleeve fabric, I ended up with four pieces, two each per sleeve. One seam up the middle is barely noticeable.

These additional seams turned out to look structural on the garment. Before assembling, I gave them a topstitch over the side where the serger seam allowance rested. It holds the extra seam allowance in place perfectly, and adds a bit of interest. Voila!

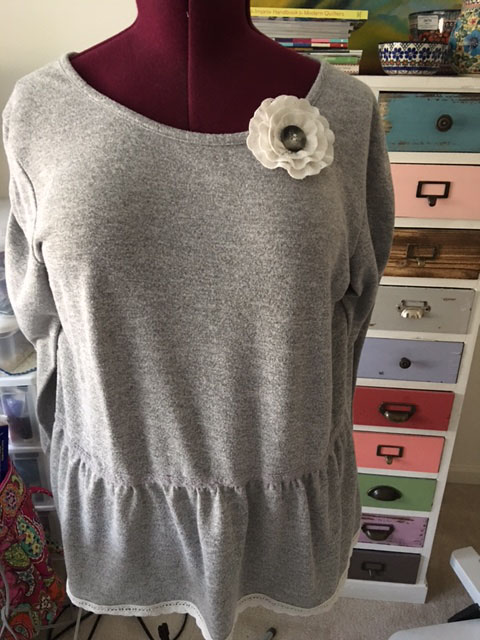
I found that the looser tees left me with enough fabric to make a v-neck closer fitting tee, and the opposite was true of the cut of the v-necks.

Then I feel absolutely no guilt throwing away the remnants after that. they are just tiny bits and pieces.

Bit by agonizing bit, I’m learning about garment construction. And it’s only agonizing because I am not a perfect beautiful, lovely size. Well, actually, I am. But I’m just not what would be considered a model size. So I modify everything to fit in a comfortable way.

And I’m having fun playing with the absolute simplest of patterns. I invite you to try it. It’s fun, entertaining, creative, and most of all, utilitarian. It’s empowering.

Everyone, stay calm and sew on. These are crazy, unsteady times. Do something that steadies you.

(Pattern from Grainline studio. V-neck tee is my own pattern. Fabrics are from Hawthorne Supply Co., various lines, but all organic cotton interlock.)

Going Against the Grain

If you’ve ever done any garment sewing you know that:

1. It’s not easy.

2. If you don’t know what you’re doing, you better follow that pattern EXACTLY.

Well, I’m not much of a garment sewer, although from time to time fabric tells me what it wants to become and my job is just to do what it tells me.  That’s how it was with this delicious fabric from Cotton and Steel.  It’s really not an easy line to piece into a quilt as it doesn’t lend itself to small cuts.  But it was just calling out to me, begging to be made into this vest.

And so I bought it and set it aside until I was ready.

You can see that the line on the pattern indicates that the pattern should lay on the fabric the way it’s shown in the pic above —  grain line parallel to the selvage.

But that wasn’t the vision.  I wanted vertical stripes in front.  So I began my research.  What will happen if I ignore the grain line?  Will the shape be distorted?  Will the vest not lay properly?

I turned to the Internet where the general consensus seemed to be:  Always follow the grain line. Unless you don’t want to.

Actually, most people were specific. If you wanted a pattern to run a certain way, then It’s OK to cheat the grain line a bit.  Especially on a fabric that is not stretchy.  Since I’m working in a pretty tight woven, I thought…I’m going for it.

So I cut out all the pieces, along with a liner.  The pattern I was using was from Indygo Junction (Modern Silhouette Vest).

As usual, I did not follow the pattern completely.  I wanted it to be lined and reversible, so I modified along the way. I actually assembled the entire vest, then the entire lining, and pinned them right sides together. Then I stitched around the outside of the whole thing (very much like making a bag lining.) I also went back and serged all the unfinished edges. I left a space in the back hem to turn inside out.

***Do not sew the armholes together when it is inside out.*** Ask me how I know.

When I teach, I often tell students “Don’t worry. I make the mistakes, so you don’t have to.” It gets a chuckle, but it’s truth. I make a lot of mistakes because I try a lot of new things. I’m as comfortable unsewing as I am sewing. The seam ripper is your friend.

As long as the armholes are still raw edge,  the whole thing can be turned inside out and pressed.

You can finish the armhole by overlocking the right side and lining separately, and then turning them both under and topstitching. It forms a neat finish, with all seams hidden. The last step is to topstitch all the way around the vest and in the process turn under the back hem which was left open when you turned it inside out.

All seams are finished and I can wear it either way.

The back is pieced as well with the same line of Cotton and Steel fabric.

Final step is to add a button in front.

I think I really worried needlessly about the grain line.  It lays just fine, and the little pandas were cut on grain.

C’mon, that fabric is cute!

The bottom line is this: Don’t worry about the grain line QUITE so much when you are working with a medium or tight woven. Anything stretchy, and all bets are off.

Go ahead, try something new.

And don’t be afraid if it goes against the grain.

If You Have a Little Girl in Your Life

Oh, it’s irresistable.  If you have a little girl in your life, and you sew, you will want to make something for her with ruffles…or a little bit of lace, or some gathering, or bows or frills.

You won’t be able to resist, I’m not kidding.

I have a wee one in my life. But she lives far, and I don’t really know her size.  She’s two years old this week, but I decided to make her a 3T dress.

Isn’t that pattern cute?

Anyway, garment sewing is not really my thing, but I am more and more interested in it as I would prefer something that fits and is one-of-a-kind, than something store-bought and cheap.

I found these great fabrics, and in my head I had it all created before I even found the pattern.  You know how that is…then you have to go looking for a pattern that comes close to what you already had in mind.

Then the fun begins.  And frankly, the older I get the more difficult it is to follow a pattern. Sew this on the straight of grain, this on the bias, flip this piece backward, and this one sits on the fold.

Ugh.

(Not to mention that sometimes patterns have mistakes, so it helps to know a little about what you’re trying to do.)  Moreover, I usually just want to do something my way and not the way it shows in the pattern.  For instance, on this dress, I replaced the waistband with a ribbon, and I used a ruffler foot to gather the bottom ruffle.The pattern called for the more traditional method of manual gathering.

I also changed my color scheme a bit from the original layout.

My tip for sewing any garment pattern:  Read the pattern from start to finish.  (Every pattern will tell you this.)  But read it again.  And read it again if necessary.  Unfold the pattern pieces and stare at them as well. Get comfortable with the whole process in your head before you even lay out your fabric. Trust me on this one.

This turned out almost exactly the way I pictured it.

I learned a little about the zipper on the back…I would raise it a bit higher.  But all in all I am happy with the result.


I found out this week that they are coming in to town, so I will be able to give it to this little one in person.  I know at two years old, she won’t care.

But what can I say?  I couldn’t resist.

I only hope it will fit her for at least a few weeks so she can wear it. The matching bag is an in-the-hoop project in machine embroidery, and I added her name there.

Maybe we can get a few pictures of her wearing it before she eats her birthday cake!

A Little Lace Goes a Long Way

I have this stash of lace from my mom, that I keep in the basement, well-protected.  I never know what to do with it, but it’s always in the back of my mind as a resource.

The other day I purchased a (very) cheap sweat-shirty looking top on sale at a discount store where I normally buy groceries. So you know the price was right.

I wore it a few times before I started to get an idea to “cuten” it up a bit.

I ran downstairs to my stash of lace and found something perfect. I added it around the bottom of the shirt.

This took MAYBE half an hour.

It’s cute, right?

That’s when I got out the ruffler and decided to try ruffling the lace a bit to create a flower pin to wear on this shirt (or any other for that matter). I adjusted the ruffler to take a small “bite” so that the ruffle was soft.

You can see that it forms a natural curve and so I then proceeded to sew it onto a piece of wool I had around.

Really, this is very easy and fun stuff if you have the right tools.

I added a button and hot-glued a pin-back onto the back.  Pin-backs are widely available in places like JoAnn’s, Michael’s, etc.

To summarize, everything that’s needed for a project like this:

  • Lace
  • Ruffler foot (or needle and thread if you gather by hand)
  • Basic sewing supplies
  • A round piece of felt
  • A button or another cute center (silk flower?)
  • Pin back
  • Glue gun

This looks adorable on a handbag, a headband, a jean jacket, anywhere! You can also ruffle some fabric and create another look.

Have some fun…I highly recommend a ruffler foot for your machine.  They haven’t changed in years, and I wrote about it here.

So take a break from quilt blocks and try something new!

How Do You Redecorate?

This is the time of year when I look around my house and everything looks stale.

The bathroom needs new accessories and new towels, the pictures on the walls have been there a hundred years.  Well maybe not that long but they might as well be.  And I don’t really have a lot of enthusiasm and energy (read $$$) for a huge renovation.

Then along came this fabric collection.  I LOVE it.  And I’m not even into roosters.

IMG_3403It’s called El Gallo by Deb Strain for Moda.

With all the blacks, grays and reds, I just thought it was elegant and fabulous.

I had to have it for our kitchen.

We have one large window and one small window in the kitchen, and I quickly grow tired of the valances, so I make new ones whenever I have the time.  I decided I would make this set reversible.

Now, this is so easy to make, it’s unbelievable.  Simple valances for a kitchen or bedroom are nothing but straight lines.  I can’t tell you how many people think that’s some sort of inborn talent. Really it’s not.  It takes a sewing machine, some thread, and the will to practice.

For a simple reversible valance, you need two types of fabric, preferably contrasting in some interesting way.

1.  Measure your window.  You’ll need 2 to 2 1/2 times the width of your window in fabric to get a nice gathered appearance.

2.  Decide the length of your valance and add an inch or so for seam allowances.

3.  On mine I included 2 inches of contrasting fabric on the bottom, which I laid out the opposite way on the reverse side. See the picture below.

4.  Place the fabric right sides together and sew all the way along the top and bottom, making a large tube.  I used a serger because it finishes the edges at the same time.

5.  Turn the whole thing inside out and press the seams along the top and bottom.  This is the most time-consuming part.

6.  Next, I serged the ends of the tube…not shut, just all the way around.  if you don’t have a serger, just fold and press the sides under twice, about a 1/2 in. on each side.  Don’t sew the front to the back just yet. We have to add the rod pocket.

7.  About 2 inches from the top, sew a line all the way across the valance.  Make sure your rod will fit before you sew the second line of the rod pocket, usually down about 2-3 inches from the first line. Sew all the way across.

8.  Now you can use a topstitch to sew the sides together leaving the rod pockets open.

9.  I also added topstitching along the bottom contrasting fabric.

10. Done!

IMG_3383Once the valances were up, of course I needed some accent pieces with roosters on them.

Now, frankly, I thought roosters were yesterday’s news. Washed up, used up, replaced by chubby hens with skinny legs.  I don’t know, just not current any more.

But I went into Strawflower Shop in downtown Geneva and asked them if they had any roosters. “Oh yes,” the gal exclaimed, “upstairs in our furnishings. I’ll call to let them know you’re coming up.”  By the time I reached the top of the stairs, an elegant woman greeted me.  “I understand you’re looking for roosters,” she said, as though I were buying fine wine or maybe a new car.

“We have quite a nice selection in our kitchen area. Roosters are always in demand, you know.”  I didn’t know.

But I did find a lovely rooster for the kitchen wall.  Who knew they were in demand?  I guess I’m cool. Again.

IMG_3397

Looking up at the valance you can see that it's reversible, with contrasting detail.

Looking up at the valance you can see that it’s reversible, with contrasting detail.


Baby Steps Toward a Project

I’m getting ready to start working on the polka dot project.  I have an idea about creating a tree with the different polka dots as the leaves.  I am starting as a base fabric some absolutely lovely twill which I ran across on rosie.com, which had an advertising link to Honey Be Good. Honey Be Good sells premium organic cotton.  I’ve only purchased this red twill there so far, but wow, the twill is yummy.  I need some clothes made out of this stuff.

I’ll be adding wool as the trunk of the tree, and I wanted to outline it in white.  I’m never sure how it will all turn out, but that’s the thought right now.

So I experimented on the machine using white perle cotton, size 8, as the blanket stitch thread.

perleAs you can see, the perle has a lot of dimension, jumps off the fabric and generally adds a lot of pop. But size 8 is just too large to go through the tension disks properly.


backside  I used a 90/14 needle and reduced the tension somewhat.  But you can see that the back side was looking like it might get knotted and nested at any moment.  Considering the size of this project, I just don’t want to be worrying so much about the  thread.


aurifil 28


I switched to Aurifil, size 28, and used the triple blanket stitch.  I made the blanket stitch a little wider for visibility, since the thread is so much finer.  Aside from having a more “machine-stitched” look, it does the job with the same “eyeball impact”.


finalSo here’s where I’m eventually headed.  I will be using much larger pieces of wool on the twill, with the white blanket stitch around it.  Eventually the whole project will be machine quilted, but not until I get all the details that I want.

I urge you to really experiment with your machine and some of the thicker threads.  You can get a hand-stitched look, and even when it does not look quite as hand-stitched, you can certainly add texture, dimension and detail to your project.

Be bold.  Nobody is writing the rules.

Finally, Ready for the Rainy Season

raincoat

raincoat3


Whew.  I don’t think I’d make another raincoat anytime soon .  While the vinyl fabric sewed up nicely, bulky seams were difficult.  The sticky vinyl would grab hold of my needle and pull it out of the machine.

I switched to a titanium-coated needle and same thing.  It got to be a bit of a wrestling match.

In general, I’m pleased with the result.  More than that, I’m pleased that it is done.

I may go back and tweak a thing or two.  Doesn’t everyone?

Happy Easter, friends.

The Making of a Raincoat – Part 3 – A Tale of Two Sleeves

Just as anticipated, the answer to the sleeve dilemma appeared when I least expected it…in the form of a petite white-haired woman who walked into the store.

We chatted for awhile, and I invited her to join some other customers in having a little cookie treat in the back classroom.  I sat down with a cookie myself, and almost thinking aloud, I mentioned  the “speed bump” I had run into using vinyl-covered fabric.  It’s actually a dream to work with.  It sews and folds and presses just fine (with a pressing cloth).  But vinyl-covered fabric doesn’t have a lot of “give”.

When setting the sleeves on the muslin and on the lining, I had no trouble because I could ease the fabric.  Not so with this.  So I ended up with two sleeves that appeared to be too big for the armhole.

The petite woman looked at me.  “Why don’t you undo the sleeve seam and the side seam, attach the sleeve, and then sew up the sleeve seam and down the side?”

I looked at her, disassembling and reassembling the coat in my mind.  It was an obvious solution – and I never would have thought of it.  “That just might work…”  I said slowly.

“Mmm-Hmmm,”  she said, taking another bite of cookie.  “I used to do a lot of garment sewing, and you know, you can forget about pattern instructions.”  She waved her hand dismissively, with a twinkle in her eye.

Sure enough.

The next day I went back to work on the project, and tried what she suggested.  Voila!  Two (almost) perfectly set sleeves.

IMG_1329[1]Onward to the next set of challenges.

And a special shout out to all the women who help other women every day.  You make the rockin’ world go ’round!

The Making of a Raincoat – Part 2 – The Saga Continues

Even though I don’t have much time to work, I’ve been diligent. At this point, I have completed the lining and facings, as well as the hood.

IMG_1324[1]IMG_1321[1]


So far, so good.  I also got most of the piping created, as shown below.

IMG_1328[1]

Yesterday, I started on the body assembly.  I had to stop last night because no matter what I did, I could not get the sleeves to fit the bodice.  I finally put down the work and went to bed.  Unfortunately, it will be a few days before I can get back to it.  I’ll have to think about what is happening with the sleeves and see what adjustments can be made.

Never fear.  At this point, it’s just frustration.  I haven’t stitched a bit of the sleeves, so no “unsewing” yet, just pinning.  A day or two from now, it will all become clear.  So I will wait until the project is ready to advance.  I suppose it’s good practice–learning when to step back, take a break, and wait.

I’m not good at stepping back or waiting.  I’m good at barreling through.  So for now, I will let the rain coat take the lead.  I will let it rest.  And when we’re both fresh, we’ll pick up where we left off, and the rest will be easy.