When I Despair

“When I despair, I remember that all through history, the way of truth and love has always won.” –Gandhi

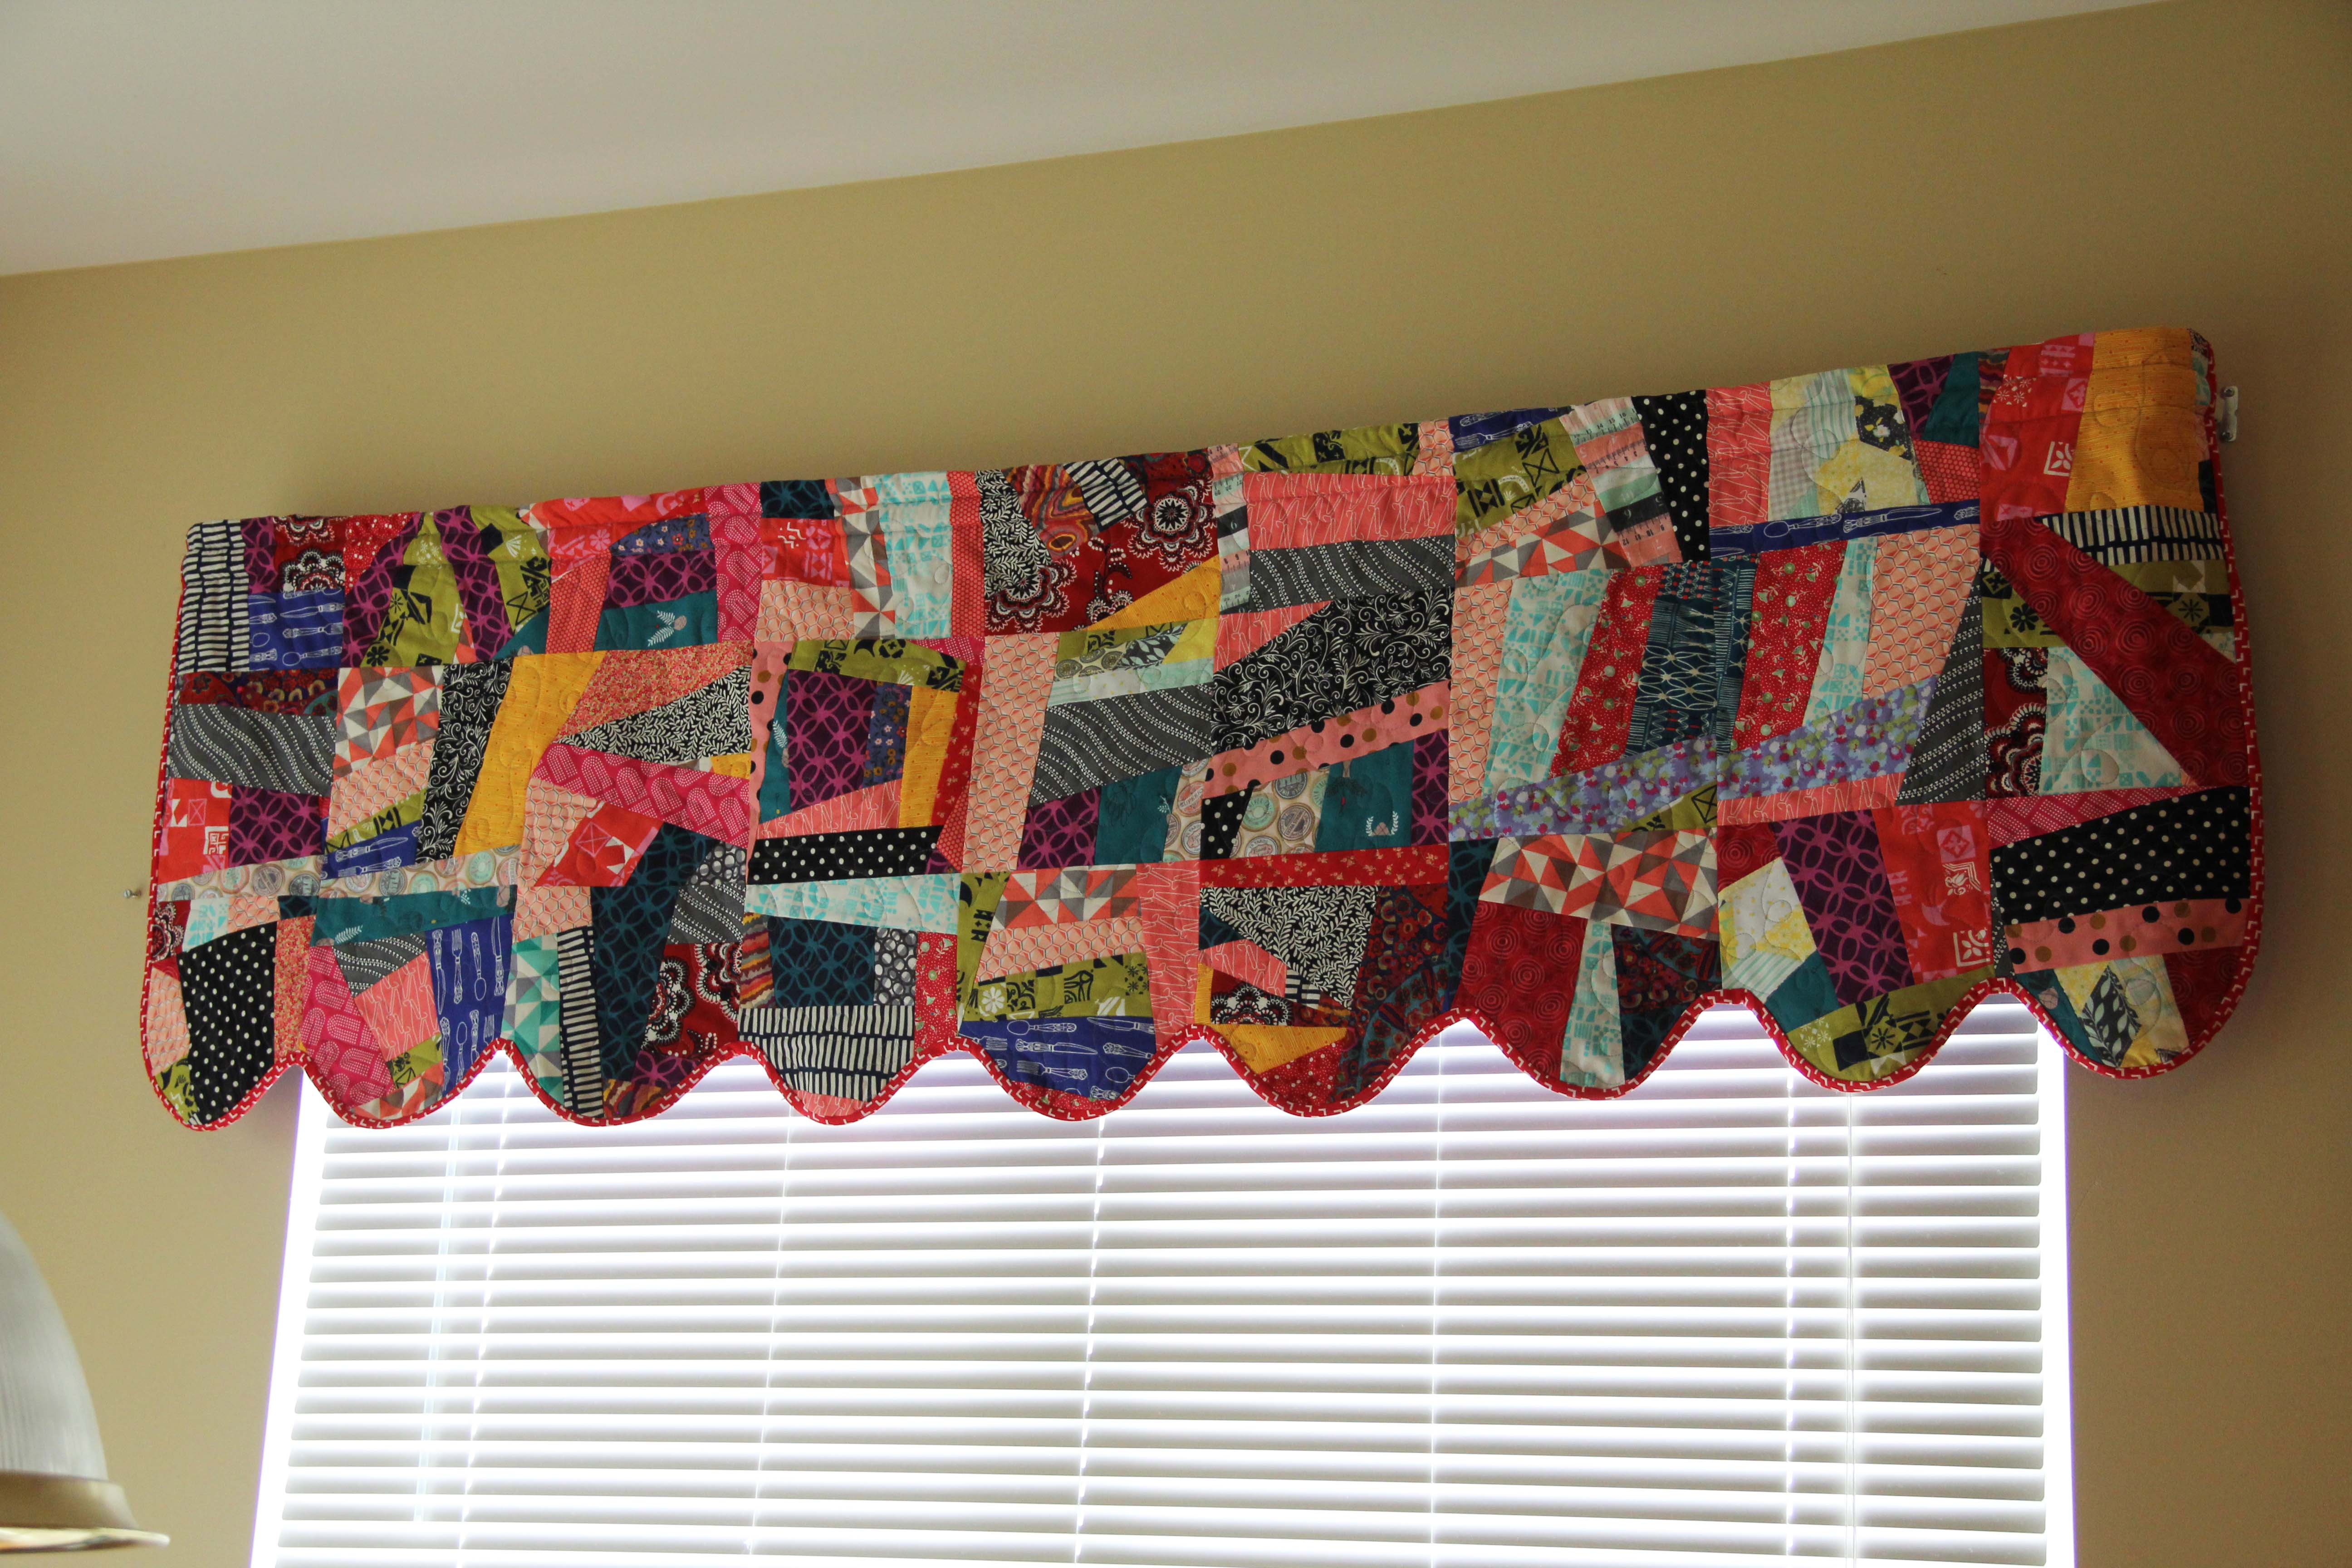
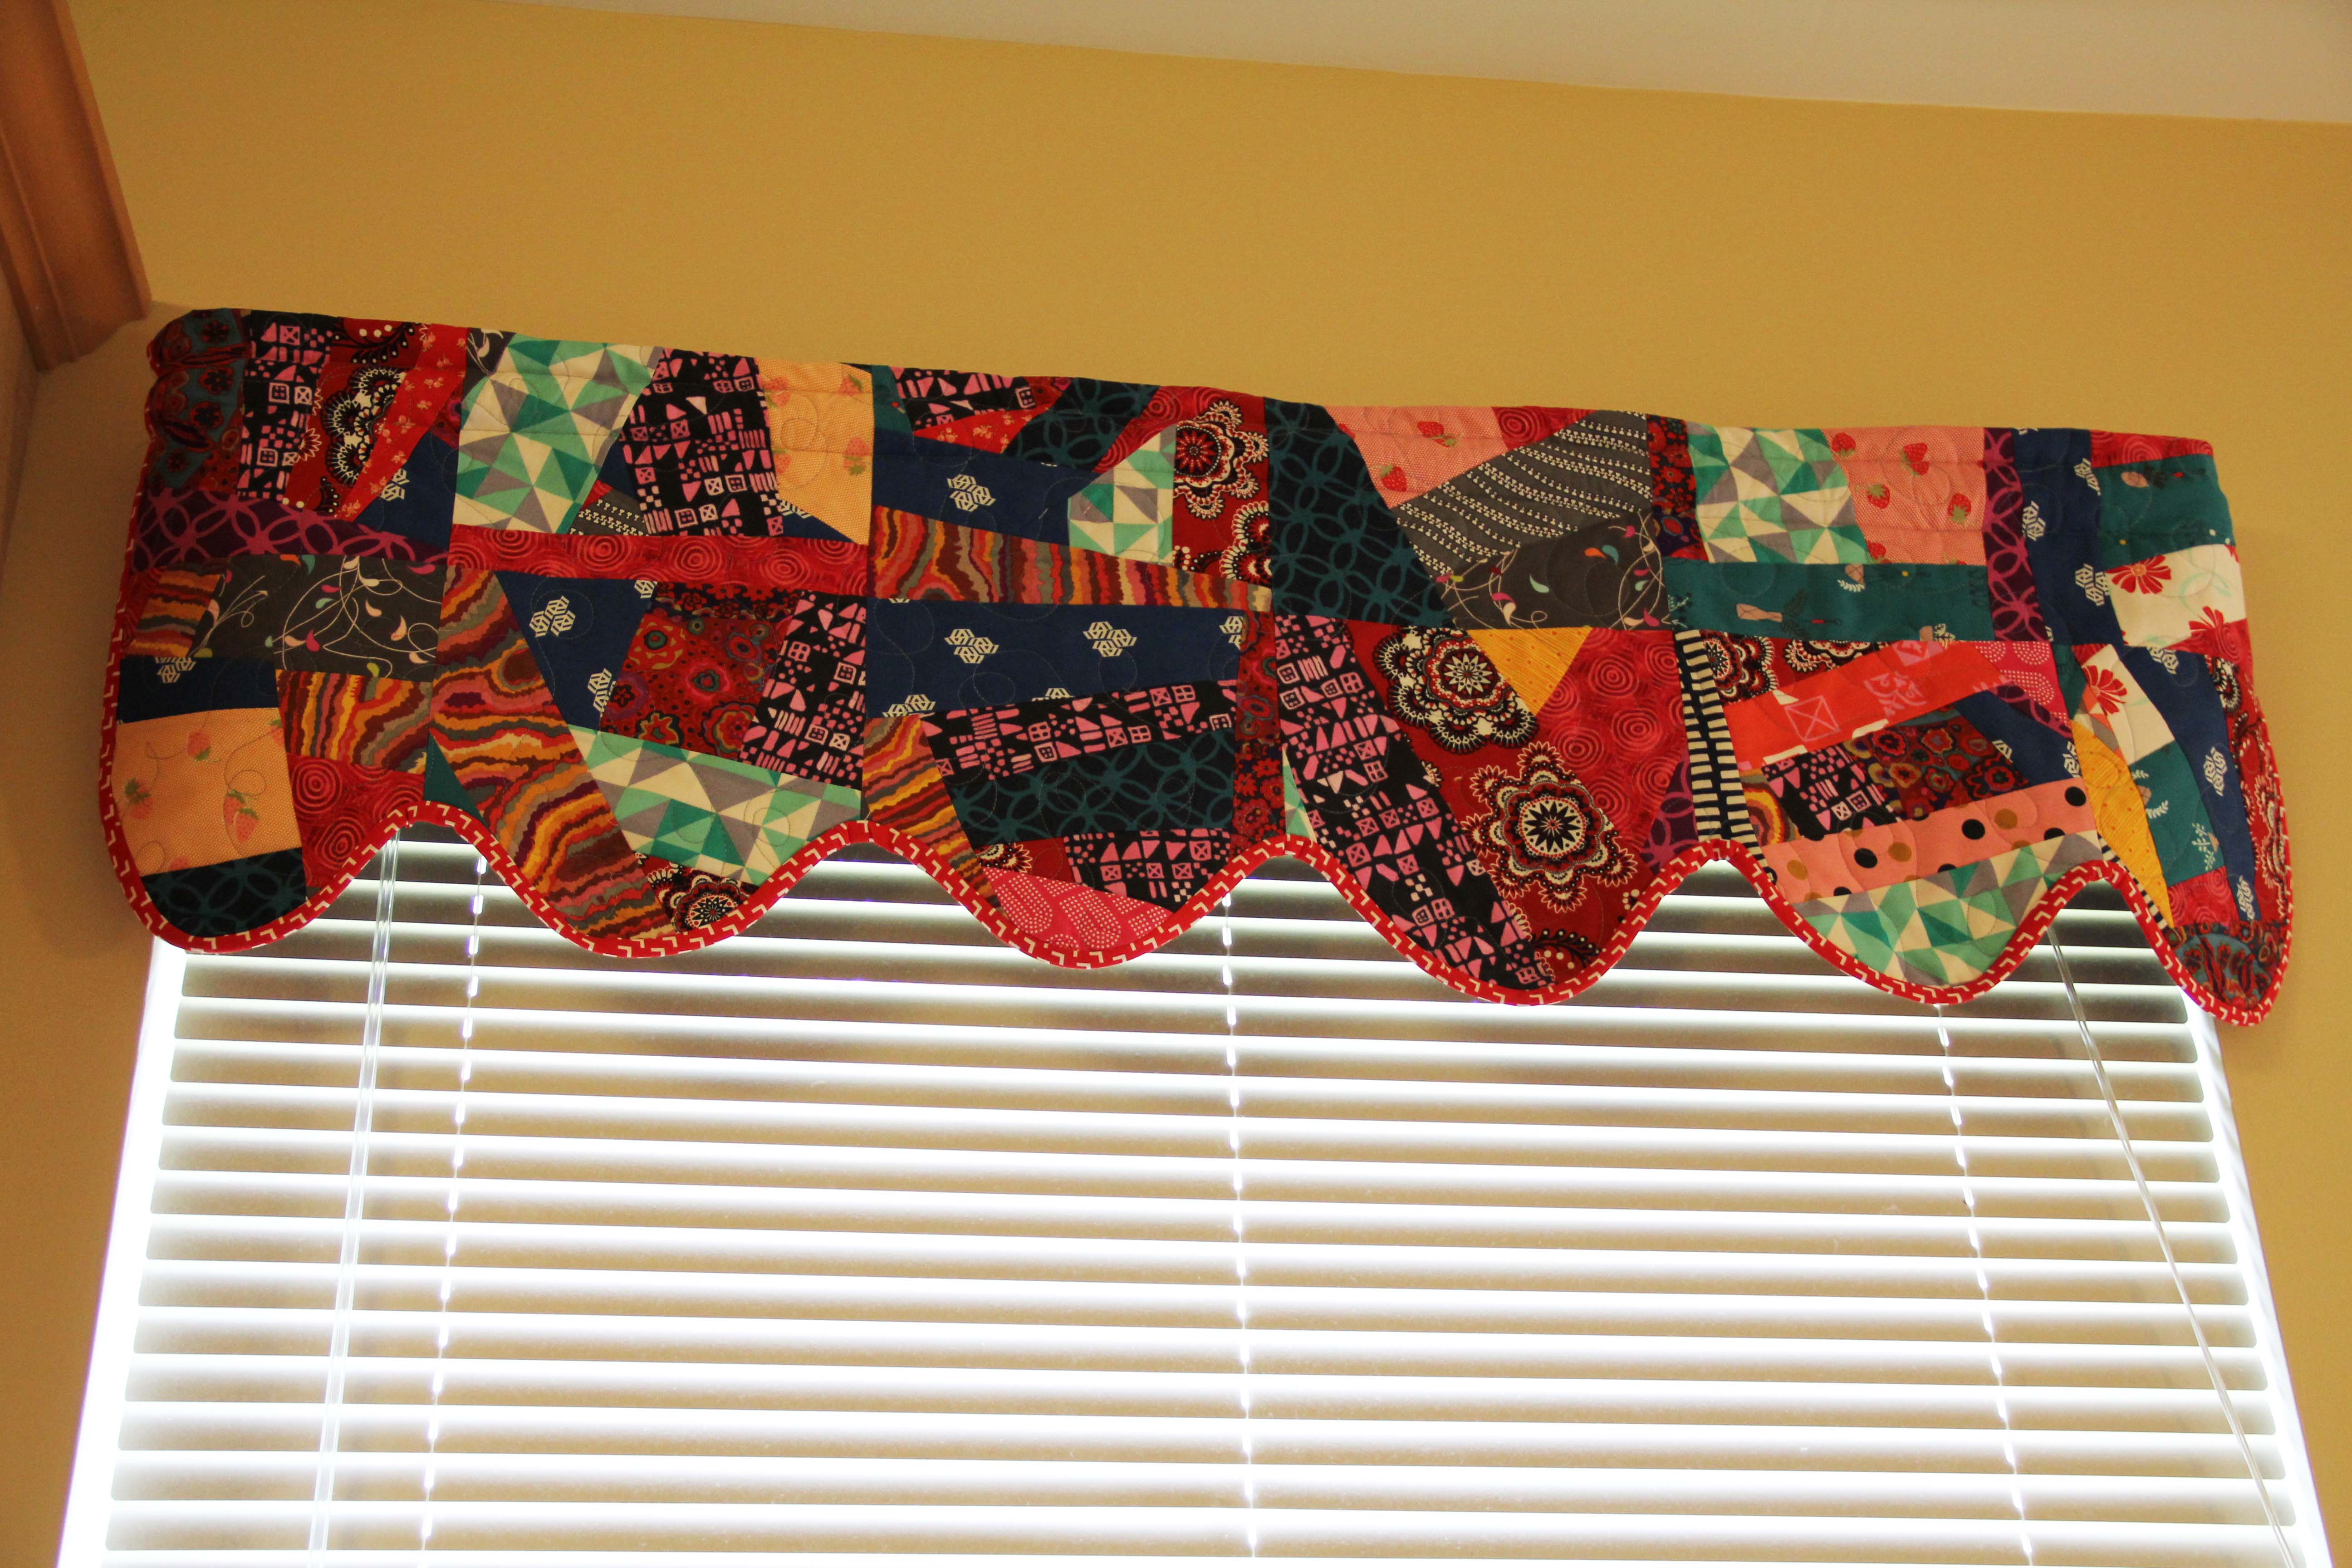
That’s the quote embroidered on this quilt.

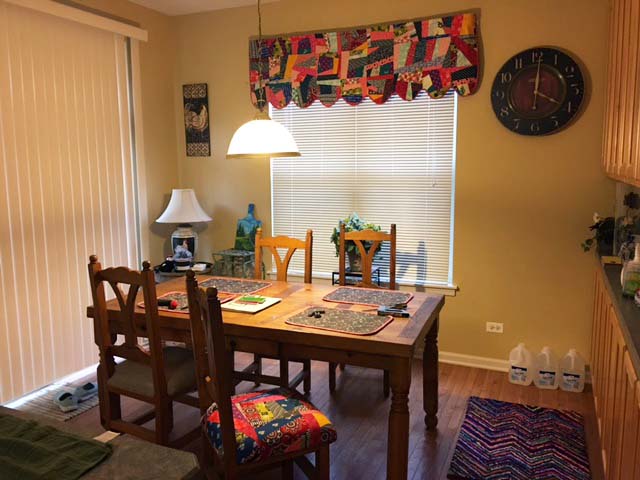
I finally got around to hanging it in the sewing room. I hung a rod that is a place for me to change out the quilt being displayed whenever I feel like I need a change.

I worked on this quilt years ago. You can see the details and read about it here.

It’s the quote that is hanging with me now.

Despair is not conducive to creativity. These days, I spend a lot of time and energy on despair. Some of you may feel the same way. Others will think I’m being a drama queen. The point is not how any of us SHOULD be feeling. Feelings happen. The goal of those of us who are grown-ups is to learn to cope with them, or at the very least to learn to work through them and not be imprisoned by them.

Gandhi is a leader in this area. He is famous for recognizing that anger is a tool that can be harnessed.

Apathy was what he considered to be the enemy of the good.

So in an effort to shake off both apathy and despair (which I recognize as being diametrically opposed) I decided my sewing needs to start small.

I’m not ready or able to take on a big project. Maybe soon.

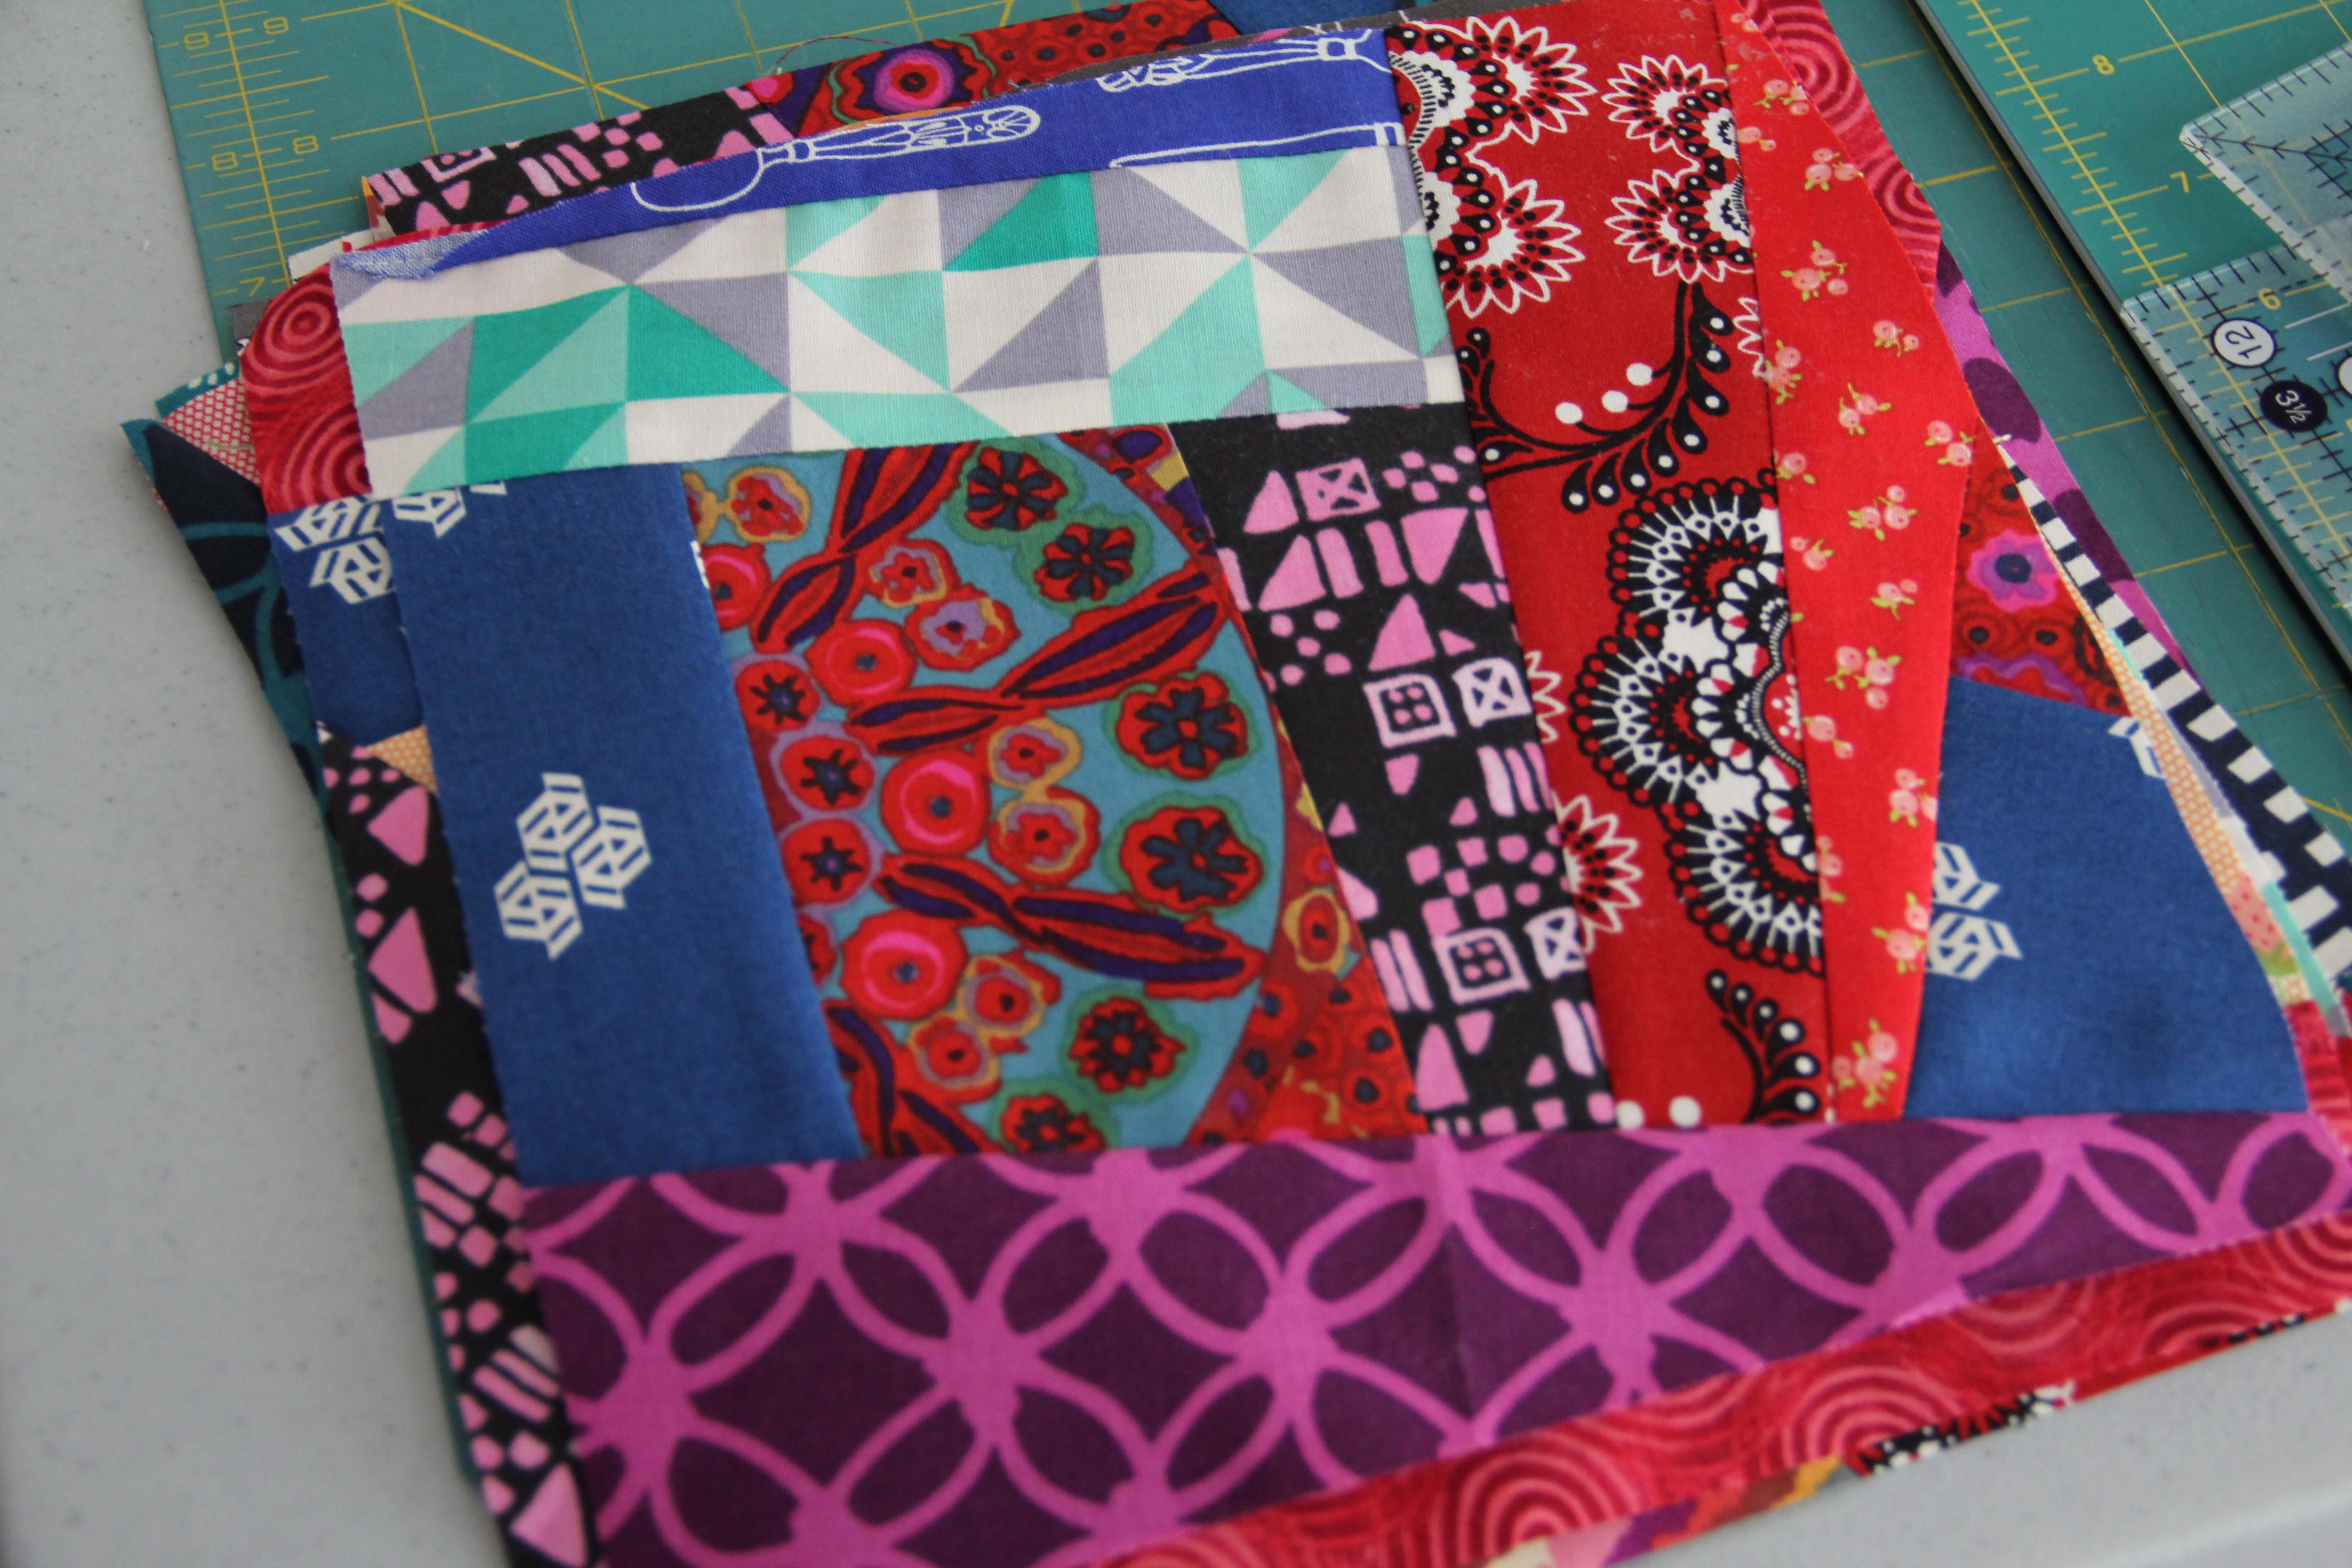
But for the next few days, I’m going to focus on these 2 piles of scraps. One is of old upholstery samples, and the other is a pile of jeans…most from my father, but the cute pockets are from another project I had in mind at some point.

I plan to start serging and see where it takes me. I want to make some grocery bags because I want to permanently replace all those plastic bags. Forever. Which means I need a supply of large sturdy bags.

Wish me luck.

I am starting without any clear direction, which is never a good plan.

But sometimes you have to take a leap of faith and start the work and hope the creativity shows up.

Stay strong, fellow stitchers.

This, too, shall pass.

Crazy is Good

I was sitting at the kitchen counter one day, staring at the valance over my window.  I’m ready for something new.  I get this from my mother who changed curtains in the kitchen to match every holiday and season.  In the fall, we had leaves, after Thanksgiving, holly and berries, in the spring, the lovely florals went up…you get the picture.

I don’t have cafe curtains, though I have thought about them.  But sitting there, staring away, I had an idea.  What about a quilted valance?  Better yet, what if I made matching seat covers for the chairs?

Suddenly I was excited about a project.  All I wanted was colorful and different.  So that’s what I made.

window3The valance is made of crazy quilt blocks, 8 1/2 inches unfinished. I grabbed all sorts of scraps I had lying around…some were from fatquarter bundles, some random, some leftovers from other projects and just began sewing.

The beauty of this project is that it doesn’t take any real focus or concentration.  The 1/4 inch seam doesn’t have to be perfect.The colors can be anything you want…no matchy-matchy stuff. Just square it up to 8 1/2 inches, then sew them together.

crazyblocks1 If you have never sewn this way (improvisational is what some call it) you will love it. Well, some people like me love it, and others find that they need more guidelines.  But, the freer you are with the blocks, the more fun it gets (if you can let go of the need for perfection.)

And the result is happy crazy.

window1For this valance, I assembled 3 rows of blocks, measured the window and the rod, and created a quilt sandwich and quilted the whole thing.  Then I came back and added the scallops and bias binding.  From the top, I just folded it down enough to form a rod pocket and sewed it in place with a couple of straight seams.  The binding goes all the way around, it’s just turned down at the top so you don”t see it.

And because the quilt is heavier than plain fabric, even with a lining, it hangs nice and flat.

I love it.  It’s exactly what I wanted.

Then I turned to the chairs.

chair3Each chair requires an additional 9 blocks.  I only finished one chair so far, but it goes fast. The blocks on the chairs are not quilted…just nine blocks sewn together.  I studied the chair to see how the cover was attached, and I could see that they started in the back. ( I am NOT an upholsterer, but would love to be…I don’t think it’s as easy as it looks when you get to armchairs and things like that!)

Anyway, I started in the back and pulled the fabric to the front, using a staple gun.  I did allow myself enough fabric to double the seam where it’s stapled…I didn’t want the fabric to fray and unravel.

chair2Just pull taut from the back  to the front and staple it down.  It doesn’t look very taut in this picture, because my hands were on the camera, but when you are working, you really need to pull tight, with one hand and staple with the other.

chair1You can do this.

I am loving how this turned out.  I know it won’t last forever, but now that I’ve changed the covers once, I can do it any time.

sinkwindow1Finally, I made another little valance to go over the sink, which is a smaller window.  Same process, fewer blocks.

This was fun stuff.  If you can make a quilt, you can make these valances and chair covers.  It’s just taking the same principles and adjusting to different shapes.