More Freestanding Lace

Boo!

Machine embroidery has so many uses, but the one I’ve been dabbling in the most lately is freestanding lace. I’ve blogged about it a few times in the past. You can read those posts here and here.

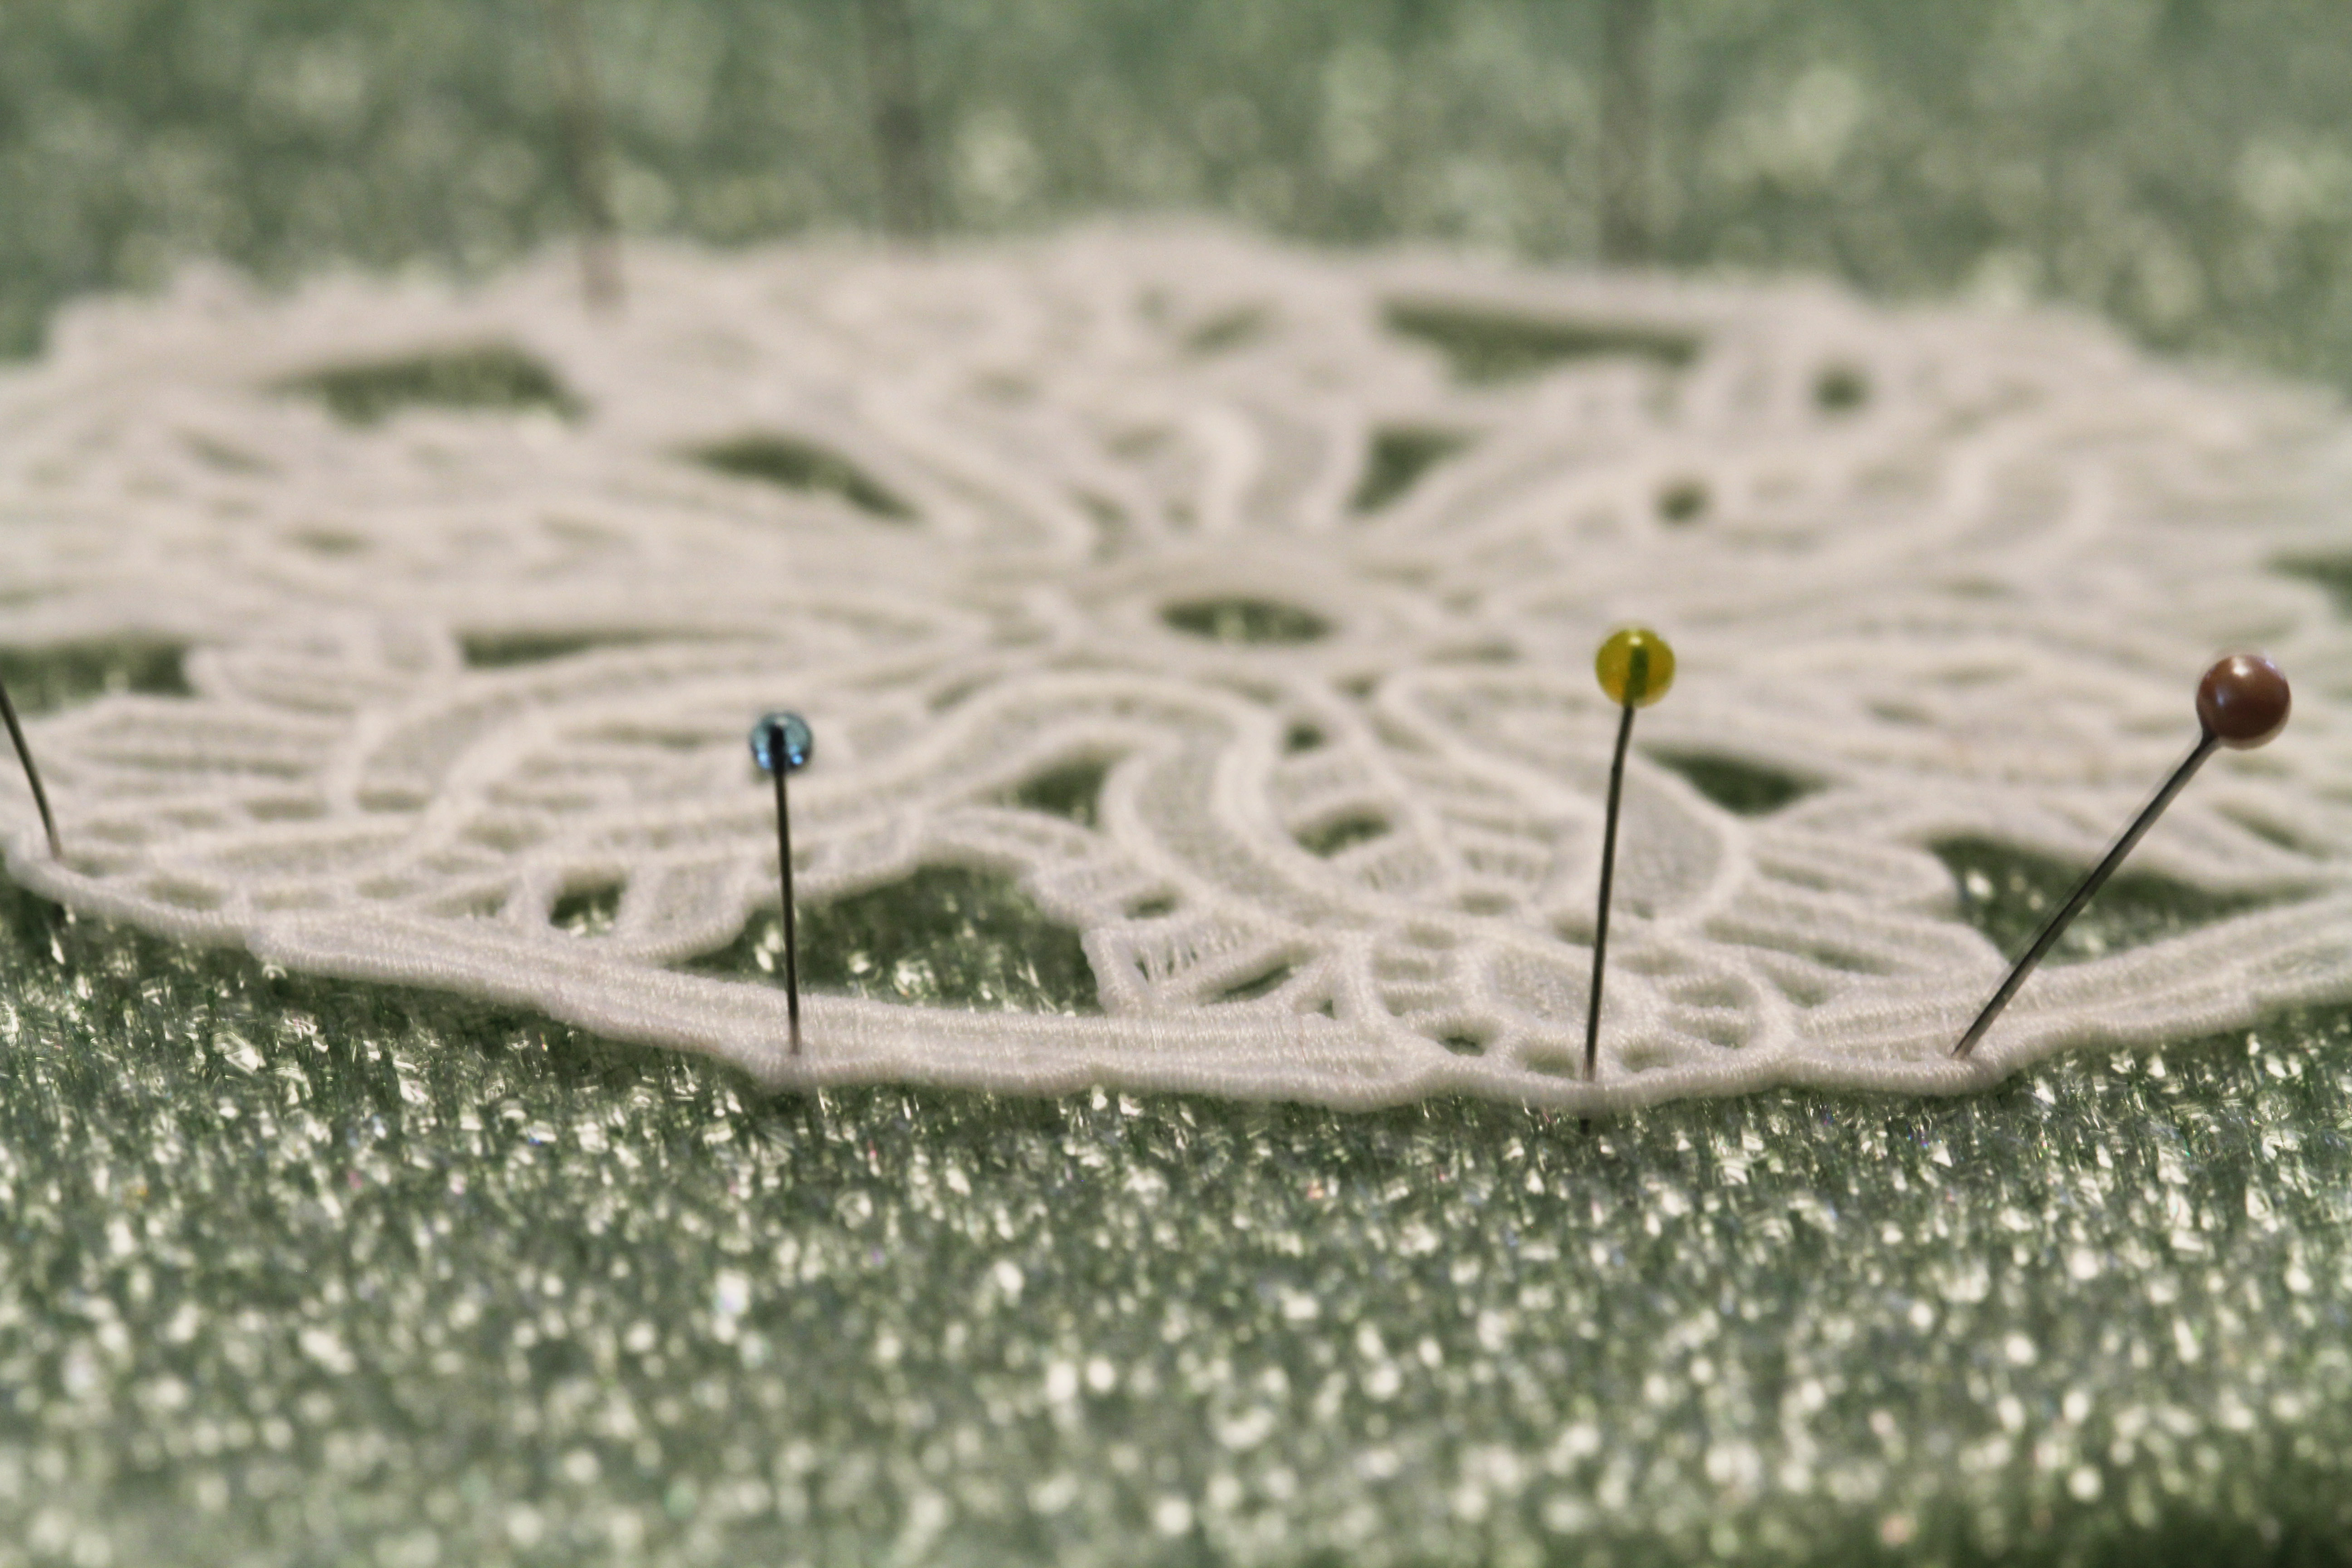
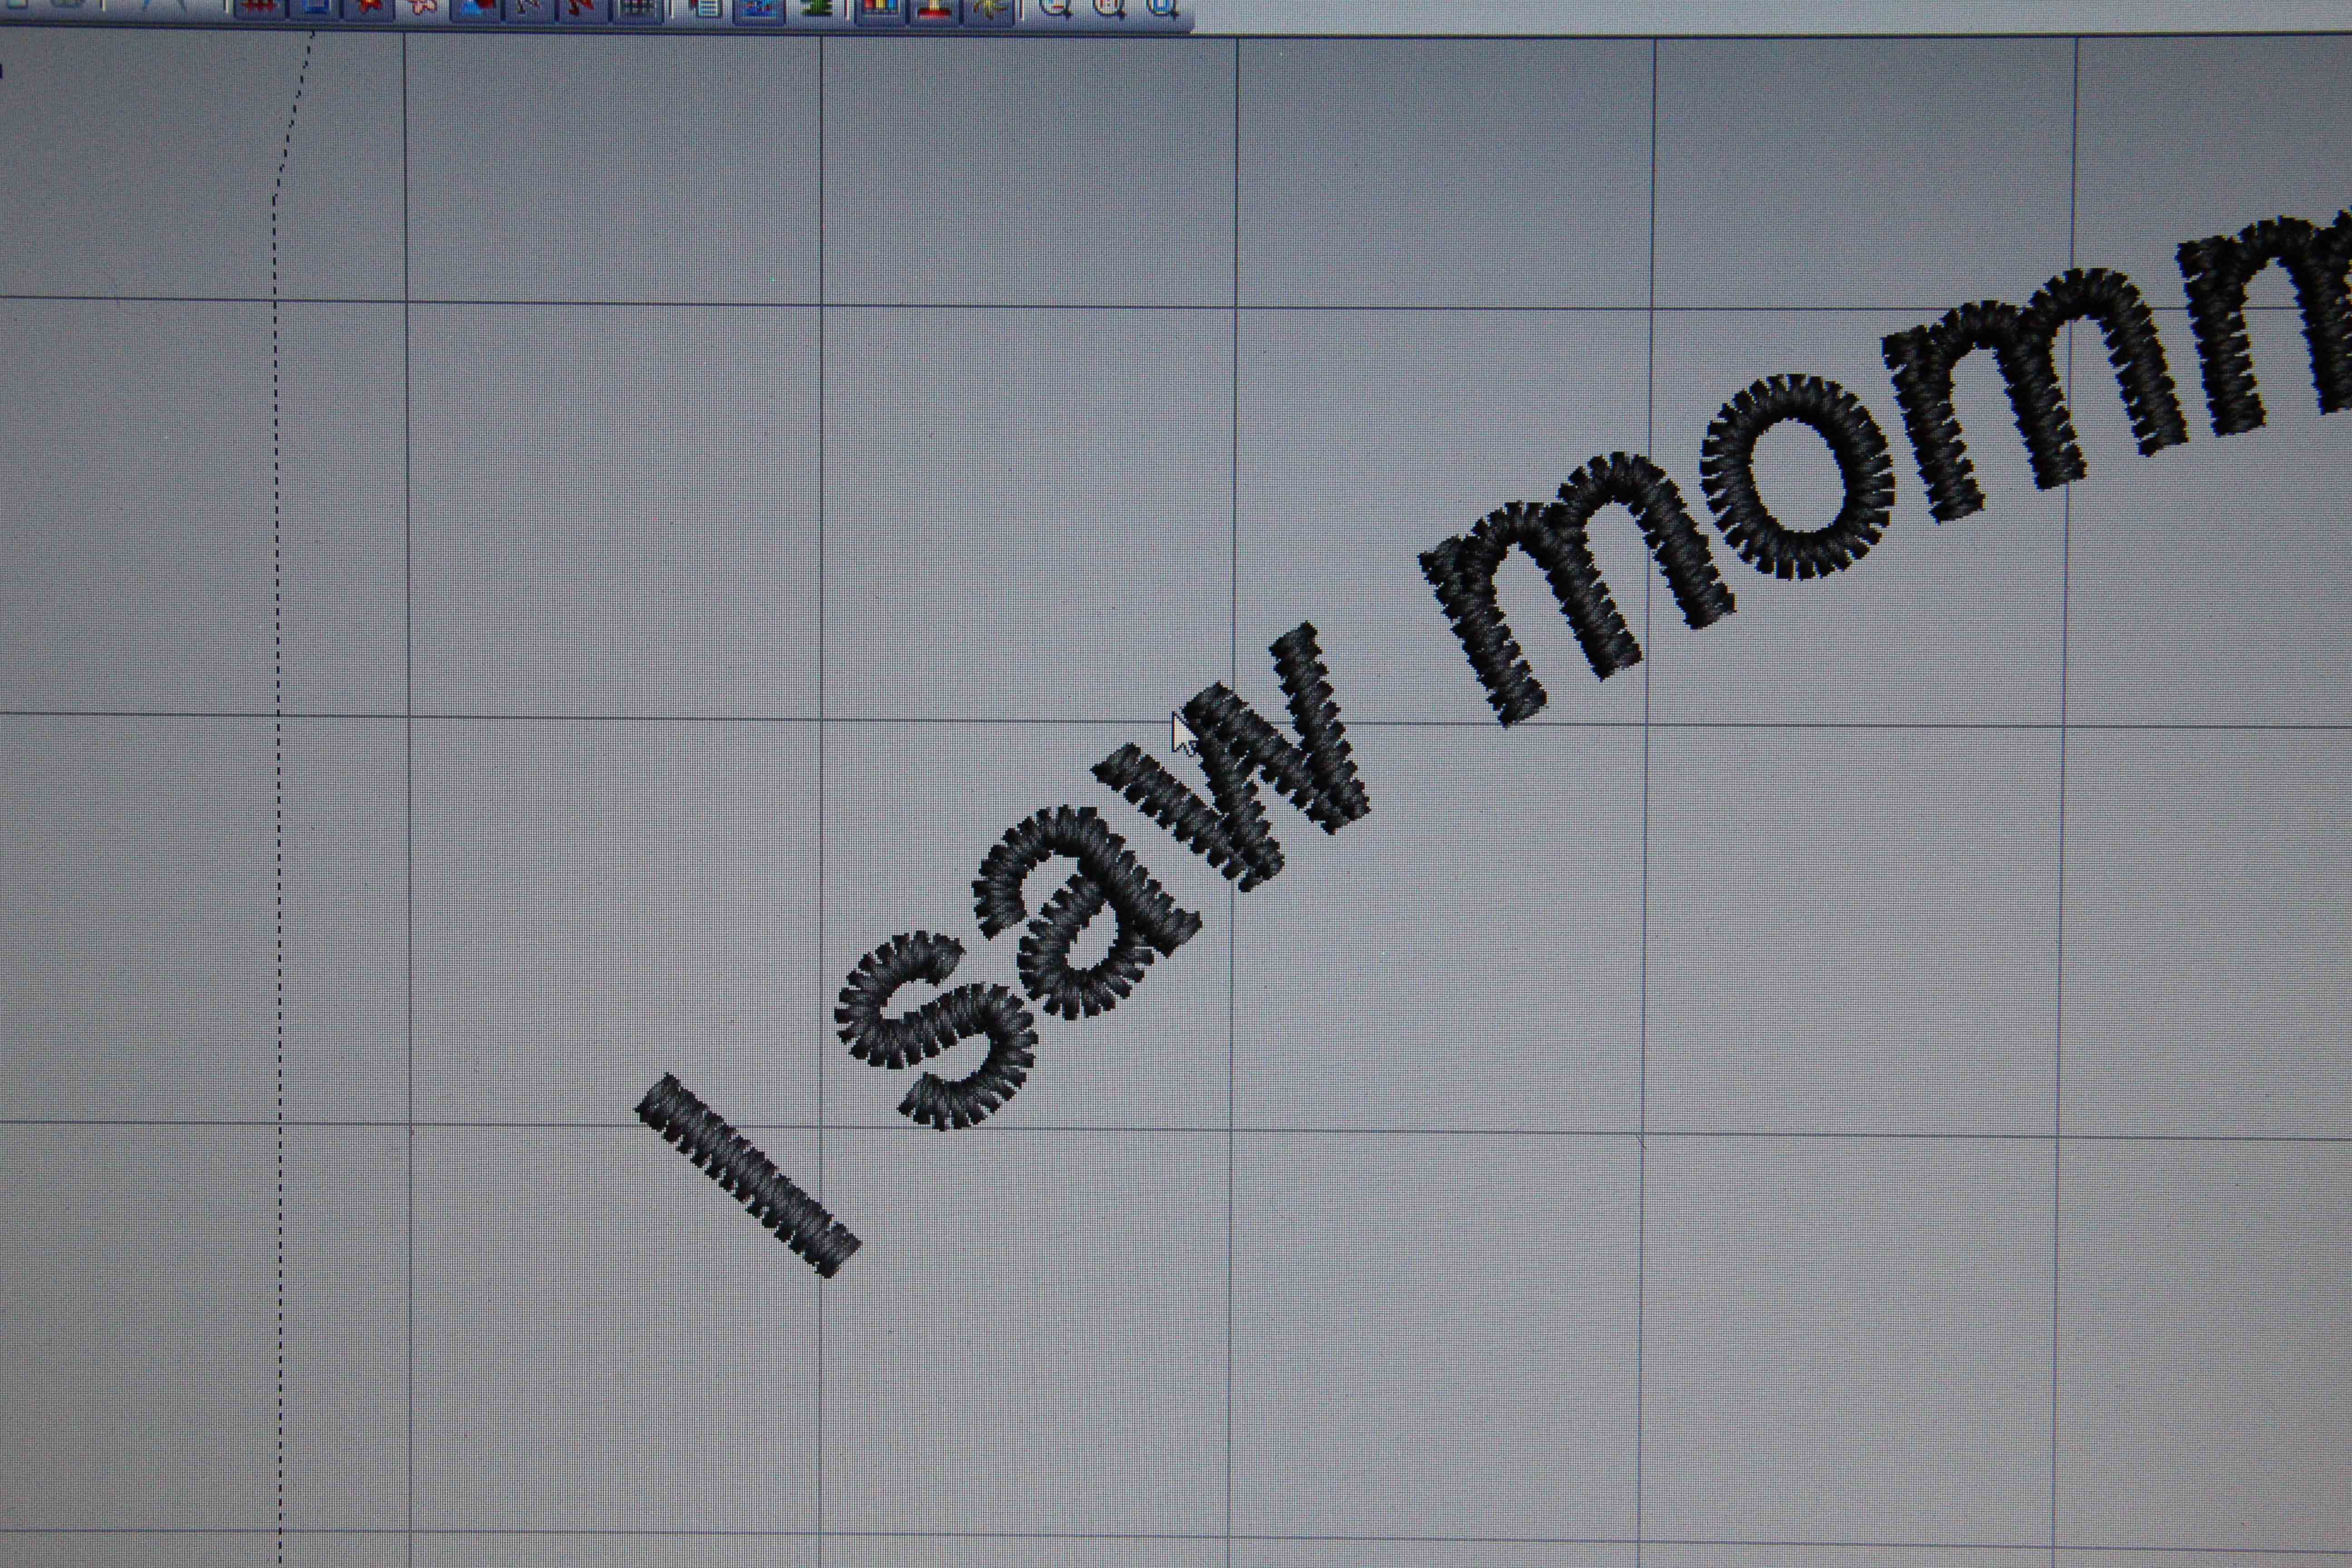
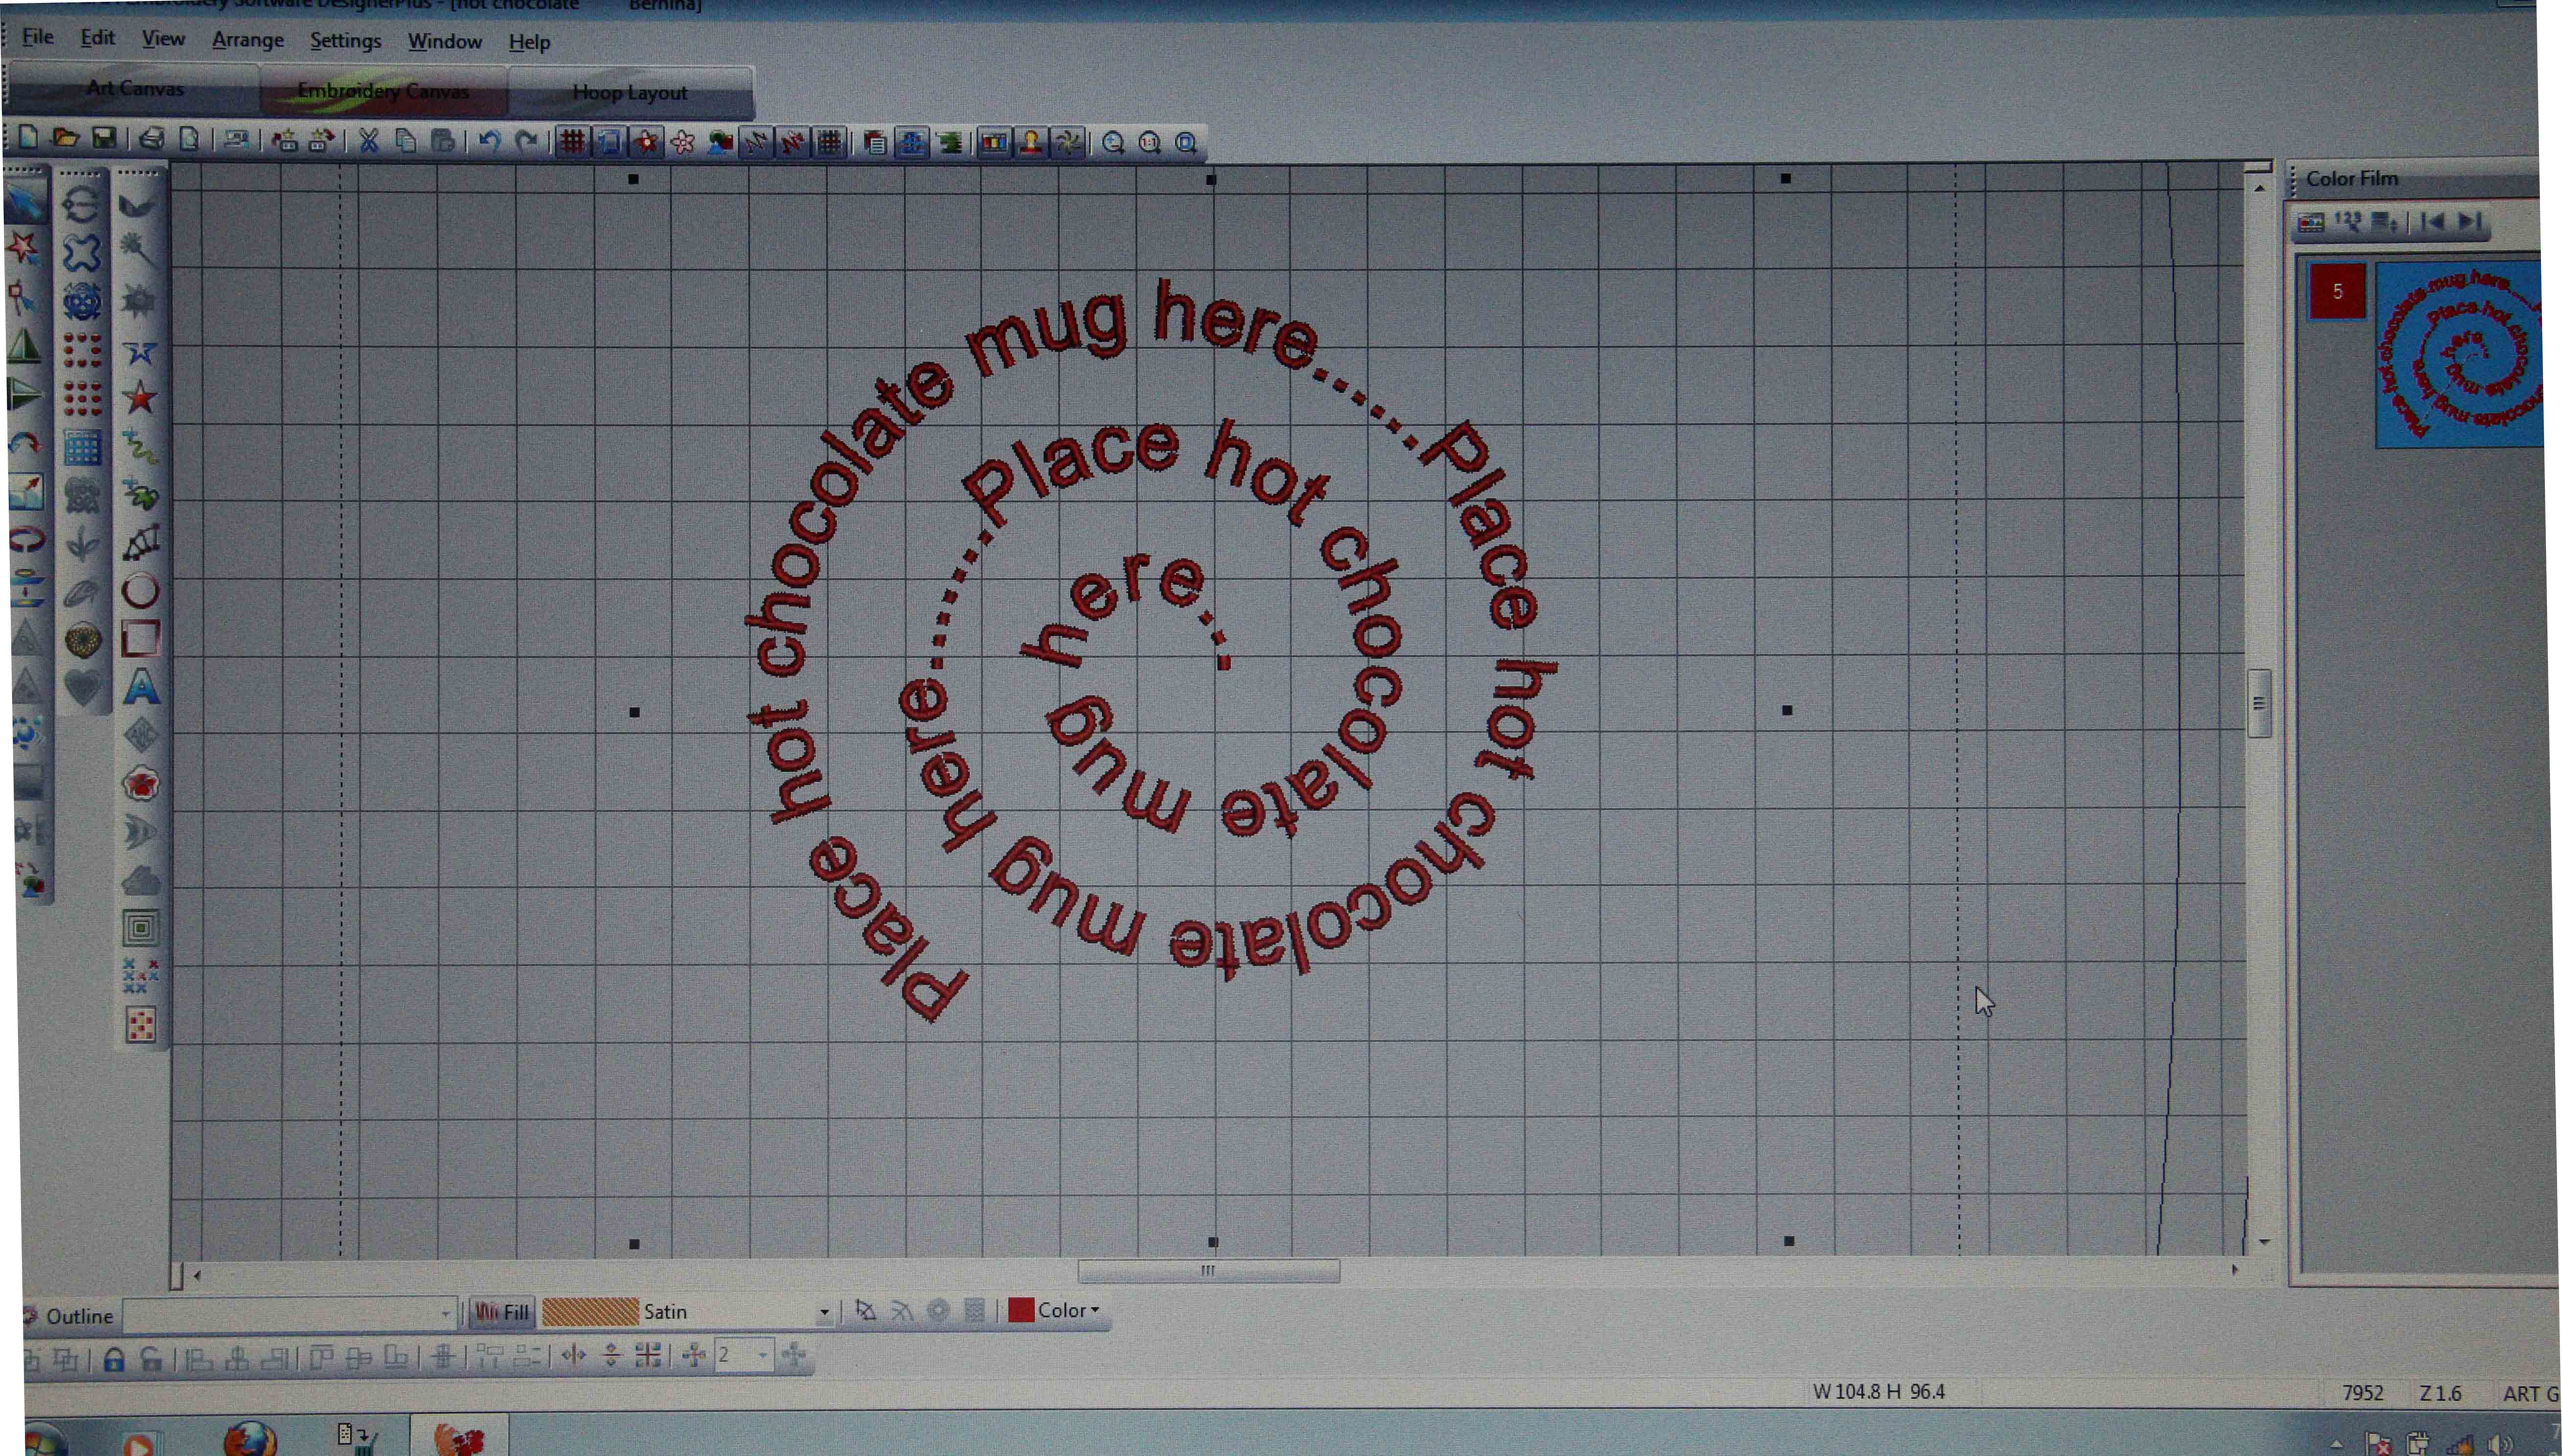
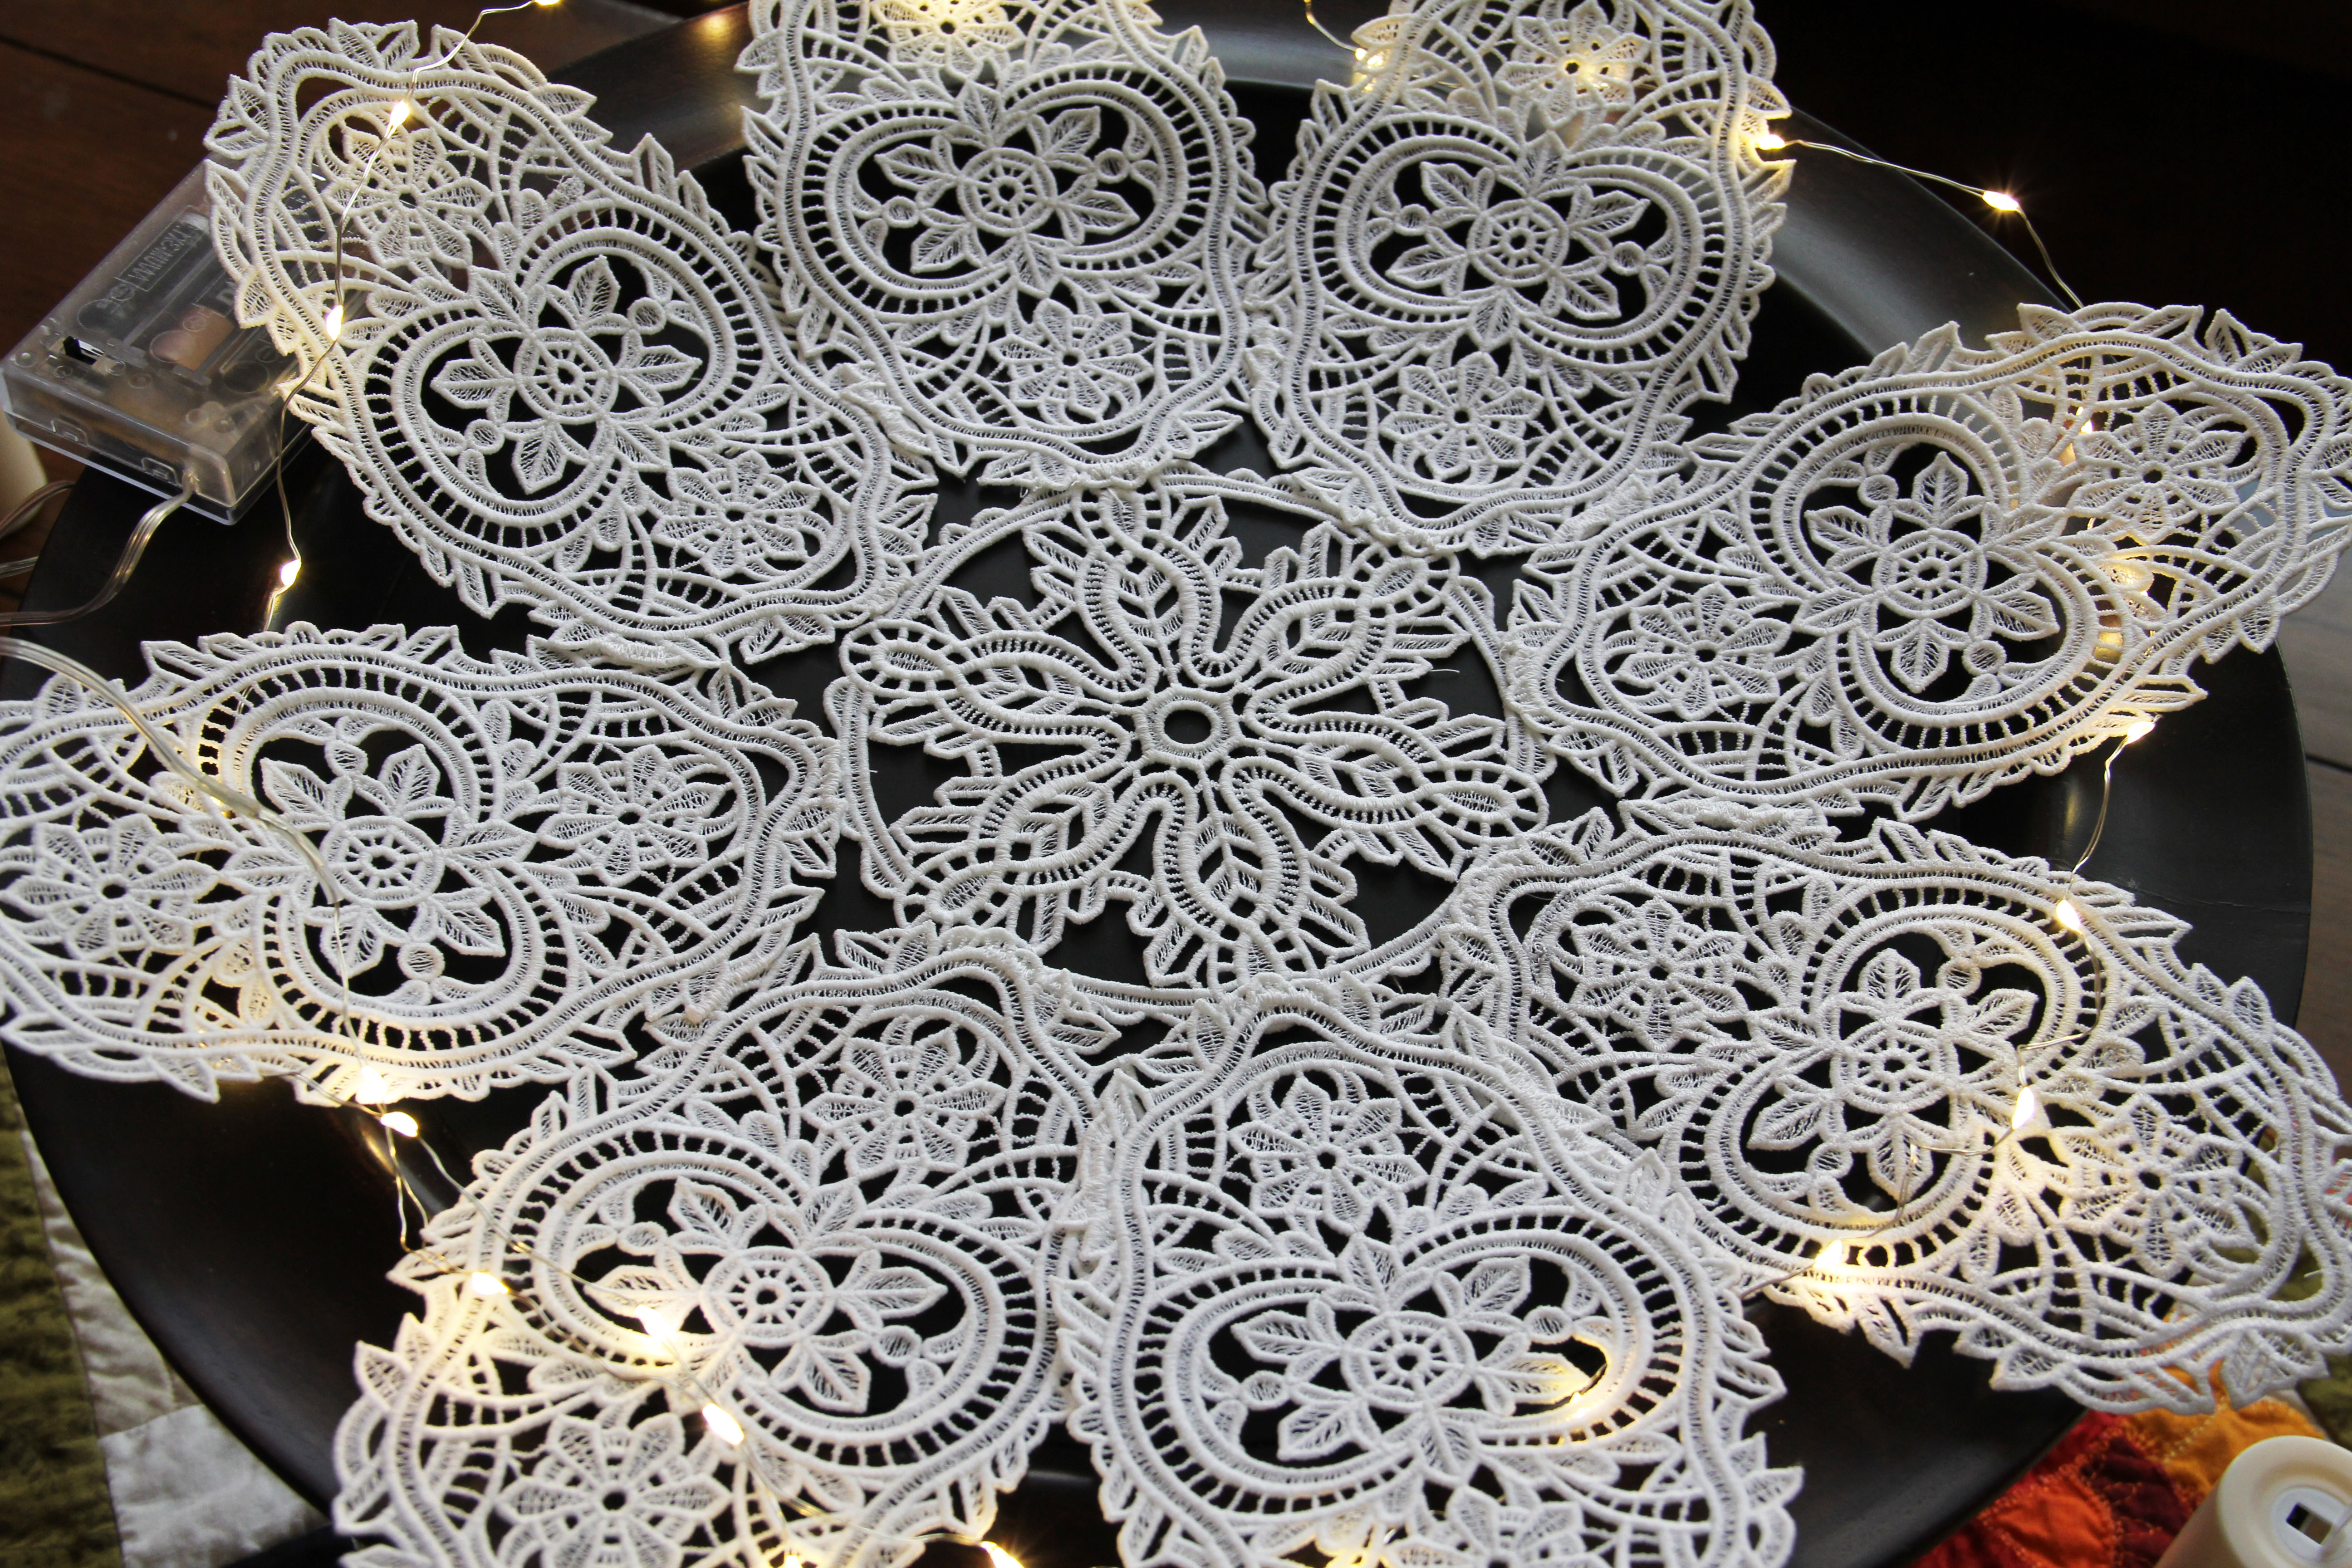
Lately, I tried something new and I wasn’t sure how it would turn out. I took a simple lace embroidery, meant to be a small doily.

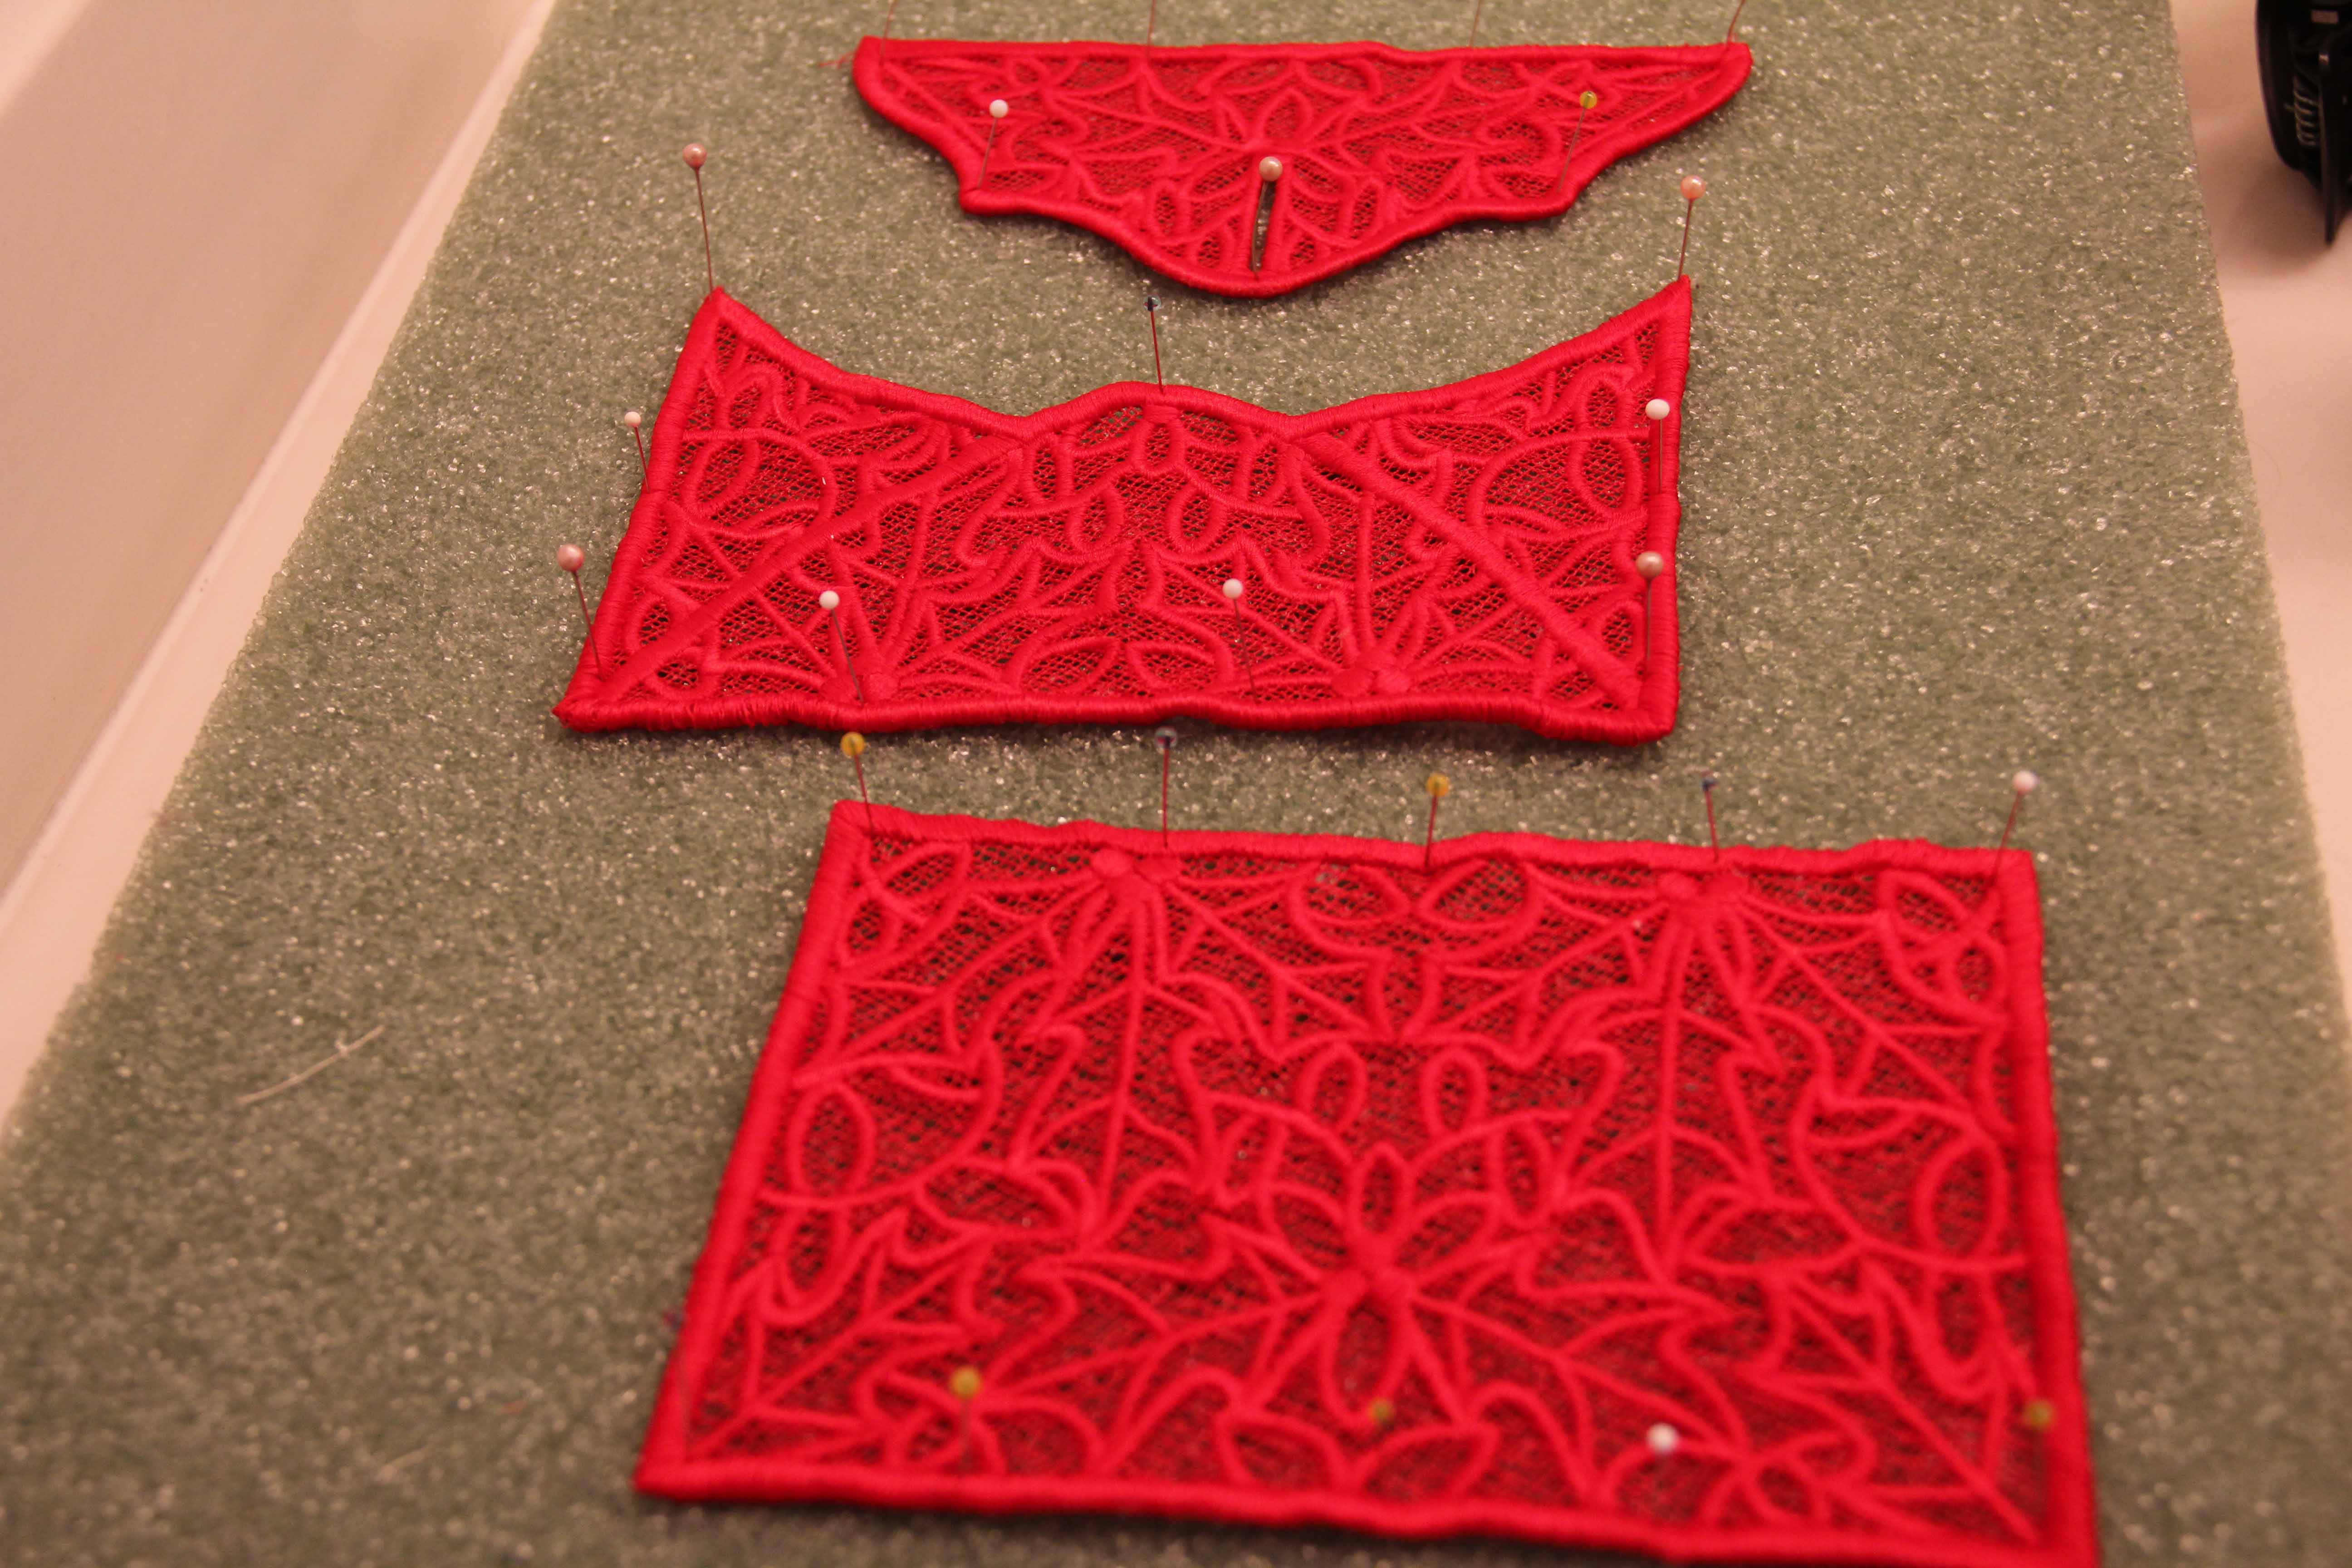
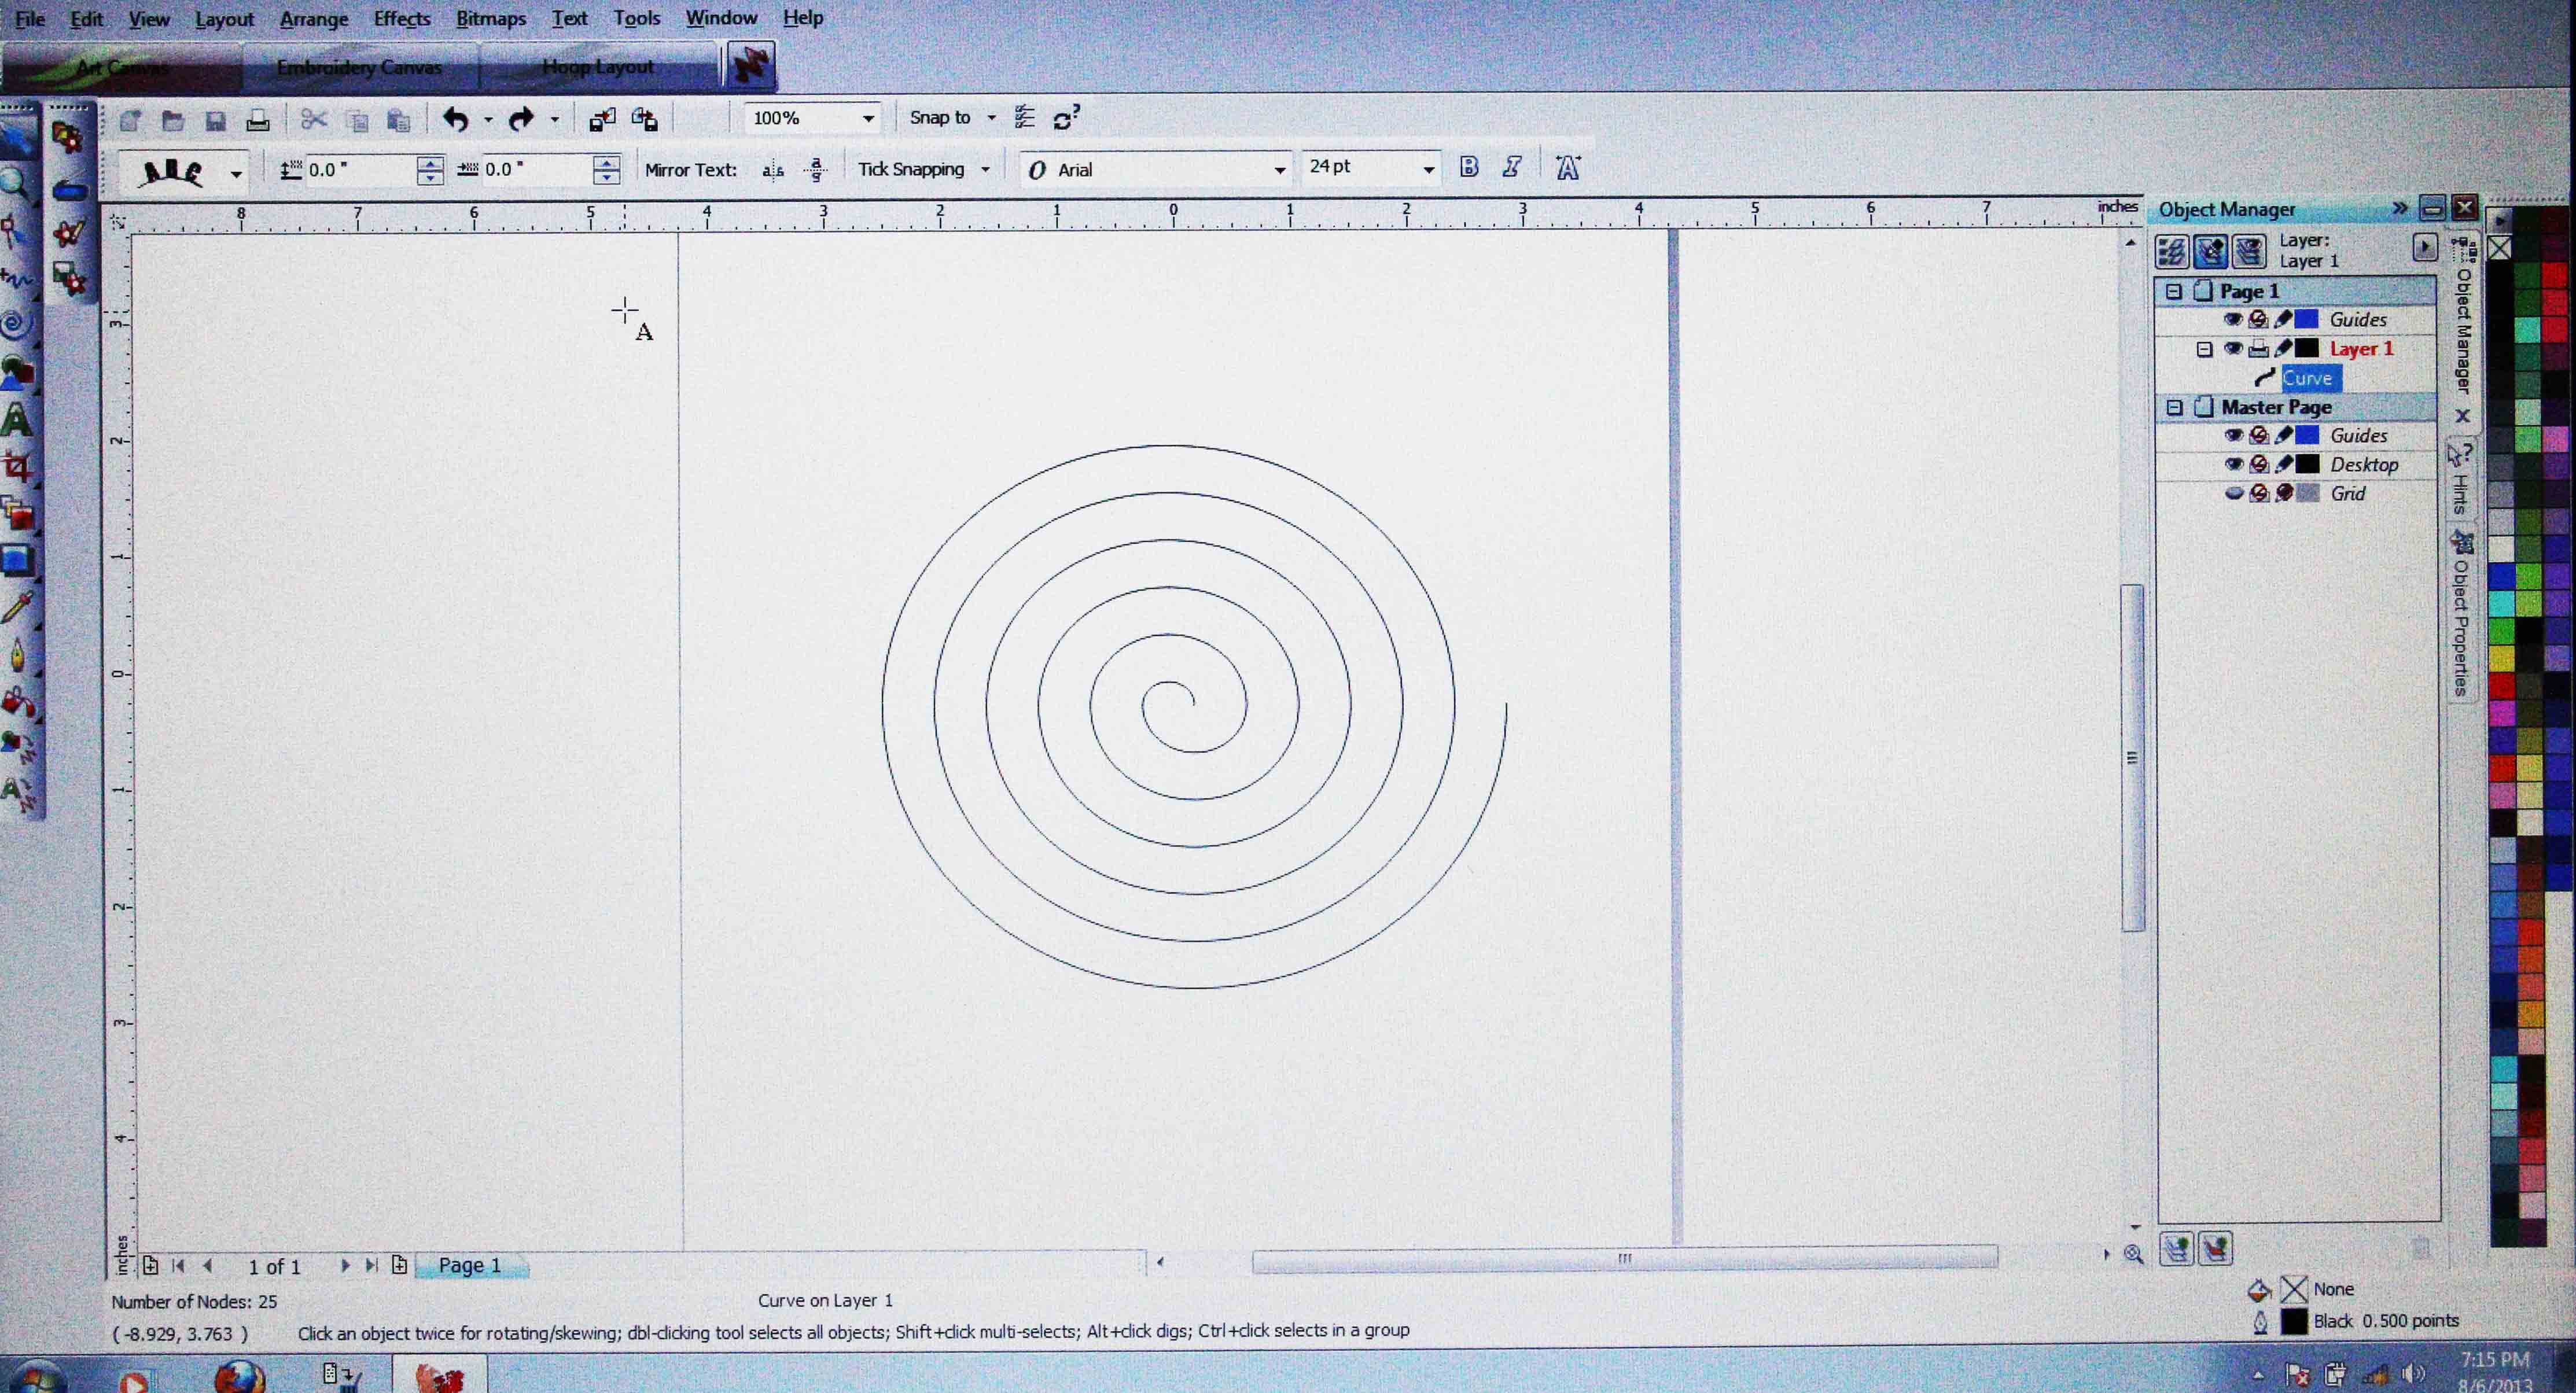
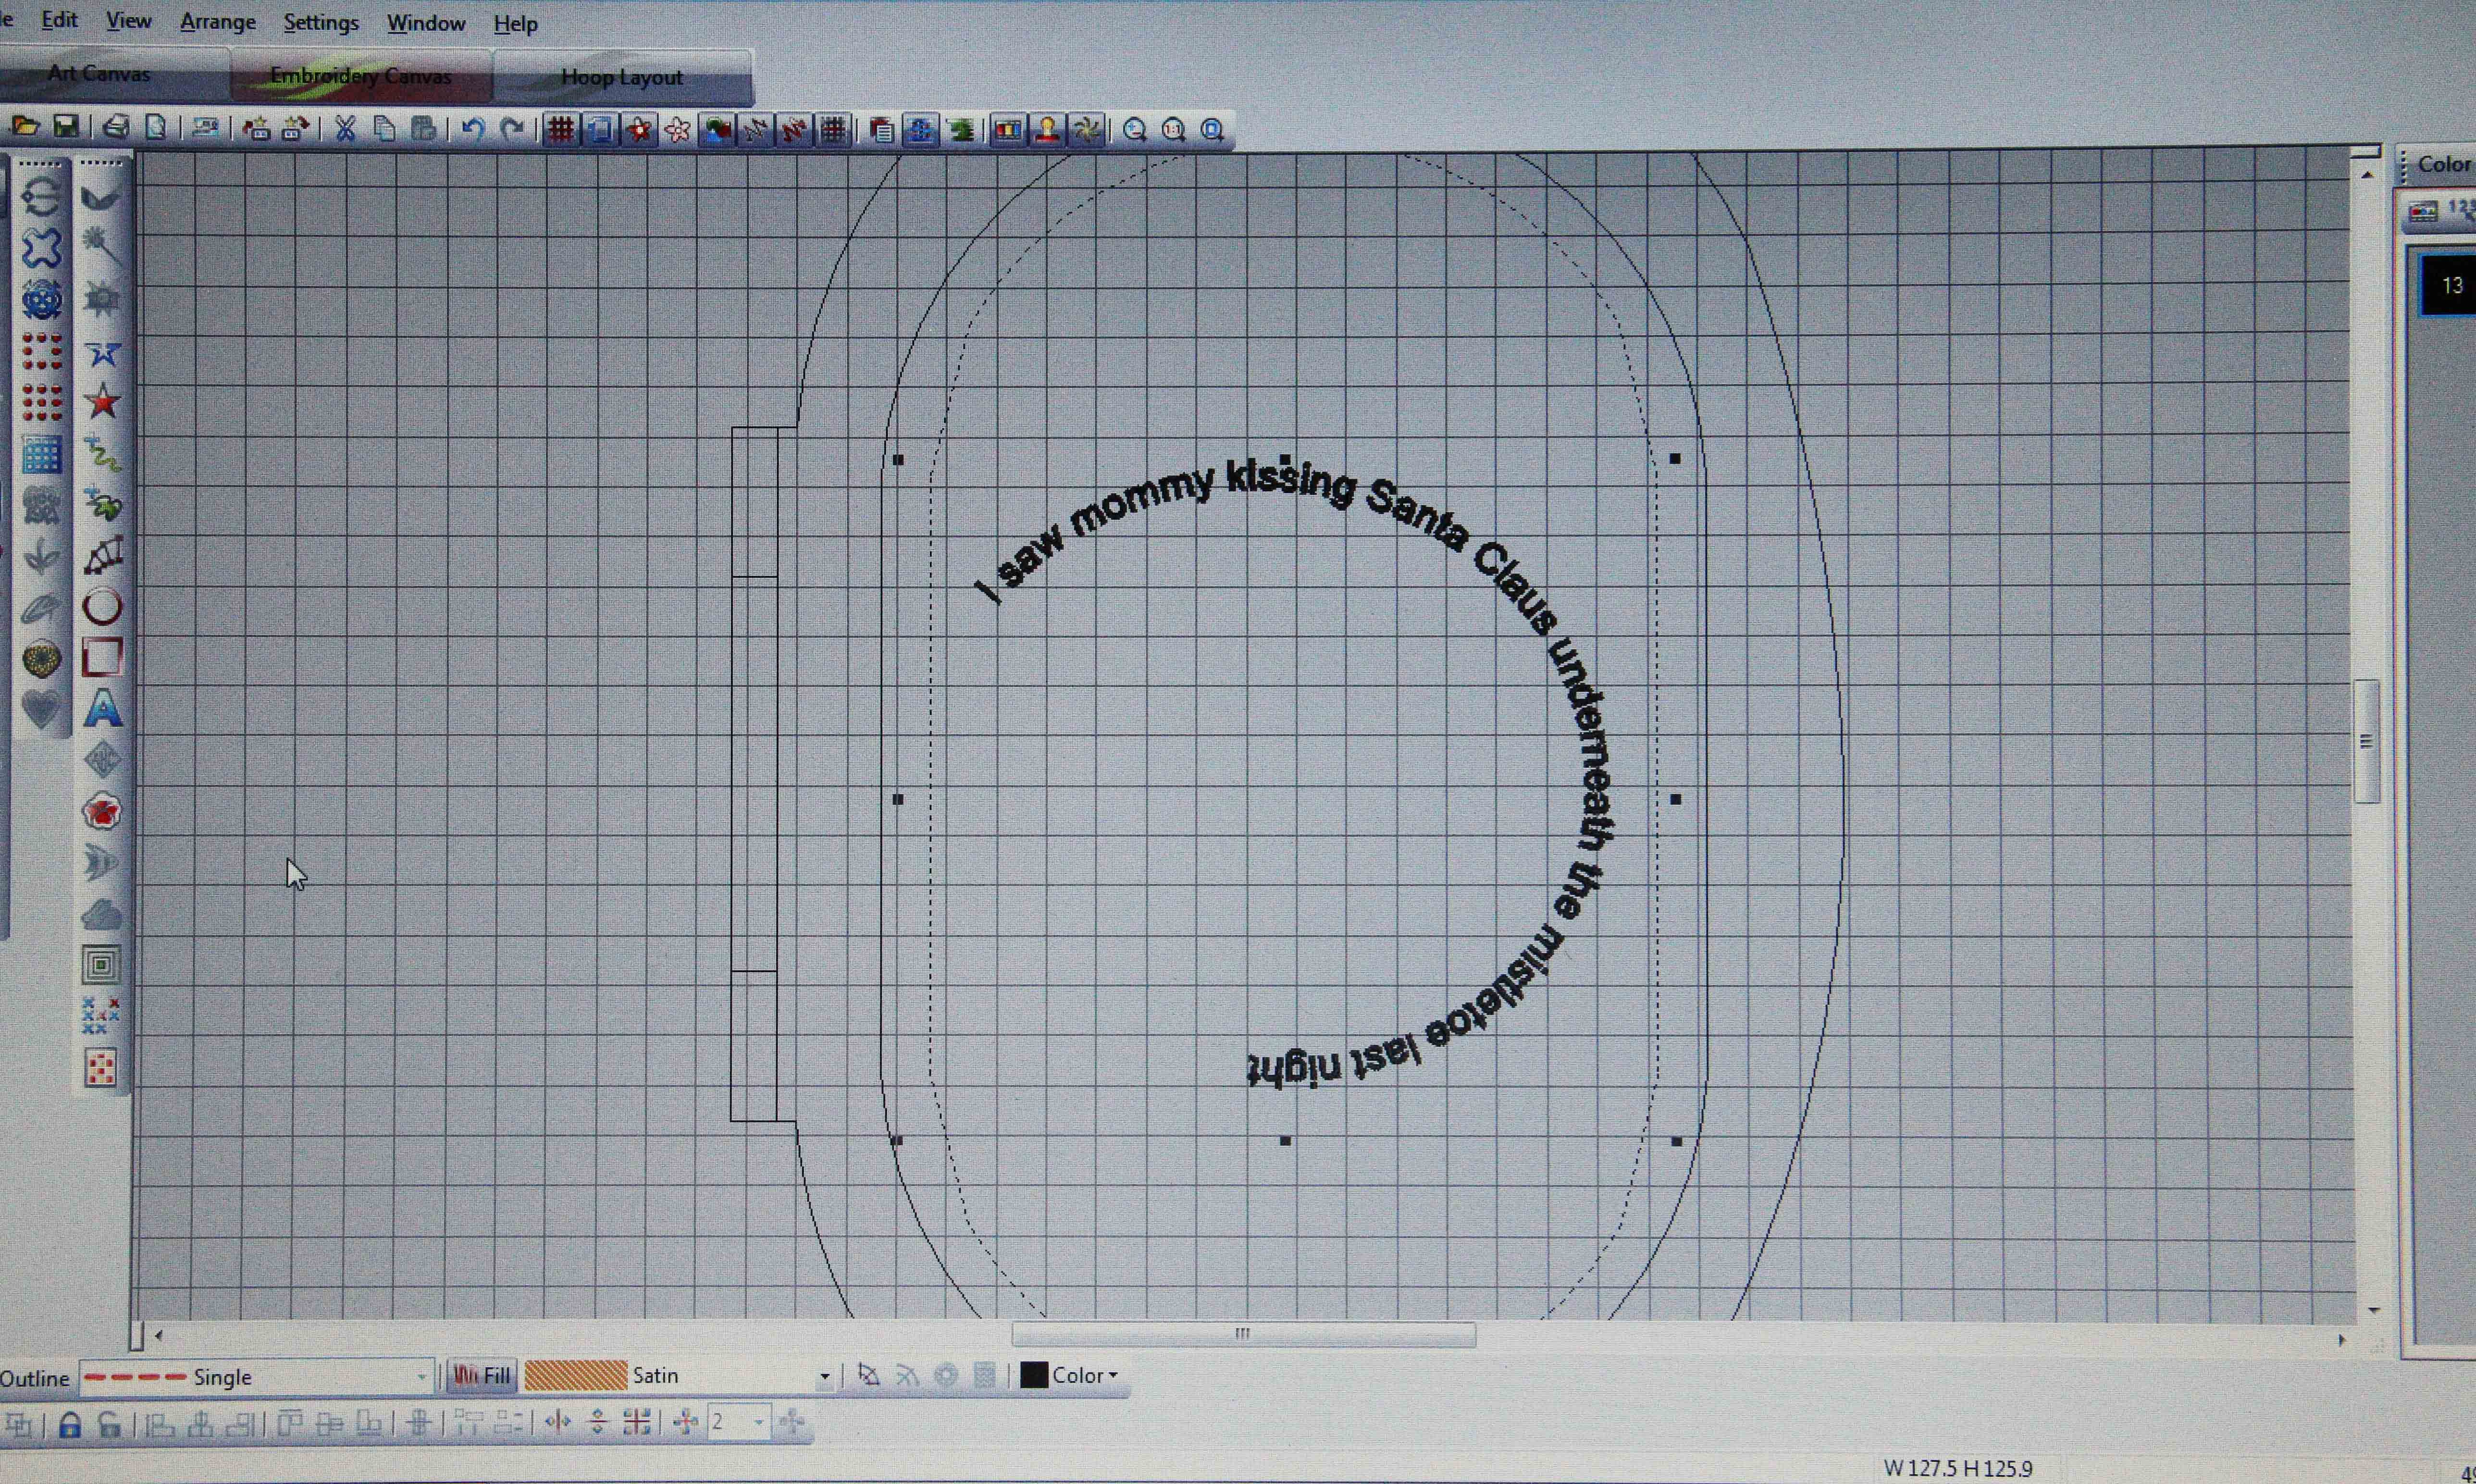
Then I stitched a number of them together after creating a design in software to see what it might look like.

Freestanding lace, Bernina Software 8
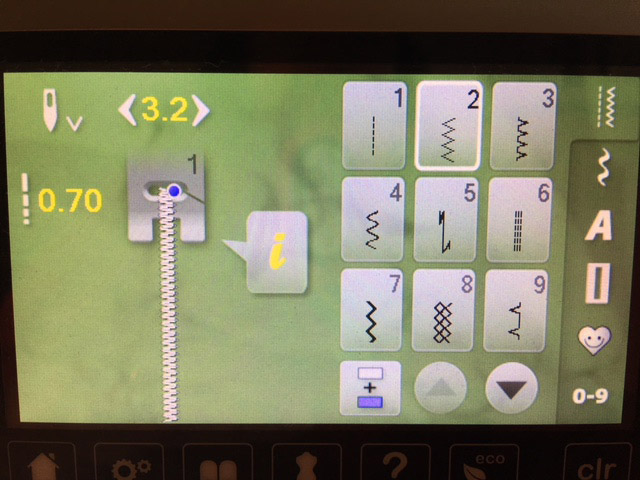
All you have to do is use a simple zigzag with an open-toed foot on your machine.

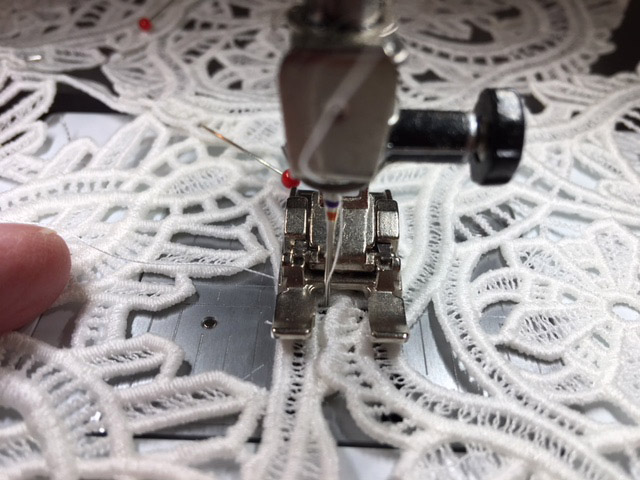
Just pin the multiple pieces together and sew the zigzag in various points to hold it together.

Keep the zigzag stitch narrow and tight, and it will be hardly visible on the finished piece. I went forward and back-stitched, just to make sure it would not unravel.

The finished product turned out better than I had expected.

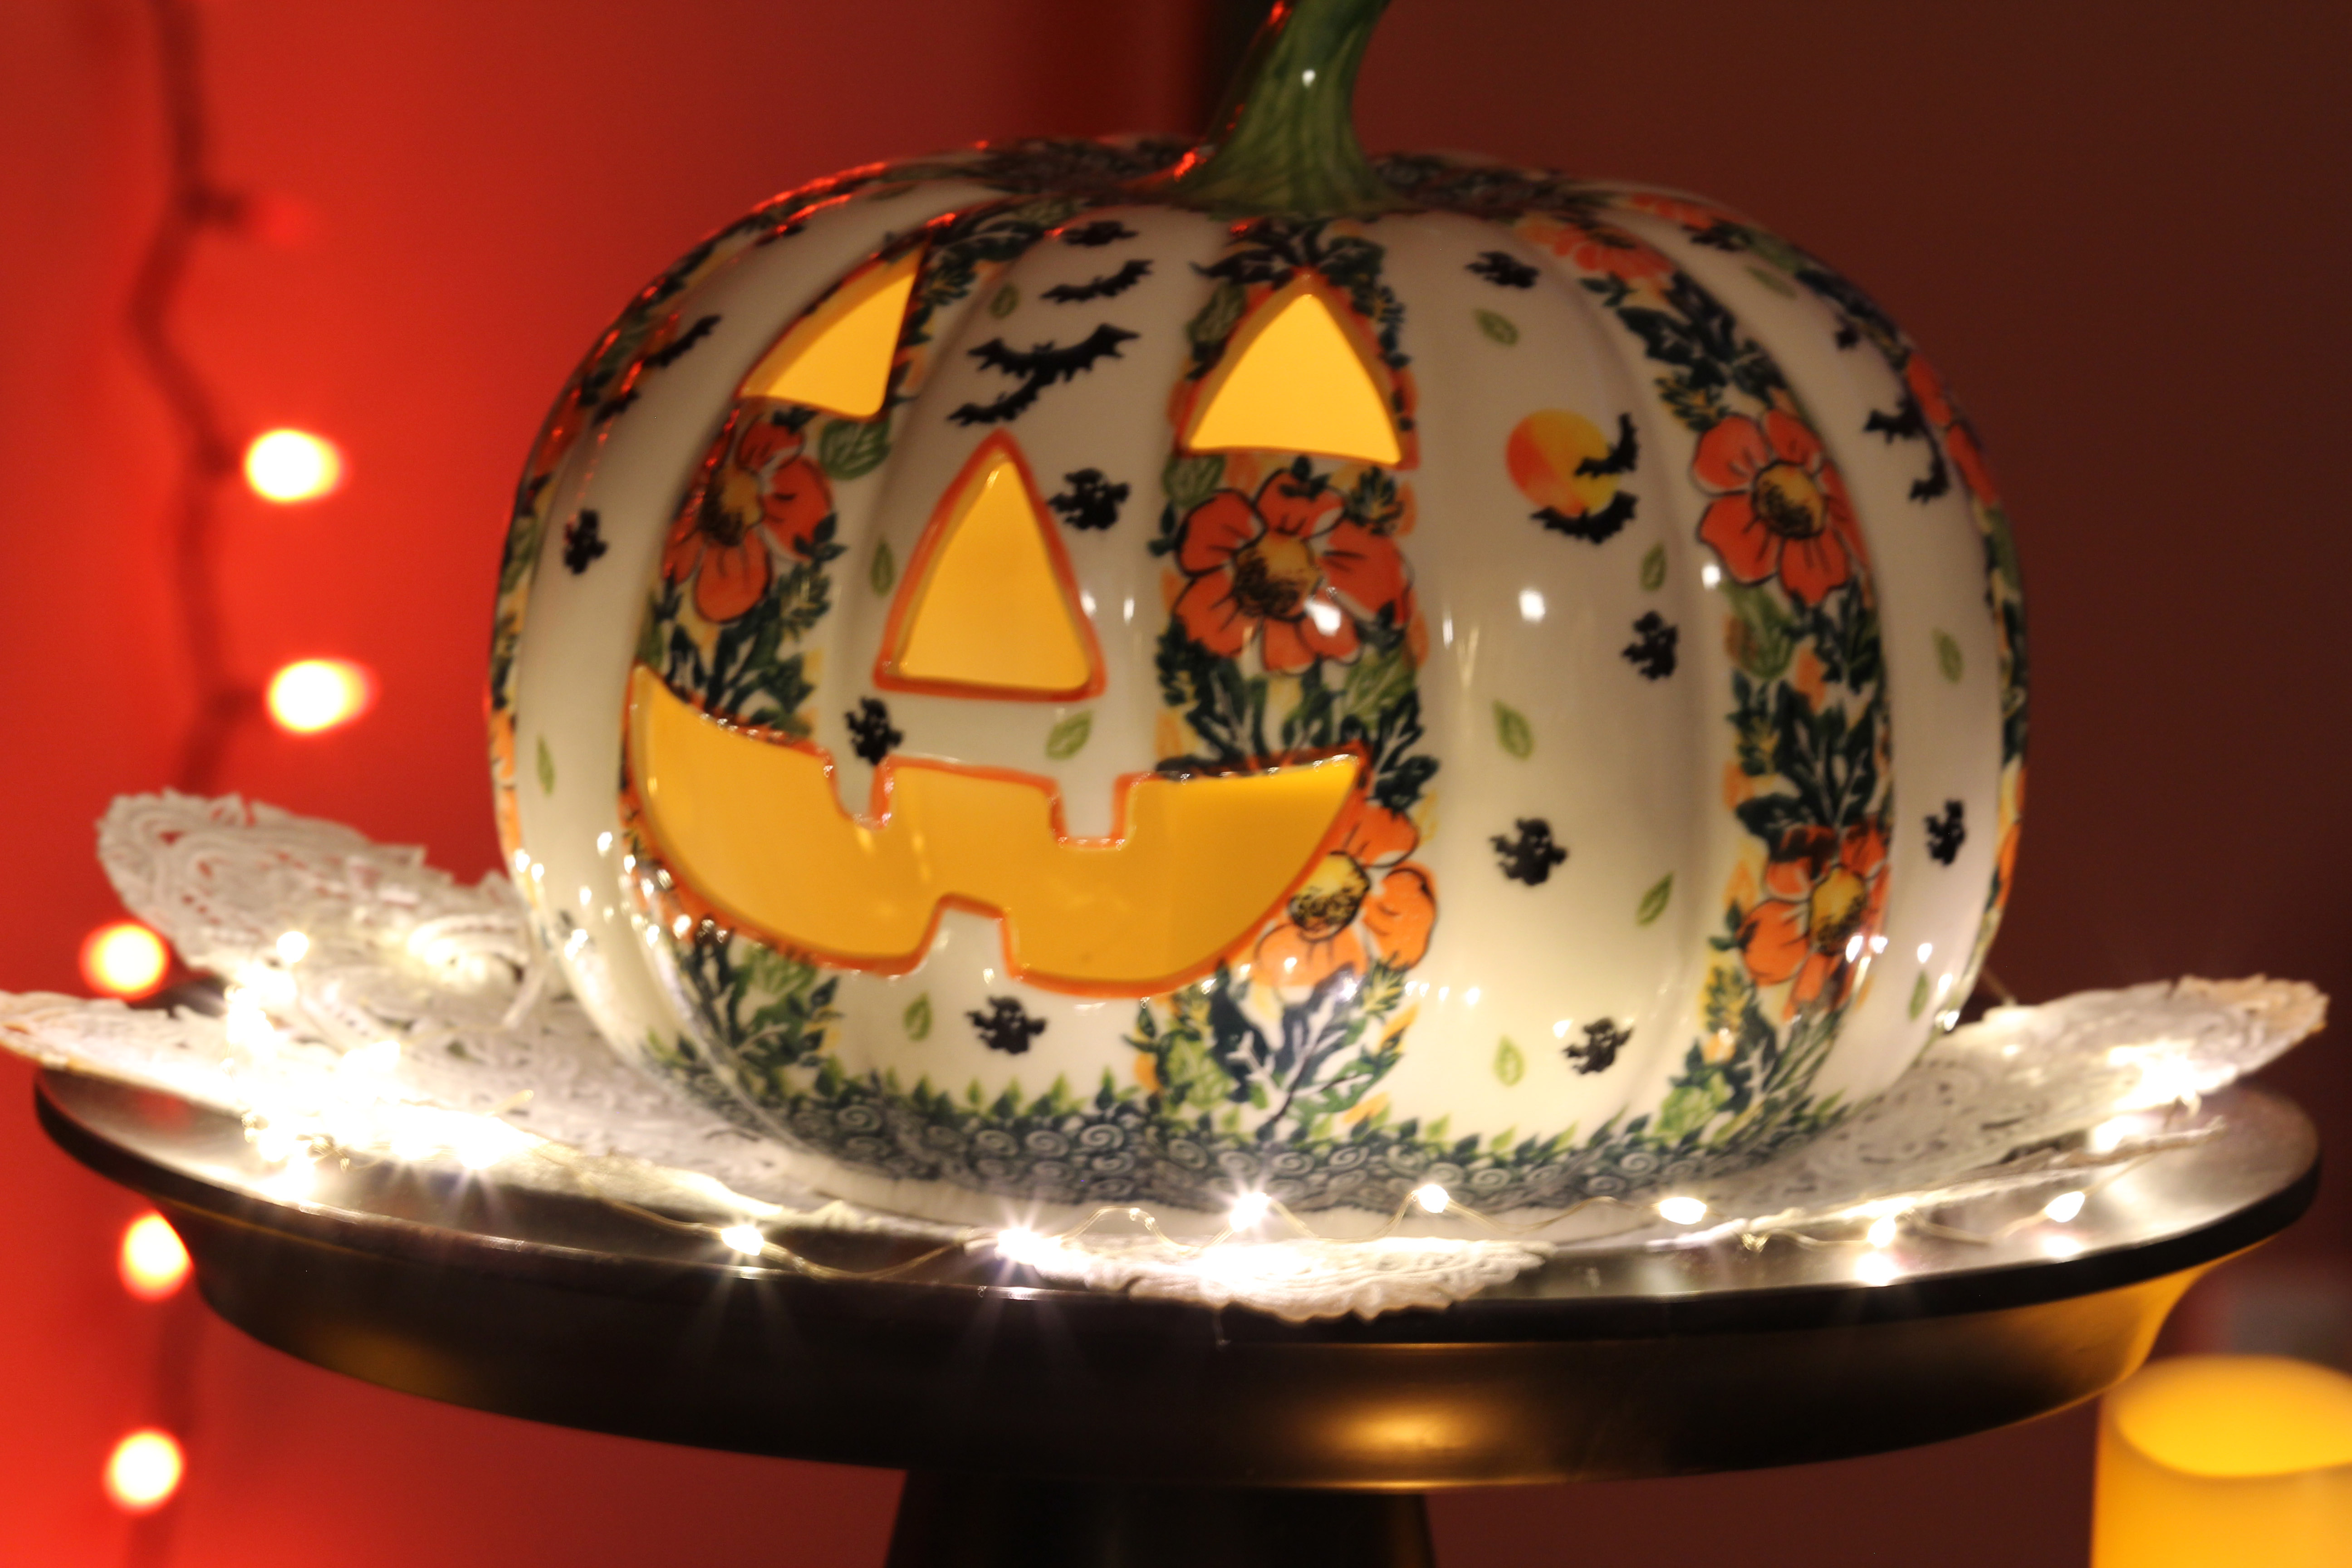
While I am using it now for Halloween, it obviously will be gorgeous for the holidays, as well.

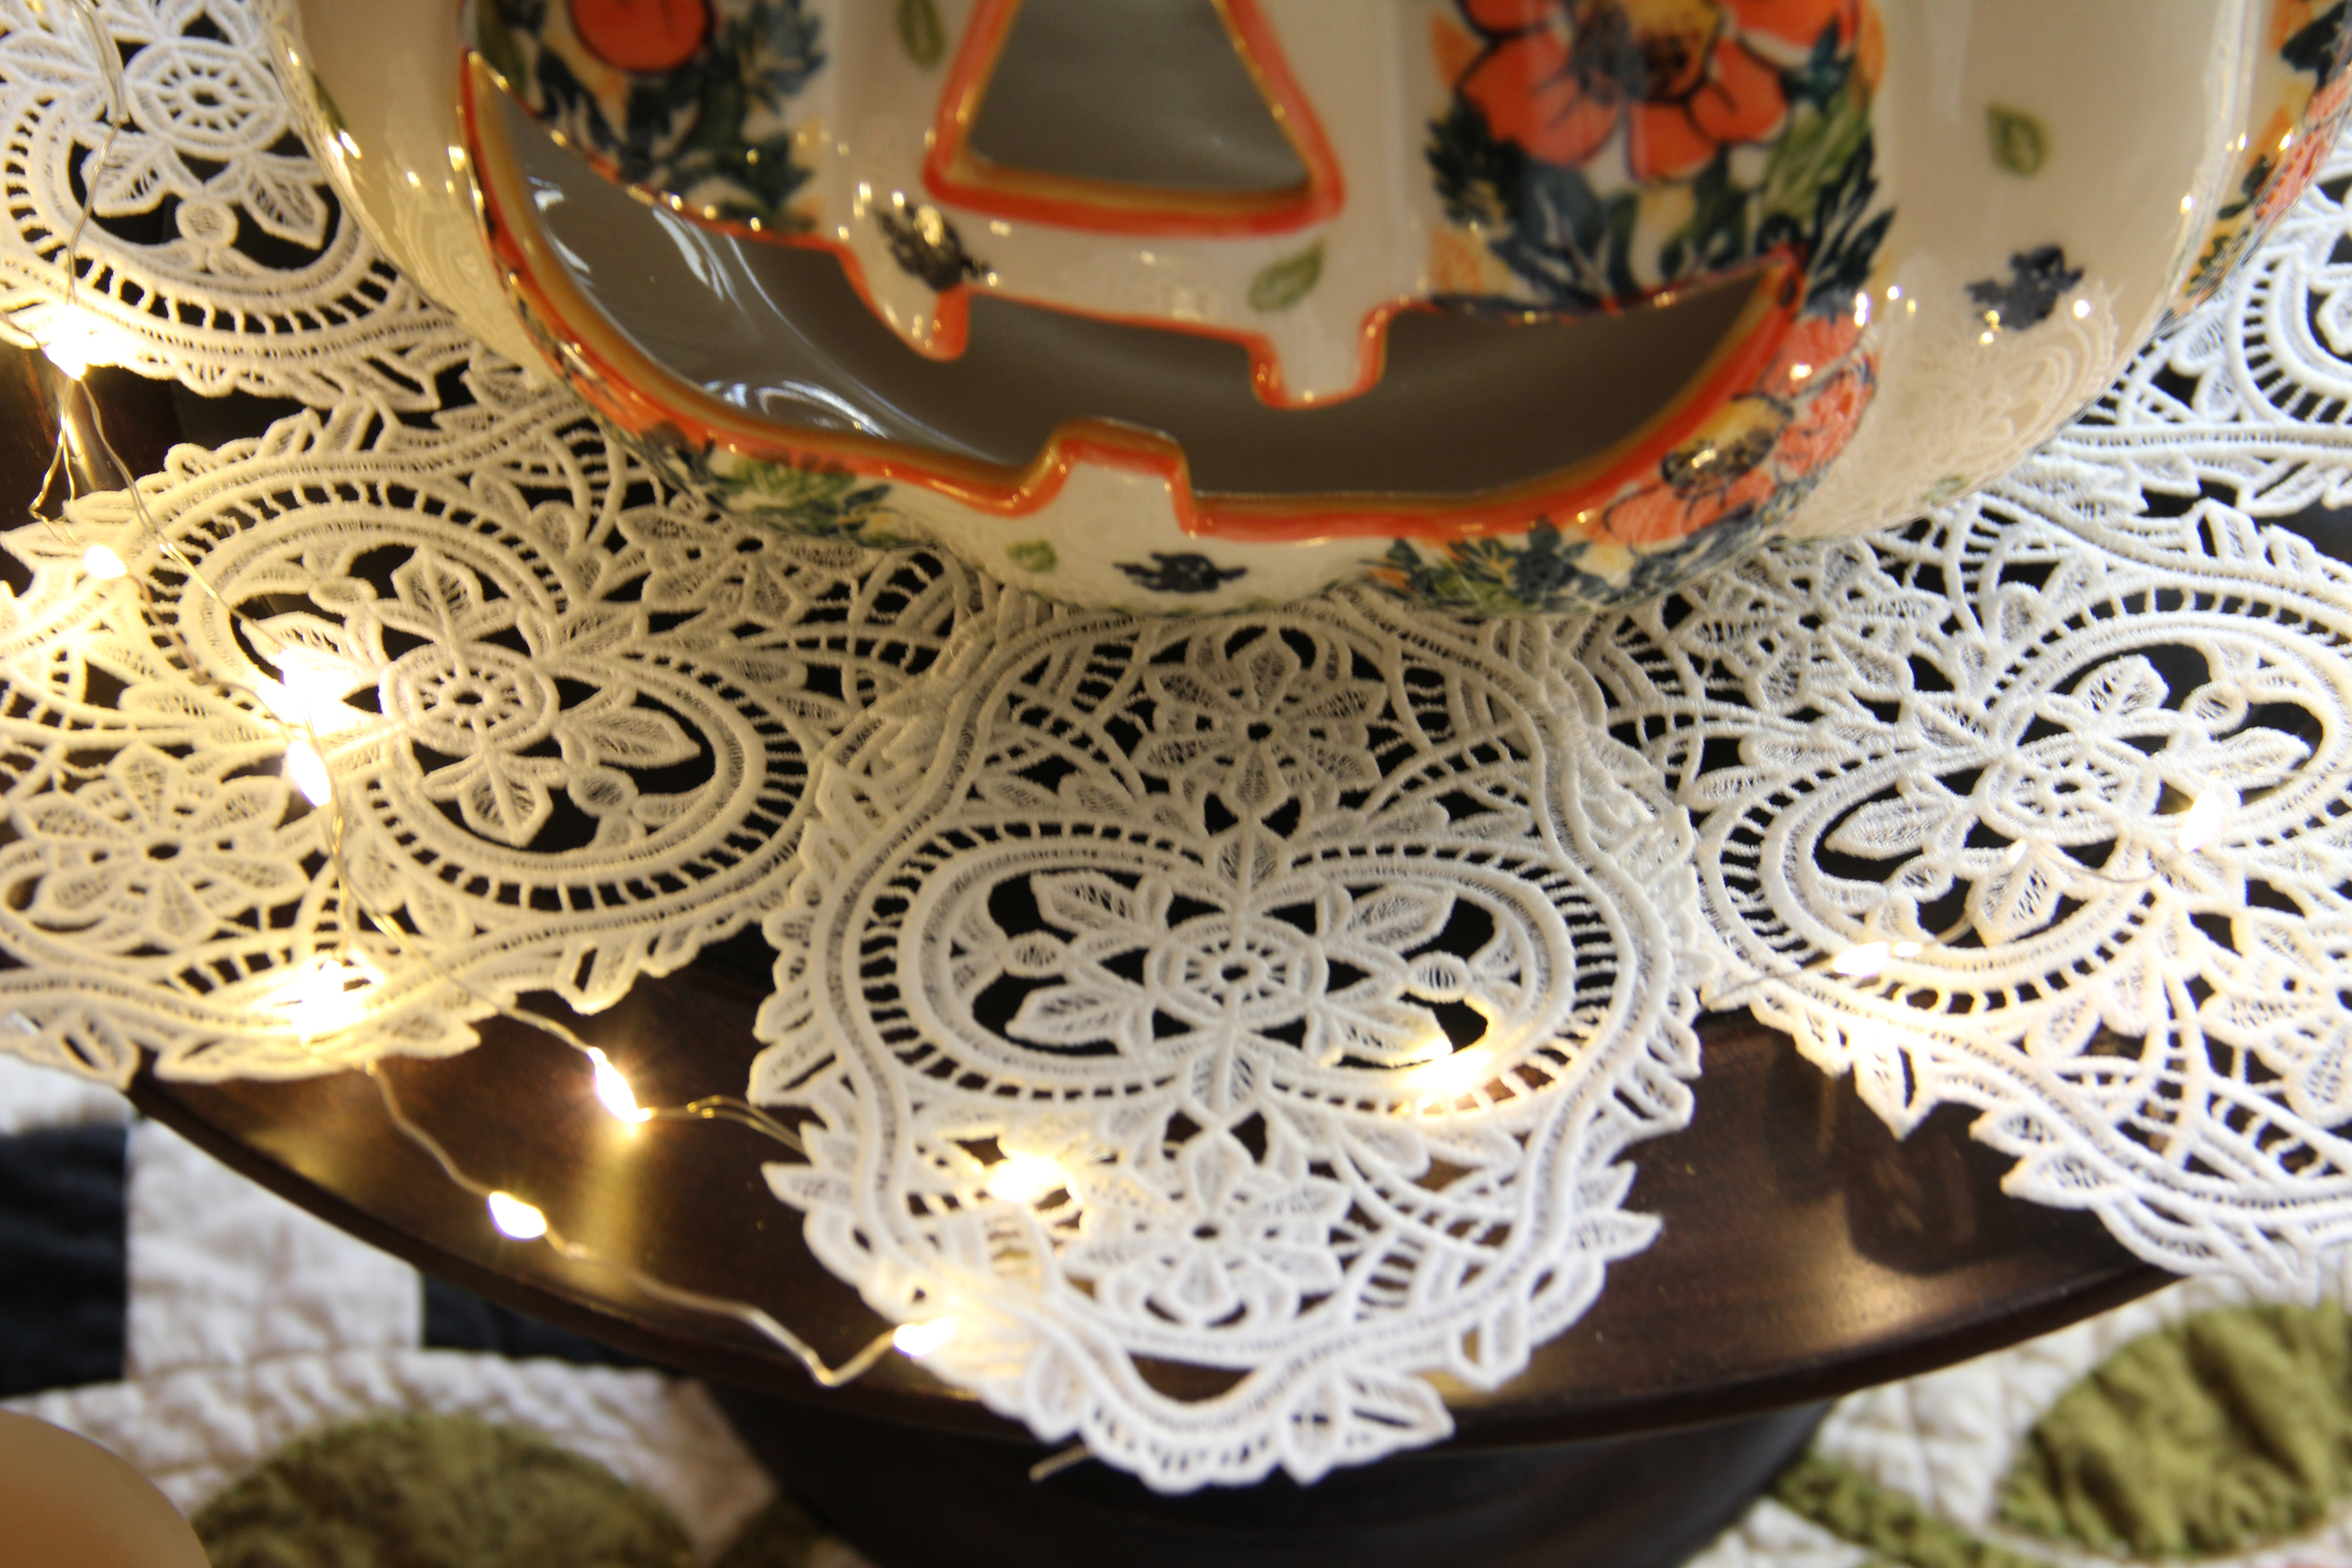
I also have to admit that I am in love with these tiny LED lights, lit by battery packs. Of course, they cannot stay on all evening as my orange lights do around the fireplace, but the teensy ones on the Halloween tree and surrounding this ceramic pumpkin are just perfect.

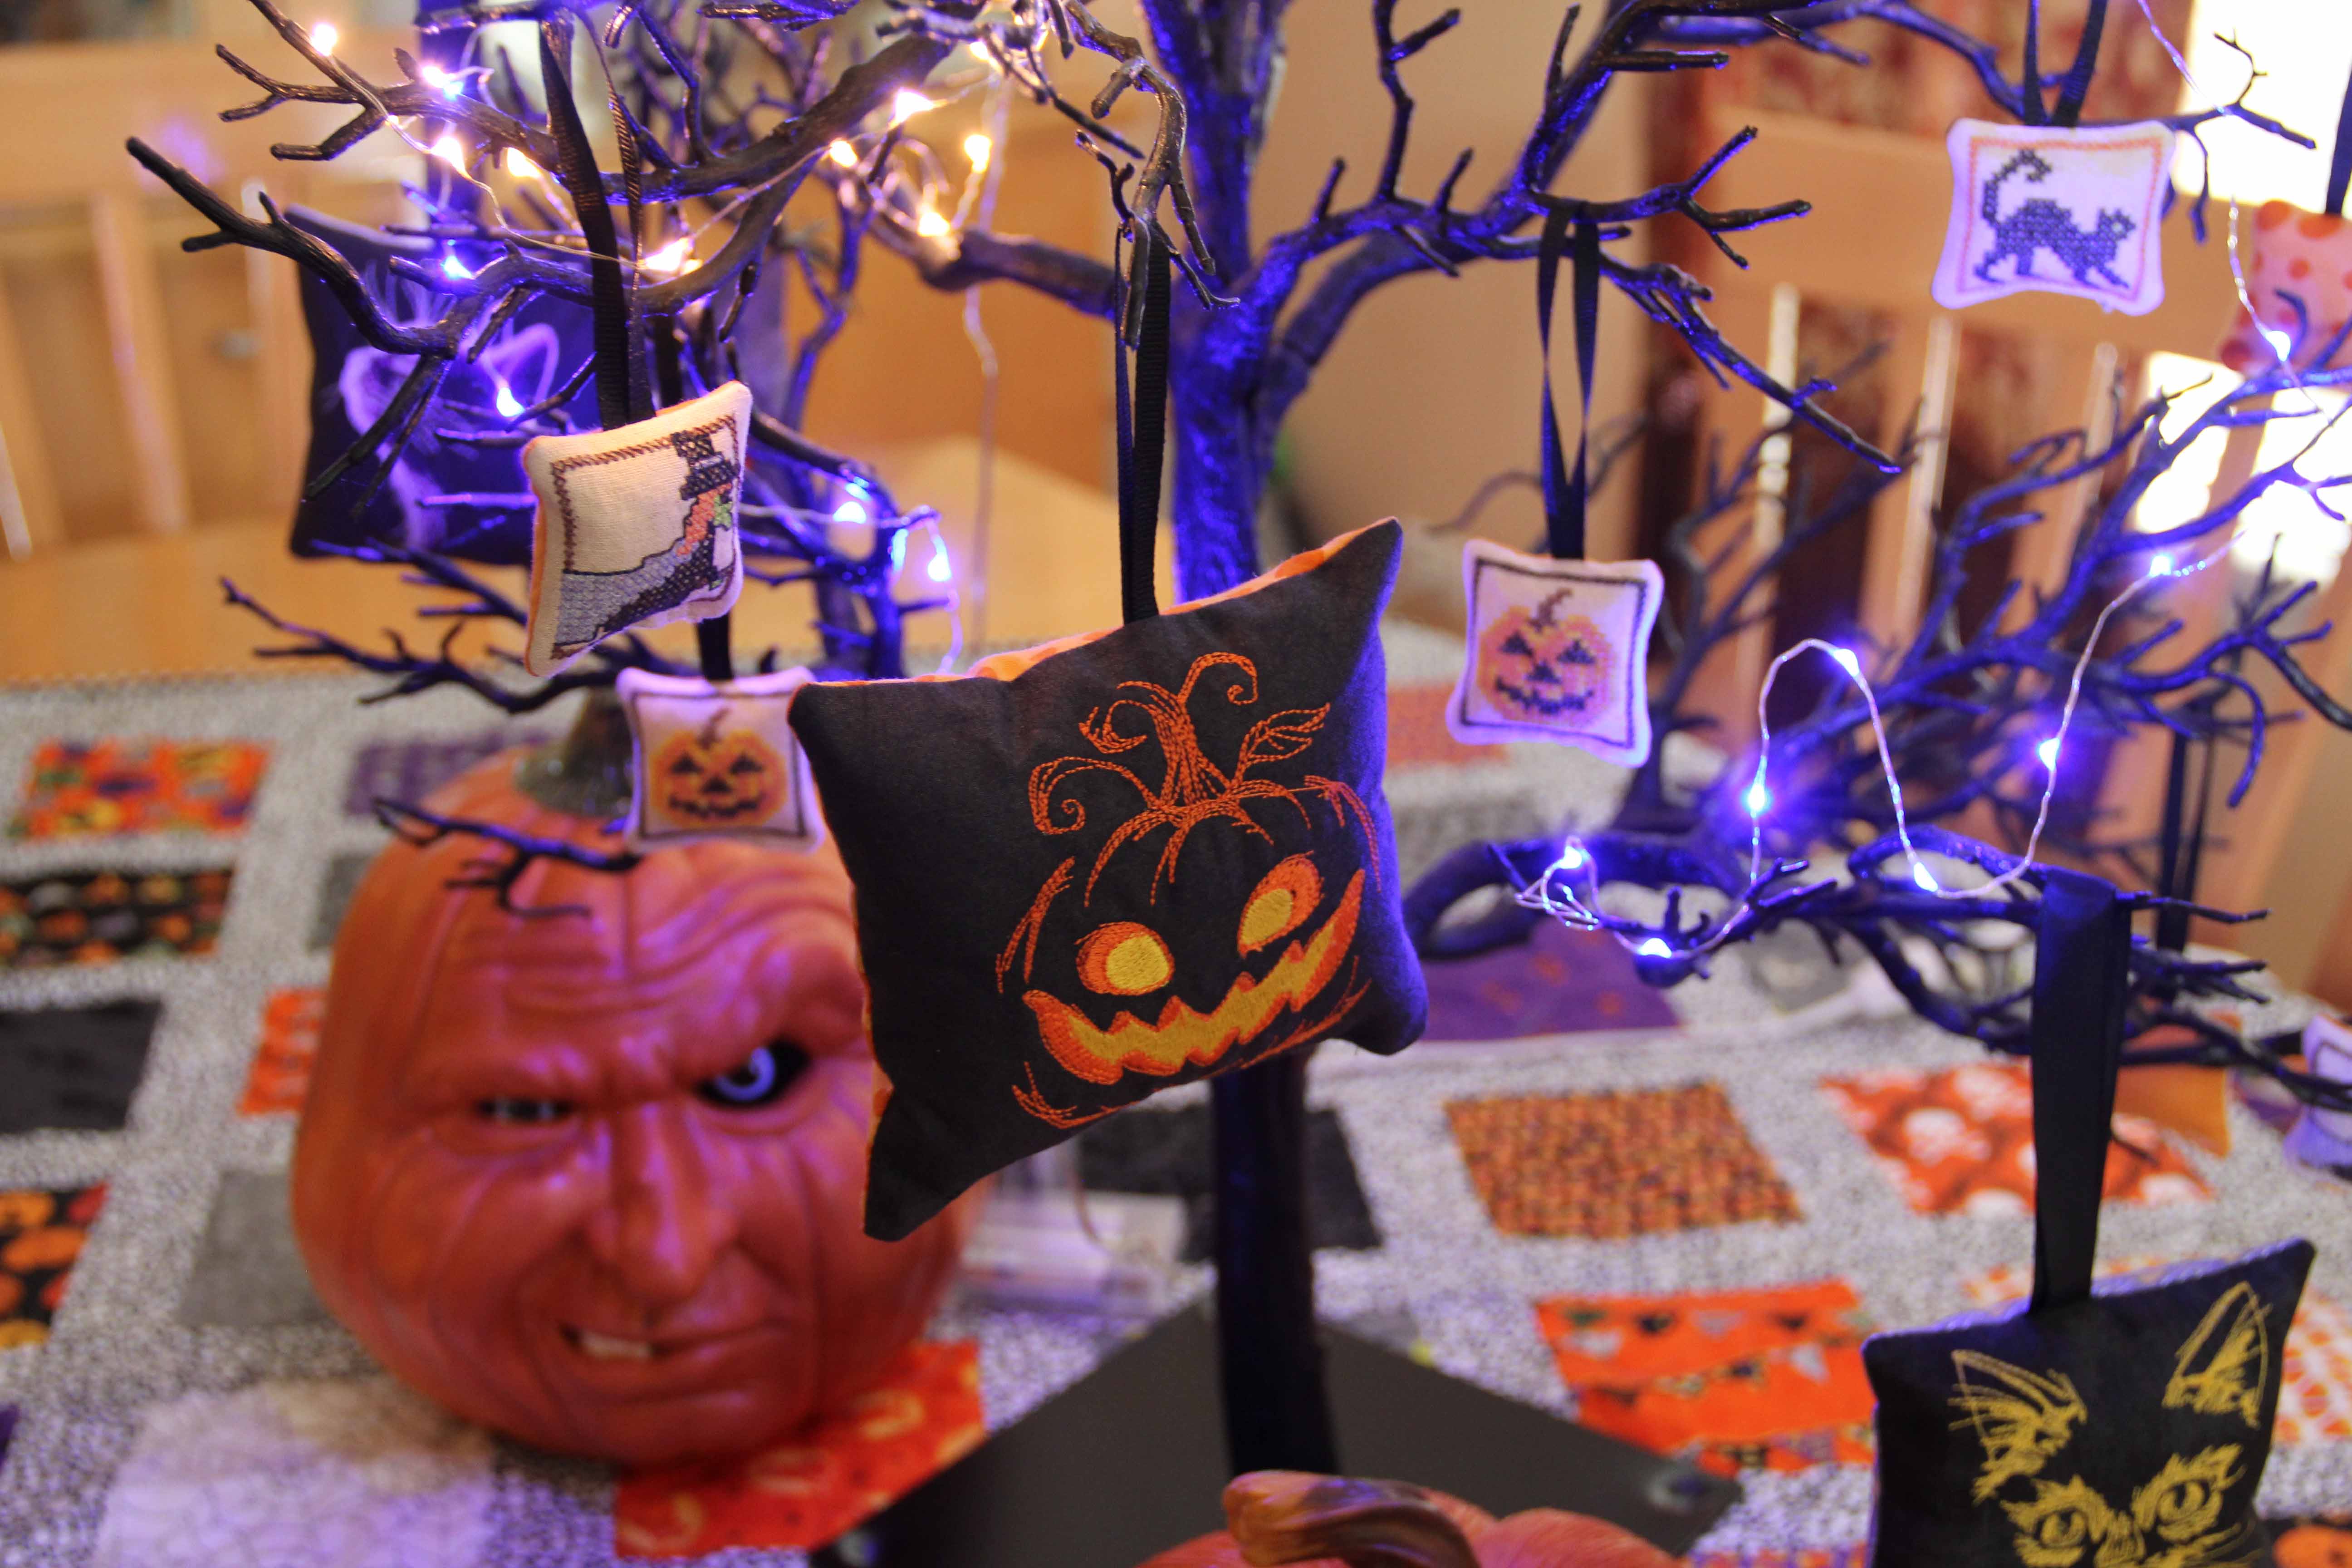
Like those ornaments? I’ve made them over the past couple of years in machine embroidery.  You can search “Halloween” on my site or view one of the posts right here.

I hope I have inspired you to make more use of your machine embroidery.  It’s fun and festive and the ideas are endless.

FreeStanding Lace Embroidery

It’s been awhile since I’ve done any freestanding lace. A friend recently gave me a few spools of white Isacord thread and so what else would I do with it?

I immediately purchased a few designs from OESD. Collection 12724 was perfect for what I had in mind.

When you are working on freestanding lace, you’ll want to use 2 layers of wash-away stabilizer.  I used AquaMesh from OESD. Not to be confused with Aquamesh PLUS, which is also a wash-away stabilizer, but has paper, almost like contact paper on one side, so the stabilizer is sticky.  You’d use that on towels or something where you want the stabilizer to disappear, but don’t want to hoop your fabric.

A quick look at the machine in action:

Now comes the finished product.

Once the design is complete, remove it from the hoop, trim away as much excess stabilizer as possible, then rinse it in warm water until the stabilizer has dissolved.

Next, pin it down to a piece of styrofoam or floral foam.  Cardboard will work as well, but it will get a little soggy. I invested in this piece of styrofoam years ago in the floral department of a Michael’s, JoAnn’s or Hobby Lobby. I don’t remember where. The point is that it will last for years.

When you pin, feel free to use all those pins that are bent or just not perfect for quilting or intricate sewing. These pins don’t matter much, they just have to hold the design in place. It WILL curl and stick up in strange places if you skip this step. Overnight is usually the perfect amount of time for a design to dry completely.

machine embroideryIt’s a perfect accent to a delicate teacup or a small jewel box.

I have been working on a larger project and I planned it out in Bernina Software 8. It requires a few of the pieces repeated and arranged and sewn together. I don’t know how it will look when it’s done, but I’m envisioning that it will make a nice centerpiece on a round table with a festive color underneath. It’s about 18 inches across. (It’s over half a million stitches, so…yeah, we’ll see.)

Freestanding lace, Bernina Software 8

For some of my previous postings on freestanding lace, you can click here.

And here.

Freestanding Lace for the Holidays

freestanding laceI found these wonderful designs on Urbanthreads.com.  I immediately thought of Valentine’s Day, although these were likely meant for the Christmas Season.  I have not yet whip-stitched these together, but I love the look of them.

If you are not familiar with freestanding lace, a lot depends on the density of the designs and the stabilizer you use.

I used OESD Aquamesh, 2 layers for each piece.  Each envelope has 3 pieces.

freestanding-lace-4You can see the double layer of washaway stabilizer in the above photo.  Each section of the envelope took at least an hour to stitch out, so be sure you start with a full bobbin, a well-oiled machine, a new needle and plenty of thread.  I matched the bobbin thread to the top, using Isacord on everything.

free-standing-lace-2There were two different envelope designs to choose from, one was roses, as shown above.  The other was holly leaves, and I stitched that out in red.  Both of the envelopes I stitched were about greeting card size.

But I do have a smaller size design that would be perfect for business cards or a gift card.

freestanding-lace-3Once the design was complete, I trimmed away all the stabilizer, leaving 1/4 inch or so around the outside.

drying-frestanding-laceEach piece gets rinsed in warm water.  Some people recommend filling the sink and letting the lace soak.  That will work, but I usually keep the warm water running and rinse it thoroughly until all the stabilizer has dissolved.

The design needs to dry overnight, and I use a piece of florist’s styrofoam as a base, and flatten each design and pin in place.  This prevents any curling as they dry.

After that, it’s just a whip stitch to assemble the front and the back, and then the top to the back.

I had the most fun searching for just the right button for each of envelopes.  I plan to make a few more…I want the rose design in red. (Shhhhh…I think that’s part of this year’s Valentine’s Day gift.)

knitted-scarfFinally, I thought I’d share my scarf, which is moving along nicely now.  In fact, it’s probably twice as long as this photo shows…but not quite long enough to be complete.

The scarf will also have to be gently washed and stretched flat to dry. That way it will hold the shape.

If you enjoy designs from Urban Threads, you’ll get a kick out of their new holiday Look Book.

They also have their own line of fabric from Spoonflower now.

I actually have created my own fabric on Spoonflower with some of my black and white photography.  But I’ll have to save that for another post once I come up with how I’m going to use the fabric!

O the Weather Outside is Frightful

Table runner

Table runner with text on a path, applique, free standing lace and an embroidery from the new collection Urban Doodles:  Lilies with Spheres.

Not really.  The weather outside is not frightful at all.  In fact it’s quite delightful.

However, in the world of quilting and embroidery, we’re already thinking ahead to fall and winter and gearing up for the holidays.  If I waited to start my fall quilting projects until it’s really fall, I’d never get them finished on time.  So, we quilters and embroiderers start getting excited about new holiday fabric right about now.

This particular project involved embroidery text set on a path. This month in the August Software Sampler, Amanda Whitlatch will cover all of this in detail and much more, so be sure to visit Sew Generously or your local Bernina dealer to attend or find out more.

Using V6 embroidery software, go into Art Canvas and set up a vector shape for the text to follow.  See below. You don’t have to use a spiral, you can create a freehand line, or use a rectangle or another shape.  I just had some fun with the spiral.

IMG_1715

Next, click the text icon on the left, then go to the text menu and click “Fit Text to Path” .  Type in your text.  Select all.  Then click the icon on the left that says “Convert text to embroidery.”  This will open embroidery canvas, and your text will be converted.

IMG_1718


Be sure to check your text to make sure it is large enough to stitch out properly.  You can always increase the size, but at this point it will be treated as a graphic and not as text.

IMG_1719

I want to create a couple of mug rugs to match the table runner using this text below.

IMG_1721

Have a little fun with this, and be sure to visit your local quilt shops soon.

The Northern Illinois Quilt Shop Hop is still on until the end of August.

You can still enter drawings, get 15% off your purchases, and best of all, most of the shops now have the newest holiday fabrics in store!  So start planning your projects–  because as soon as the kids are back in school and that first North Wind begins to blow, we both know you’ll be itching to get behind that sewing machine!

Snowflakes for Sandy Hook

I’m sending some snowflakes to CT.

The PTA there is collecting them in order to decorate the new school for the kids when they return after the holidays. This much I can do.  I can send snowflakes.

And while I will be advocating for many other things after this event–mainly gun control, mental health awareness and the toning down of a culture of violence–the main thing I can do RIGHT NOW happens to be something I would gladly do any day.

And so I will make snowflakes.  Big ones, small ones, doesn’t matter.  And if you would like to contribute, you can make some too.

Here’s the address:

Connecticut PTSA, 60 Connolly Parkway, Building 12, Suite 103, Hamden, CT  06514

And here’s the website for more information:

http://www.ctpta.org/SANDY-HOOK-FUND.html


Just Like Grandma Used to Make – Almost

This time of year, I really long for some snow.  Like everyone else, I’m really sick of it by March, but late November, early December, give me a little bit of holiday cheer in the form of weather.

At a recent community supper, I was lamenting about the lack of snow and how much I wanted to see it this year and global warming, blah, blah.    A friend looked at me and said, “As long as the weather stays moderate, I can work outside.  Working outside makes for a decent income.  When weather gets cold, we need different kinds of contracts–indoor work.  And while I can still get that, it’s never enough.  The longer I can work outside, the better.”

Oh. Now I see.  (I was blind and now I see.)   I don’t need the weather outside to be frightful, even though a fire is so delightful. I’d rather see people keep their jobs and income.

As for snowflakes, I can make my own.  Grandma used to make wonderful doilies by hand, some of them no larger than the palm of your hand. I still have a few.  But times have changed a bit, and now I can make ornaments with basically the same look, only they are done on an embroidery machine.  Free-standing lace is what they are called.  No teeny tiny crochet hooks.  Though I love the look of handwork, too often, I just don’t have the time.

I used two layers of Aquamesh  Washaway stabilizer.  Once the design stitches out,  cut away the bulk of the stabilizer, and rinse the rest under warm water. It disappears almost instantly.  I prefer Aquamesh over Badgemaster, having used them both now.  Badgemaster has a gummy, gooey feel to it as it rinses and does not seem to rinse as easily.  But in a pinch, it will work just fine.

Then just lay them flat and pin them onto a piece of styrofoam.  They dry out overnight, and maintain a slight stiffness.  Whenever I do this part it reminds me of the way my mom used to wash out doilies (she made plenty of them too).  But she had to starch them to get them to hold a shape, while mine will have a slight residue of the stabilizer to keep them in their shape. It’s a little hard to see the pins in the photo, but they are essential to maintaining the shape and flatness of the ornaments.  Free standing lace embroidery is everywhere these days, and I’ve seen some gorgeous designs for the holidays.

Most of these came from a collection by OESD called Snowflake Elegance #12429.

And I guess they are still homemade, though I have been contemplating exactly what that means.  If it’s made on a machine, is it really made by hand?  When I ask myself that question, I think about what Grandma might have done if she could have gotten her hands on a machine like I have.  I think about my mom and her knitting machines.  And the question then becomes not whether or not I should make use of technology, but with my heritage, why wouldn’t I?