It’s been awhile since I’ve done any freestanding lace. A friend recently gave me a few spools of white Isacord thread and so what else would I do with it?
I immediately purchased a few designs from OESD. Collection 12724 was perfect for what I had in mind.
When you are working on freestanding lace, you’ll want to use 2 layers of wash-away stabilizer. I used AquaMesh from OESD. Not to be confused with Aquamesh PLUS, which is also a wash-away stabilizer, but has paper, almost like contact paper on one side, so the stabilizer is sticky. You’d use that on towels or something where you want the stabilizer to disappear, but don’t want to hoop your fabric.
A quick look at the machine in action:
Now comes the finished product.
 Once the design is complete, remove it from the hoop, trim away as much excess stabilizer as possible, then rinse it in warm water until the stabilizer has dissolved.
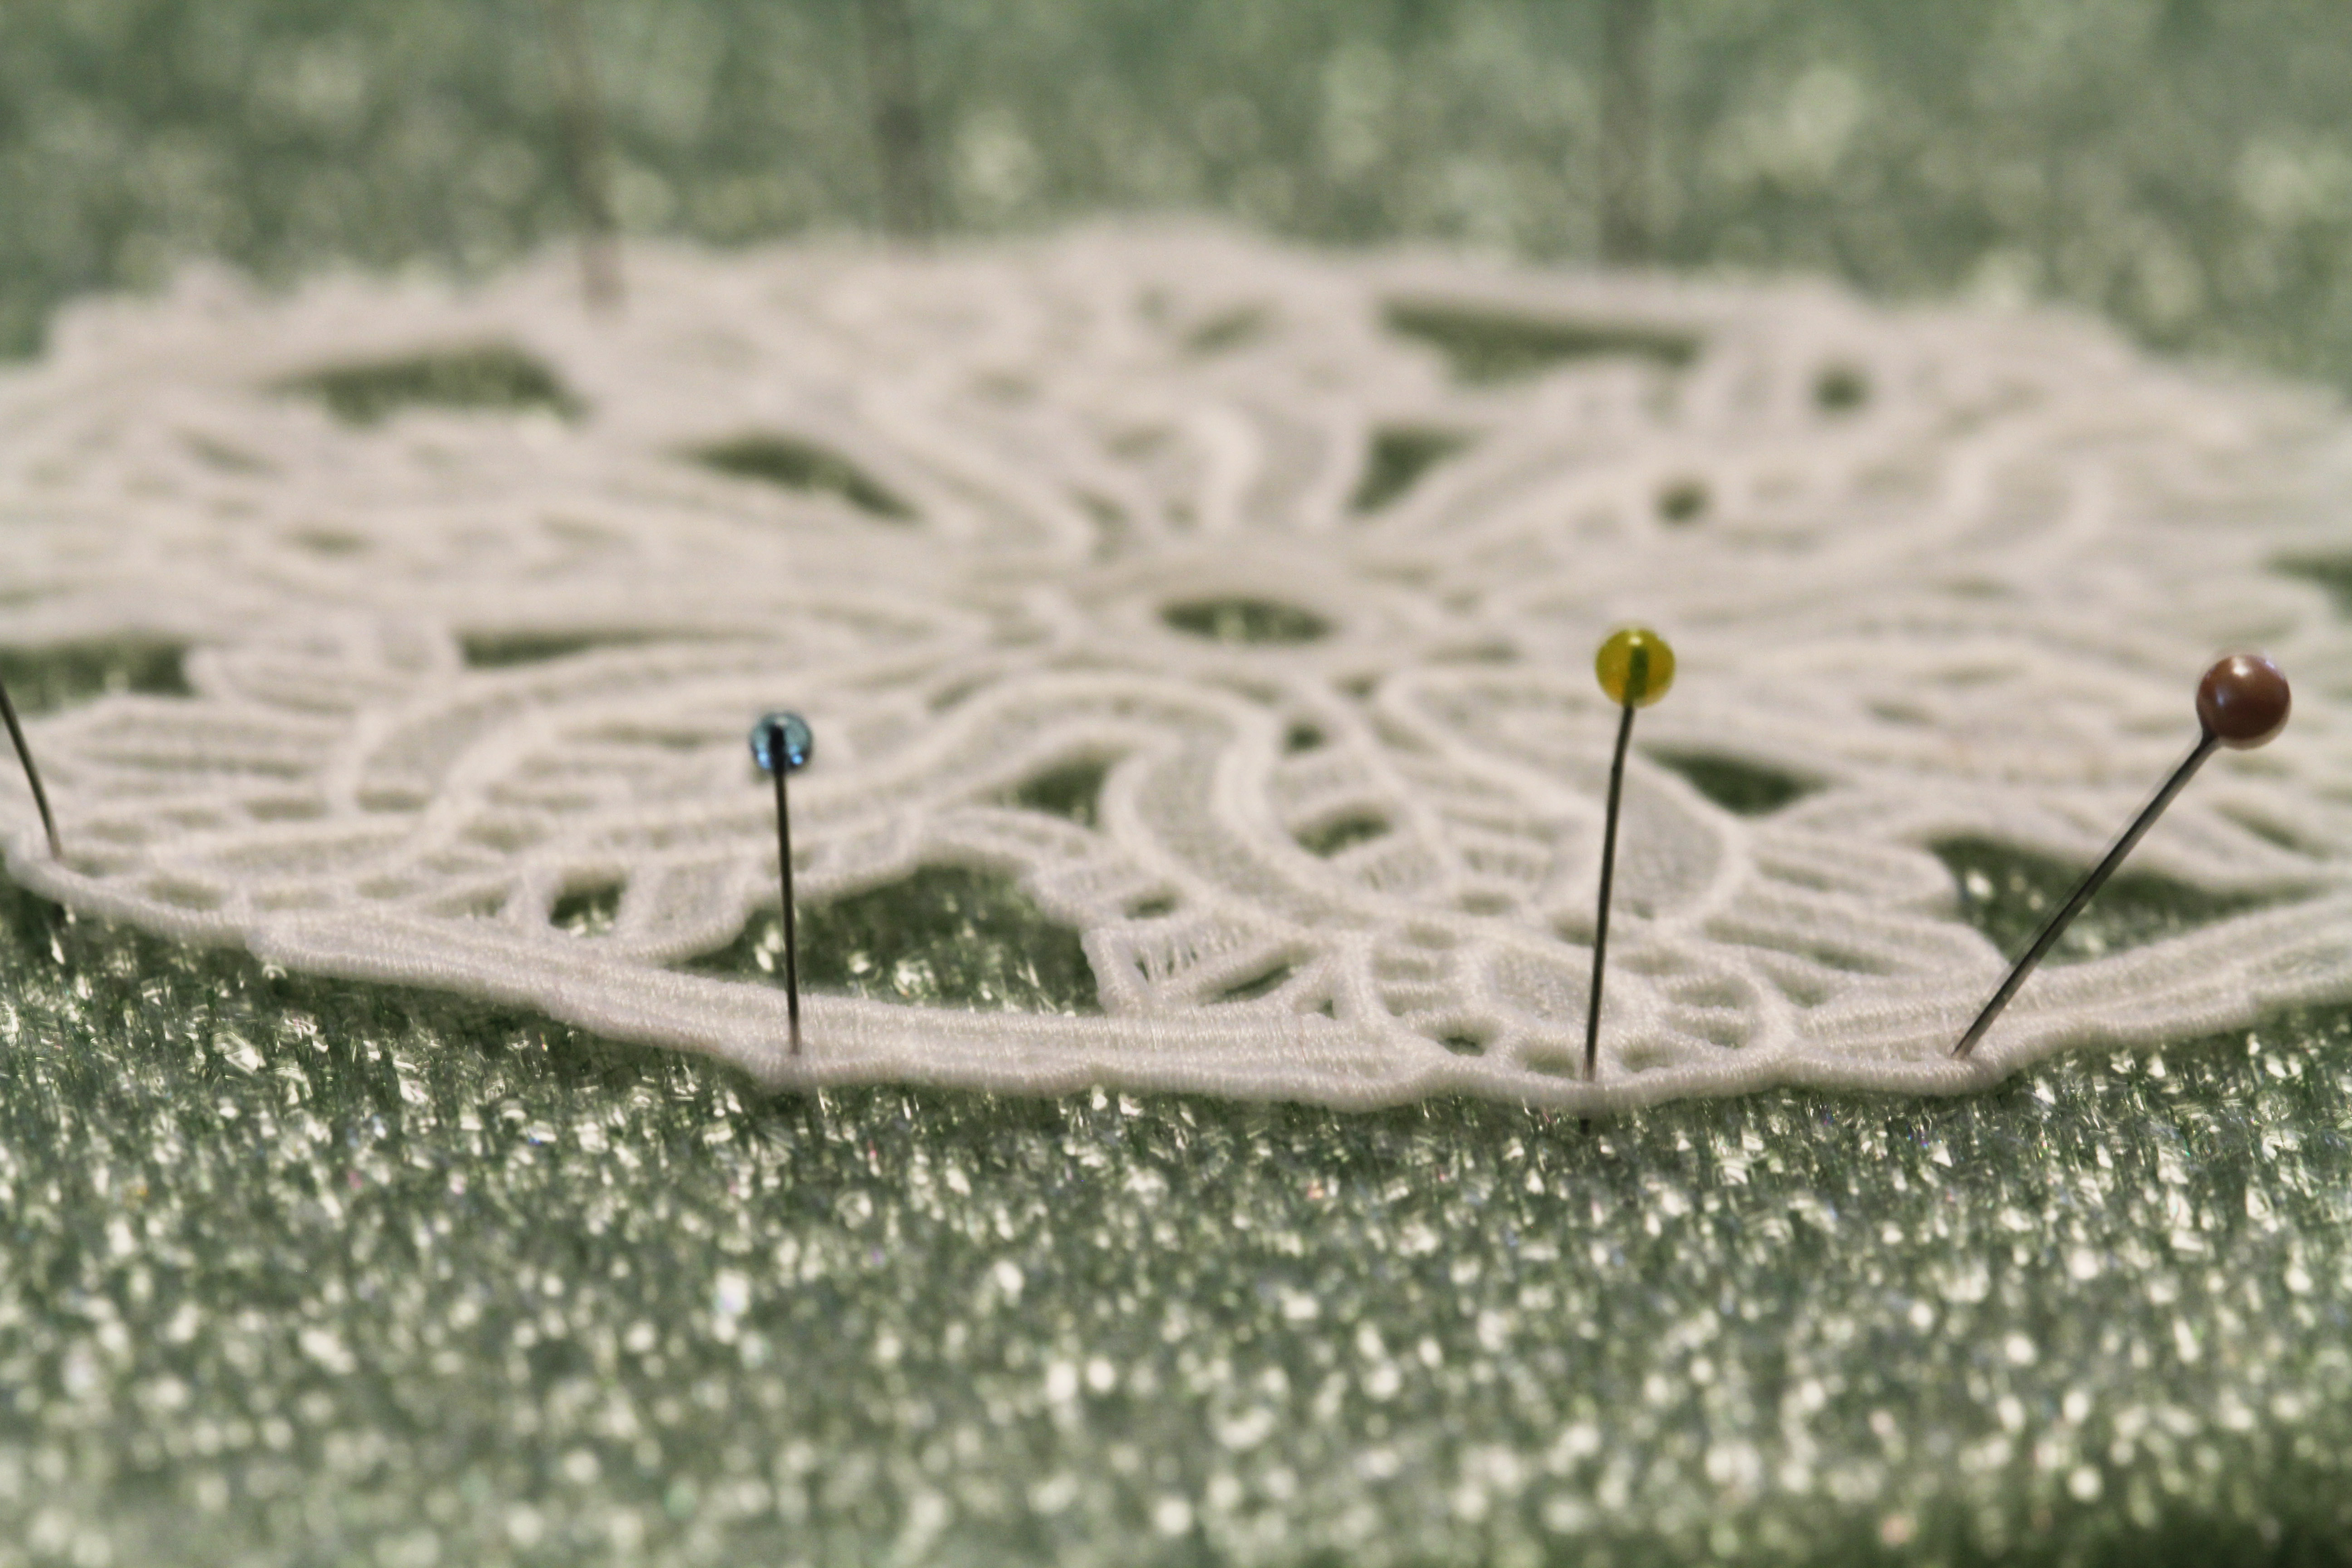 Next, pin it down to a piece of styrofoam or floral foam. Cardboard will work as well, but it will get a little soggy. I invested in this piece of styrofoam years ago in the floral department of a Michael’s, JoAnn’s or Hobby Lobby. I don’t remember where. The point is that it will last for years.
When you pin, feel free to use all those pins that are bent or just not perfect for quilting or intricate sewing. These pins don’t matter much, they just have to hold the design in place. It WILL curl and stick up in strange places if you skip this step. Overnight is usually the perfect amount of time for a design to dry completely.
 It’s a perfect accent to a delicate teacup or a small jewel box.
I have been working on a larger project and I planned it out in Bernina Software 8. It requires a few of the pieces repeated and arranged and sewn together. I don’t know how it will look when it’s done, but I’m envisioning that it will make a nice centerpiece on a round table with a festive color underneath. It’s about 18 inches across. (It’s over half a million stitches, so…yeah, we’ll see.)

For some of my previous postings on freestanding lace, you can click here.
And here.
I have this stash of lace from my mom, that I keep in the basement, well-protected. I never know what to do with it, but it’s always in the back of my mind as a resource.
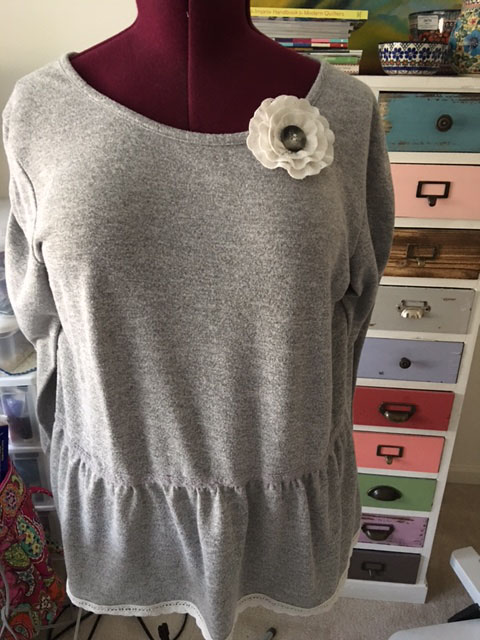
The other day I purchased a (very) cheap sweat-shirty looking top on sale at a discount store where I normally buy groceries. So you know the price was right.
I wore it a few times before I started to get an idea to “cuten” it up a bit.
I ran downstairs to my stash of lace and found something perfect. I added it around the bottom of the shirt.
 This took MAYBE half an hour.
 It’s cute, right?
That’s when I got out the ruffler and decided to try ruffling the lace a bit to create a flower pin to wear on this shirt (or any other for that matter). I adjusted the ruffler to take a small “bite” so that the ruffle was soft.
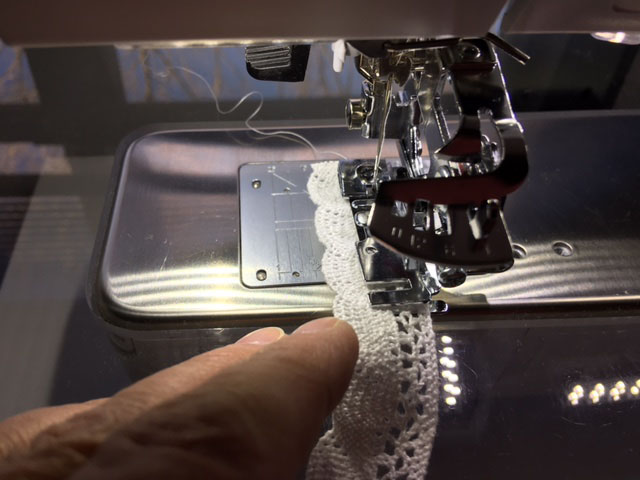 You can see that it forms a natural curve and so I then proceeded to sew it onto a piece of wool I had around.

 Really, this is very easy and fun stuff if you have the right tools.
I added a button and hot-glued a pin-back onto the back. Pin-backs are widely available in places like JoAnn’s, Michael’s, etc.
 To summarize, everything that’s needed for a project like this:
This looks adorable on a handbag, a headband, a jean jacket, anywhere! You can also ruffle some fabric and create another look.
Have some fun…I highly recommend a ruffler foot for your machine. They haven’t changed in years, and I wrote about it here.
So take a break from quilt blocks and try something new!