Hand Quilting Takes Time — Nevertheless, I Persisted

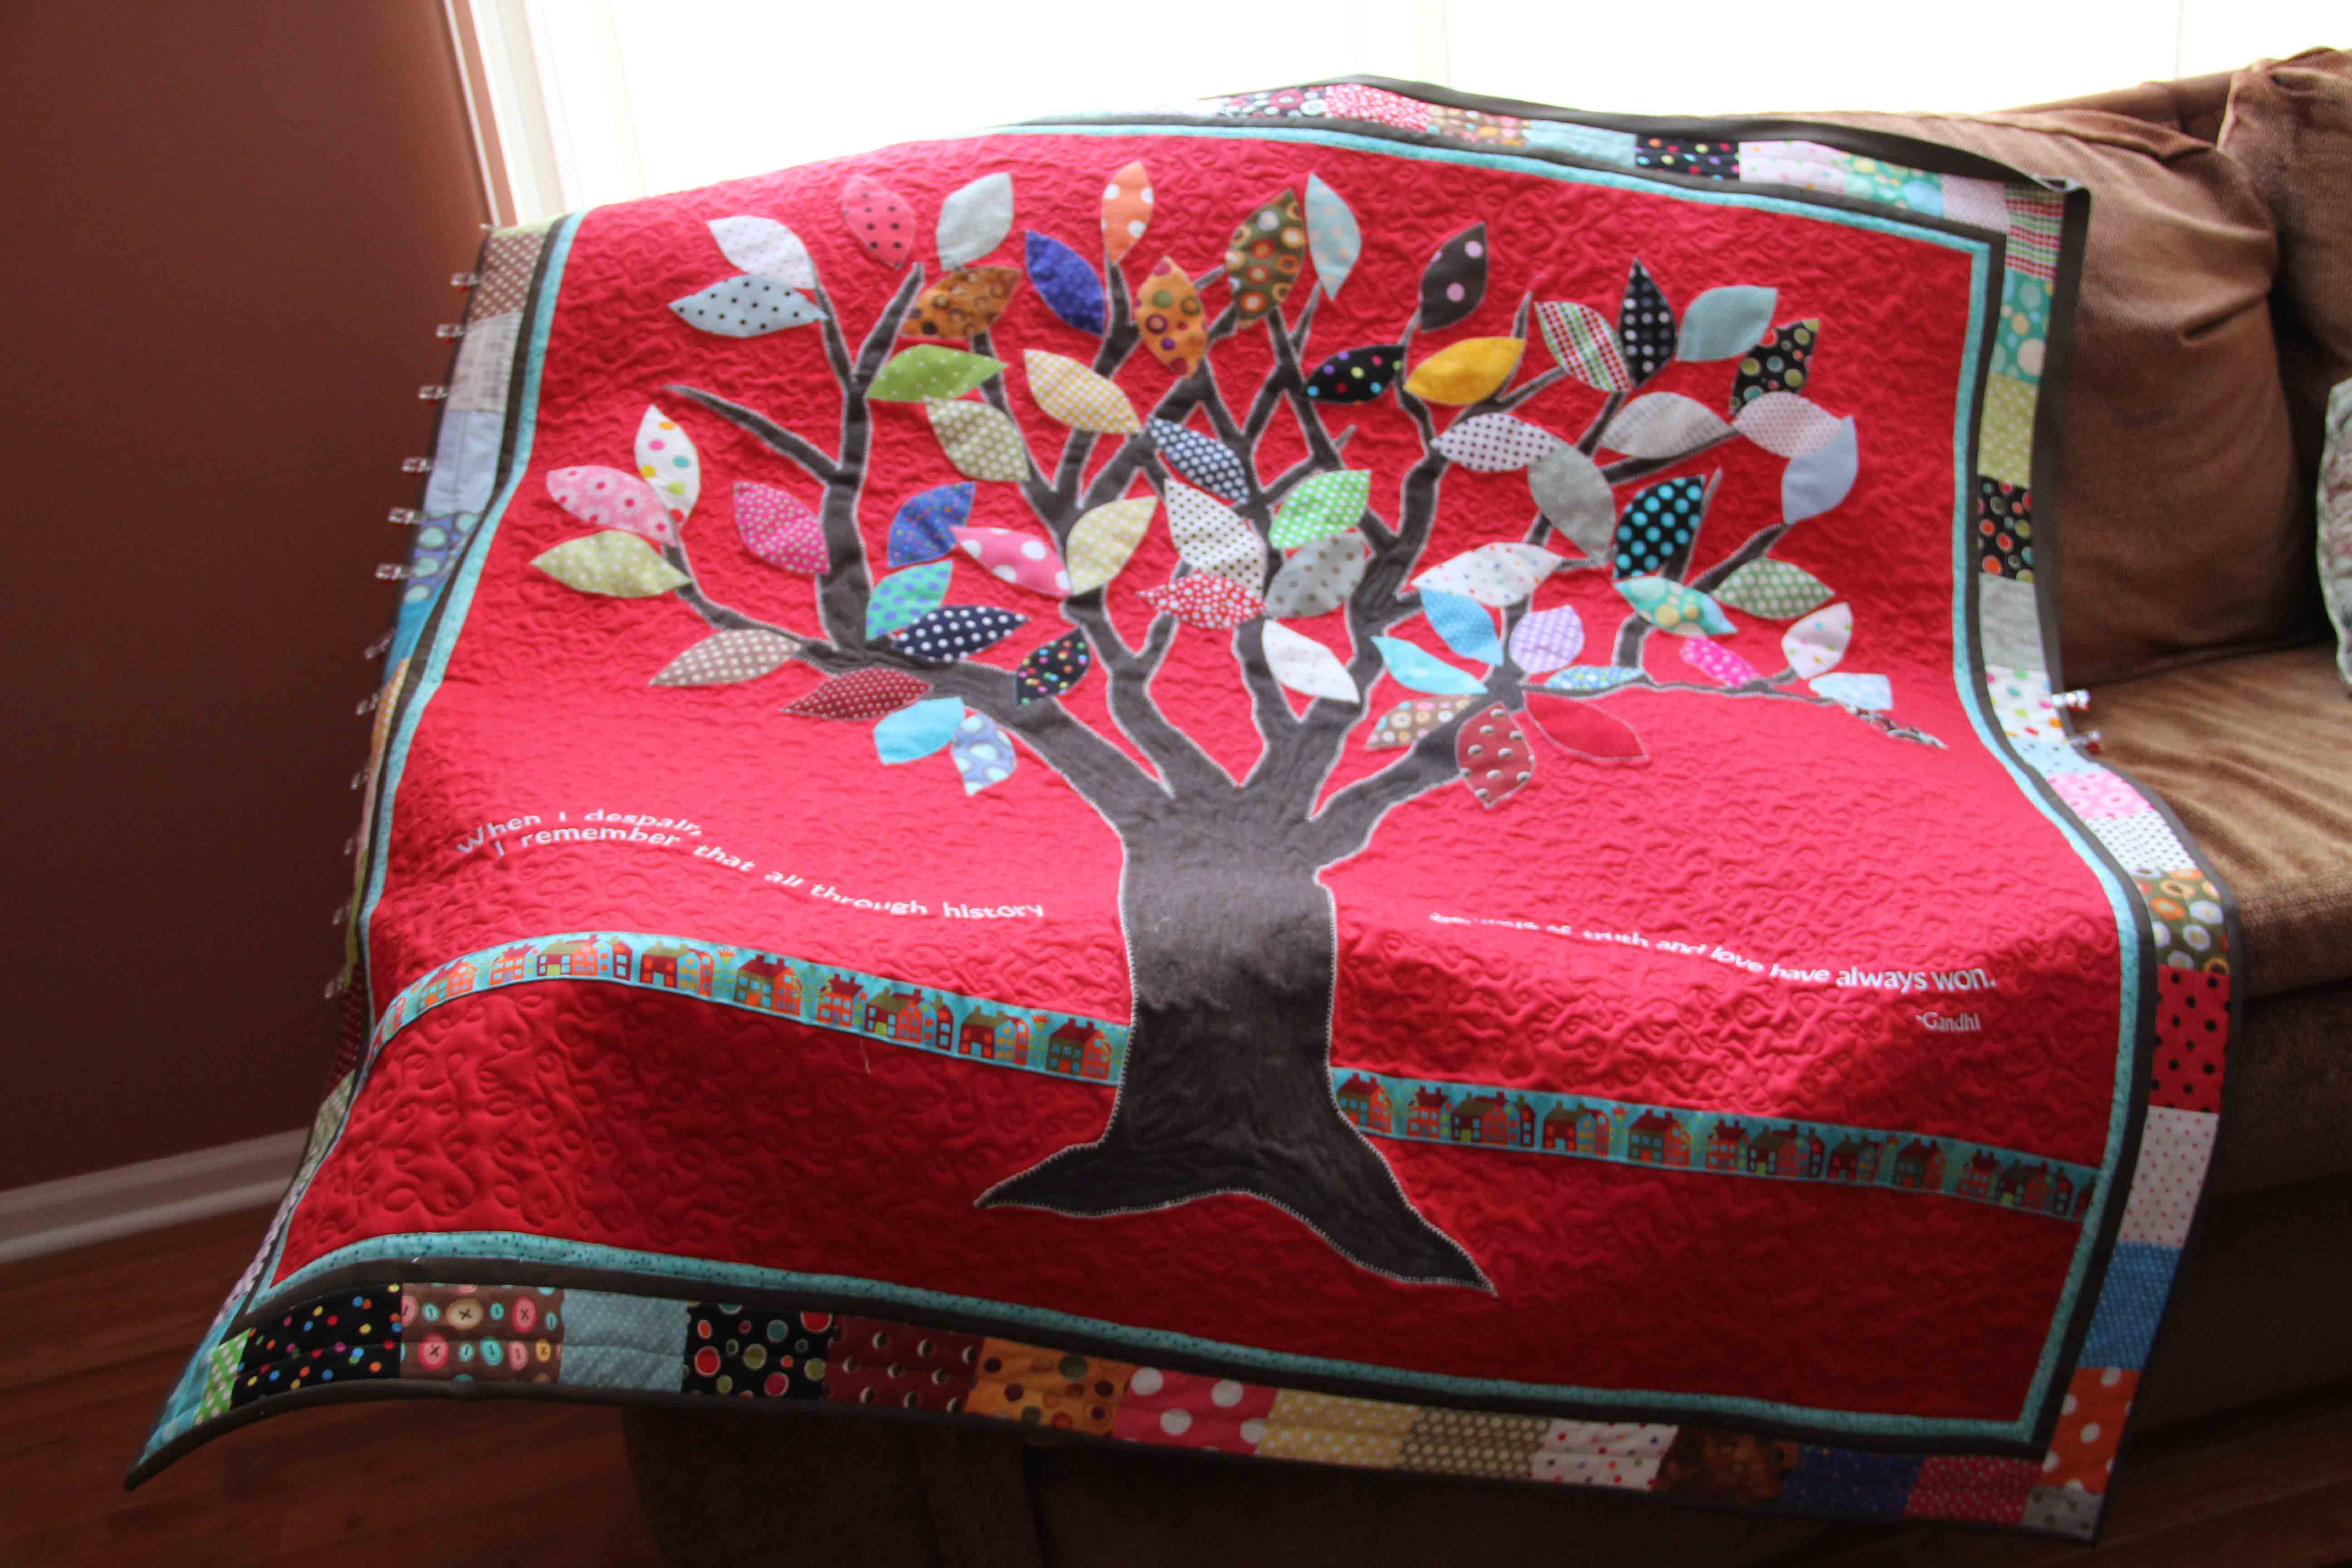
I started this quilt in 2014.  My original estimate for getting it hand quilted was 4 months. 4 years would have been much closer.

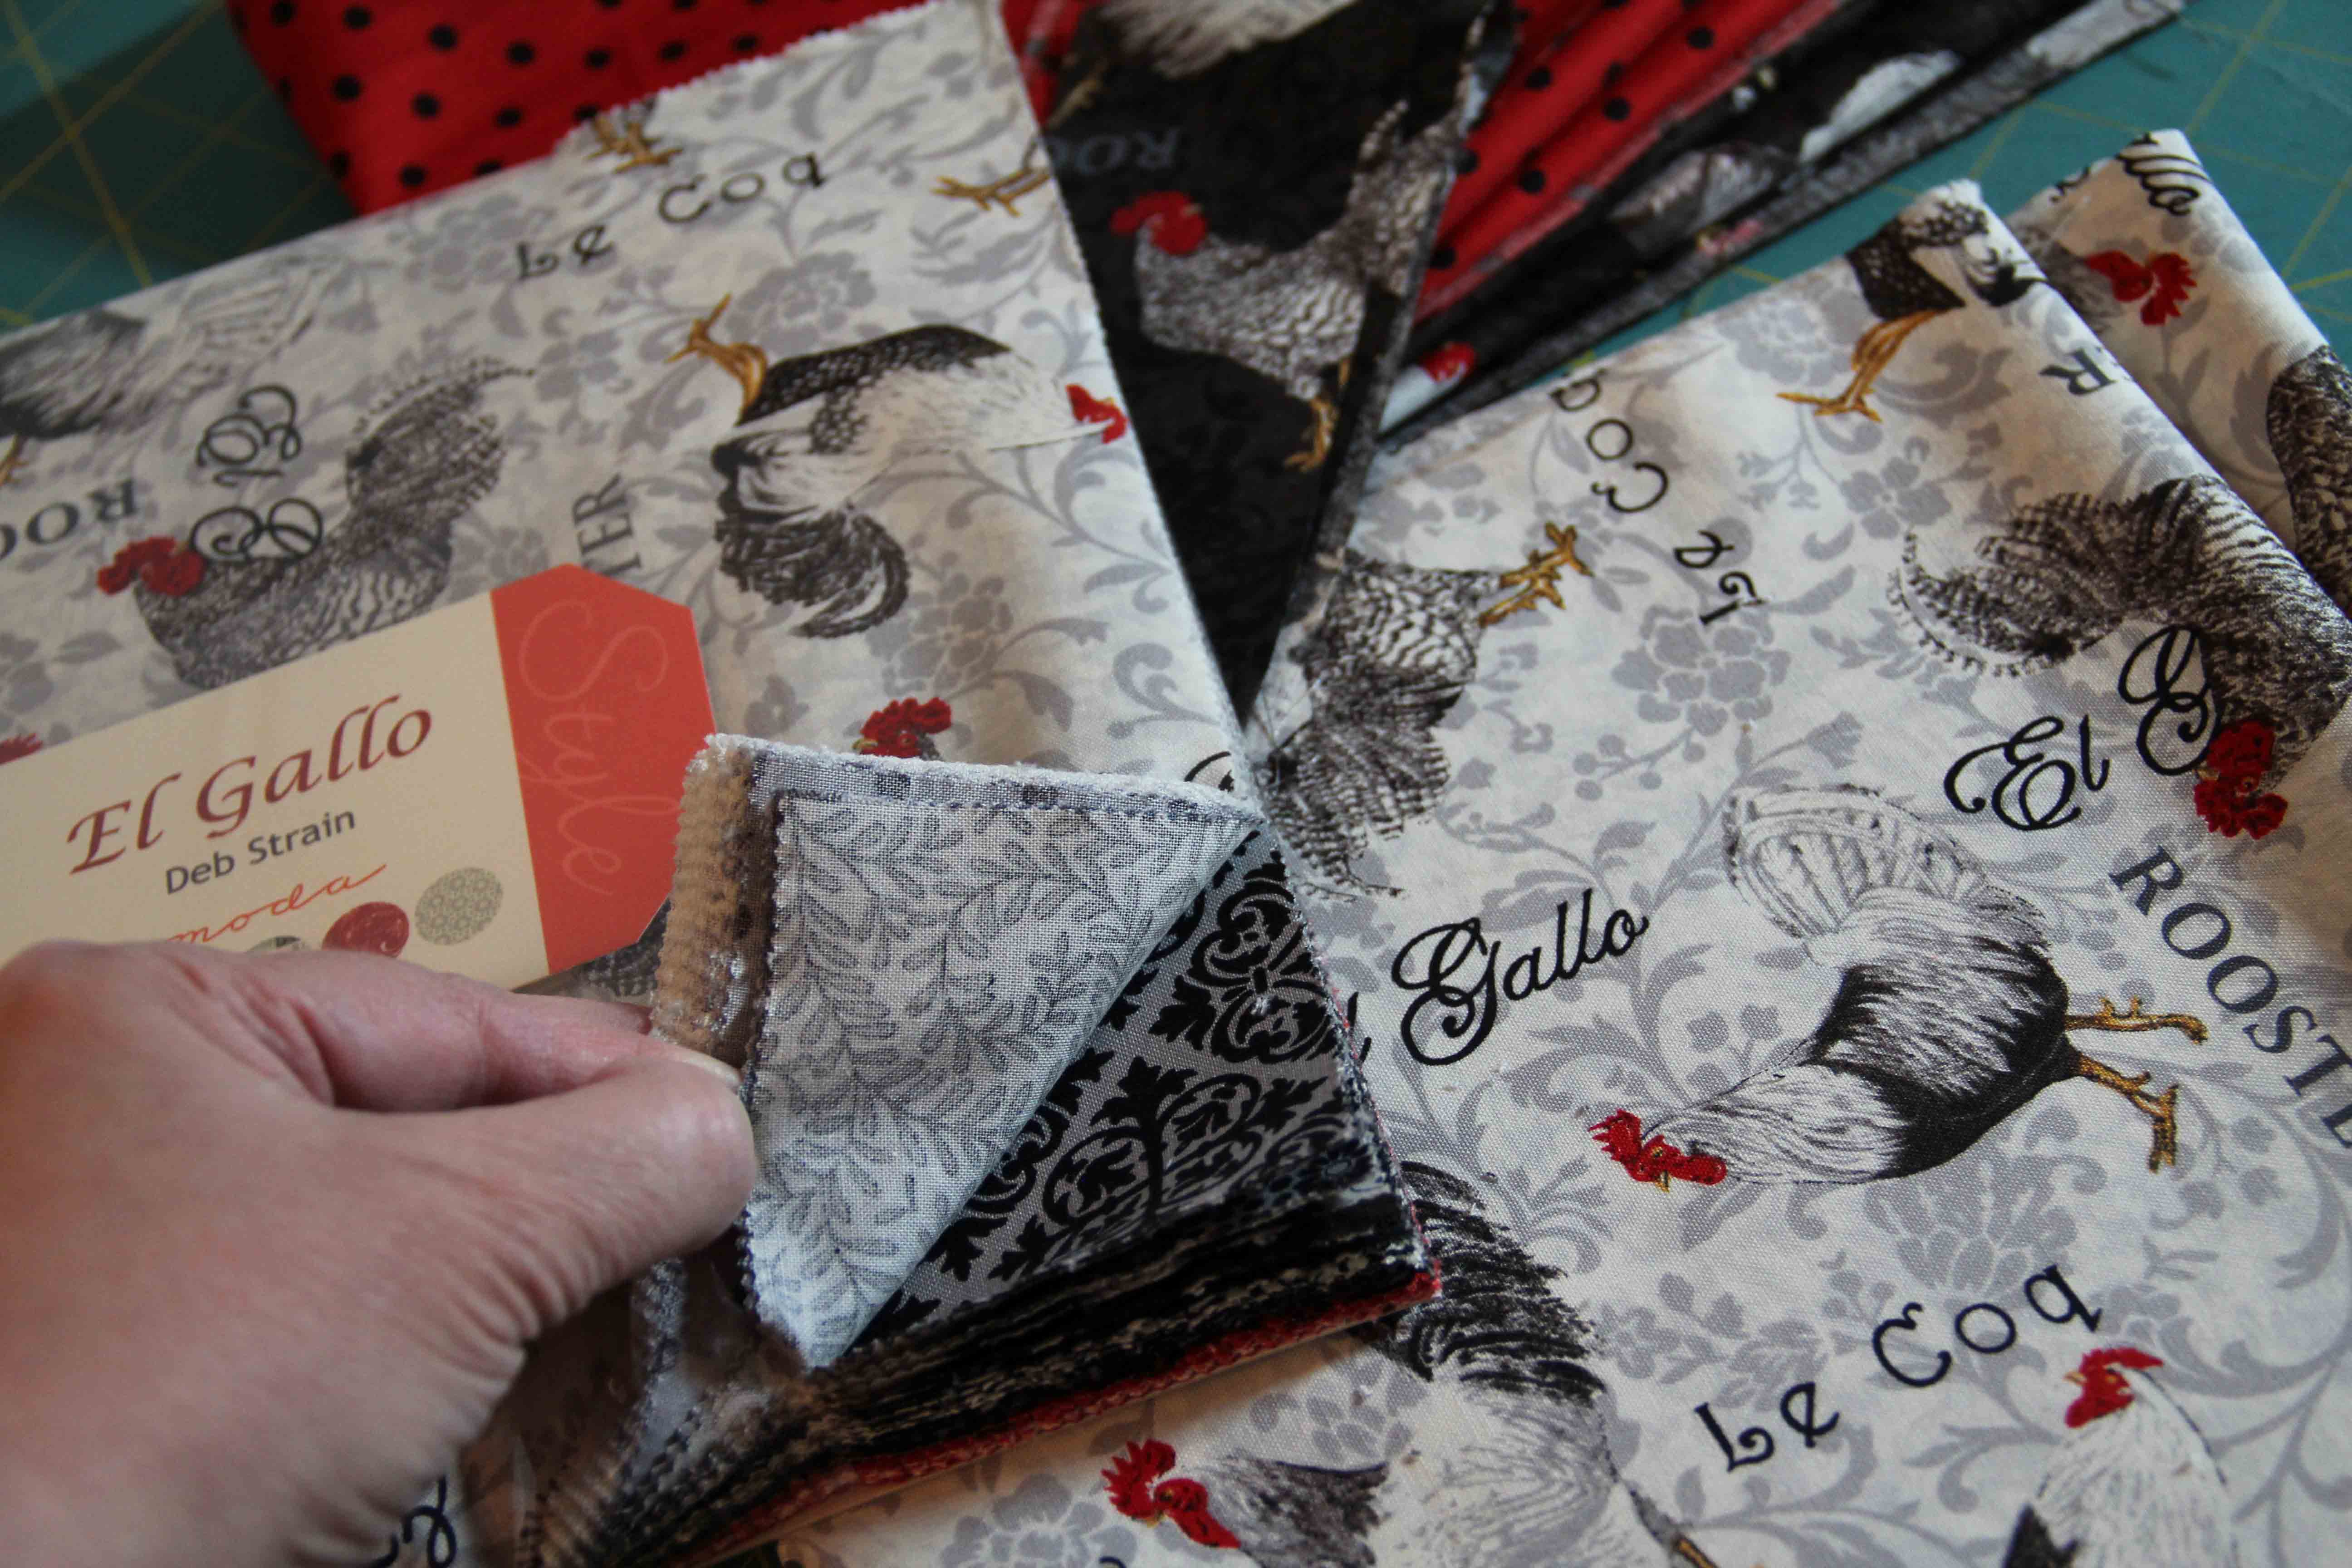
It’s not that I didn’t know it would take work.  Each block was about an hour…no matter how efficient I got at it, I had to re-thread a certain number of times, turn the whole quilt, shift positions, etc. It took an hour no matter how much I tried to reduce the time.

My husband approached and asked, “So if you’re going to quilt by hand, why do you have an expensive machine?”

Please.  Between the time I started this quilt and the time I finished it (yikes, I still need a label!) I completed countless other projects using my “expensive” machine.

Still, I don’t regret a single minute of the hand work. I listened to podcasts, I watched my DVD’s of Downton Abbey. And sometimes, I just sat quietly and used it as a meditative practice.

Why do anything by hand?  Why bake bread when you can pull it off a store shelf?  Why paint a picture when you can capture it all on a cell phone?  Why talk to anyone in person when you can text? Why walk down the street, for heaven’s sake, when you can get in your car and be there in no time?  Why grow a tomato at home when you can get it at any store, or, more virtuously, at the farmer’s market?

I’m not old-fashioned. I love my technology.  I use it to the hilt. While I’m typing at this very moment, I’m also listening to Harry Connick Jr on Pandora. (OK, maybe that’s a little old-fashioned.)

But doing things with our hands teaches us something.  It teaches us patience.  It teaches us that all the products around us take energy, resources and time to produce.  It teaches us to respect process, and maybe, just maybe, to recognize our culture’s love of instant gratification.

If someone had told me when I started this quilt that I wouldn’t finish it for three years, and along the way I would face life and death and sorrow and joy and pain and frustration, I would have told them no thanks. I want things to stay peaceful and uneventful.

Instead, I put it into the stitches.  That’s what we do, you know…those of us who try to do things by hand from time to time.  We put the tears, the laughter, the anger, the frustration, the love, the humility and all the emotions right there into the work.

But I don’t have to tell you that. If you’re a quilter, you already know it.

My Practical Valentine

Sssssshhhhhhh. Don’t tell my husband.  He doesn’t read the blog, so he won’t find out what I made him for Valentine’s Day.

Months ago, he casually asked me if I could make him something to sit in the treadmill tray.  He said he didn’t like the remotes sliding around, banging against one another and getting confused between the channel remote, the DVD remote and, of course, the Netflix remote.

First world problems, no kidding.  I know it.

Nevertheless, I said I would make something and then promptly forgot about it. So many quilts and art projects to make, so many lovely fabrics, so little time for something as unglamorous as a treadmill caddie.

And it’s not like anyone has a pattern already created for our treadmill.  It’s not rocket science but I did have to think it through a little.

I started with a basic pattern for the bottom of the tray.

treadmill caddie1From there, it was easy enough to measure the sides and the depth.  Then I had to think about materials…what should I use as stabilizer?  Would batting be enough?  No, I decided, Soft and Stable would be ideal. 

If you’re not familiar with the product, it’s perfect for bags and wall hangings or anything where you want more body than batting.  Ask for it at your local quilt store…most of them already carry it.

After that, I had to devise a way to add compartments.  I didn’t really know what size the compartments should be, if he wanted the remotes to lay down or stand upright, or just tilt out of the way.  At any rate, I decide to make it flexible.  The partitions can be moved around so that the caddie can hold a drink or just the remotes or different sized things.

I scanned the sewing room for an idea.  Velcro!  That’s the ticket!

treadmill caddie 3I attached one side of velcro to the lining, and the other side to the little dividers for the inside.  Then I created a lining that was the same size as the outside and attached it.

treadmill caddie 2Strangely, free-standing it looks like a little canoe.

But once inserted into the treadmill tray, it fits and makes more sense.

treadmill caddie detailHere, you can see a detail of how the little partitions can be moved around to support different sizes.

treadmill caddie finishedAll set and ready to go.  As you can see, the remotes fit quite nicely in their little compartments and are easy to grab.  I can always add more partitions or move them around.

What would I change?  Well, I used batting on the bottom and Soft and Stable on the sides.  I think I would create the whole thing using the Soft and Stable if I were ever to create another.  The batting is very forgiving in terms of fitting, though.

I think he’ll be happy.  ssshhhh…he won’t get it til Valentine’s Day.  Better than chocolate, right?     hmmm…

Here’s a link to a previous Valentine’s Day post.


Know When to Hold ‘Em, Know When to Fold ‘Em

nickel quiltsQuilting is like gambling.  No, really. Stay with me on this one.

If you’re a typical quilter, as I am, you purchase fabric…maybe you even attend shop hops.  When you’re on vacation, you locate the nearest quilt shop and stop in for ideas and inspiration.  And fabric.

But when you lay down your money, you are placing a bet. You’re betting that you’re going to have the time, energy and inspiration —  in this lifetime — to use that fabric.  And the odds are good.  You, like me, have a history of completed projects, gifts you’ve made, accents around the house, finished, quilted, bound…complete.

You play the odds.  I do too.

But this week, I had to face the fabric.  I found a number of blocks I had started eight years ago (maybe longer).  I have all the fabric to make this into a queen size quilt.  I caressed the blocks.  I lovingly examined the fabric…already cut, by the way, ready for piecing. I inhaled.

I recently took a yoga class for the first time in twelve years.  (A lot has changed in my body.  For one, it’s not that easy now for me to get up and down off the floor.)  But the instructor had a calming voice and at one point she said, “Inhale….exhale…you know CEO’s and other high-powered executives have a hard time with exhale.  They can take long deep breaths in, but have the hardest time releasing, letting go, exhaling.”

And I realized something.  I’m no high-powered executive, but ALL my focus is always on the inhale.  The exhale is something I ignore.  The letting go, the release, is not something I ever think about.  My focus quickly moves to the next inhale.

So this week, I’m honoring the exhale.

It’s not easy. It is very difficult, EXTREMELY difficult, to admit to myself that I’m never ever going to finish that project I started eight years ago.  I gave myself this much wiggle room:  I will make the completed blocks into a lovely table runner.  Assembled, they will be functional, just not grandiose.  I will take it out in the springtime to celebrate their bright colors. But I will let it go at that.

And then I will exhale.

And fold ’em.  And let ’em go.

How Do You Redecorate?

This is the time of year when I look around my house and everything looks stale.

The bathroom needs new accessories and new towels, the pictures on the walls have been there a hundred years.  Well maybe not that long but they might as well be.  And I don’t really have a lot of enthusiasm and energy (read $$$) for a huge renovation.

Then along came this fabric collection.  I LOVE it.  And I’m not even into roosters.

IMG_3403It’s called El Gallo by Deb Strain for Moda.

With all the blacks, grays and reds, I just thought it was elegant and fabulous.

I had to have it for our kitchen.

We have one large window and one small window in the kitchen, and I quickly grow tired of the valances, so I make new ones whenever I have the time.  I decided I would make this set reversible.

Now, this is so easy to make, it’s unbelievable.  Simple valances for a kitchen or bedroom are nothing but straight lines.  I can’t tell you how many people think that’s some sort of inborn talent. Really it’s not.  It takes a sewing machine, some thread, and the will to practice.

For a simple reversible valance, you need two types of fabric, preferably contrasting in some interesting way.

1.  Measure your window.  You’ll need 2 to 2 1/2 times the width of your window in fabric to get a nice gathered appearance.

2.  Decide the length of your valance and add an inch or so for seam allowances.

3.  On mine I included 2 inches of contrasting fabric on the bottom, which I laid out the opposite way on the reverse side. See the picture below.

4.  Place the fabric right sides together and sew all the way along the top and bottom, making a large tube.  I used a serger because it finishes the edges at the same time.

5.  Turn the whole thing inside out and press the seams along the top and bottom.  This is the most time-consuming part.

6.  Next, I serged the ends of the tube…not shut, just all the way around.  if you don’t have a serger, just fold and press the sides under twice, about a 1/2 in. on each side.  Don’t sew the front to the back just yet. We have to add the rod pocket.

7.  About 2 inches from the top, sew a line all the way across the valance.  Make sure your rod will fit before you sew the second line of the rod pocket, usually down about 2-3 inches from the first line. Sew all the way across.

8.  Now you can use a topstitch to sew the sides together leaving the rod pockets open.

9.  I also added topstitching along the bottom contrasting fabric.

10. Done!

IMG_3383Once the valances were up, of course I needed some accent pieces with roosters on them.

Now, frankly, I thought roosters were yesterday’s news. Washed up, used up, replaced by chubby hens with skinny legs.  I don’t know, just not current any more.

But I went into Strawflower Shop in downtown Geneva and asked them if they had any roosters. “Oh yes,” the gal exclaimed, “upstairs in our furnishings. I’ll call to let them know you’re coming up.”  By the time I reached the top of the stairs, an elegant woman greeted me.  “I understand you’re looking for roosters,” she said, as though I were buying fine wine or maybe a new car.

“We have quite a nice selection in our kitchen area. Roosters are always in demand, you know.”  I didn’t know.

But I did find a lovely rooster for the kitchen wall.  Who knew they were in demand?  I guess I’m cool. Again.

IMG_3397

Looking up at the valance you can see that it's reversible, with contrasting detail.

Looking up at the valance you can see that it’s reversible, with contrasting detail.


Polka Dot Finale

I am crossing the finish line.

Still sewing the binding, but the quilt label is done, the sleeve for hanging is complete and all I have left is the last bit of hand stitching to pull it all together.

The red background is twill, the tree is wool and the rest is cotton, with a wide variety of thread weights for applique.

For everyone who participated in the Polka Dot Fabric Exchange, I THANK YOU!  Your fabric is lovely, especially when it’s pieced together with everyone else’s!

I really enjoyed challenging myself with this project, as it was a meaningful way of bringing together quilters from around the world.

For fun, I thought you might like to see the creative journey, step by step in images.  Dedicated to quilters everywhere…we’re all on the same family tree!

sketchPolka dot Exchange

Notes from the Exchangeperlefinaltreedrawingtree1polkadot tree1polkadot tree1IMG_3294IMG_3293Scribbling a thought at the breakfast table.


The fabric begins to come in from all across the US and the world.


I am moved by the notes attached to every fabric square, so I saved them.


Testing for applique.


Getting an idea of how the tree will look.


Transferring the drawing of the tree.


Cut out and fused down.


Leaves have been cut out and placed for position.


All appliqued, embroidered, quilted, just about done.

Hugs to my polka dot friends!

Save yourself — from Pinterest

If only I could.  But every now and then I get sucked into it.

If you sew, you know just how many absolutely gorgeous fabulous creative bright shiny fresh interesting lovely stunning fabric-savvy darling sweet edgy smart…whew…IDEAS are on that site.

I am helpless to resist.

So this little t-shirt project was inspired by one of the ideas I saw there at some point, and I wish I could credit the original poster.  But that’s the thing about pinterest.  You click on something, then on another thing, and before you know it you are down the rabbit hole somewhere on a blog, mixing all the ideas together.

So, for the record, I bought several of these cheap tees to use at a class for embroidery positioning.  The students used them in the class and now I have them left over and I was wondering what else I could do with them. Here’s the upcycle idea:

Before.

Before.

After.

After.


Just a plain tee to start, but it gets cut up into a shrug-type garment.


In the summer, I think it will look cute over a tank or tee.  Not bad for the $5 or so that I paid for it.

In the meantime, I’ll be shielding my eyes from the inevitable lure of pinterest.

For the moment.

Finally, Ready for the Rainy Season

raincoat

raincoat3


Whew.  I don’t think I’d make another raincoat anytime soon .  While the vinyl fabric sewed up nicely, bulky seams were difficult.  The sticky vinyl would grab hold of my needle and pull it out of the machine.

I switched to a titanium-coated needle and same thing.  It got to be a bit of a wrestling match.

In general, I’m pleased with the result.  More than that, I’m pleased that it is done.

I may go back and tweak a thing or two.  Doesn’t everyone?

Happy Easter, friends.