
[embedyt] http://www.youtube.com/watch?v=T1_VZdfc3PA[/embedyt]
So, with the vest finally complete, thought I would let you see it in action. I know it’s a little creepy as everything is in shadow so the lights would show. Actually, they show pretty well in daylight too. Those little neopixels are quite bright!
You can see that I used the Adafruit book as a reference during every step.

After I had the lining of the vest created, I used an erasable sewing pencil to trace out the pattern of the pixels, making sure to keep power and ground from crossing.
 I numbered the pixels to keep track. The next step was to handle all the wiring.
Problems encountered:
- The conductive thread, while it did work, would have lost a lot of power by the time it went through 19 pixels. So we switched to 22 gauge insulated wire for both power and ground.
- We use the thread to attach the accelerometer to the Flora and it did hold up, but did not like the silver solder at all.
- Working with wire and Neopixels is tiny, tiny work, much tinier than wool embroidery, or even working with embroidery thread. Be prepared with a nice set of wire strippers.
 Here is a pic showing power and ground and attached to each pixel with the 22 gauge wire. White was power, black was ground. Each neopixel was at least temporarily held in place.
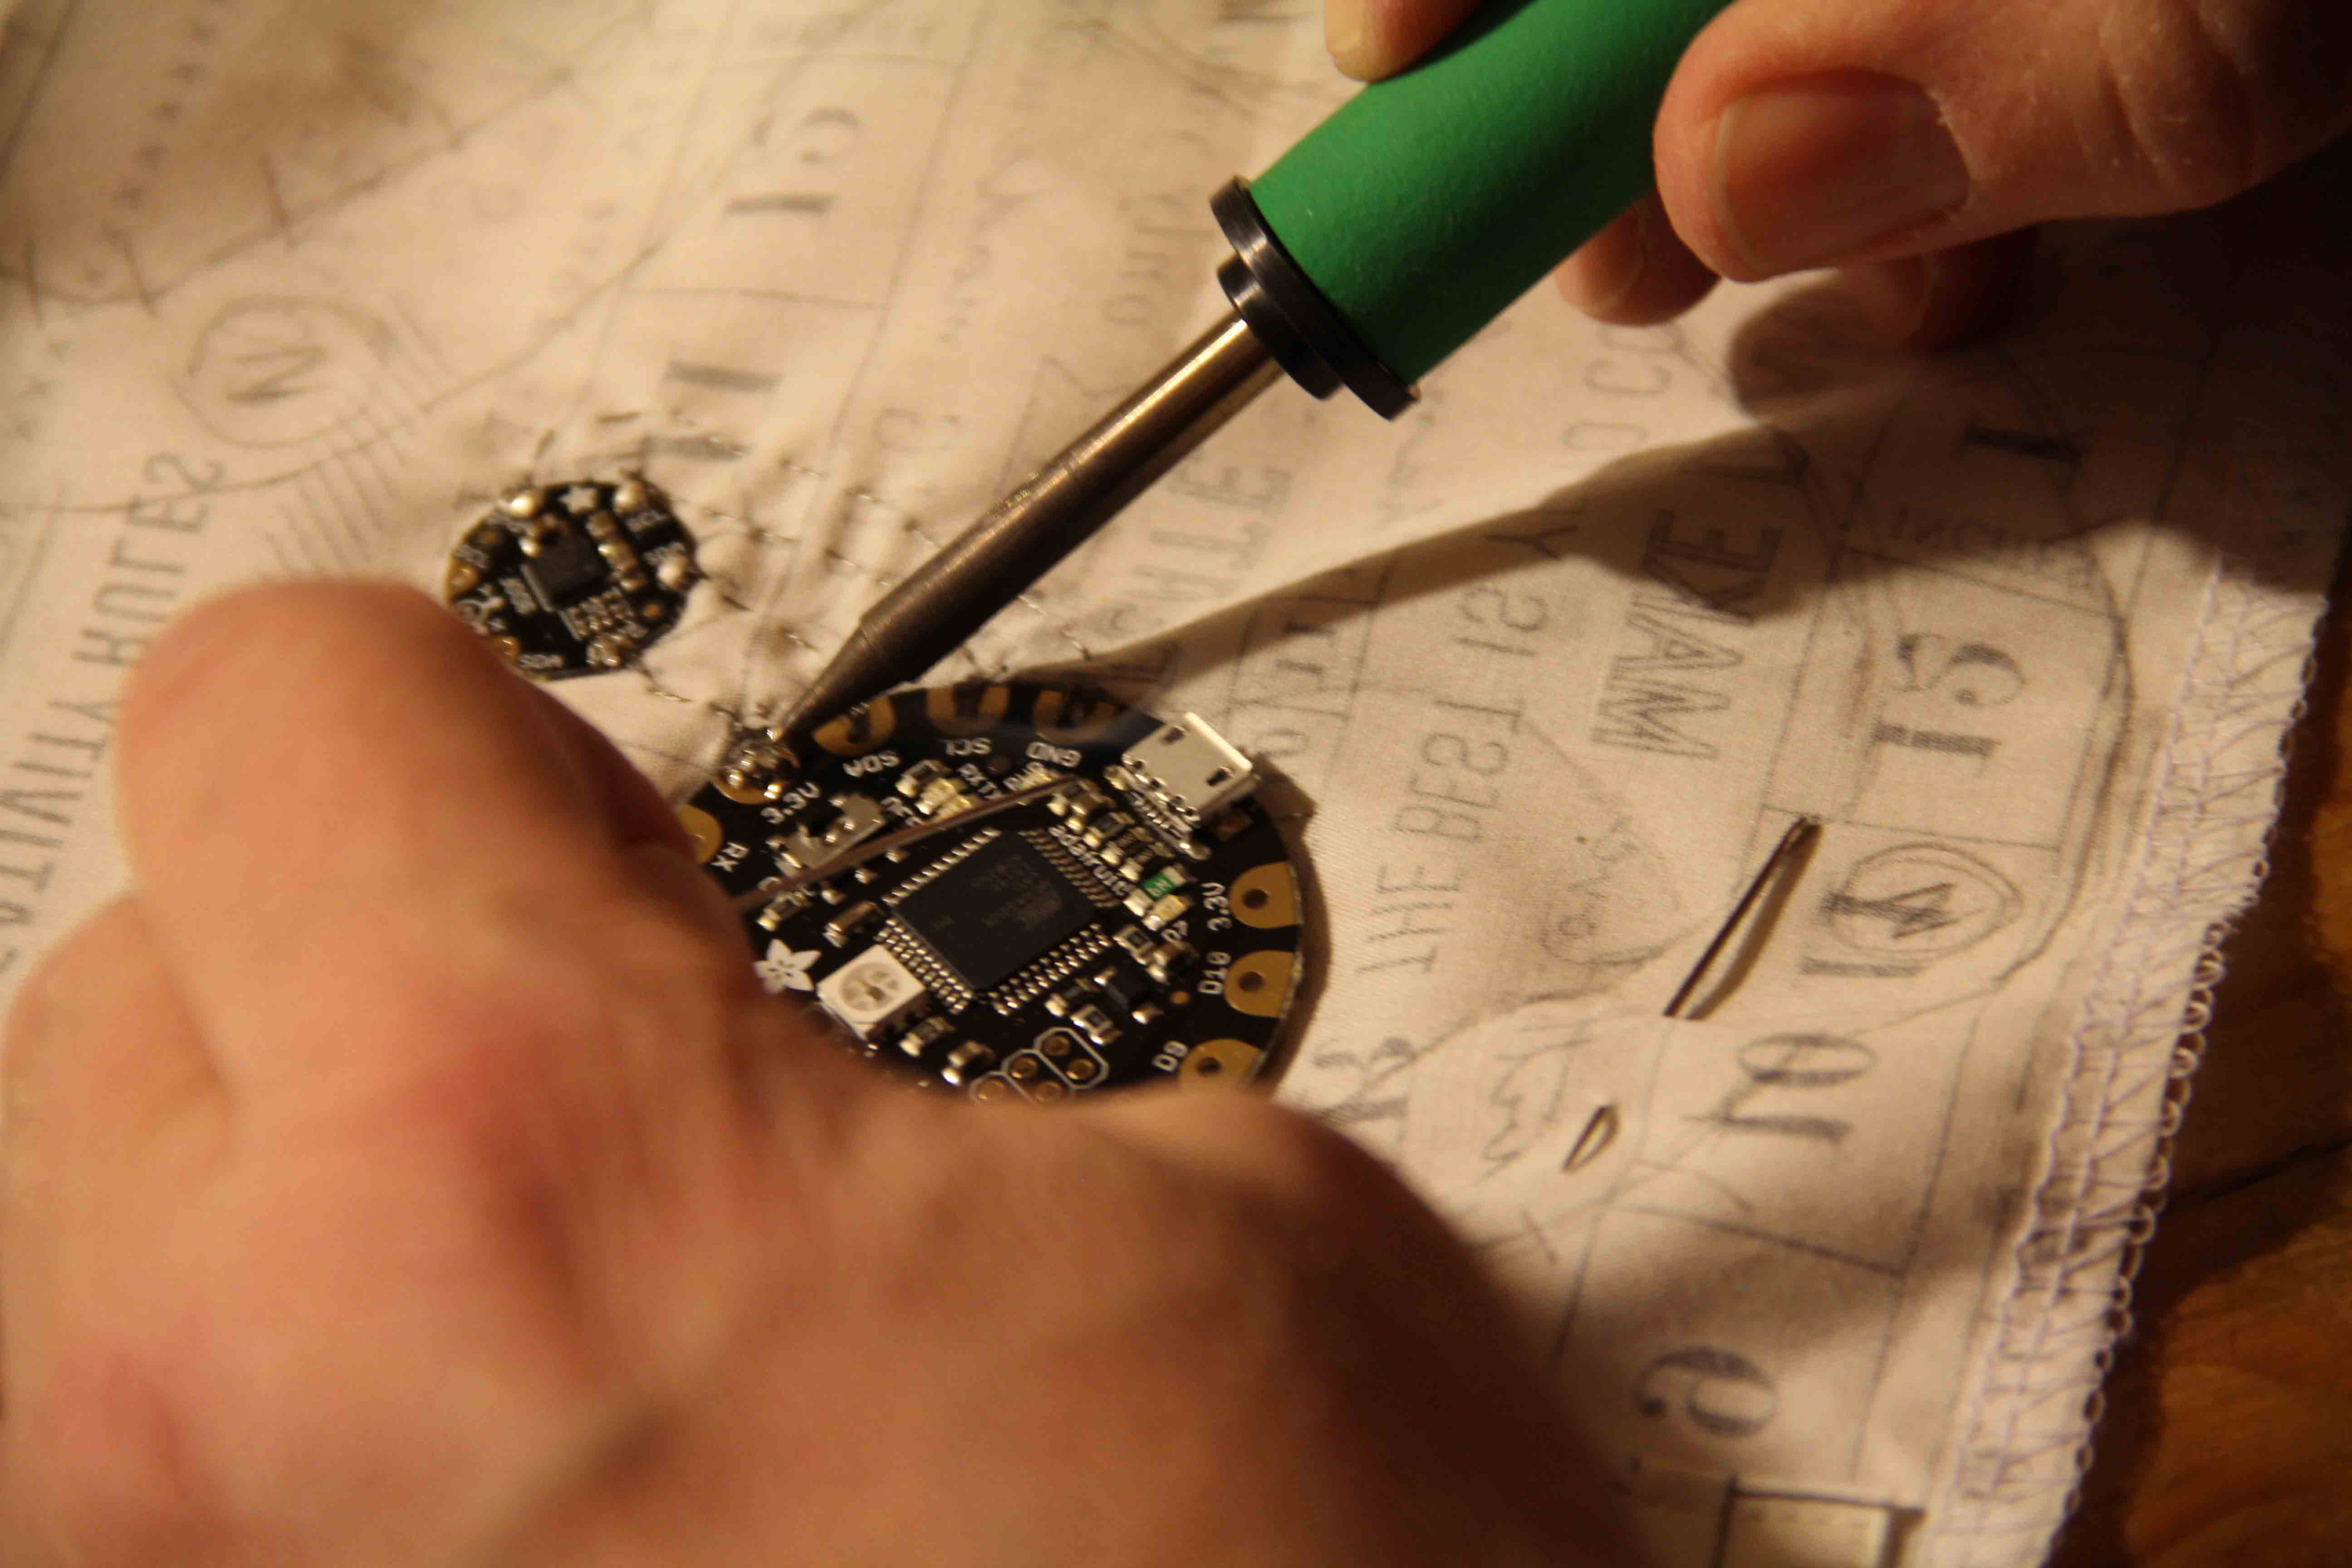 Next came the one thing I didn’t do. My husband did all the soldering. Silver solder every place the wires touched the pads on the neopixels, the flora and the accelerometer.
 Then I brought the whole thing to the sewing machine, and zigzagged down power and ground. I found that I needed to add a cutaway stabilizer behind all the wire and stitching to support the fabric. When I finished all the stitching, I went back and trimmed the stabilizer as much as possible. All of that added a lot of stiffness to the vest, but surprisingly, it still hung pretty well when I added the top layer of fabric.
We repeated the whole process with data in and data out: wire to the neopixels, pin down, solder, stitch.
 Finally, I created the top layer and attached it to the lining. It was designed to have serged edges, one of the reasons I chose the pattern. However, I think if I were to make it again (without any wiring,) I’d do a more traditional lining and finishing technique.
 I’ll say this much about the project. It’s a big hit at parties.
We worked together on the programming. Actually the Adafruit book is very helpful with that, as everything is done in software and transferred via USB to the Flora. My vest is programmed to do a number of sequences, based on the movement of the accelerometer. As you see in the video above, I just have to shake it, and it changes mode.
Actually, I learned a great deal about simple wiring, I am proud that I could get through something like this, even with expert advice!
My next LED project will likely be a bag that lights up.
For now, I need to get back to some simple quilting. But I have lots of spare parts and I’m excited about the idea of another electronic project!