Stop the presses. Hold your horses. Shut the door. Turn out the lights.
Because I’m starting a project I know so little about it’s scary. And turning out the lights might actually be a good thing.
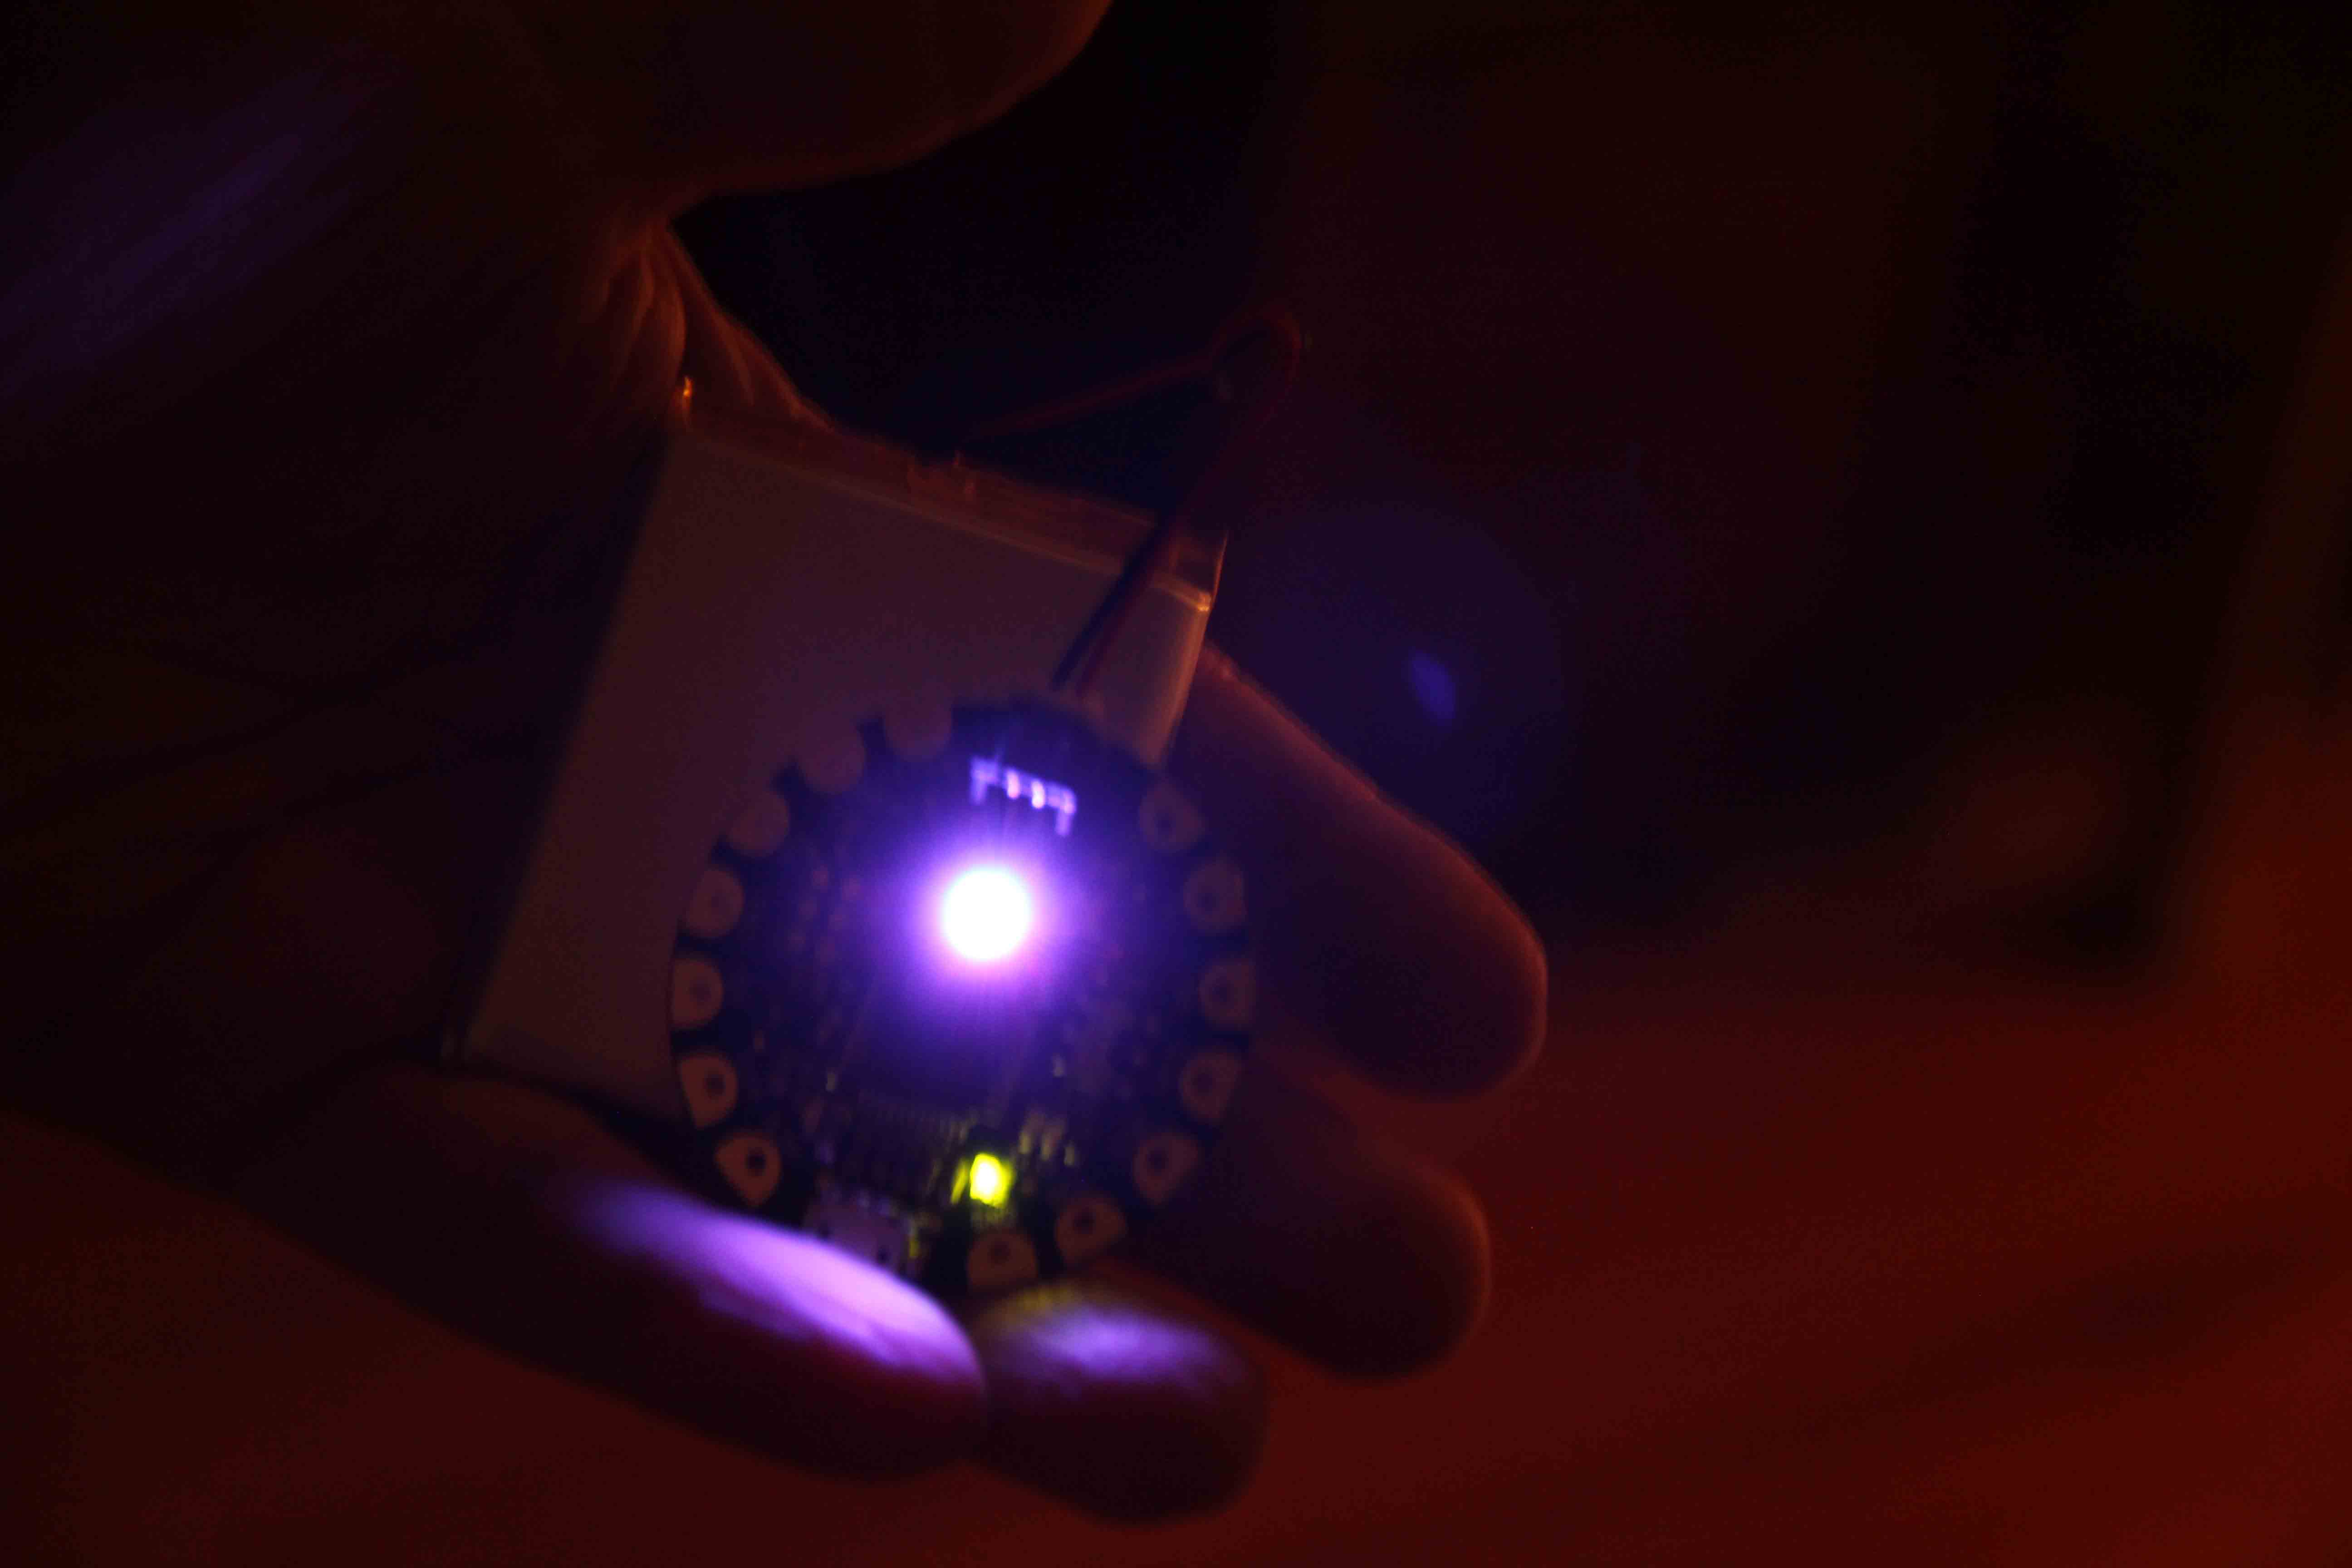
Luckily, I’m embarking on this project in partnership with a husband who happens to be an electrical engineer–a hardware guy. Someone who’s heard the term neopixel before.
And I, well, I know how to sew.
Together we’ve decided to create one of those DIY wearables the “kids” are building these days.
Go ahead. Google DIY Wearables with LED. It looks like fun, right?
I’m not starting totally clueless. I purchased this book (Getting Started with Adafruit Flora by Becky Stern and Tyler Cooper) which, frankly, I only understand half the words on the cover. However, diving into it is much easier with a handbook, and I do have someone to consult when I’m completely baffled.

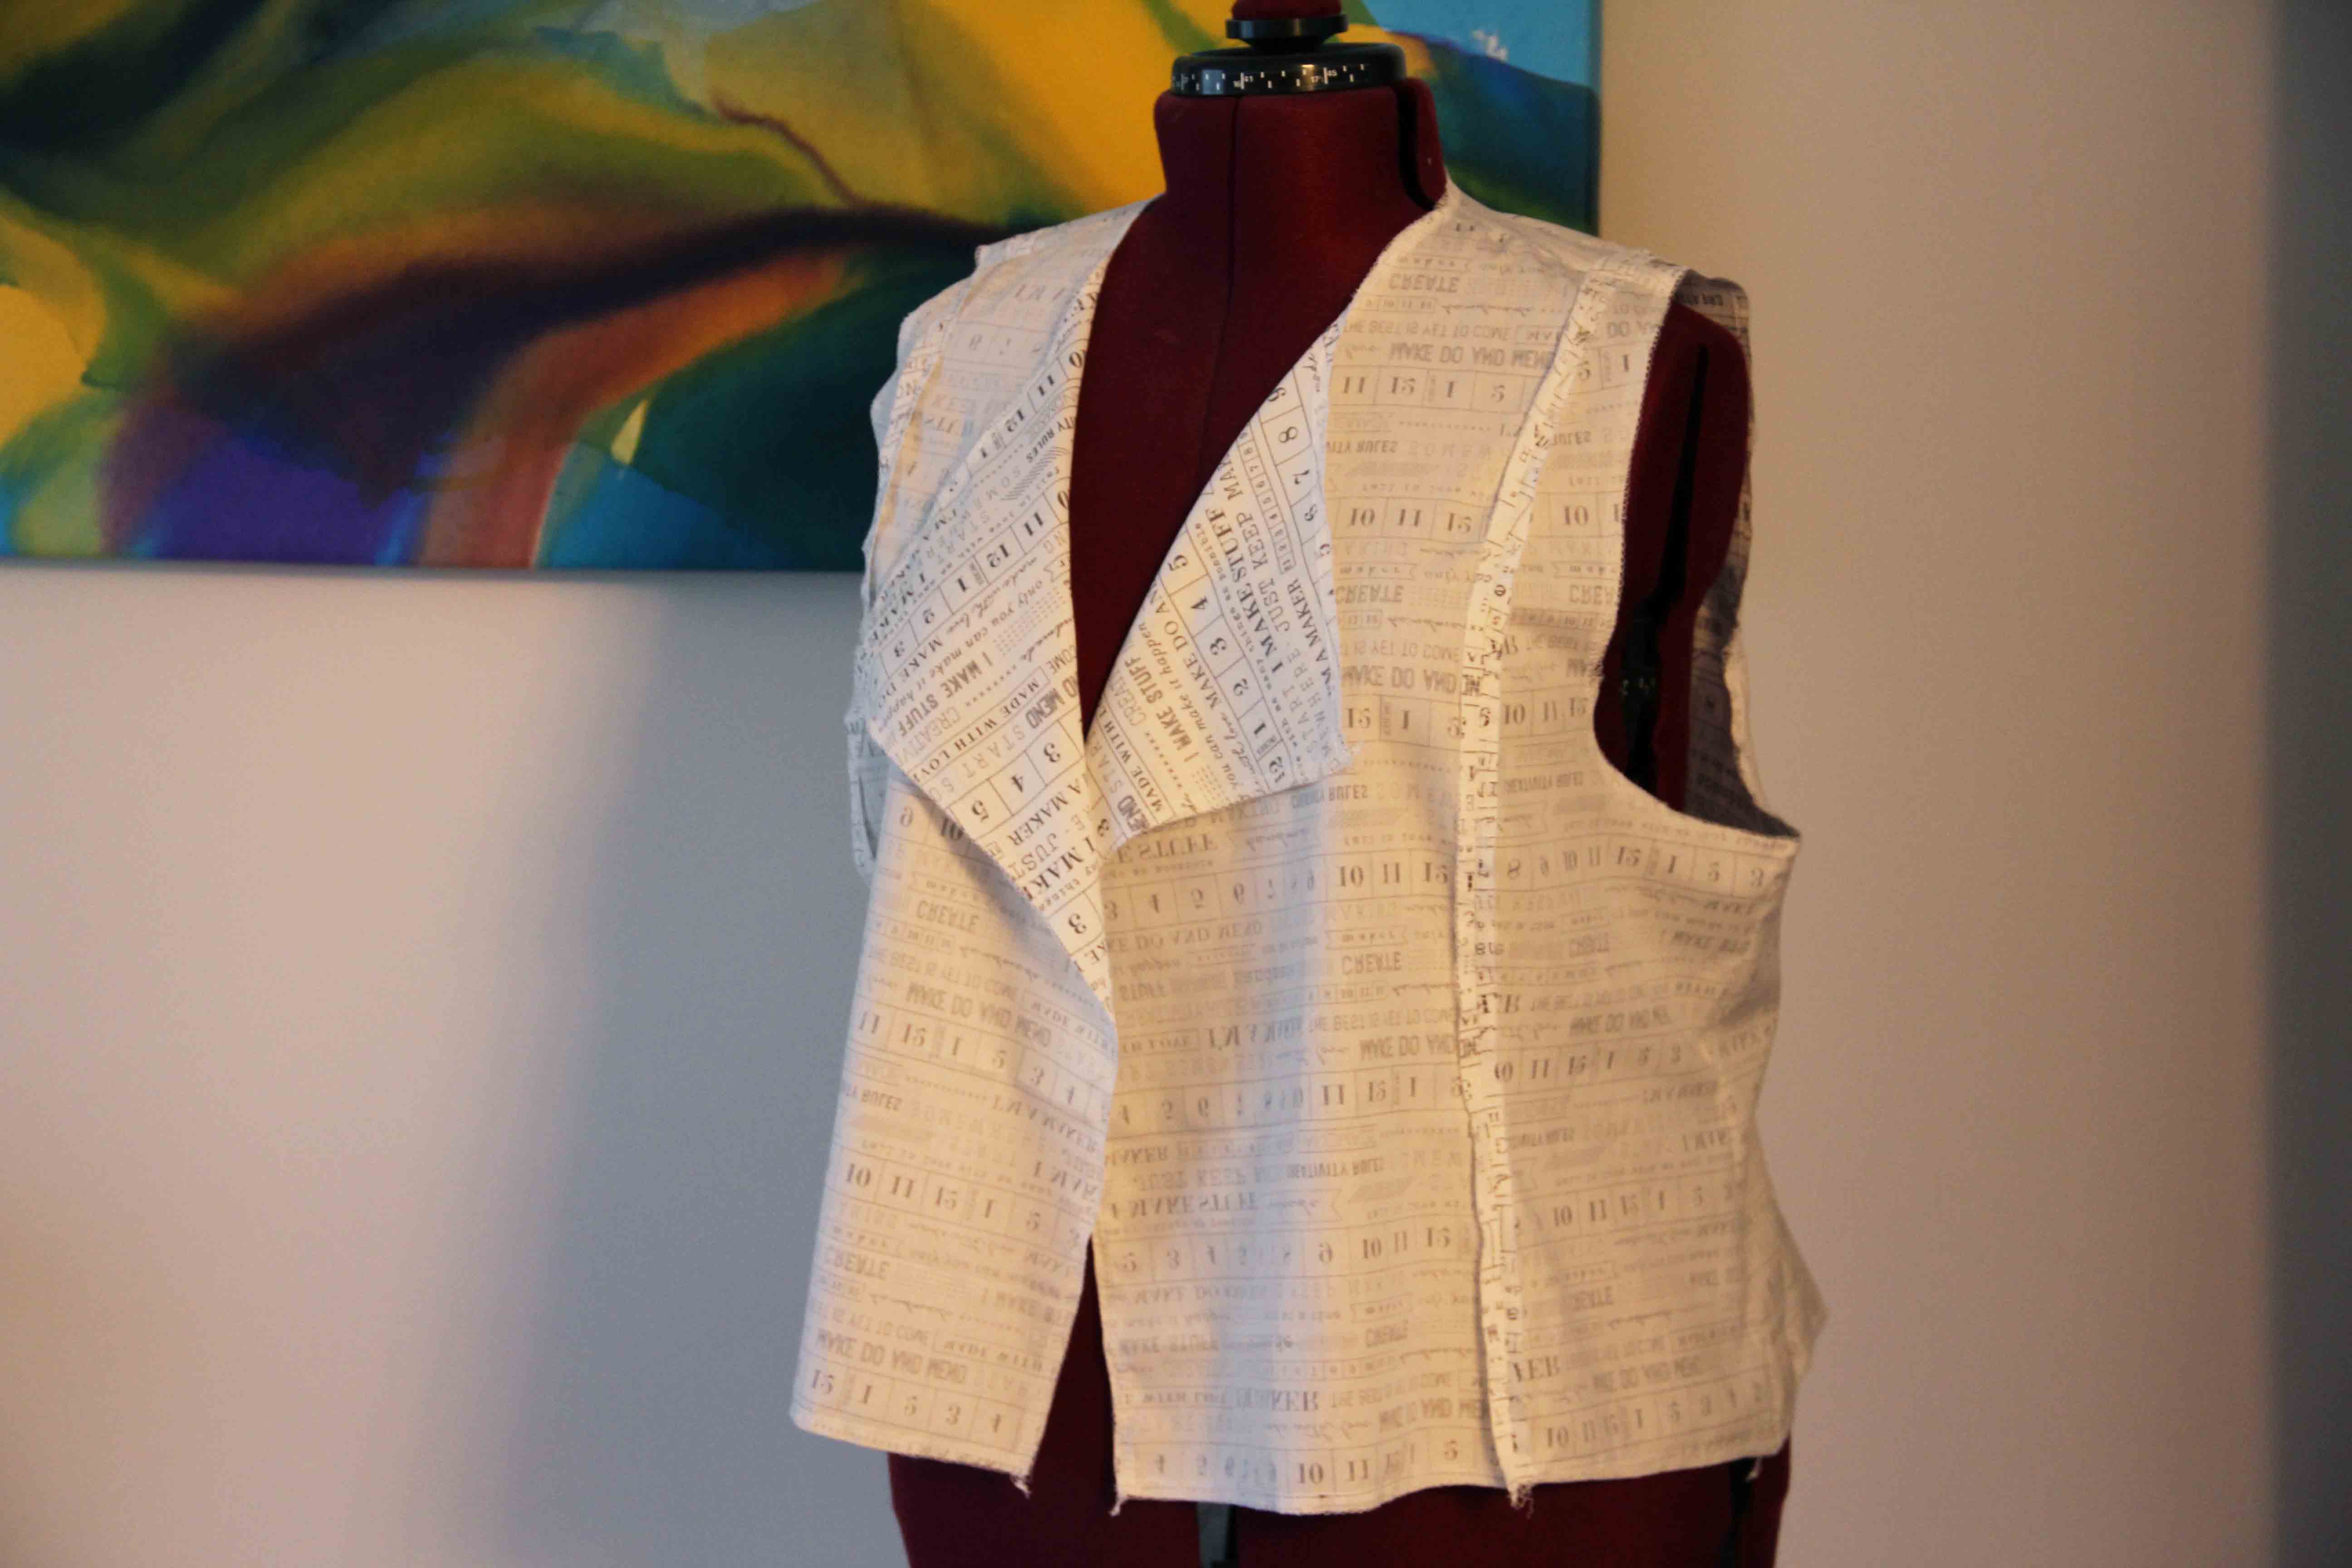
The first decision we had to make (as a couple) was what project to work on, and then how it would be lit. After doing the research, I settled on a simple serged vest, to which I will add a lining. The lighting would be sewn to the lining, and the lights will shine through the top layer. That’s the plan. For now.
 The pattern I’ve chosen is Modern Silhouette Vest from Amy Barickman.
The fabric is called Maker, from Art Gallery Fabrics. Seemed appropriate.
Problems encountered so far:
–I wanted to run a string of lights from front to back on the vest in two places…not cheap to purchase those light strips by the way. They come in meter long sizes. However, the strips are encased in hard plastic which is just not going to lend itself to the shape of a vest. Or a human being, for that matter.
–So I modified the design to have an all-over sprinkling of lights which I can program to patterns and colors.
–The battery is rather heavy for what I’m looking to do, so I might have to design a pocket in the lining to hold the battery, or we may actually need two batteries. This is something I’ll have to modify along the way.
Things to figure out next:
–How to attach all those lights. I think they must be hand sewn with conductive thread, and all connected to one another. This is where my partner comes in. He’s here to make sure I don’t electrocute myself or start the dang vest on fire.
–How to program and what sort of controller to use. I have to get into a few more chapters in the book for that.
Stay tuned.
This could get interesting.

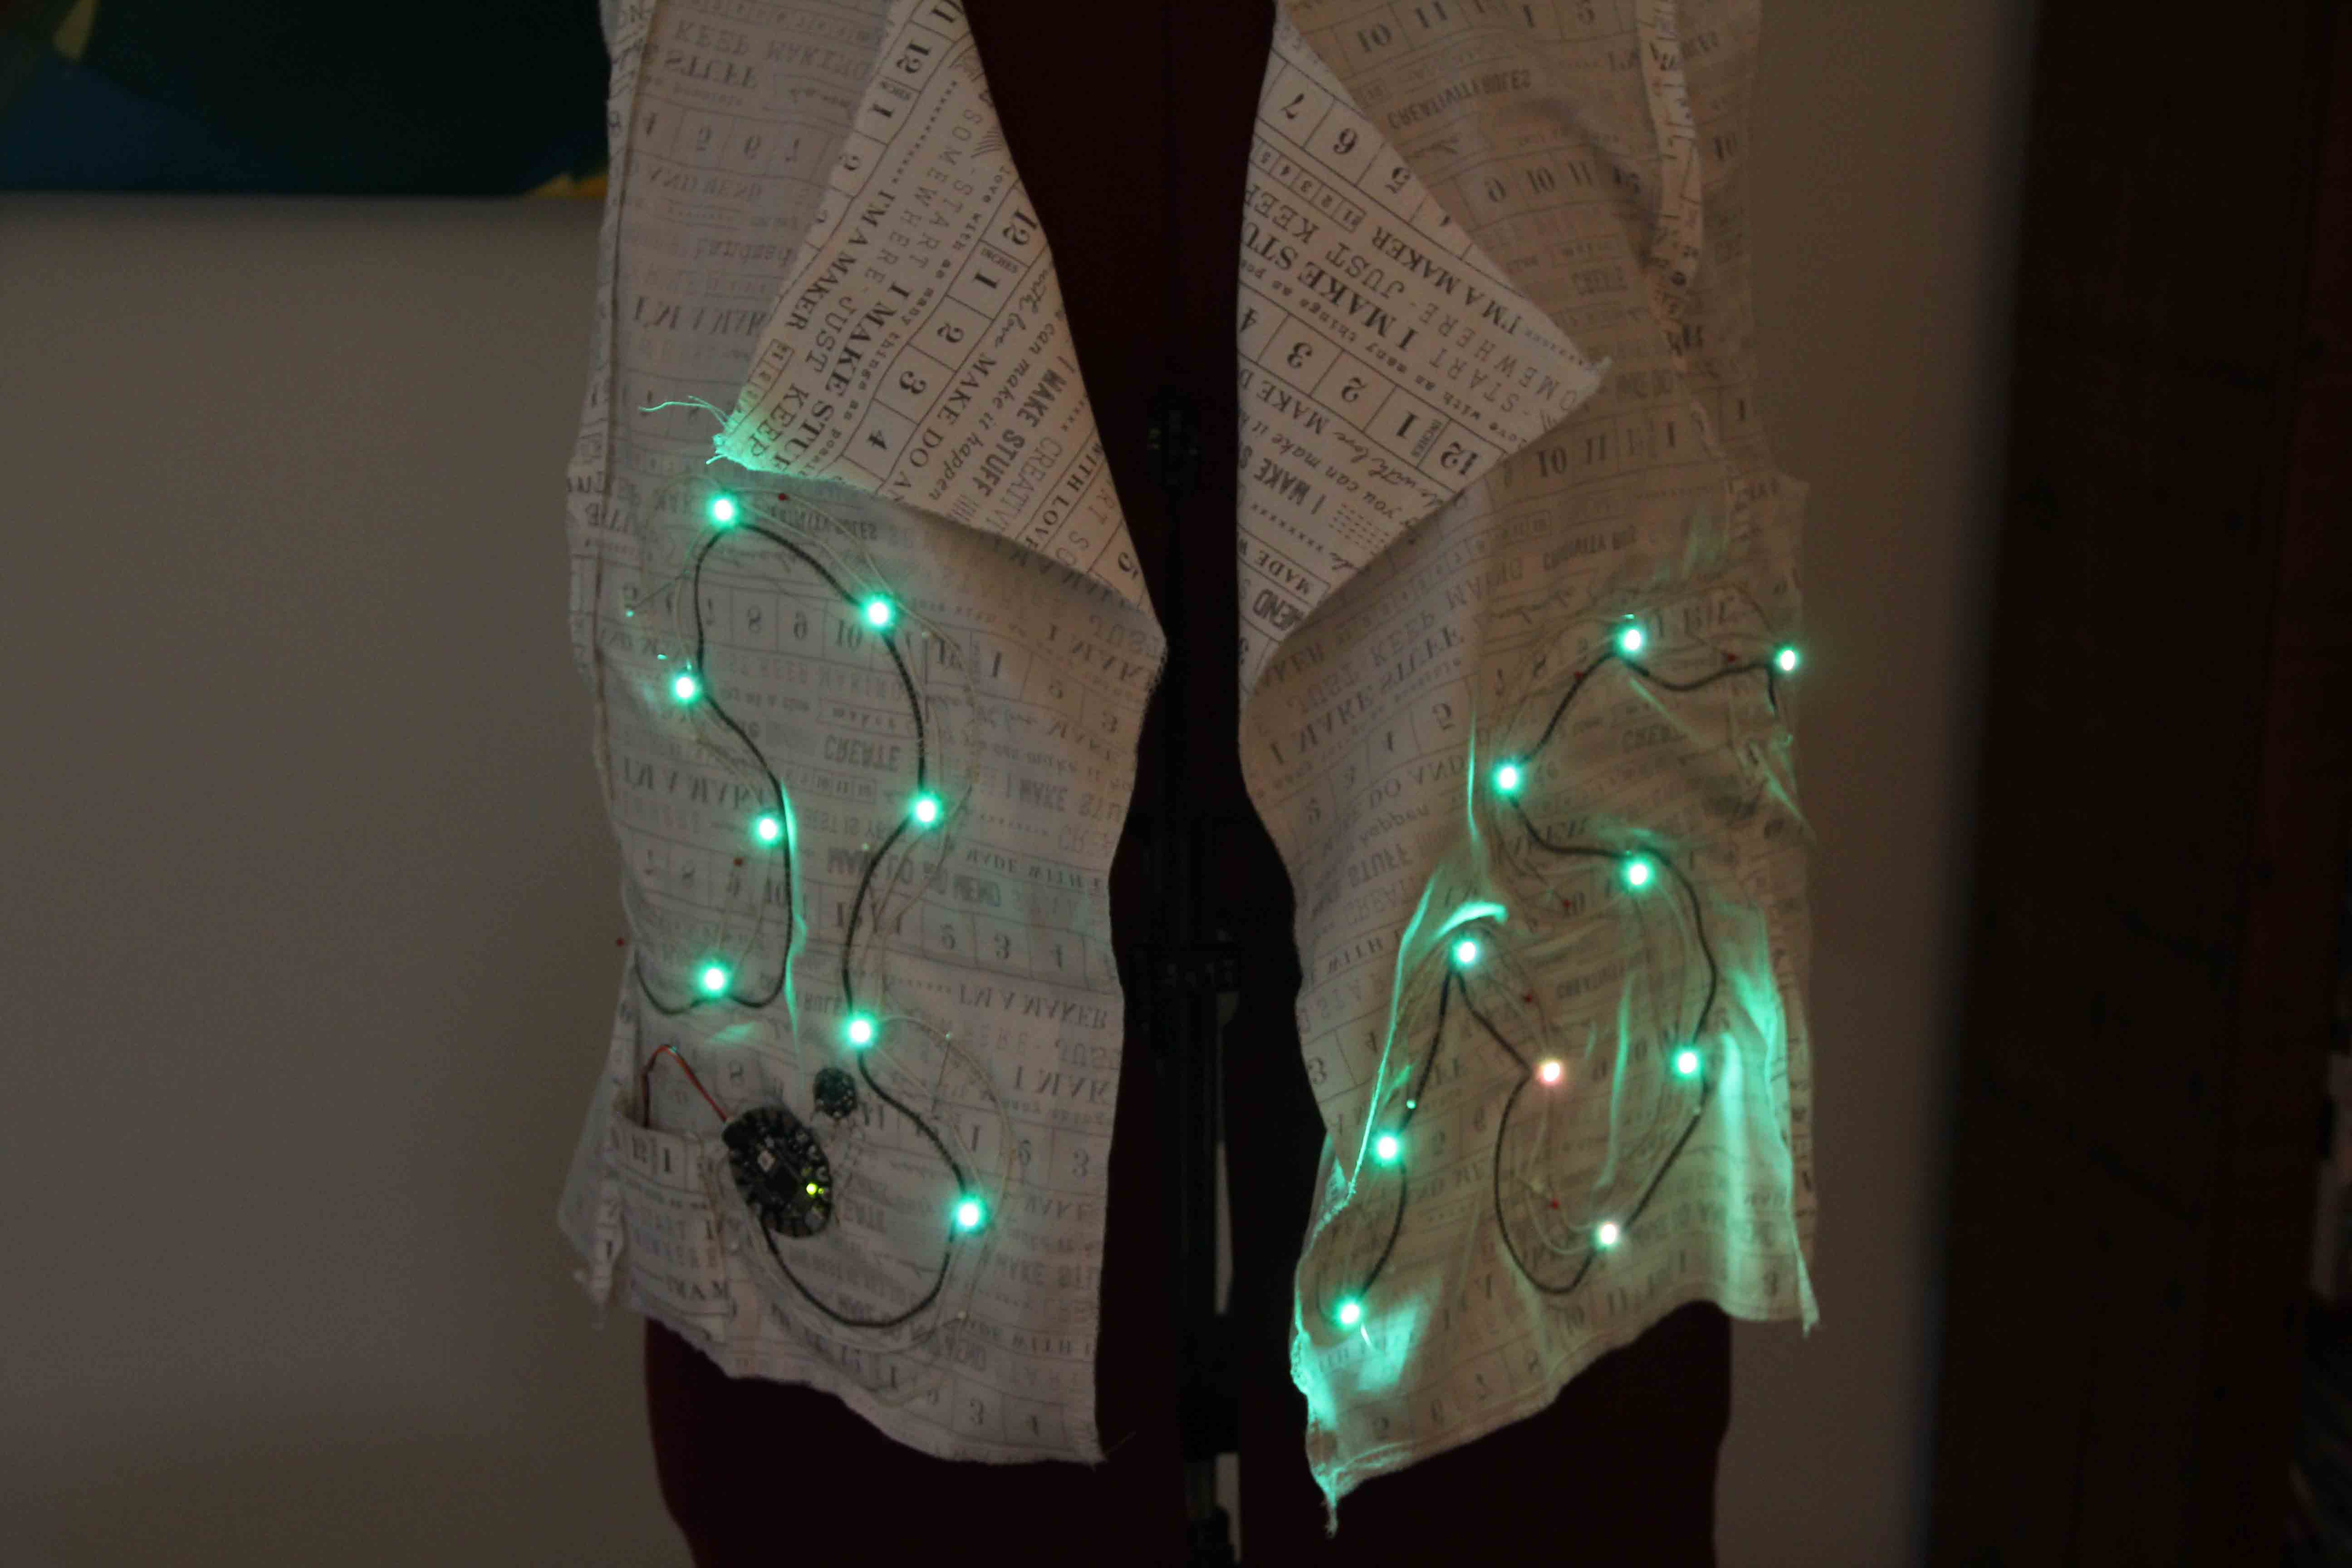 This is a shot before I added the outer part of the vest which covers the wires, and before I sewed on the data lines. You can see they are held on by pins. I’ll try to capture a video today to show you how we’ve programmed the lights to change, and I’ll do a follow up blog with the details of how we made decisions and problems we overcame.