
This is the time of year when I look around my house and everything looks stale.
The bathroom needs new accessories and new towels, the pictures on the walls have been there a hundred years. Well maybe not that long but they might as well be. And I don’t really have a lot of enthusiasm and energy (read $$$) for a huge renovation.
Then along came this fabric collection. I LOVE it. And I’m not even into roosters.
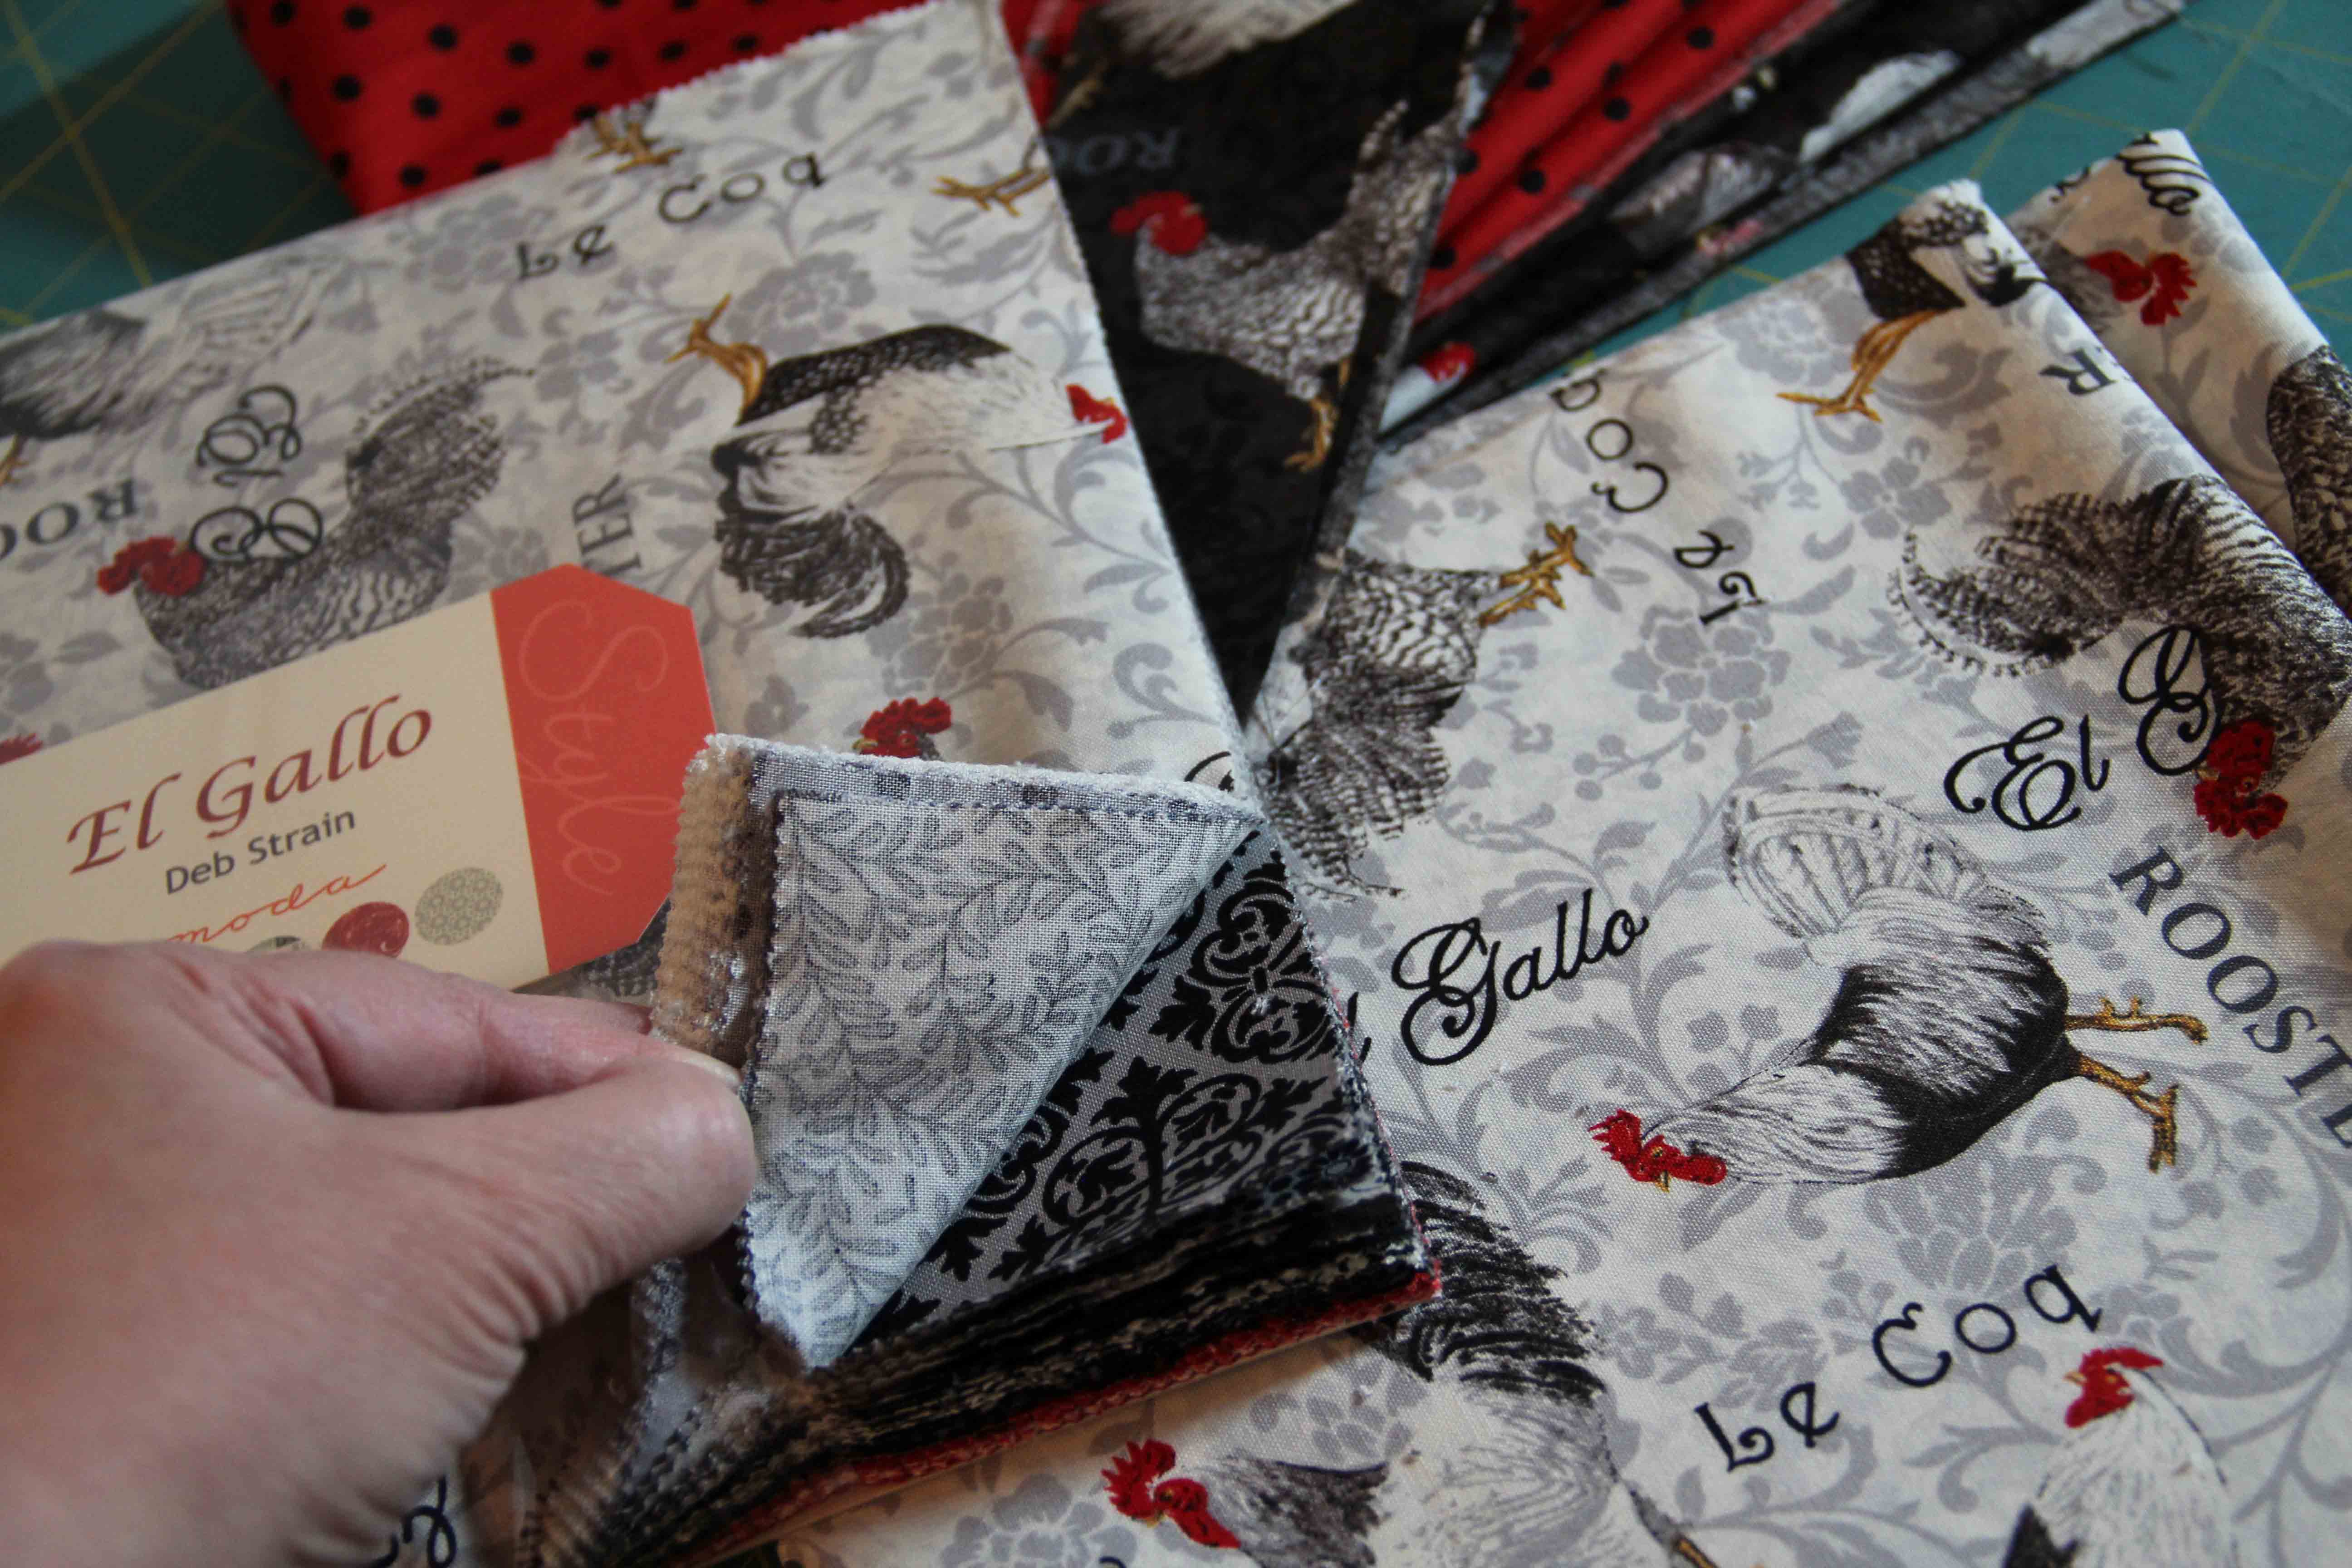 It’s called El Gallo by Deb Strain for Moda.
With all the blacks, grays and reds, I just thought it was elegant and fabulous.
I had to have it for our kitchen.
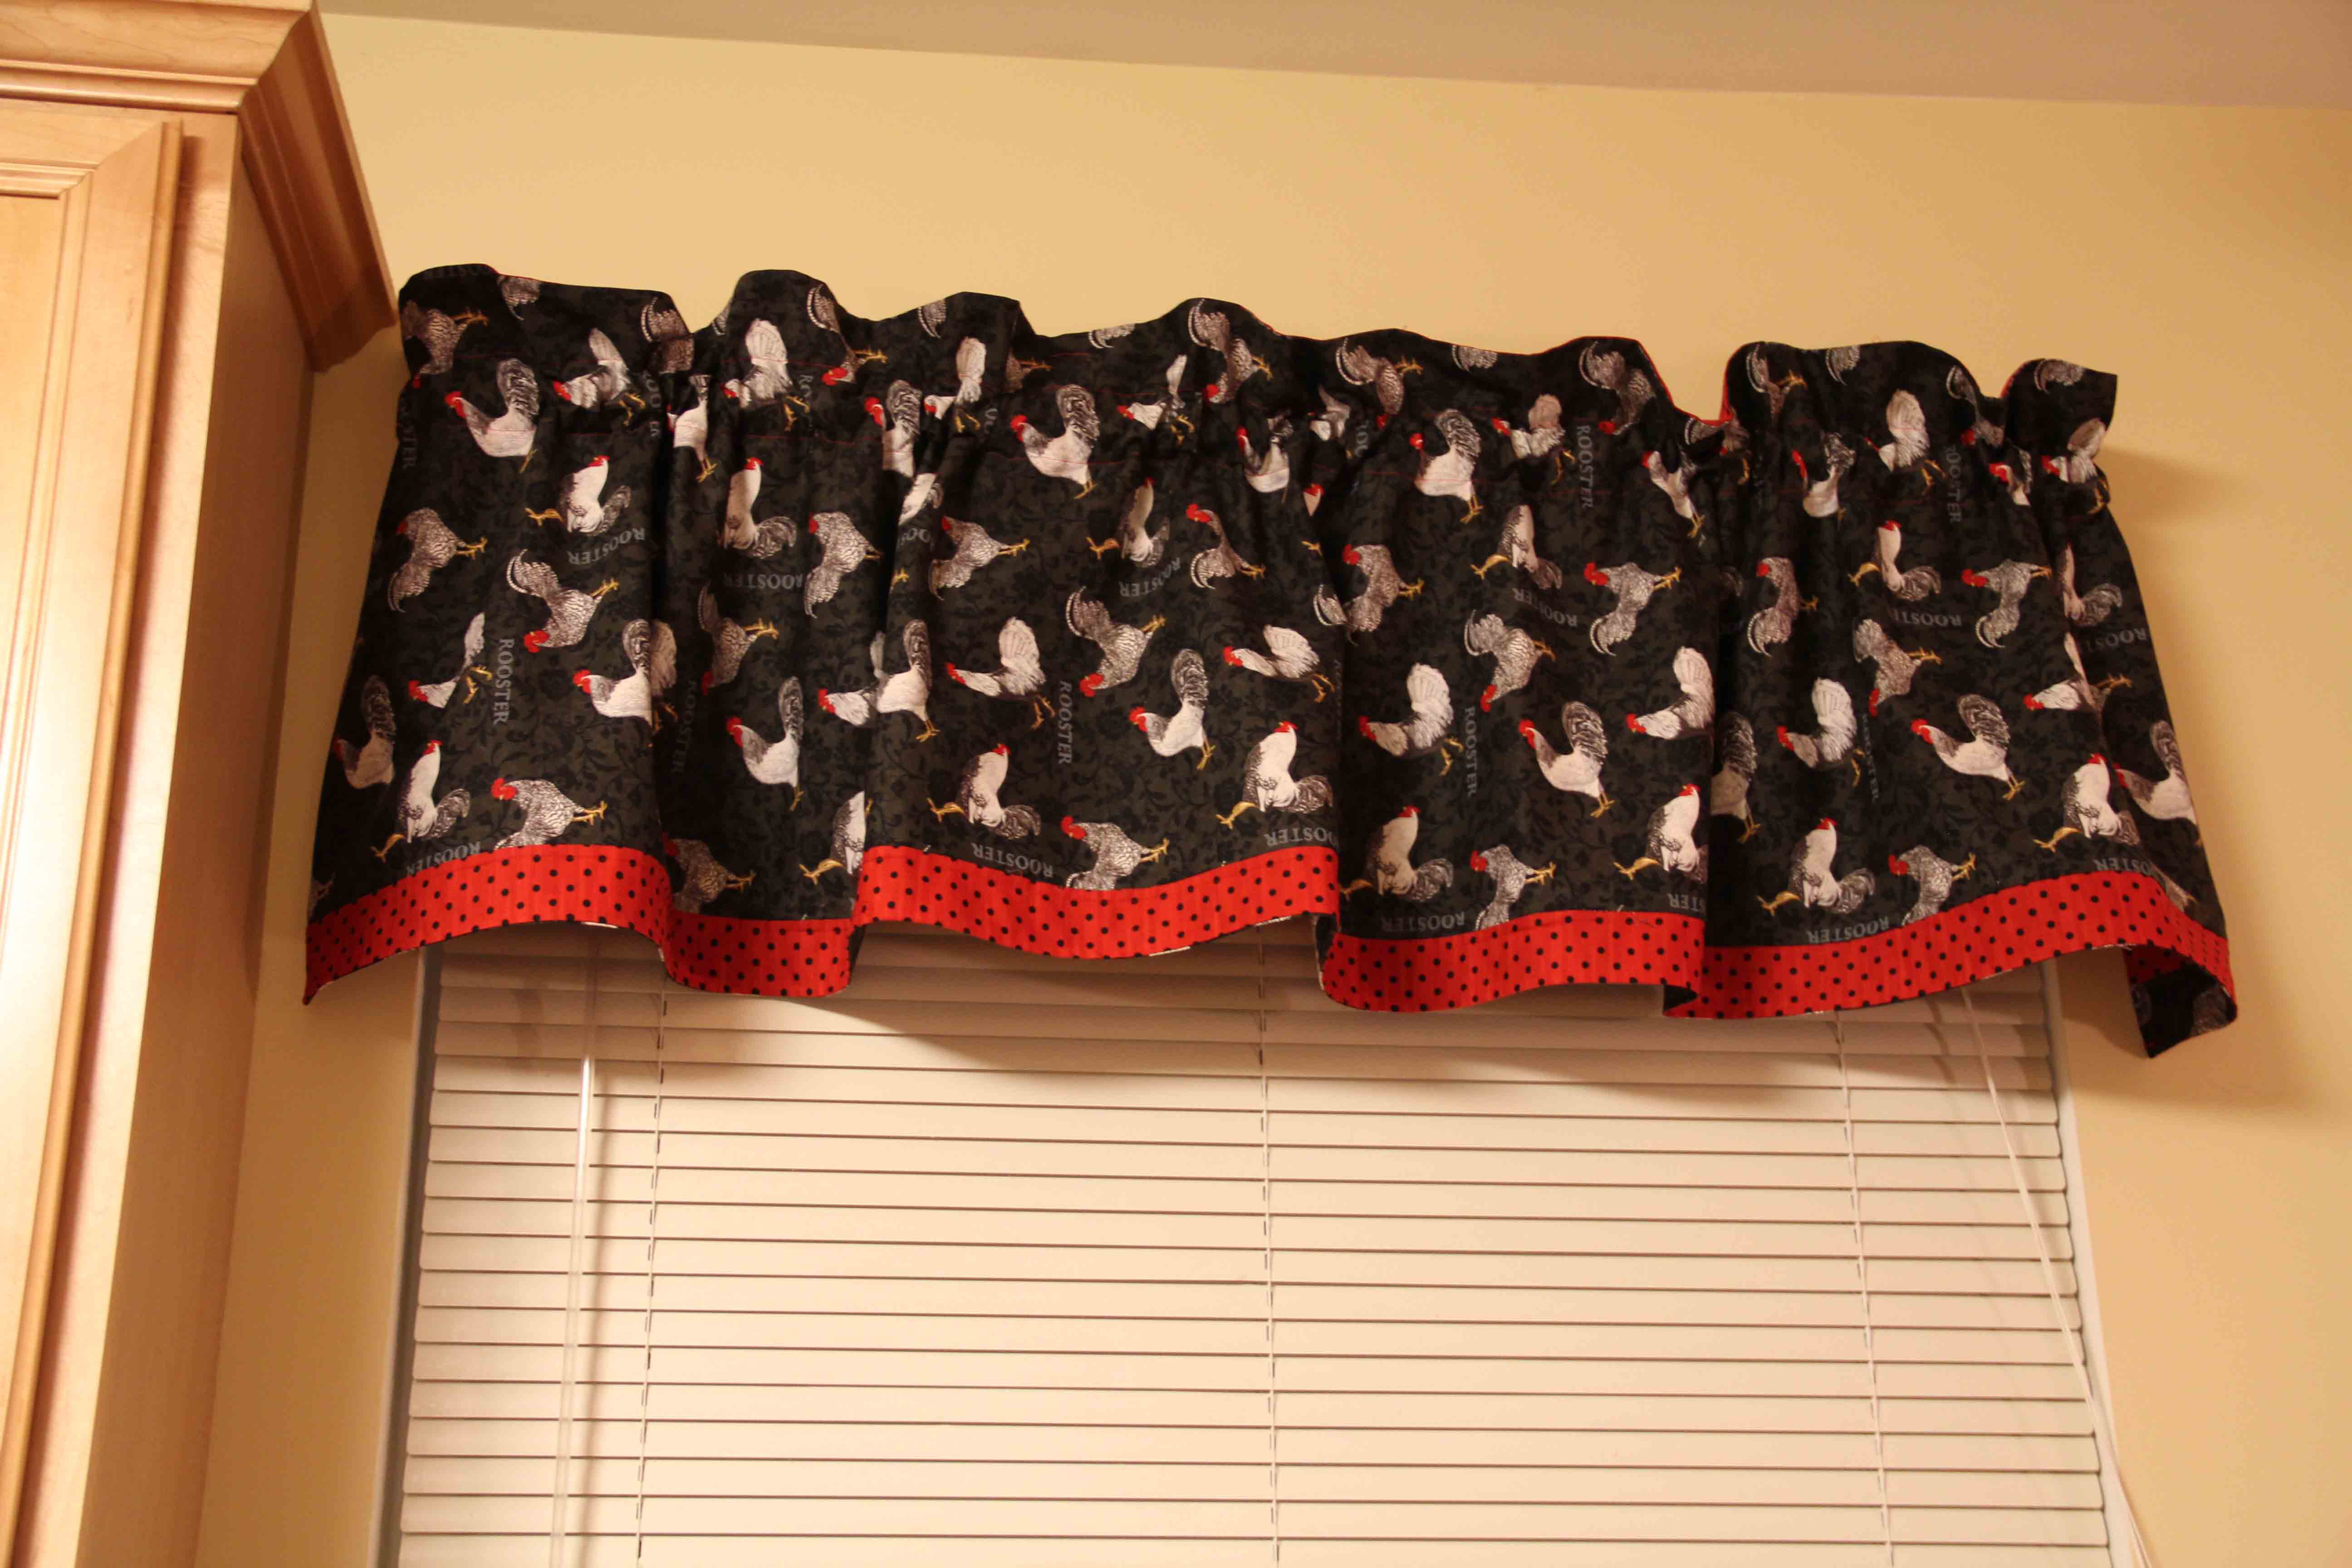
We have one large window and one small window in the kitchen, and I quickly grow tired of the valances, so I make new ones whenever I have the time. I decided I would make this set reversible.
Now, this is so easy to make, it’s unbelievable. Simple valances for a kitchen or bedroom are nothing but straight lines. I can’t tell you how many people think that’s some sort of inborn talent. Really it’s not. It takes a sewing machine, some thread, and the will to practice.
For a simple reversible valance, you need two types of fabric, preferably contrasting in some interesting way.
1. Measure your window. You’ll need 2 to 2 1/2 times the width of your window in fabric to get a nice gathered appearance.
2. Decide the length of your valance and add an inch or so for seam allowances.
3. On mine I included 2 inches of contrasting fabric on the bottom, which I laid out the opposite way on the reverse side. See the picture below.
4. Place the fabric right sides together and sew all the way along the top and bottom, making a large tube. I used a serger because it finishes the edges at the same time.
5. Turn the whole thing inside out and press the seams along the top and bottom. This is the most time-consuming part.
6. Next, I serged the ends of the tube…not shut, just all the way around. if you don’t have a serger, just fold and press the sides under twice, about a 1/2 in. on each side. Don’t sew the front to the back just yet. We have to add the rod pocket.
7. About 2 inches from the top, sew a line all the way across the valance. Make sure your rod will fit before you sew the second line of the rod pocket, usually down about 2-3 inches from the first line. Sew all the way across.
8. Now you can use a topstitch to sew the sides together leaving the rod pockets open.
9. I also added topstitching along the bottom contrasting fabric.
10. Done!
 Once the valances were up, of course I needed some accent pieces with roosters on them.
Now, frankly, I thought roosters were yesterday’s news. Washed up, used up, replaced by chubby hens with skinny legs. I don’t know, just not current any more.
But I went into Strawflower Shop in downtown Geneva and asked them if they had any roosters. “Oh yes,” the gal exclaimed, “upstairs in our furnishings. I’ll call to let them know you’re coming up.” By the time I reached the top of the stairs, an elegant woman greeted me. “I understand you’re looking for roosters,” she said, as though I were buying fine wine or maybe a new car.
“We have quite a nice selection in our kitchen area. Roosters are always in demand, you know.” I didn’t know.
But I did find a lovely rooster for the kitchen wall. Who knew they were in demand? I guess I’m cool. Again.


Looking up at the valance you can see that it’s reversible, with contrasting detail.