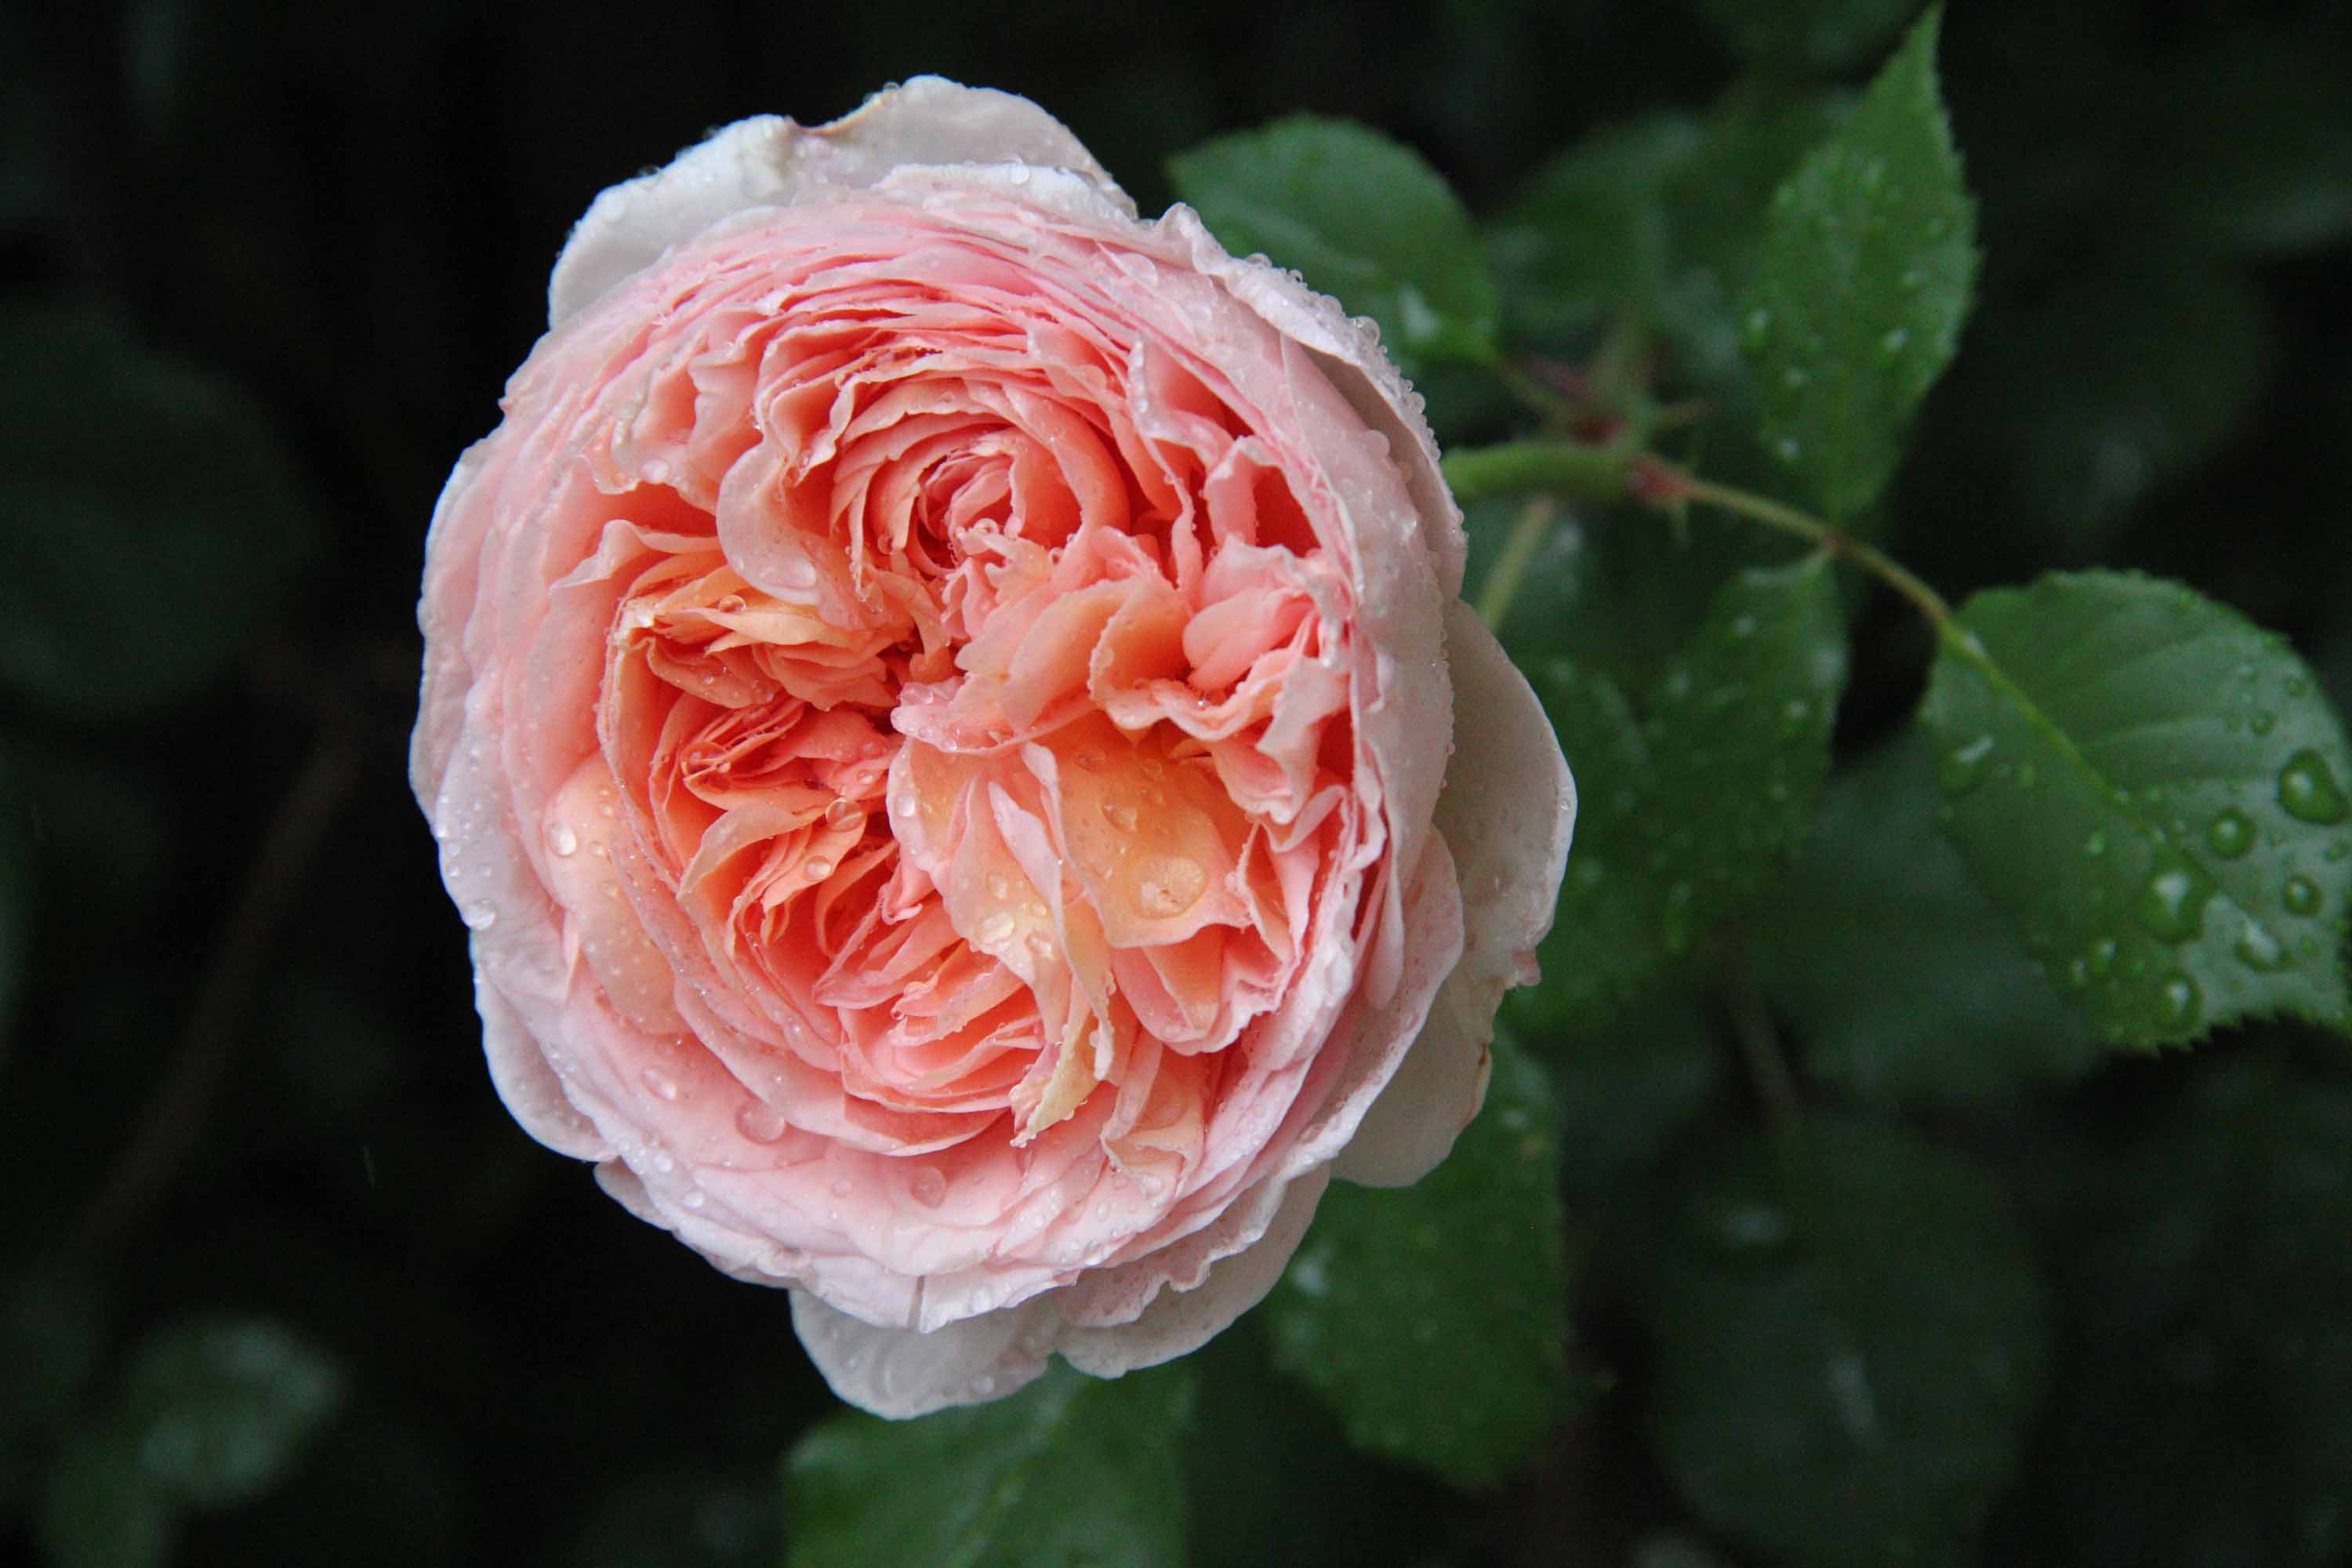
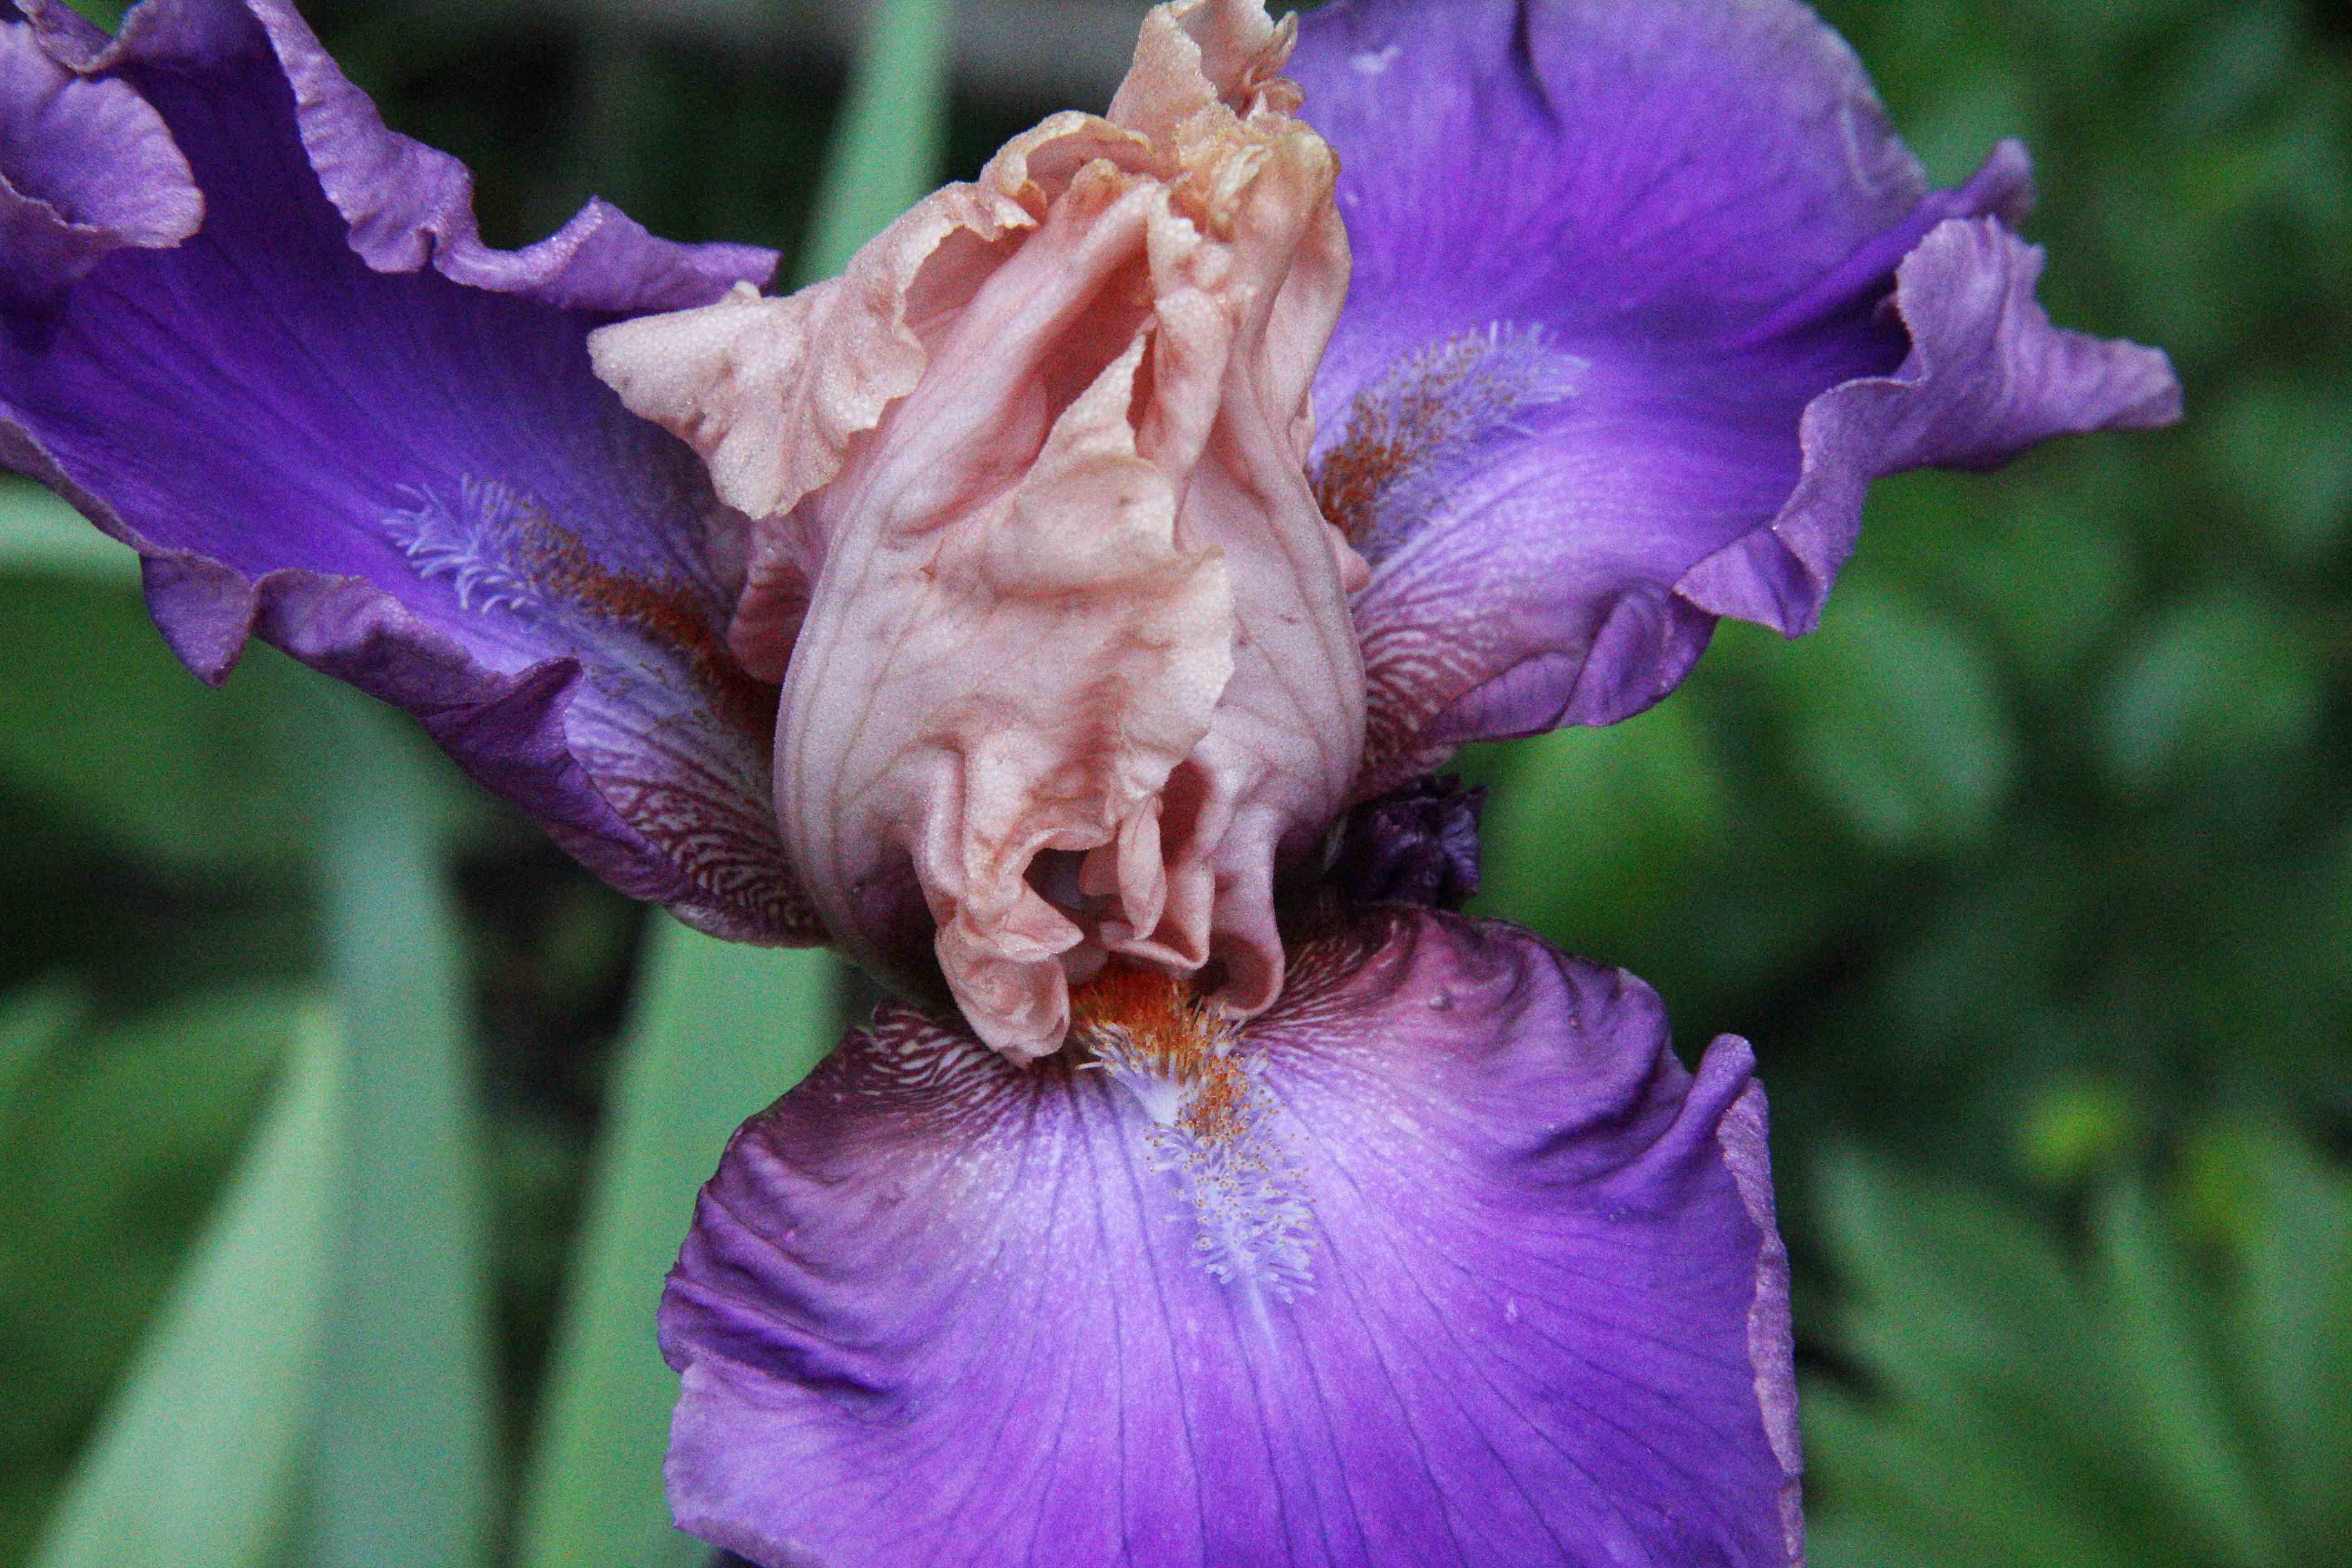
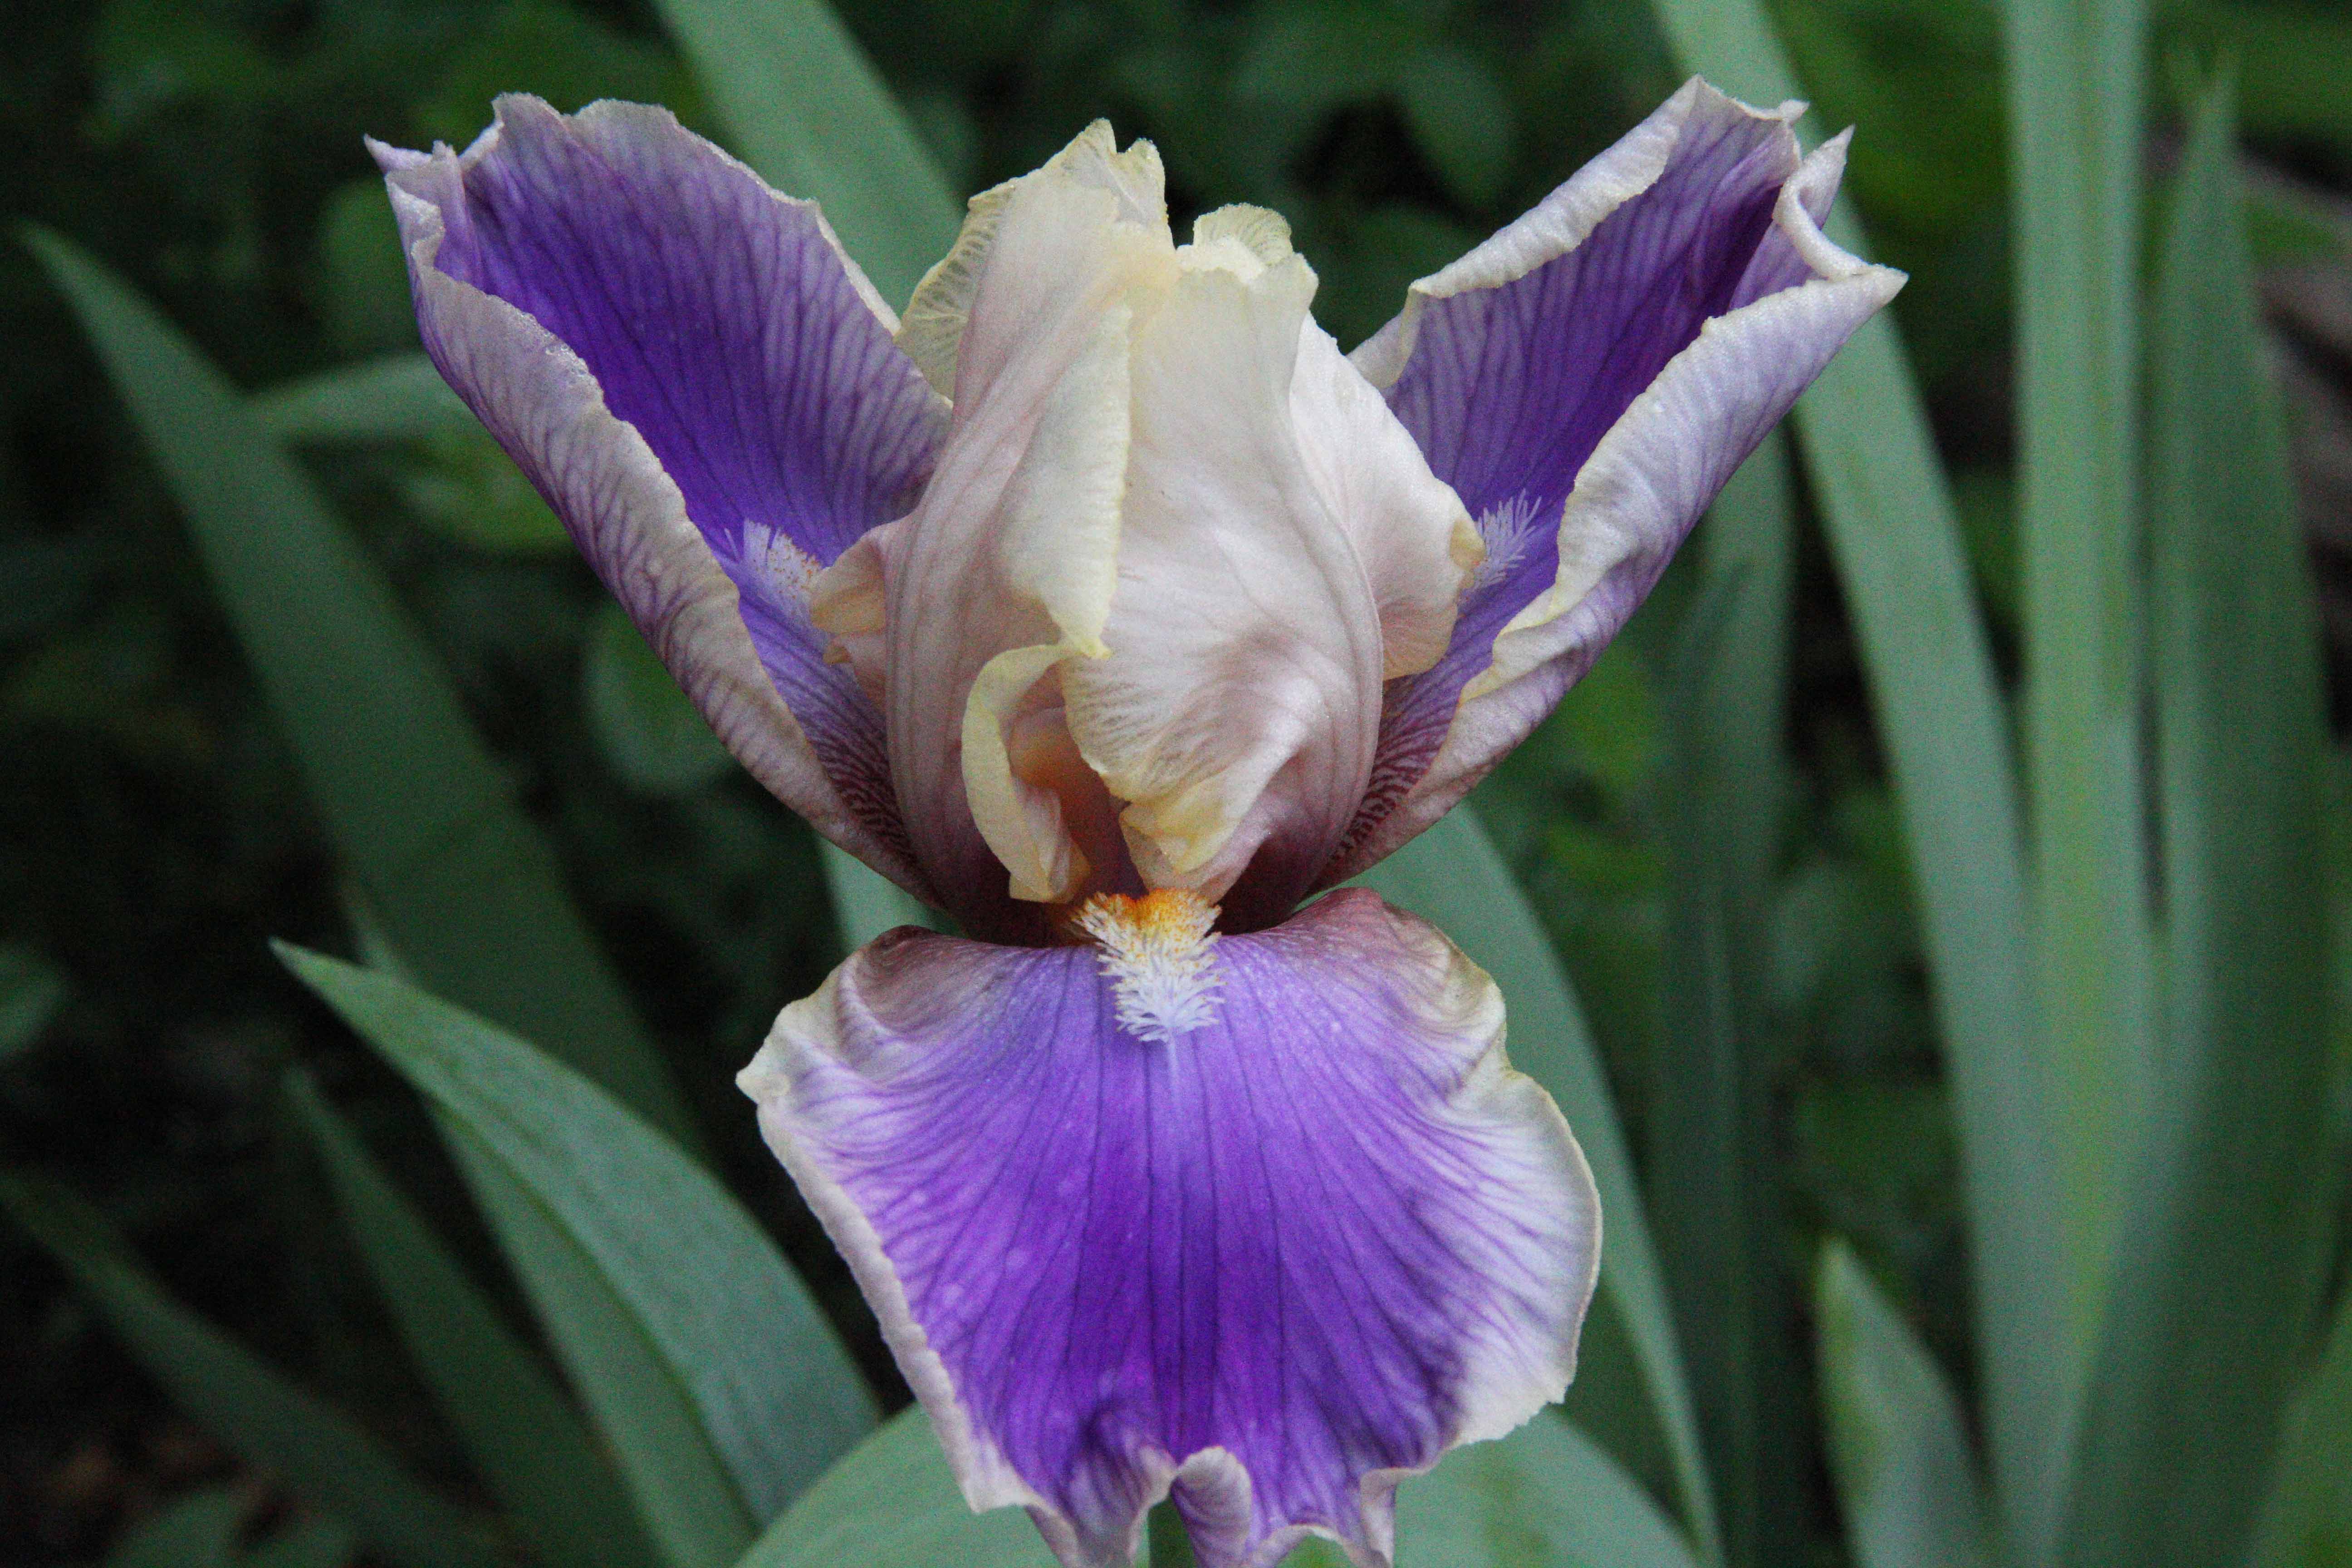
The upcoming Software Sampler from Bernina features some of the gradient and blending tools in the V6 Designer Plus software. I needed to create a sample and wanted to spend my time on something I could use…not simply a store sample. So I decided to create a design of roses that would in some way match up to the peonies I needle punched some time ago. I thought maybe I could use up more of the wool and embroider some matching designs.
This is not an intimidating thing to do, it just takes the courage to map out a sketch and think through the order of the stitches. For those of you with machine embroidery capabilities, it also takes some software. But the truth is, if you can trace something in pencil, or draw it freehand, you can easily turn it into machine embroidery. All it takes is a little time and practice.

As you can see, I started to test out some colors and blending ideas as well as just the basic shapes. At this point, the sketch does not have to be perfect, the drawing only has to give you a basic idea, although, the more accurate here, the less guess work in the software.
The scan of the artwork is then loaded into the V6 software, and you can simply begin to create the shapes right on top of the image. Once the basic shapes have been digitized, just delete the image from the background.
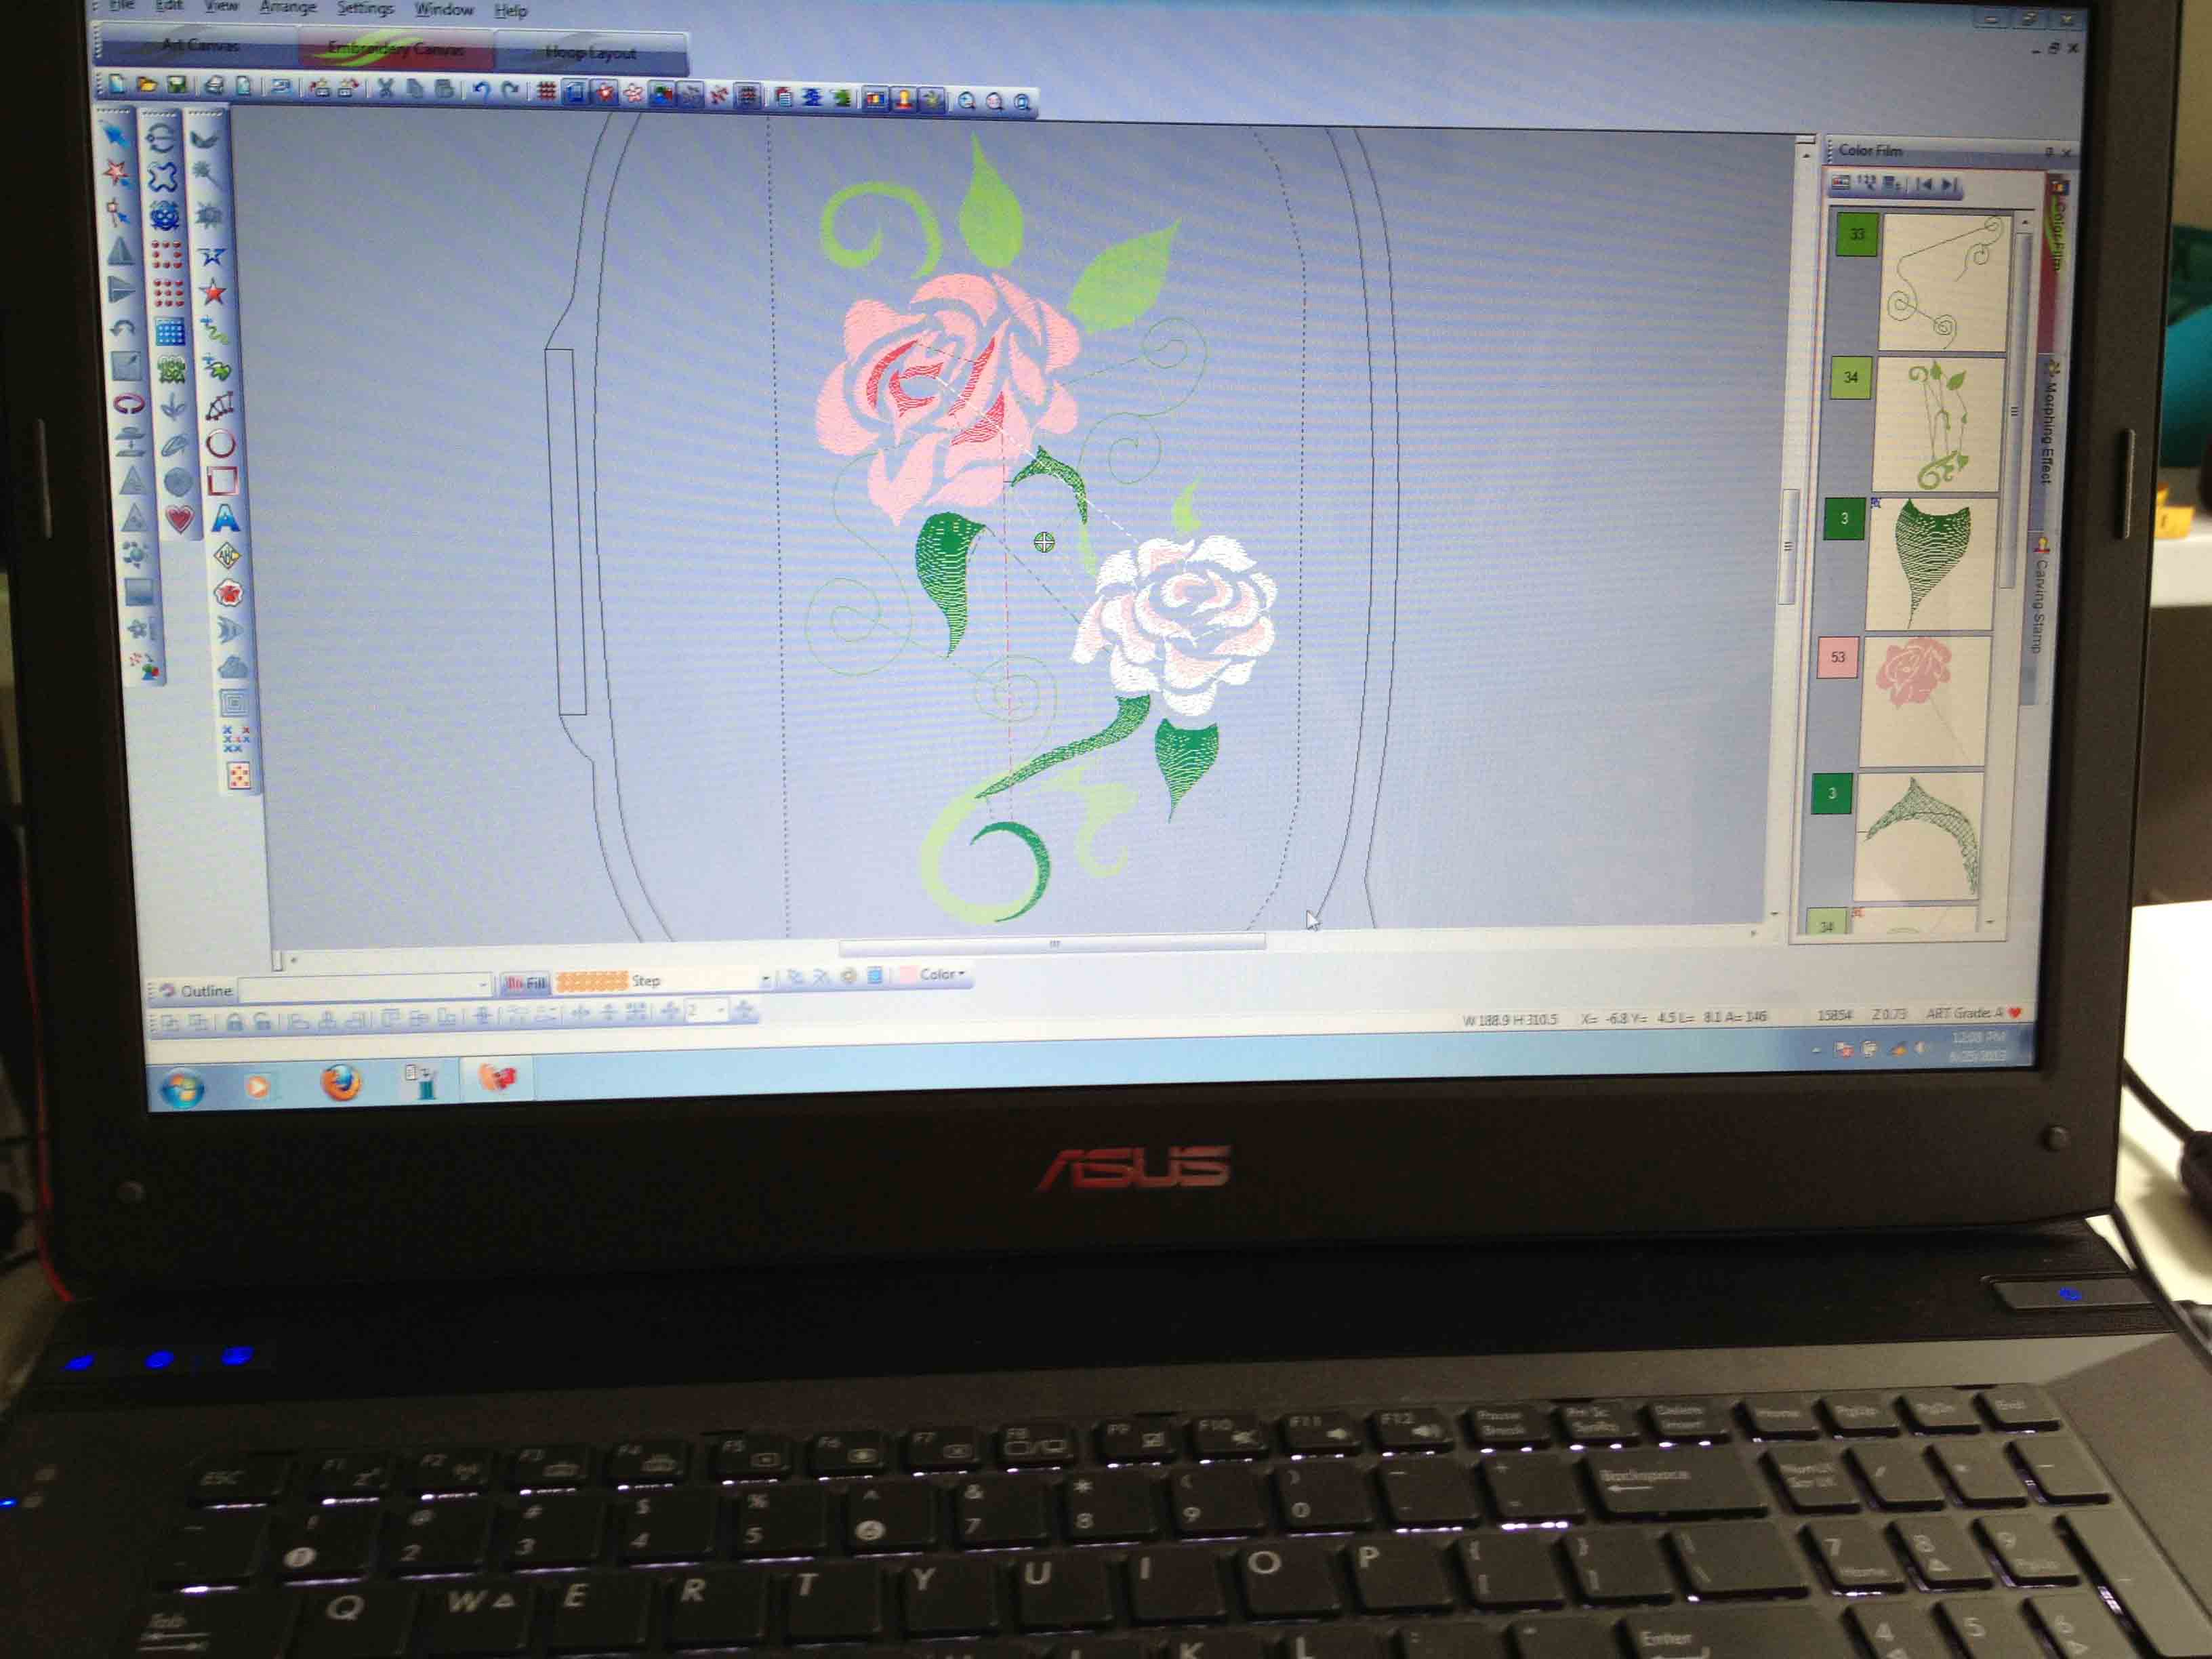
Digitize section by section, piece by piece, in the order that you want the design to stitch out.
On this design, I was particularly careful about stitch density. Since this design was being created in the jumbo hoop, it had the potential to be very stitch-heavy. I wanted to keep the count down. The way to do this is to go into object properties under the fill tab and make adjustments to the fill stitch size and spacing – on each shape as you digitize. This can be time-consuming, but is so worthwhile. The total stitch count on this design was under 17,000 stitches. Without adjustments, it could have gone up to 30,000 or 40,000 or more.
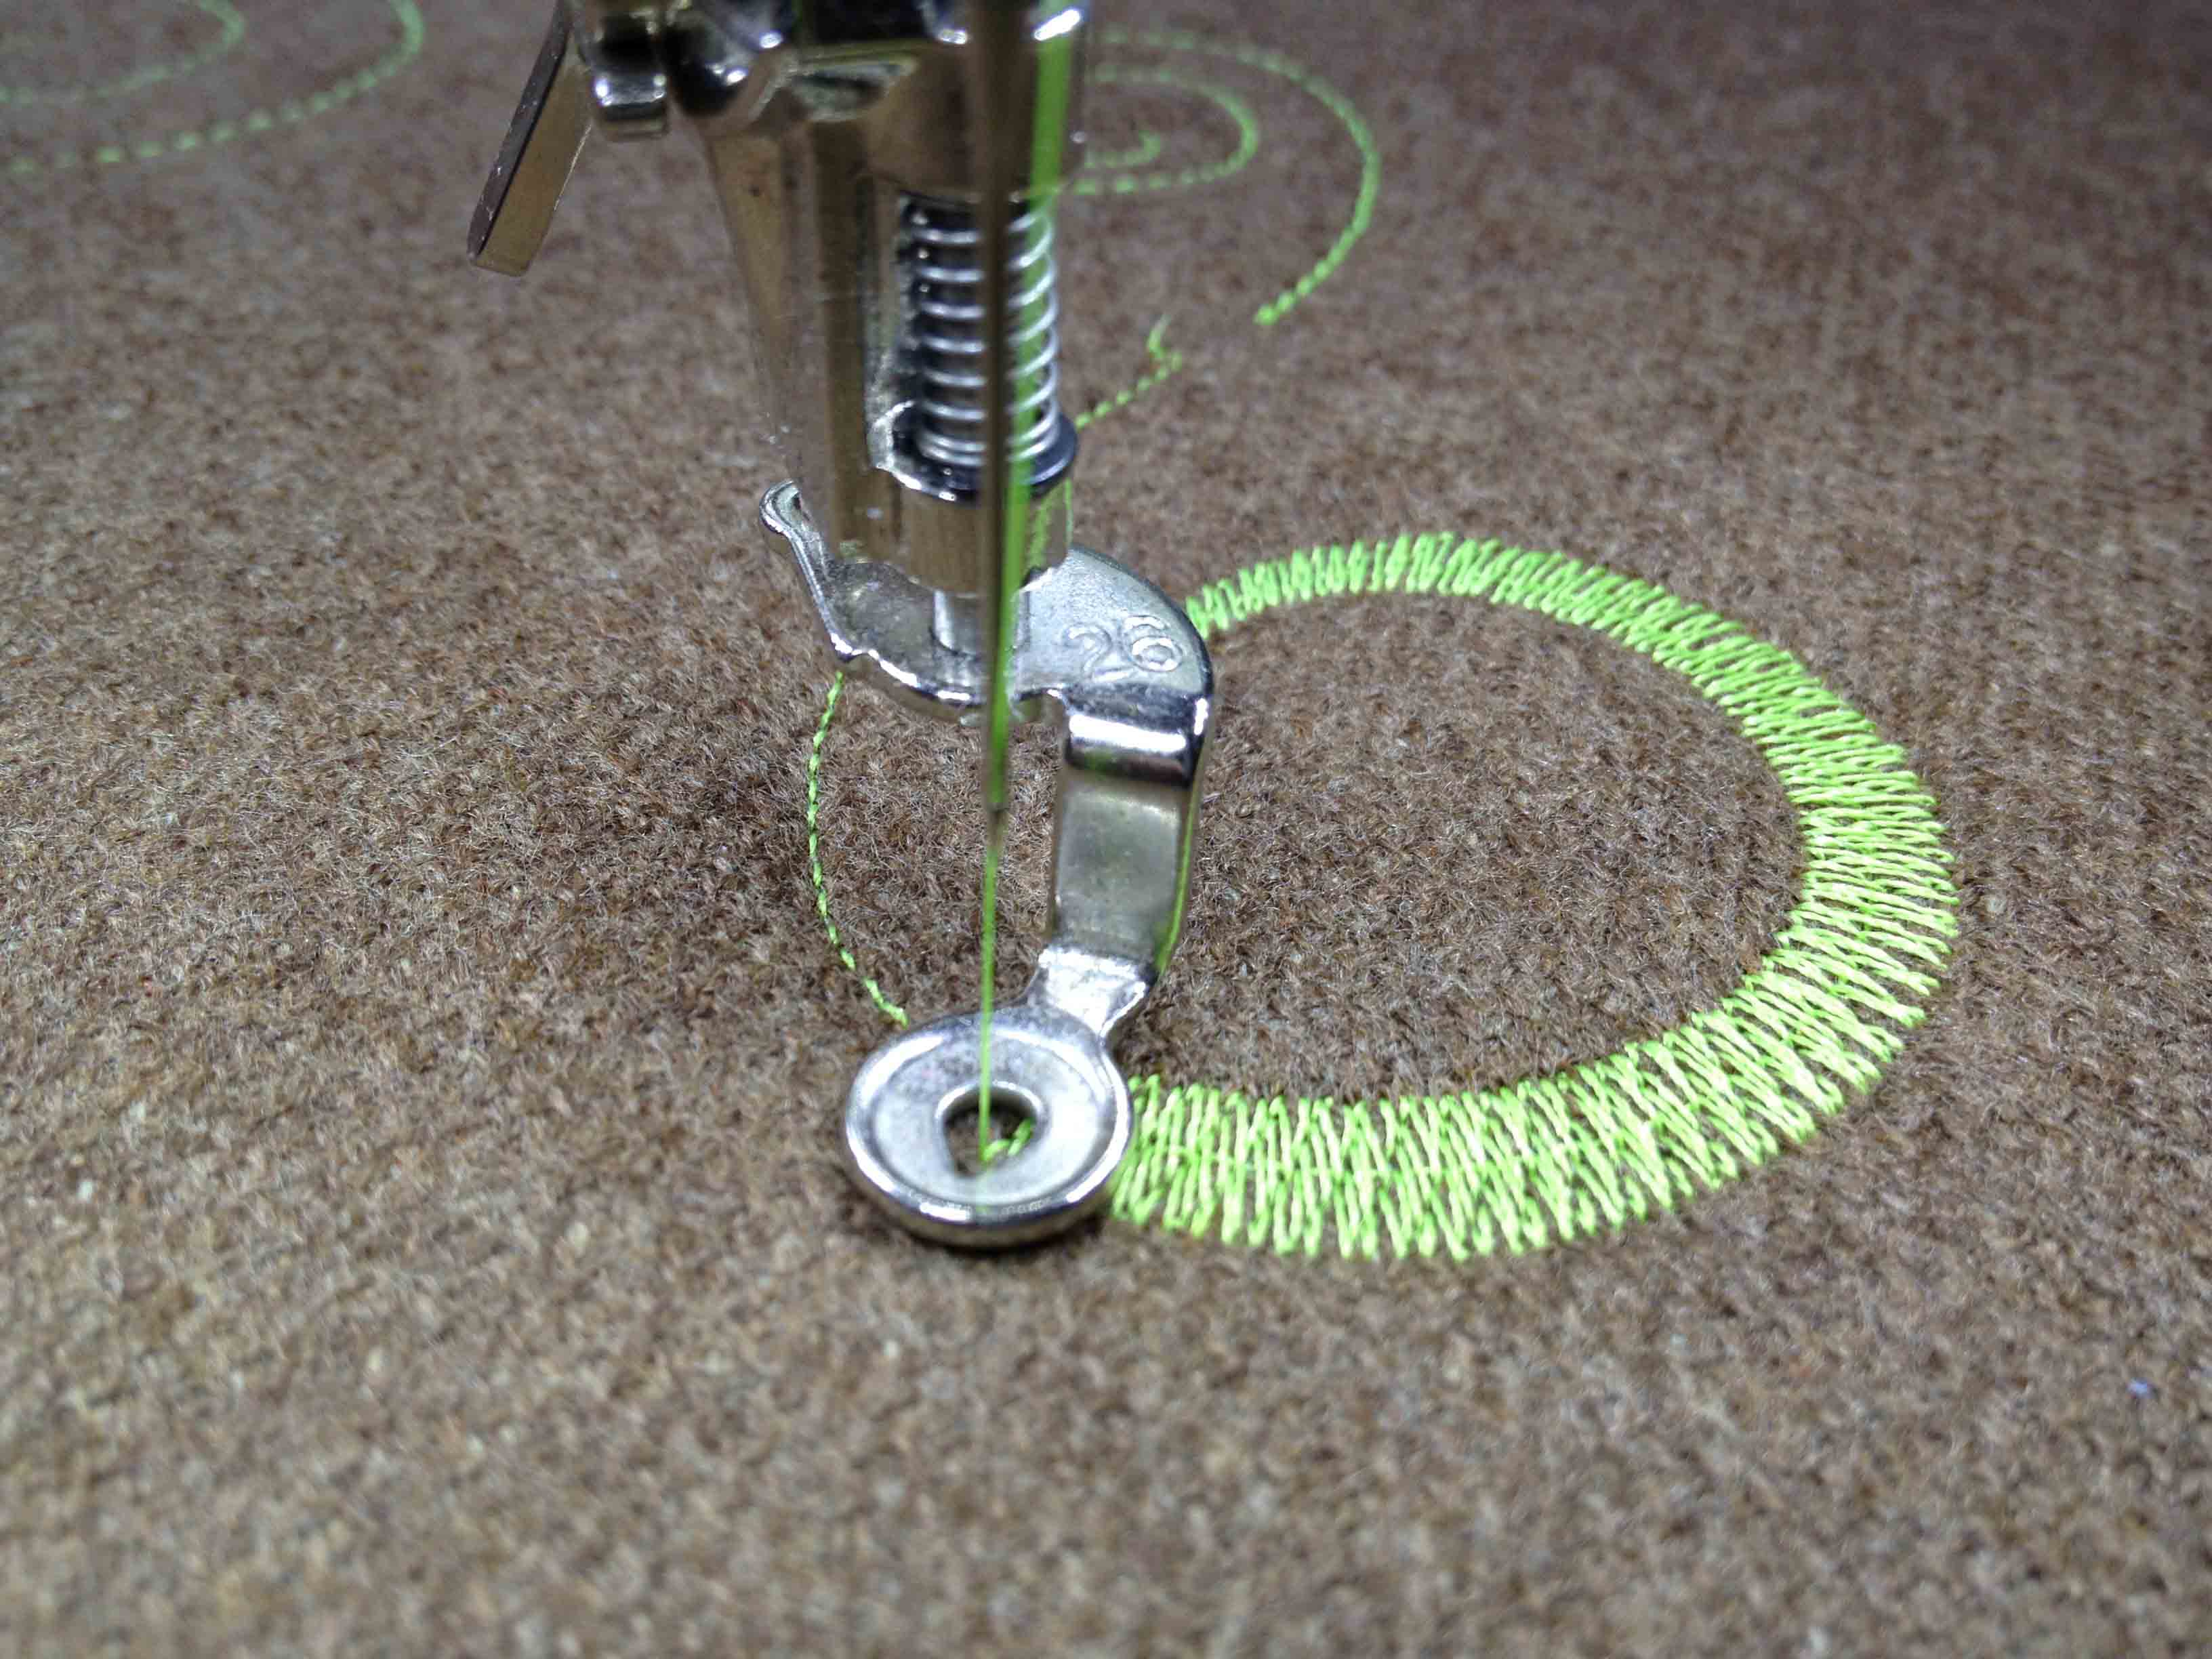
A good look at the stitch spacing and length. You can see this will not be a dense design.
The test stitch-out was successful. I highly recommend using slow redraw to check the progress of your design as you digitize BEFORE actually stitching. I think I will make a few changes before I do a mirror image of this design for the other side of the peonies (see below.)
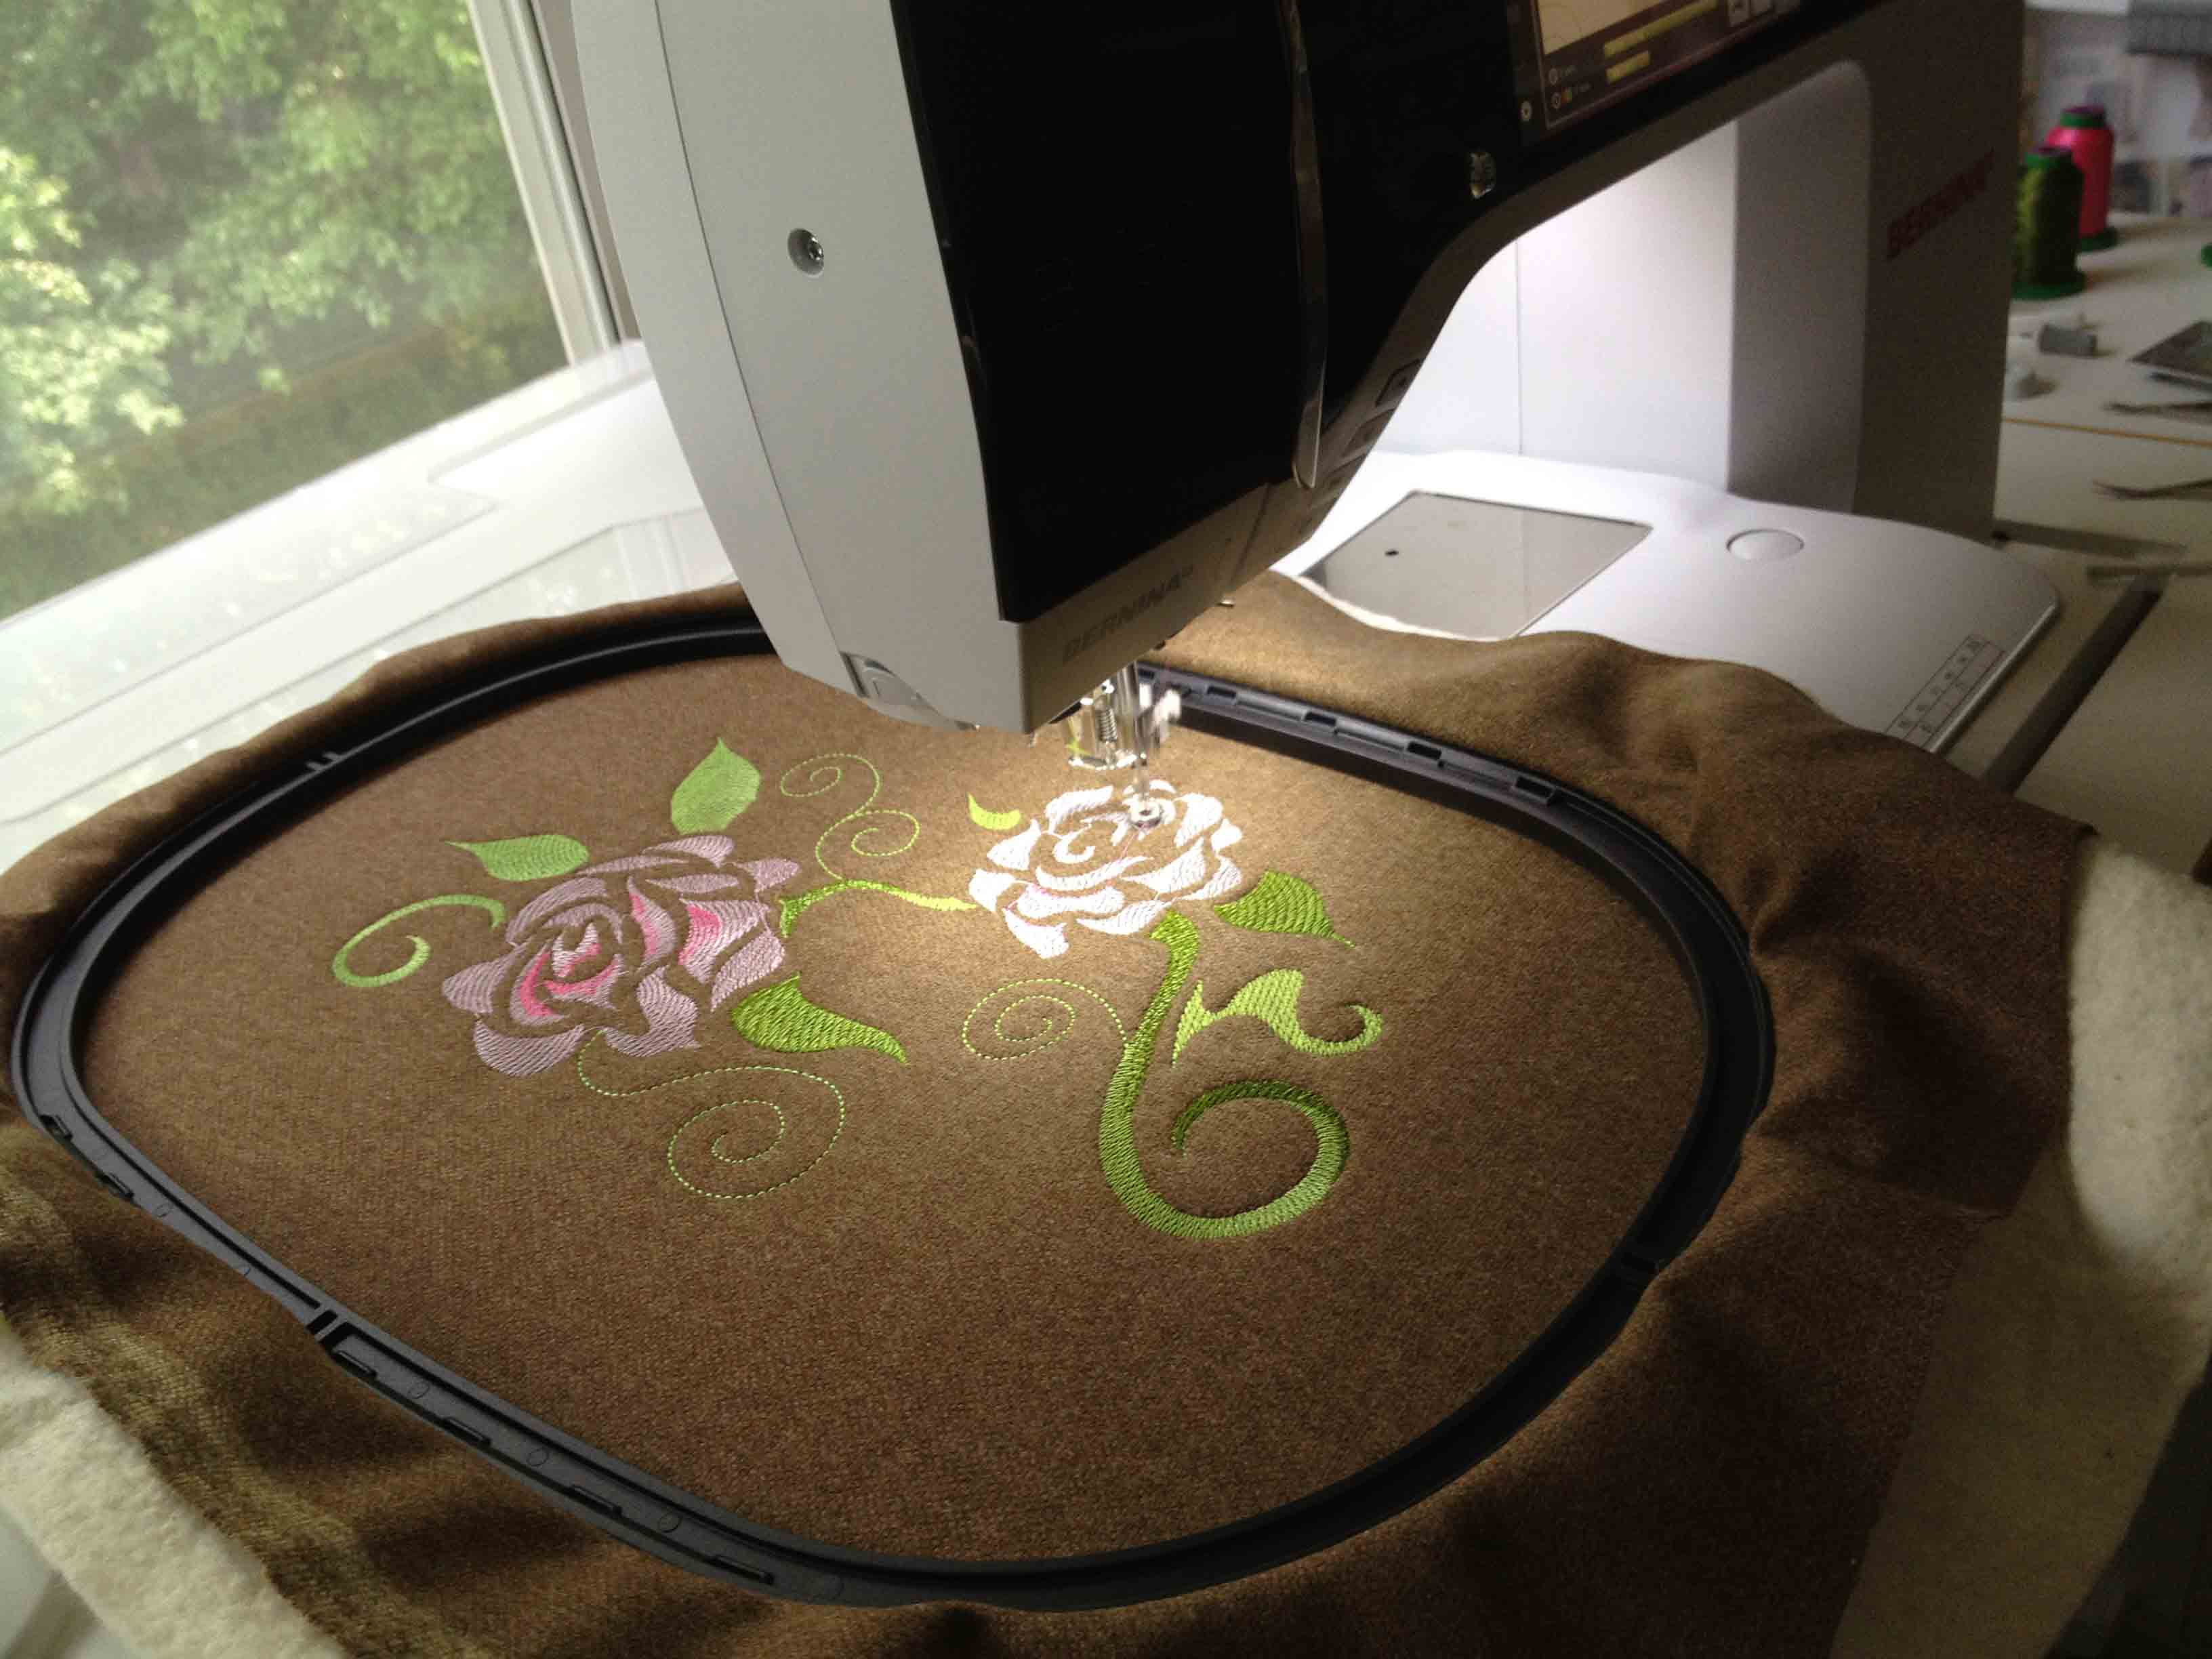
Stitching in progress.

Roses and peonies.
Obviously , this quilt is still sorting itself out in my mind. But it’s beginning to come together. Machine embroidery possibilities are endless. It just takes a little time to learn the basics. You can do this too, I assure you – with almost any image. I am clearly not a master digitizer. The only requirement is a willingness to jump in and try things.