Mother’s Day Blooming

I’m always charmed by the peony tree in my backyard.  When I first planted it, it stayed basically bloomless and green for 5 years…an oddity, with it’s twiggy branches and mini-trunk.  Very different from your normal peony bush.

Then one year, and I’m not sure why, it developed a bloom.  A big, beautiful 7 in. diameter bloom.  But just one.

The next year, the plant had 7 giant blooms.  I’m not sure what gave it the courage to erupt.  More sunshine as I cut away some of the brush?  Another nearby plant which helped it to polinate?  An adjustment to the soil? No idea.

I don’t know enough about plant dynamics to understand all the factors involved.

But I can enjoy it while it’s here. And every year, it is just stunning. This year, it bloomed on Mother’s Day.  Have a happy one.

Quilting vs. Gardening: It Must Be June

I’ve been busy.  Too busy to write a blog.

And not only too busy, but too boring.  And while I don’t mind writing a boring blog, I’m not sure you want to read one.  All of that aside, I have also reached the point in the year where all good quilters/gardeners have to make some decisions.  Inside or outside.  Quilt or garden. Flowers and vegetables or blocks and table runners.

And while I may be able to hold it all in my mind simultaneously, I certainly can’t work on it all simultaneously.  So although I have some very ambitious sewing plans and classes lined up, as my farmer grandfather used to say (and do), “Make hay while the sun is shining.”  Of course, he made hay in August, but you get the idea.

In the hopes of providing a little temporary entertainment, here’s a gallery of recent flowers from the garden.  Most are done blooming, so I’ll be back in the sewing room shortly.  In the meantime…it’s summer…let’s all go for a walk!

Improv and More

I have started working on an improvisational quilt.

Basically , it means I start sewing before I have any idea what I’m creating. For anyone who knows me, this way of doing things is right up my alley.  I just purchased this book, “An Improv Handbook for Modern Quilters” by Sheri Lynn Wood.

improv2

Naturally, I flipped through the book and then started without so much as reading a paragraph.  I promise I will go back and read. The book looks great.  I just was inspired by the word “improv” and began immediately.

improv1


Here’s a sneak peak and to be honest , I don’t know how I will complete it. Just know that it’s a gift, so I don’t want to divulge the whole quilt til it’s been given away.  At that point, it’s done and there can be no regrets or turning back.  For now, it’s simply a work in progress.

In machine embroidery, I am preparing to teach a Software Inspirations class based on a tutorial from Sylvain Bergeron, Bernina educator.  In it, we learn to create textile fabric using embroidery…like argyle.

argyle1This is done completely in software, then stitched out as machine embroidery.  It can now be cut up and used as a handbag piece, or in a quilt, or basically used as any other fabric.  Would be fun to do a small series of these in different shades and then put them together as a quilt or table runner.  Although I’m sure this image looks black and white, the thread used in the squares is actually a mauve with white lines, on Moda’s black grunge fabric.

That being said, like many sewists, I spend a lot of time in the garden in the spring, head back into the sewing room when it rains or as the weather gets too warm and buggy to be hanging around outside.  I leave you with a few lovely pics from around the area this past couple of weeks.  The earth is stunning.

peonies2

Peony tree

Wild  phlox

Wild phlox

Crabapple tree

Crabapple tree

Gesture Drawing — Learning the Art of Letting Go

I’m not sure the formal definition for gesture drawing.  Leonardo DaVinci did it all the time.

Waaaay back, when I was in college, we were taught the technique in order to de-stress, to loosen up and to relate to our subjects in an entirely different way.

It is a “no judgment” form of art.  All it takes is a pencil, some paper and the inclination to look around you.  Focus on something and begin to draw…no erasing.  Keep it loose and free.  Try not to perfect it, try not to correct, simply let yourself feel the essence of the subject. This is more relational than visual.  And it’s a brilliant way for everyone to begin to draw.  The focus is less on creating a likeness than on creating a feeling.

At any rate, if you are like me, eventually you’ll tighten up.  I can start out very loose.  But then that’s never enough.  One more line, just a little more shading.  In my mind I must try a little harder, and before long it’s no longer gesture…it’s “I am irrelevant unless I can create something masterful.”  And then of course, all the fun is gone.

A gesture drawing should never take more than about 5 minutes.  When you start feeling anxious, stop.  Try drawing something else.  Or simply walk away.

The beauty of this technique is that it takes about 15 minutes out of your day.  It doesn’t have to be lovely.  It doesn’t even have to be good.  It just has to be fast, before that higher part of you brain wants to take over and tell you it’s not good.  Interesting exercise.

A pad of paper and a pencil.  No eraser.  Not because you won’t make mistakes.  But because worrying about mistakes is just not the point.

gesture1

gesture2


A Rose is a Rose

The upcoming Software Sampler from Bernina features some of the gradient and blending tools in the V6 Designer Plus software.  I needed to create a sample and wanted to spend my time on something I could use…not simply a store sample.  So I decided to create a design of roses that would in some way match up to the peonies I needle punched some time ago.  I thought maybe I could use up more of the wool and embroider some matching designs.

This is not an intimidating thing to do, it just takes the courage to map out a sketch and think through the order of the stitches.  For those of you with machine embroidery capabilities, it also takes some software.  But the truth is, if you can trace something in pencil, or draw it freehand, you can easily turn it into machine embroidery.  All it takes is a little time and practice.

flower sketch
As you can see, I started to test out some colors and blending ideas as well as just the basic shapes.  At this point, the sketch does not have to be perfect, the drawing only has to give you a basic idea, although, the more accurate here, the less guess work in the software.

The scan of the artwork is then loaded into the V6 software, and you can simply begin to create the shapes right on top of the image.  Once the basic shapes have been digitized, just delete the image from the background.

Digitize section by section, piece by piece, in the order that you want the design to stitch out.

Digitize section by section, piece by piece, in the order that you want the design to stitch out.


On this design, I was particularly careful about stitch density. Since this design was being created in the jumbo hoop, it had the potential to be very stitch-heavy.  I wanted to keep the count down.  The way to do this is to go into object properties under the fill tab and make adjustments to the fill stitch size and spacing – on each shape as you digitize.  This can be time-consuming, but is so worthwhile.  The total stitch count on this design was under 17,000 stitches.  Without adjustments, it could have gone up to 30,000 or 40,000 or more.

A good look at the stitch spacing and length.  You can see this will not be a dense design.

A good look at the stitch spacing and length. You can see this will not be a dense design.

The test stitch-out was successful.  I highly recommend using slow redraw to check the progress of your design as you digitize BEFORE actually stitching. I think I will make a few changes before I do a mirror image of this design for the other side of the peonies (see below.)

Stitching in progress.

Stitching in progress.


Roses and peonies.

Roses and peonies.

Obviously , this quilt is still sorting itself out in my mind.  But it’s beginning to come together. Machine embroidery possibilities are endless.  It just takes a little time to learn the basics.  You can do this too, I assure you – with almost any image. I am clearly not a master digitizer.  The only requirement is a willingness to jump in and try things.


Needle Punch Peonies

top

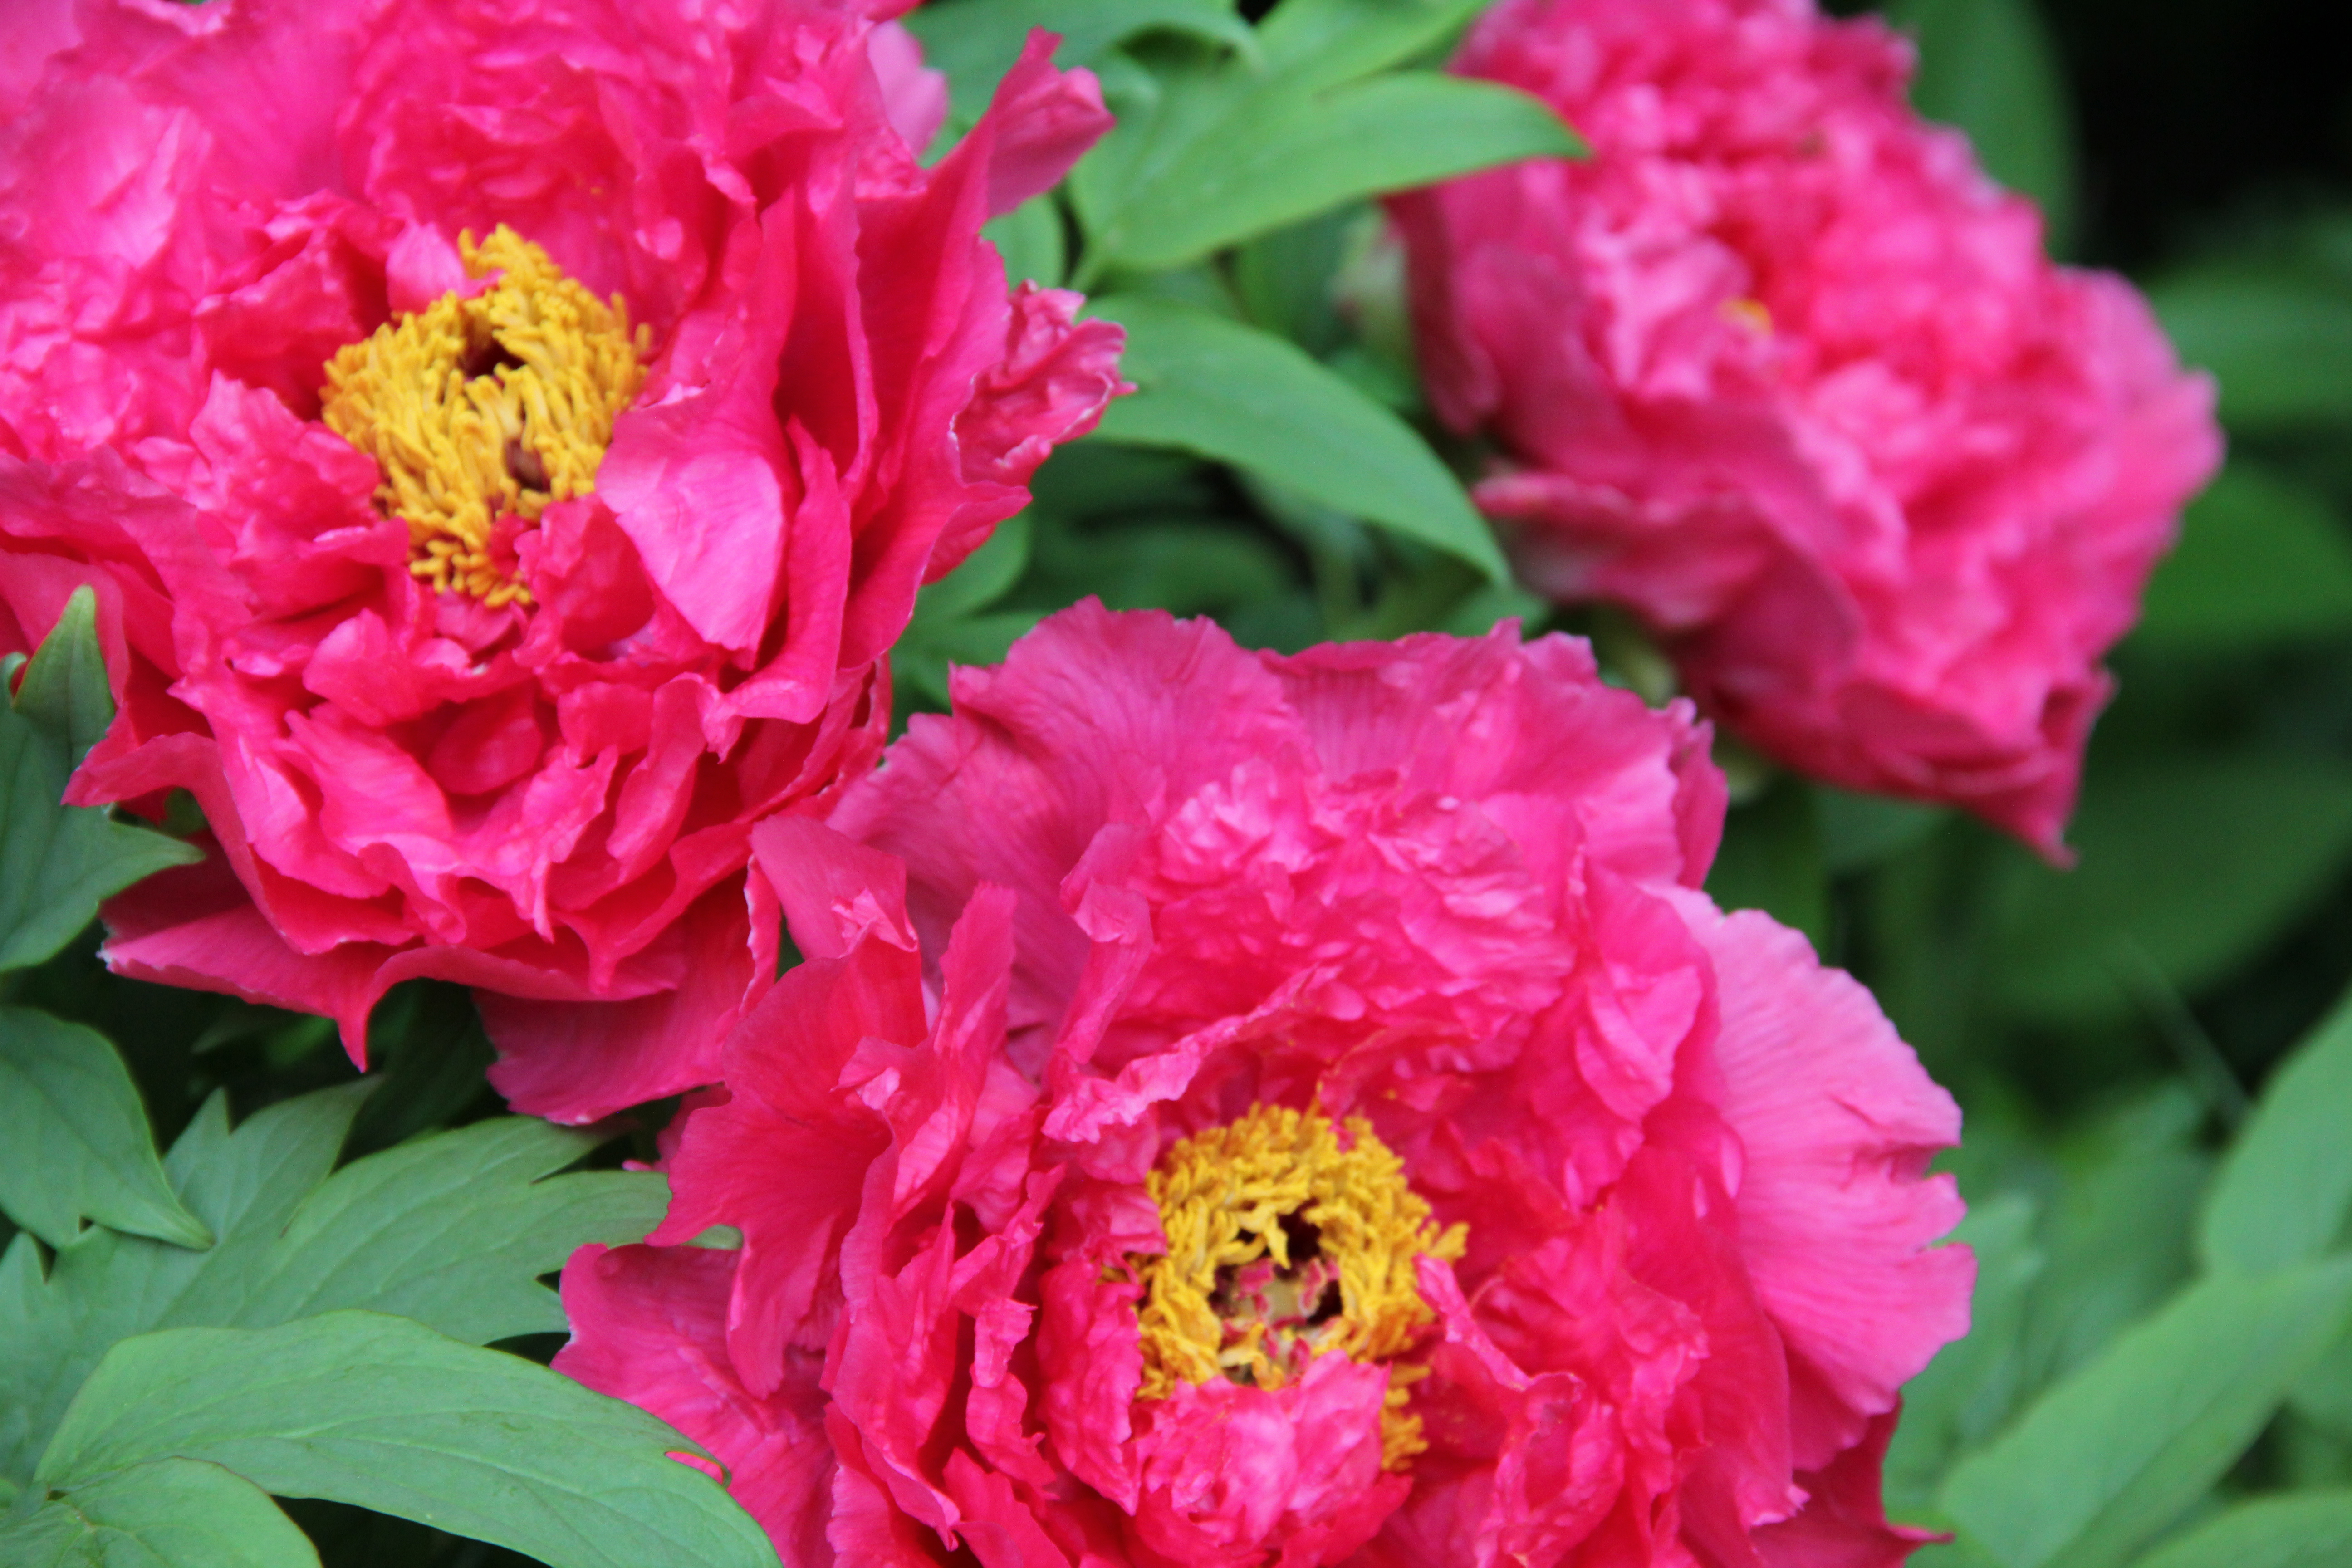
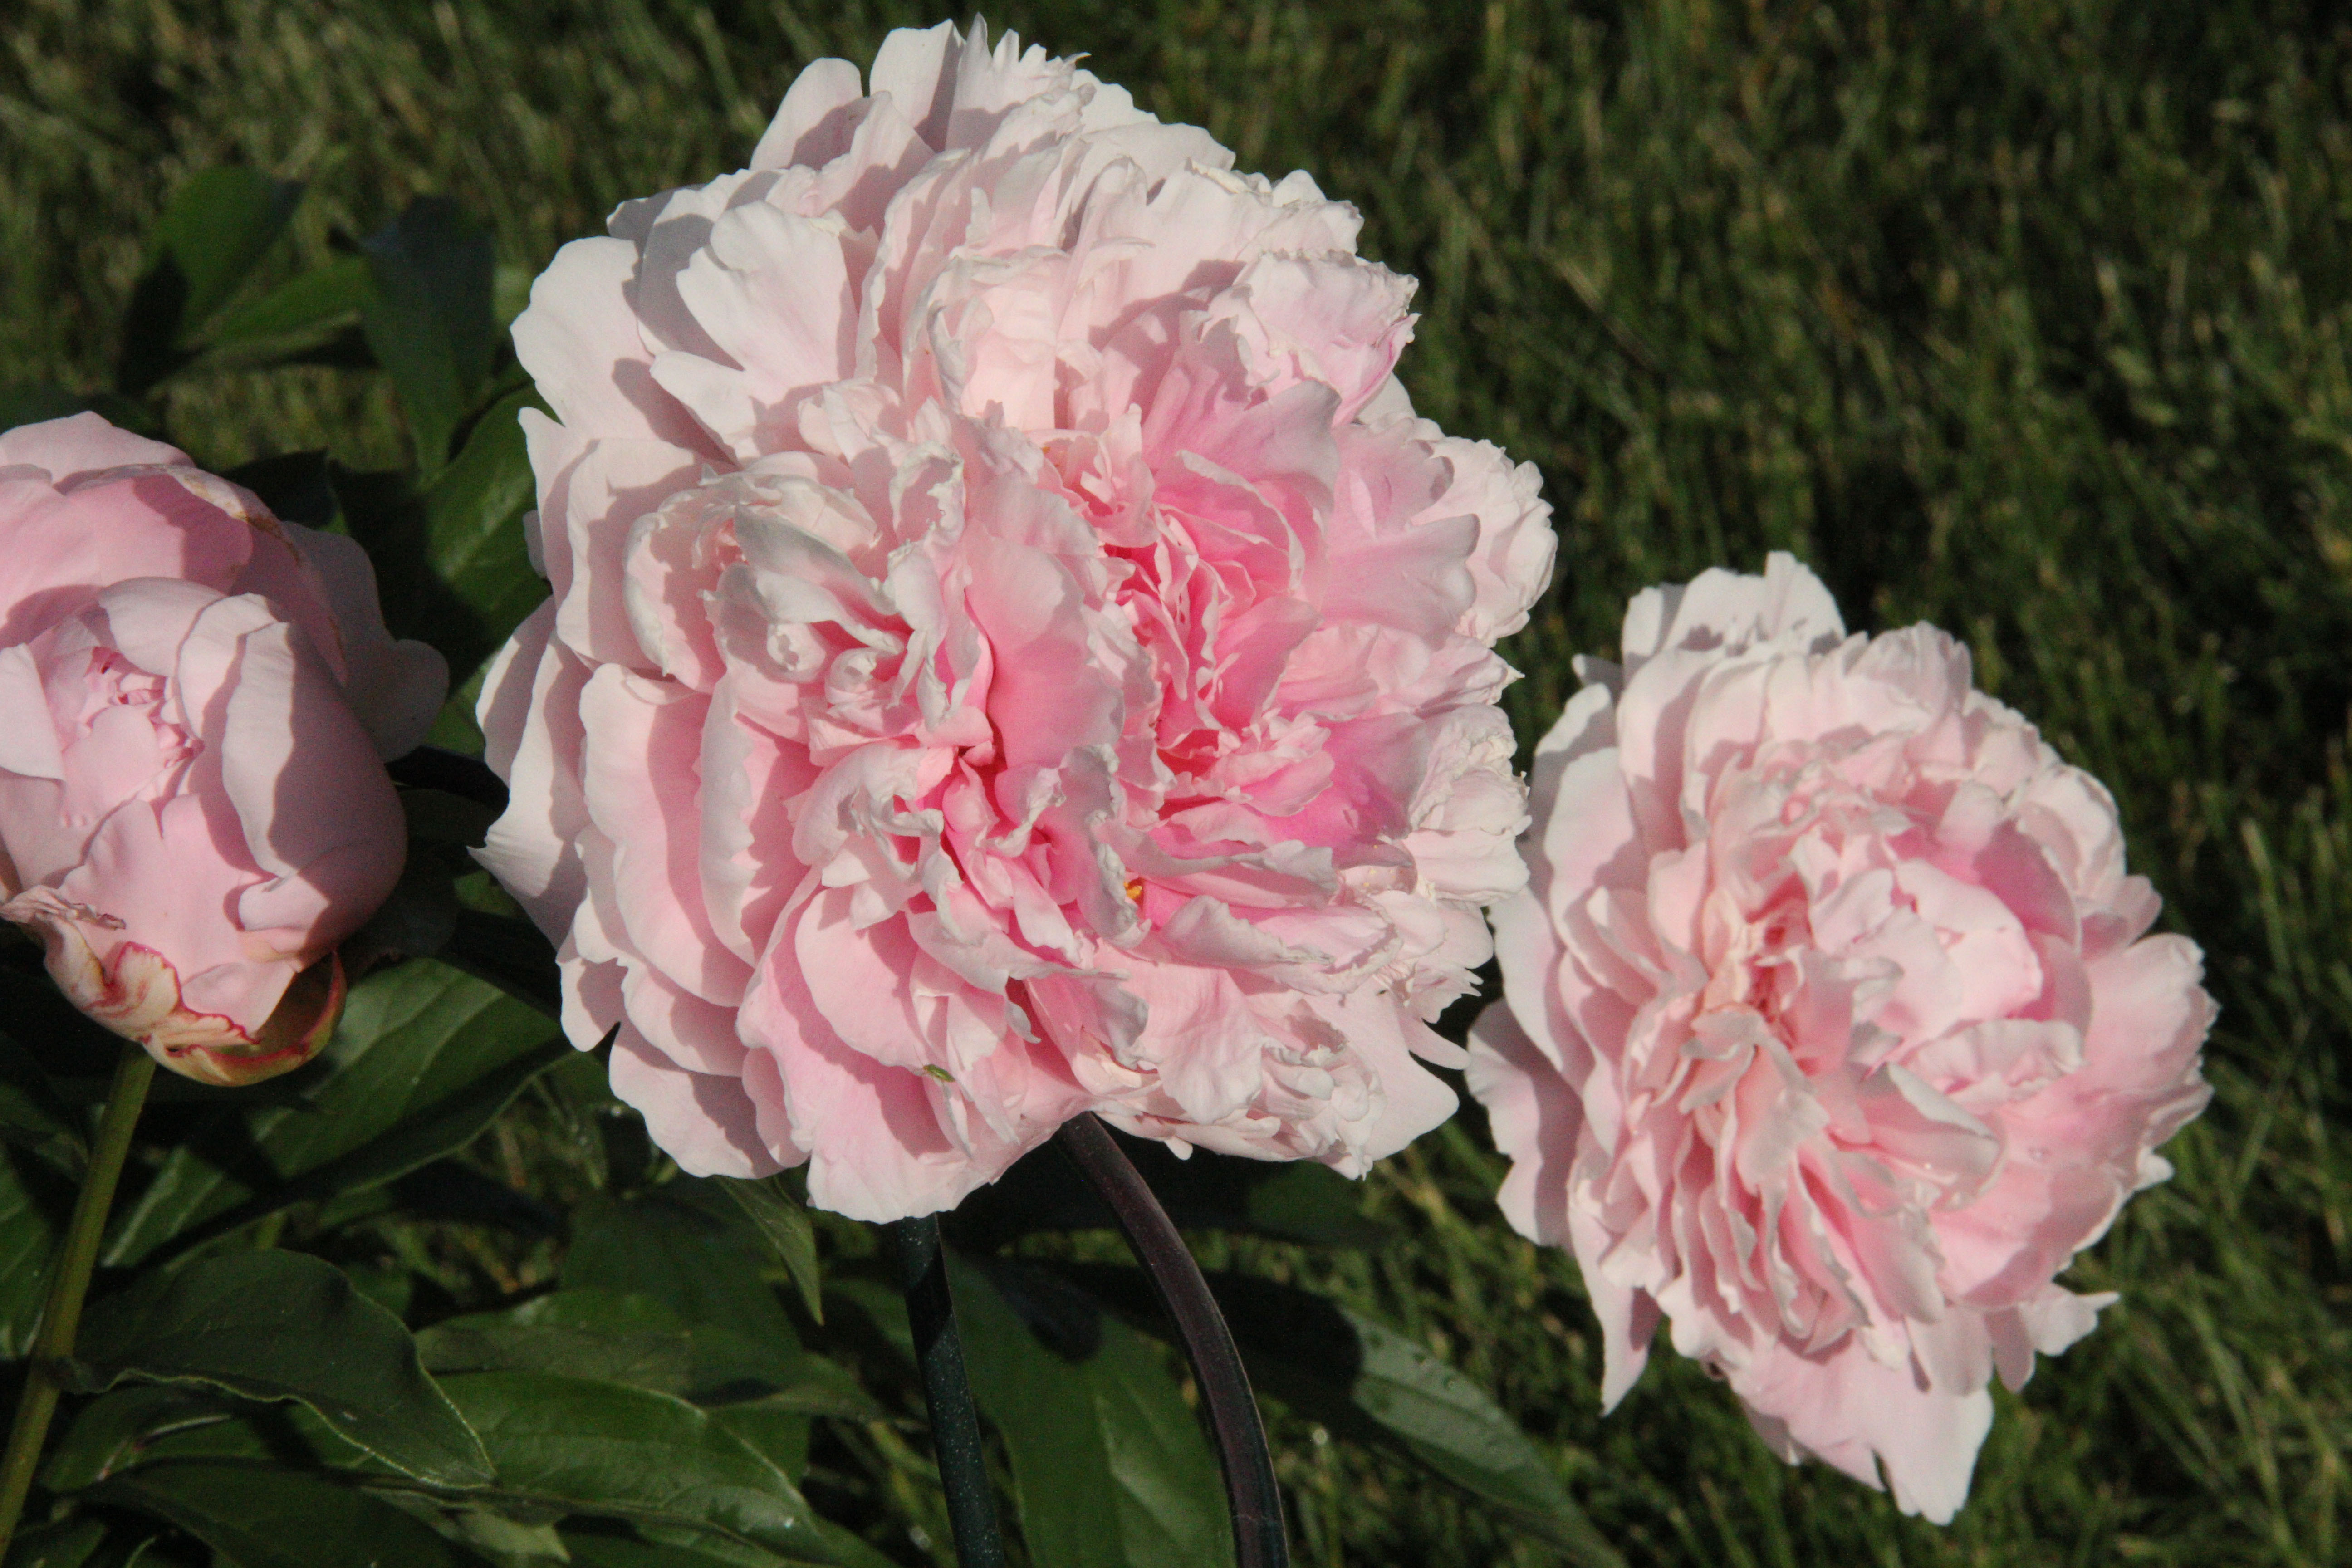
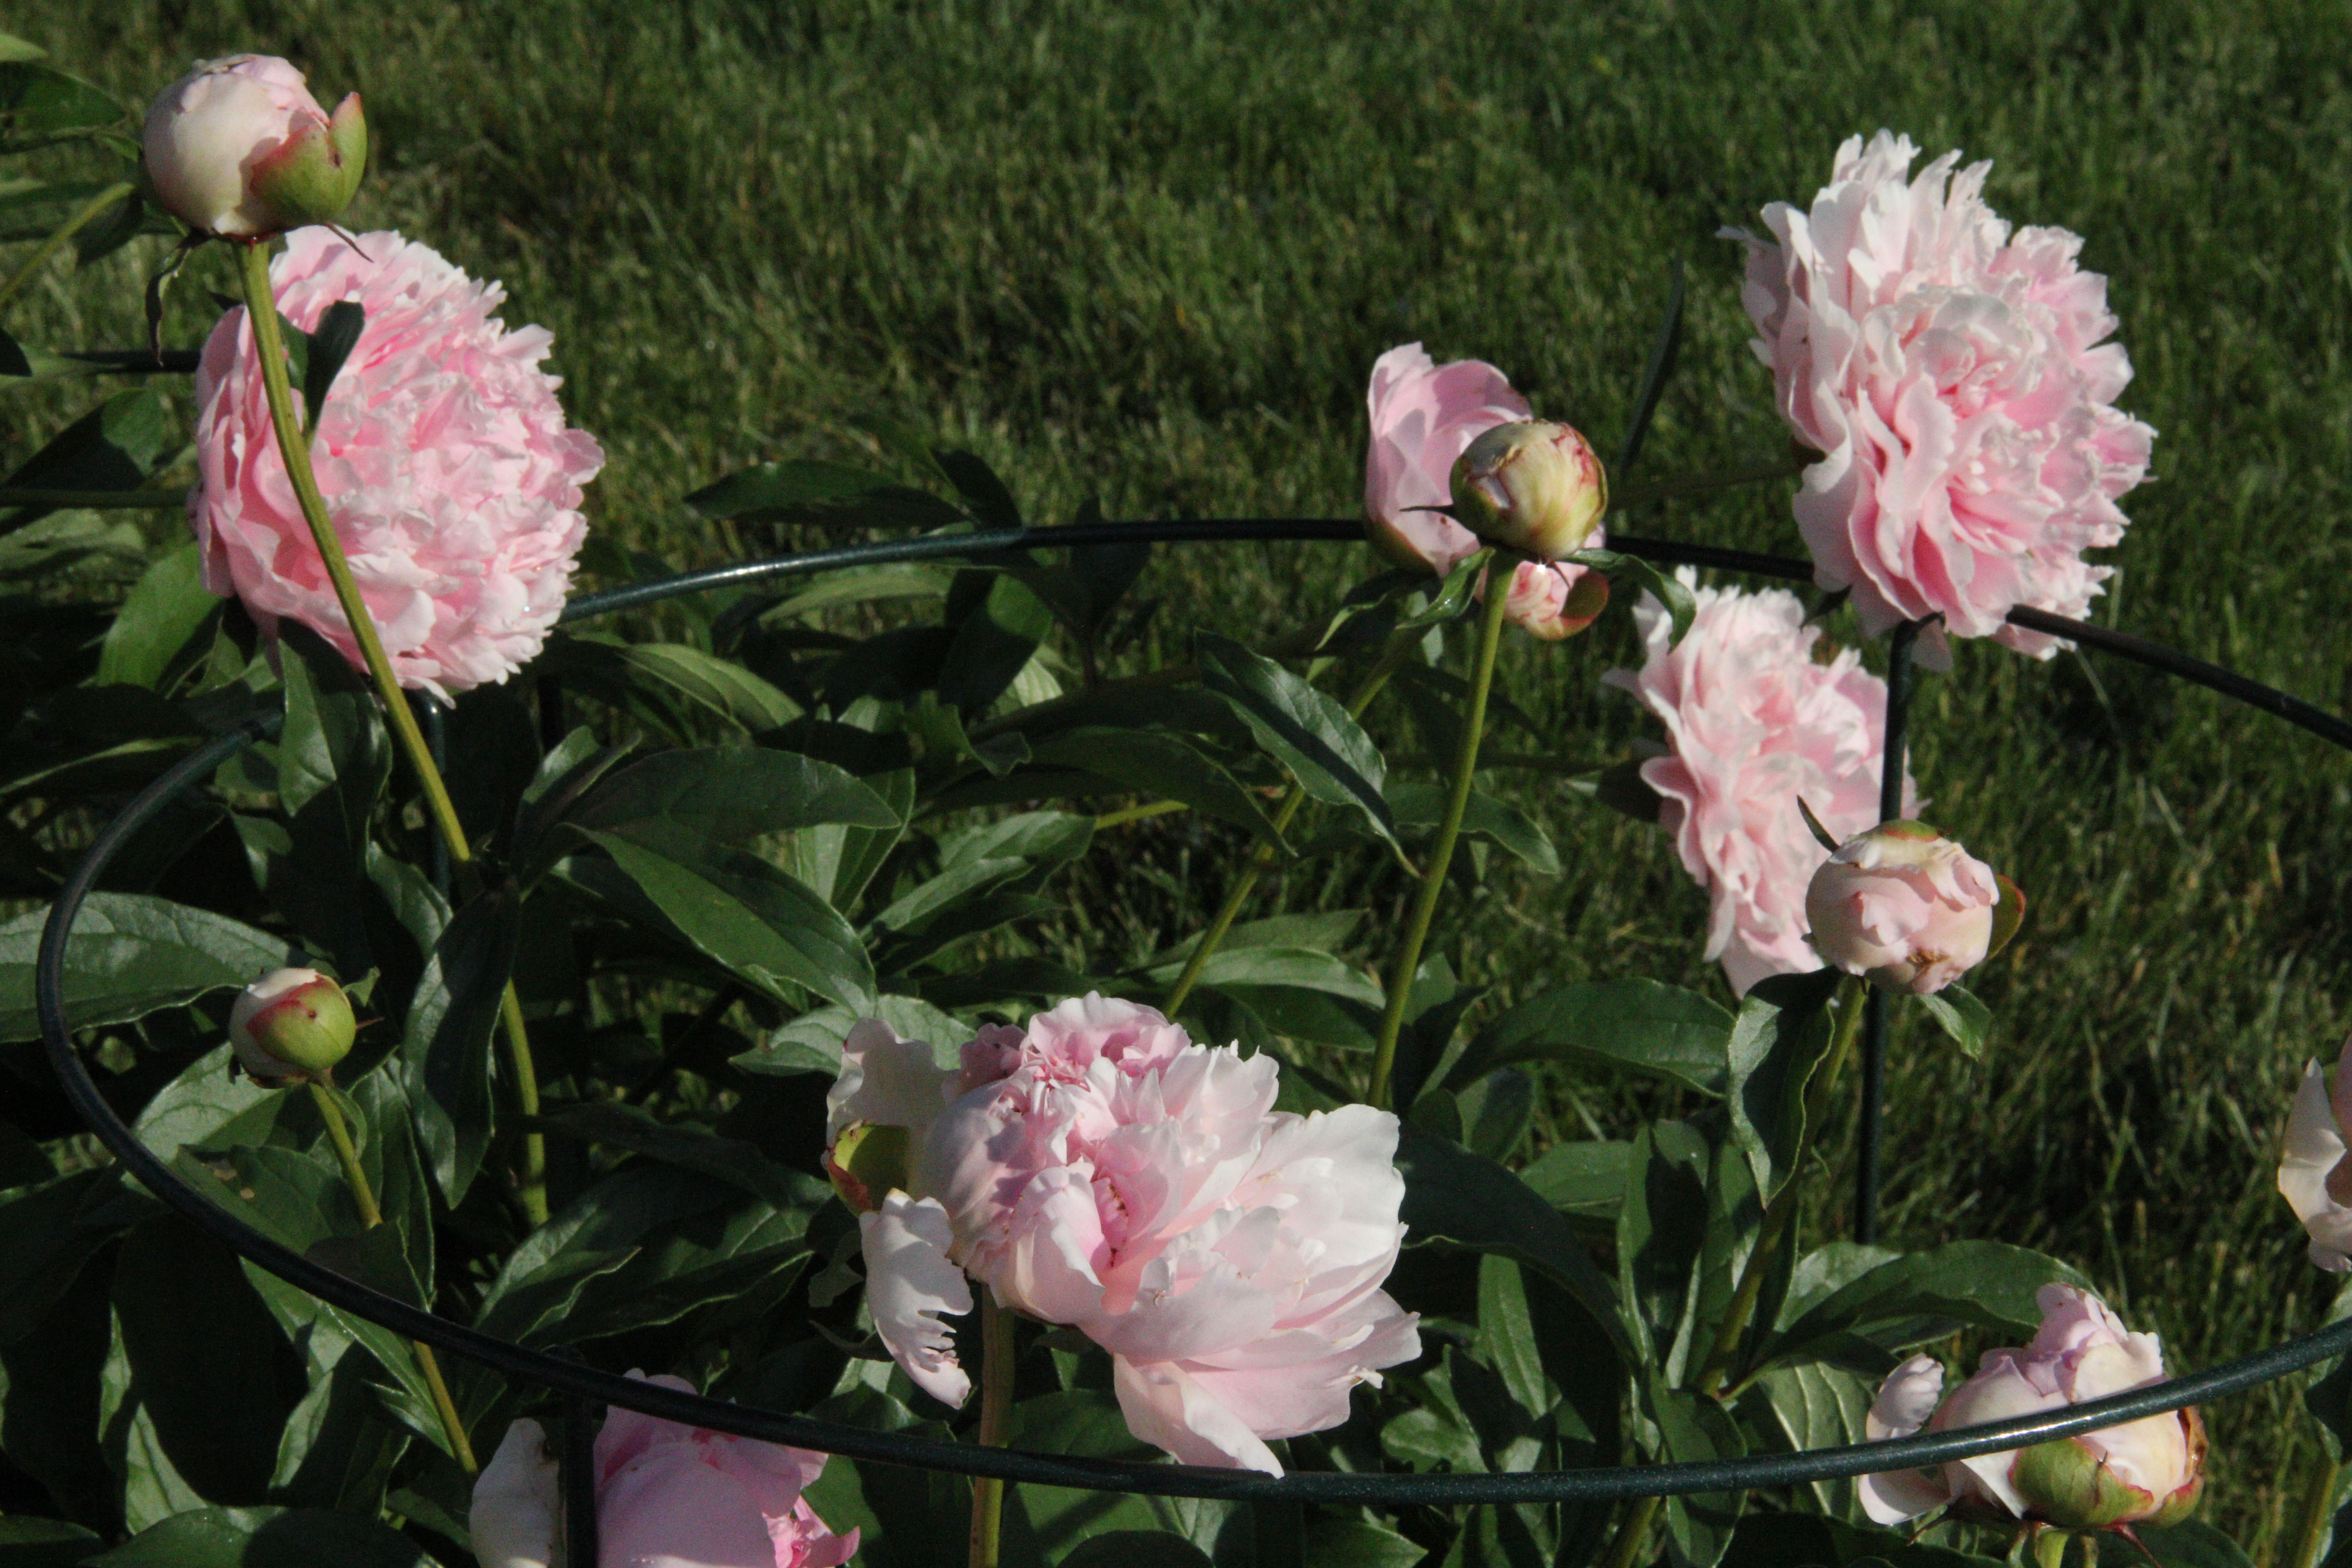
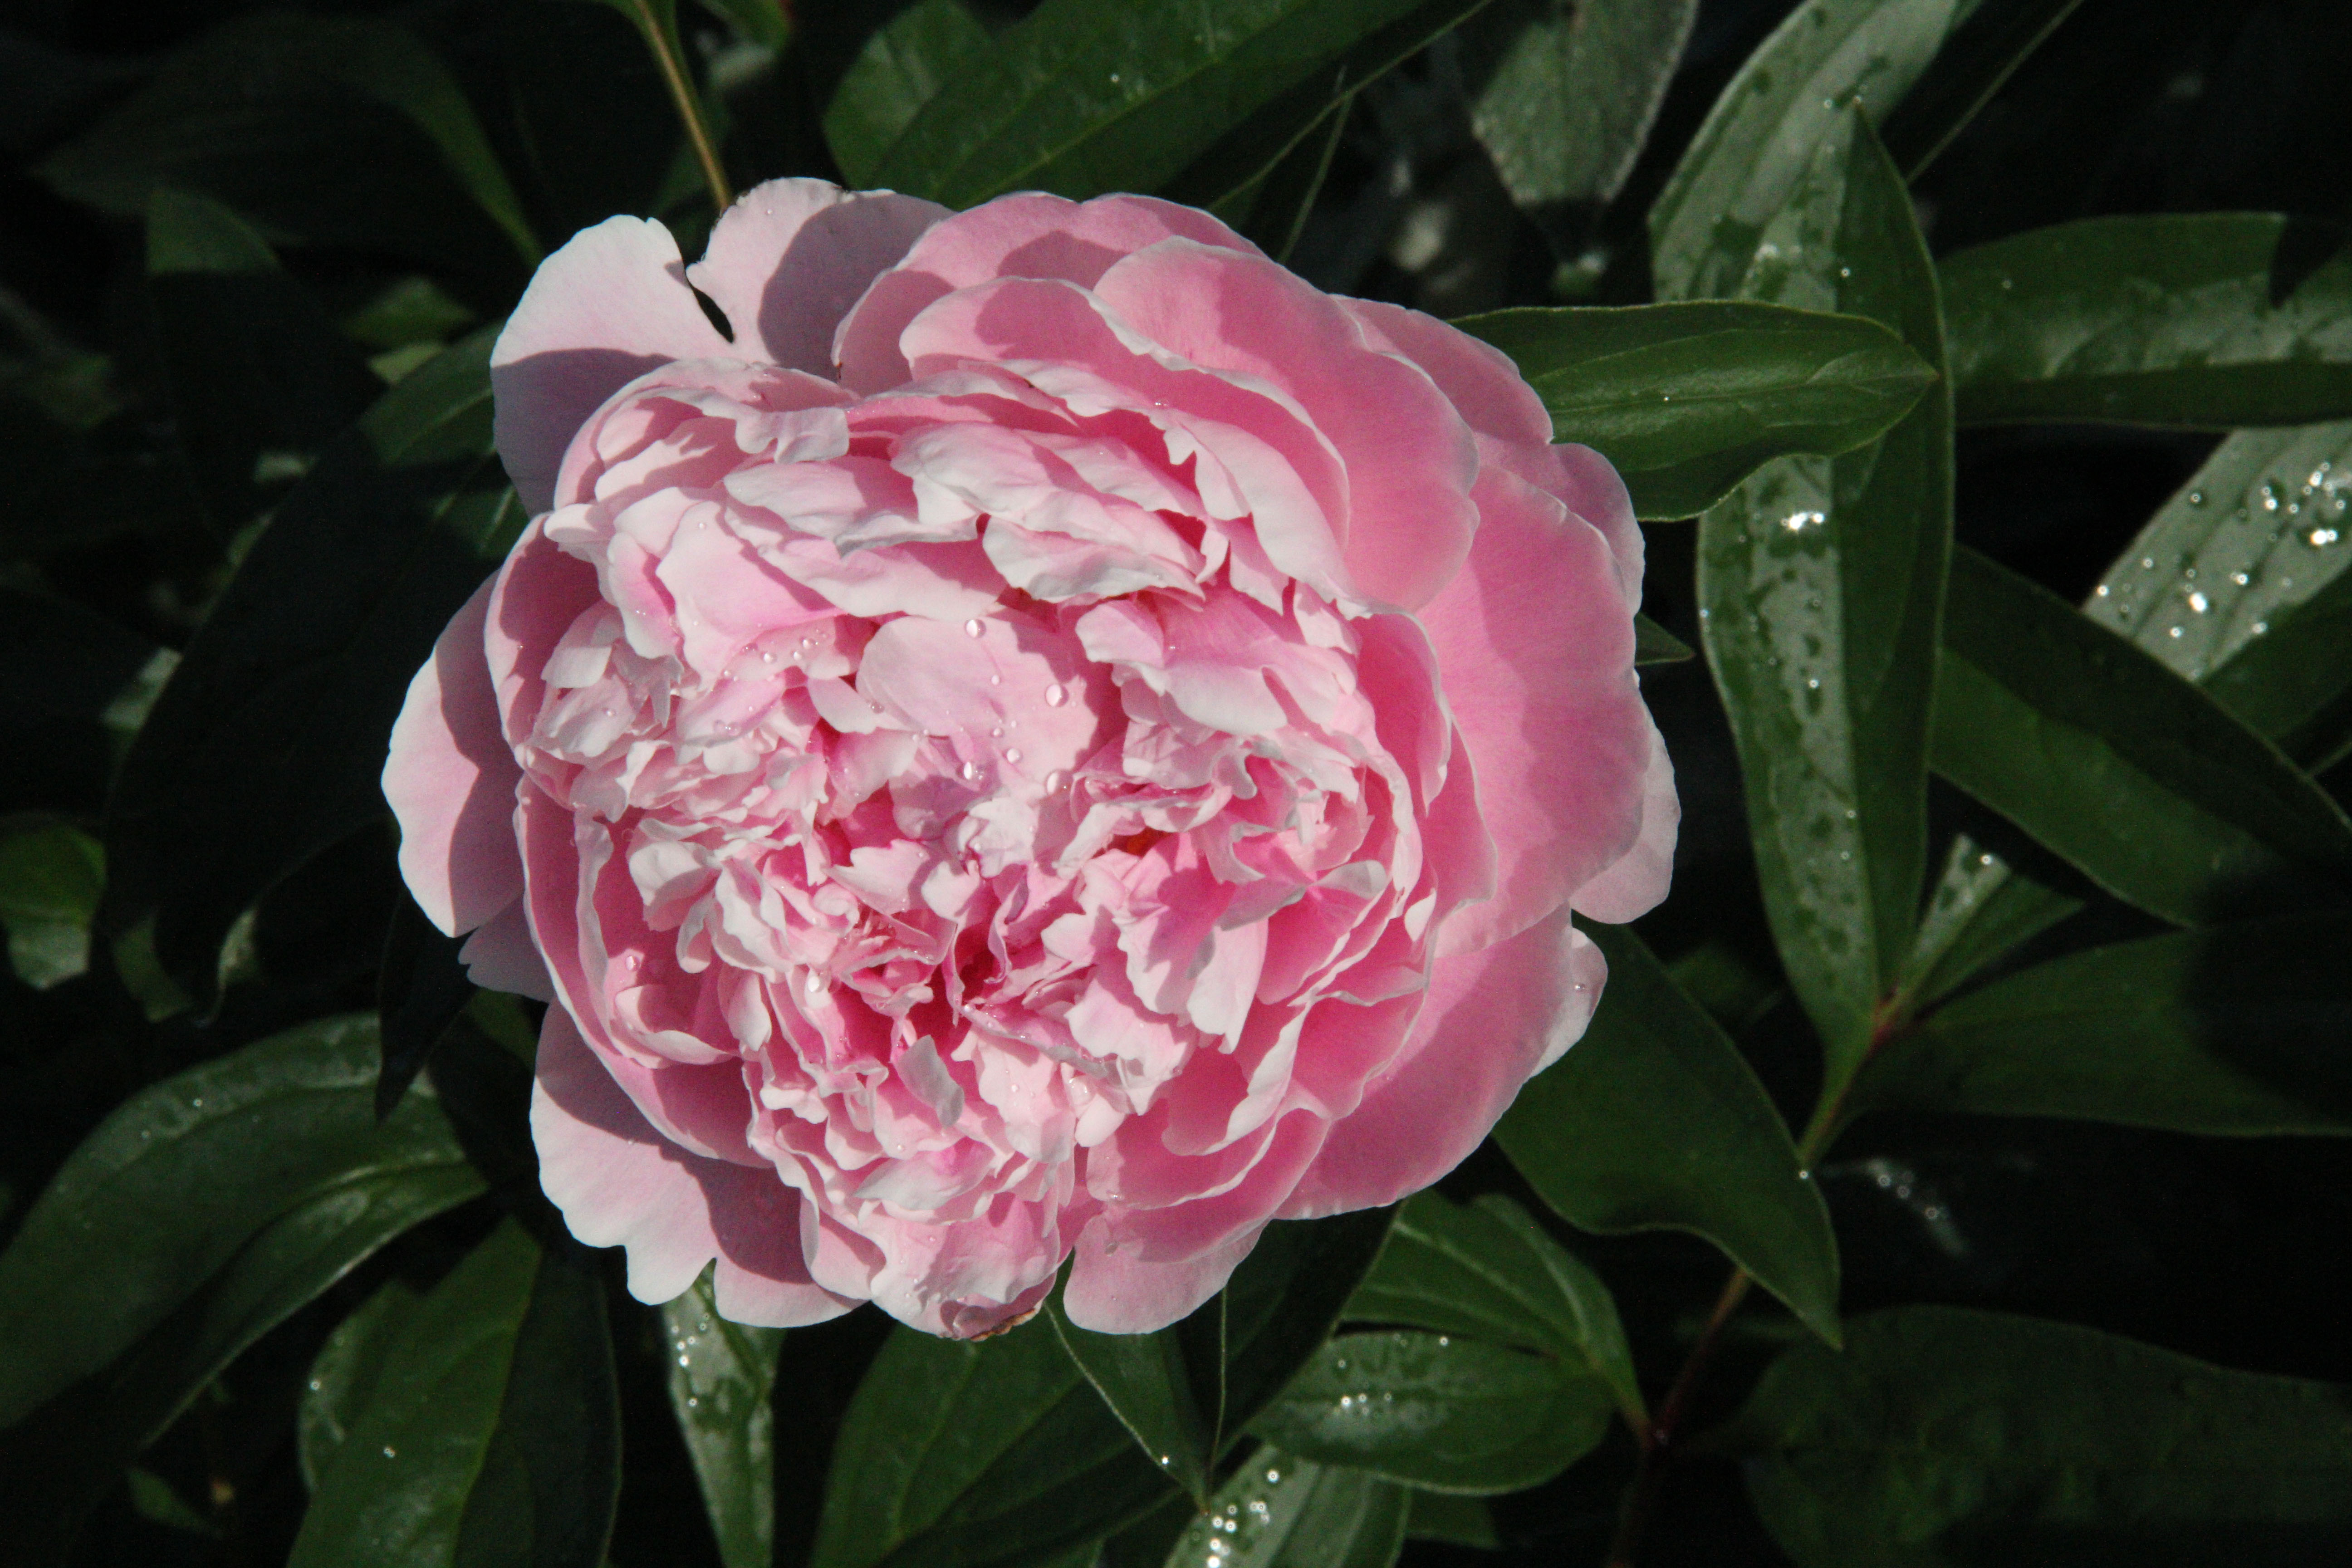
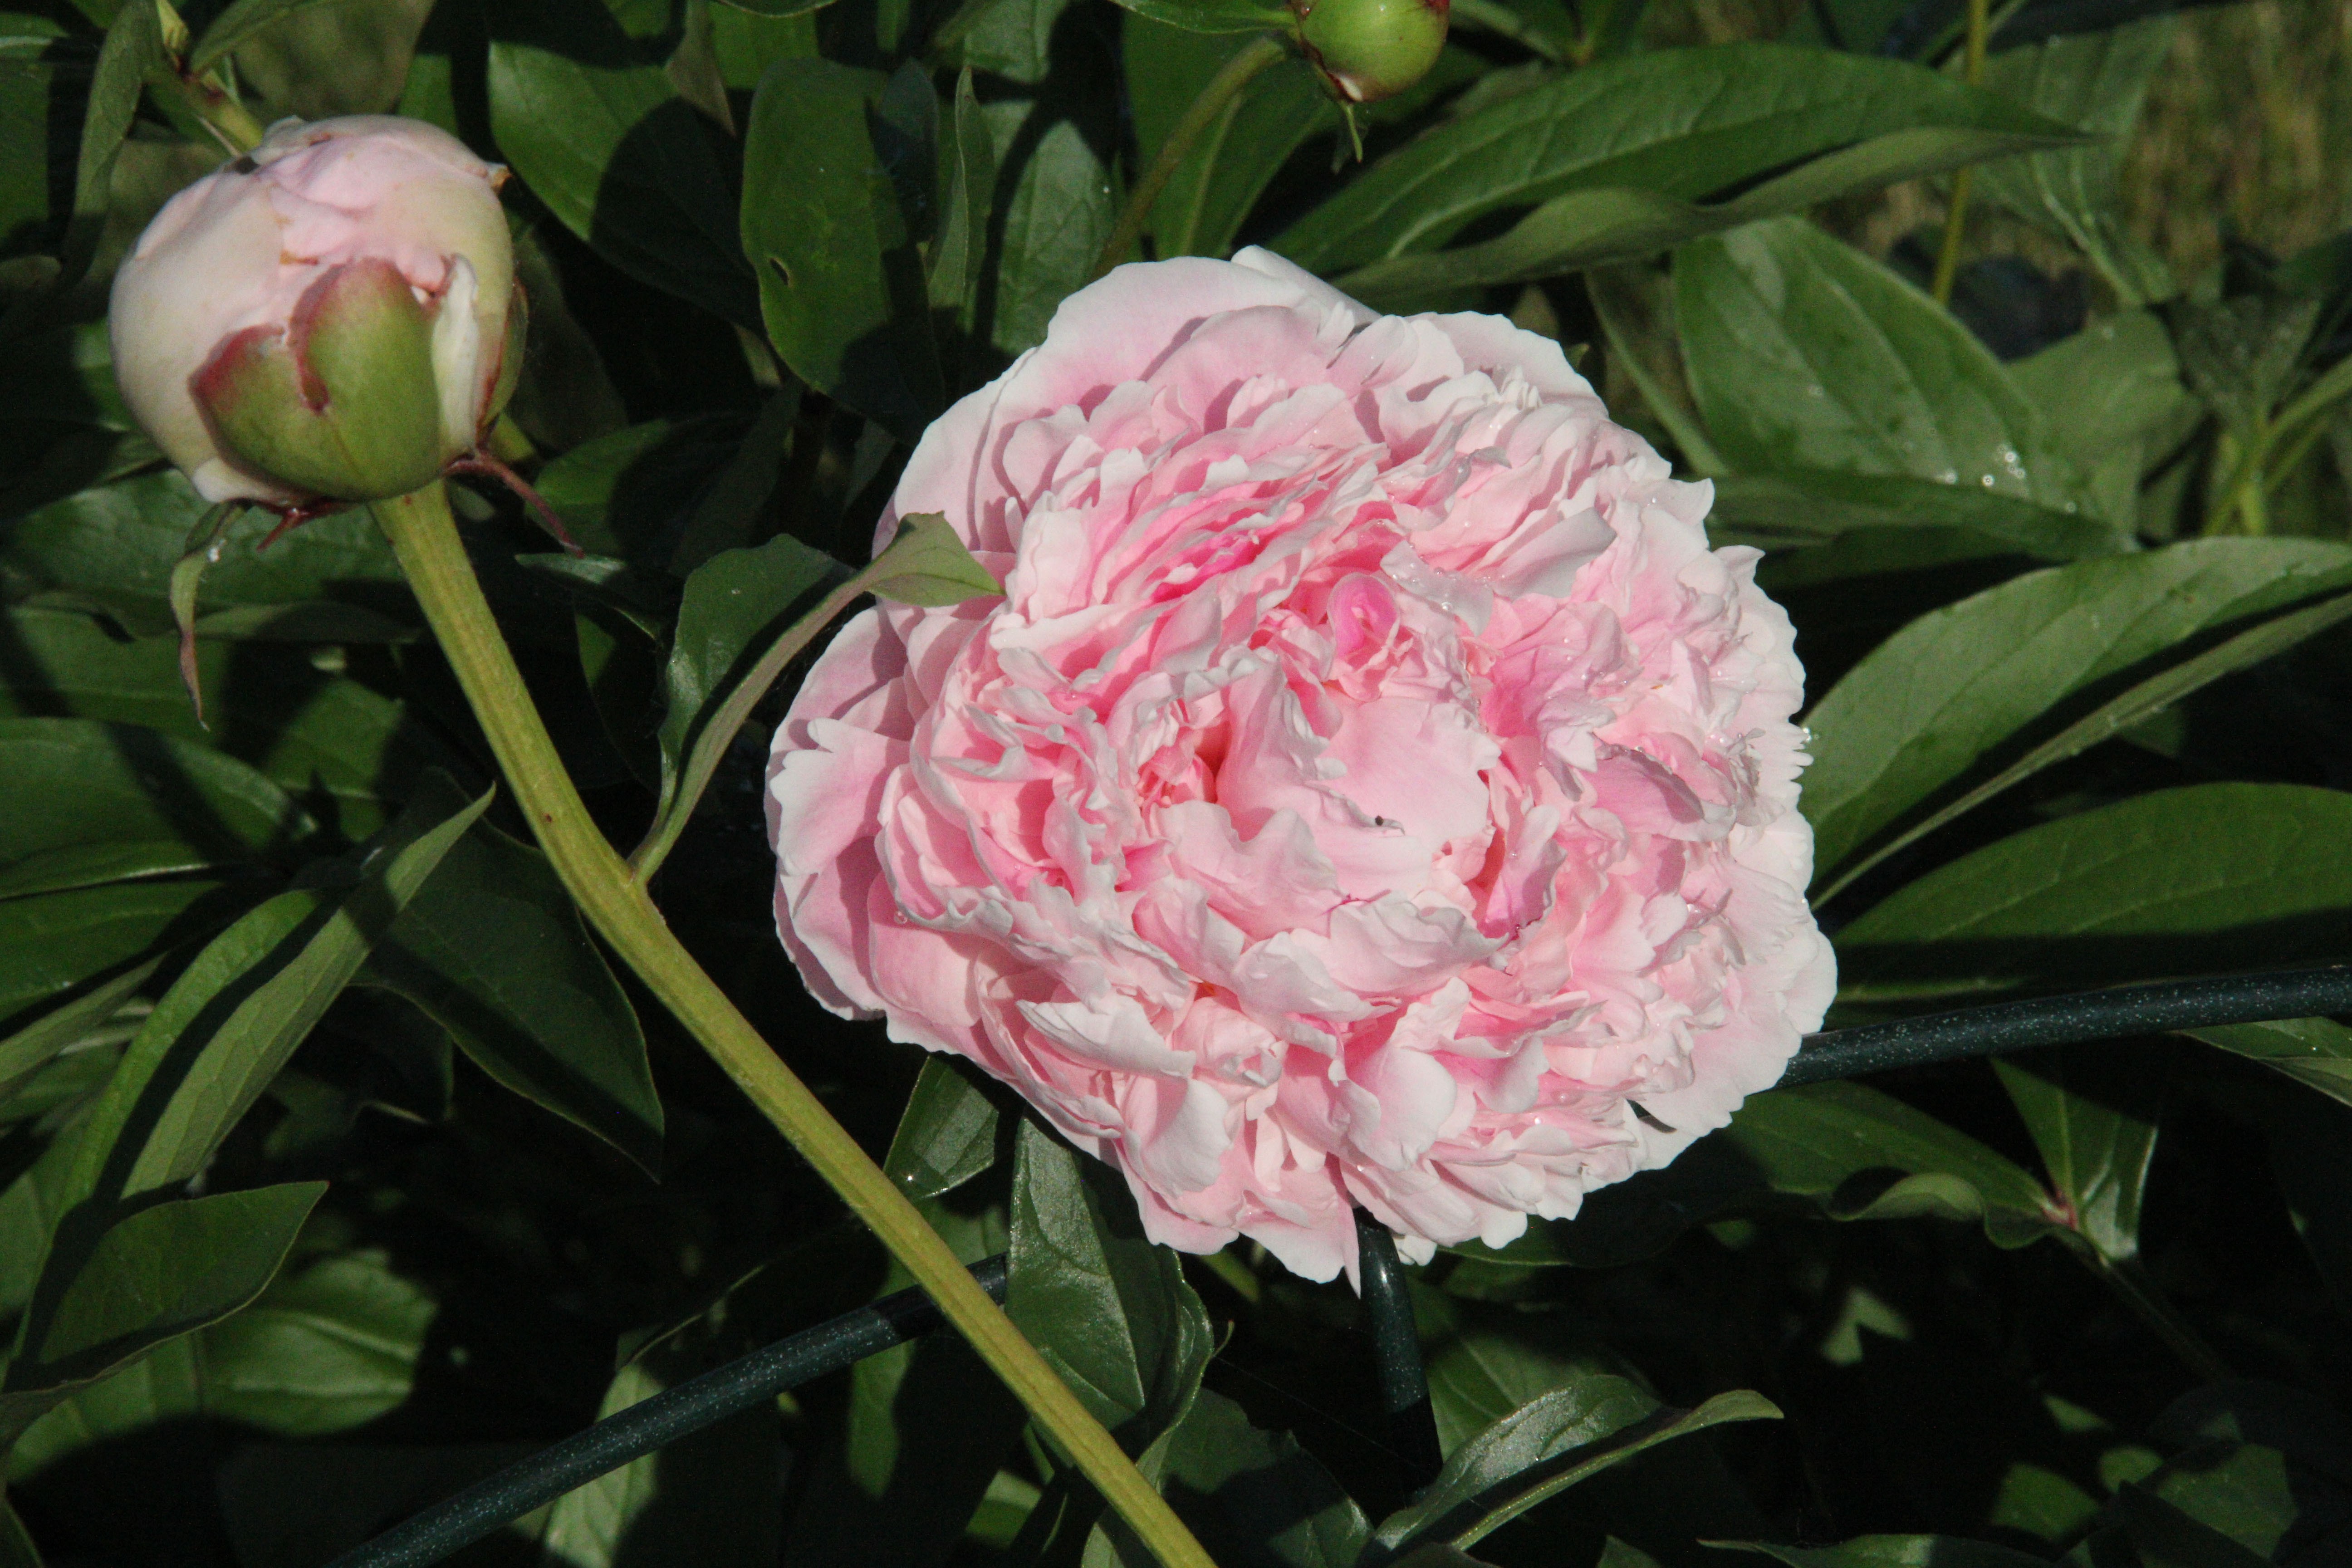
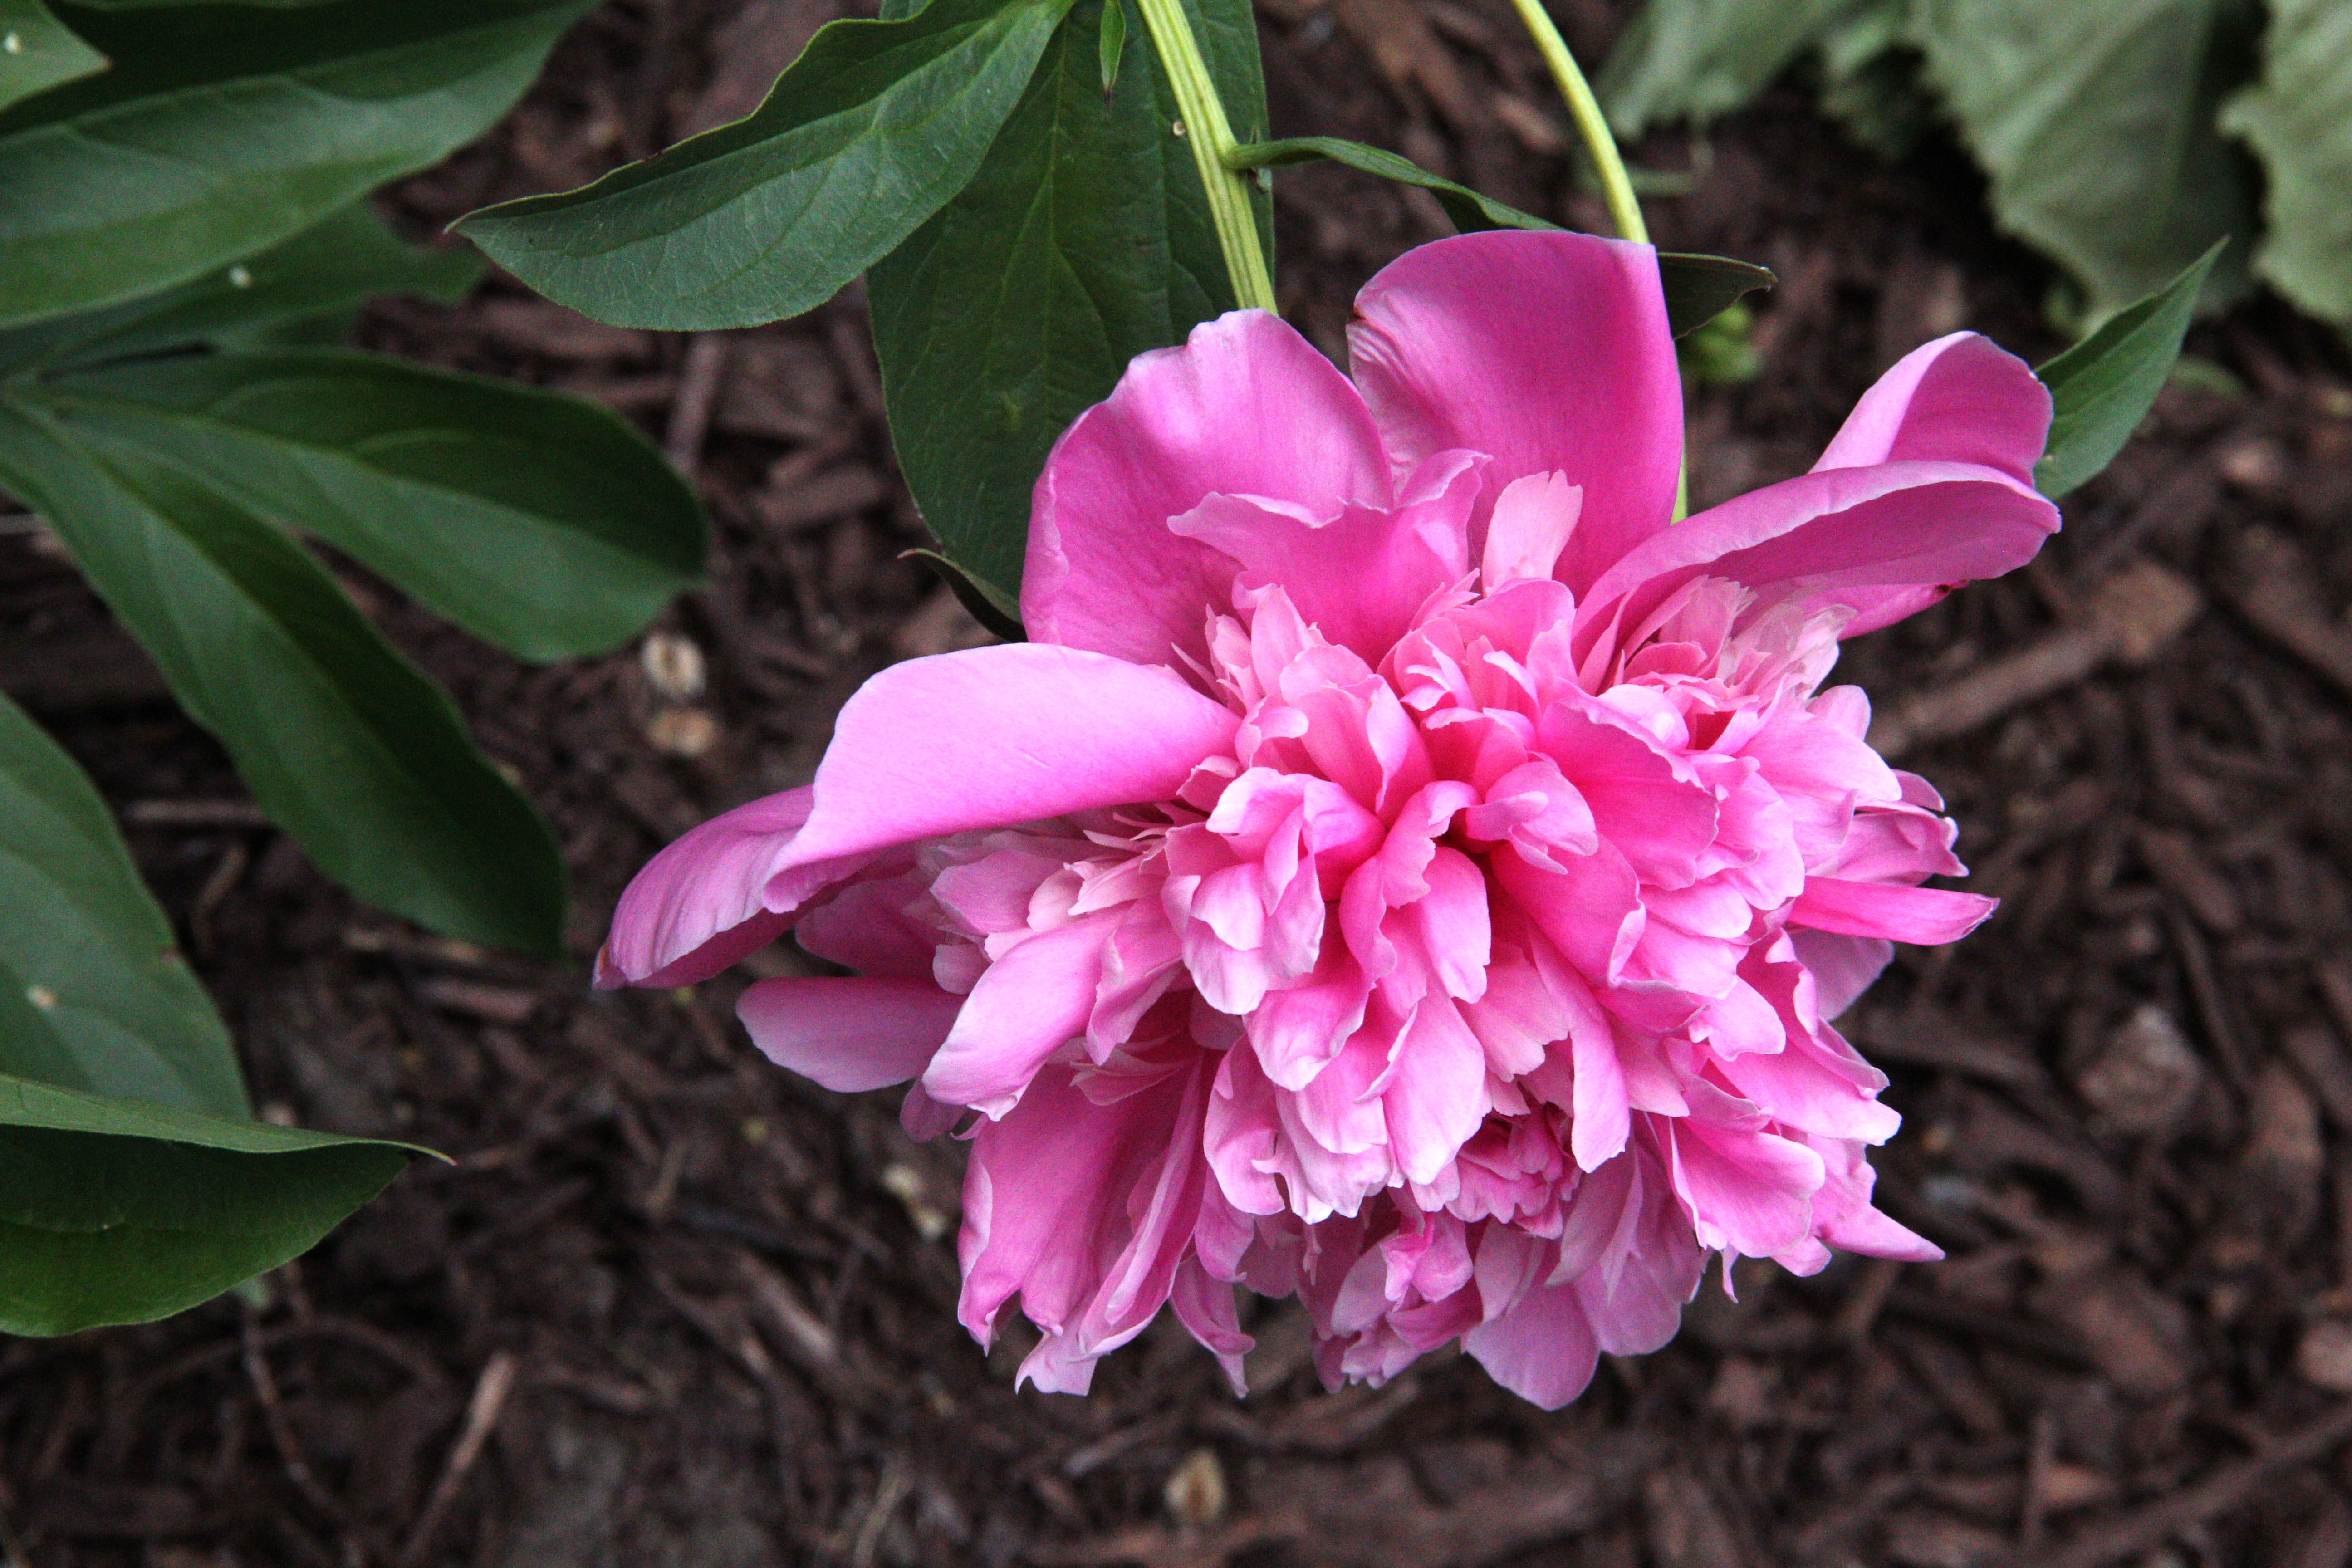
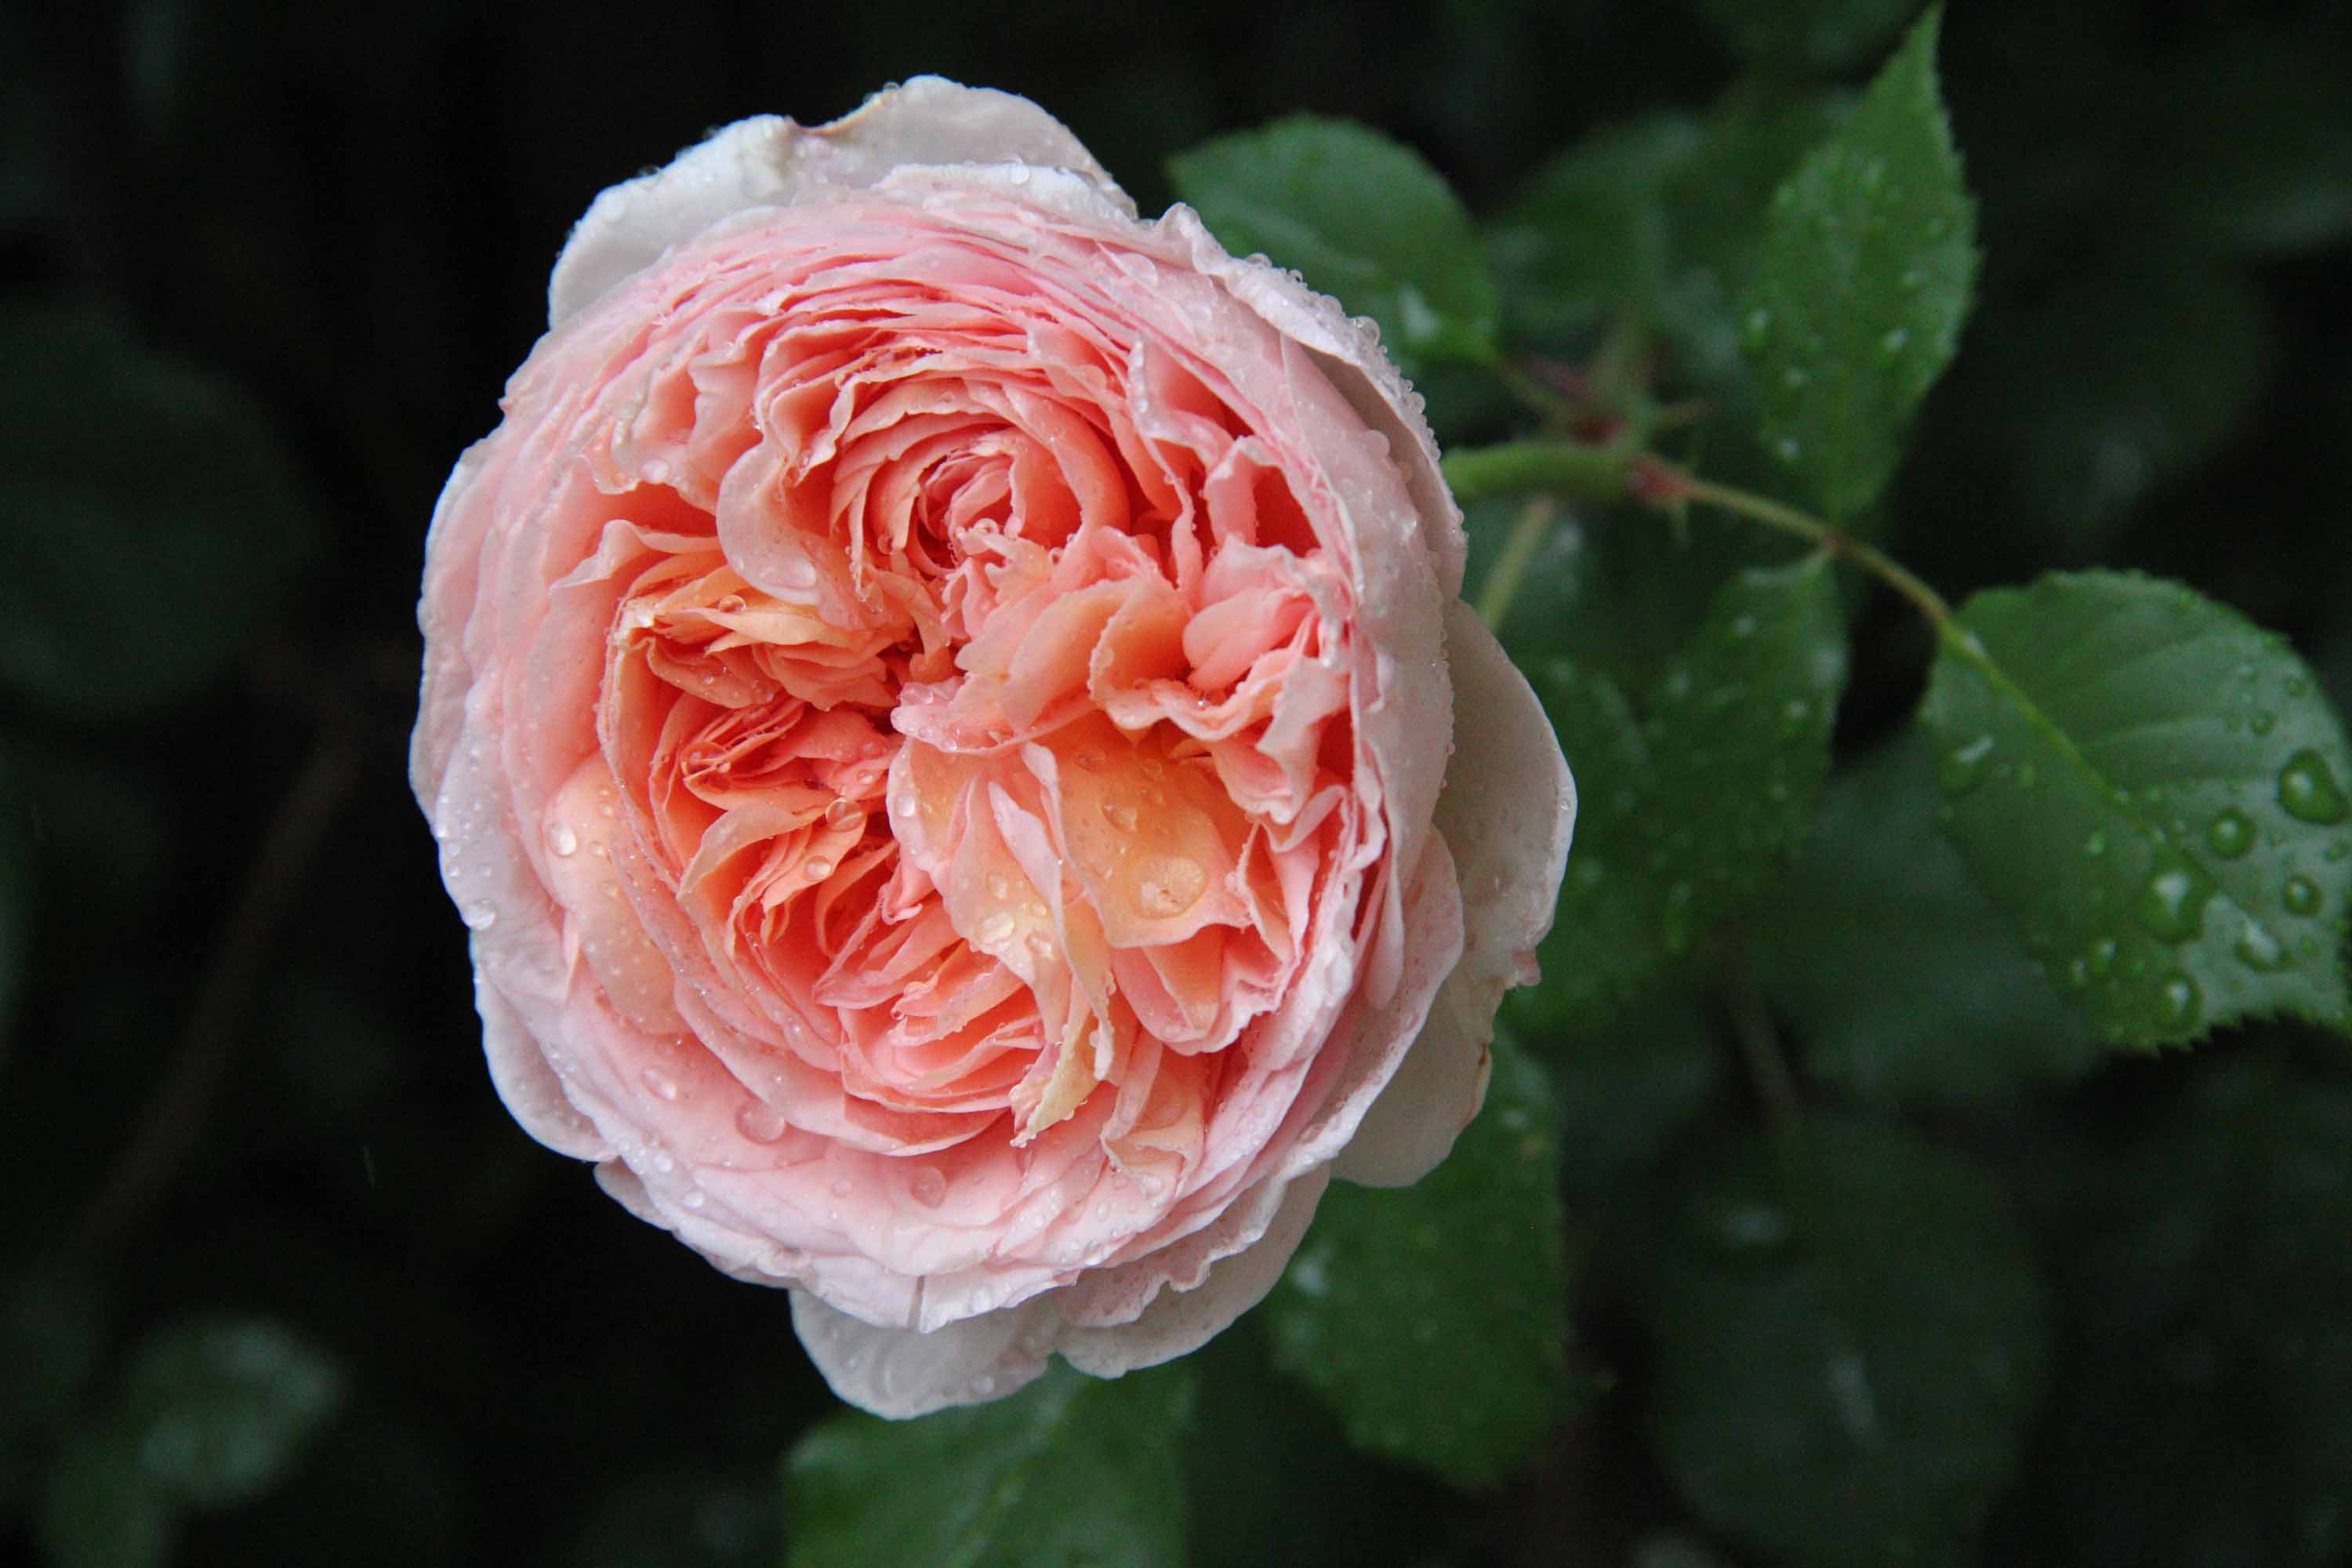
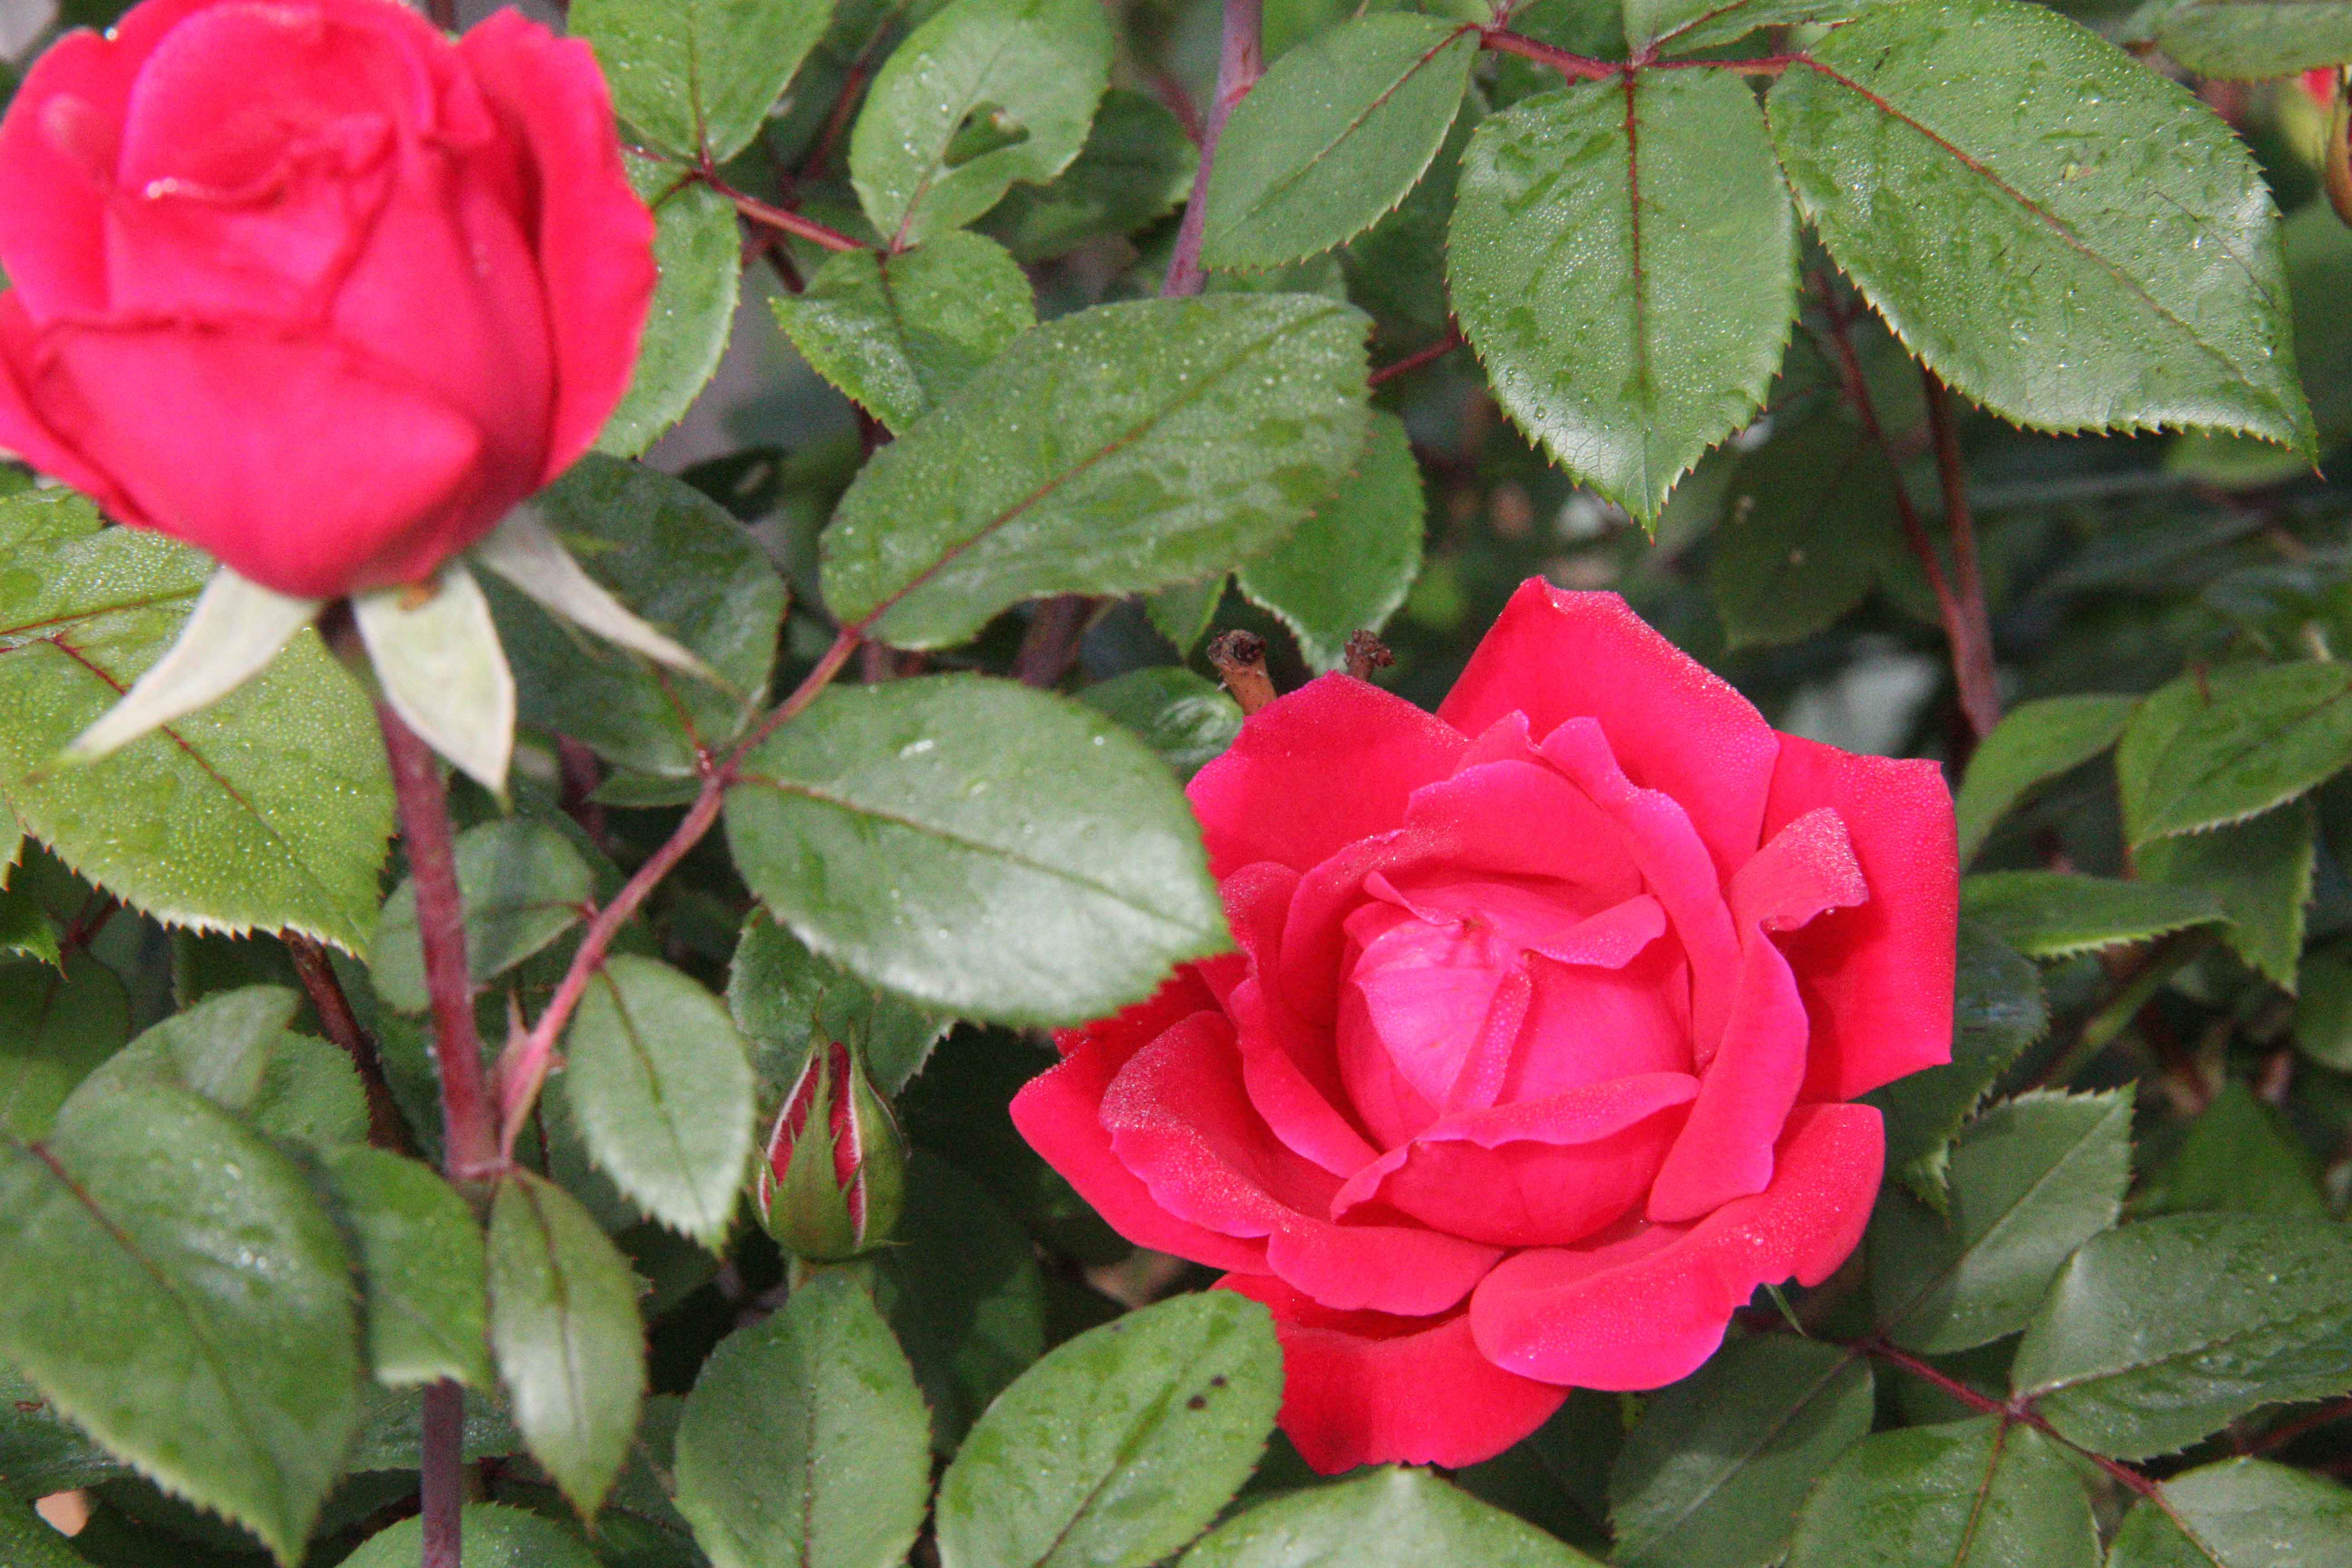
As I wait for this years’ peonies to find the courage to rise and bloom, I am inspired by a picture of last years’, and so I pulled out some wool, some roving and decided to needle punch a bouquet of peonies.  If you are not familiar with needle punch, it is the process of using needles to insert colored fabric into another fabric.  The process of punching the roving into the wool actually creates a whole new fabric because both fabrics become one.

Here’s an example of some roving, which is essentially semi-processed wool or cotton fibers.

Samples of dyed roving.

Samples of dyed roving.

Needle Punching on my sewing machine.

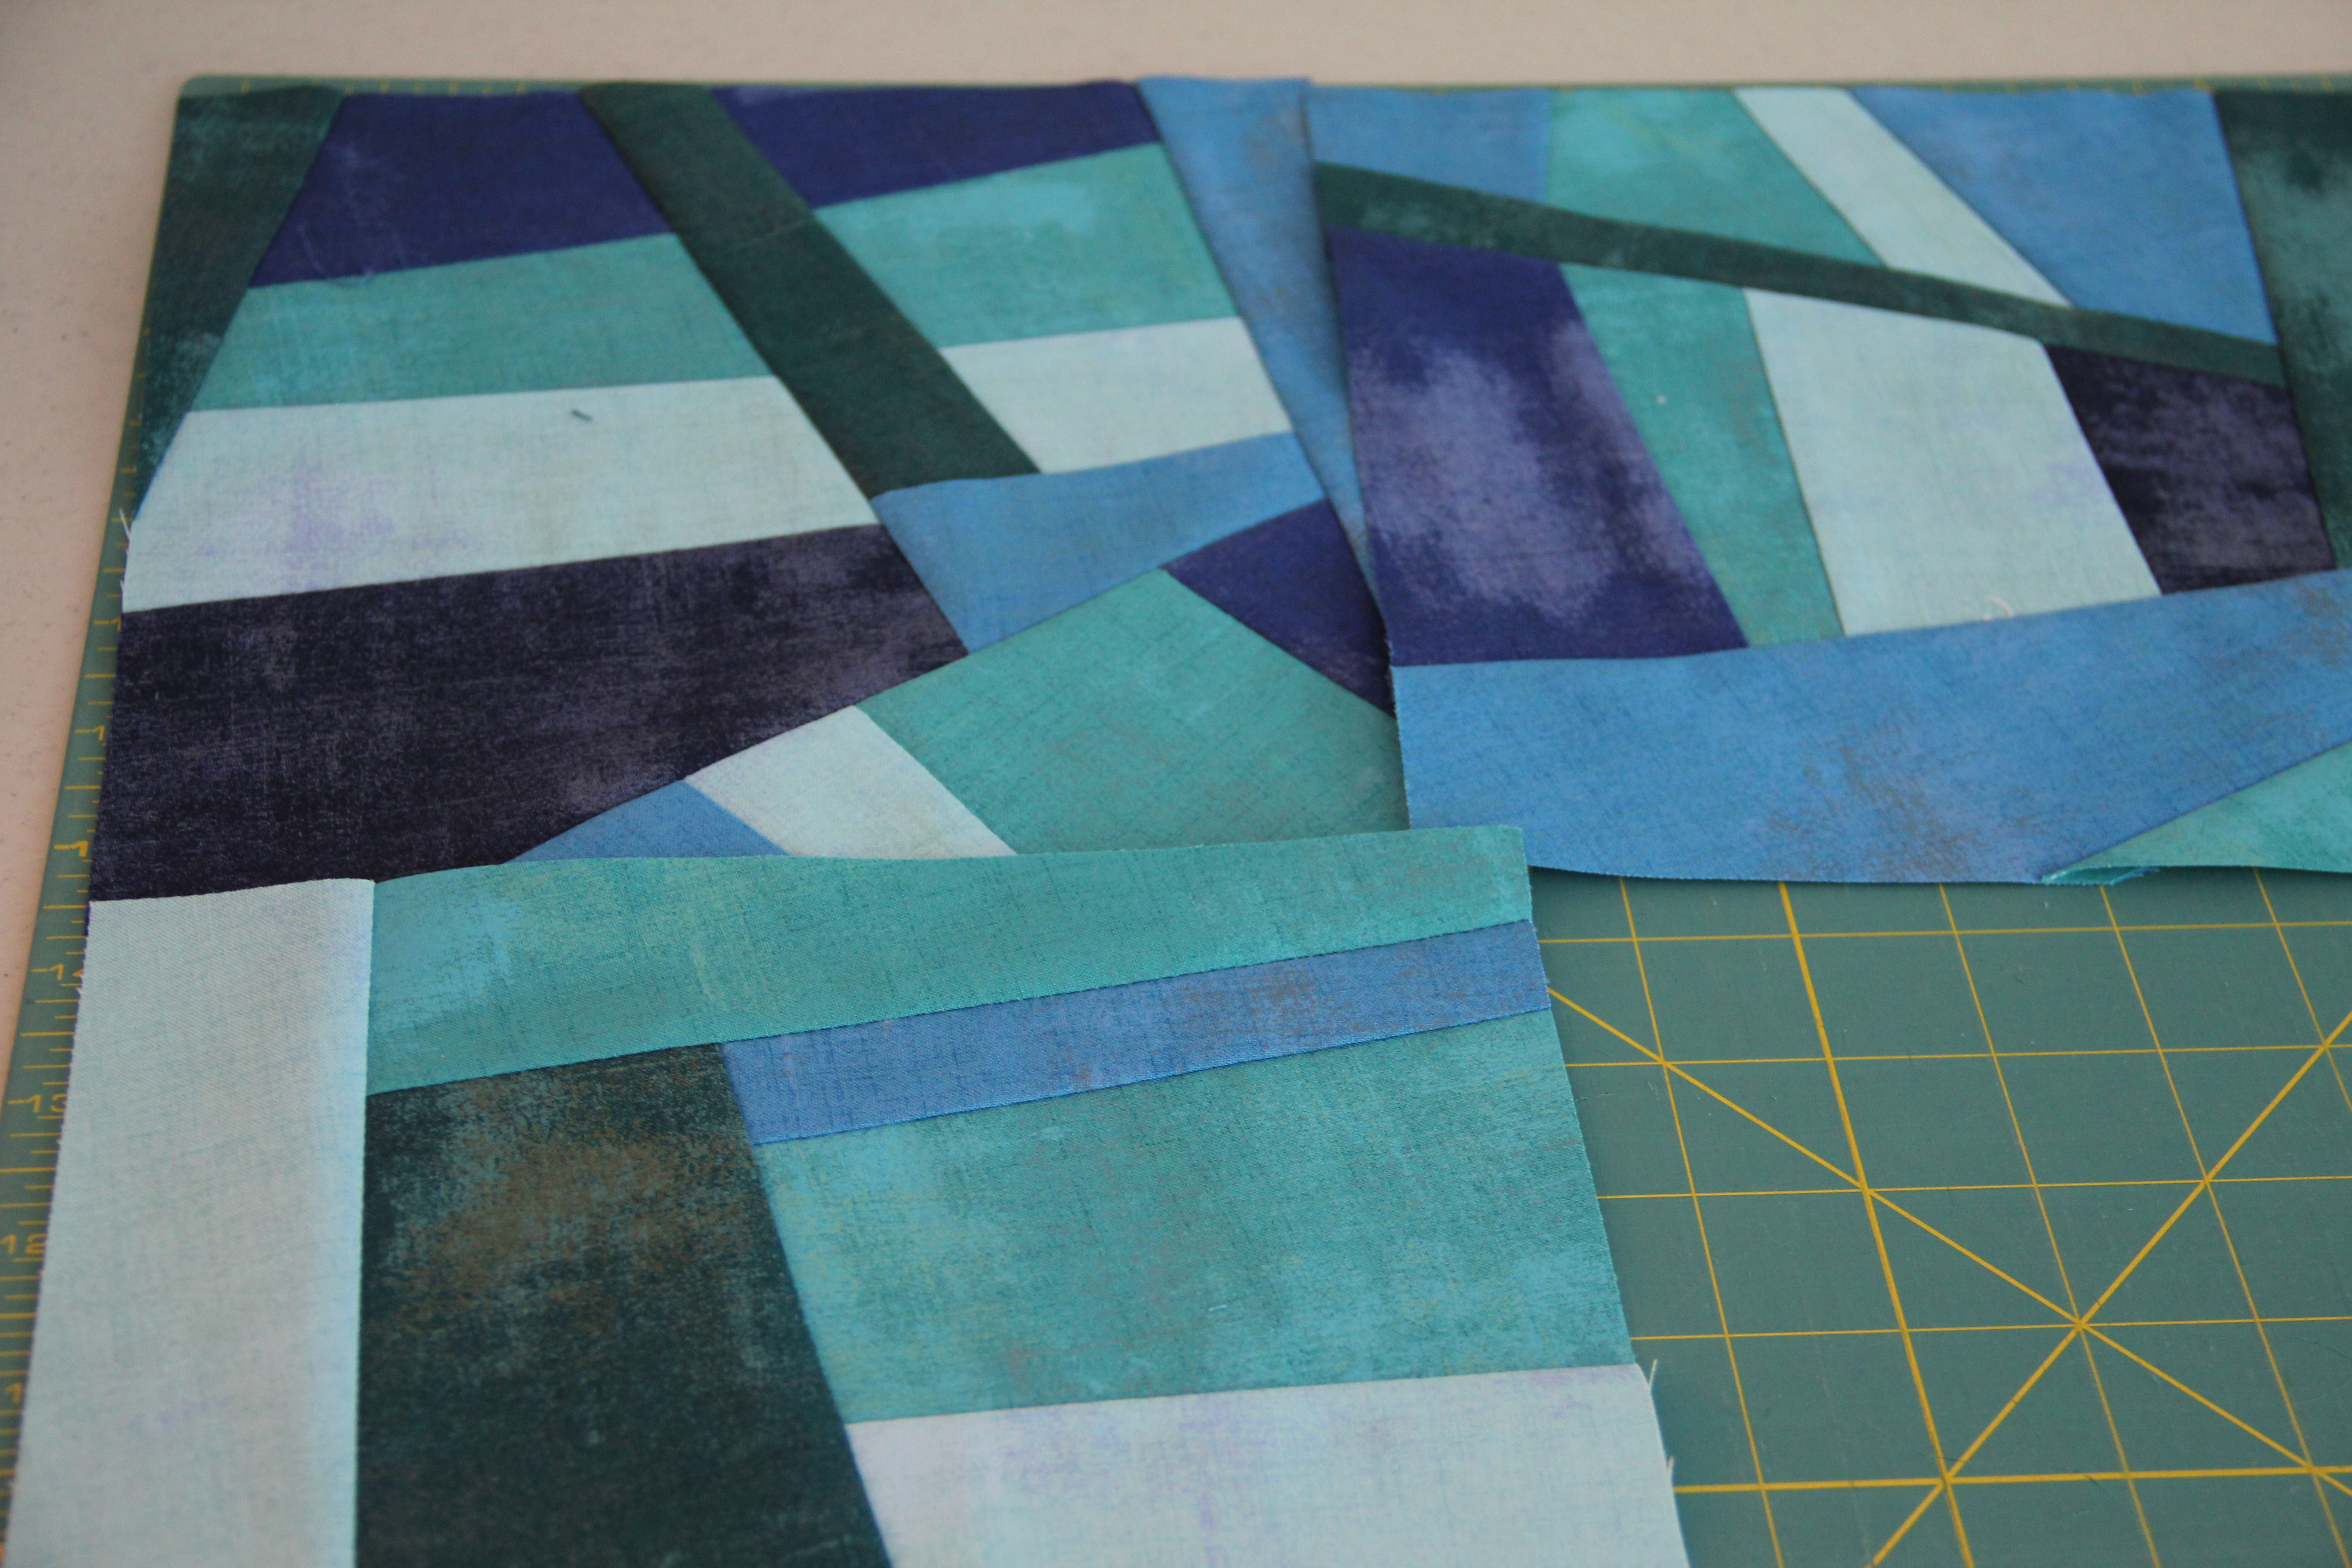
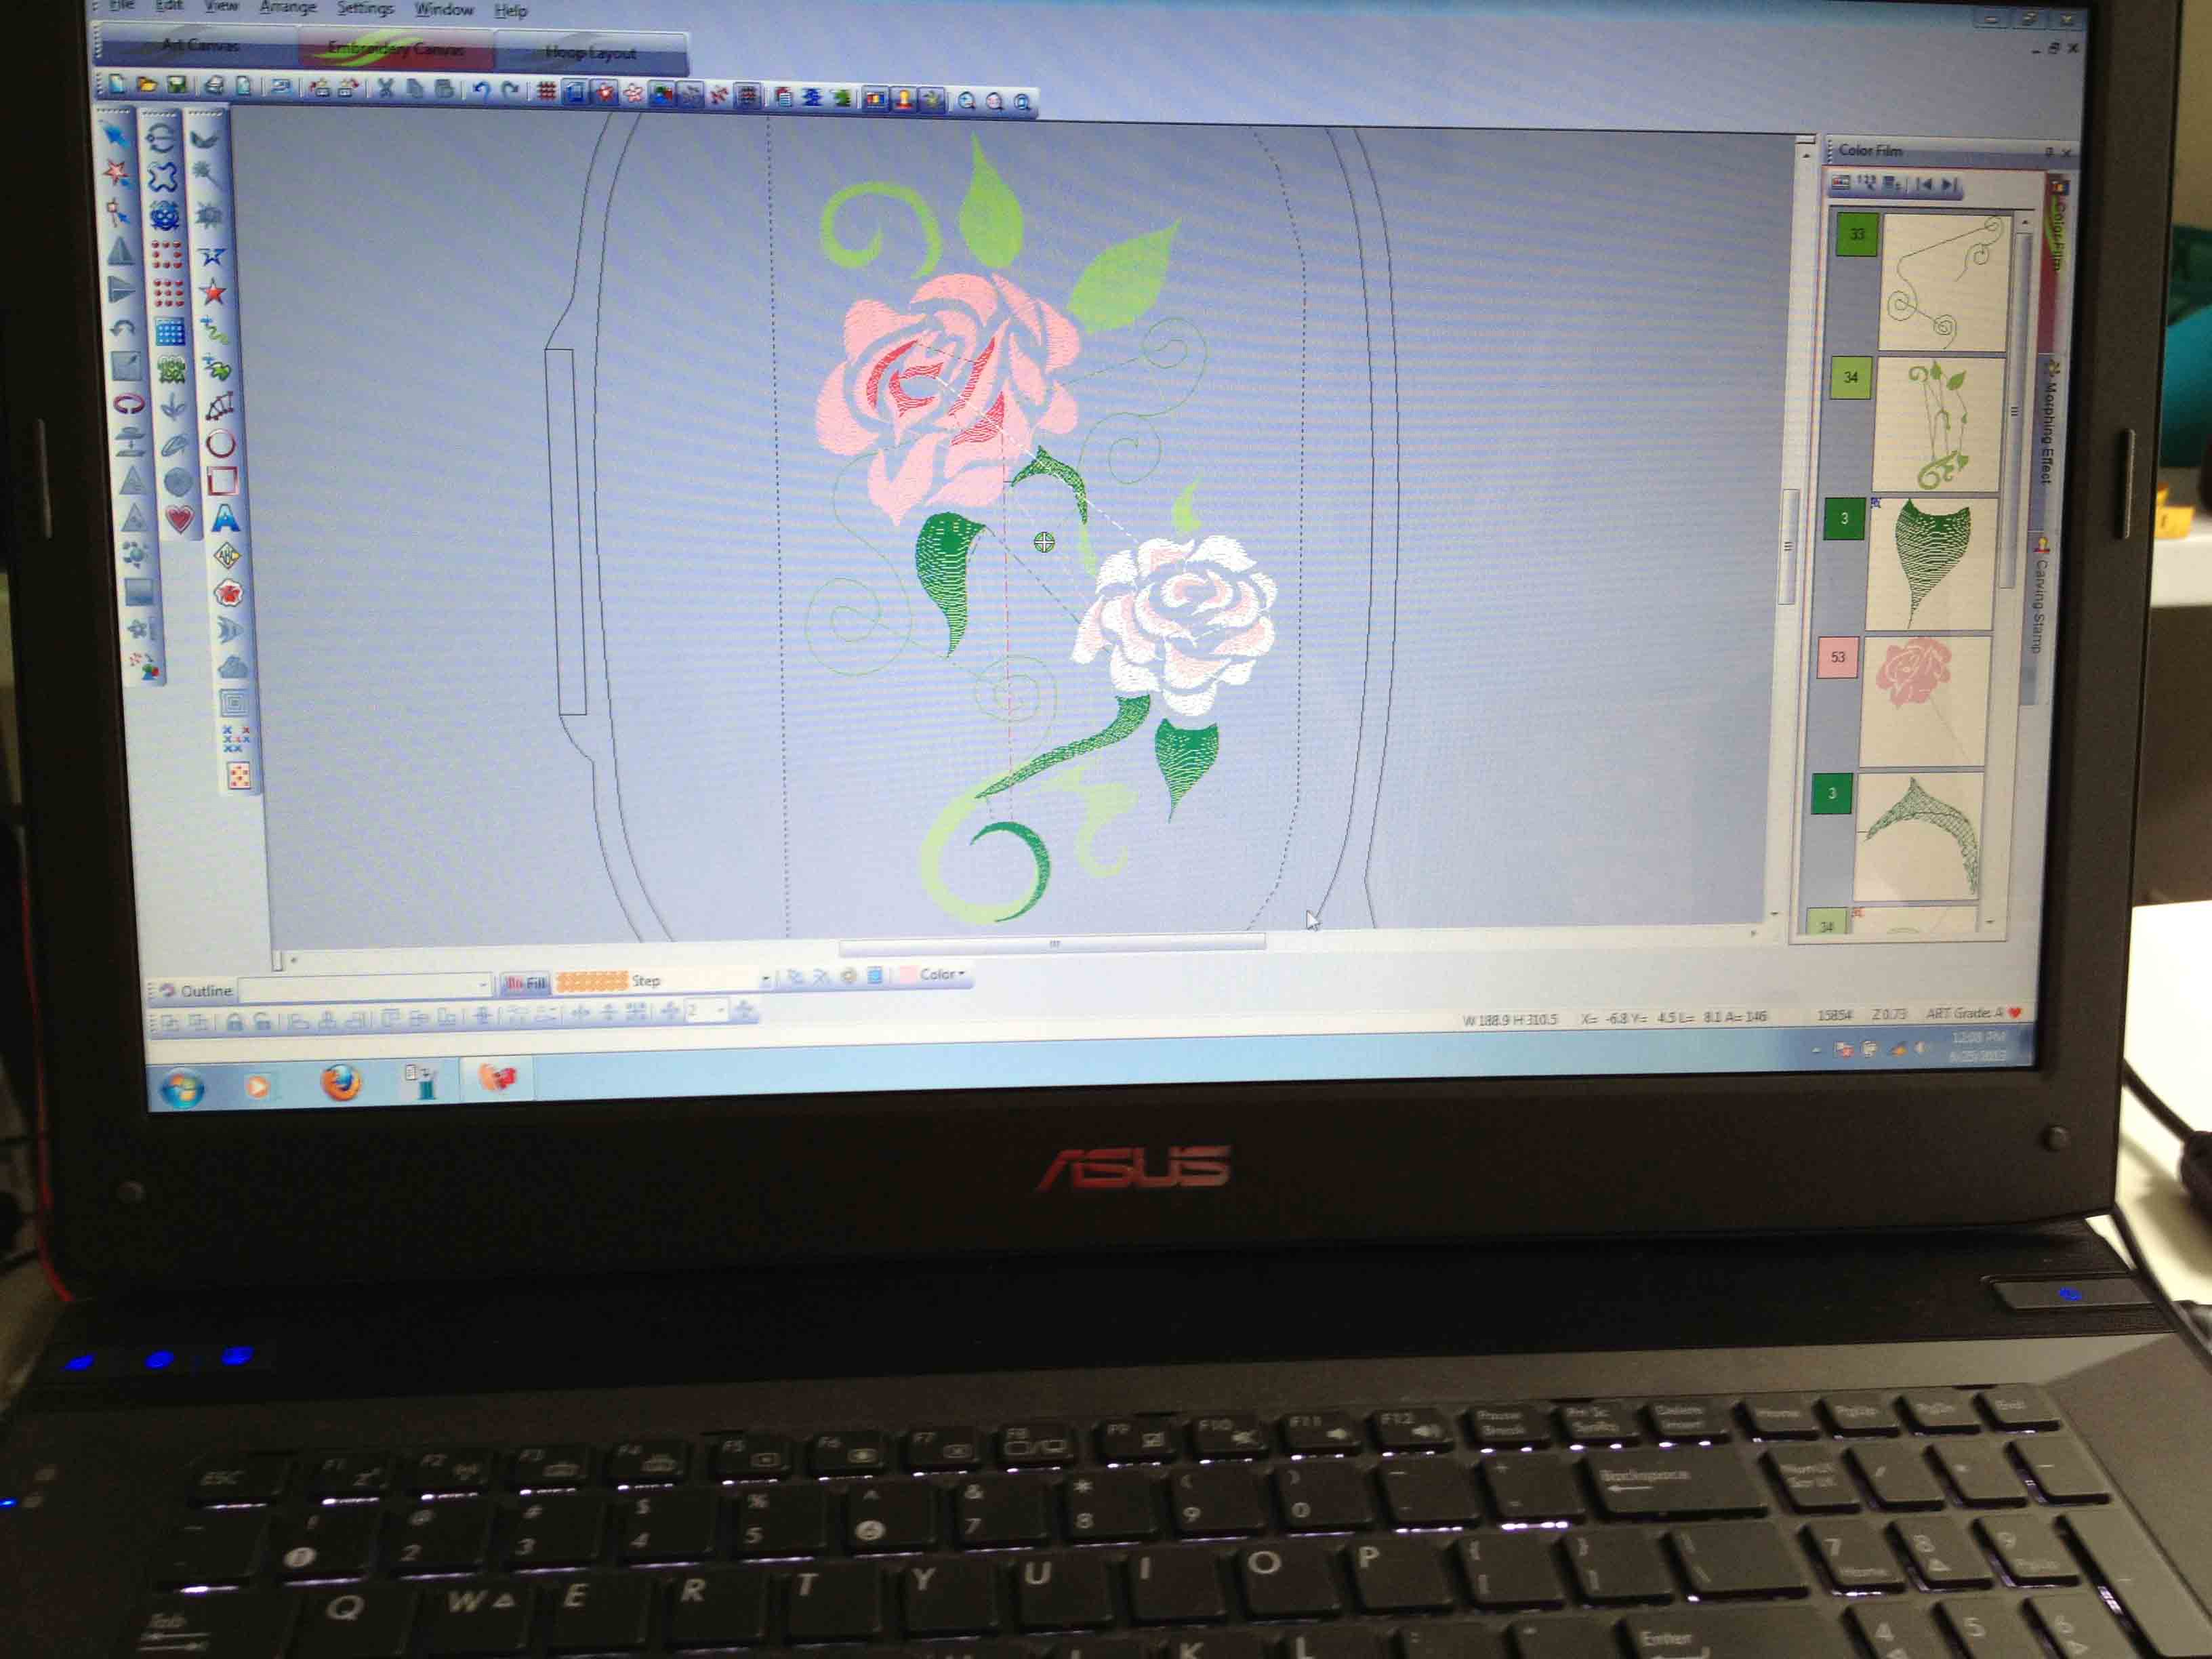
Needle punching on the sewing machine.

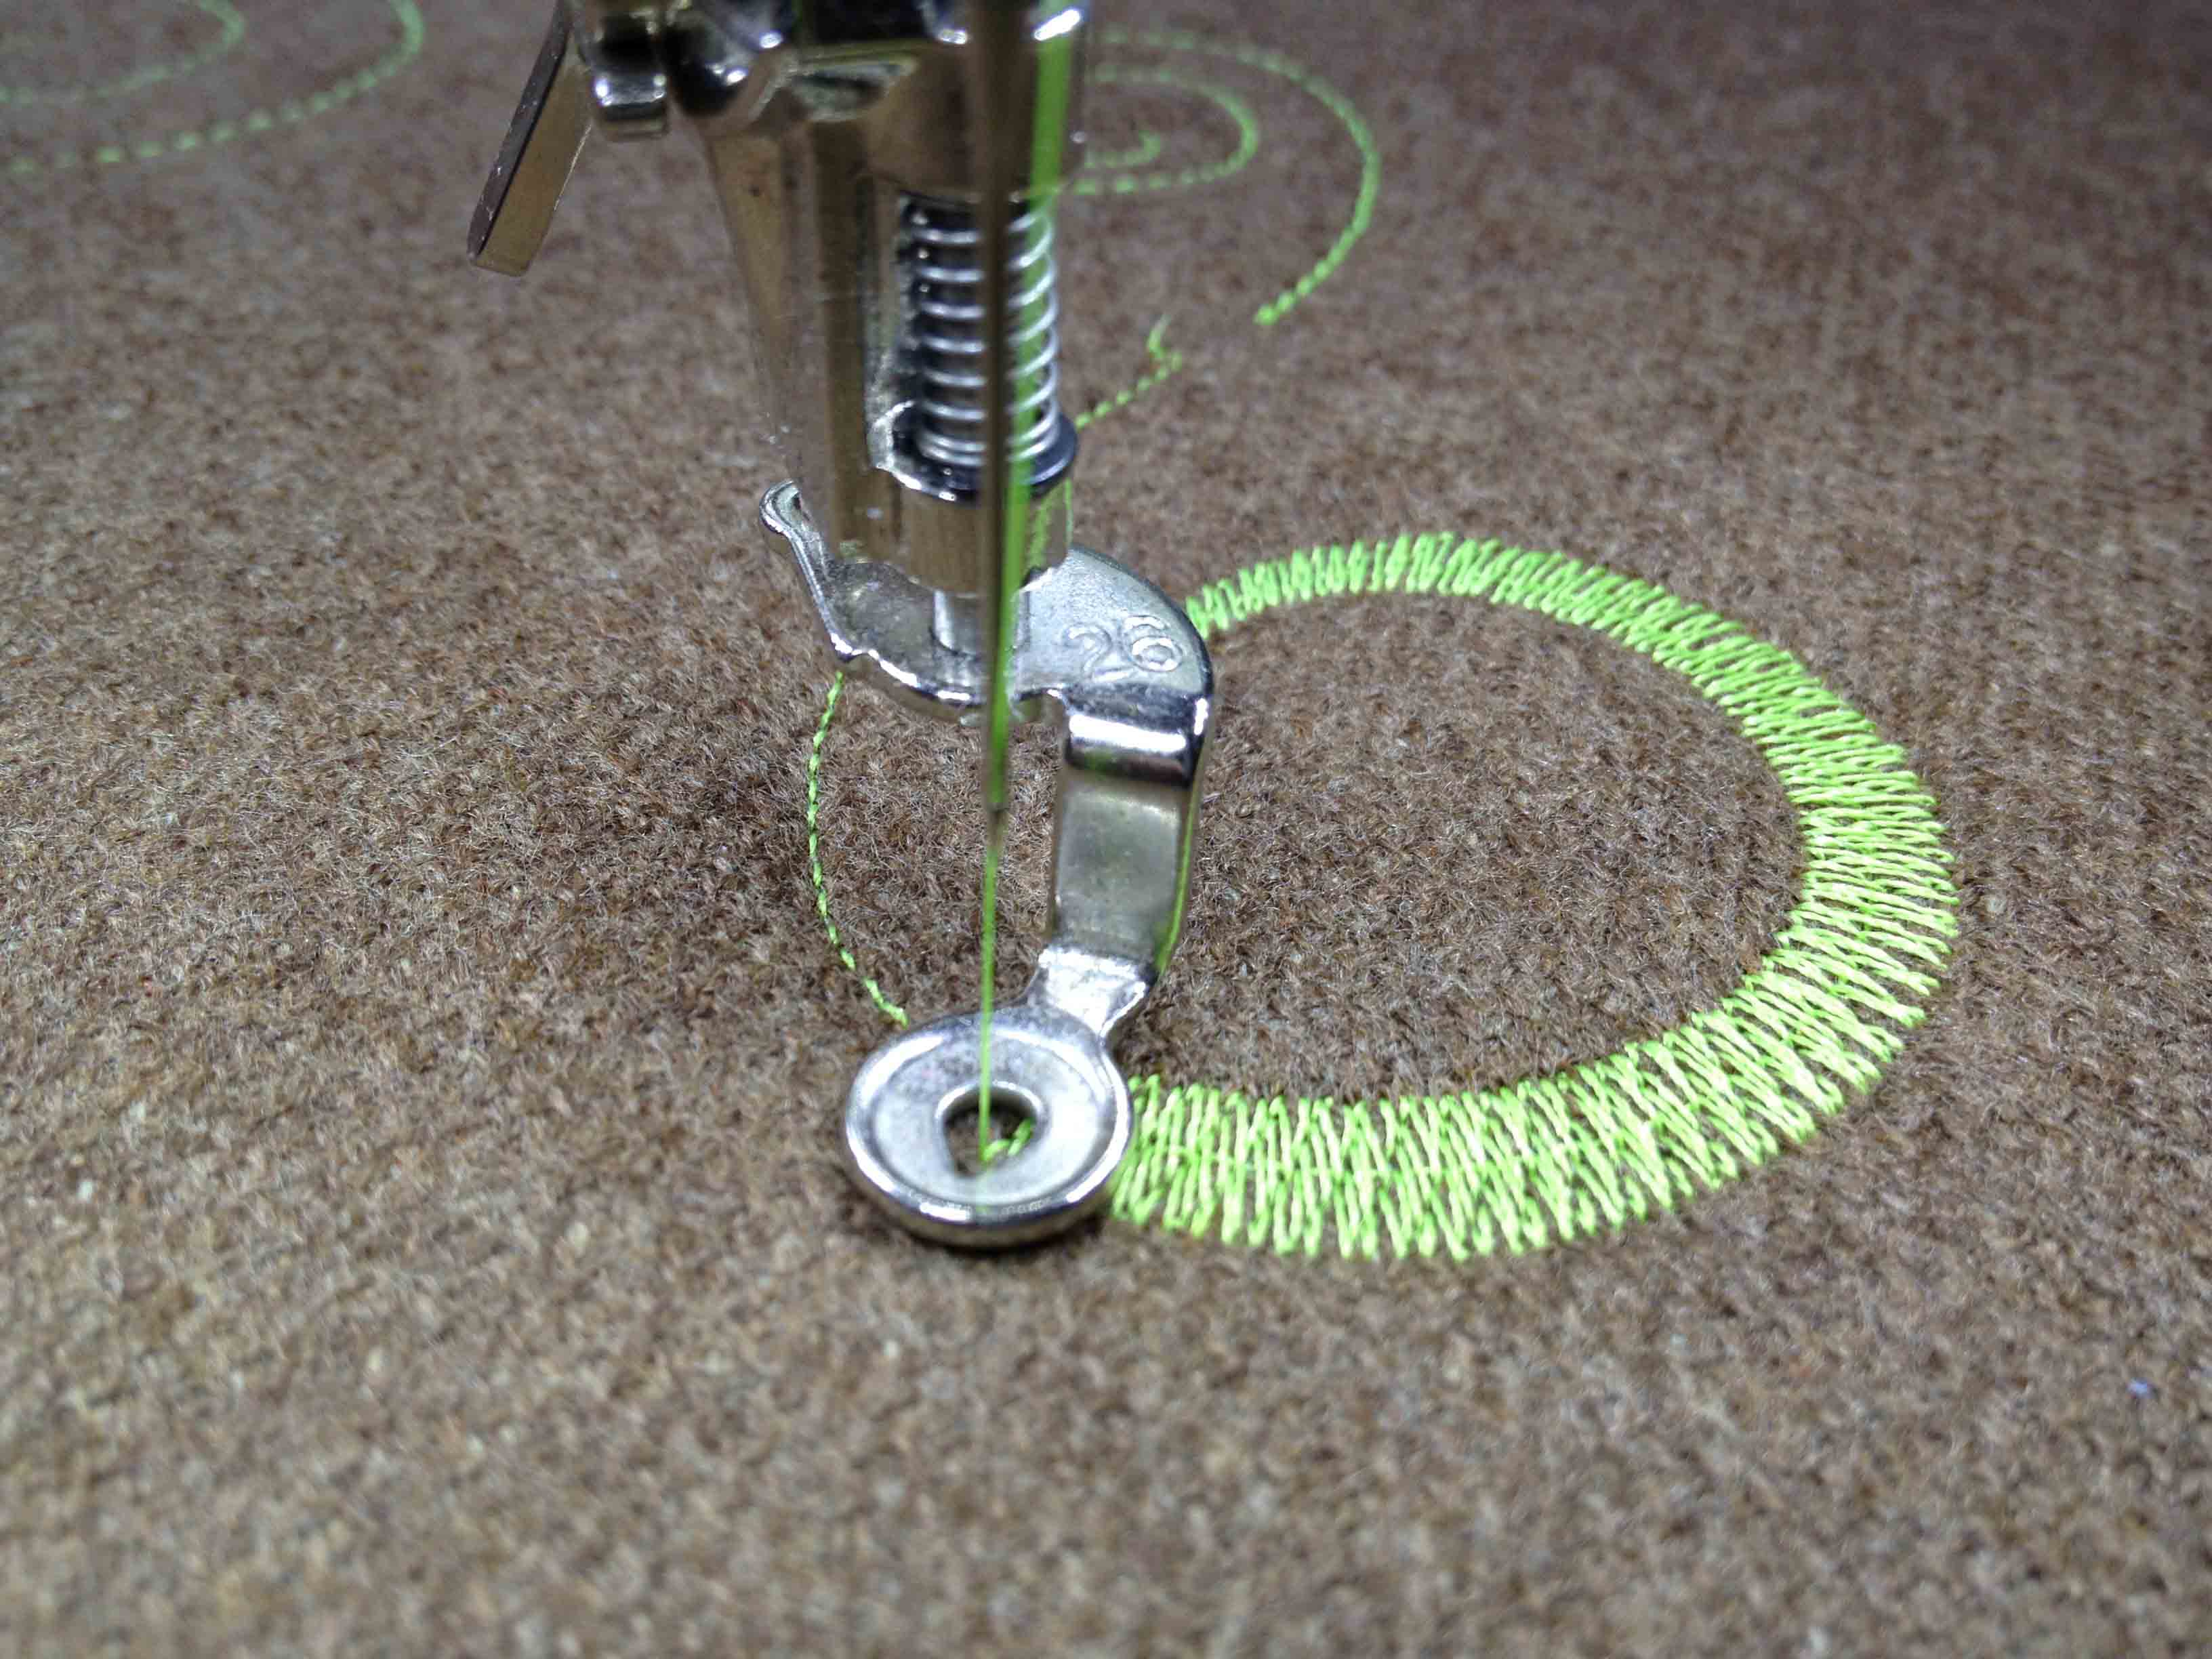
Using special needles on a machine and a needle punch foot, you can use your sewing machine to “punch ” the roving down into the wool fabric below. You’re not using any thread, and if you have thread sensors on your machine, you’ll want to turn them off.  After that, the process is a lot like painting with watercolor, or more precisely, like charcoal drawing, using the different colors of the roving to create shading, shapes and color.

My intent was to capture the carefree way the flowers moved and “relaxed” into the group.  I always want to loosen my style.  Sometimes my art is uptight.  One of the reasons I enjoy working with fiber over paint is the amount of control that one must give up to the medium.  That’s exciting and unpredictable.  (Some people love precision and this may be frustrating for you.)

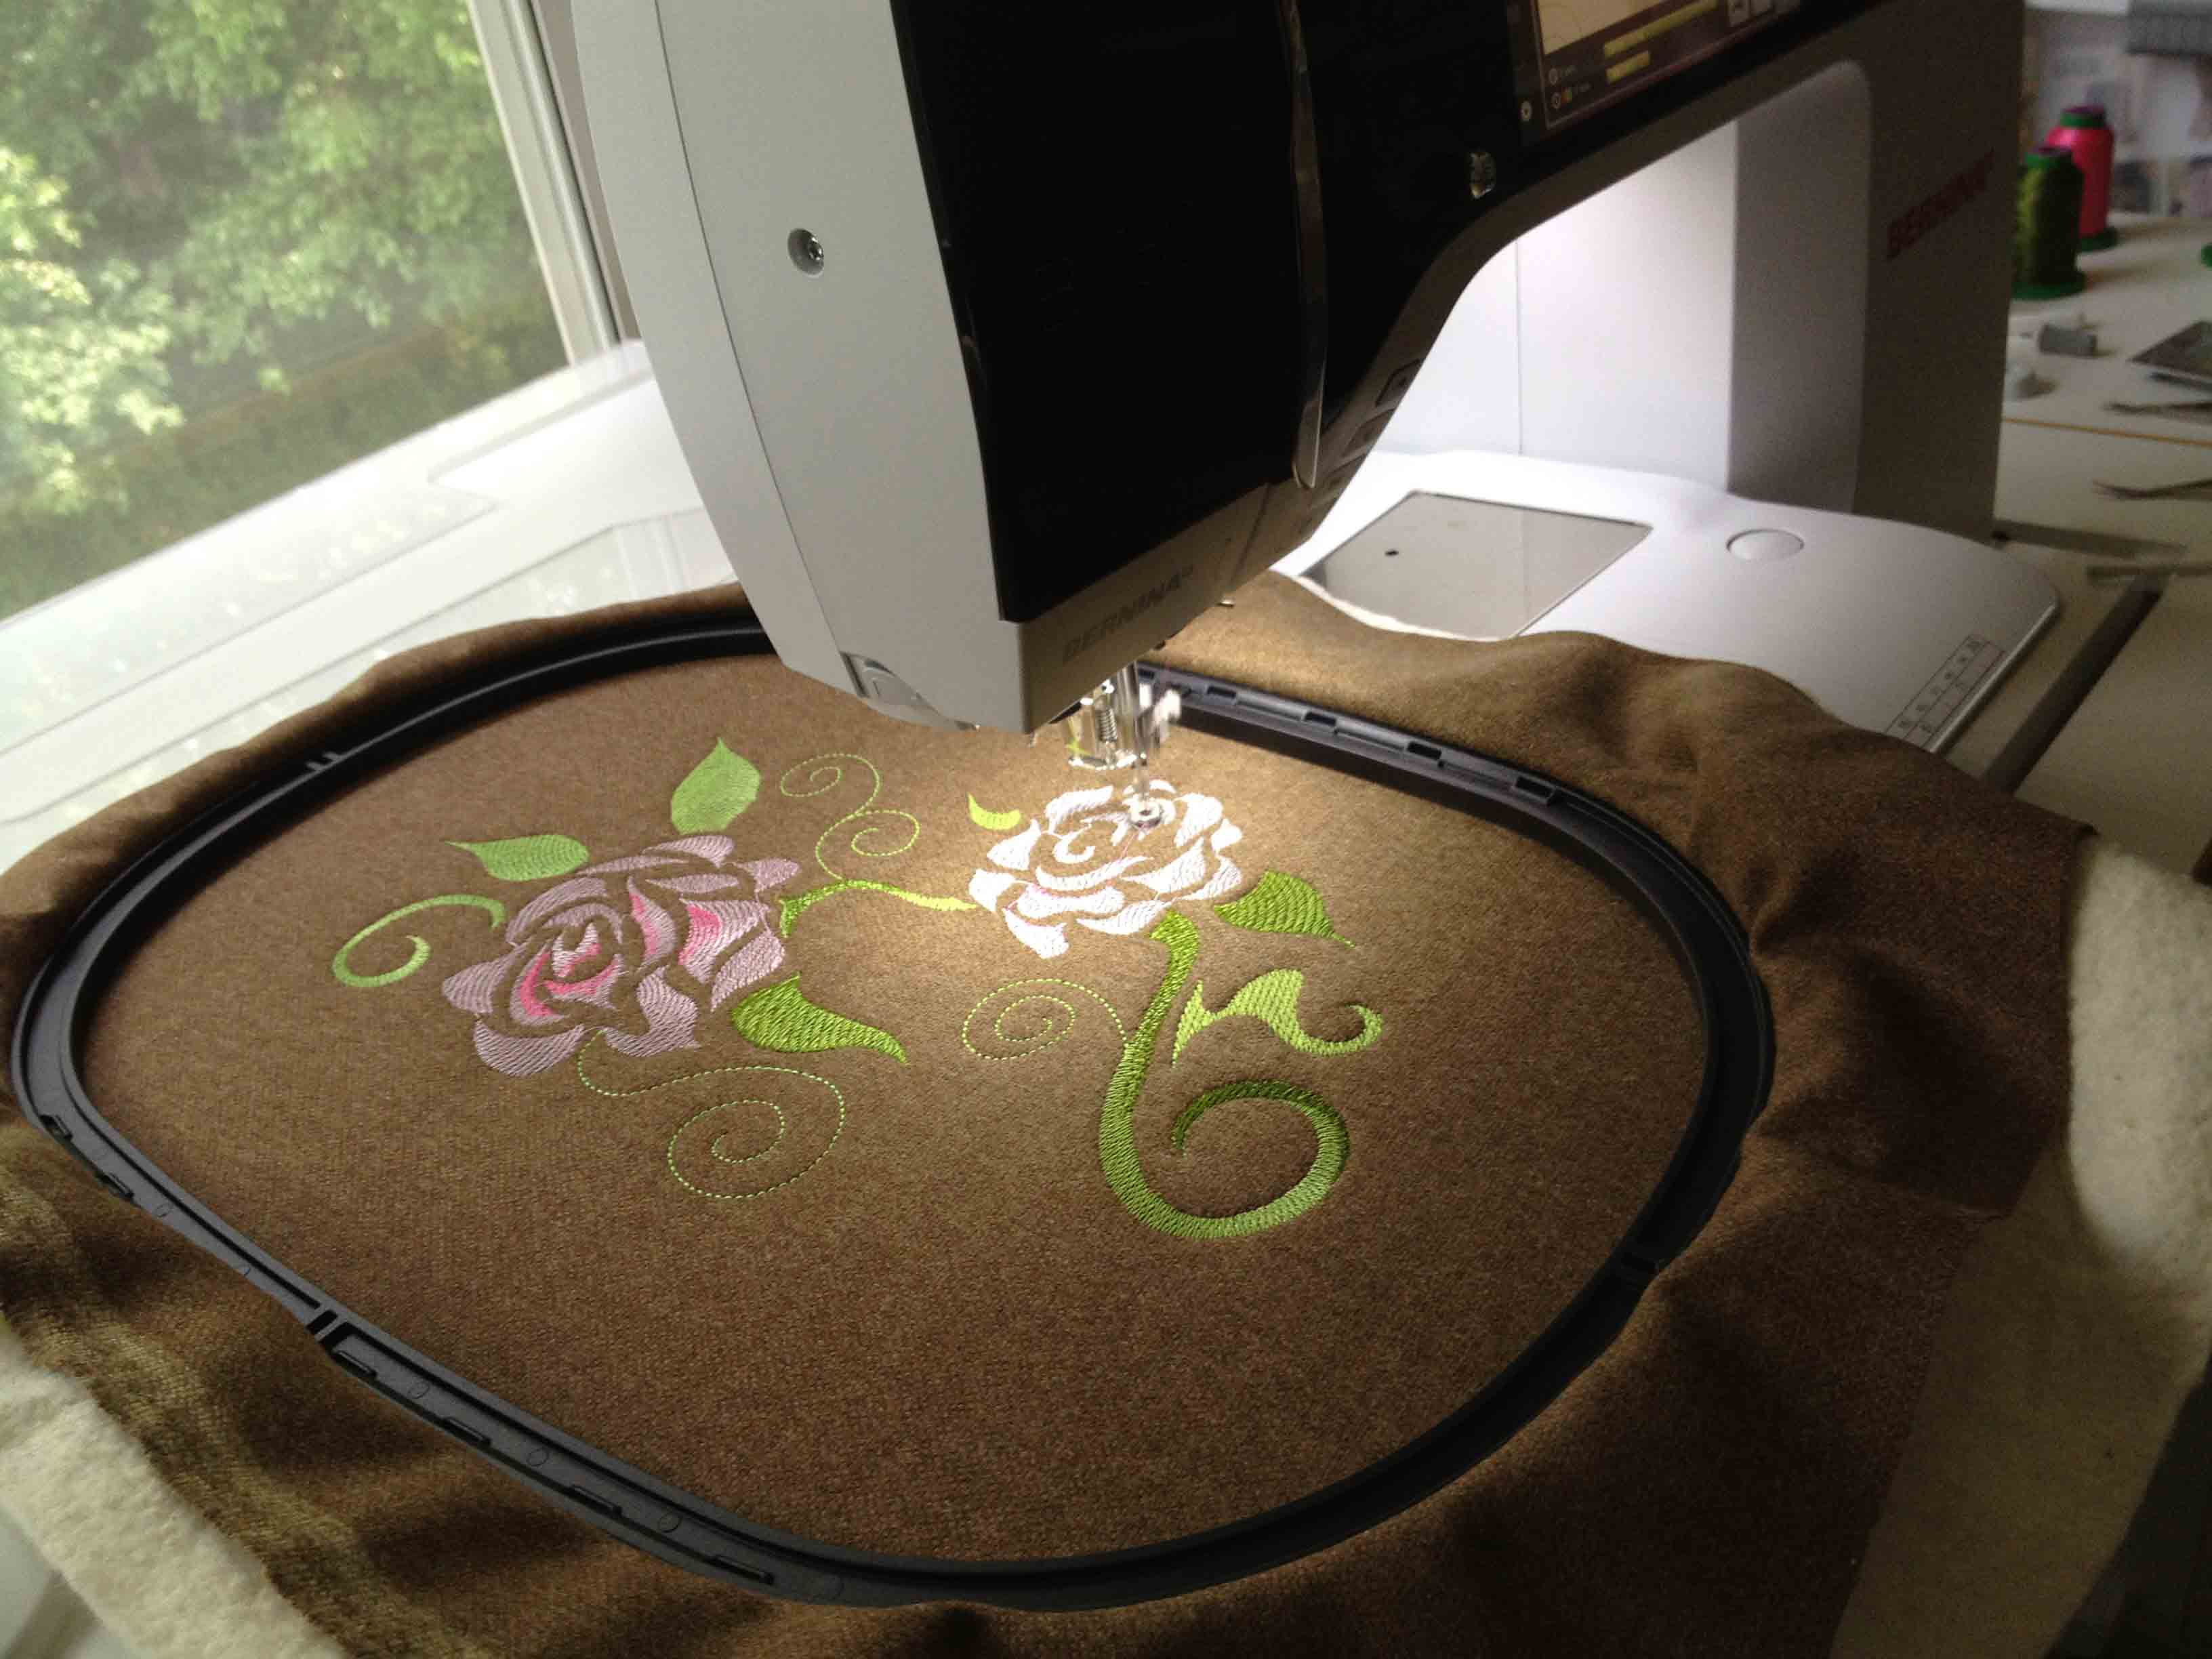
After punching out the basic shapes, just add some background texture.

Adding texture through small quilting patterns. I added some batting to the back for stability.

Adding texture through small quilting patterns. Add batting to the back for stability.

What it looked like before I added the topstitching.

What it looked like before topstitching.

As the final touch, add topstitching to the whole arrangement. This brings a bit of dimension, with a “pen and ink” feel.  All of this is very textural. Interesting to look at, interesting to touch.

Anyone can do this with a little inspiration, some wool, and some roving.  You can purchase hand needle punch kits at any craft store and I’m sure most sewing machine manufacturers have some form of needle punch accessory.  (Bernina does, for certain!)  After that, the sky’s the limit.

Machine tip:  Be sure to clean out your sewing machine really well after doing needle punch.

Now get out there and have fun!!

Final piece.

Final piece.  Not sure if I’ll turn it into a pillow cover or garment or something else entirely!