I love transfer artist paper. I’ve used it a number of times with differing effects.
 You can purchase this online or at craft stores, possibly your local quilt shop.
It works only with an ink jet printer, and your results will come easier to you if you have a little bit of experience in photo software, like Photoshop or Corel.
You print the image onto the paper and then iron the image onto your fabric. The BIG difference between TAP and printing directly onto fabric paper is that the transfer actually becomes a part of your fabric…any fabric. It never washes out. It’s permanent.
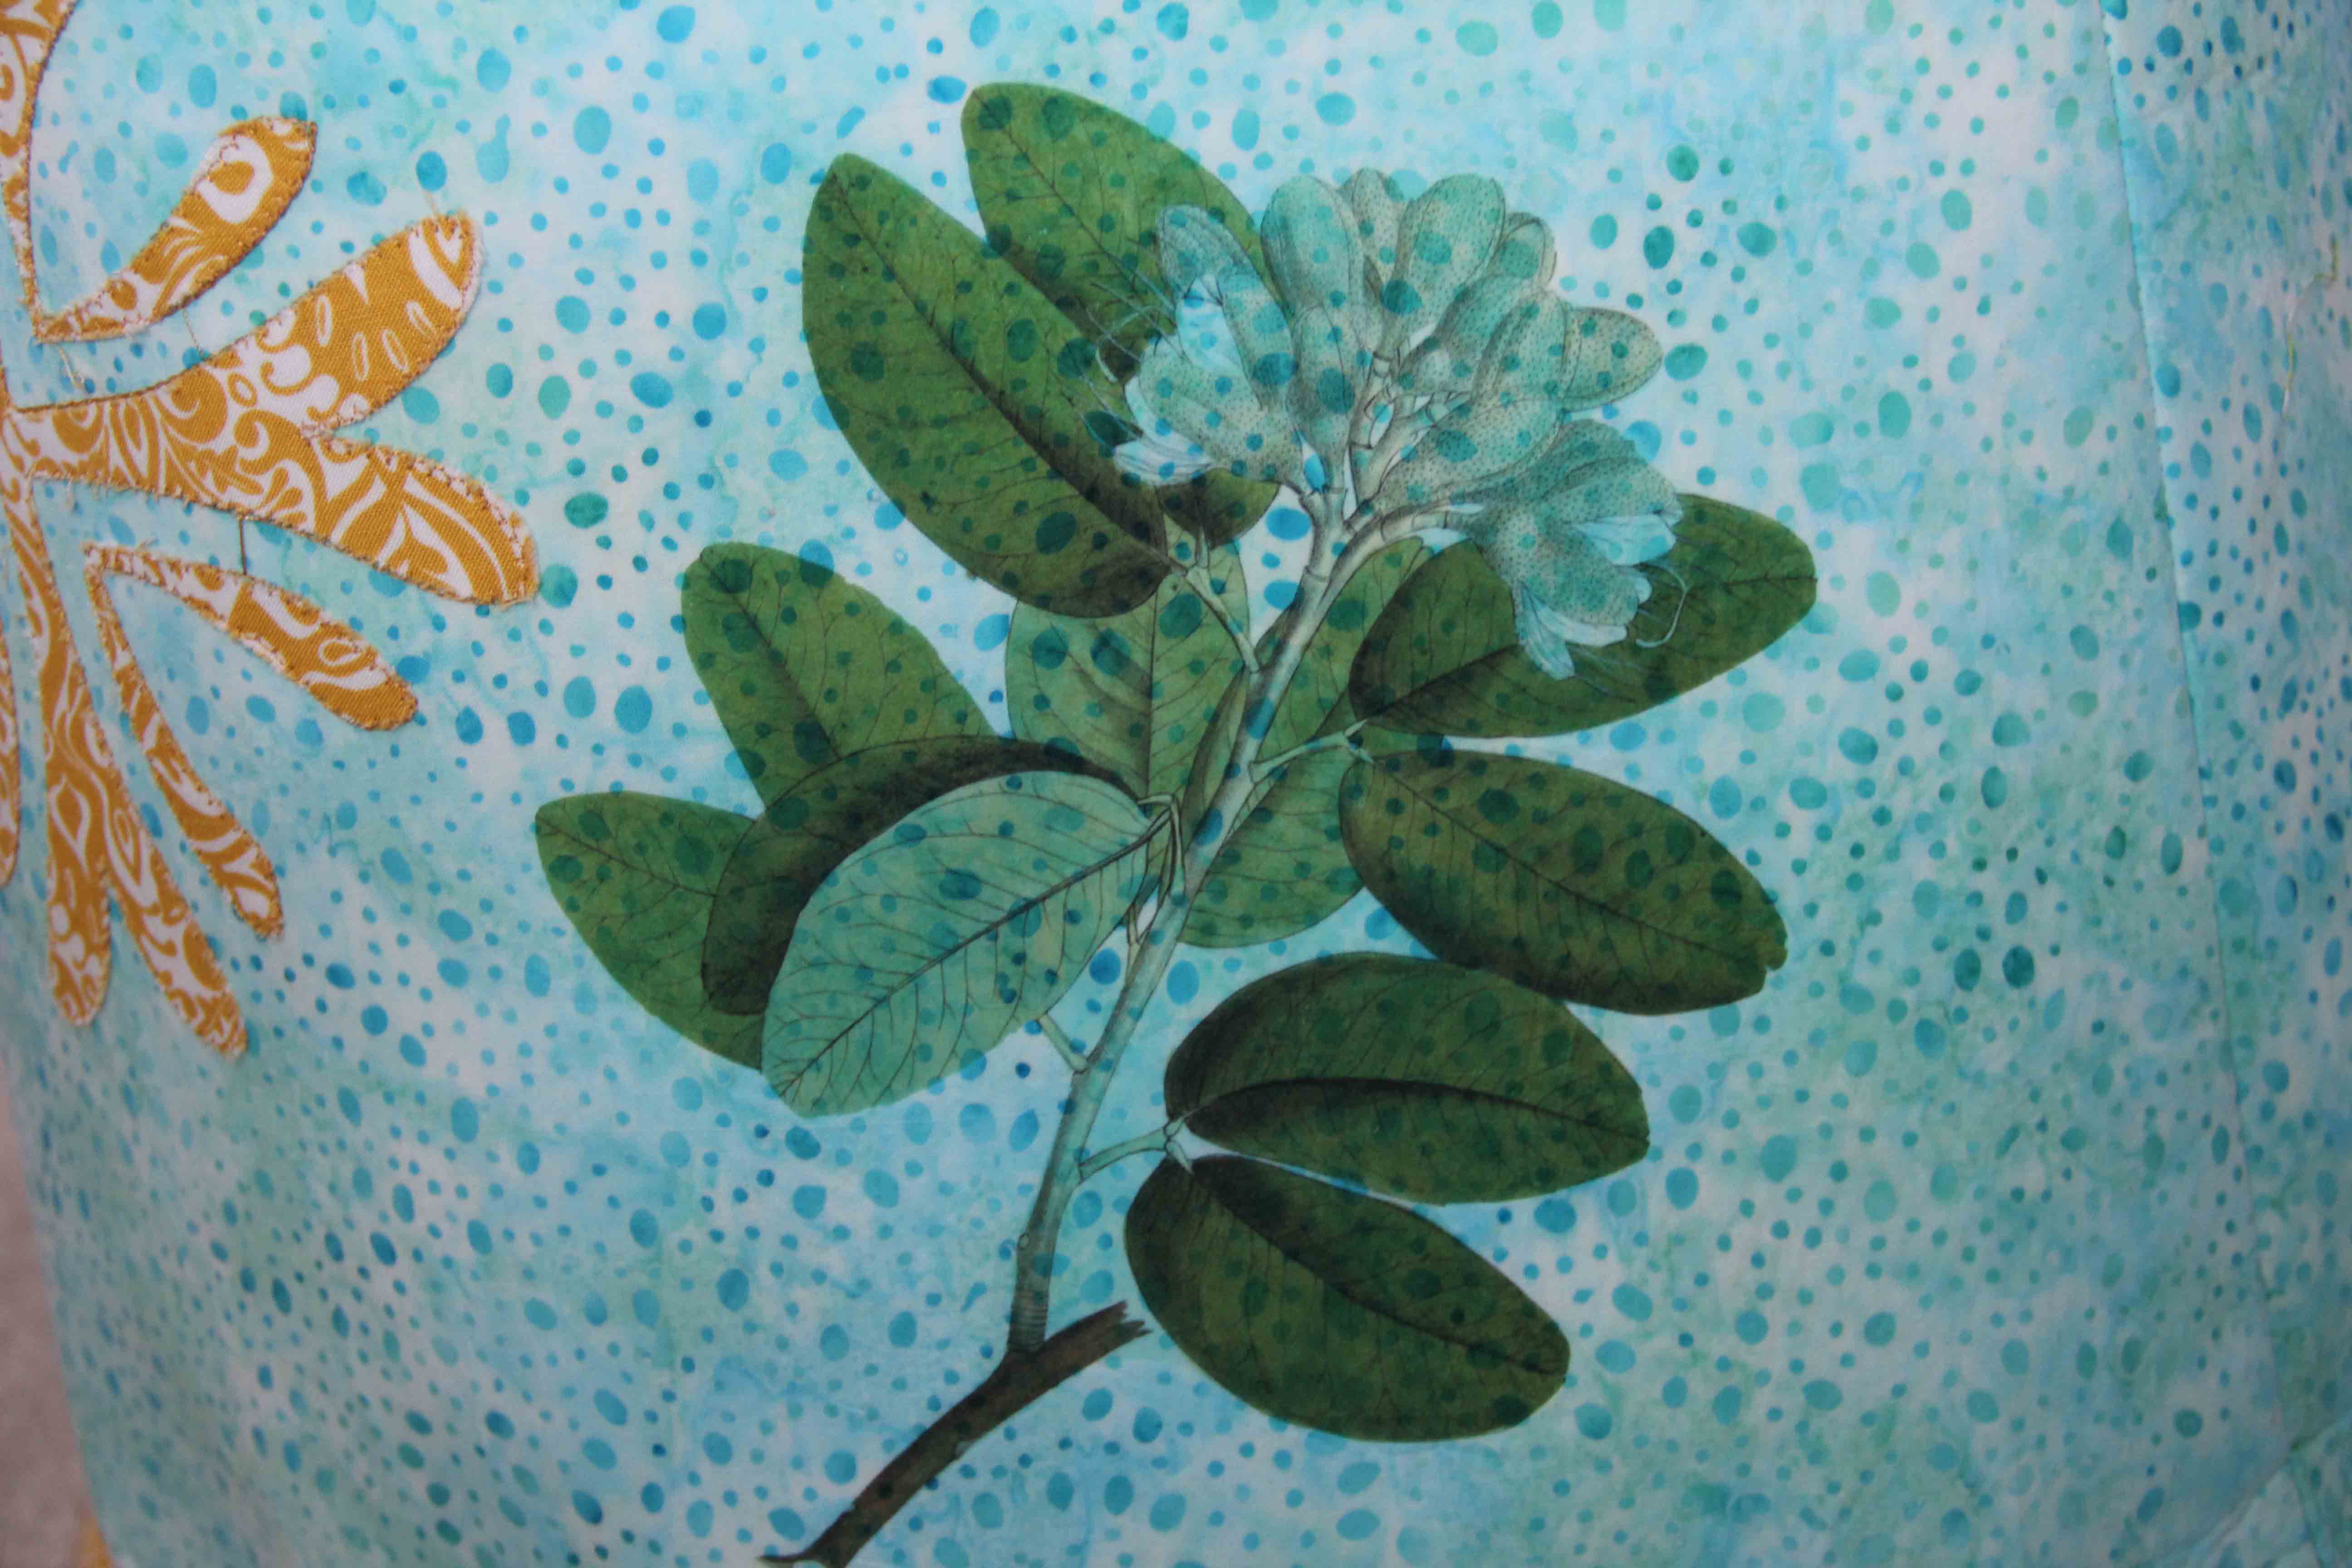
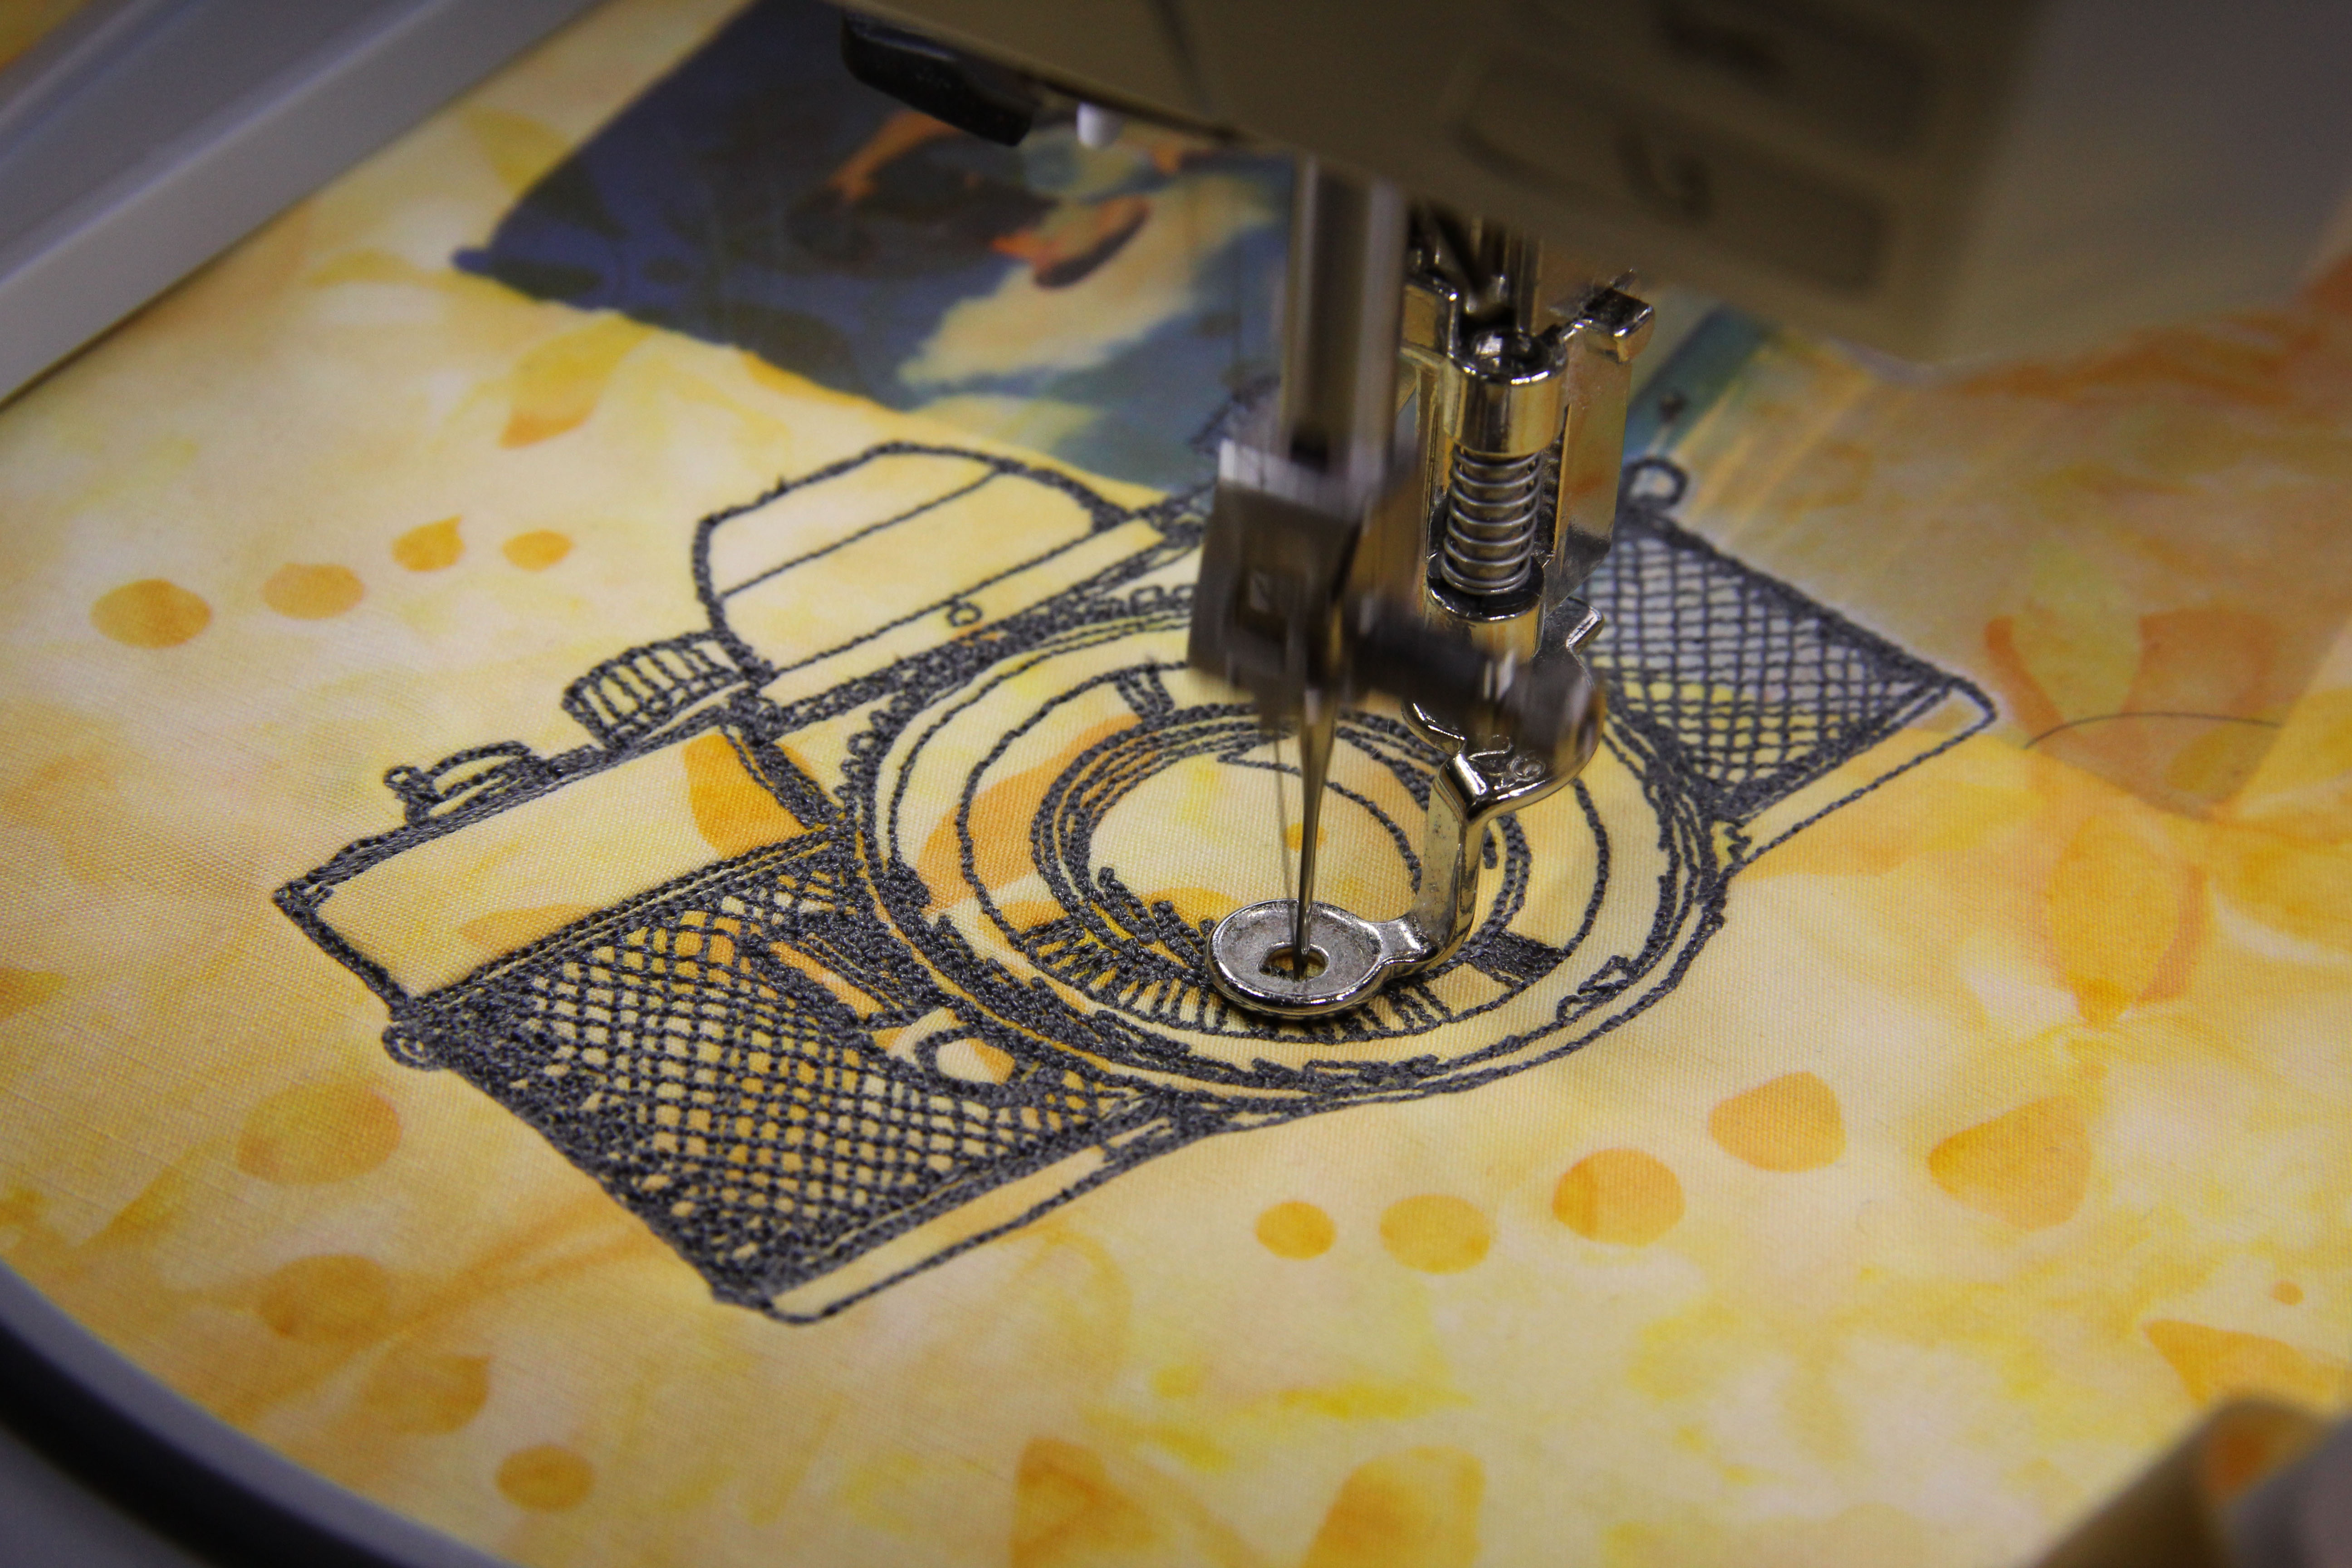
 You can see on this image that this botanical transfer prints right over the fabric and the underlying pattern shows through. This particular print worked beautifully because it ended up looking like dew on the plant. The instructions say you can print on wood, glass, stone, basically anything, as long as you can iron on it. It takes a little practice but here are a few tips:
–Always use a hot DRY iron — no steam.
–Remove the transfer while it’s still hot.
–Illustrations tend to look more interesting than photos, but worth trying both.
–Reverse anything with lettering before you print it on TAP or it will read backward.
–Cut as close to the image as possible before you iron it on your fabric.
–Try ripping the edges of your paper before ironing. It gives a torn, aged effect.
–Experiment, experiment, experiment! If you are a photography junkie like me, this is a great way to play with your images.
Here’s an example from the upcoming Software Inspirations program I’ll be teaching next week:
 I also added some embroidery to this project, which is actually a travel pillow.
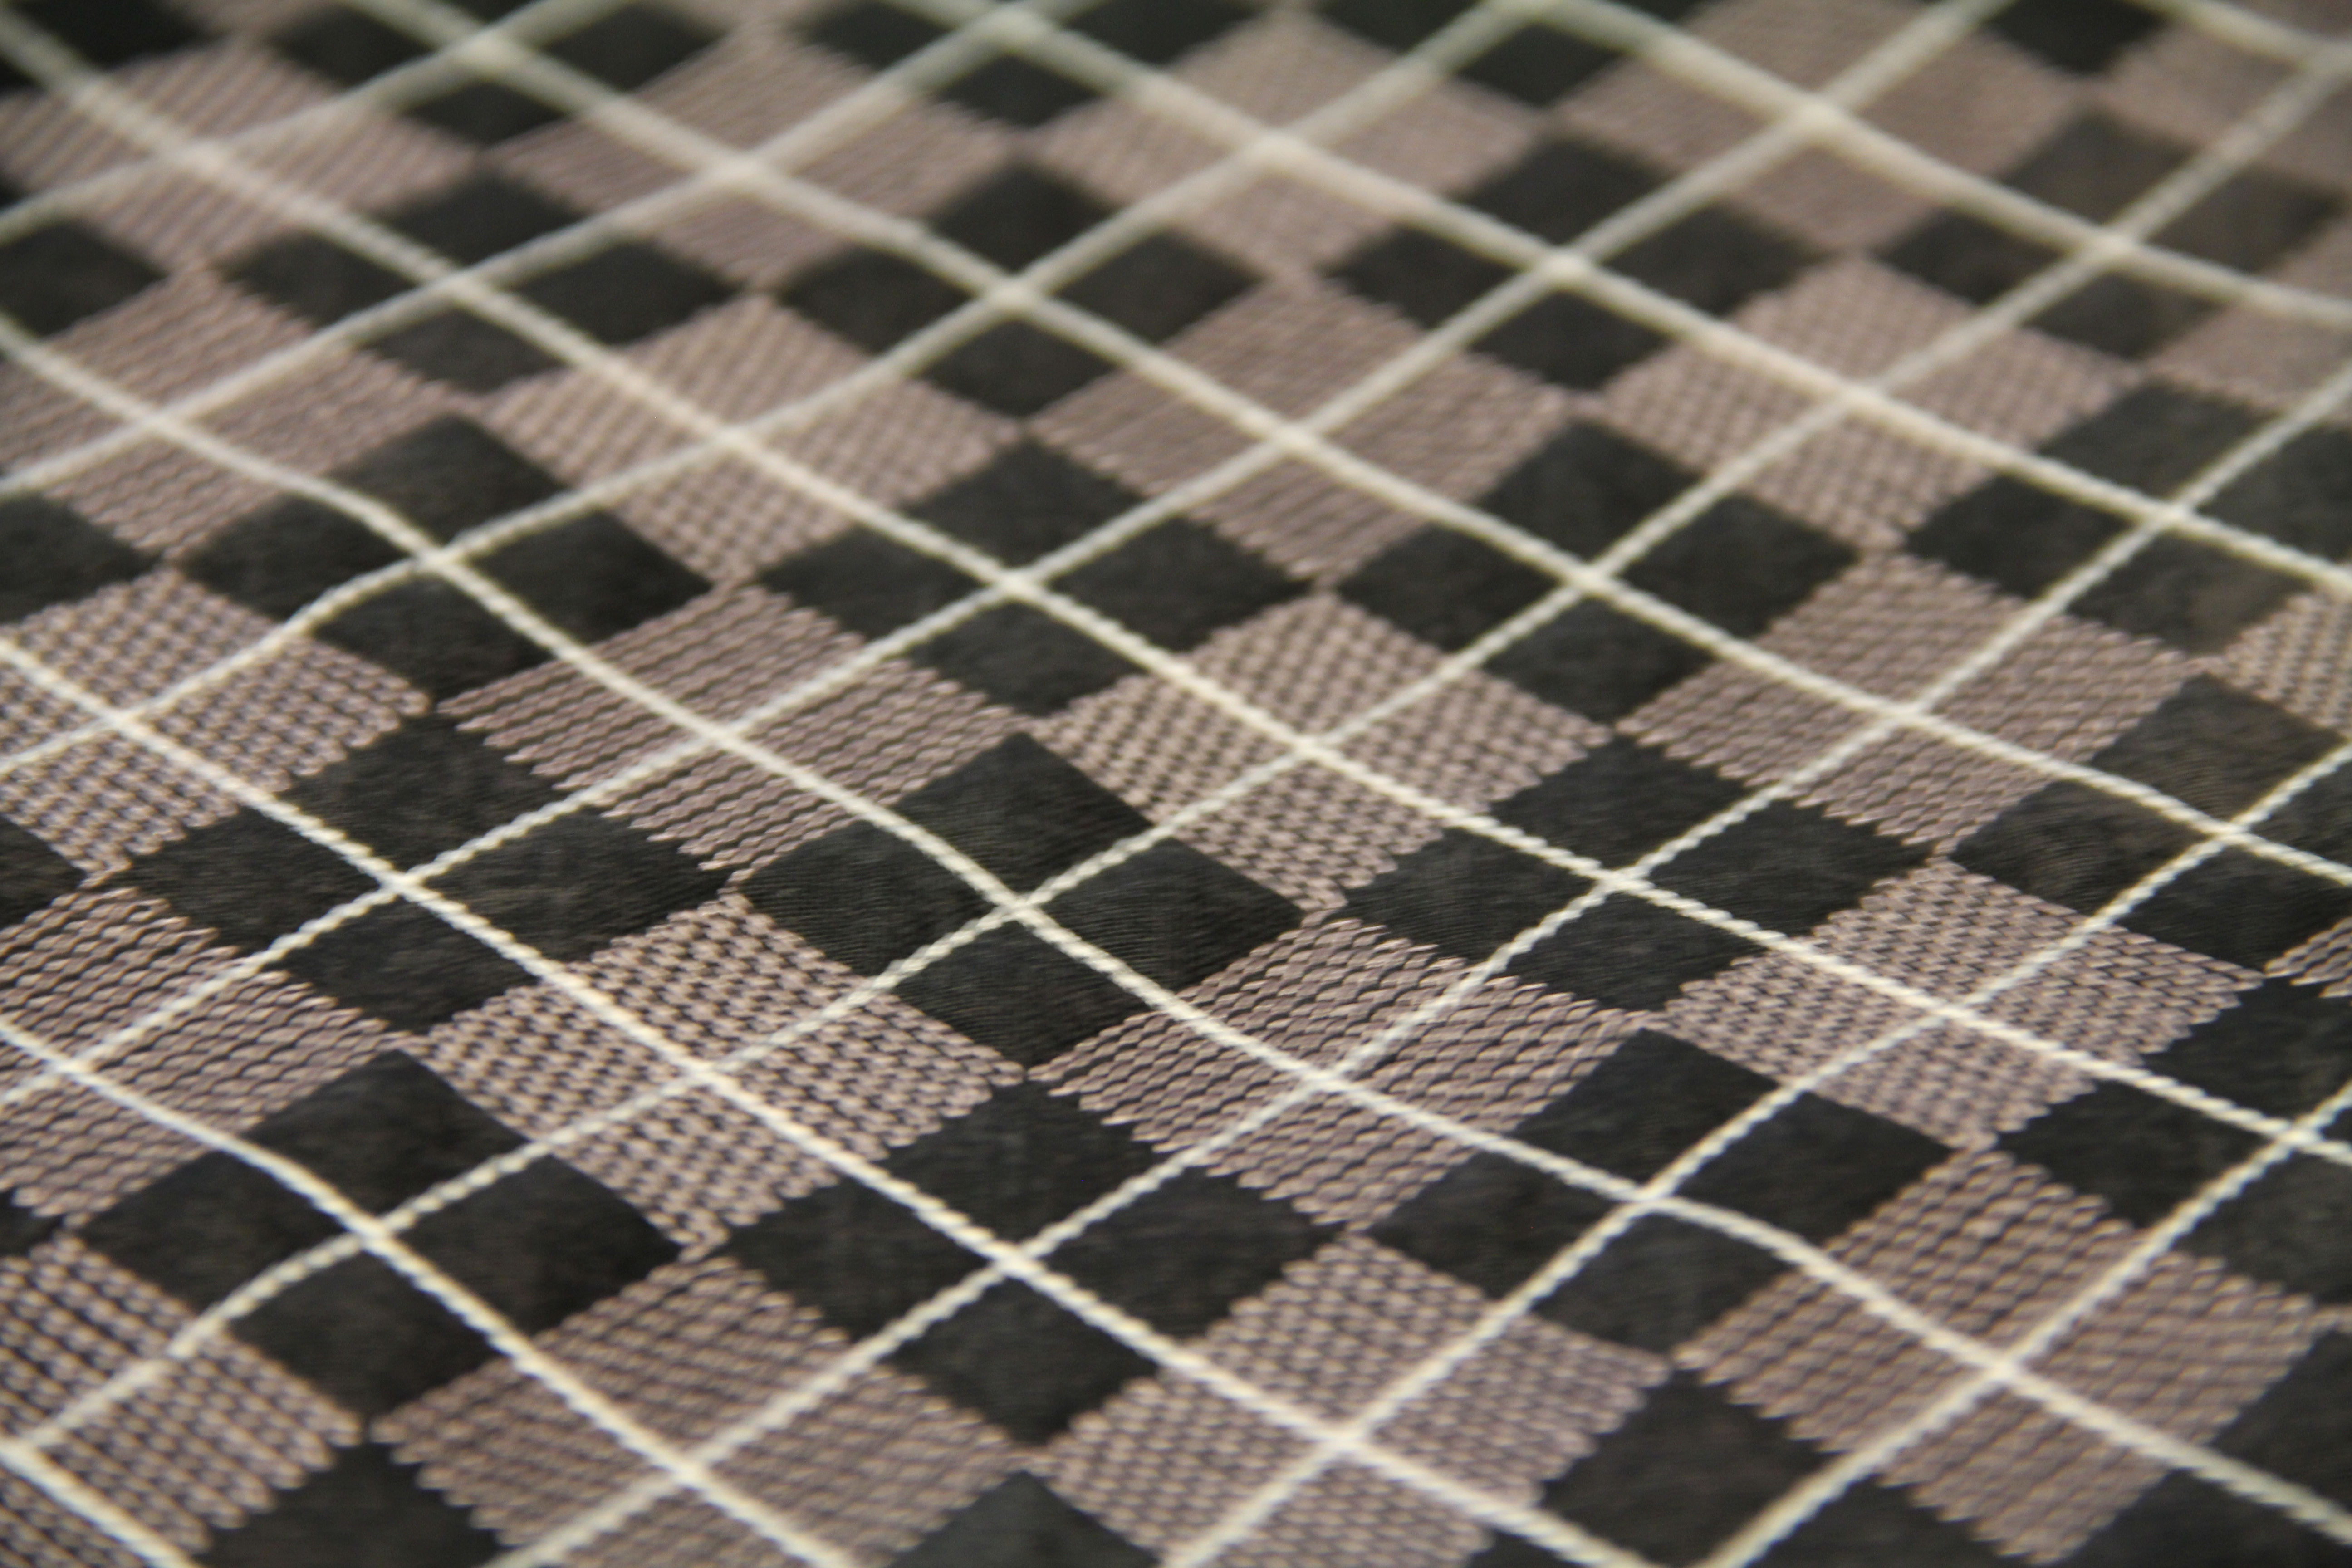
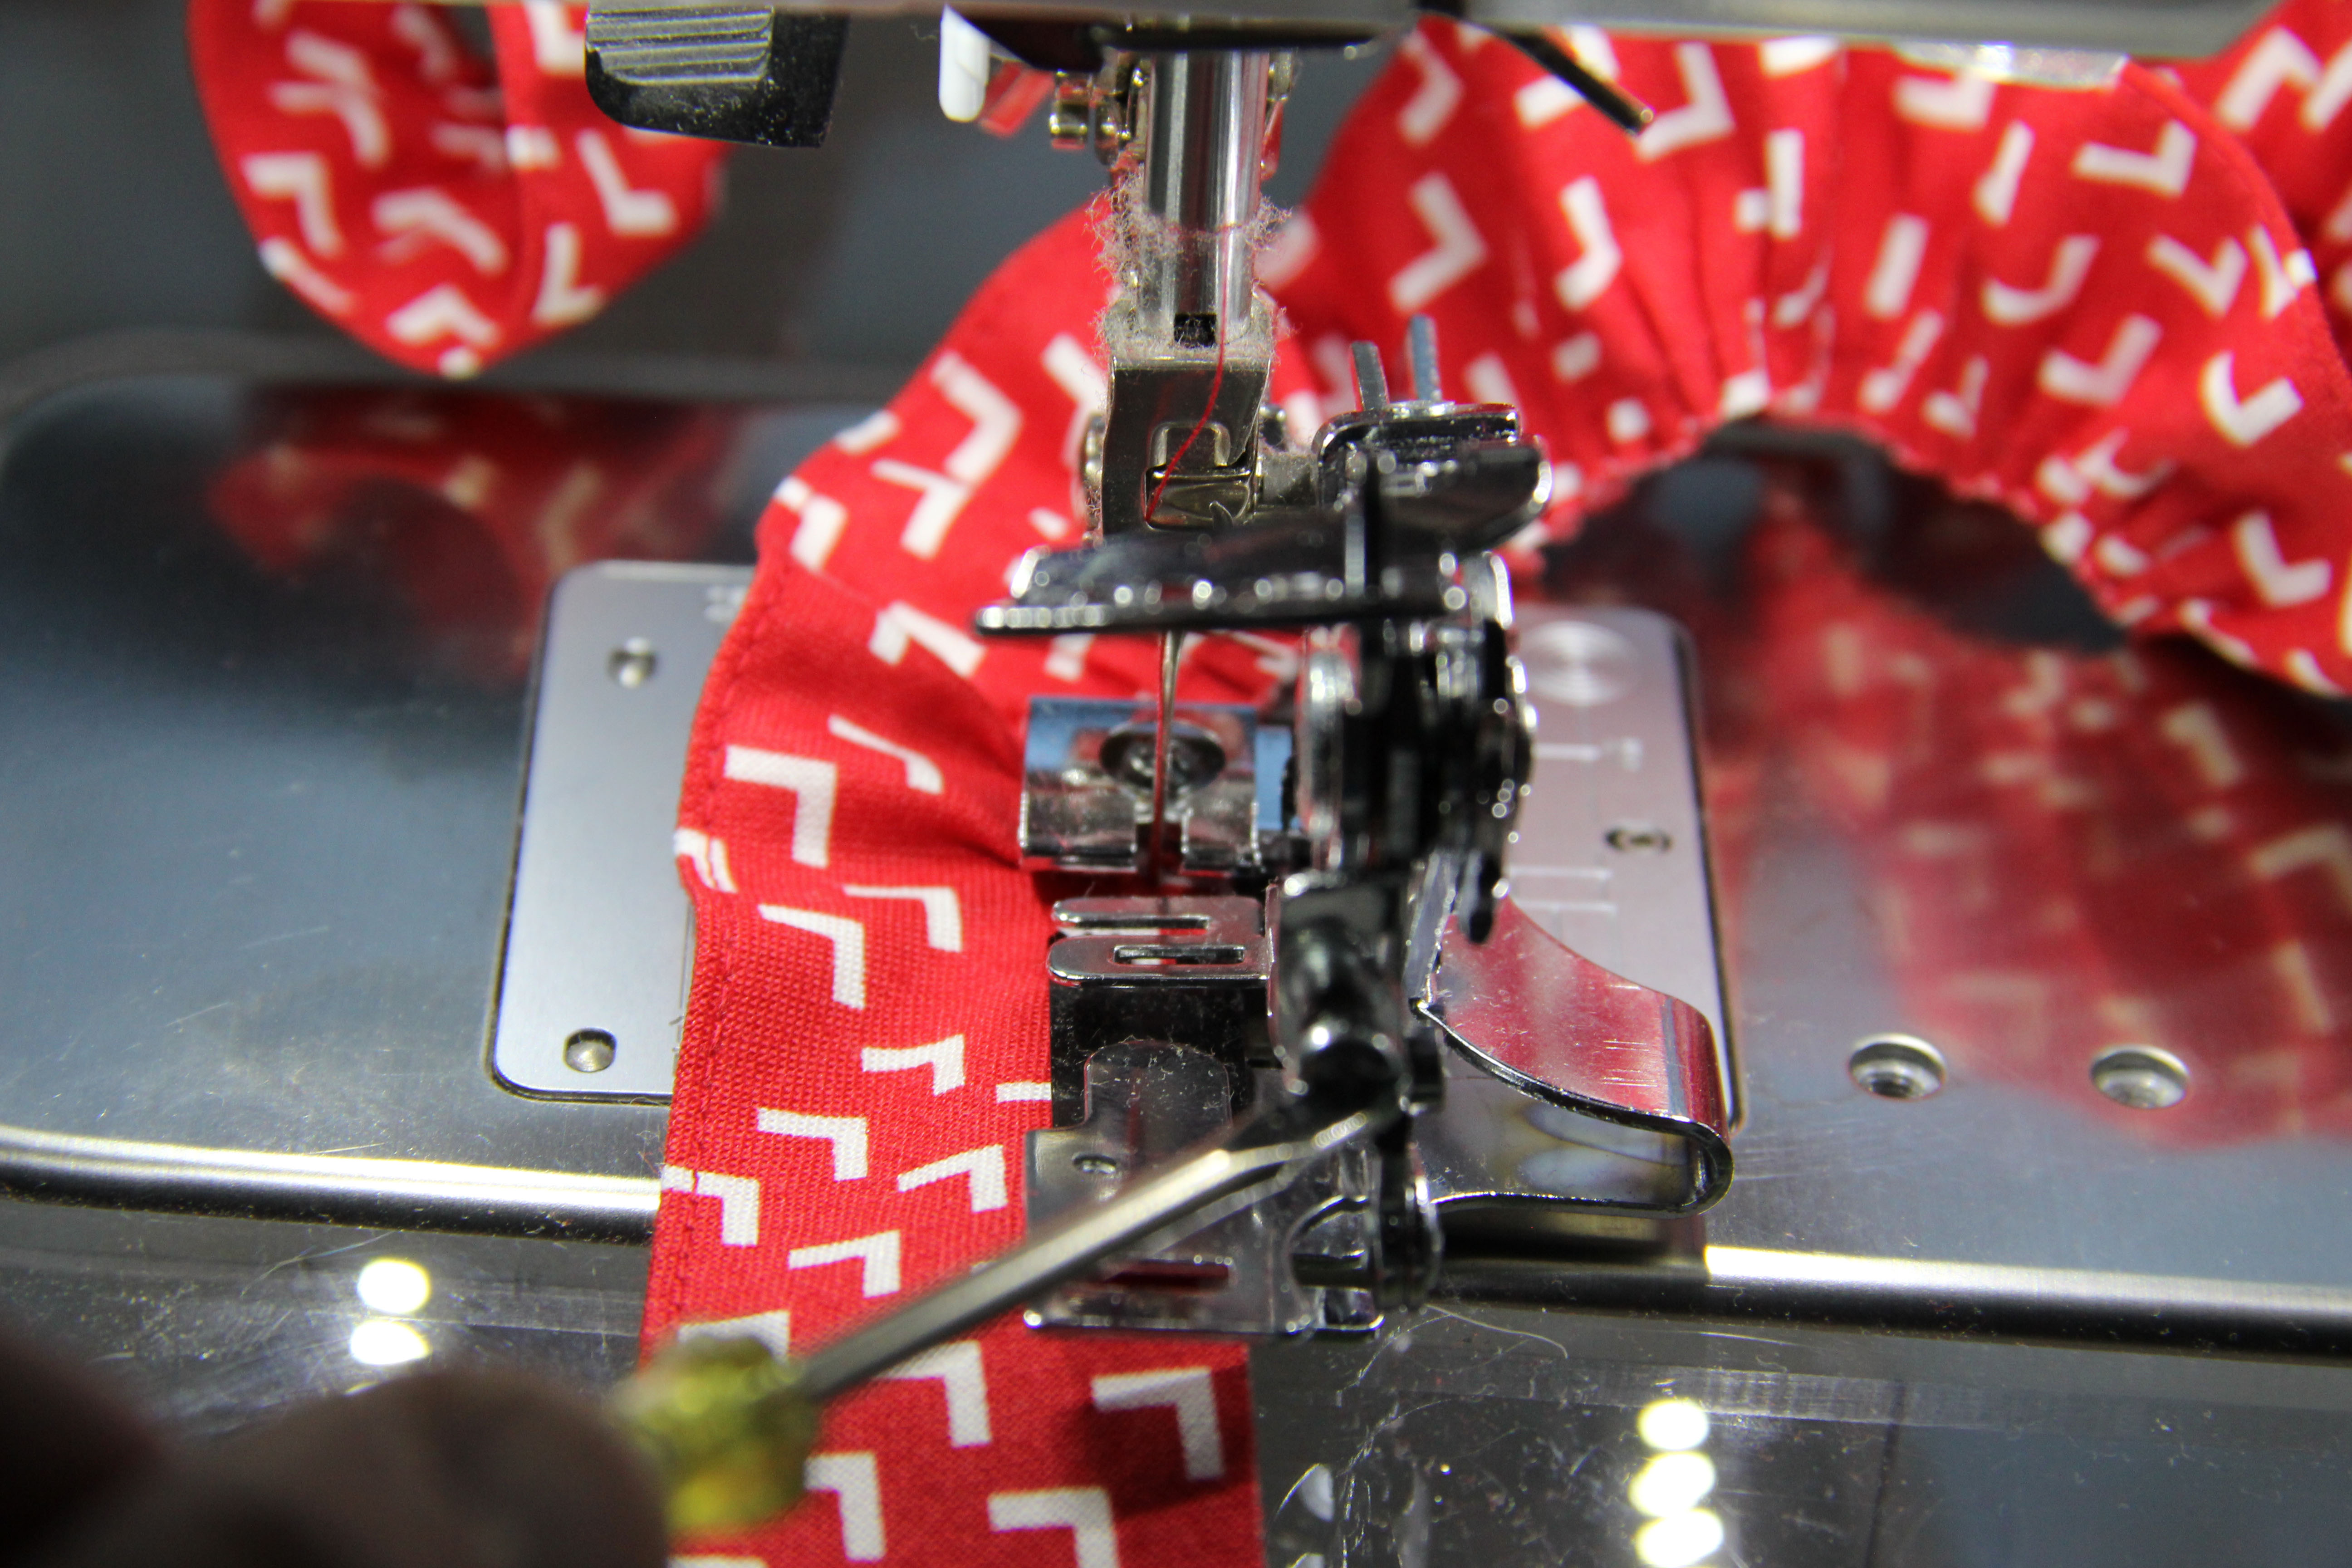
 The final image is from a Messenger Bag, the project I created from a previous Software Sampler lesson — a good text example of using Transfer Artist Paper to convey an emotion, a worn timelessness.
I’ll leave you with my all-time favorite quote from Macbeth:
Tomorrow and tomorrow and tomorrow,
Creeps in this petty pace from day to day,
To the last syllable of recorded time;
And all our yesterdays have lighted fools
The way to dusty death. Out, out, brief candle!
Life’s but a walking shadow, a poor player,
That struts and frets his hour upon the stage,
And then is heard no more. It is a tale
Told by an idiot, full of sound and fury,
Signifying nothing.