A Little Lace Goes a Long Way

I have this stash of lace from my mom, that I keep in the basement, well-protected.  I never know what to do with it, but it’s always in the back of my mind as a resource.

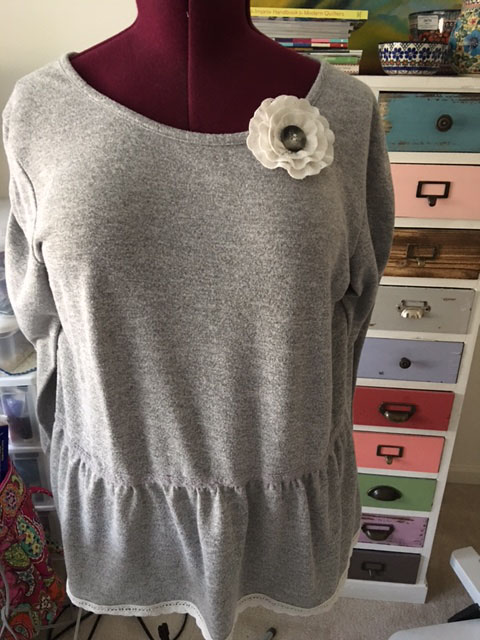
The other day I purchased a (very) cheap sweat-shirty looking top on sale at a discount store where I normally buy groceries. So you know the price was right.

I wore it a few times before I started to get an idea to “cuten” it up a bit.

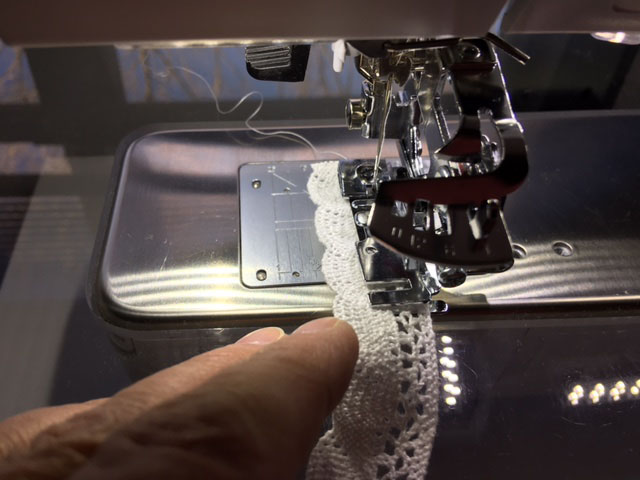
I ran downstairs to my stash of lace and found something perfect. I added it around the bottom of the shirt.

This took MAYBE half an hour.

It’s cute, right?

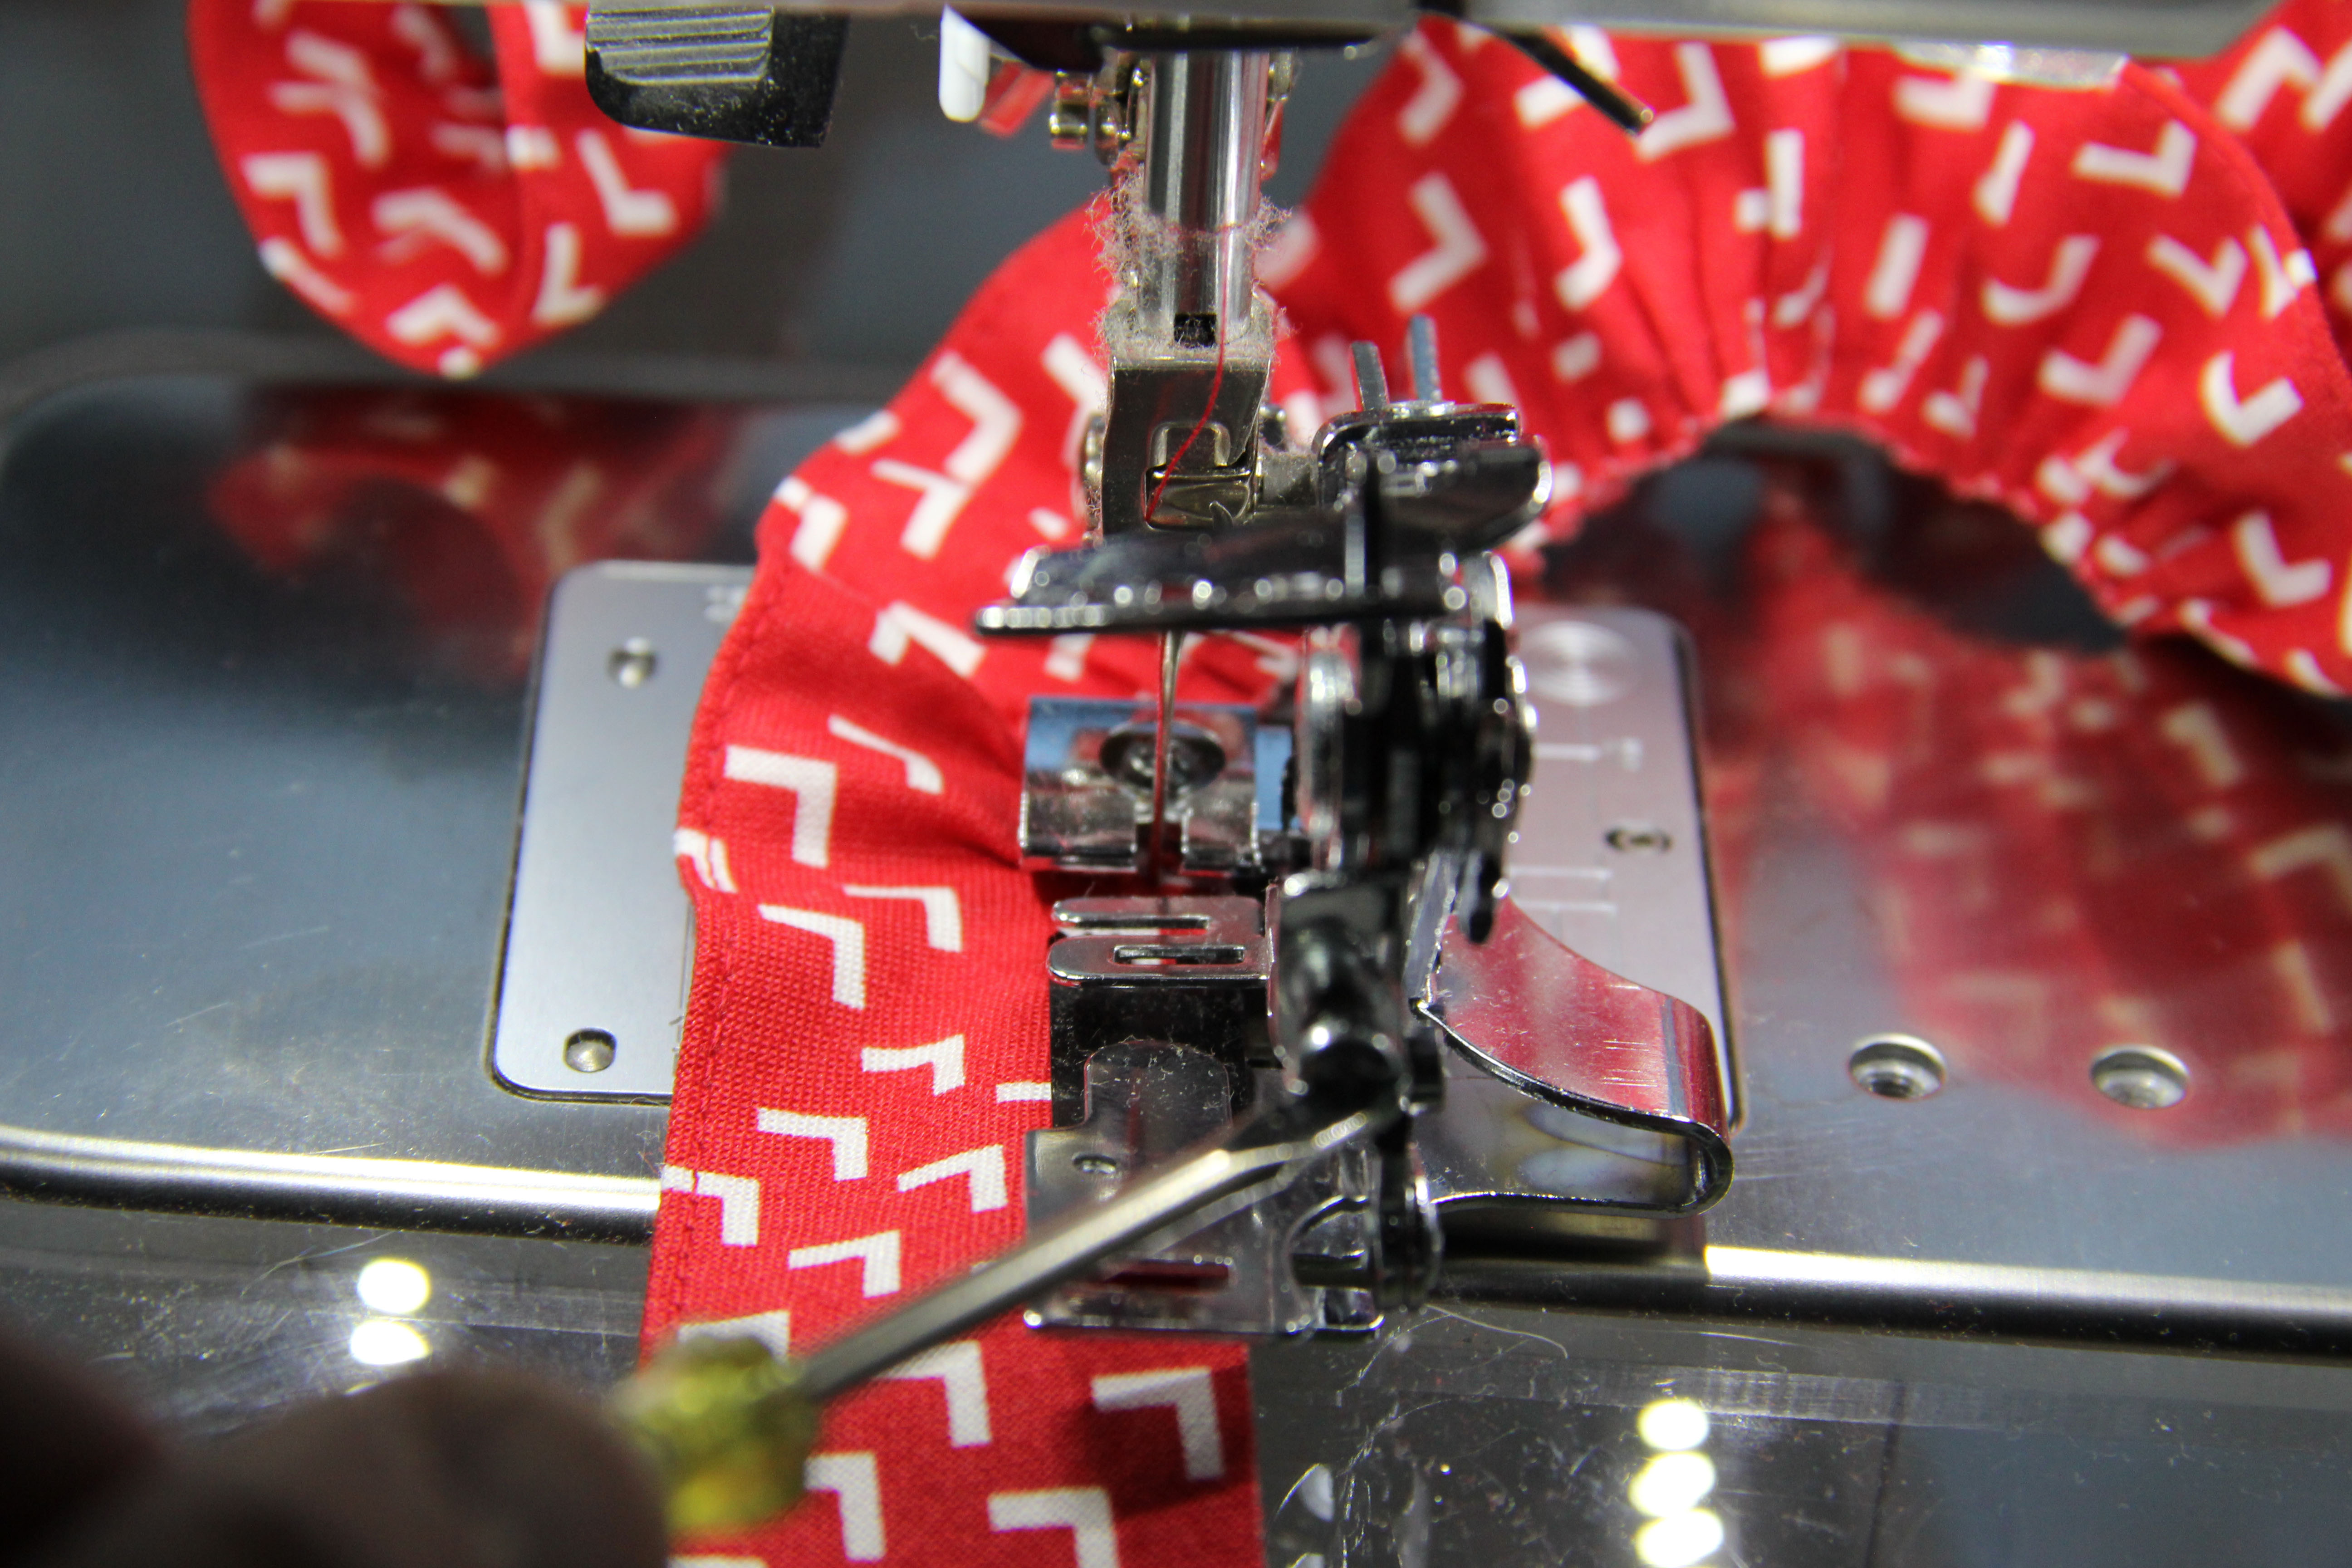
That’s when I got out the ruffler and decided to try ruffling the lace a bit to create a flower pin to wear on this shirt (or any other for that matter). I adjusted the ruffler to take a small “bite” so that the ruffle was soft.

You can see that it forms a natural curve and so I then proceeded to sew it onto a piece of wool I had around.

Really, this is very easy and fun stuff if you have the right tools.

I added a button and hot-glued a pin-back onto the back.  Pin-backs are widely available in places like JoAnn’s, Michael’s, etc.

To summarize, everything that’s needed for a project like this:

  • Lace
  • Ruffler foot (or needle and thread if you gather by hand)
  • Basic sewing supplies
  • A round piece of felt
  • A button or another cute center (silk flower?)
  • Pin back
  • Glue gun

This looks adorable on a handbag, a headband, a jean jacket, anywhere! You can also ruffle some fabric and create another look.

Have some fun…I highly recommend a ruffler foot for your machine.  They haven’t changed in years, and I wrote about it here.

So take a break from quilt blocks and try something new!

Maybe You Stitch on the Edge Too!

An edgestitch is exactly what it sounds like.  A stitch on the edge.

Most sewing machines have a specific foot for this purpose and Bernina’s foot #10D is, of course, one of my favorites.

On the way to sewing this baby quilt I decided to add a ruffle.  So I cut 2 1/2 in. strips as you would for bias binding.  Only I needed twice as much to form the ruffle.  Because I wanted the ruffle to last through many washings, I decided to add a stitch right on the edge of the fold prior to ruffling.

edgestitch foot3I moved the needle 2 points over to the left, to stay just inside the fold.

rufflingNext I started to ruffle. You can see I am adjusting the ruffler to get just the right amount of “bite” so that the ruffle isn’t too curvy, but also not too flat.  You can see the edgestitch along the left, on the fold.  In general, when creating a ruffle, you need your length of the ruffle fabric to be twice the length of the fabric it will cover.

Then I attached the ruffle. (I don’t have a picture of that.)

edgestitch foot

Next, I attached the binding over the raw edge of the ruffle and the raw edge of the quilt.  It naturally wanted to turn itself with the ruffle on the outside, so I went ahead and did another edgestitch along the top front of the quilt.  The binding lays flat underneath.

edgestitch flawlessThe whole thing was only possible because I have rounded corners on the quilt…no miters. And I used a bias ruffle and a bias binding.  Isn’t that a gorgeous edgestitch?  Nothing like having the right tool for the job.

edgestitch foot4Now all I have left to do is to hand-stitch the binding on the back.  The binding is longer than usual because of the way the ruffle is attached.

almostfinishedNow all we have to do is wait for the baby.


Some Things Never Change

I bought a new attachment for the sewing machine –a ruffler.  And I have been having a wonderful time.  I  want to add ruffles to everything I own.  Shower curtains, book shelves, pillow cases.  I’m hooked.  If I can see it, I want to add ruffles.  Right now, I’m working on a handbag pattern.


If you’ve never seen a ruffler, you will get a kick out of it.  It is straight out of the industrial age.  To see one in action, check out this video.  I found it even more fascinating that this contraption hasn’t changed in over 50 years.

While at our church’s rummage sale a few years ago, I picked up a Singer sewing machine from the 1940’s.  Or the 50’s at the latest.  Now normally, I bring a lot of stuff TO the rummage sale and nothing back home with me.  But on this particular day, I bought an old sewing machine.  It came with a box full of accessories, and lo and behold, one of them is a ruffler.

Now, if you haven’t noticed, sewing machines have changed quite a bit since the 1940’s or 50’s.  Today they are complicated pieces of electrical engineering and computer design with sewing mechanisms attached.  They accept USB sticks. You can buy optional digitizing software. You plug them into a UPS, and make sure they are unplugged when not in use to avoid a power surge. They get software and firmware updates. They come with training classes and webinars, and their screens are in HD.

Yes, sewing machines have come a long way, baby.  But when I opened the box of accessories for this antique sewing machine I recognized the ruffler immediately.

See for yourself.


Apparently it’s hard to improve on perfection.  Some things never change.  Good to know that in some cases we keep what works.

On the other hand, on a whim I looked up “ruffler” in the Urban Dictionary.  Yup.  Some things never change.