Shipshewana Dreamin’ – Part 2

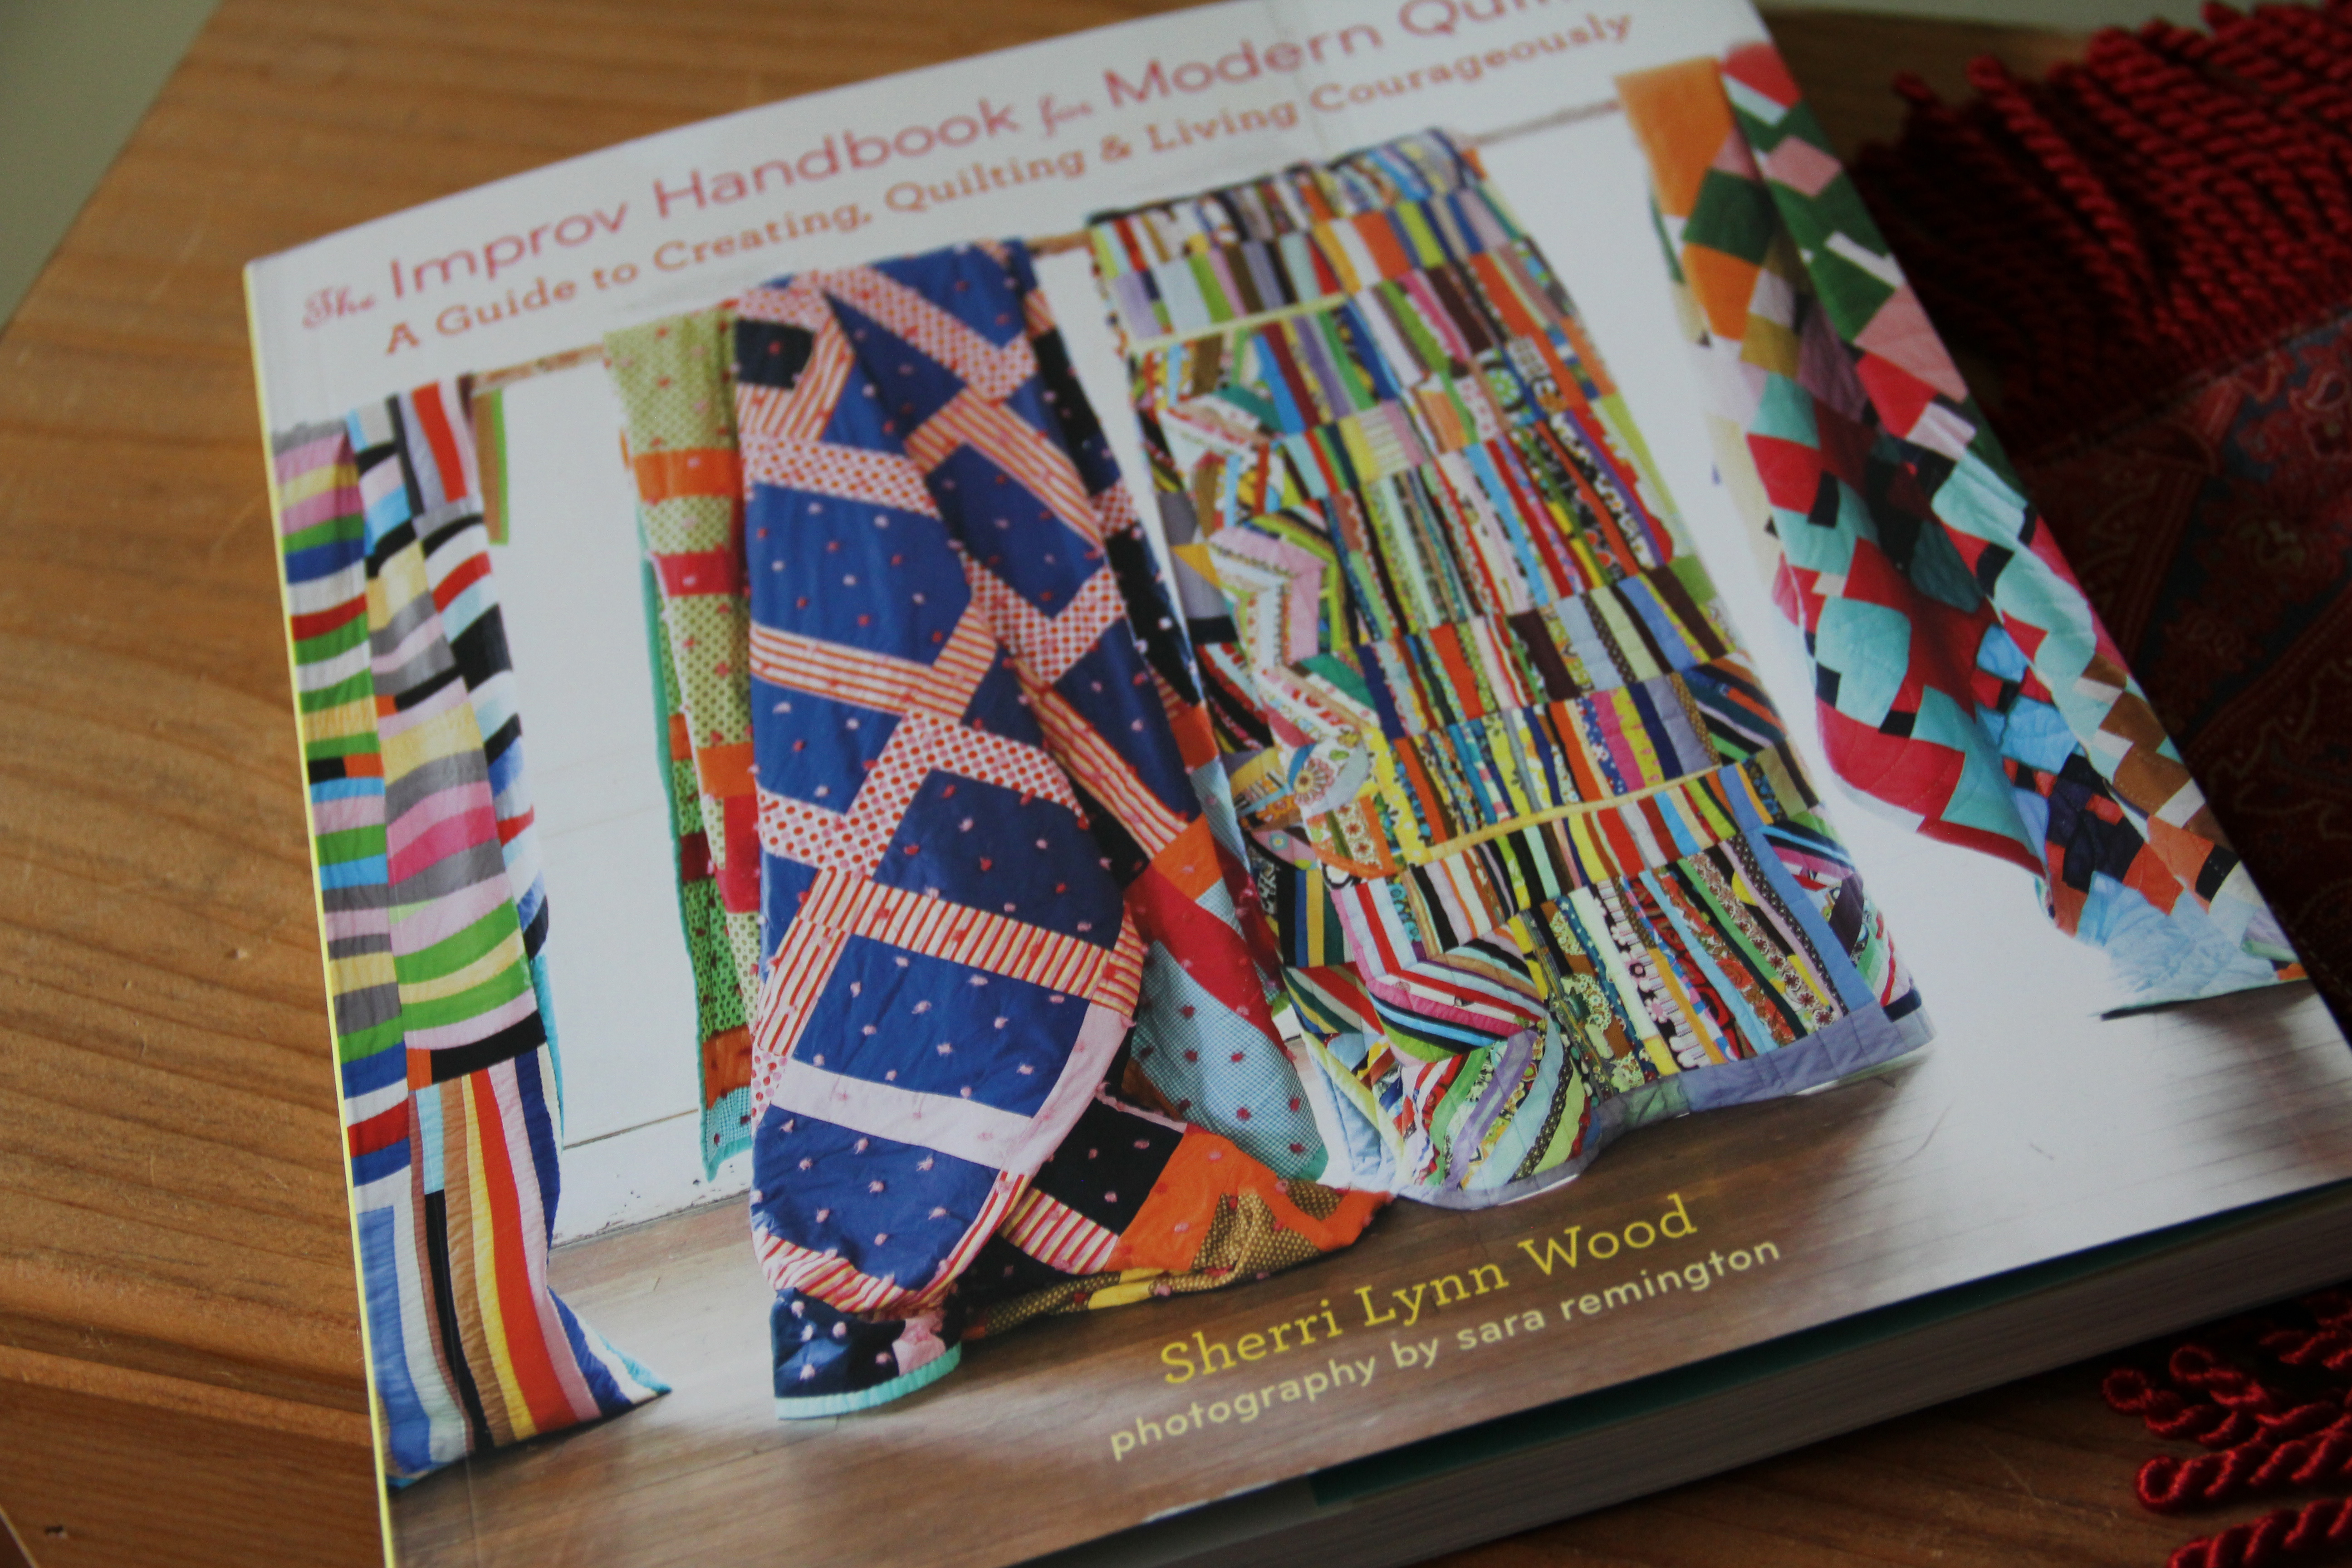
My first stop of the the day was Yoder’s Department Store which opens at 8 am.  Honestly, they have a TON of fabric, and every book, (including modern quilting books) imaginable. I love this place.

yoders3 yoders4I had vowed to myself during this whole trip that I would only purchase items unique to the area.  I love Moda fabric, but I can get that at home.  So I began hunting for “local” goods.

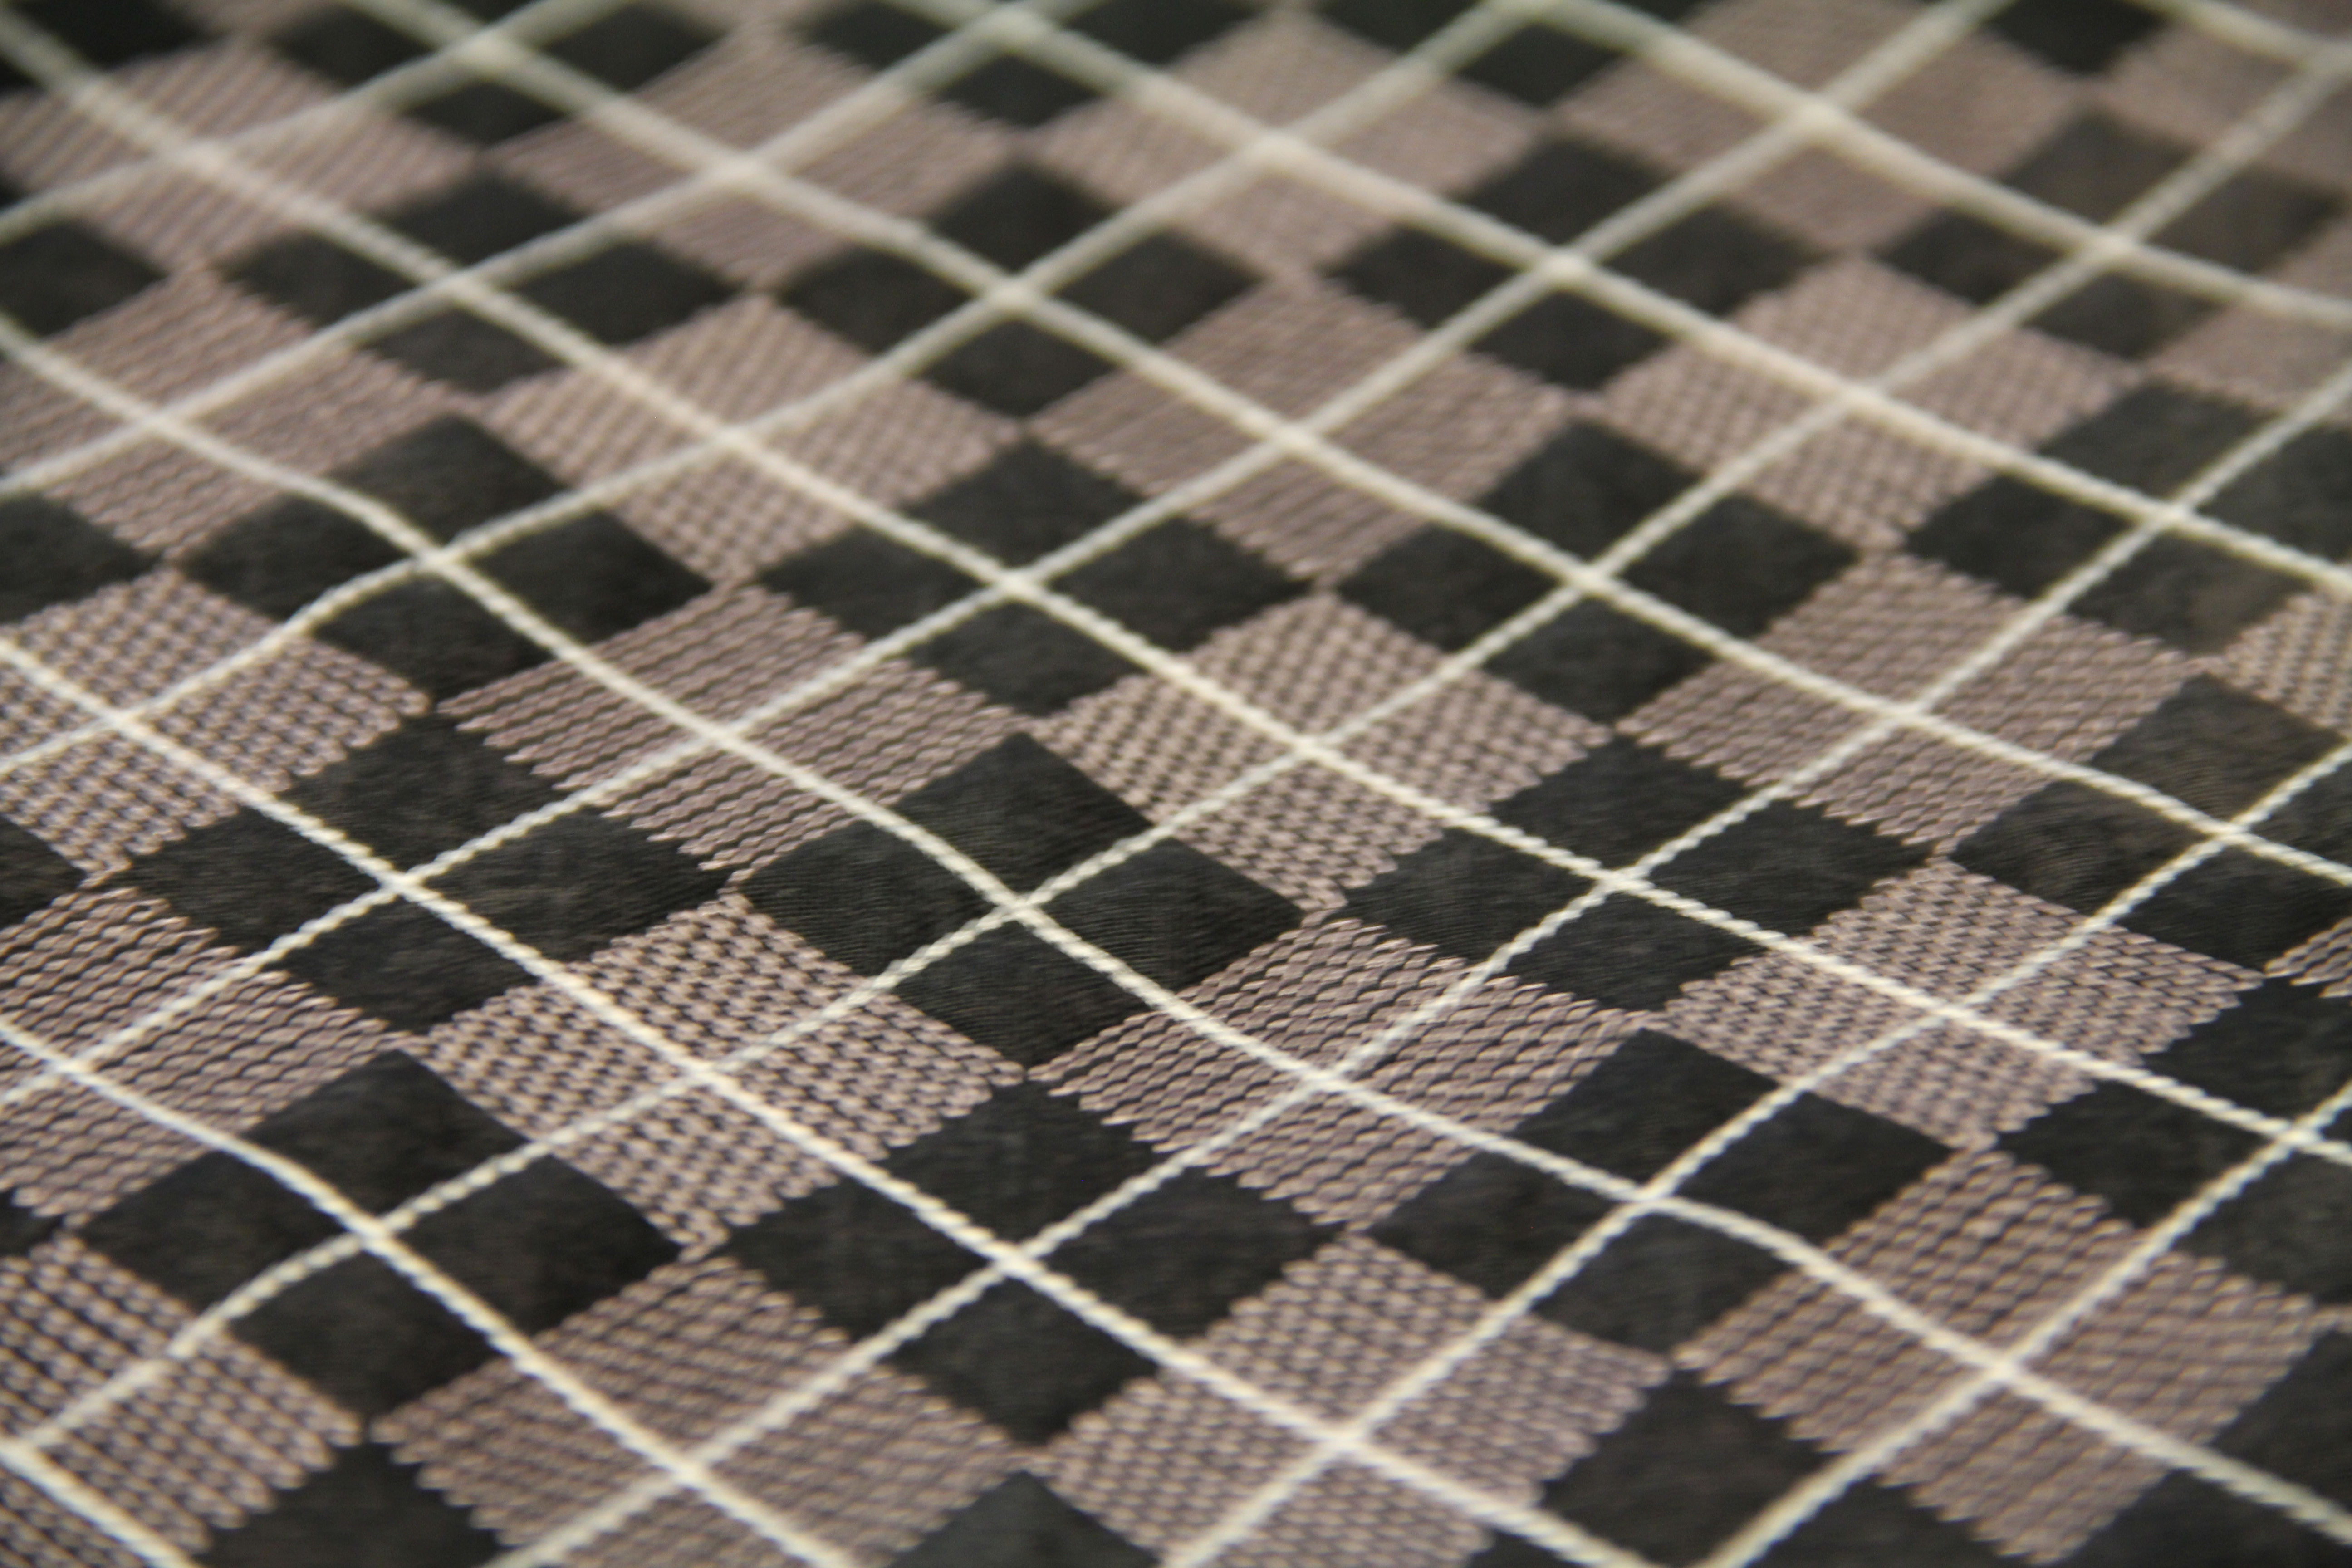
First thing I ran into was this display of reproduction toweling.  I could purchase by the yard and got myself a vintage-looking design.  They had some very cute tablecloths in carriers that looked like handbags and I’d really like to use the toweling to make a handbag…add a little ricrac and I’m good to go!  Also in the display was a special edition “Yoder’s 70th Anniversary” hand towel.  While waiting in line to check out, another woman told me she was going to use hers to create a quilt around it.  What a great idea!

yoders2Of course, I purchased a little bit of anything that had some local charm.

yoders1
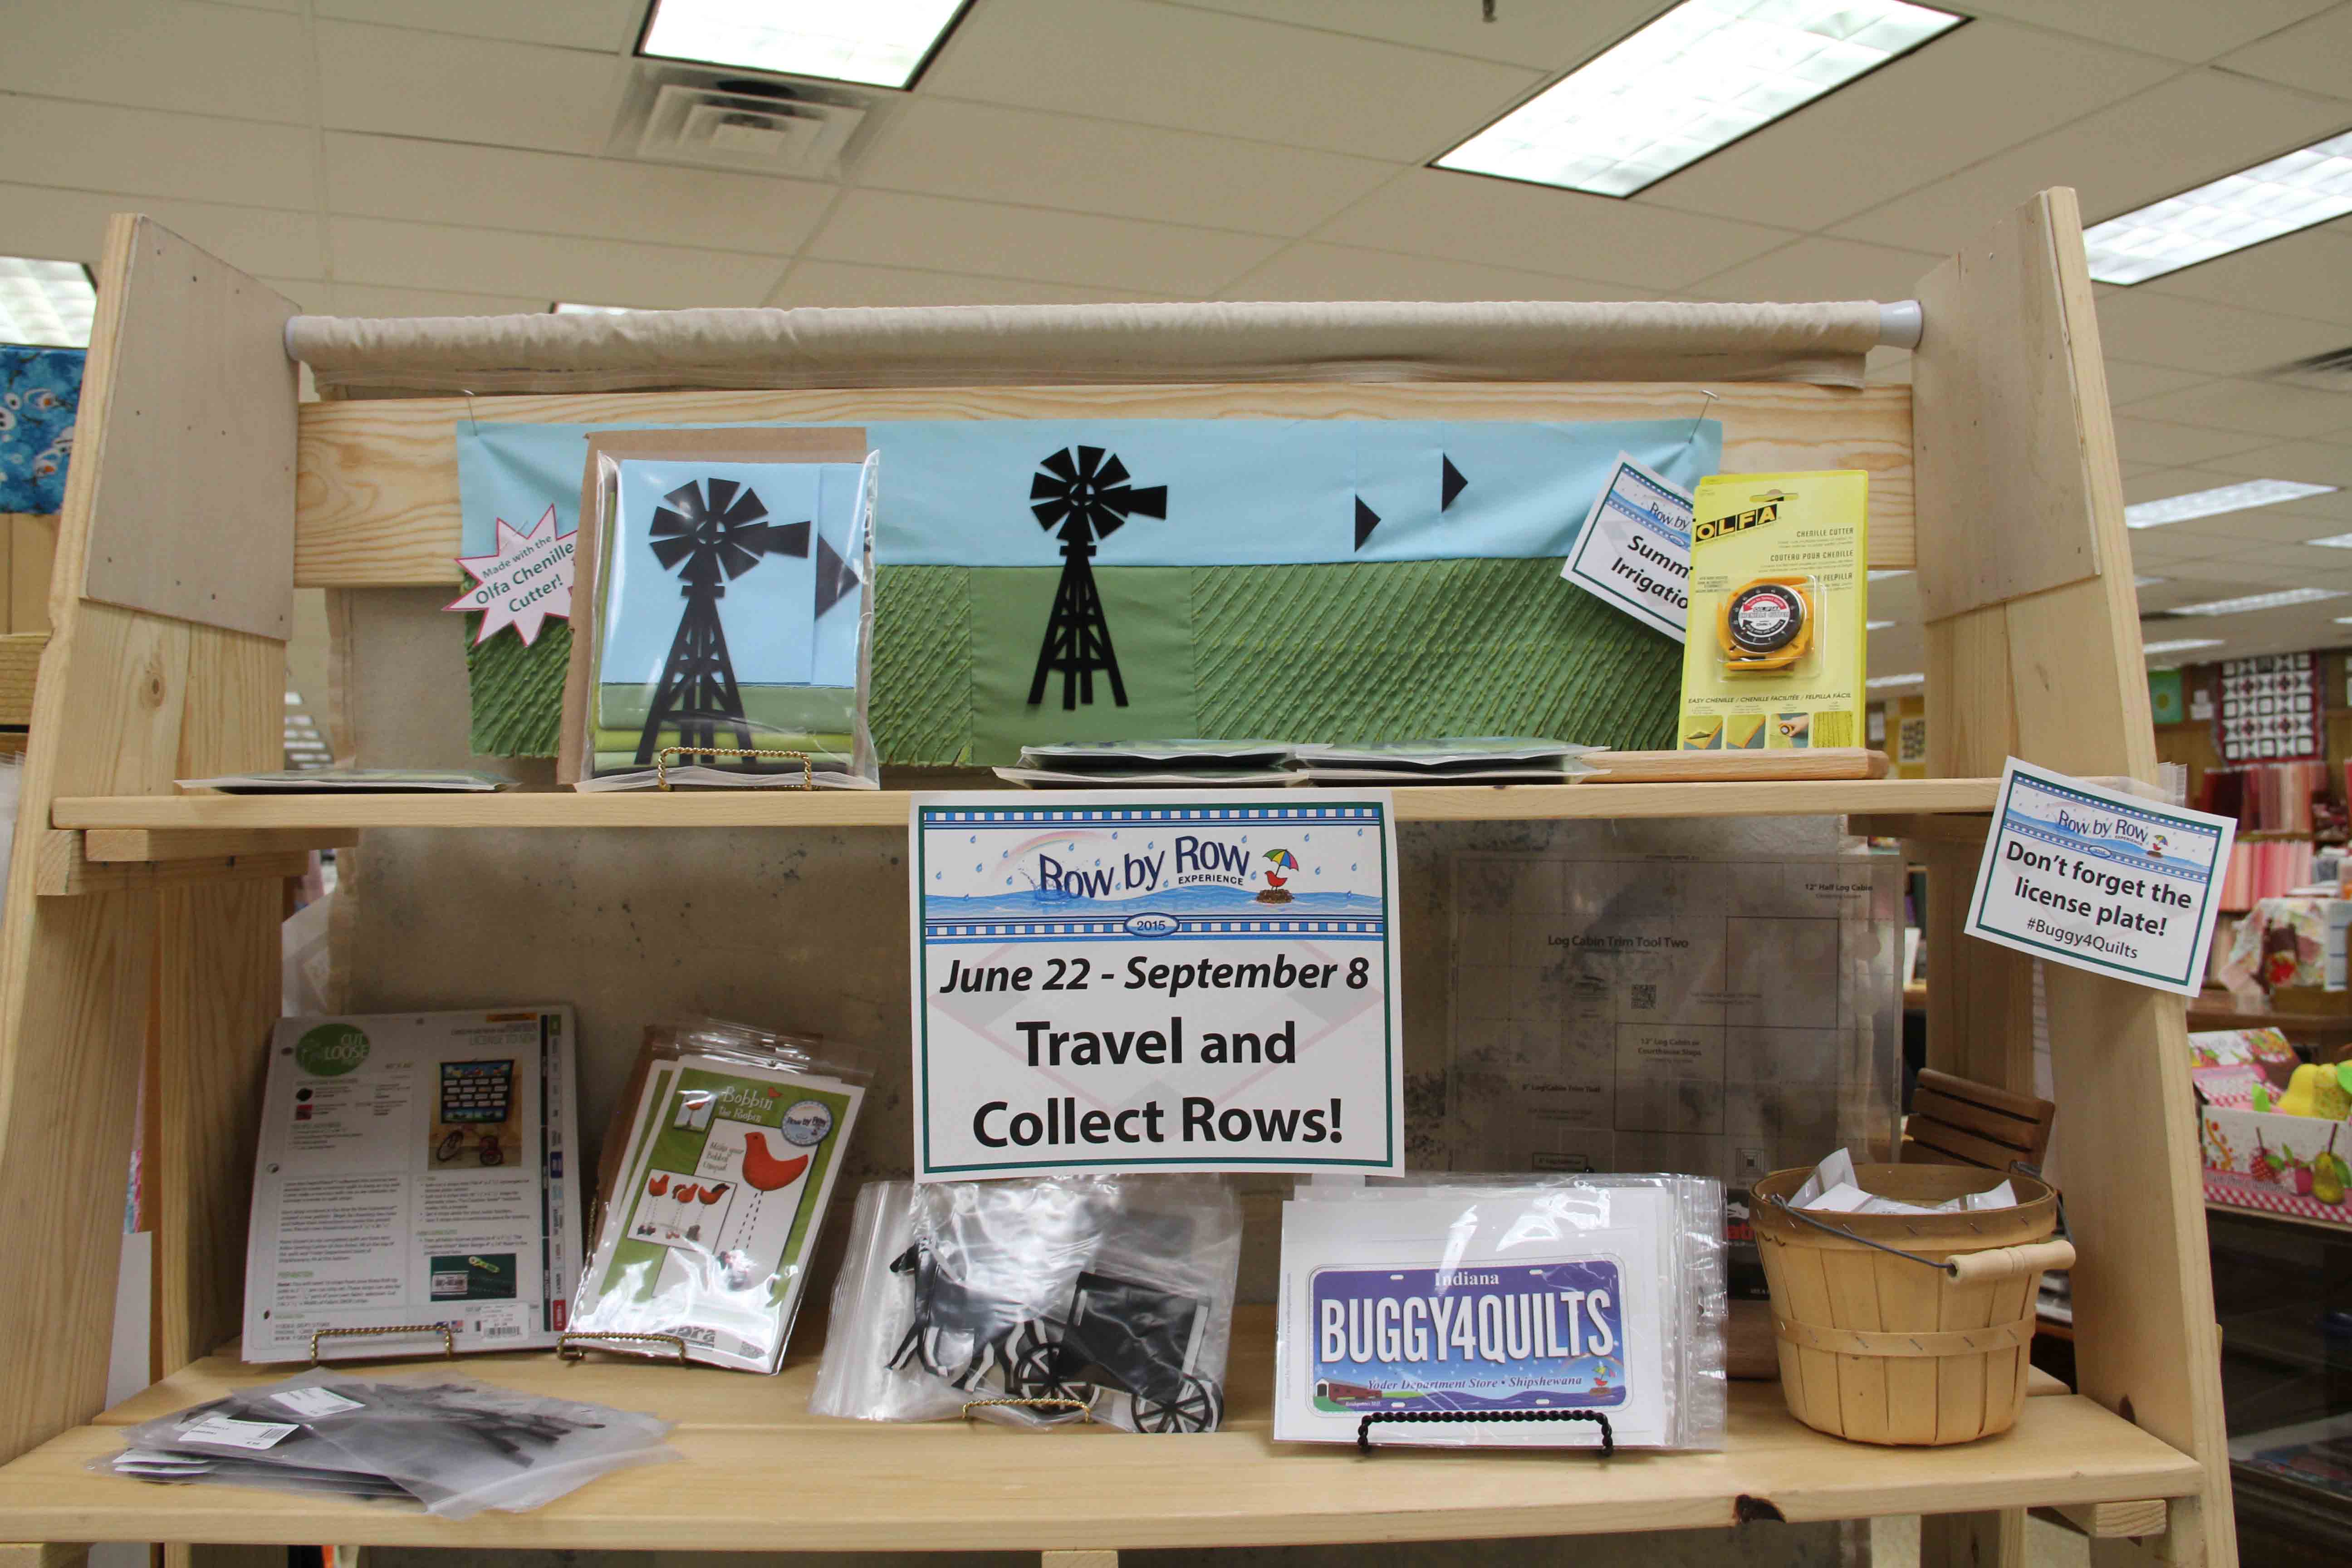
Do you collect Row by Row?  Get your Shipshewana version at Yoder’s.

rowbyrowNext stop is the Davis Mercantile where you can find many stores, but I just had to see the famous Lolly’s Quilt Shop.

lollys
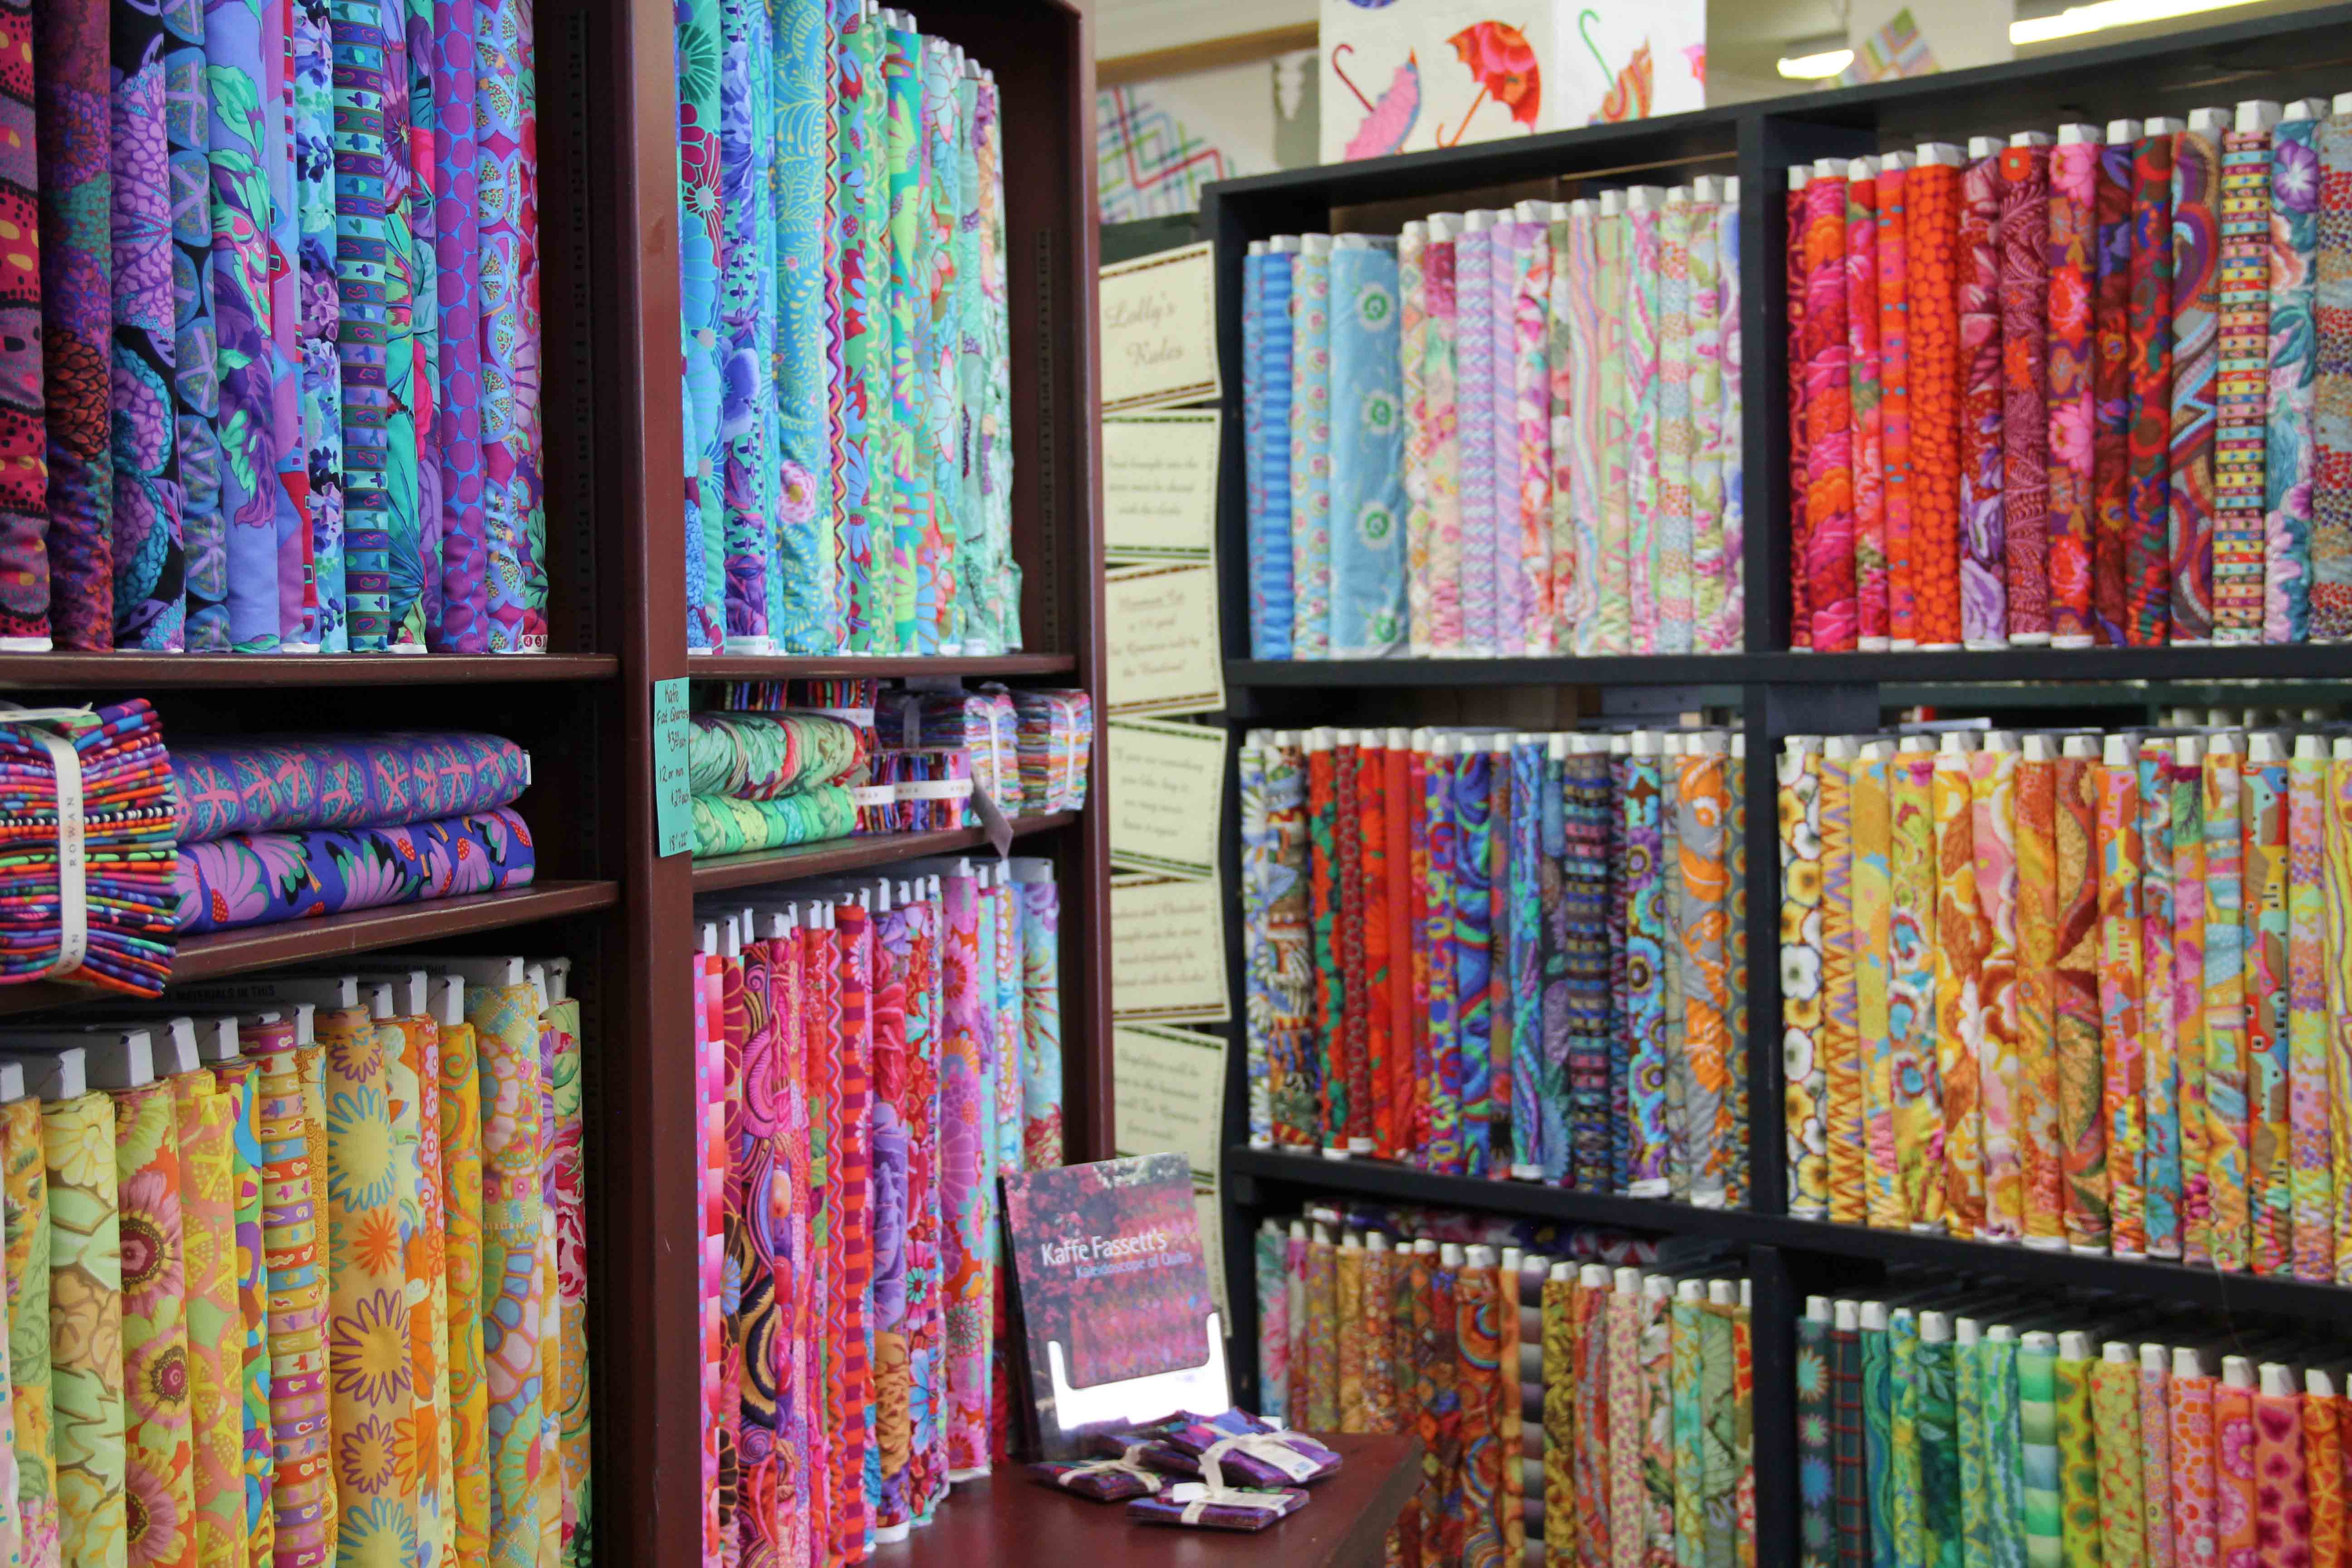
Lolly’s is another wonderful place with everything you could want or need — current fabric lines, reproductions, batiks galore, and plenty of solids, books, patterns. Found a wall of Kaffe Fassett florals, with an opposite wall of all his colorful stripes.  Really the largest selection of Kaffe I’ve ever seen.

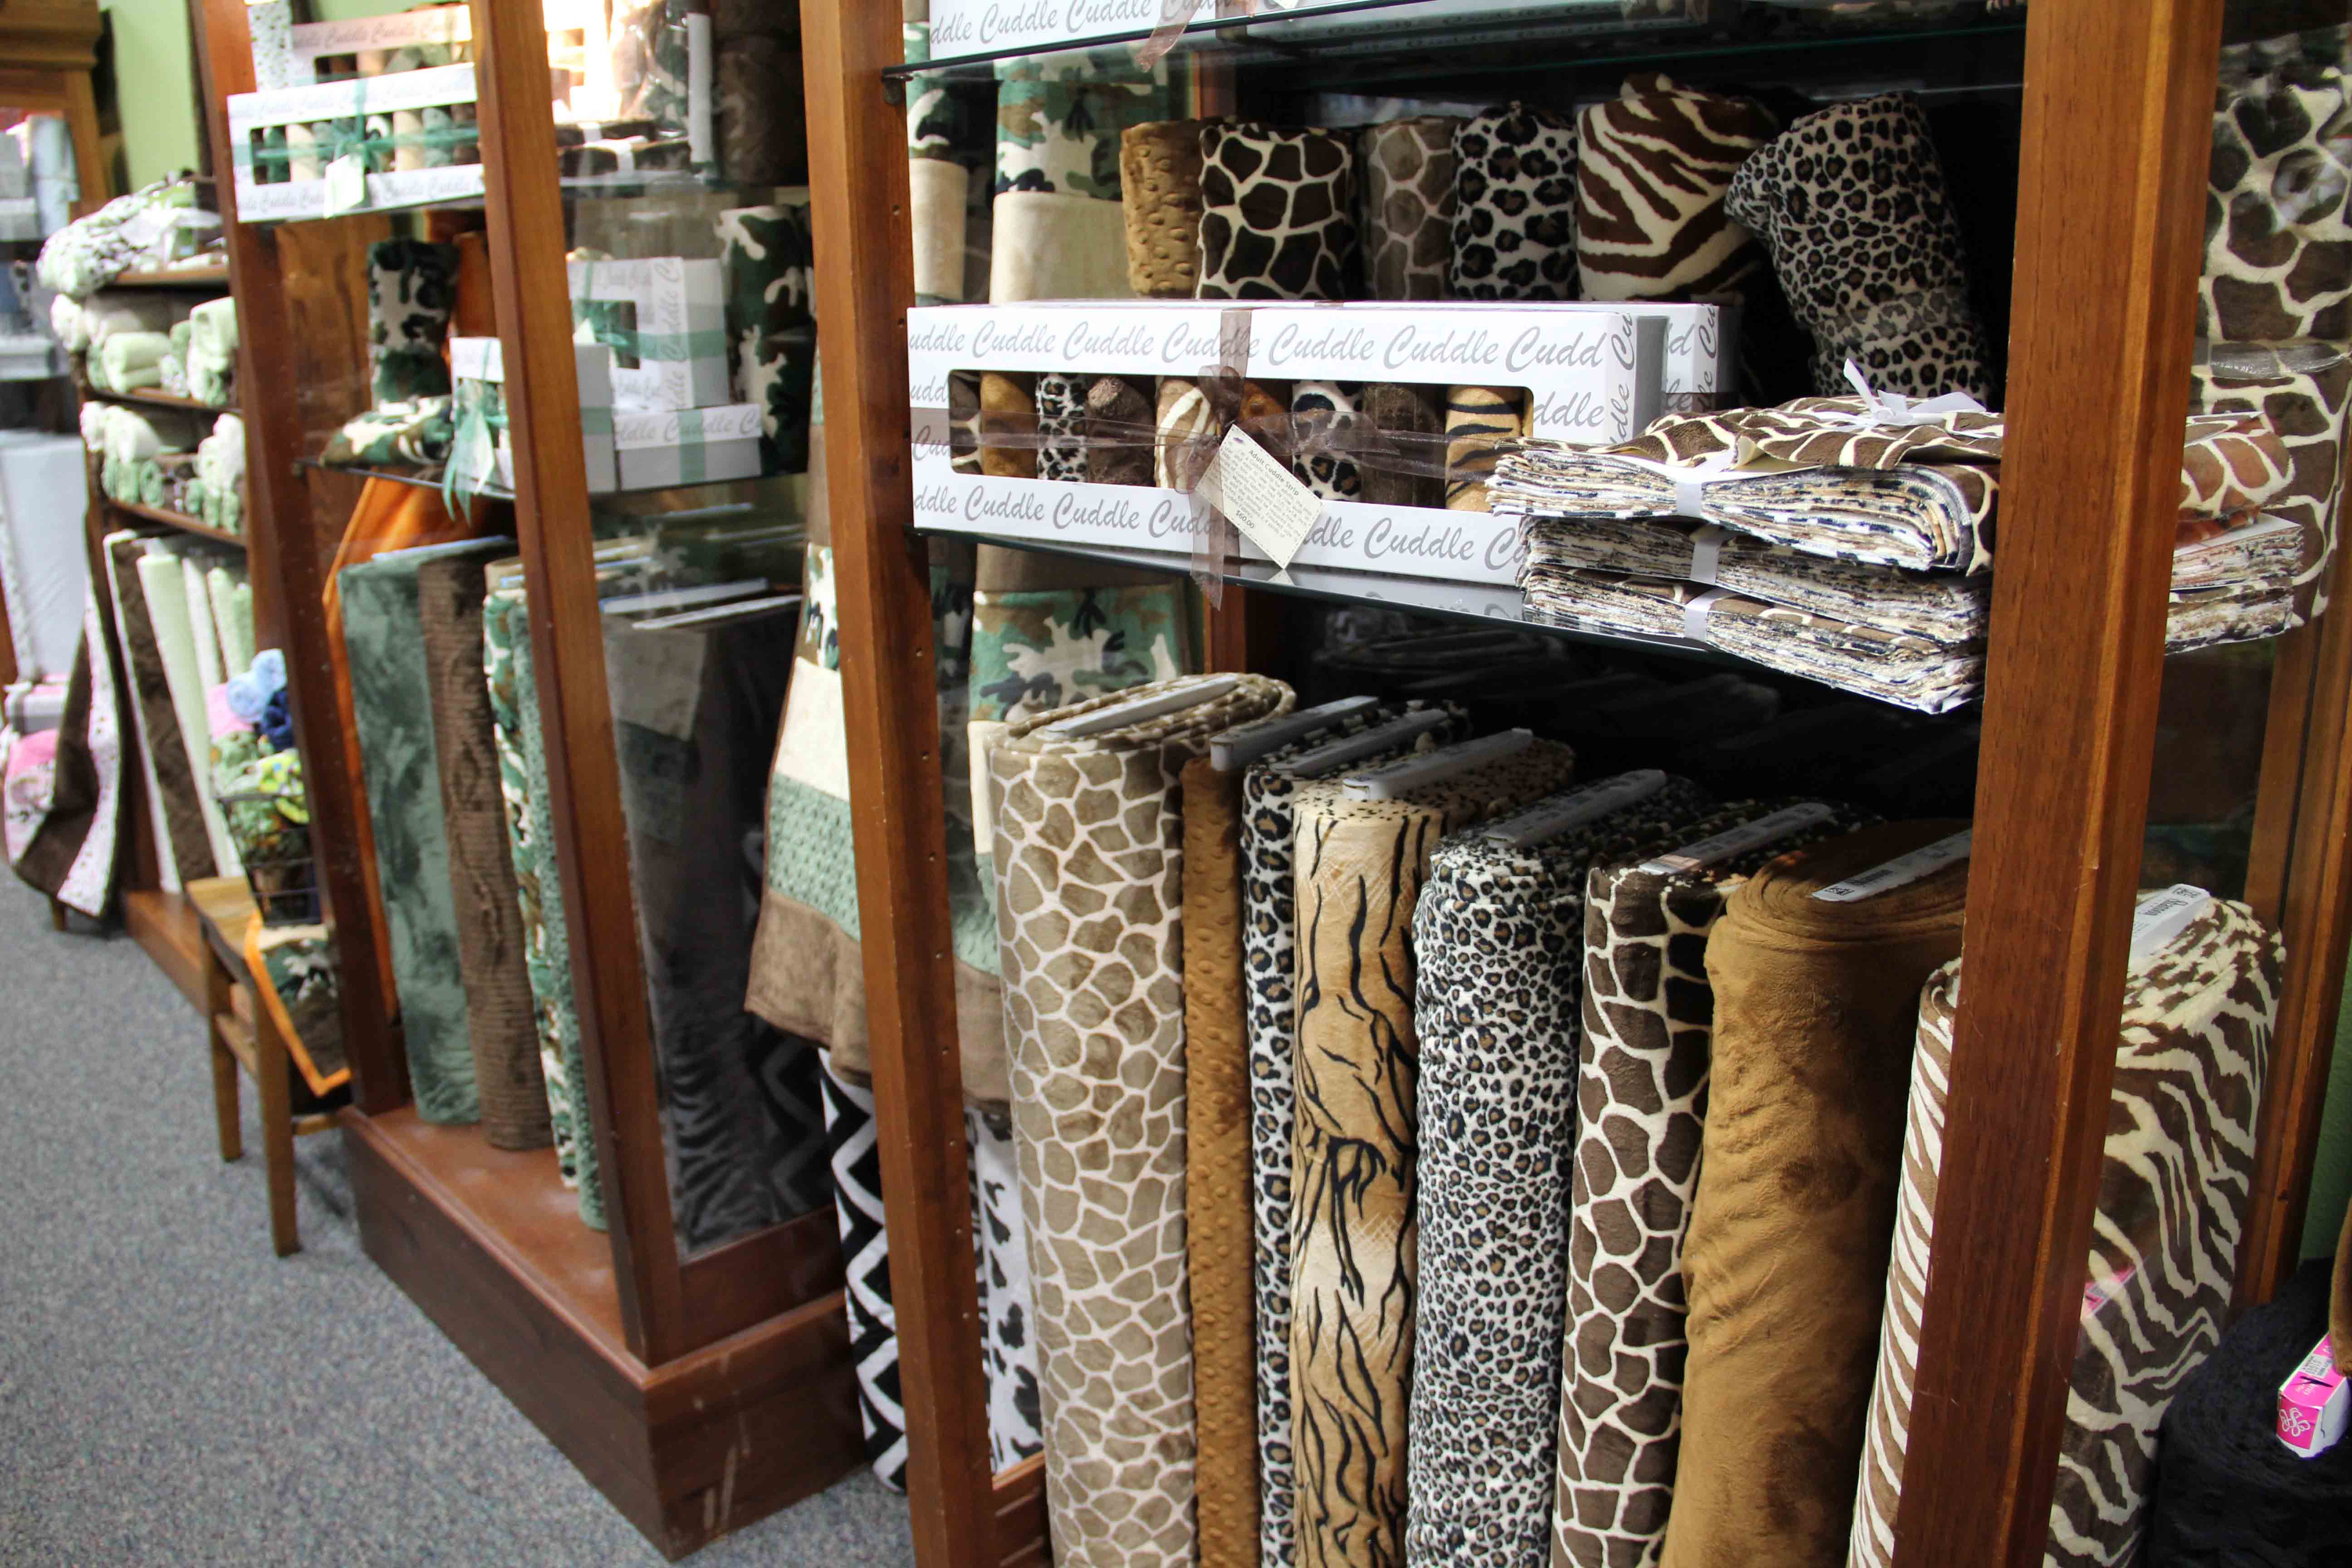
Lolly’s has a “sister” store downstairs at the mercantile, called Cuddle Corner.

Don’t miss it.

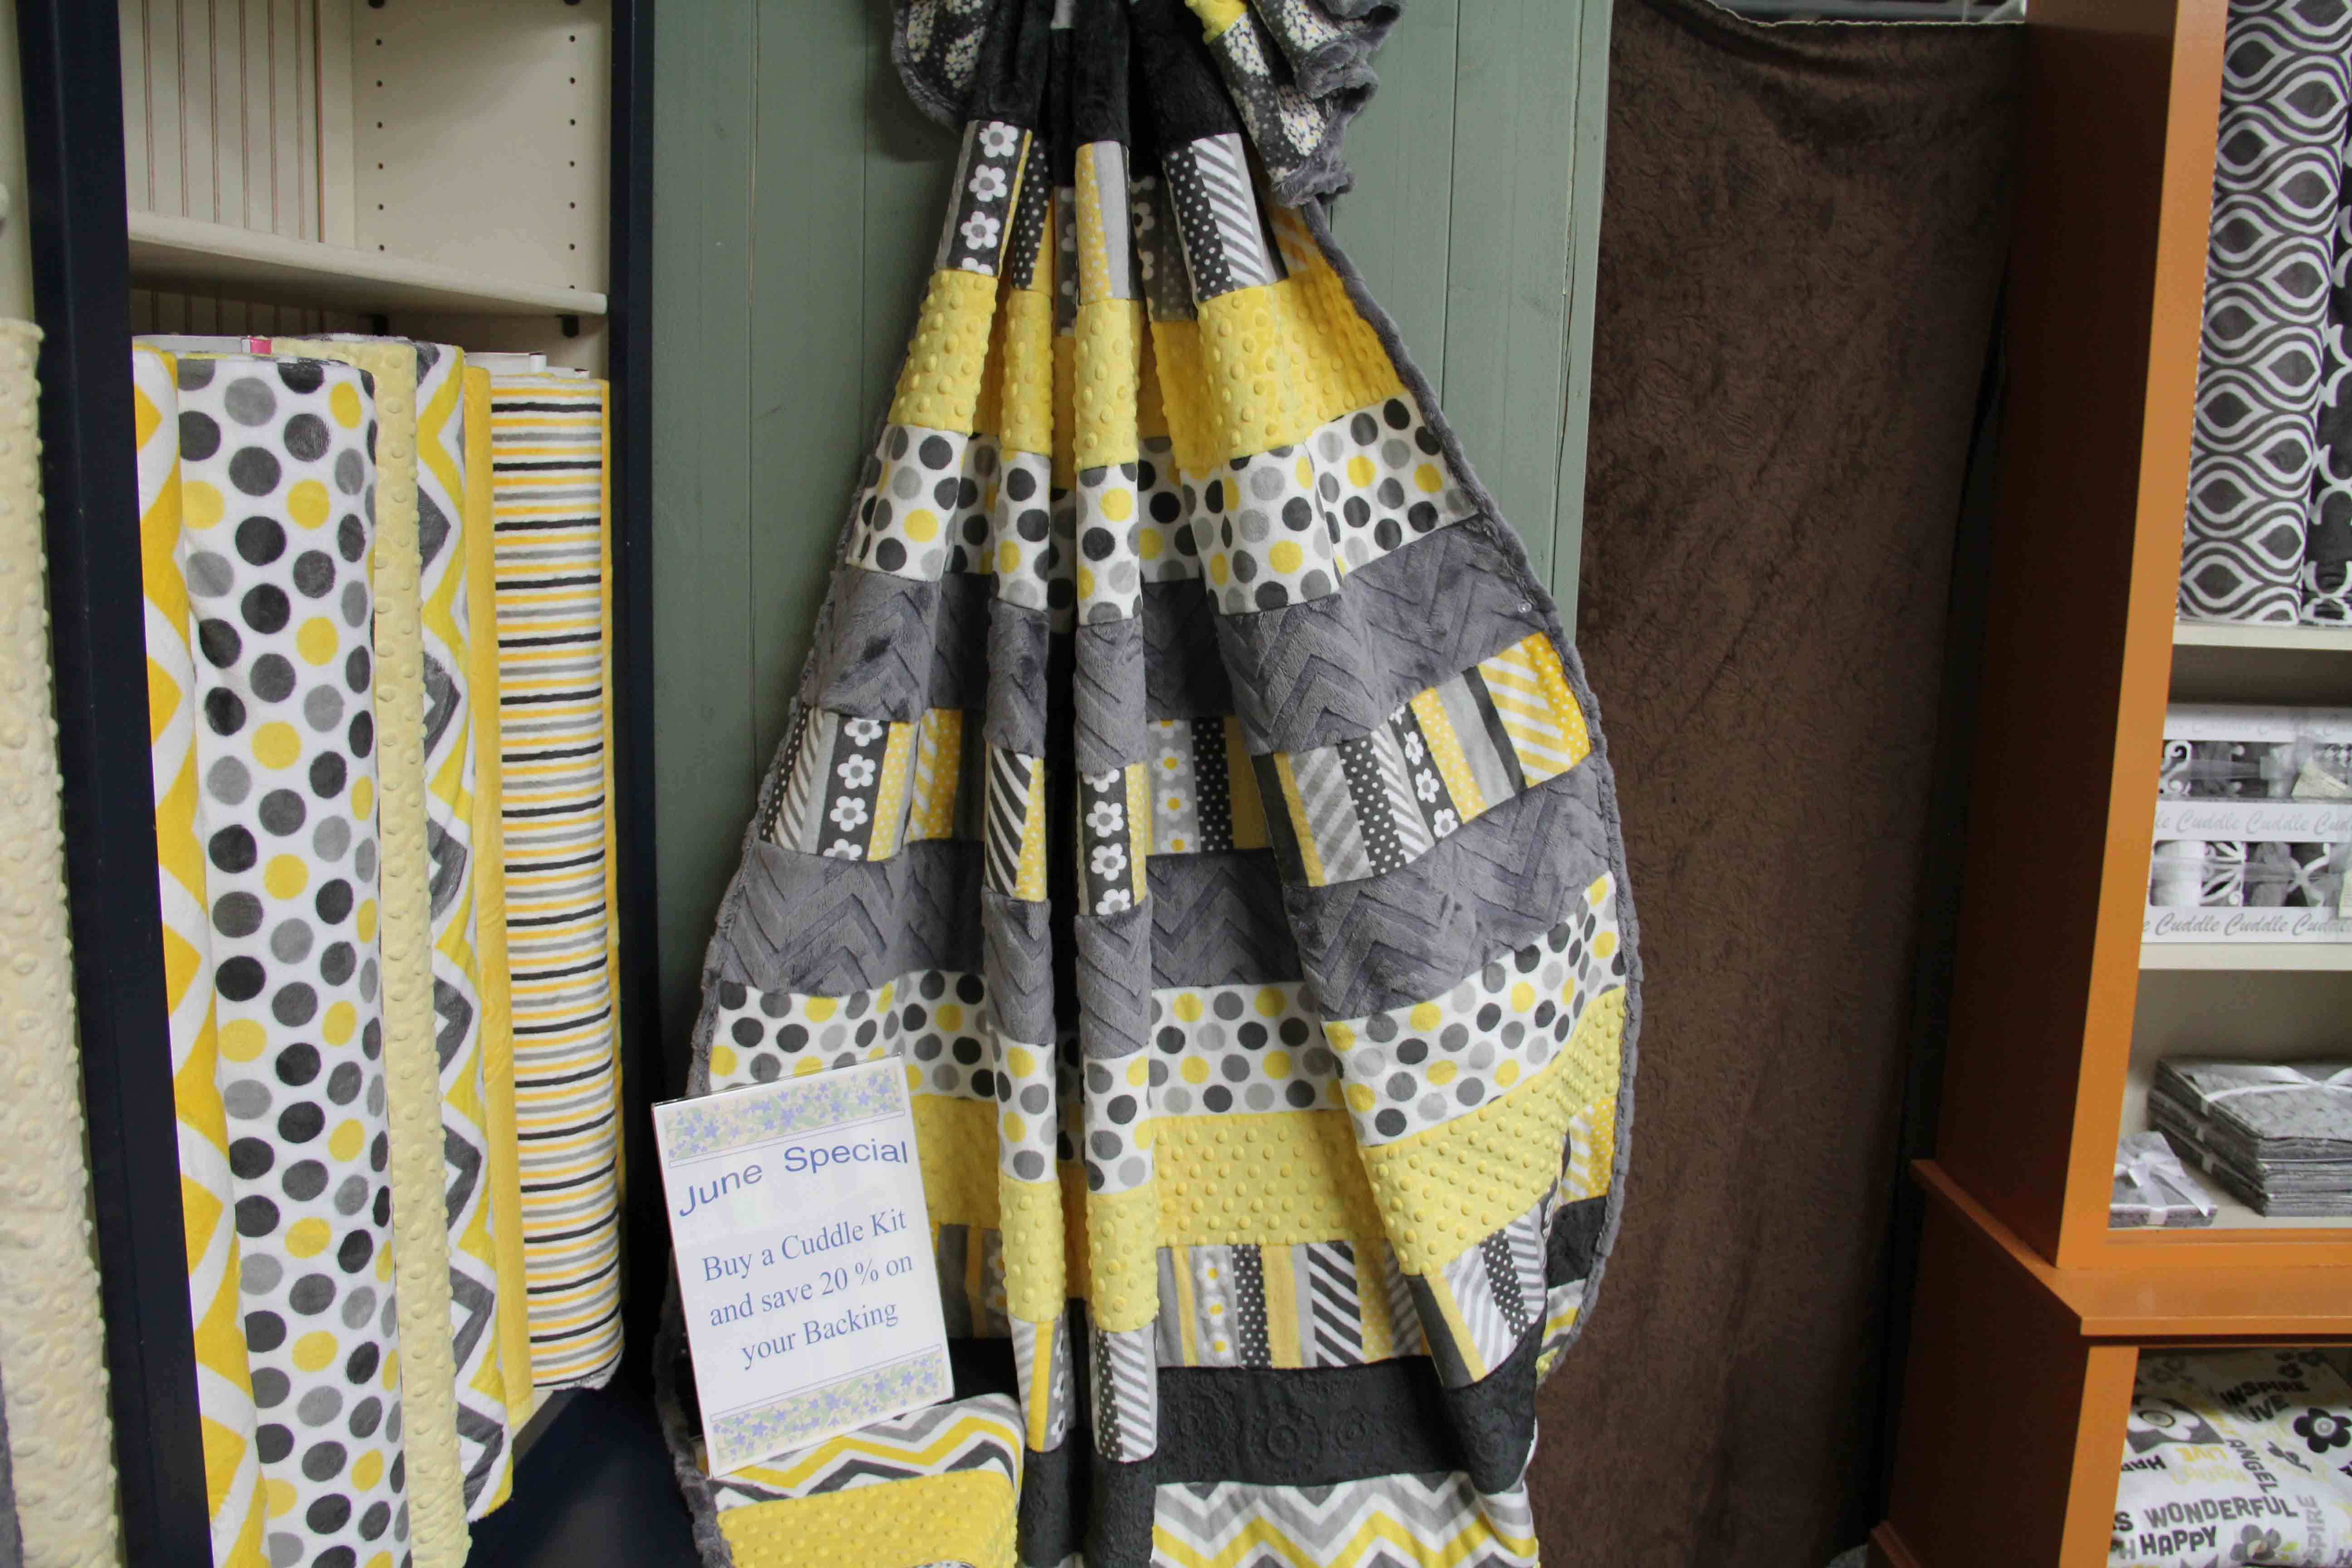
I was amazed at the wonderful things being done with minky!

cuddlecorner
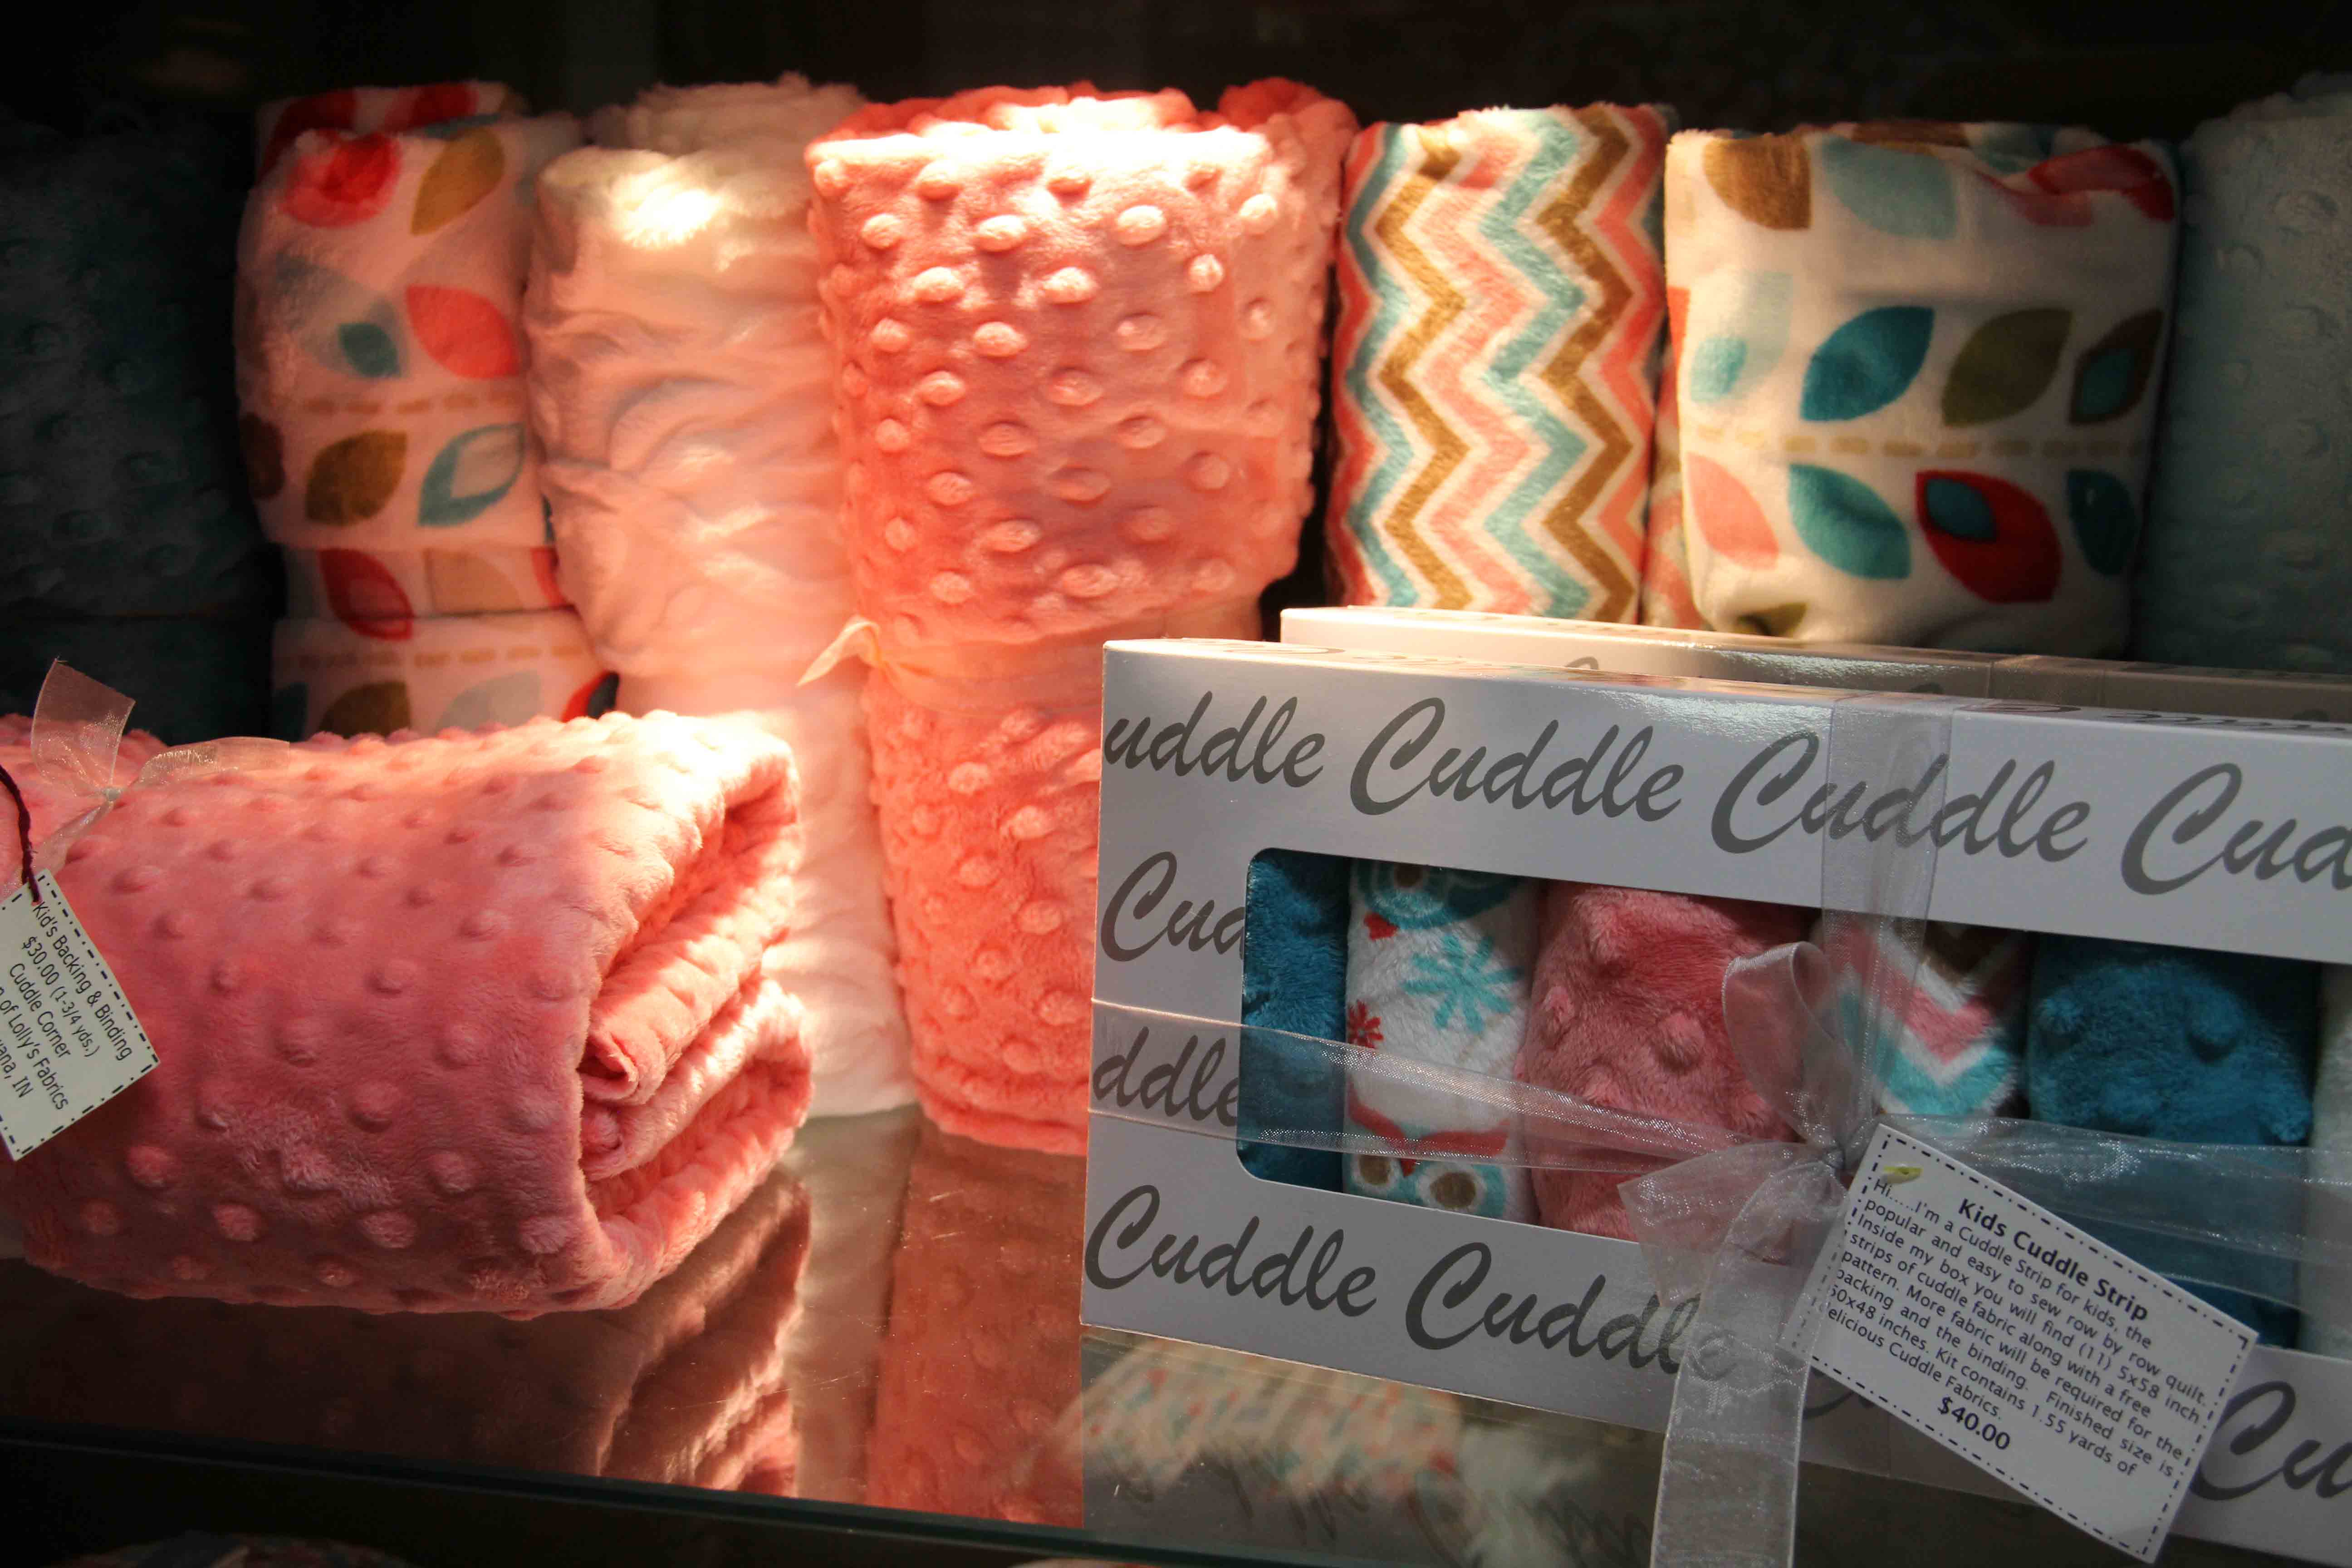
Fresh textures, colors and patterns…all in minky!  If you have a baby in your life, you need to stop here.  You won’t believe how soft and cuddly this stuff is.  If you’re like me, you’ll want one for your own home for winter snuggling.

Special tip from the gal at the counter: a stretch needle works best with minky.  We have this discussion at work from time to time…what needle for minky?  This gal says stretch is best and I believe her, but I will try for myself as soon as I sew up my quilt.

cuddlecorner2cuddlecorner3
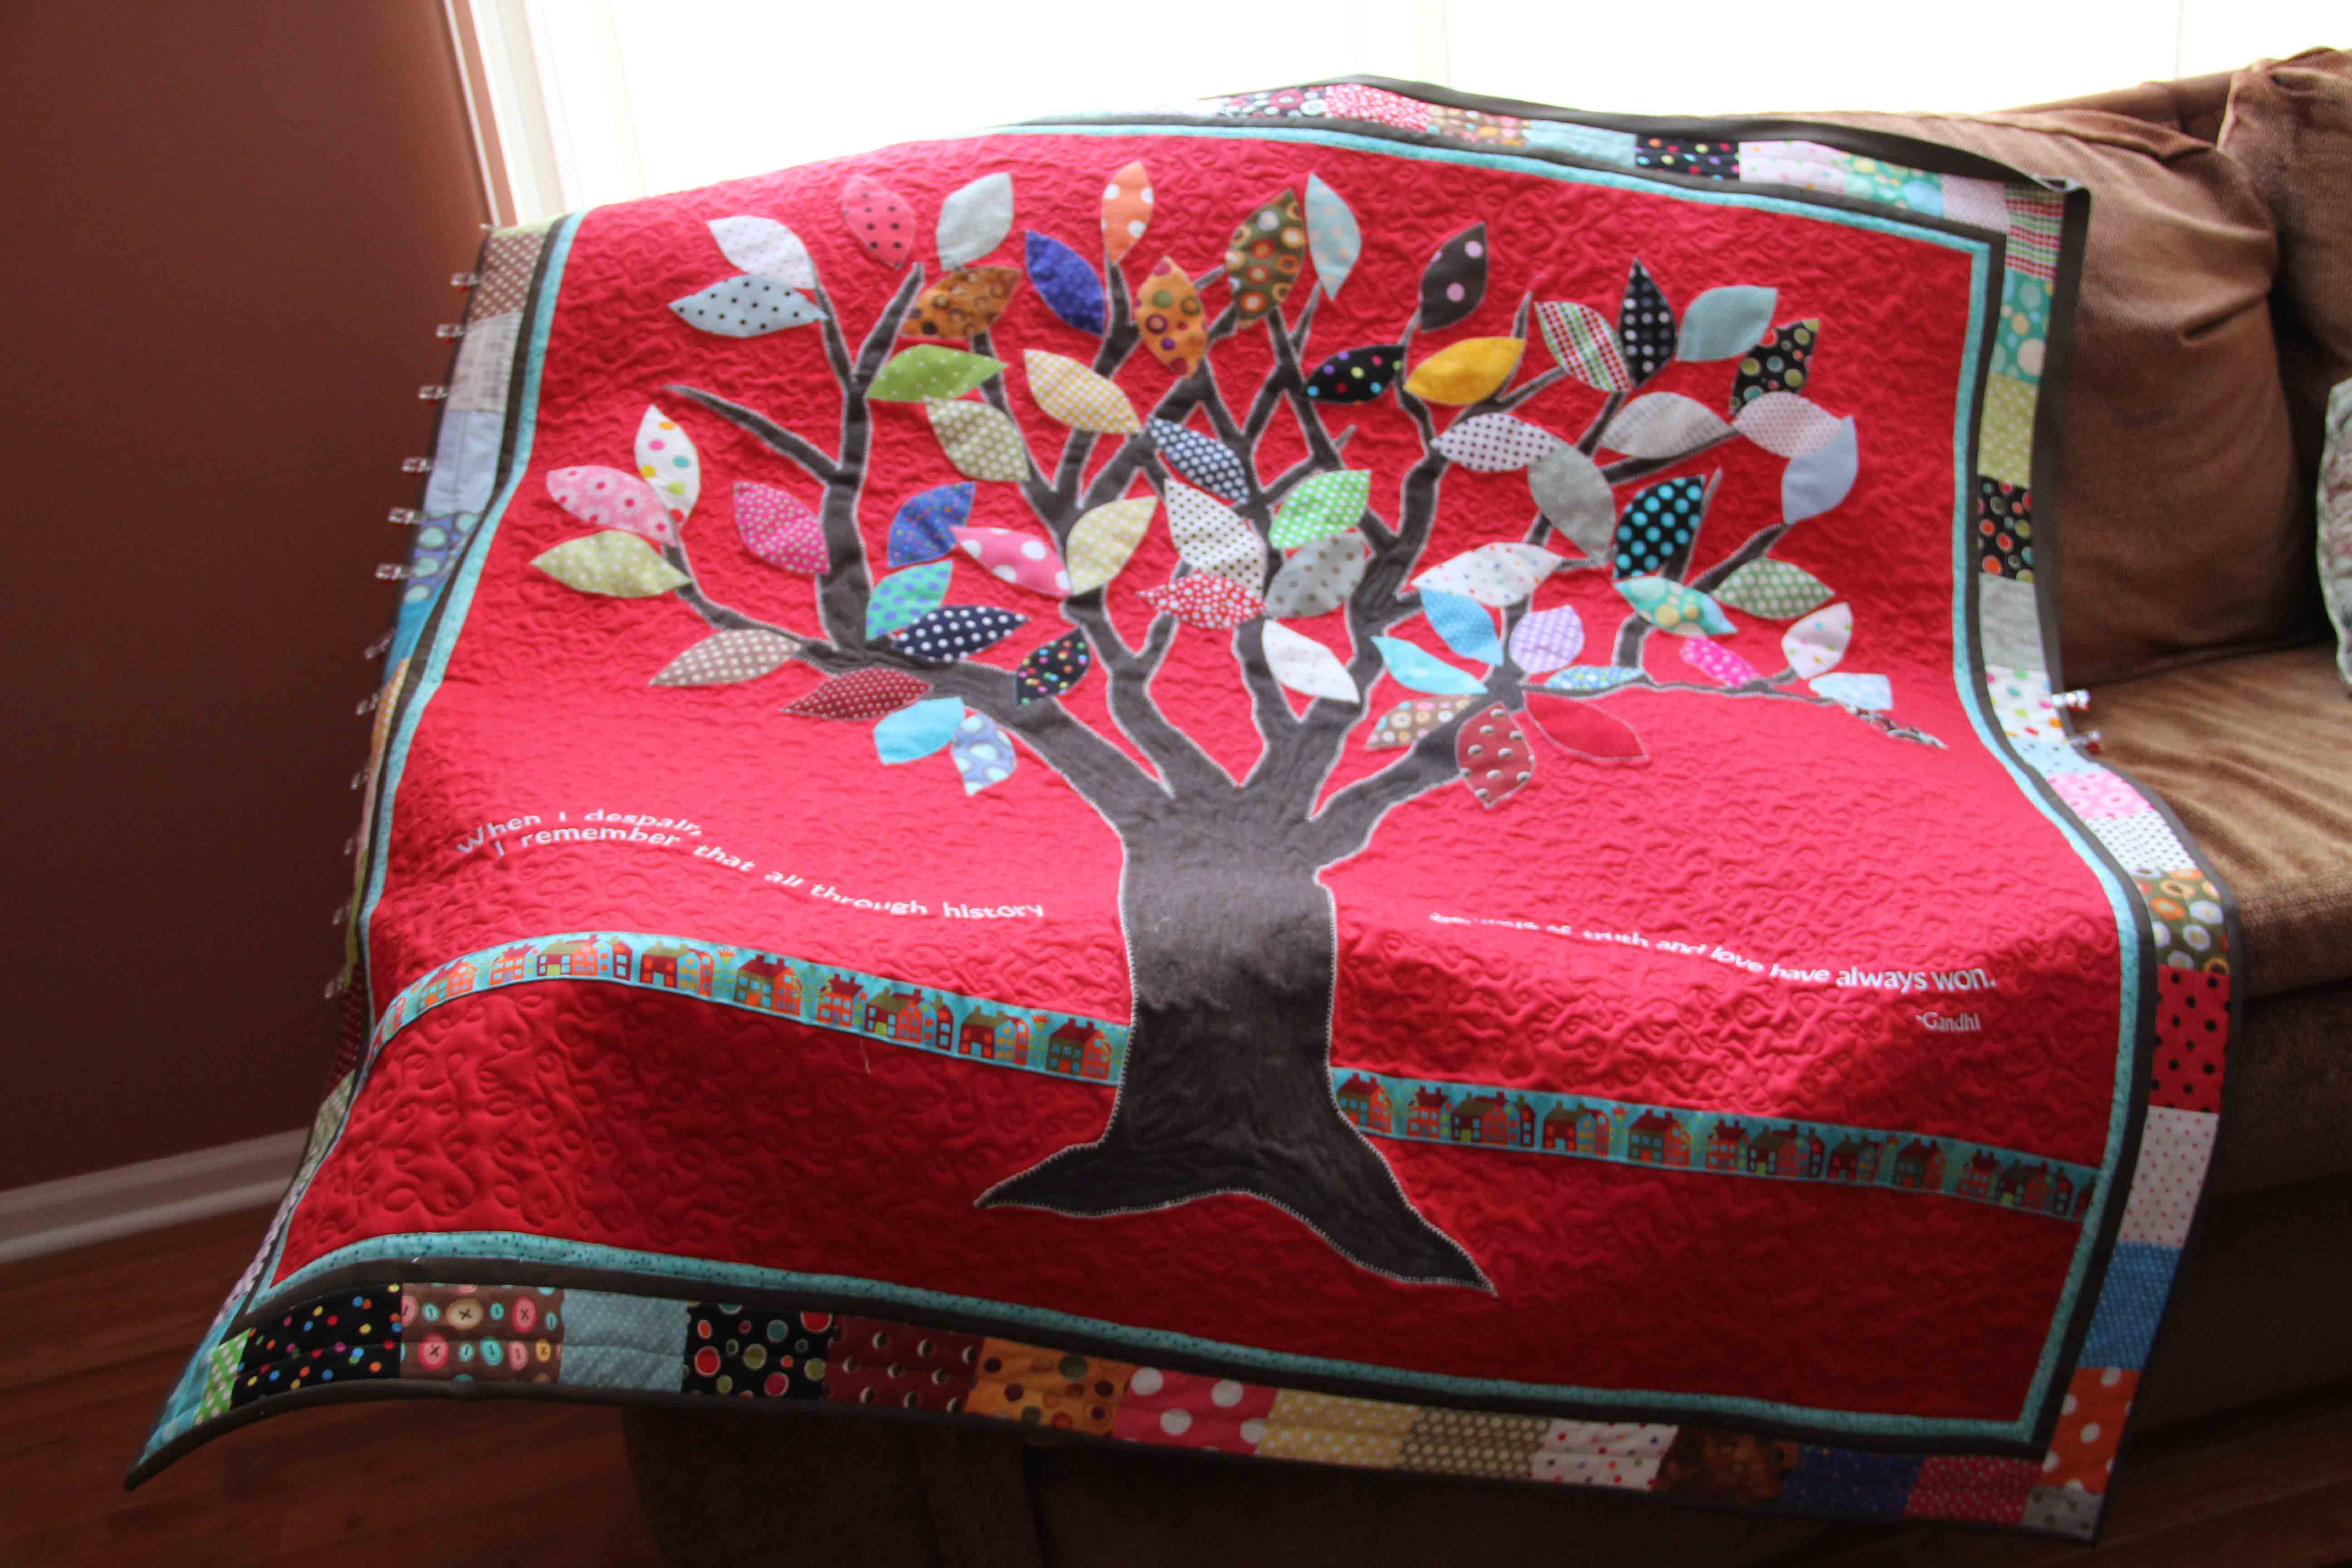
Around every corner in Shipshewana, you’ll find merchants that are selling hand-quilted quilts.  Having done a bit of this, I fully understand the time, effort and work that goes into these kinds of handmade masterpieces.

wallofquiltsIn the next post, I’ll share a few Amish handmade quilts I was shown when an Amish woman showed me the quilts she sells for herself and for other Amish women from her home.

Hint: absolutely breathtaking.

Quilting vs. Gardening: It Must Be June

I’ve been busy.  Too busy to write a blog.

And not only too busy, but too boring.  And while I don’t mind writing a boring blog, I’m not sure you want to read one.  All of that aside, I have also reached the point in the year where all good quilters/gardeners have to make some decisions.  Inside or outside.  Quilt or garden. Flowers and vegetables or blocks and table runners.

And while I may be able to hold it all in my mind simultaneously, I certainly can’t work on it all simultaneously.  So although I have some very ambitious sewing plans and classes lined up, as my farmer grandfather used to say (and do), “Make hay while the sun is shining.”  Of course, he made hay in August, but you get the idea.

In the hopes of providing a little temporary entertainment, here’s a gallery of recent flowers from the garden.  Most are done blooming, so I’ll be back in the sewing room shortly.  In the meantime…it’s summer…let’s all go for a walk!

Improv and More

I have started working on an improvisational quilt.

Basically , it means I start sewing before I have any idea what I’m creating. For anyone who knows me, this way of doing things is right up my alley.  I just purchased this book, “An Improv Handbook for Modern Quilters” by Sheri Lynn Wood.

improv2

Naturally, I flipped through the book and then started without so much as reading a paragraph.  I promise I will go back and read. The book looks great.  I just was inspired by the word “improv” and began immediately.

improv1


Here’s a sneak peak and to be honest , I don’t know how I will complete it. Just know that it’s a gift, so I don’t want to divulge the whole quilt til it’s been given away.  At that point, it’s done and there can be no regrets or turning back.  For now, it’s simply a work in progress.

In machine embroidery, I am preparing to teach a Software Inspirations class based on a tutorial from Sylvain Bergeron, Bernina educator.  In it, we learn to create textile fabric using embroidery…like argyle.

argyle1This is done completely in software, then stitched out as machine embroidery.  It can now be cut up and used as a handbag piece, or in a quilt, or basically used as any other fabric.  Would be fun to do a small series of these in different shades and then put them together as a quilt or table runner.  Although I’m sure this image looks black and white, the thread used in the squares is actually a mauve with white lines, on Moda’s black grunge fabric.

That being said, like many sewists, I spend a lot of time in the garden in the spring, head back into the sewing room when it rains or as the weather gets too warm and buggy to be hanging around outside.  I leave you with a few lovely pics from around the area this past couple of weeks.  The earth is stunning.

peonies2

Peony tree

Wild  phlox

Wild phlox

Crabapple tree

Crabapple tree

Adventures in Transfer Artist Paper

I love transfer artist paper.  I’ve used it a number of times with differing effects.

transfer artist paperYou can purchase this online or at craft stores, possibly your local quilt shop.

It works only with an ink jet printer, and your results will come easier to you if you have a little bit of experience in photo software, like Photoshop or Corel.

You print the image onto the paper and then iron the image onto your fabric.  The BIG difference between TAP and printing directly onto fabric paper is that the transfer actually becomes a part of your fabric…any fabric.  It never washes out.  It’s permanent.

botanical transferYou can see on this image that this botanical transfer prints right over the fabric and the underlying pattern shows through.  This particular print worked beautifully because it ended up looking like dew on the plant.  The instructions say you can print on wood, glass, stone, basically anything, as long as you can iron on it.  It takes a little practice but here are a few tips:

–Always use a hot DRY iron —  no steam.

–Remove the transfer while it’s still hot.

–Illustrations tend to look more interesting than photos, but worth trying both.

–Reverse anything with lettering before you print it on TAP or it will read backward.

–Cut as close to the image as possible before you iron it on your fabric.

–Try ripping the edges of your paper before ironing.  It gives a torn, aged effect.

–Experiment, experiment, experiment!  If you are a photography junkie like me, this is a great way to play with your images.

Here’s an example from the upcoming Software Inspirations program I’ll be teaching next week:

transfer artist paper 3I also added some embroidery to this project, which is actually a travel pillow.

cameraThe final image is from a Messenger Bag, the project I created from a previous Software Sampler lesson — a good text example of using Transfer Artist Paper to convey an emotion, a worn timelessness.

I’ll leave you with my all-time favorite quote from Macbeth:

Tomorrow and tomorrow and tomorrow,
Creeps in this petty pace from day to day,
To the last syllable of recorded time;
And all our yesterdays have lighted fools
The way to dusty death. Out, out, brief candle!
Life’s but a walking shadow, a poor player,
That struts and frets his hour upon the stage,
And then is heard no more. It is a tale
Told by an idiot, full of sound and fury,
Signifying nothing.

transfer artisp paper3

Photography and Stitching on Organza, with a Touch of Needle Felting

I worked on this piece several years ago, but I recently brought it out again because of my work with Transfer Artist Paper. (I’ll show you that in my next post.)

In this example, I transferred my photography onto printable organza.  You can buy sheets at an art supply store or even an office supply store…certainly online as well.  They are designed for ink jet printers only.

printable organza sheets

I played with black and white photography and used a (more or less) abstract photo and began a collage. stitch on organza  You can see from the photo that I added a number of different layers of texture — background fabric, organza photo, embroidery.

And believe it or not, the whitish fabrics floating a little ghost-like around the edges, are used-up bounce dryer sheets.  They are shredded and needle felted onto the surface, with embroidery on top.  (Incidentally, the photo is a detail of a wrought iron gate on the side of the road, which surrounded an old farm family tomb.  It is just down the street from my house. The gate has since collapsed and been replaced with something much less ornate.  But the tomb remains.)

In the detail below, you can get a good look at the needle felting used to attach the organza and the dryer sheets.  On the organza, the more felting I did, the more the organza began to sort of pull apart and shred, which gave it a wonderful, antique faded look.

detail machine embroidery

detail needle punch organza

The embroidery over the top added a whole new level of detail and interest. This is one of those experimental pieces that gets more interesting the closer you look.  I really enjoyed playing with textures other than simple quilt cotton.  Our sewing machines are designed to sew through many different types of fabric and materials.  While quilt cotton is easily accessible and stunningly designed these days, you just never know what fun things you can use in your “art quilting” travels.

Art and Art Only

“Art and art only can cause violence to be set aside.”  –Leo Tolstoy

For anyone with a child in the school system within the last 15 years, you know what STEM stands for:  Science, Technology, Engineering, Math.

Experts (MANY experts)  tell us that’s what all our children must be trained in, in order to move the country forward, in order to get jobs, in order to be successful.

Do you agree?

As for me, I have mixed feelings.  No doubt, STEM provides key strengths for our kids to make a living in the future.  No doubt, we all need these skills to build infrastructure, cure diseases, and solve problems.  No doubt.

Where, then, in society, do we learn more subtle skills?  Things like anger management, empathy, caring for one another, caring for the planet and the rest of the world around us?  Or even less subtle skills like critical thinking, decision-making, morality, justice and local and global citizenship?

In the last election, only 12% of 18-30 year-olds even bothered to vote.  I wonder what percentage of them own a smart phone.  My guess is somewhat more than 12%.

“Art and art only can cause violence to be set aside.”

Tolstoy had a wide vision of art:  literature, paintings, music, poetry, drama.  Soft skills to say the least.  Don’t get me wrong.  I love doctors, scientists and engineers…(I’m married to one).  But STEM is only useful when it is accompanied and partnered with creative thinking, creative expression, beauty, appreciation, and acceptance of our common humanity.

IMG_2466My embroidered tablecloth and fabric tulip vase. I ‘ll teach it at a Software Inspirations class.

IMG_2468


What Have You Done With Machine Embroidery Lately?

machine embroidery2I ask myself that all the time.

My latest project is one I’m doing for work, which will be for a class in April.  It’s a part of Bernina’s Software Sampler presentation.  I am stitching out a ring of 8 designs to be used (ultimately) on a tablecloth for a round table.

It’s far from complete, but I promise to show you when it’s done.

But what’s new in the home embroidery industry?  Well, that’s where this gets interesting.

I have a few favorite sites that I visit, but I’ve noticed some trends and thought I’d share some of the best with you.

Urban Threads, always on the cutting edge (no pun intended) of embroidery, has a new Look Book out. You have to take a minute to browse…very fun stuff.

You’ll notice that lettering, in many forms, has re-emerged as one of the most popular uses for embroidery.  I see this trend at work very often as well.  Everyone wants an item that is personalized, whether that is for a wedding, or just a simple monogram, the birth of a baby, you name it.

Bernina has just released new, inexpensive software that lets you add lettering to any embroidery design or just create your own lettering in any true type font that you have loaded on your computer.

This is a big deal.  In recent years, Bernina’s software with lettering had an entry price of over $1000.  The new software, called Customizer, saves to any machine format and is available for under $250 at any local Bernina dealer.  But, as I say, anyone with any type of embroidery machine can use this software. Find out more about it here.

And all you techies looking for something new and fun for your machine embroidery?

I found just the thing.

Janome has introduced an app for ipad or android that is called AcuDesign.  It’s a $49.99 app.  But before you get nervous about the price, you have to see all that it does:

–Comes with 500 designs.

–Allows you to see animated stitch-outs.

–Edit your designs.

–Resize them.

–Send them directly to your email when you want to stitch.

–Save in any format, work in any machine’s hoop.

acudesign2acudesign1Might be hard to see on my ipad in this picture, but the way you scroll through the various designs is so easy, and the work screen is intuitive.


And if you ever need more info, Janome has created a webinar, over an hour long, that goes over all the features. (Love these gals in the webinar, they sound like people I should know!)


Finally, I am seeing a bump in interest in crazy quilting.  The website mollymine.com has a lovely collection of crazy quilt designs, from quilt blocks to holiday-themed.  And our friends at Designs in Machine Embroidery have featured crazy quilting on the front cover of their April issue, with a free crazy quilt design available.

dime


Soooooooo…..what have you done with machine embroidery lately?

We have a world of opportunities in front of us. And we haven’t even looked at Pinterest yet.

(Yet.)

Do You EQ?

If you haven’t heard of this yet, EQ (Electric Quilt) is software used for designing quilts.

And it’s very reasonably priced.

I had the opportunity, recently, to learn EQ7 and get to know EQ expert, writer and educator Barb Vlack.  Within minutes, she had us designing quilts.  Barb will be teaching Electric Quilt at International Quilt Festival in Houston.  If you are interested, I highly recommend her class.

As you can imagine, the program gives you rotary cutting instructions, fabric yardage and templates to complete your design. Their website Electric Quilt offers training, books, downloadable fabrics and tons of other support materials.  The blog, doyoueq.com offers a quilt club, challenges, and a stunning, stunning quilt gallery of customer’s designs, laid side by side with the quilts they then produced from the designs.

Did I say stunning?

electric quilt 1After only a few minutes of playing in the software, I designed this quilt.

electric quilt 3With another click it became this.

electric quilt 2Now it may take a little longer to actually sew it.

Or I can choose to just enjoy it and sew it later. Or never sew it.

But it’s still fun to discover the possibilities — my unique possibilities. You can create your own appliques, and with a plug-in, you can even create your own embroidery.  The ideas are endless.  The program comes pre-loaded with something like 4500 blocks and designs, so if you never create a block yourself, it will still keep you busy for the rest of your life.  And you can also display fabric instead of just colors. These images I’m showing? They would make great greeting cards — more ideas.

I could see myself getting lost for days in this software.

But what a terrific way to challenge ourselves, learn new techniques and explore design.

Do you EQ?

Maybe you should.


Polka Dot Finale

I am crossing the finish line.

Still sewing the binding, but the quilt label is done, the sleeve for hanging is complete and all I have left is the last bit of hand stitching to pull it all together.

The red background is twill, the tree is wool and the rest is cotton, with a wide variety of thread weights for applique.

For everyone who participated in the Polka Dot Fabric Exchange, I THANK YOU!  Your fabric is lovely, especially when it’s pieced together with everyone else’s!

I really enjoyed challenging myself with this project, as it was a meaningful way of bringing together quilters from around the world.

For fun, I thought you might like to see the creative journey, step by step in images.  Dedicated to quilters everywhere…we’re all on the same family tree!

sketchPolka dot Exchange

Notes from the Exchangeperlefinaltreedrawingtree1polkadot tree1polkadot tree1IMG_3294IMG_3293Scribbling a thought at the breakfast table.


The fabric begins to come in from all across the US and the world.


I am moved by the notes attached to every fabric square, so I saved them.


Testing for applique.


Getting an idea of how the tree will look.


Transferring the drawing of the tree.


Cut out and fused down.


Leaves have been cut out and placed for position.


All appliqued, embroidered, quilted, just about done.

Hugs to my polka dot friends!

Book Cover Obsession

I love to read.

I love to read so much that my house is overflowing with books in basically every room.  I give them away, I stack them, I loan them and I cherish them. When I die, someone will have to go through all of them, because many are signed by the author or are first editions. I’m hoping to organize them.

Some day.

And I read them on a Nook too.  Just not enough.  I like to read nonfiction digitally.  I enjoy magazines online or on the ipad or on the Nook. I read biographies there, health, political books–anything I’m likely to read once and toss aside.  But a delicious, yummy, hefty fiction in a dreamy setting with characters I want to have as friends, and a storyline that goes on forever with themes…oh my…themes that resonate with the deepest part of my own flawed character?

Well, those are the books I want to carry around forever.  I want to touch them and hold them and..and…interact with them. I want to turn pages and go back to pages and look up dialogue and descriptions, and just enjoy holding them.

So I still read books.  The old-fashioned kind.

And what does someone do who loves both books and fabric?

Cover the books. In fabric.  I cover my favorites and I make covers in different sizes and move them around on the books I’m reading at any given time.  This is the easiest thing in the world to do, especially if you have a serger.

First find yourself the softest fabric – the stuff you want to pet the most.

I use a pattern from a book called “Ready Set Serge” by Georgie Melot. It’s one of the best beginner serging books I’ve seen.

IMG_2240[1]Most people don’t really know what to do with a serger, but once you learn to use one, you’ll never want to be without it.  They finish and cut a seam at the same time. They’re fast.

They are the best possible way to sew knits or garments. They are another tool in your belt, and like all tools, take a little training.


IMG_2241[1]I have a Babylock that was given to me by my mom several years ago. (She has a pacemaker and because the motors in segers are so strong, she is not supposed to get too close to them in action….isn’t that strange?) Anyway, sergers are notorious for being hard to thread, and with 4 threads, there’s definitely a knack to it.  The handbook is invaluable because I still use it every time I change settings.  However, for a 4-thread overlock, which I use the most, I just leave the serger threaded off to the side of my workspace, and simply plug it in when I am ready to work.

IMG_2238[1]

The book covers require 4 straight cut pieces of fabric: cover, lining, and 2 side pockets. Plus one piece of ribbon to use as a bookmark. That’s it.  The sizes do change based on the size of the book, so you may want to experiment a little with the pattern.


crop


You can see that I make notes on patterns that I use often.  I’ve never met a pattern I didn’t want to modify. This way I know exactly how to cut the fabric for any particular book.


Her directions are very straightforward.  These sew up in about fifteen minutes, so of course, you’ll want to start a collection of them yourself.

IMG_2244[1]

This is what a great 4 thread overlock stitch should look like. No pulling or bunching, lying completely flat, with the thread from the back side running right along the top of the edge of the fabric (that might be hard to see in this pic with the white background).


So the next time you find yourself snuggling up with a book, think about making a cover for it. What a tactile way to combine the pleasures of the mind with the pleasures of the senses.

IMG_3138