I know I’m getting ahead of the game, thinking about Easter. But I felt like I needed a bit of Easter cheer early on, so these are what I found.

Do you have an embroidery unit you haven’t taken out of the box? (You know who you are, my friends.) This is about as simple a project as you can imagine.
Go to embroideryonline.com and search for “in the hoop”. Just download them onto a USB stick.
Prepare some fabric…you only really need scraps. And find some scrap batting. You know, the stuff you cut off around the edges of your last quilt.
Tip: After cutting small amounts of batting on your cutting mat, use a lint remover to clean up the batting.

Here’s the trickiest part. You need a nylon zipper. At least 7 inches. These are unbelievably common in the sewing world. Anything over 7 inches will work.
I used 14 in. zippers because that’s what I had on hand. Here’s a source that your local quilt shop may have even used: atkinsondesigns.com
And here’s a bonus. If you purchase her zipper pulls, you can easily change the color of the pull. Here’s instructions on how to do that. Your life will never be the same.
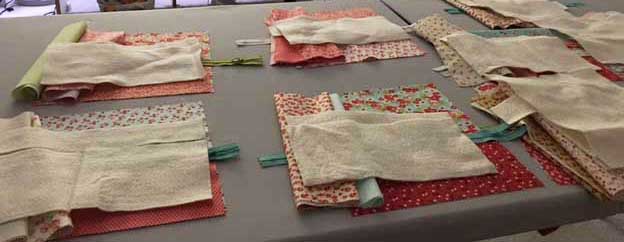
Back to the Easter egg pouches. I’m sure they come with instructions but I never read them. (Surprise, surprise.) Take some scraps of batting, approx, 6 inches x 6 inches, along with some scraps of fabric, about 6 inches x 12 inches. You’ll need 2 of the smaller size for the top and bottom half of your egg, a larger quilt sandwich for the backing/lining.

Wrap the smaller size fabric around the batting, so you have a straight edge to lay against the fold.
As you can see here, I didn’t even cut my scraps with any precision, as they will be completely trimmed away. You are just making sure that the batting is covered front and back. The fabric shown is Modern Quilt Studio’s Dot Crazy. I love this because it has fabric with a line of larger dots through the center…no piecing necessary.
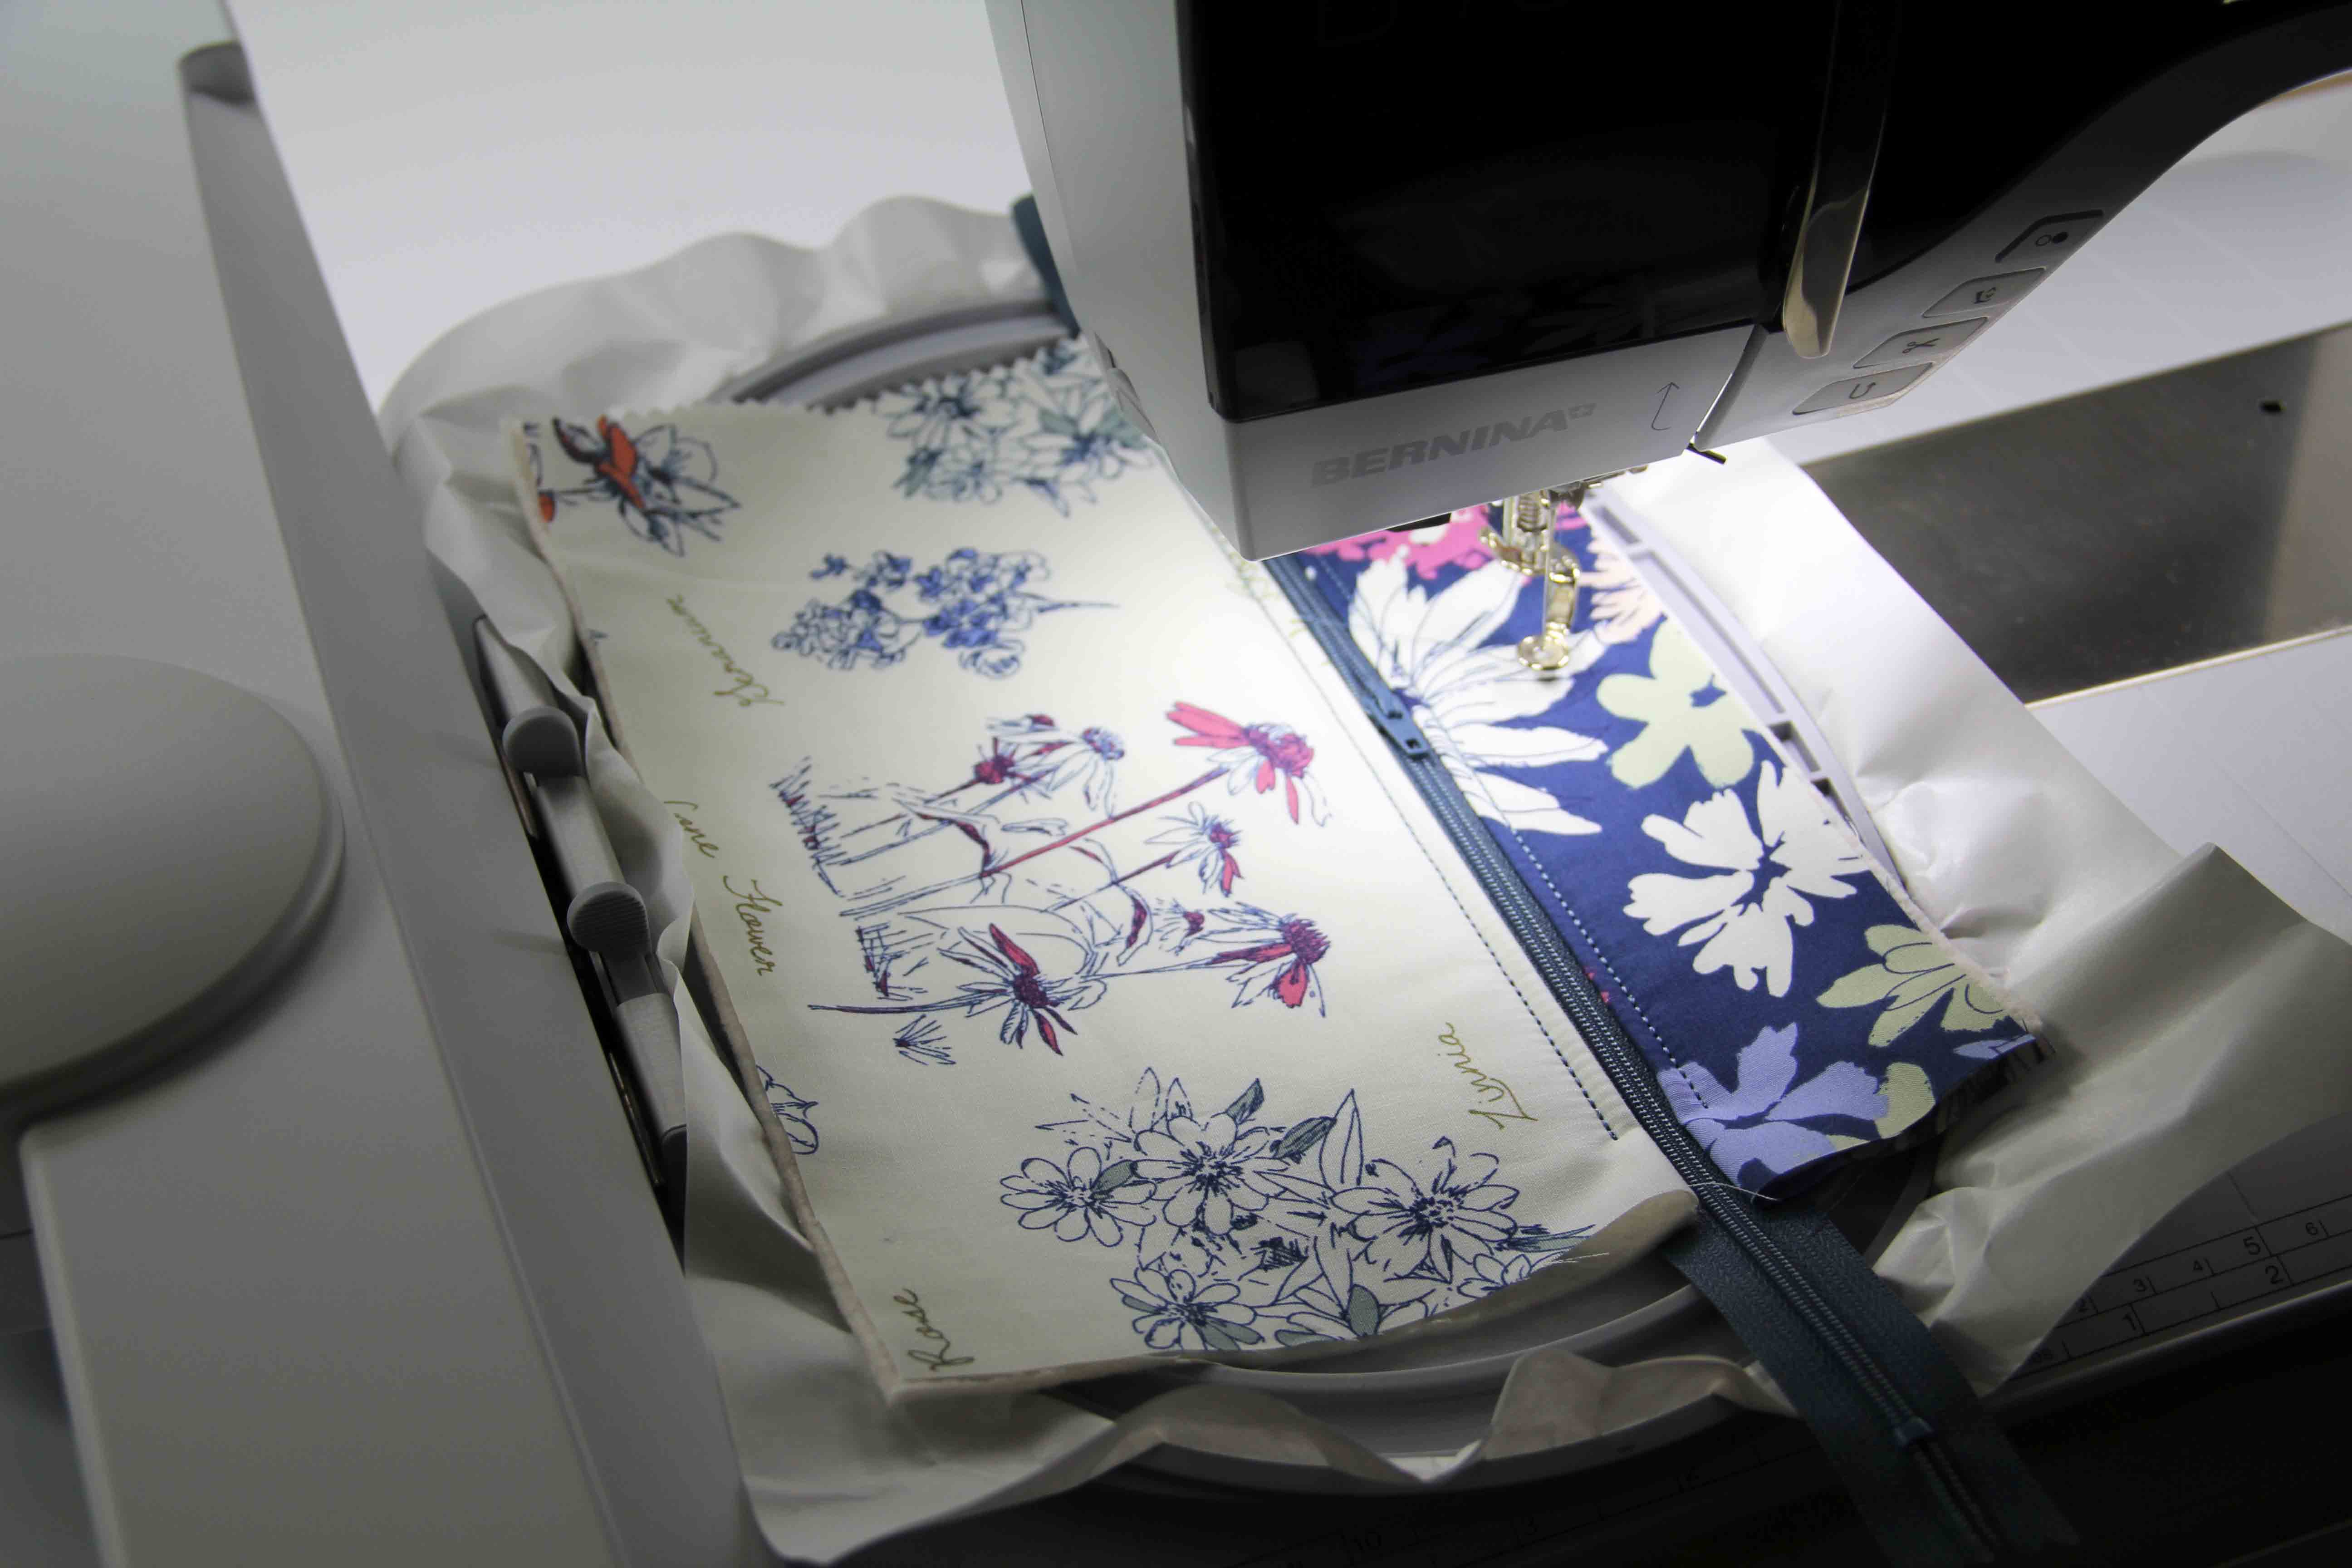
Hoop your large oval or any 5 x 7 or larger hoop with sticky back tearaway stabilizer. I used OESD Stabilstick tearaway.
The design will walk you through all the steps on your machine. The first stitch out will be the placement line for the zip, which stitches directly onto the stabilizer.

Then stitch down lines on the zipper, then you lay down the top part of the egg with the fold right up to the zipper. The design will then stitch across the top fabric on the zipper. The goal is to make sure you have enough fabric wrapped around the batting to cover both sides of the egg.
Next, it will stitch the top half of the egg down.

Then lay your bottom fabric with the fold up against the zipper, as you did with the top. The next stitch will secure the bottom fabric to the zipper, and the stitch after that will secure the bottom half of the egg.


Move your zipper pull to the middle of the design!
This will allow you to turn the pouch inside out once it has been stitched. Now, you can also add a ribbon or handle at the top before the backing/lining is stitched down. (As I did). Add a quilt sandwich with the backing and lining down on top.
The final stitch is a zigzag to secure the seams.

This entire stitch out is a total of 6 minutes–almost as long as it take to read this blog post. These are easy and really quick, using fabric and scraps you likely have lying around.

When you take it out of the hoop, trim close to the stitching. Remove the stabilizer from around the zipper, and then open the zipper as far as you can. This will help when you turn the bag inside out. Remove as much of the stabilizer on the rest of the bag as possible. You should only see a bit of stabilizer around the outside seam, and a tiny bit where the zipper is attached. Everything else can be removed. Turn your little egg inside out and press.

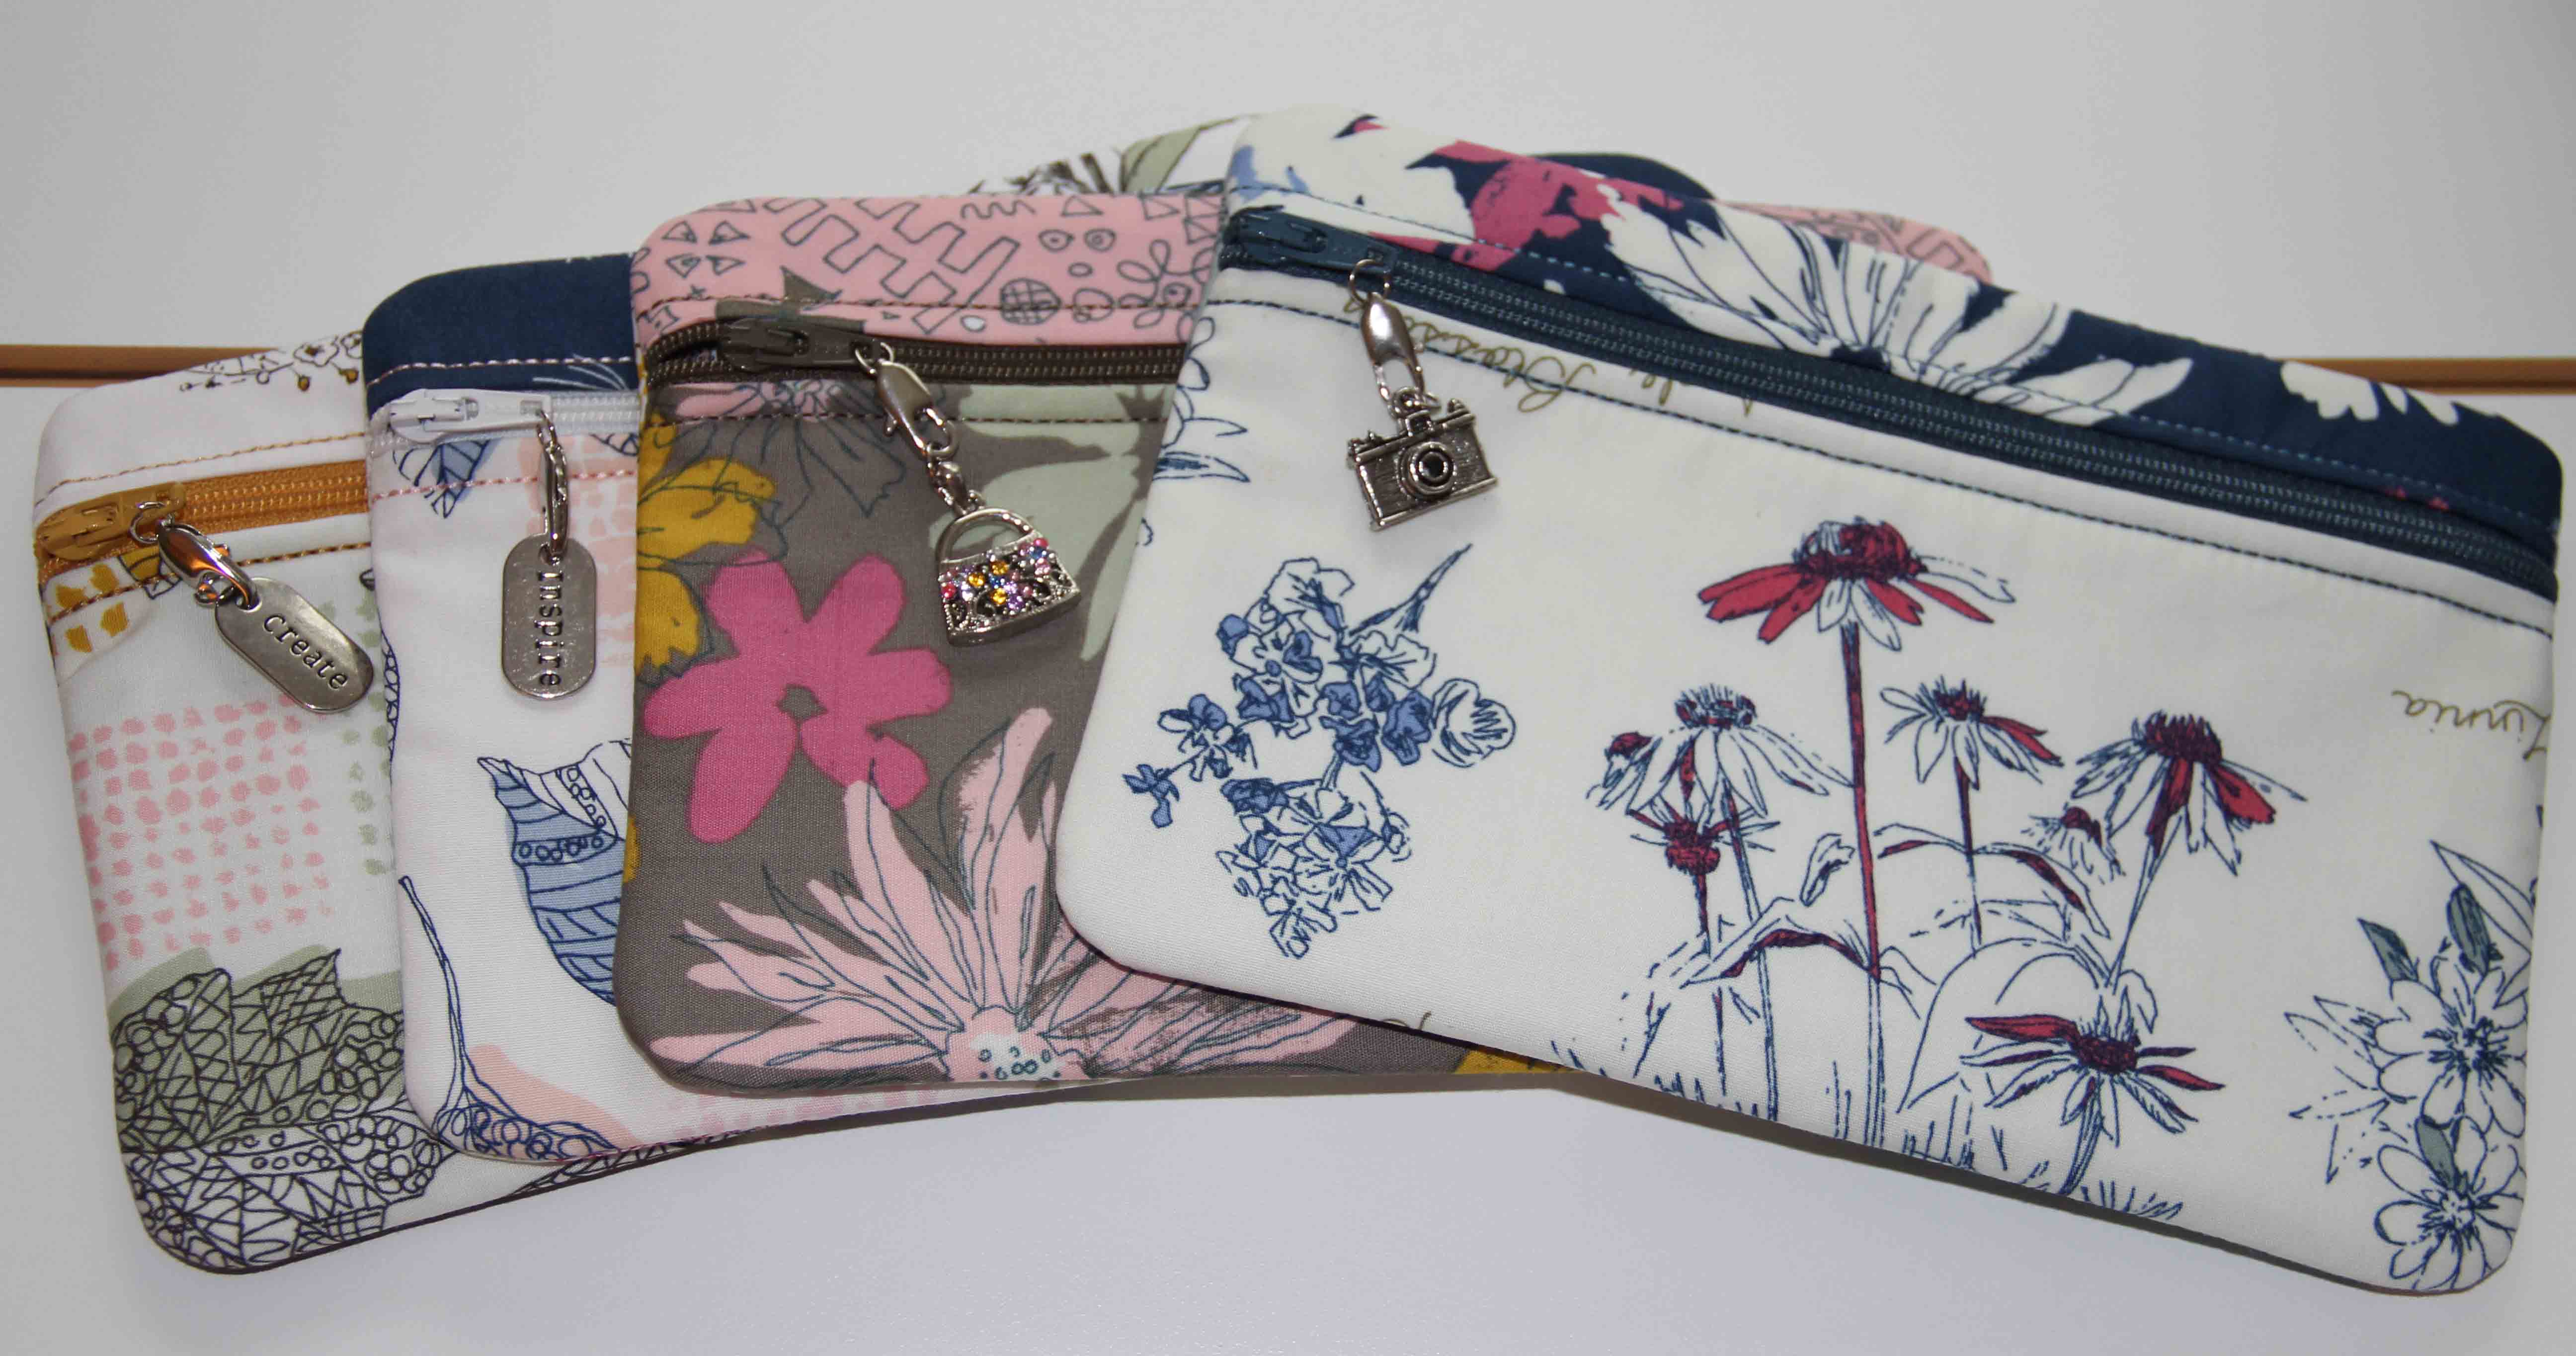
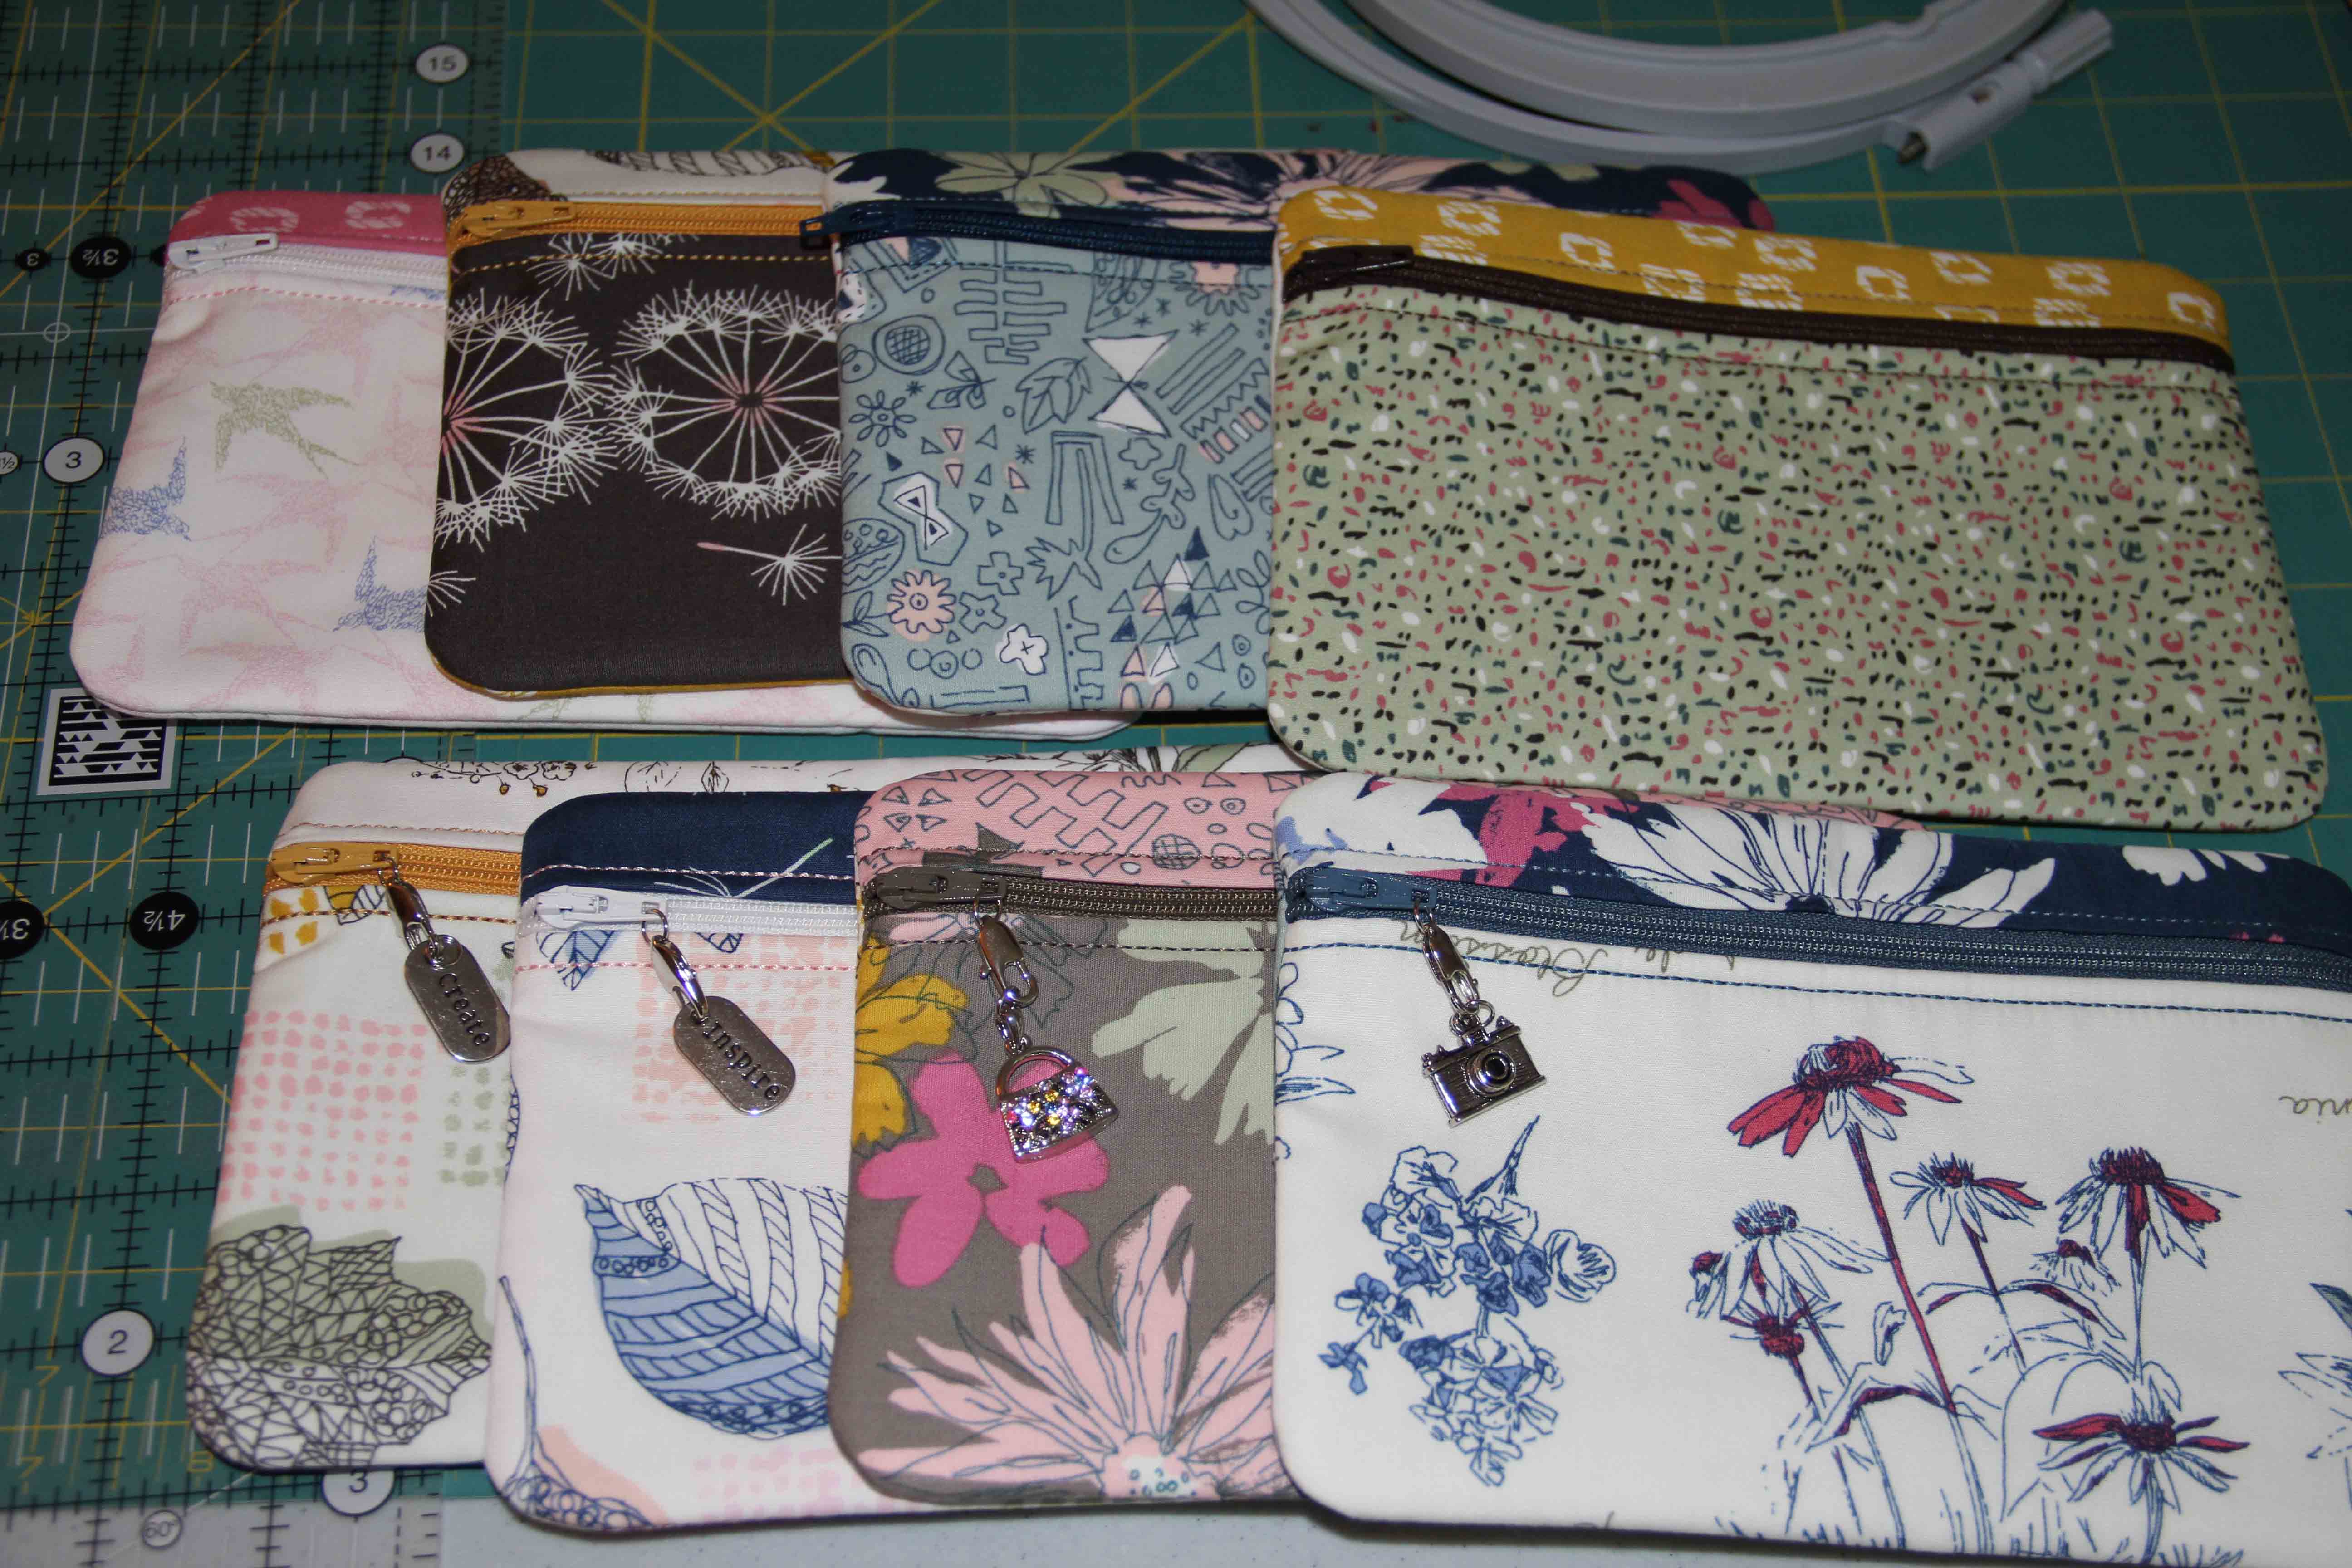
Use your egg pockets as decorations or gifts–a great gift card holder or candy pouch!

Now reward yourself with fine chocolate.
Valentine’s Day is coming after all.