It’s been a long time since I posted. It’s been a long time since I finished a project. For some reason, I thought I could whip this one out without much trouble.
And, to be fair, it wasn’t *that* much trouble. But I had my moments. This quilt pattern is from Lori Holt. She has a book entitled Vintage Christmas. It’s darling and I highly recommend it, even if you just look at the pictures, as I have been known to do with most of my books. Or worse, I purchase the book, make one quilt and never open the book again.
But this one has a lovely vintage sampler quilt on the cover and the colors are cheerful, and I think I may make some of the 6 in. x 6 in. blocks.
That’s the only problem with the book. It’s meant to be scrappy, so she gives directions for one block at a time. So if you are making 6 cars, as shown above, you have to multiply all the directions by 6 if you want to make the larger quilt. She does then have directions for assembly. It’s hard to describe, but I like a quilt pattern that tells you ALL the fabric you need right at the beginning. If I wanted to do all the math myself…well I would have spent more time on math in school and less on art.
But in the end I figured it out and got it quilted in time for the holidays.
I’m ready to try something that requires a bit more creativity…drawing, painting, something like that. I also want to do some price-checking on quilt cotton. I want to monitor the price of simple white solid and see where it is over the course of a year or so.
With my husband’s help, I had AI do some querying for me to gather pricing info. We had to create a script for it to go out to several web sites and bring back the price of quilt cotton.
Sadly, we’re still working out the bugs with AI, but as a human, I can go out and monitor the prices myself. I don’t know if that would be something anyone is interested in seeing. Let me know in the comments if you would like to see a “ticker” or something like that giving the average price of quilt cotton fabrics across the country.
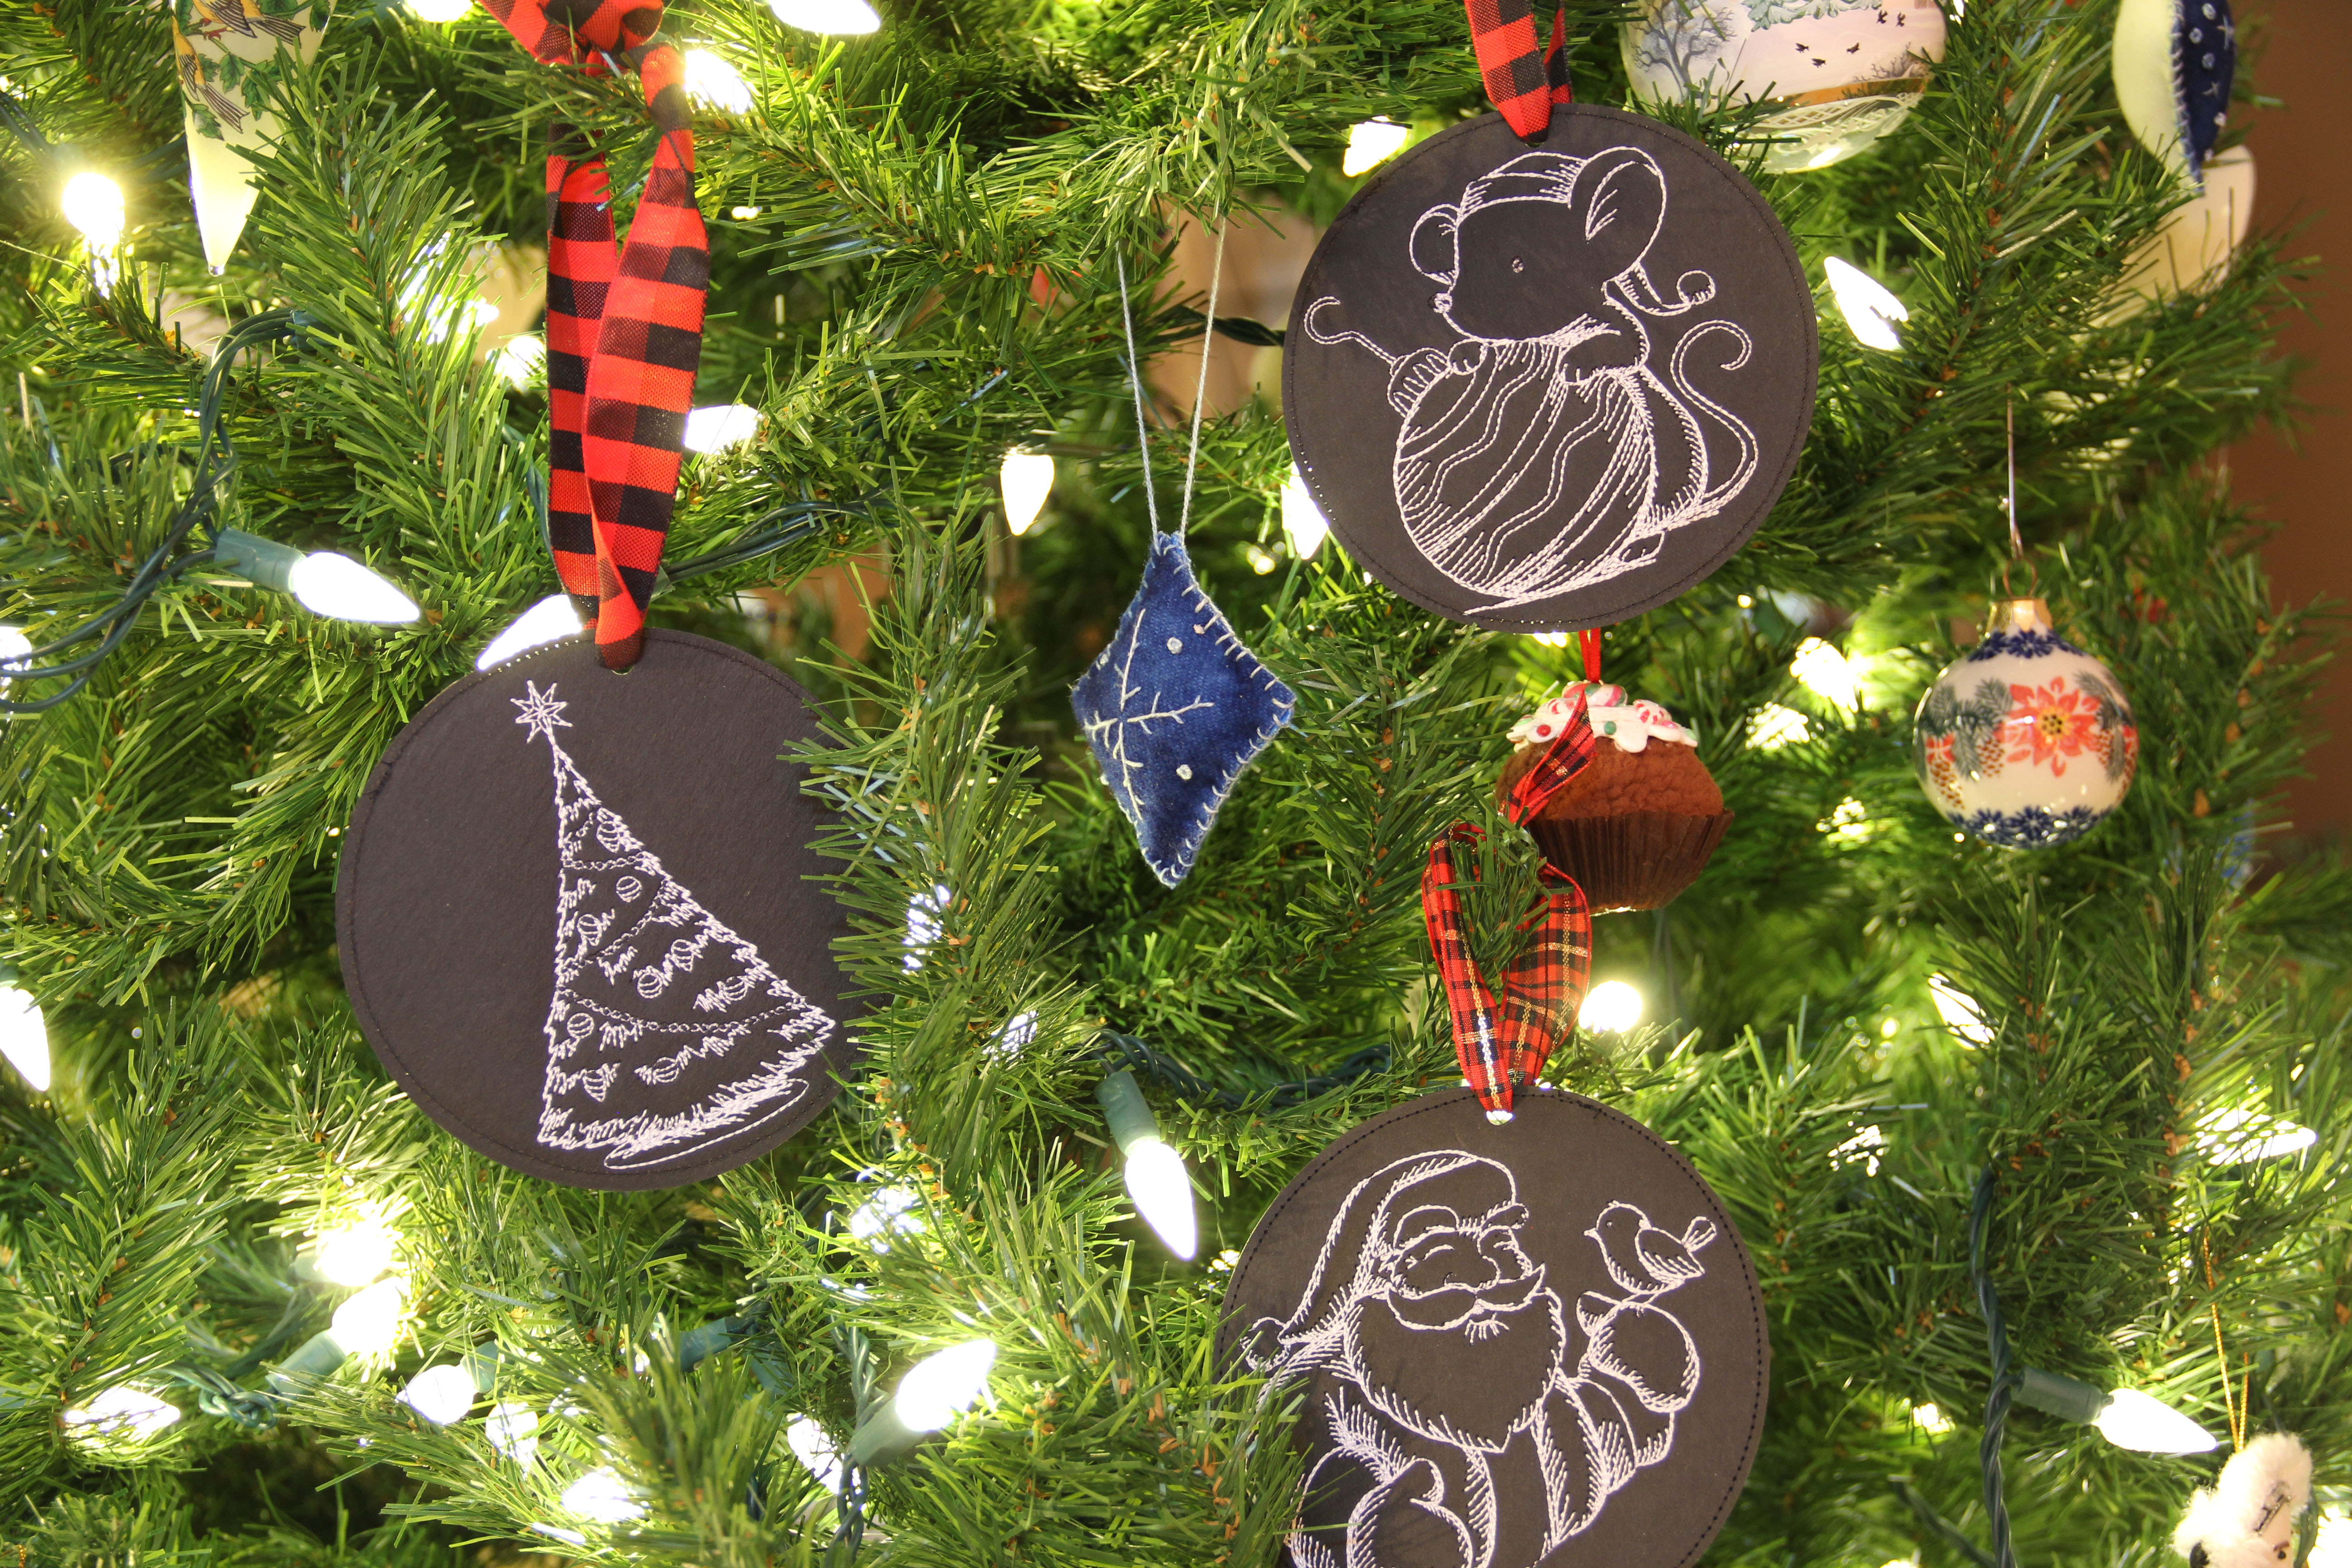
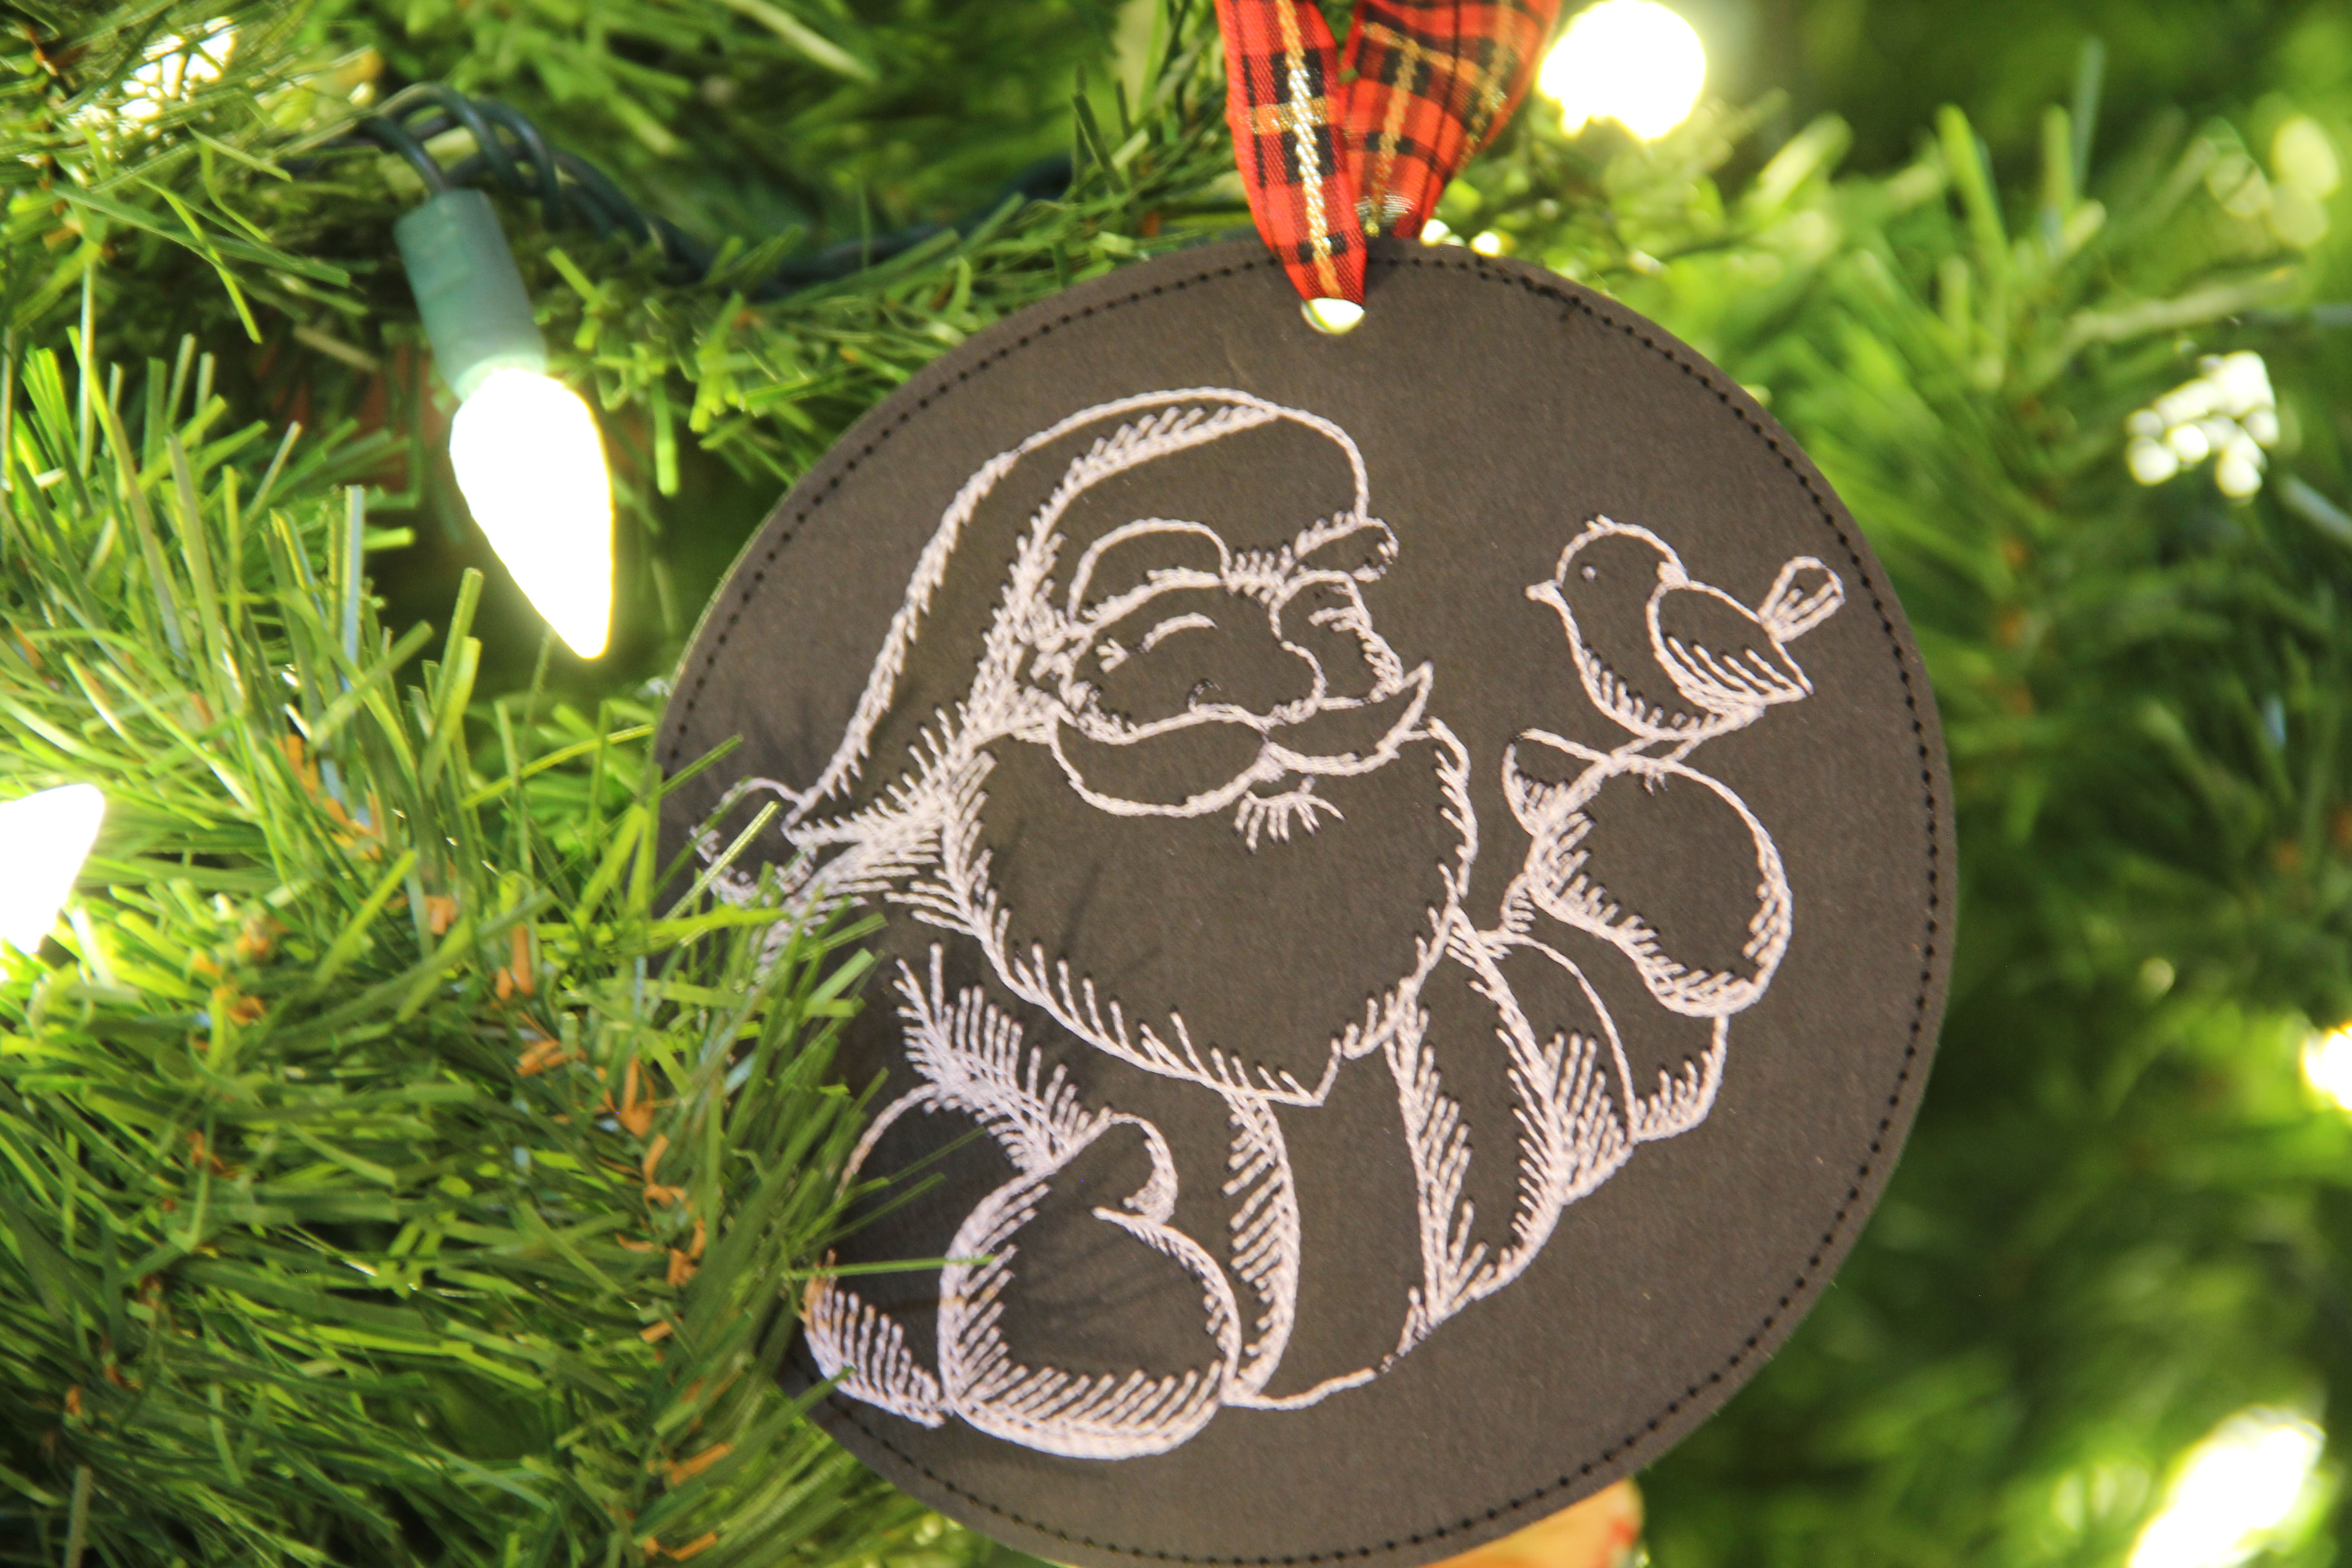
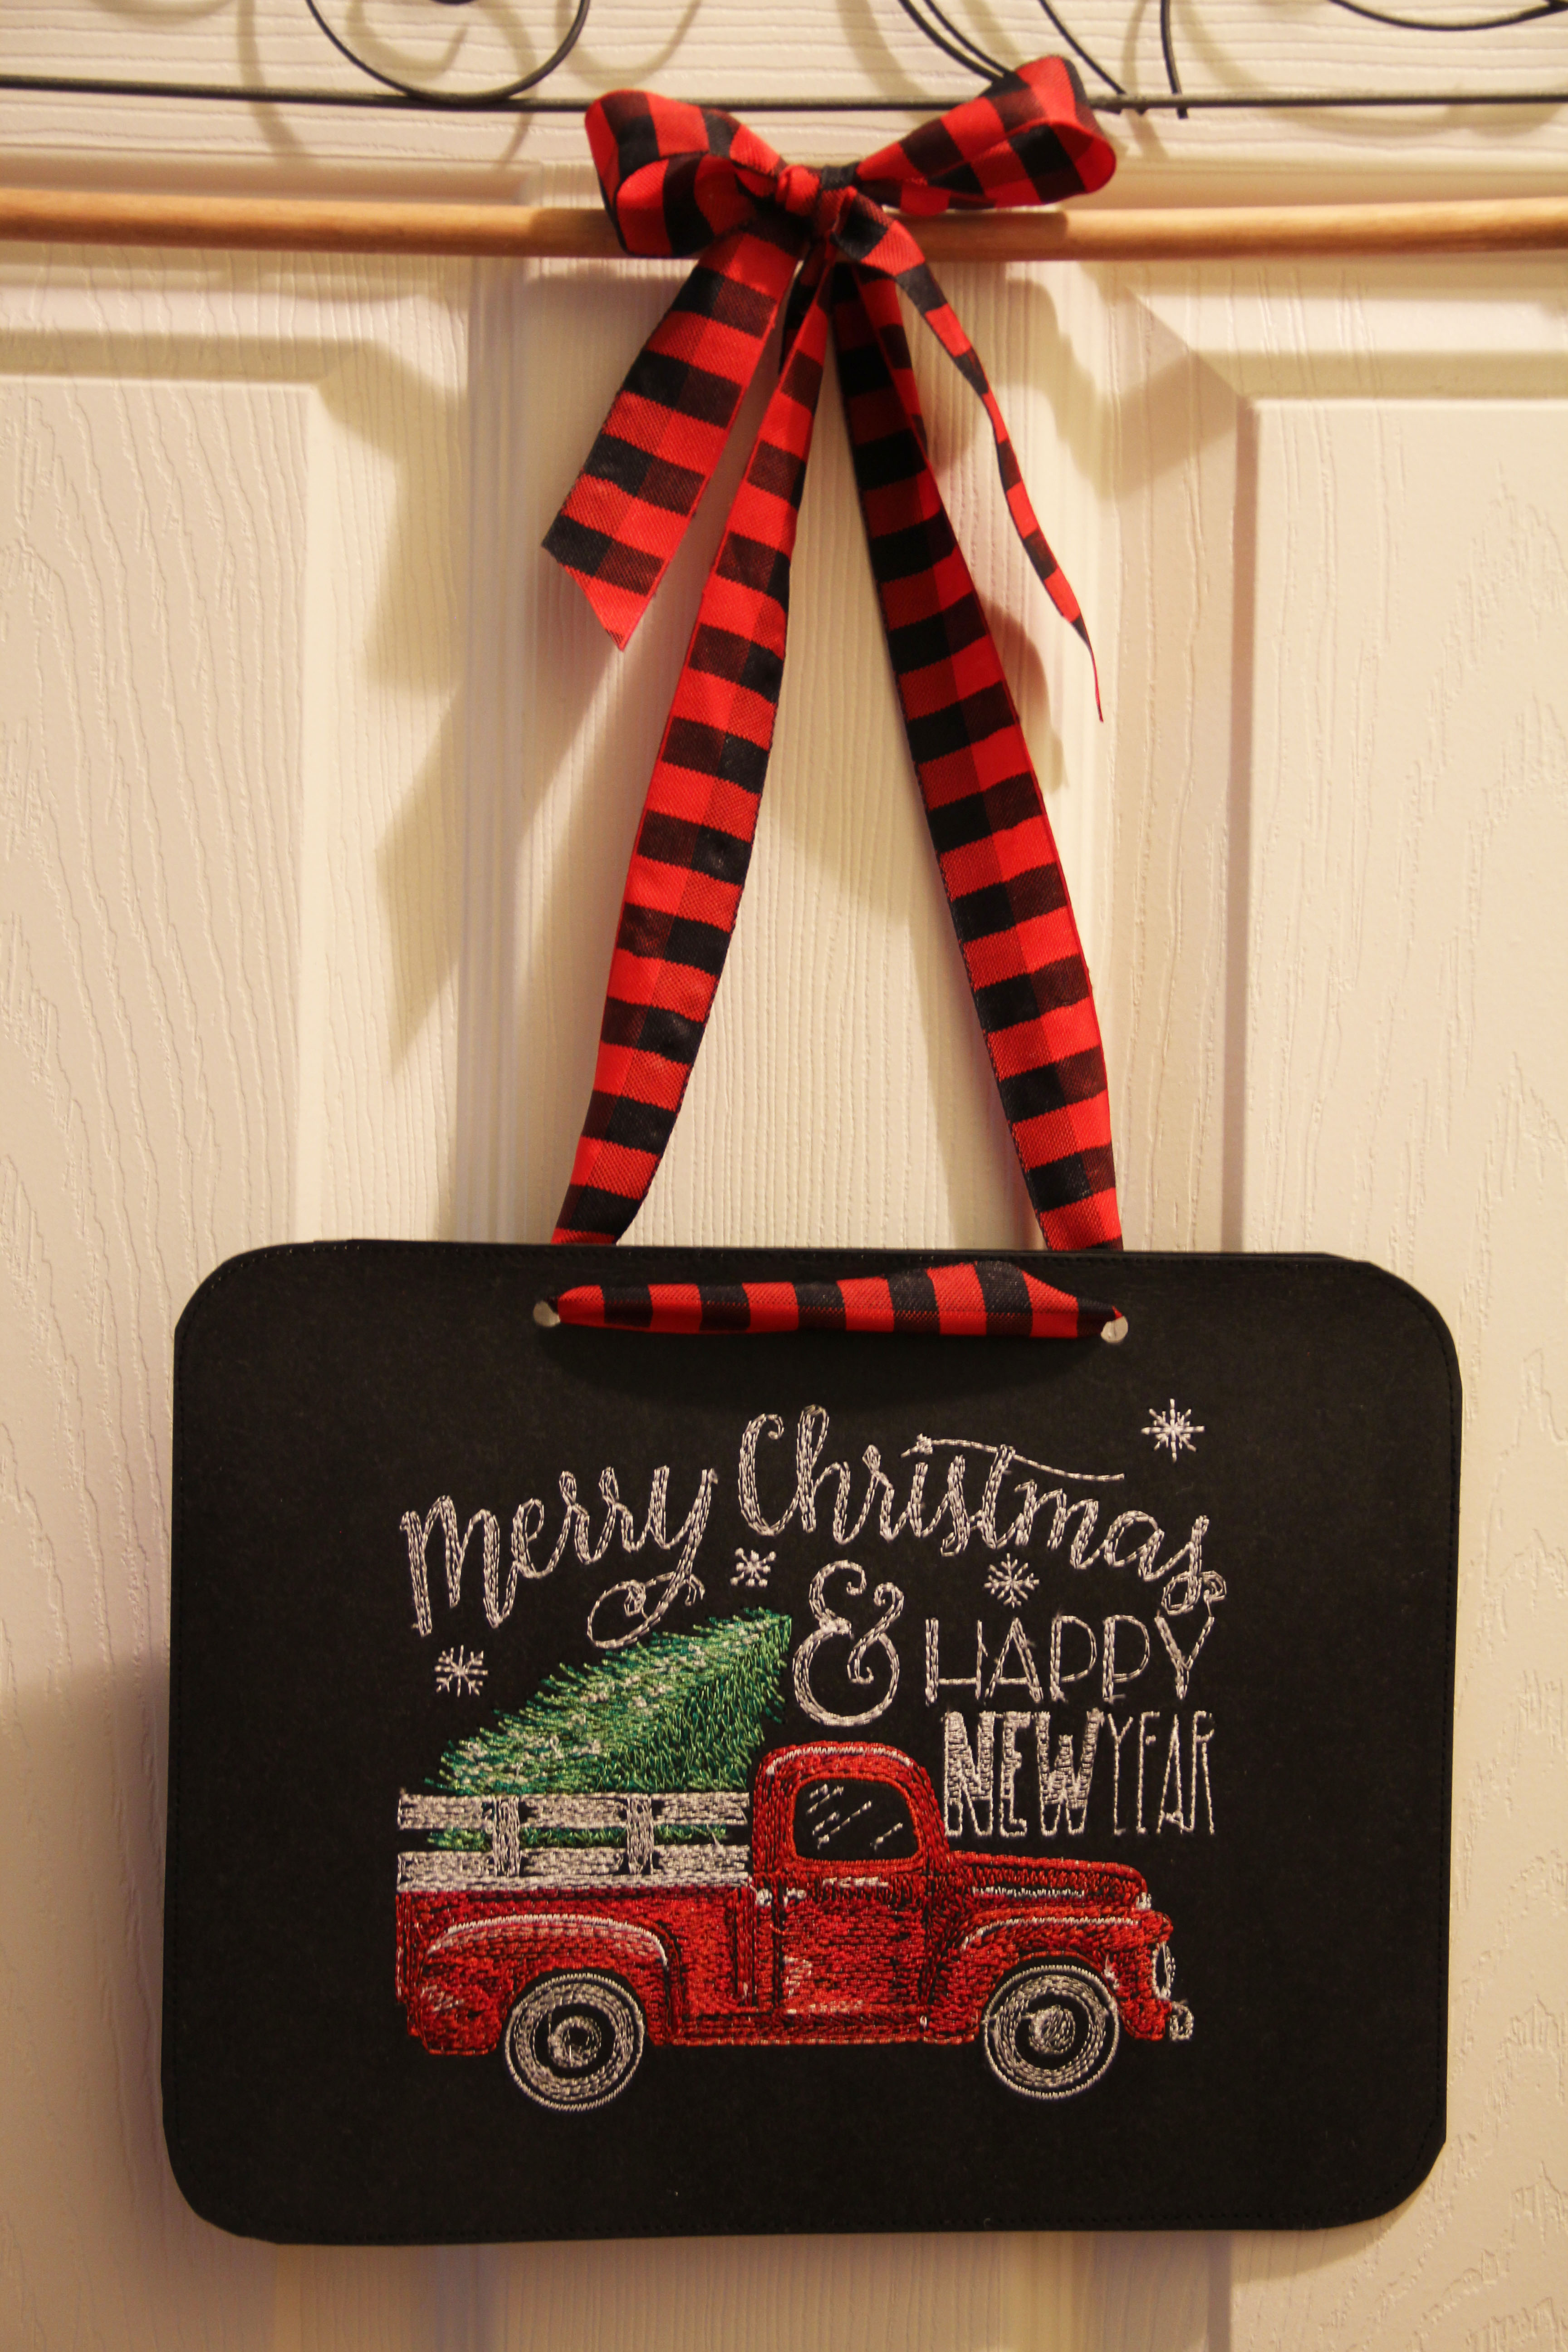
Well, time to get festive. We’ve already had our first measurable snowfall. So the season is off and running!