Halloween 2020

I like Halloween. I have friends who despise it. They think of it as an evil holiday. I have others who find it fun and still others who’ve just outgrown the whole business.

Me, I just like the cool weather. I enjoy the turn of the season, the spookiness is my favorite part. Have you ever walked through a decorated neighborhood at night…alone…while the cold wind is blowing and the crunchy leaves are swirling behind you making unexpected noises? I have. And those things your neighbors have hanging from the trees? They’re scary as all getout without the light of the sun to cast away the shadows and secrets.

In my neighborhood, when my son was younger, we had 12 kids on the block that all started kindergarten together. Most of them had older siblings. Halloween in our neighborhood was pure chaos. The doorbell started ringing at 4 pm and didn’t stop til long after dark. Parents in large groups wandered around with their drinks in red solo cups, or warm toddies in a Thermos. They all waved and laughed as they stood near the sidewalk.

One neighbor set up an outdoor theatre with Young Frankenstein blasting on speakers and projected onto the front of his house as kids came through. Another stood as still as one of the mummies on his porch while dressed up as Frankenstein, and then jumped out at little ballerinas and Ninja turtles. The screaming could be heard for blocks. The kids loved it. And yet another neighbor dressed as an ogre and chained himself to the front lawn. He growled and shrieked and the kids attempted to get their treats from him.

“Hey, does your wife know what you’re doing?” I called to him.

“Who do you think chained me up out here?”

We were a fun bunch. The kids even had a house that they refused to visit, because they thought a “mean, old man” lived there. Probably the only sane person in the neighborhood.

But now, times have changed.

And for the first time in 20 years, we made the decision to avoid a public Halloween. No candy, no treats. Our lights will be off. It matters that many of the kids in the neighborhood are grown–off to college, working their own jobs. But there are still young ones of new families that have moved in.

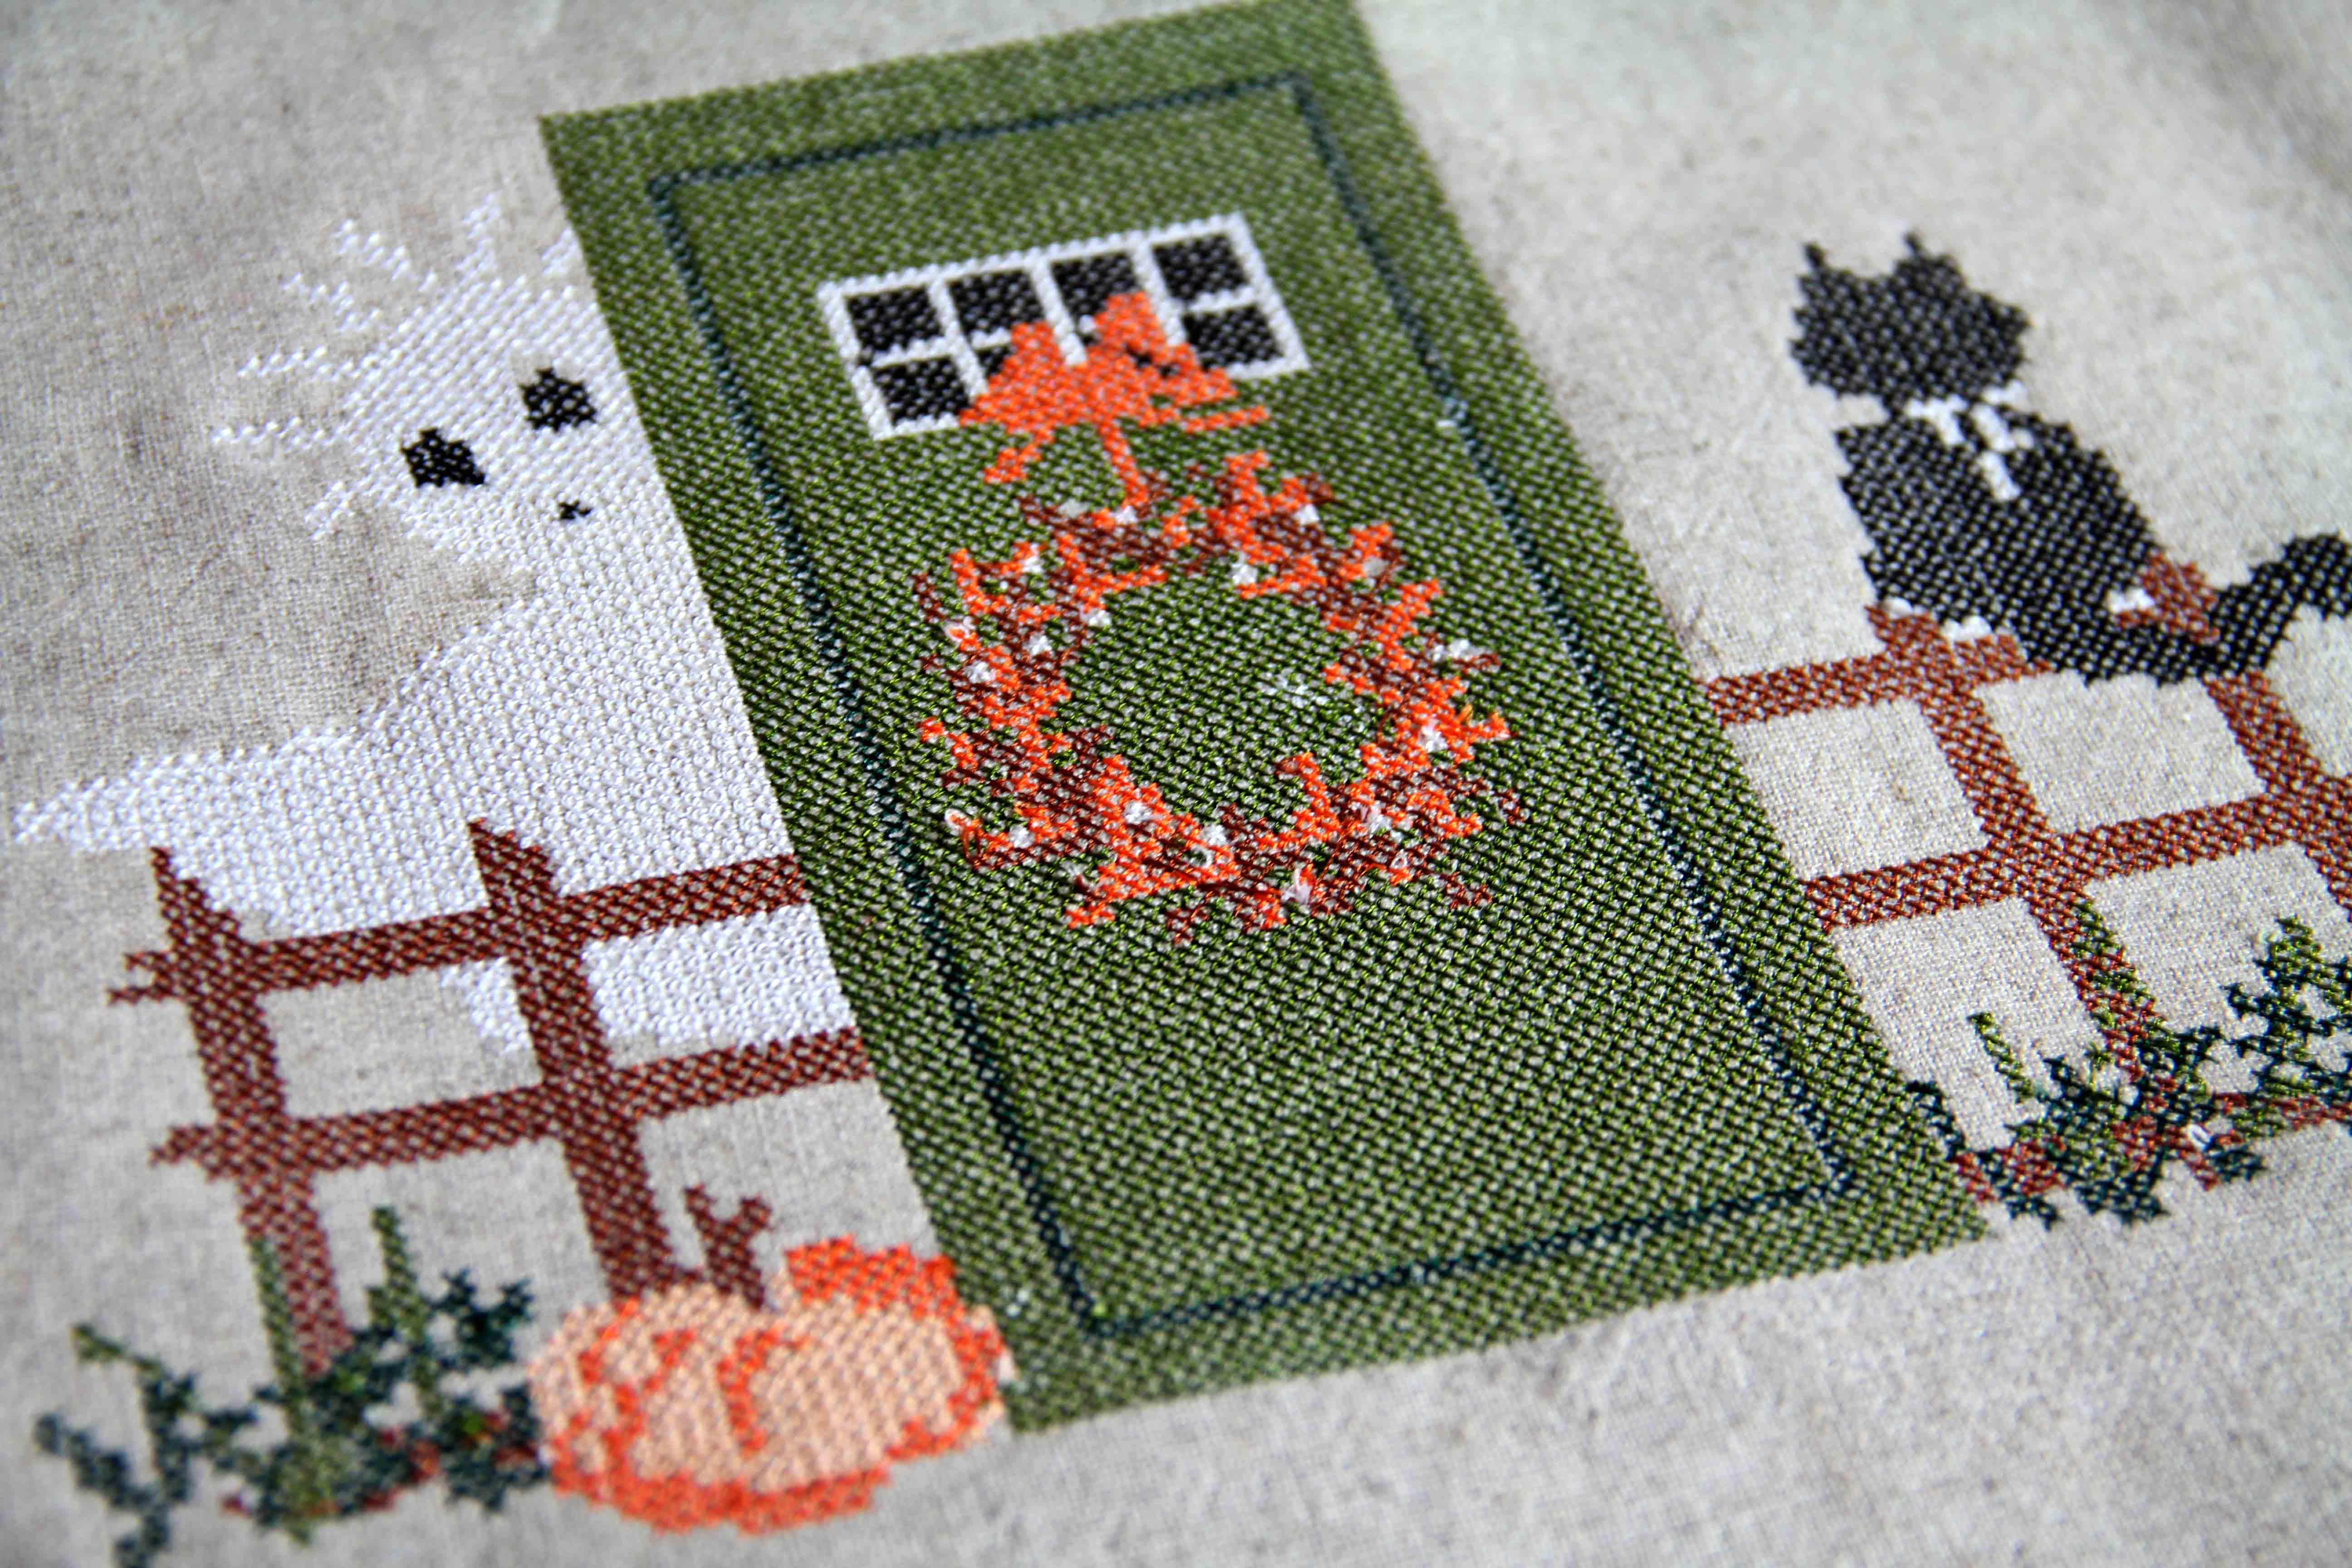
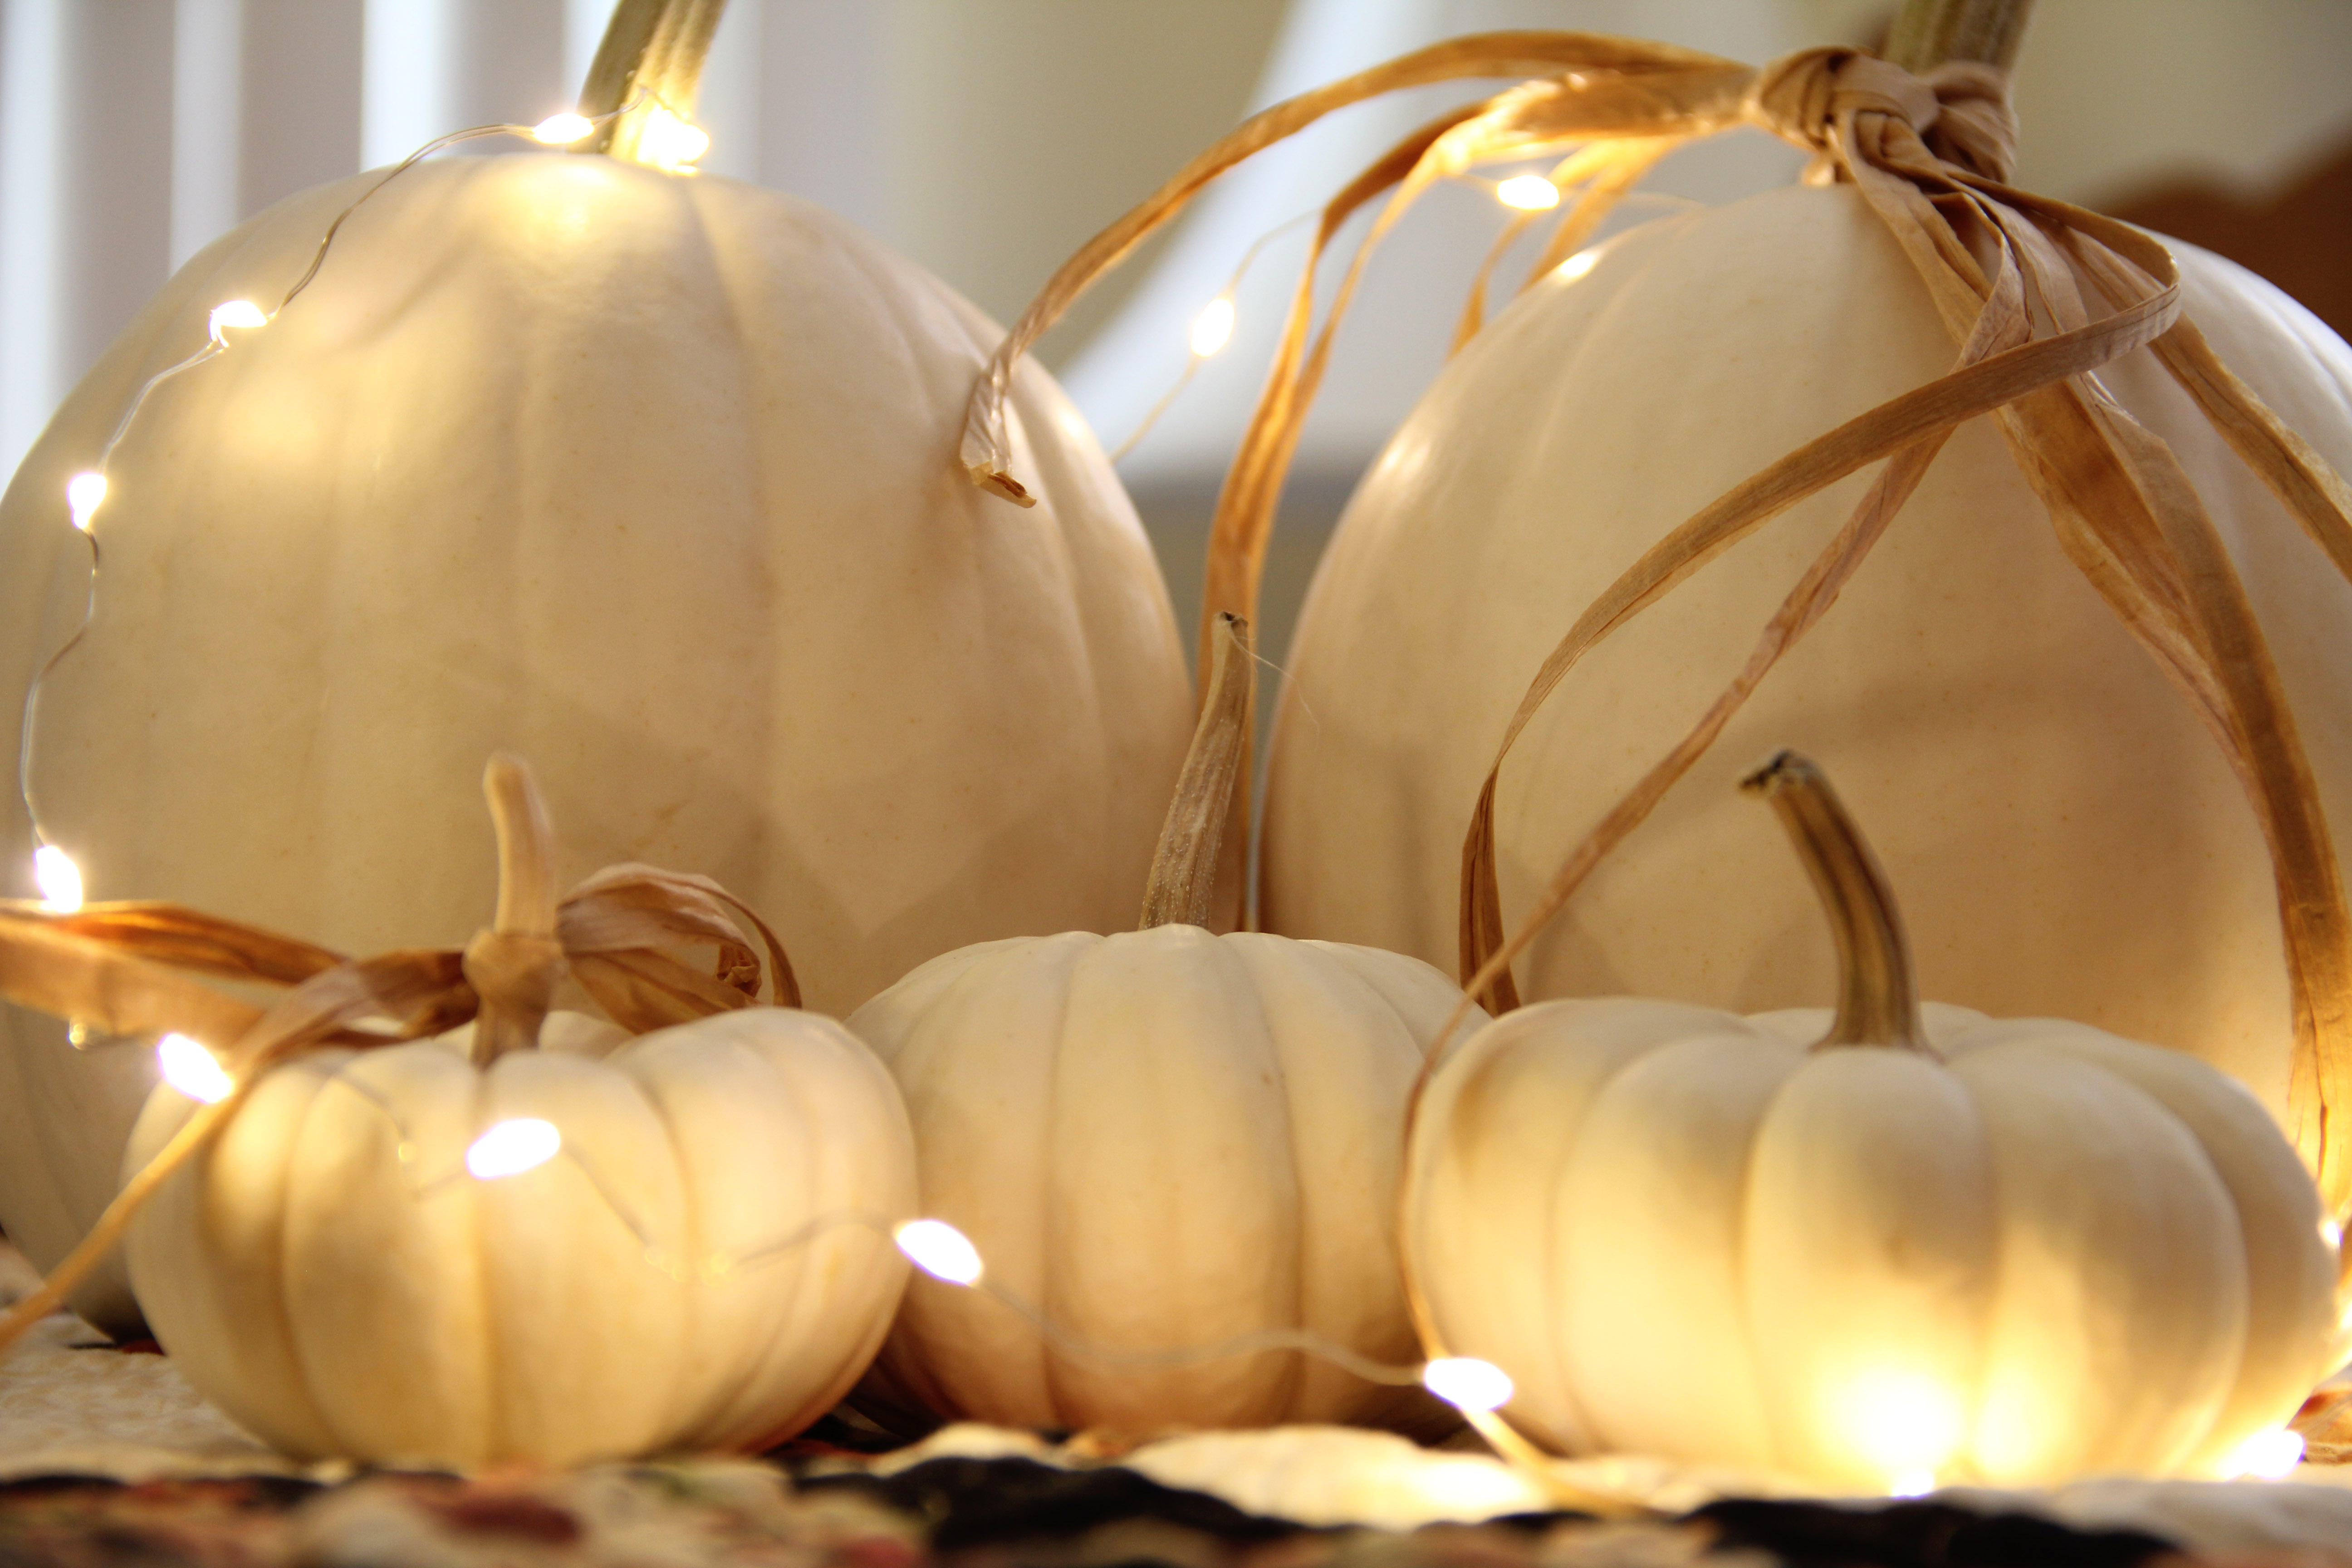
We will celebrate at home: a cozy meal, warm orange lights over the fireplace, decorations. But no treats will be given. The door will go unanswered. The pandemic is too much. Better for kids to be safe (and us as well). Parents can splurge on candy. Young ones can find another way. I’m out this year.

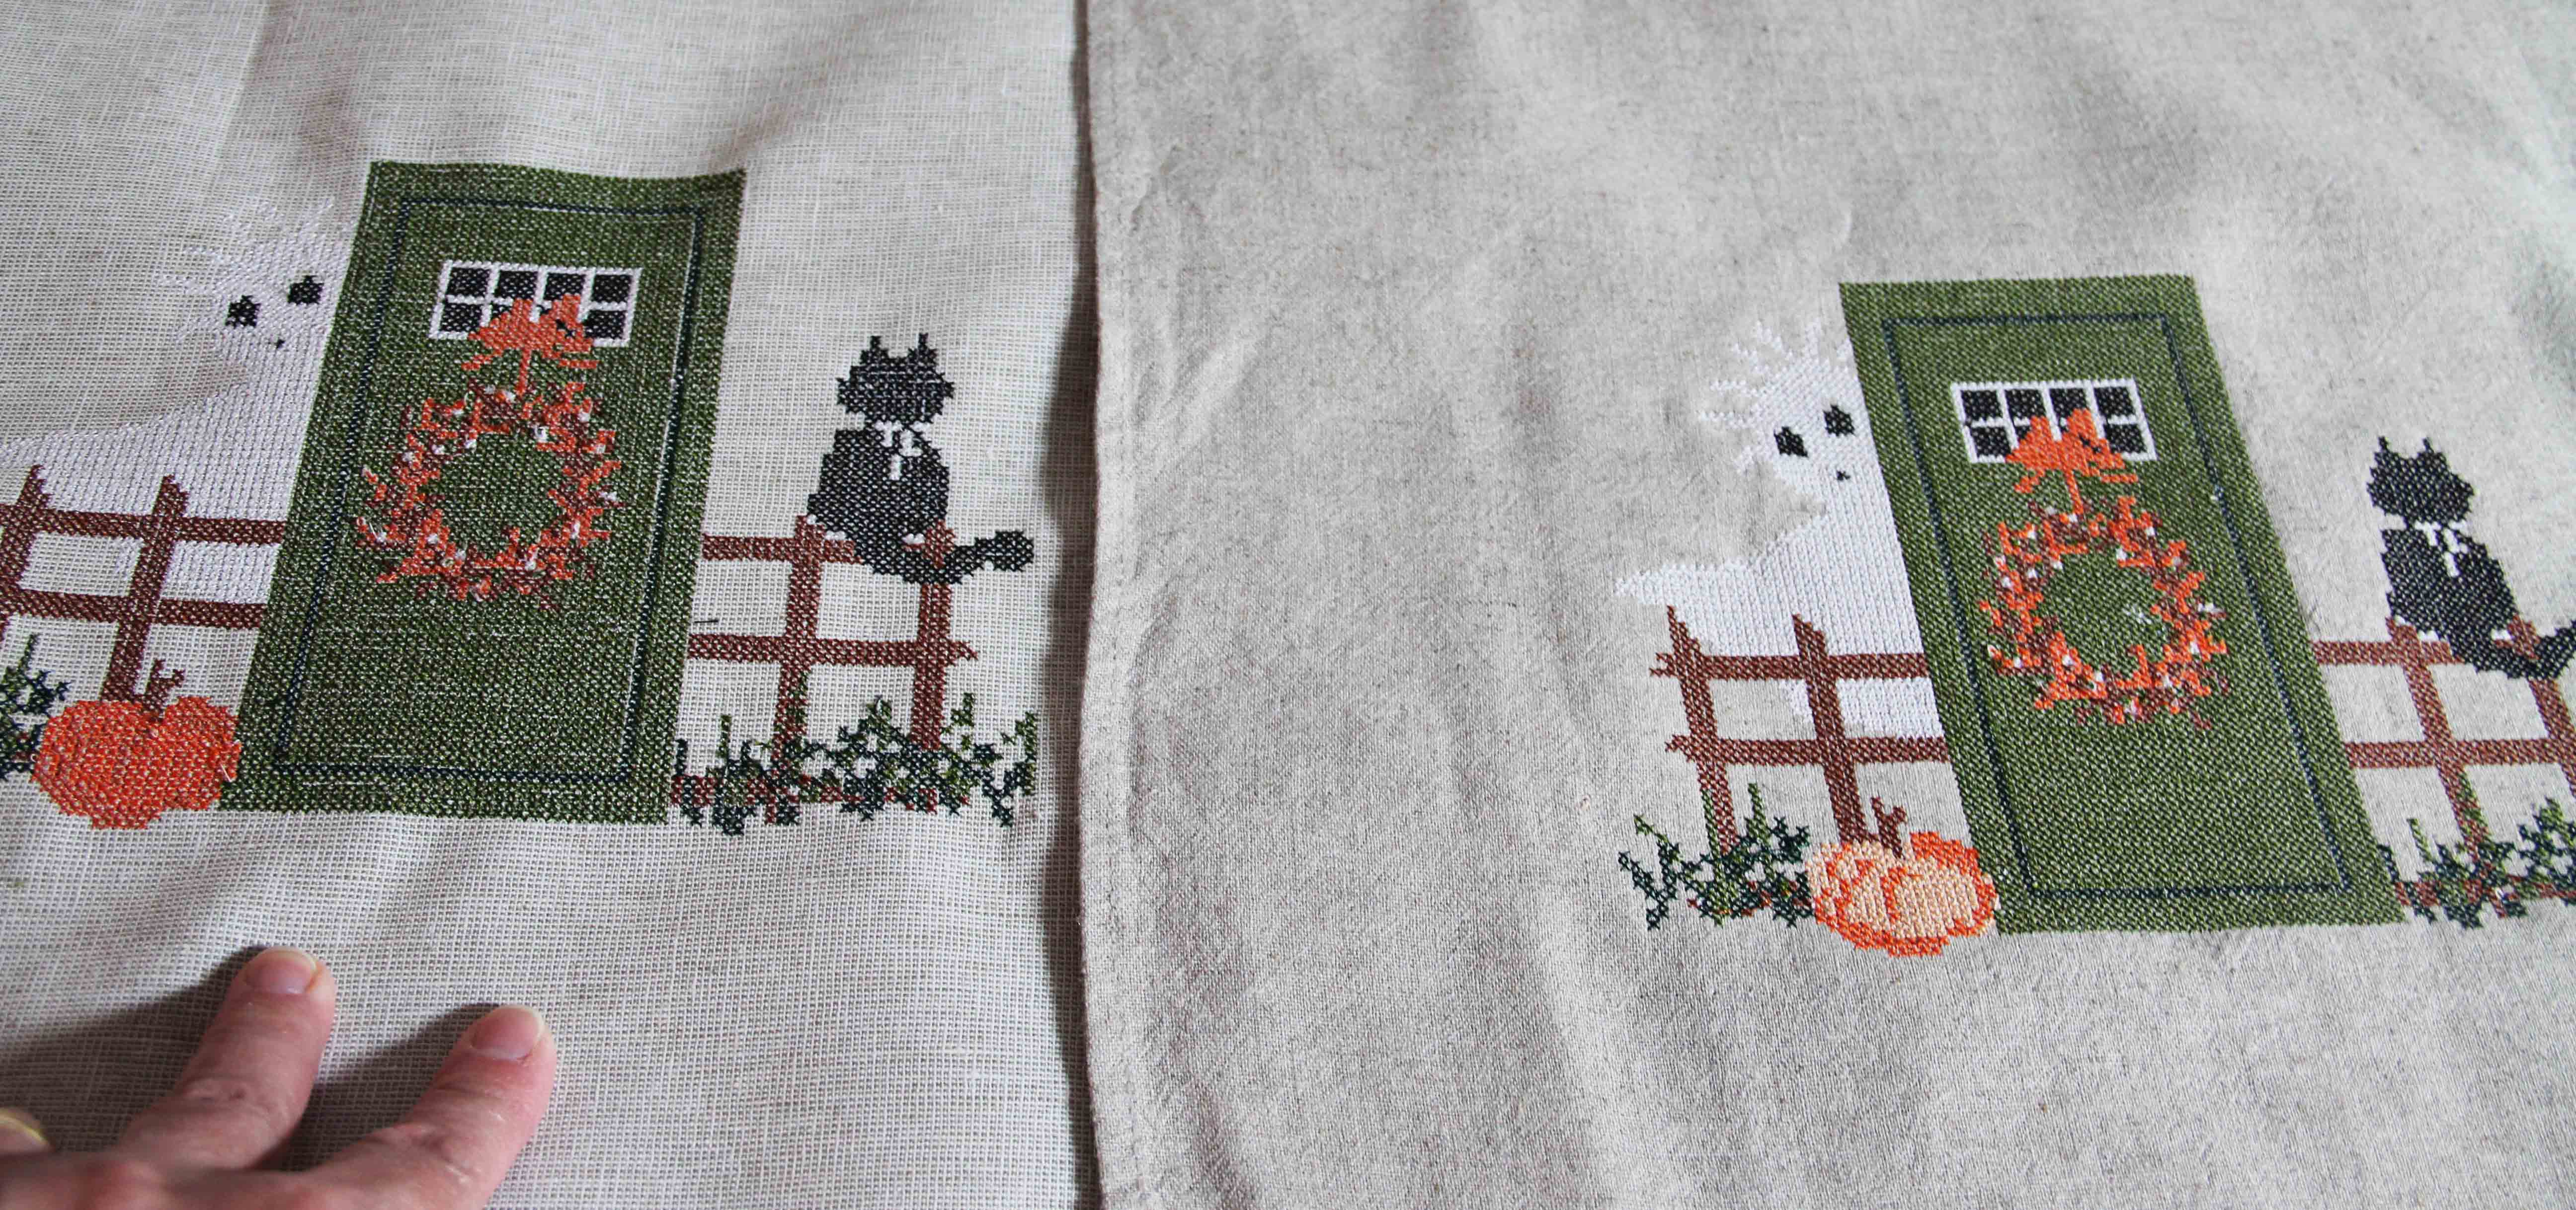
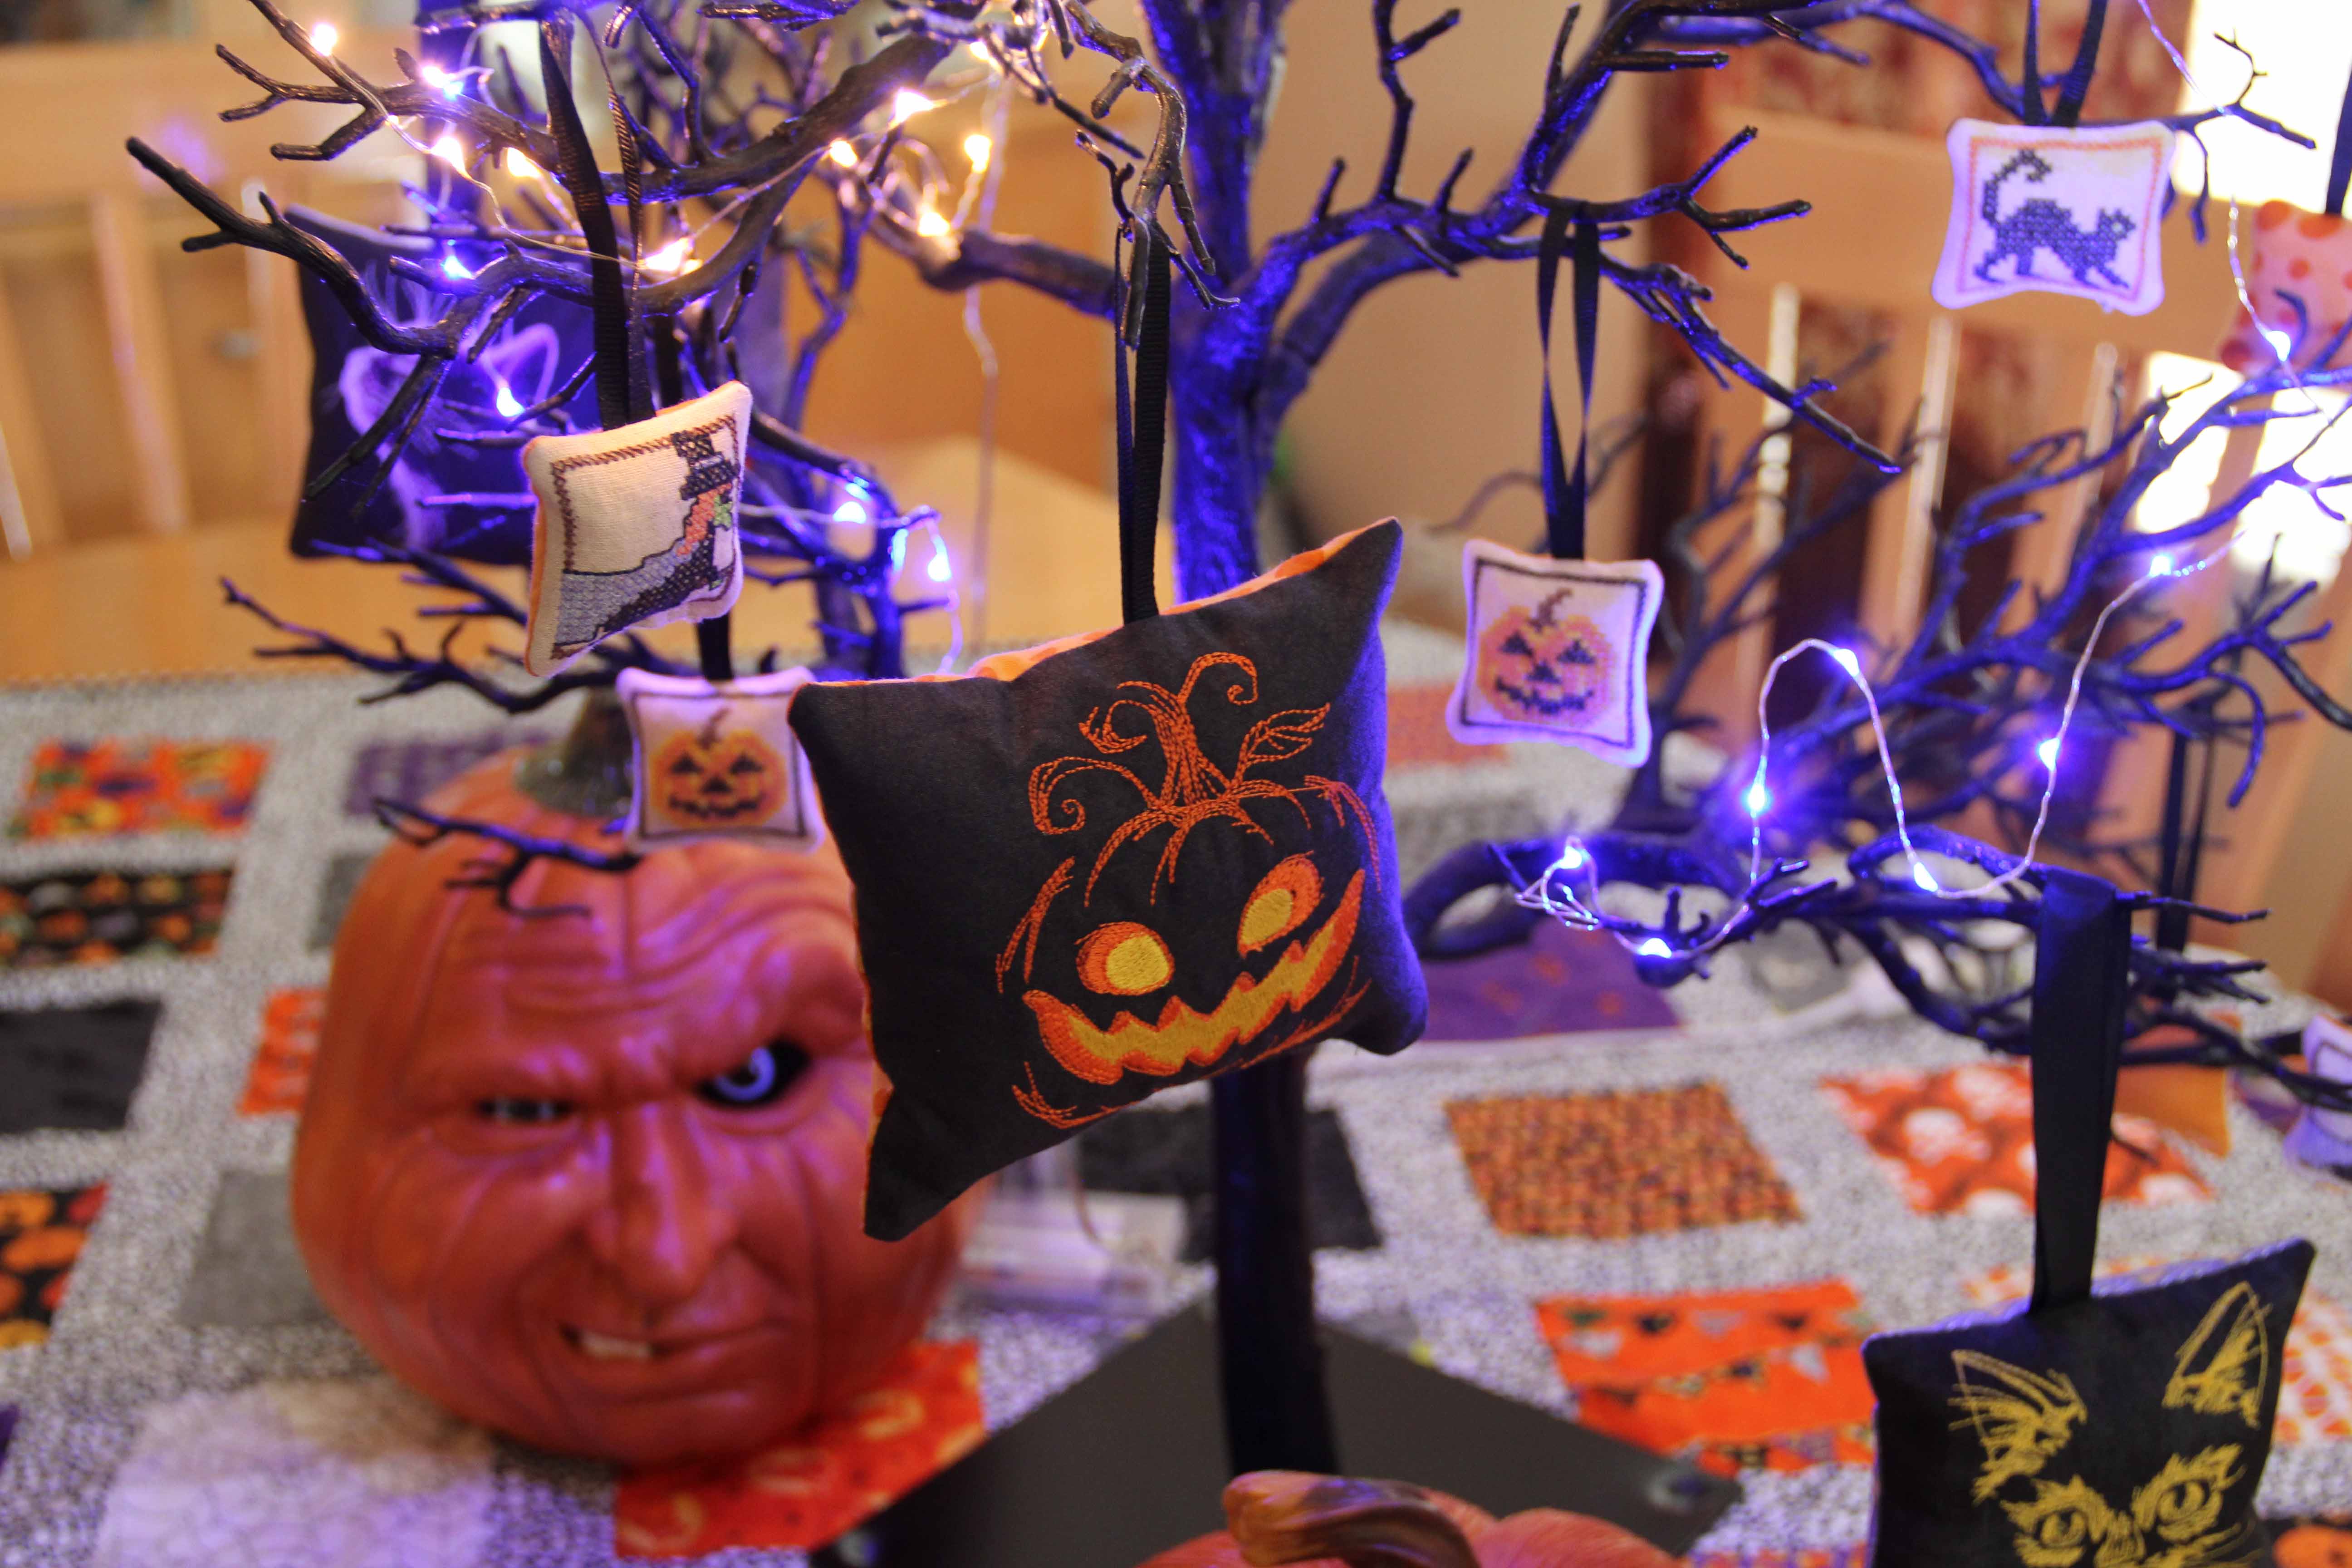
Despite the changing times, you can still enjoy a decorated house. Here are a few of my past Halloween posts, and a video at the end of a display at our house. Be safe, enjoy, carry on.

Creaking door at the end is not a special effect. Ha. That’s our back door.

Machine Embroidery Cross Stitch for Halloween

I found this cute embroidery in Cross Stitch Magazine, Halloween edition.

I am not someone who is into cross stitch, but I think it looks so charming around the holidays. My way of handling this is to digitize it and then use the machine to embroider it.  I use Bernina Embroidery Software 8, which has a cross stitch application within the program. If you are not familiar with it, the sub-program has its own “help” section and manual.  I find that it is really pretty simple if you know a few basics.

I will share with you what I did to create this design, and you can explore another of my Halloween posts right here.

The first step is to scan the pattern at its original size.  This design was approximately 7.5 in. x 6 in. Shown above is the black and white scan of the image, but you can see that this image is enlarged enough to show that I can see the markings of all the different thread colors. That will be important later when I manually add them.

A few basic steps:

  1.  Crop the image right up to the outline of the grid.  You want it to be cropped as perfectly as possible when you load it into the cross stitch program. I use Adobe Photoshop to do this, but Corel is built into the software program and you can easily use that instead.
  2. Count the grid.  The heavy lines indicate ten spaces, so you can get an accurate count. You’ll need that later.
  3. Open the cross stitch program in applications.
  4. Click the “picture” tab and load the picture.
  5. Right click on the picture (this is an important step!) and plug the dimensions of the grid in the width and height. These are the number of grid boxes you counted in the second step. This aligns your image with the grid in the program.
  6. Begin adding in your stitches by clicking on the pencil.  At the bottom you can choose the type of stitch…I almost always use a full cross, but you have a number of options.
  7. Choose a color, and you’re ready to fill in your stitches using the image as your guide.
  8. Left click on each grid box to add in your stitches.

In the image above, you can see what it looks like after I added all the stitches.  This did not take long at all, maybe half an hour to get them all filled in.

Save the file as  filename.arx. .arx is the extension used by the cross stitch program.

Now you can close the whole cross stitch program and your embroidery software will still be open. When opening this file, just be sure to choose the .arx extension or “All Files”.

This is the great part. The software will digitze those cross stitches and turn the whole design into an embroidery file. Above, you can see how it turned out on my screen. I exported it then as .exp as I would any embroidery design file and saved it on a usb stick.

The first time I stitched it out, the ghost in the background was just a little too faded. I switched to a slightly darker fabric and the ghost appears more clearly on the right (although I think the picture is a little fooled by the lighting.)  In real life (!) the one on the right lets the ghost show up much better.

I had fun with this project and it’s actually a lot less time consuming than cross stitching by hand — though I have great appreciation for those who do that!

This way, I can stitch it out over and over again…on a pillow, as an ornament, on a bag, etc. I used Isacord thread for these, which is 40 weight embroidery thread.  But I am curious how it would turn out if I had done it with 28 weight, a heavier weight thread. I think that would be really sharp.  The cross stitch program would allow me to adjust the size of the grid as well, so I have lots of opportunity to go deeper and try new things.

Hope this inspires you. The cost of one magazine provides you with so many cute patterns to try. And cross stitch is a program that is so often overlooked in digitizing software.

It’s really worth some experimentation.

It’s the Neutral Pumpkin, Charlie Brown!

Neutral, white pumpkin

My kitchen table collection.

We’ve all seen them, because they’re everywhere.

I admit, I really like them. Maybe I’m just sick of the same old orange pumpkin. Maybe they make a display look just a bit more elegant. Maybe it’s just a trend that started years ago, has reached its max-out peak and will be gone soon.

Whatever the reason or the cause, white pumpkins are more “in” than ever.

Don’t get me wrong.

When the fall colors roll around, I am the first to love my reds and browns and shades of burnt orange. I will never cease to be amazed by nature’s color palette with the change of the seasons. The trusted orange pumpkin is still prolific, as well as many other shades and sizes of squash.

Have you noticed that the new trend is more pumpkins are better?  I don’t know how I feel about that, but 50 pumpkins on your porch or deck seems to be what the magazines/pinterest/social media tells us is the best way to celebrate fall.

Here’s a screen grab from Better Homes and Gardens on Instagram (they DO have cute posts.)

I hope they don’t have any need to use those stairs in case of a fire.

Nevertheless, the pumpkins are neutral neutral neutral.

Oh sure, a few orange pumpkins are thrown in, but even those are pale and muted. Understated. Quiet.

None of these are the rowdy, screaming, terrifying jack-o-lanterns I grew up with.

I confess, I think it looks fresh. Sometimes I wish the holidays could be anything other than red and green (and sometimes blue).  I get sick of the same old thing.

Apparently these artisan pumpkins and gourds do grow naturally (as opposed to white christmas trees.) They are just heirloom and specialty seeds. They are ideal for carving as they’re softer on the outside…not as tough as those big orange pumpkins.

At this point, I’ve seen them now at every grocery store, every farm stand, and every pumpkin patch. I put them on my kitchen table.

This too, shall pass, and we’ll all move on to the next big thing. But for now, we’re all Martha Stewart, who, by the way, was using white pumpkins in her displays in 2003.          (I read about her in this article.)

Whether your pumpkins are white,tan, bright orange, or anything in between, I hope you have fun with them this season.  They only come around once a year. Let’s enjoy it while it lasts.

More Freestanding Lace

Boo!

Machine embroidery has so many uses, but the one I’ve been dabbling in the most lately is freestanding lace. I’ve blogged about it a few times in the past. You can read those posts here and here.

Lately, I tried something new and I wasn’t sure how it would turn out. I took a simple lace embroidery, meant to be a small doily.

Then I stitched a number of them together after creating a design in software to see what it might look like.

Freestanding lace, Bernina Software 8All you have to do is use a simple zigzag with an open-toed foot on your machine.

Just pin the multiple pieces together and sew the zigzag in various points to hold it together.

Keep the zigzag stitch narrow and tight, and it will be hardly visible on the finished piece. I went forward and back-stitched, just to make sure it would not unravel.

The finished product turned out better than I had expected.

While I am using it now for Halloween, it obviously will be gorgeous for the holidays, as well.

I also have to admit that I am in love with these tiny LED lights, lit by battery packs. Of course, they cannot stay on all evening as my orange lights do around the fireplace, but the teensy ones on the Halloween tree and surrounding this ceramic pumpkin are just perfect.

Like those ornaments? I’ve made them over the past couple of years in machine embroidery.  You can search “Halloween” on my site or view one of the posts right here.

I hope I have inspired you to make more use of your machine embroidery.  It’s fun and festive and the ideas are endless.

Chasing Cats with Machine Embroidery

Doesn’t everyone have a Halloween tree?

It’s a silly thing, I know. But we get a kick out of it.  I make all the ornaments in machine embroidery as in-the-hoop projects.

First, the actual embroidery design is stitched out.

A placement line is stitched, so I can see where the backing will be placed. Before the backing, I tape down a ribbon for hanging. Then the backing is laid down with right sides together.

The backing then gets stitched down with an opening at the bottom which allows for turning the item inside out. Once the backing is stitched down, I can take the whole thing out of the hoop and trim 1/4 inch around the outside, clipping the corners, and turn it inside out.

Just add a bit of stuffing, stitch up the bottom and you’re done! Three at a time at this size. When I make them even smaller, six at a time is just as easy!

Finished and ready to hang on the tree.

I hope this gives you some ideas for the holidays. Happy stitching!


Chicken Soup and Embroidery Software

It’s a chicken soup kind of day.

My son came home after his first few days of high school with a nasty cold.  I’m not surprised.  The place is a breeding ground for experimental teenage germs.

On top of that, the weather turned cooler today…for how long, I’ve no idea.  But it’s cloudy and cool right now.

Furthermore, like everyone else in the sewing industry, I read Nancy Zieman’s latest blog with a heavy heart. Whether you watched her show or not, you know Nancy.  You buy her notions or you attend Quilt Expo in Madison. I’ve learned many tips from Nancy along the way, but my favorite line was this: ” I sew at least one quilt a year for charity.”  She never said “You should…”  She told us what she did, and then she did it, among all the other wonderful charitable contributions she made within the industry (and outside of it).

So, yes, it’s a chicken soup kind of day.

While the soup bubbled away, I sat down with my laptop and organized some of the Halloween designs I want to make in the very near future.

I use Bernina Embroidery Software 8, and I’m planning on making tiny pillow-like ornaments to hang on my Halloween tree.

The designs I’m using came from urbanthreads.com, a favorite of mine for cute and/or spooky embroidery.

It’s hard to see the design in this shot but it is a single thread color of a cat.  I used a feature that people rarely take advantage of in the ‘design” menu. Click on “background” and change the background color in the hoop.

Now you can actually see what the design will look like stitched out on dark grey or black fabric. In the prior shot, you can see where I added stitching in a square around the outside.  Before I stitch that, I will add a square of fabric and a ribbon for hanging.  I’m not stitching out today, but I promise to share when I do.

In this design, I’m stitching the profile of this cat, but it has multiple thread changes for each cat.  For some reason, the.exp file I’m using has changed all the colors from shades of purple to random colors.  I did not take the time to fix the thread colors on screen because I will just use the correct ones as I stitch out.

The important thing to note here is that on the side, in the color film, I used the “Sequence by Color” tool.  This way, I’m able to stitch all the same colors at once instead of changing threads each time for each color on each cat. Whew!

It makes a big difference in the amount of time it takes to stitch out.  Also, I will have to cut the jump stitches in between each thread change, as I have the thread moving around quite a bit.


Still, I have loaded all this onto my USB stick and am ready to stitch as soon as I prep some fabric, stabilizer and fabric for the backs of these cute little ornaments.

Can’t wait to get started, but I won’t have time for a couple of days.

My Halloween quilt is complete, and ready for its debut! Stay tuned. It may be early September, but it’s already time for a cool change.

When That First Cool Wind Blows…

And it happened this week.

Never mind that it’s the middle of August.  Never mind that the tomatoes are just starting to come in.  When you work in marketing/advertising/retail you get the urge to plan for that next holiday.

It’s the same way in quilting.

The other day the temps stayed in the sixties, and that was enough for me to start thinking about Halloween. (Of course, I’ve been thinking about back-to-school already…that goes without saying when you have a kid in school!)

Nevertheless, as soon as the temp dropped for a day, I turned to some Halloween fabric I’d been holding for a few years and thought, “Now’s the time!”  This is not a complicated quilt.  But it’s made from a charm pack purchased several years ago and tucked into a drawer.  Don’t pretend you don’t know what I mean.

This is all fun stuff.  It’s bright, it’s cheery and it still has that Halloween vibe.  The charm pack was from a line by Deb Strain for Moda.

I supplemented with a couple of other random fabrics from Cotton and Steel, Andover and Wyndham.

I cannot quilt it yet, even though it’s layed out and pinned.  I thought I had a Halloween design from Amelie Scott that I could use to quilt in machine embroidery.  Turns out I only had some vines and leaves.

This quilt absolutely requires pumpkins for quilting.  So I purchased another design pack, and I will start quilting as soon as it arrives.

Until then, I found some terrific Halloween ideas from  urbanthreads.com that I can’t wait to try.

I know you don’t remember from last year, but I have a Halloween tree that I fill with embroidered ornaments.

Every year, I look for something I can make to add to the collection.  Well, I found a few new things.  But you’ll have to wait a bit until I have the chance to work on them.

Temps are in the seventies here today, with clear skies.  But in my sewing room, there’s a cool spooky breeze a-blowin’.

Things that go bump in the night…

ornamentsI have always enjoyed Halloween more than Christmas, or whatever mid-winter holiday you celebrate.  Too much pressure, too many gifts, too much hype.

And when you work in retail, Halloween isn’t much better.  Most chain stores start putting their Halloween decorations out July 5.  But when that first crisp fall breeze rolls in, and those first few leaves begin to fall, I get inspired.  Many people do. Once the kids are all back in school and the “official” fall season starts, it’s amazing how many of us turn to our craft, our hobby or our passion once again.

So this year I am teaching some students to use the cross stitch program in Bernina Embroidery Software 7.  I am not a big fan of cross stitch..at least not actually DOING it.  However, I love the way it looks, and I love how easy it is to get some things done in software (which I DO love to use).

I stumbled across some lovely cross stitch designs in Just Cross Stitch Magazine.

They always include many  many patterns for people to use.  I scanned a few of their Halloween “ornaments”, and brought the jpegs into the cross stitch software.

Then you can use the software to create stitches following the image in the background.  I wanted to keep these very simple so I could make many, but not take a lot of time.  The cross stitch program within Software 7 saves the file as .arx extension.

pumpkimcrossstitchThe next step of course, is to bring the cross stitch design into the actual embroidery software.  I love this technique because it turns all those little x’s in the Cross Stitch program into machine-readable stitches.  And then it’s just an embroidery design.

pumpkinspngOnce one file is in the software, you can repeat it multiple times.  I also rearranged the color film, along the right, to stitch all of one color at once instead of all the colors in one pumpkin at a time.  This is a huge step and really cuts down on thread changes.

At the end, I added a double run stitch around the outside of the ornament, leaving the bottom open, so the little critters could be turned inside out and stuffed.  Before that last double run thread stitches, I added the backing, with right sides together. Under the backing I taped down some ribbon, so that they could be hung.  As you can see, in the hoop, they look like little ravioli.

inthehoopWhen all is done stitching, I cut everything out, clipped corners, turned it inside out, stuffed them with polyfill, and used the machine to stitch along the bottom closure.

cat doneVoila!  Six or eight of them will fit into the jumbo hoop.  I managed to create a cat, a witch and a pumpkin.  I also made some larger ornaments with regular embroidery on them.

pumpkin hoopI bought a cheap Halloween tree for the house and one for the shop…these will be on display for awhile!  And if I have time, I’ll make more…it’s a little addictive.  And really pretty fast and easy when you make use of technology!  Gotta love it.

halloweentree2