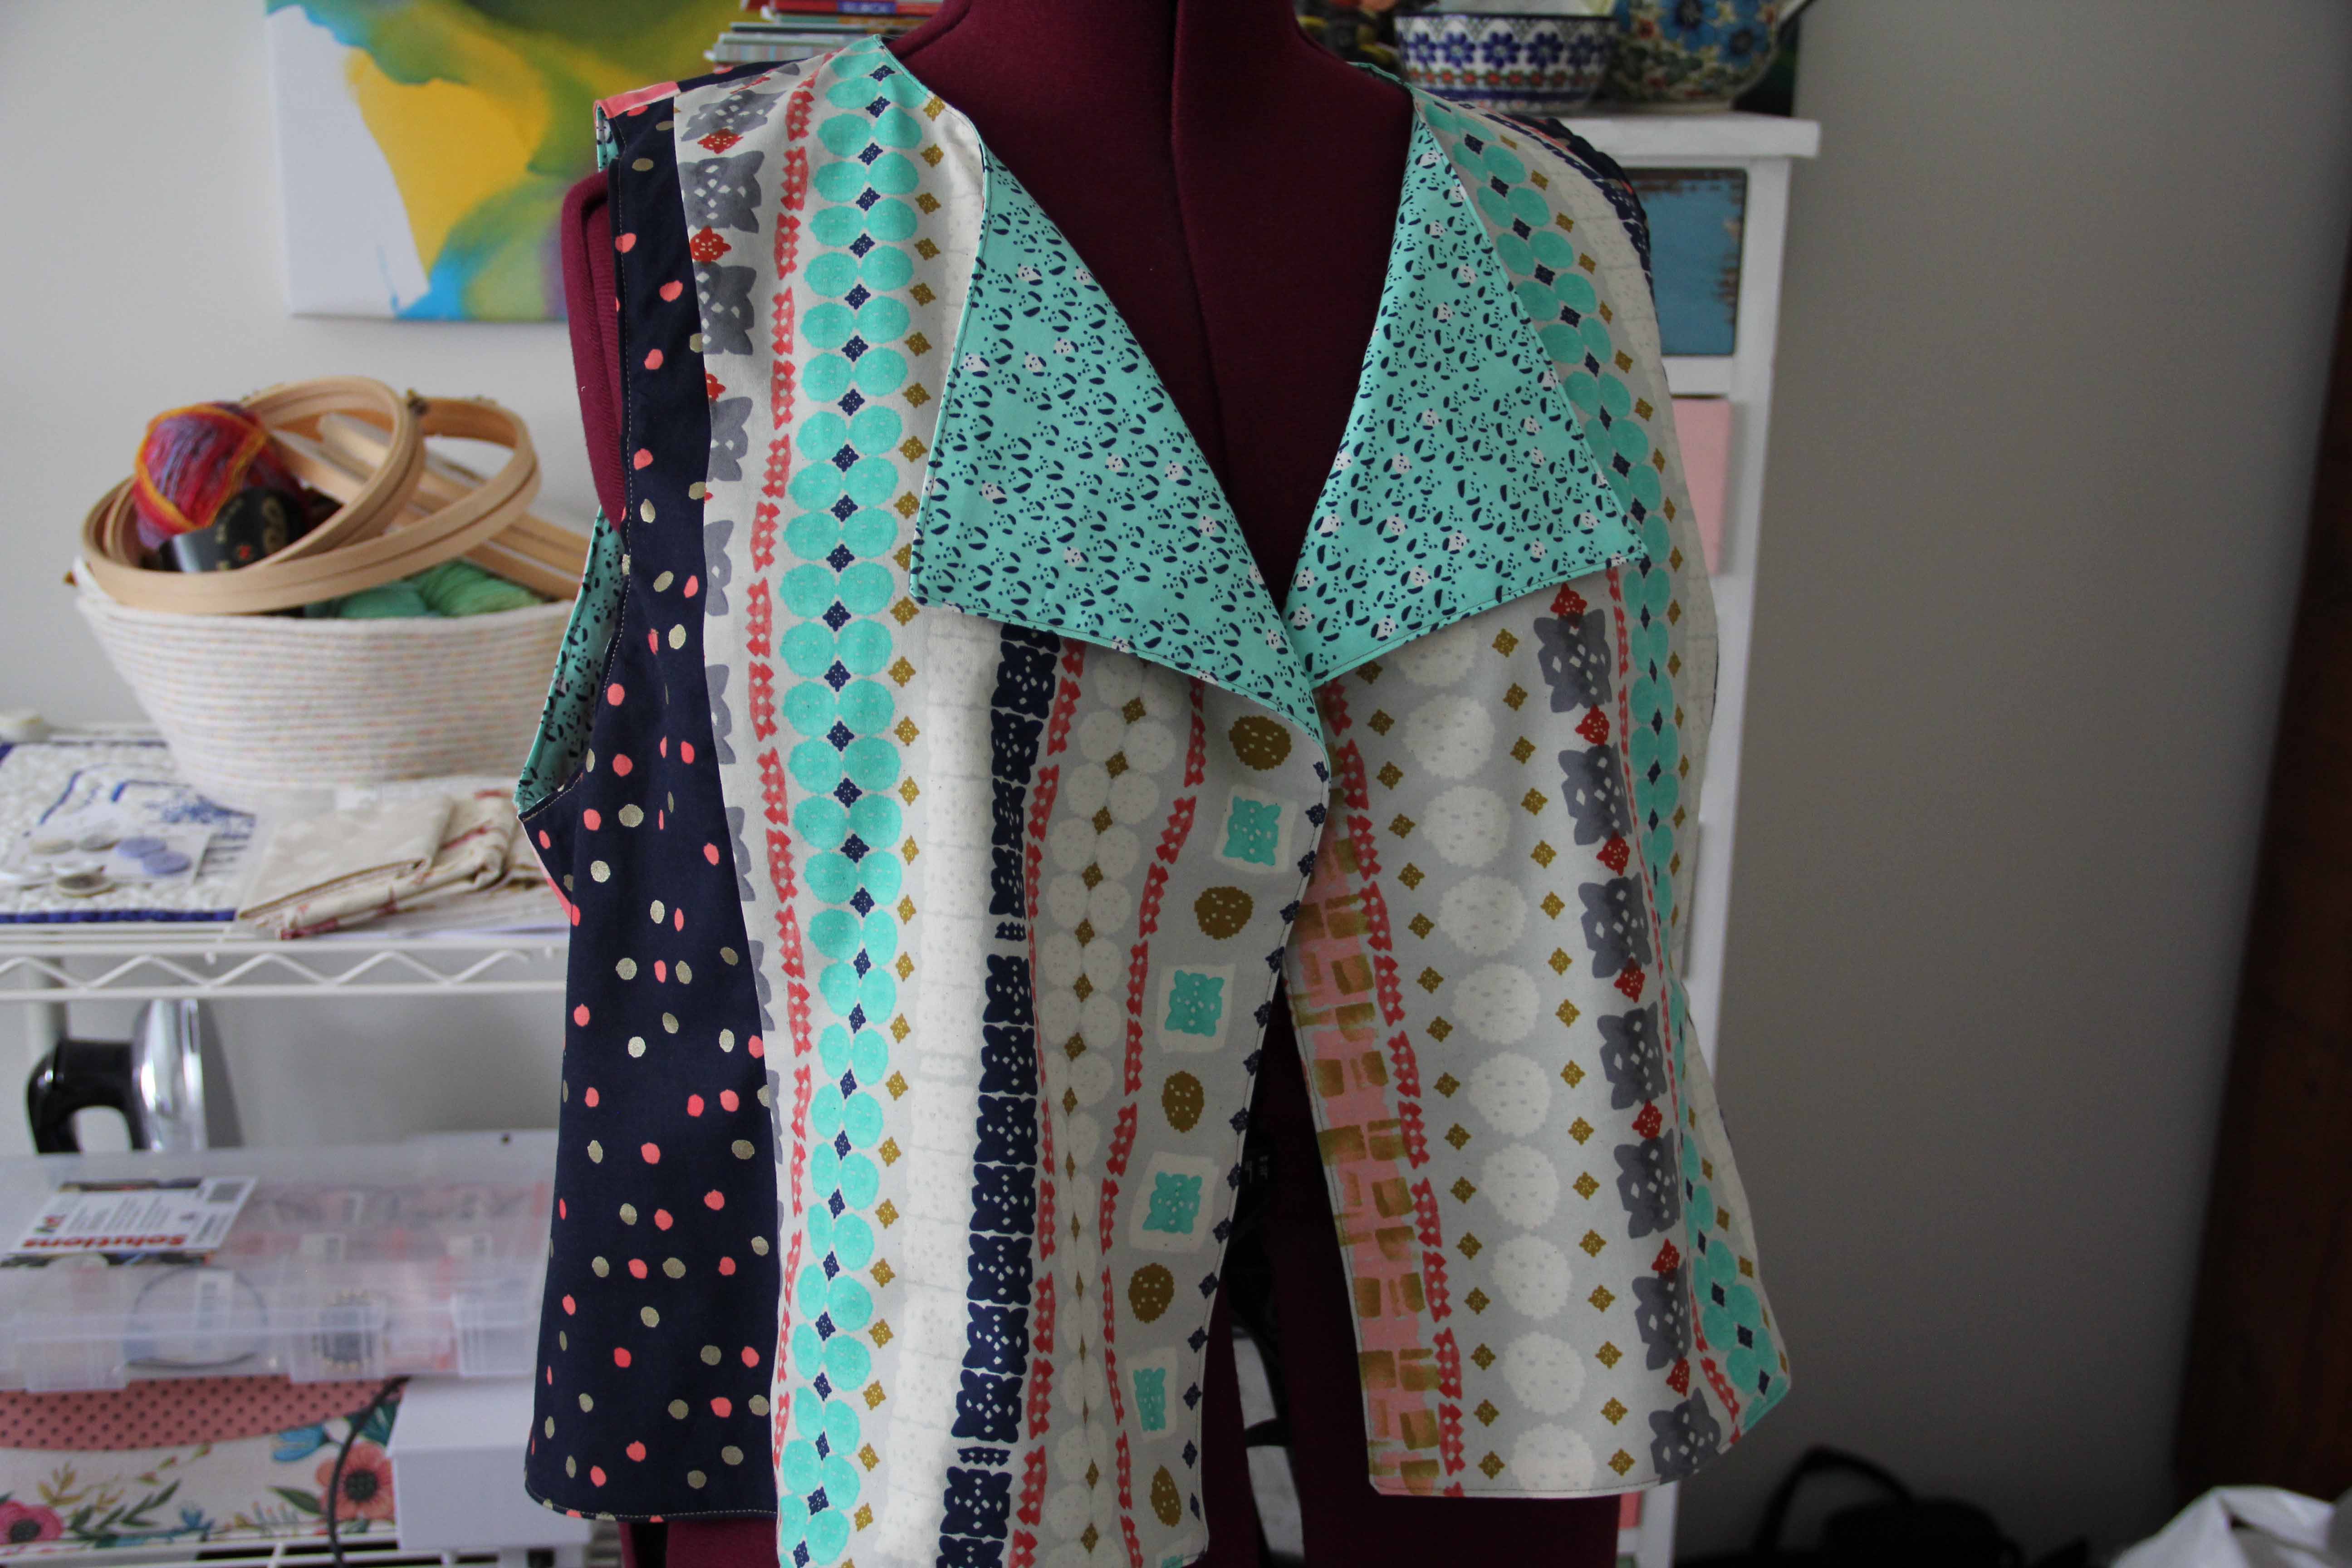
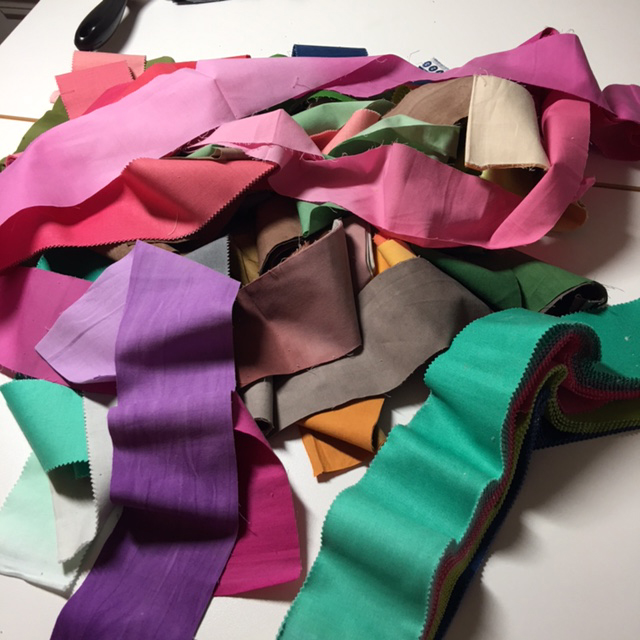
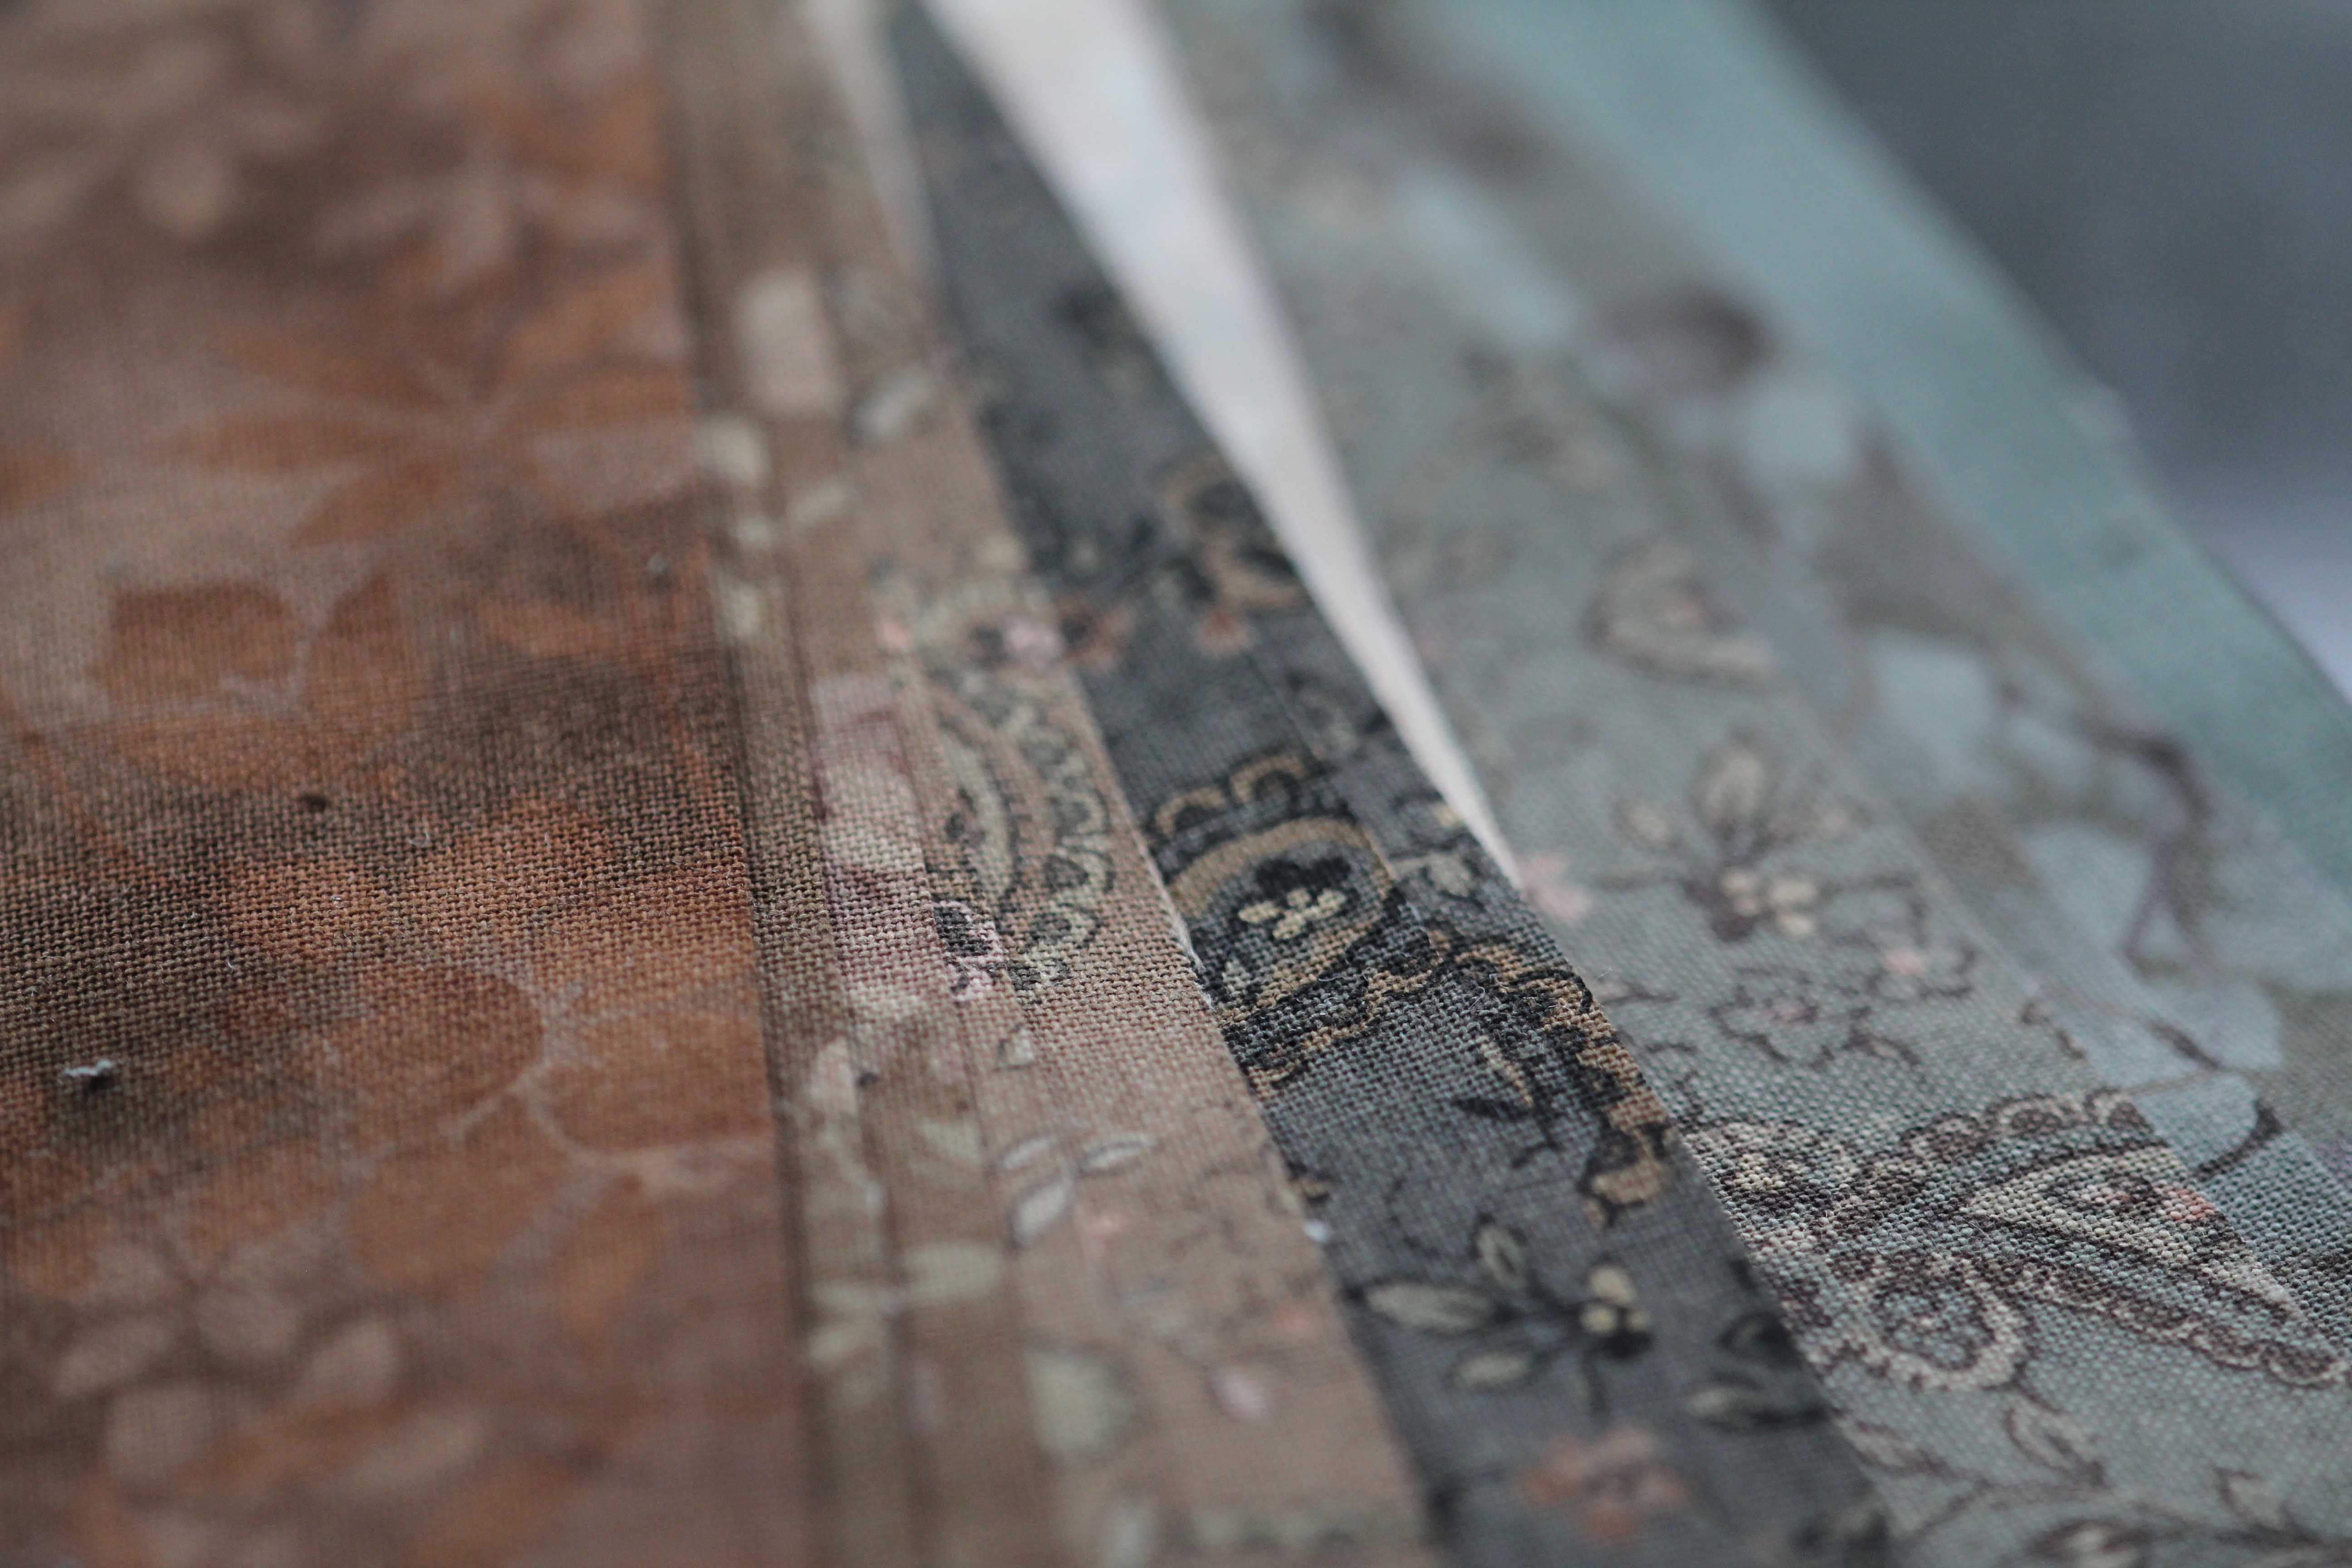
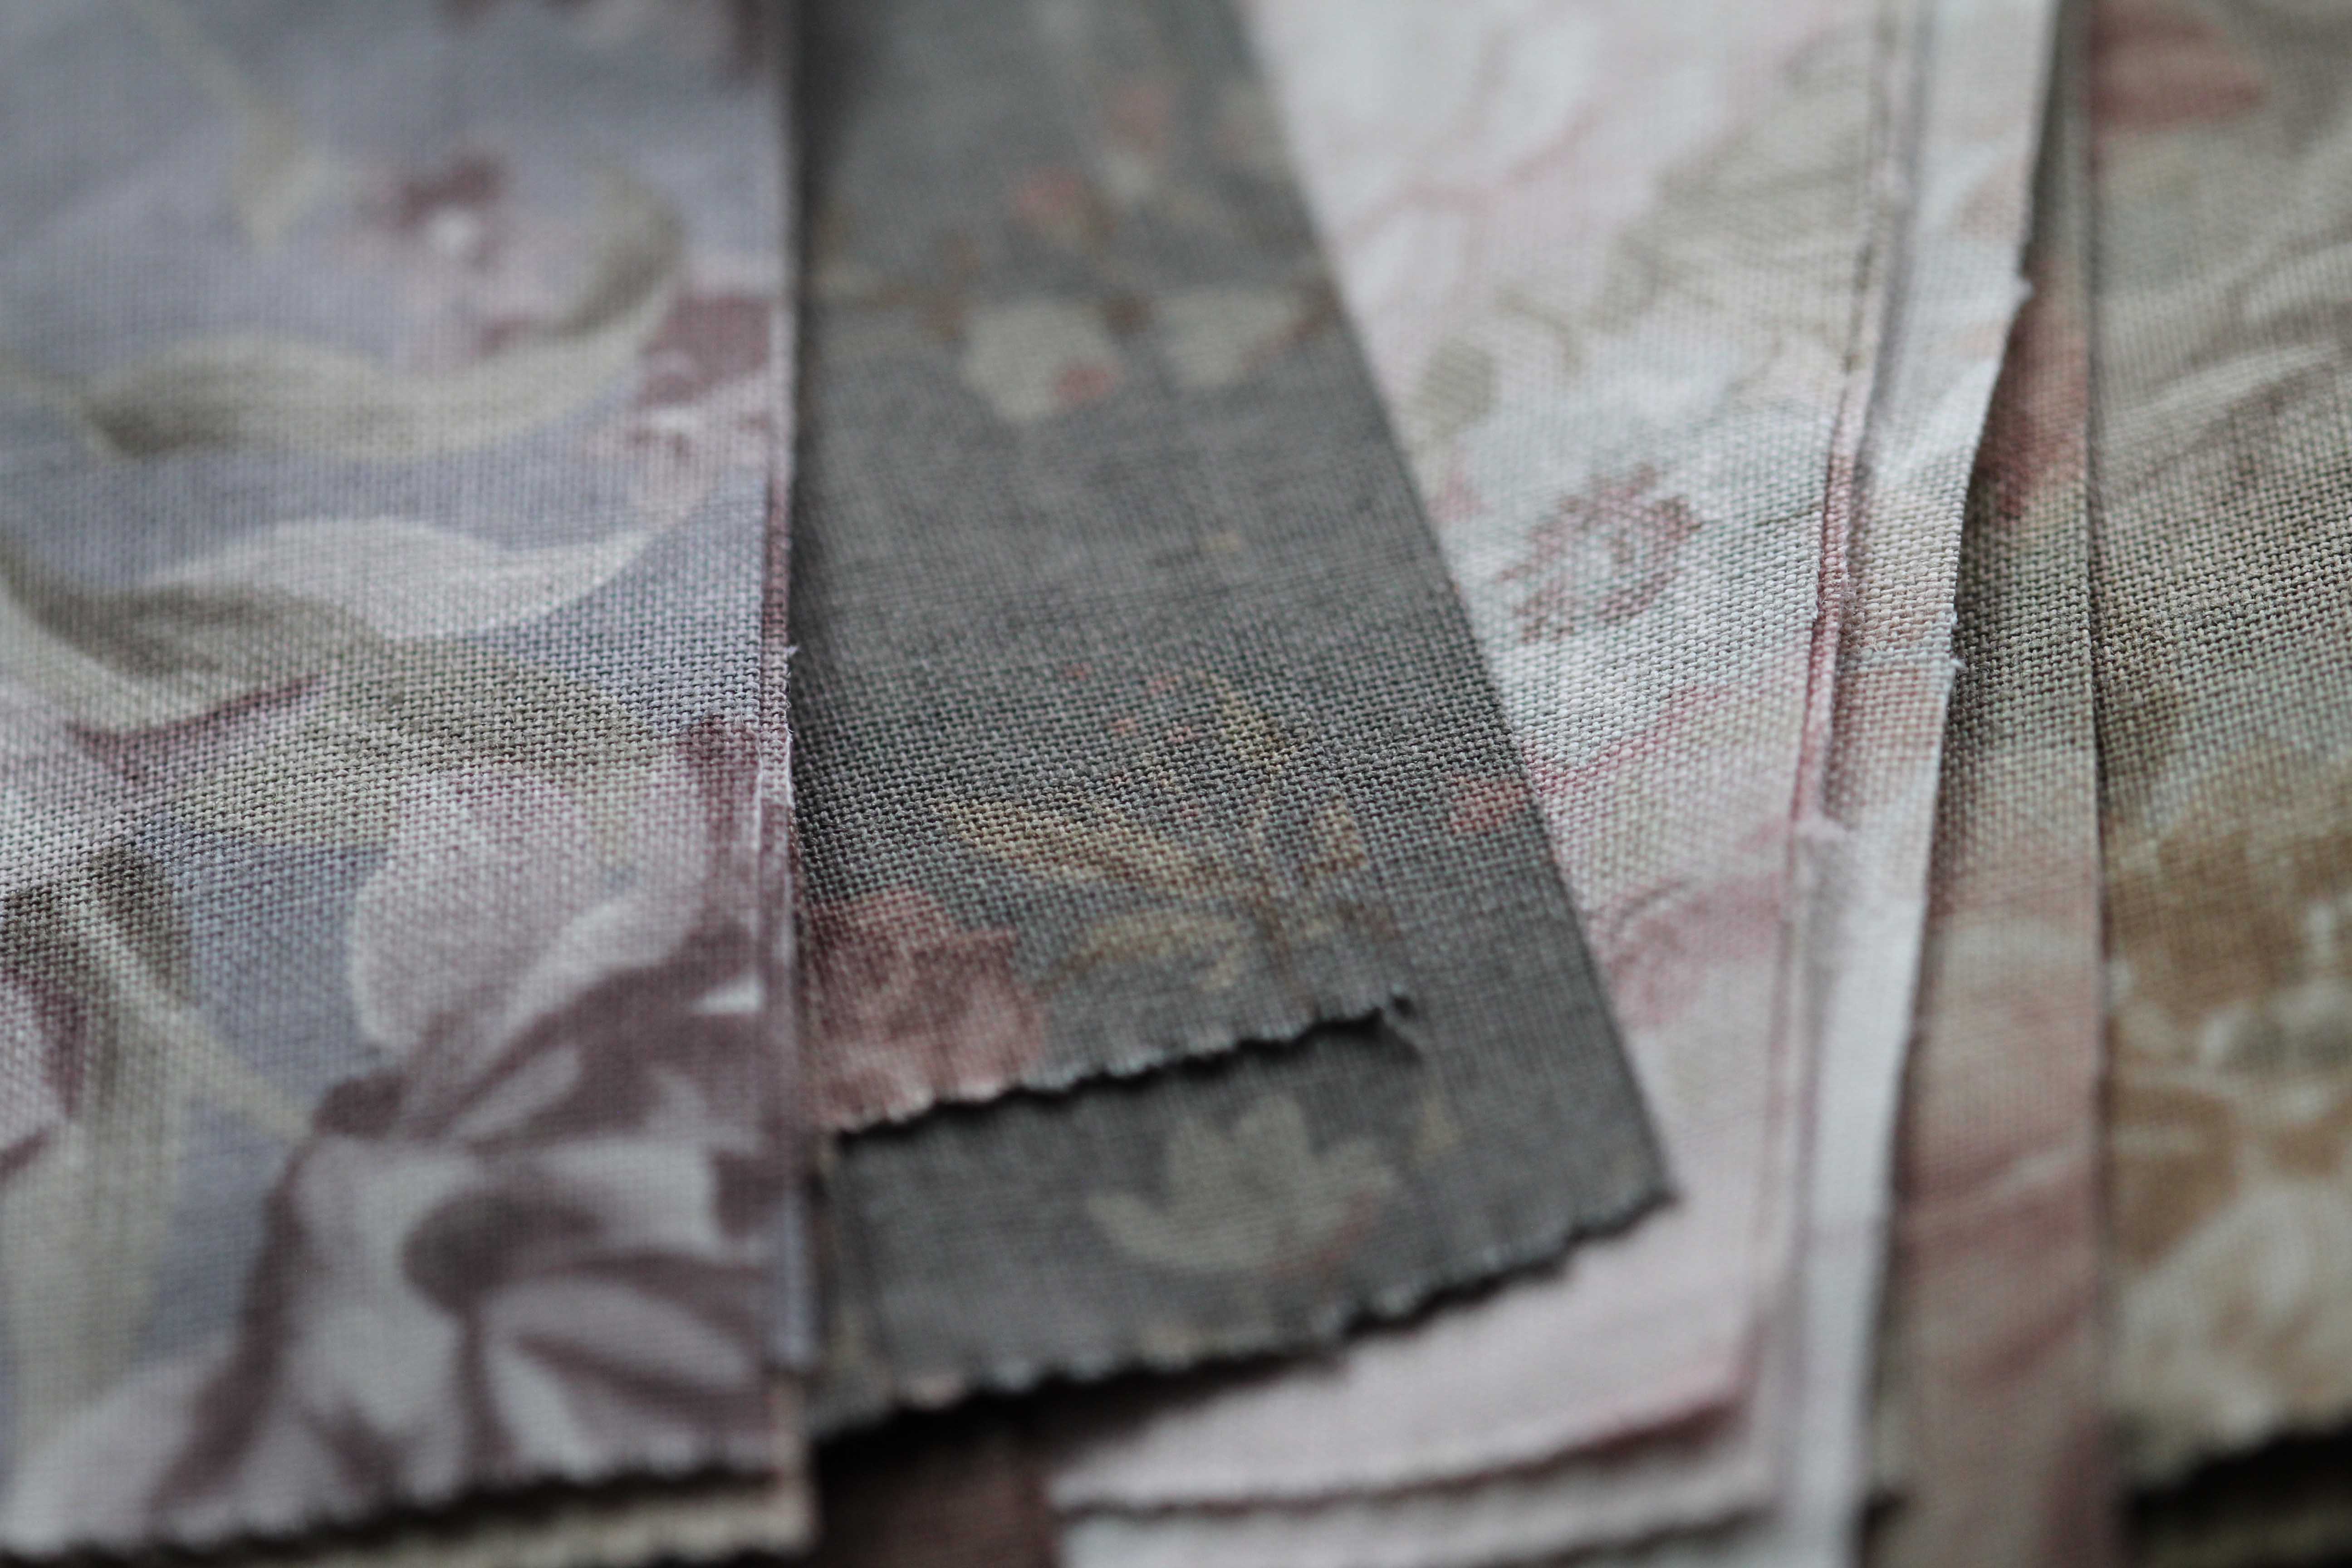
 I re-discovered a layer cake (10 x 10 in.) of this fabric from Moda that had been hiding in my fabric stash for a decade. Not exaggerating. I no longer know the name of the collection. I tried to find more of it online, and it’s basically unavailable.
Now, like many of you, I have stashes of fabric that just don’t interest me any more. Sometimes I look at something I own, and wonder what in the world I was thinking. It’s dated or seasonal, or, heaven forbid, it was trendy and had a shelf-life of about 15 minutes.
But that’s the stuff I give away. And, frankly, over the last few years, I’ve done quite a bit of giving away.
But this Old World fabric (that’s the name I’ve given it), is still fabulous. Every time I look at it I think of Europe, of Jane Austen, of carriage rides and chats by a fireside, and afternoon tea..and maybe a croissant.
I still love it.
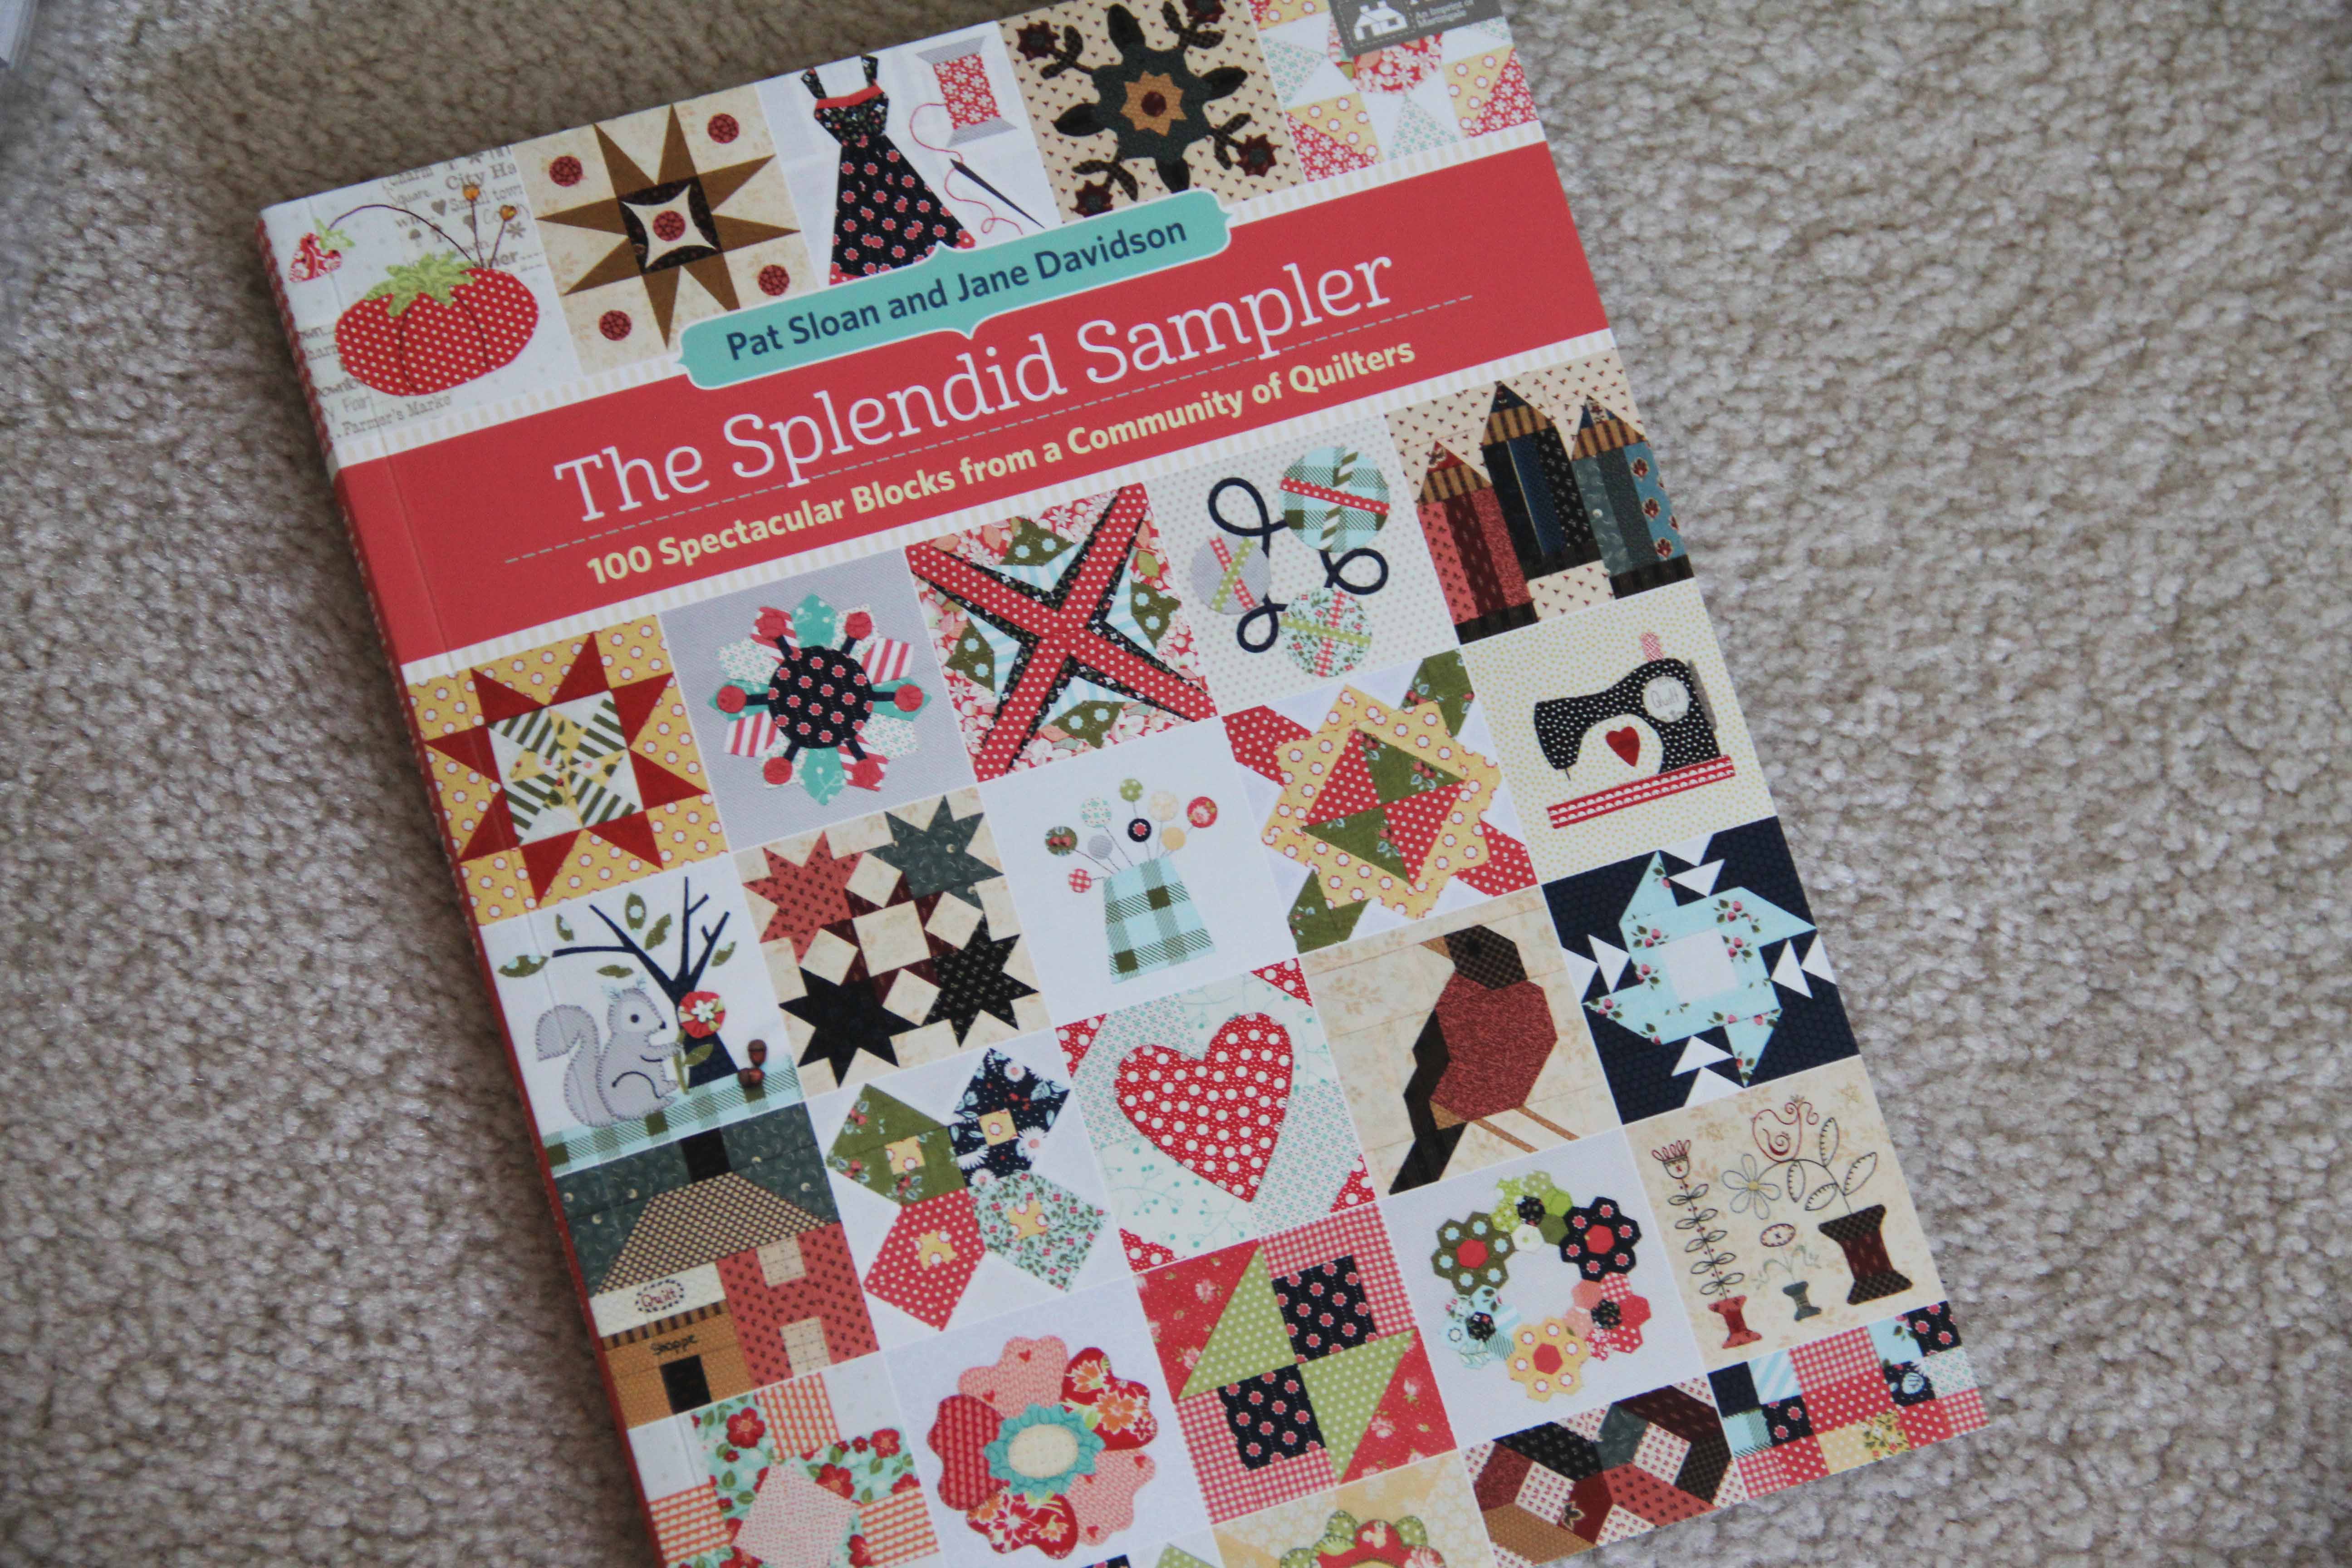
 And so I recently found a pattern that’s perfect.
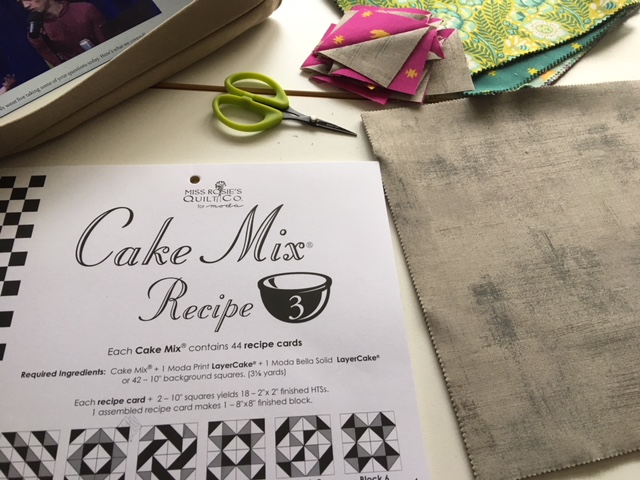
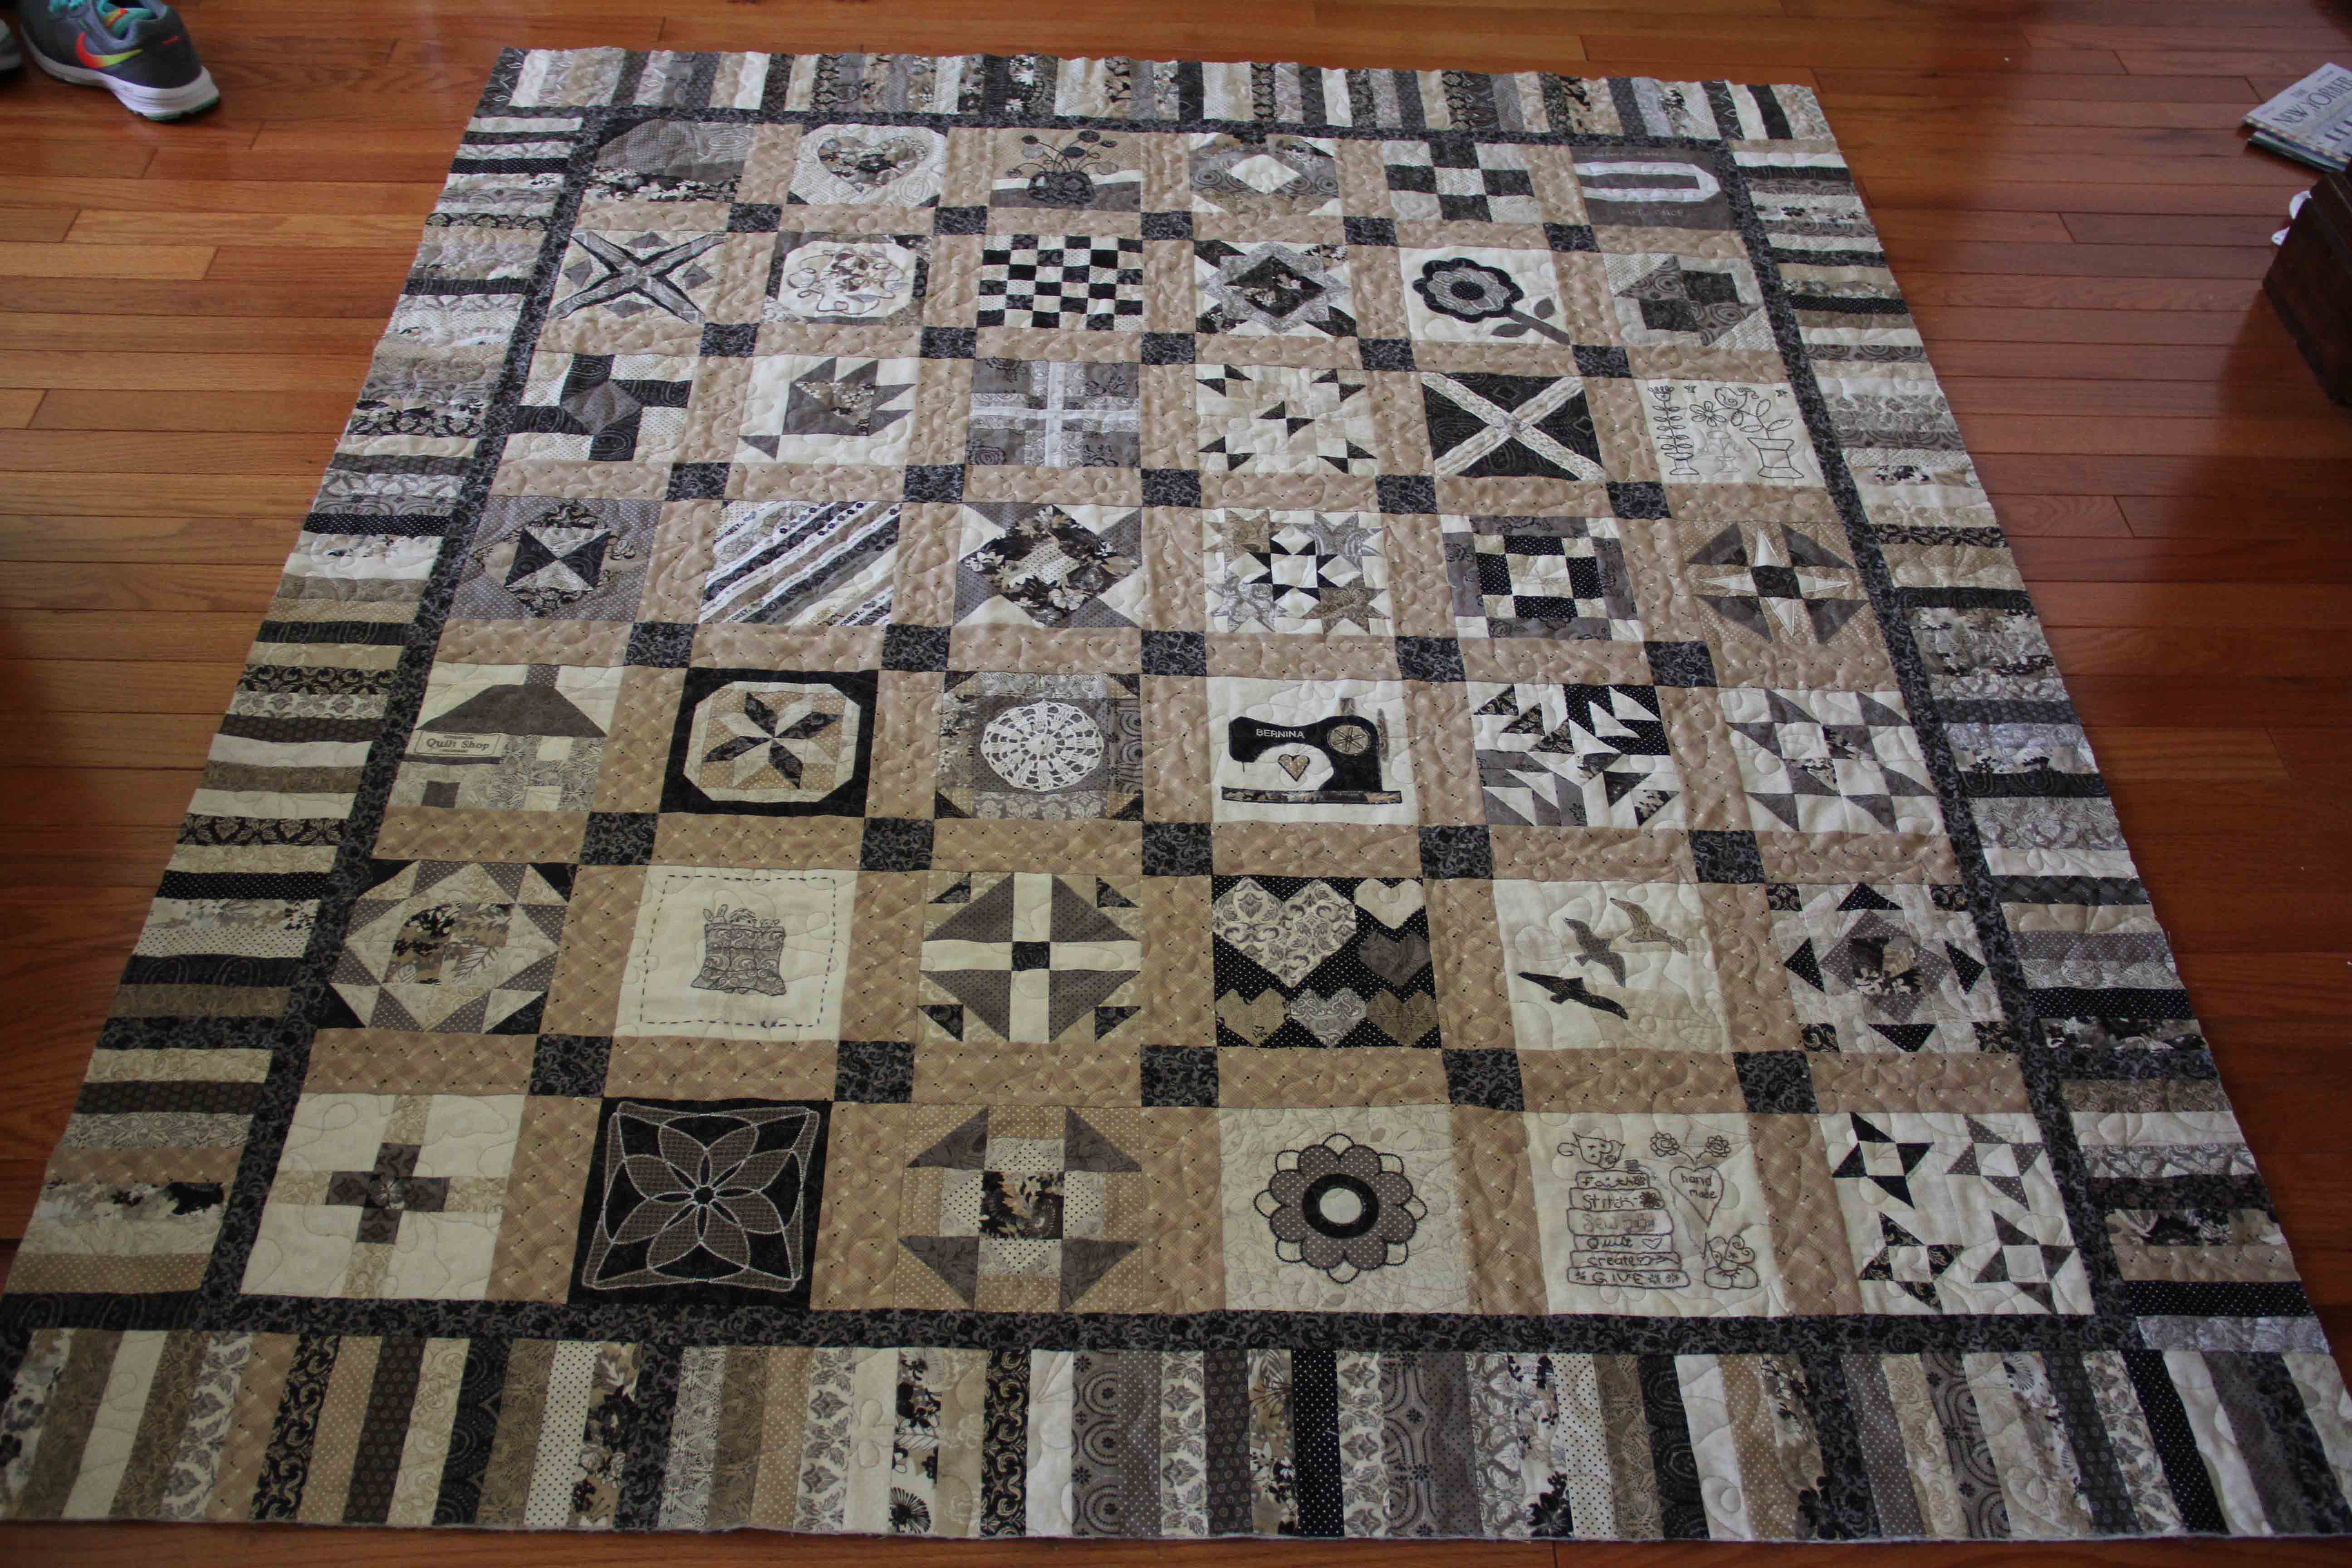
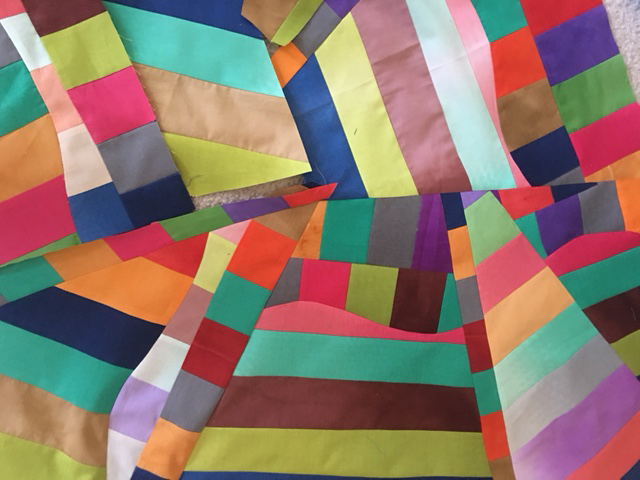
 That’s a picture of the pattern on the cover of Miss Rosie’s Farmhouse Favorites. While it’s not a complicated quilt, it’s not terribly simple either. Especially since the pattern calls for fatquarters and all the cutting instructions are tailored for that. As usual, I am switching out colors and modifying the instructions to accommodate the fabric I have and not what is called for in the pattern.
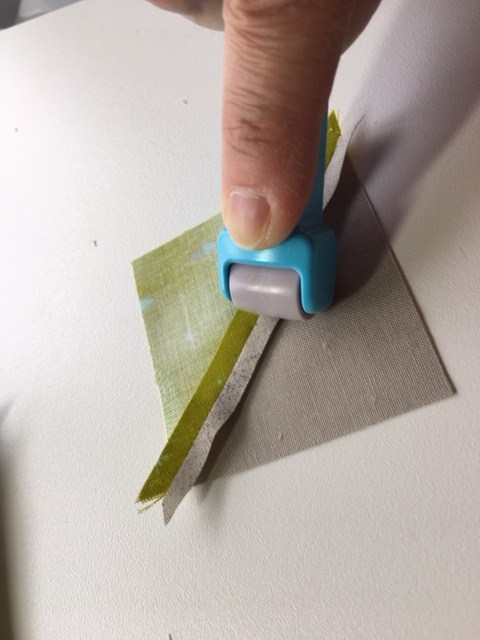
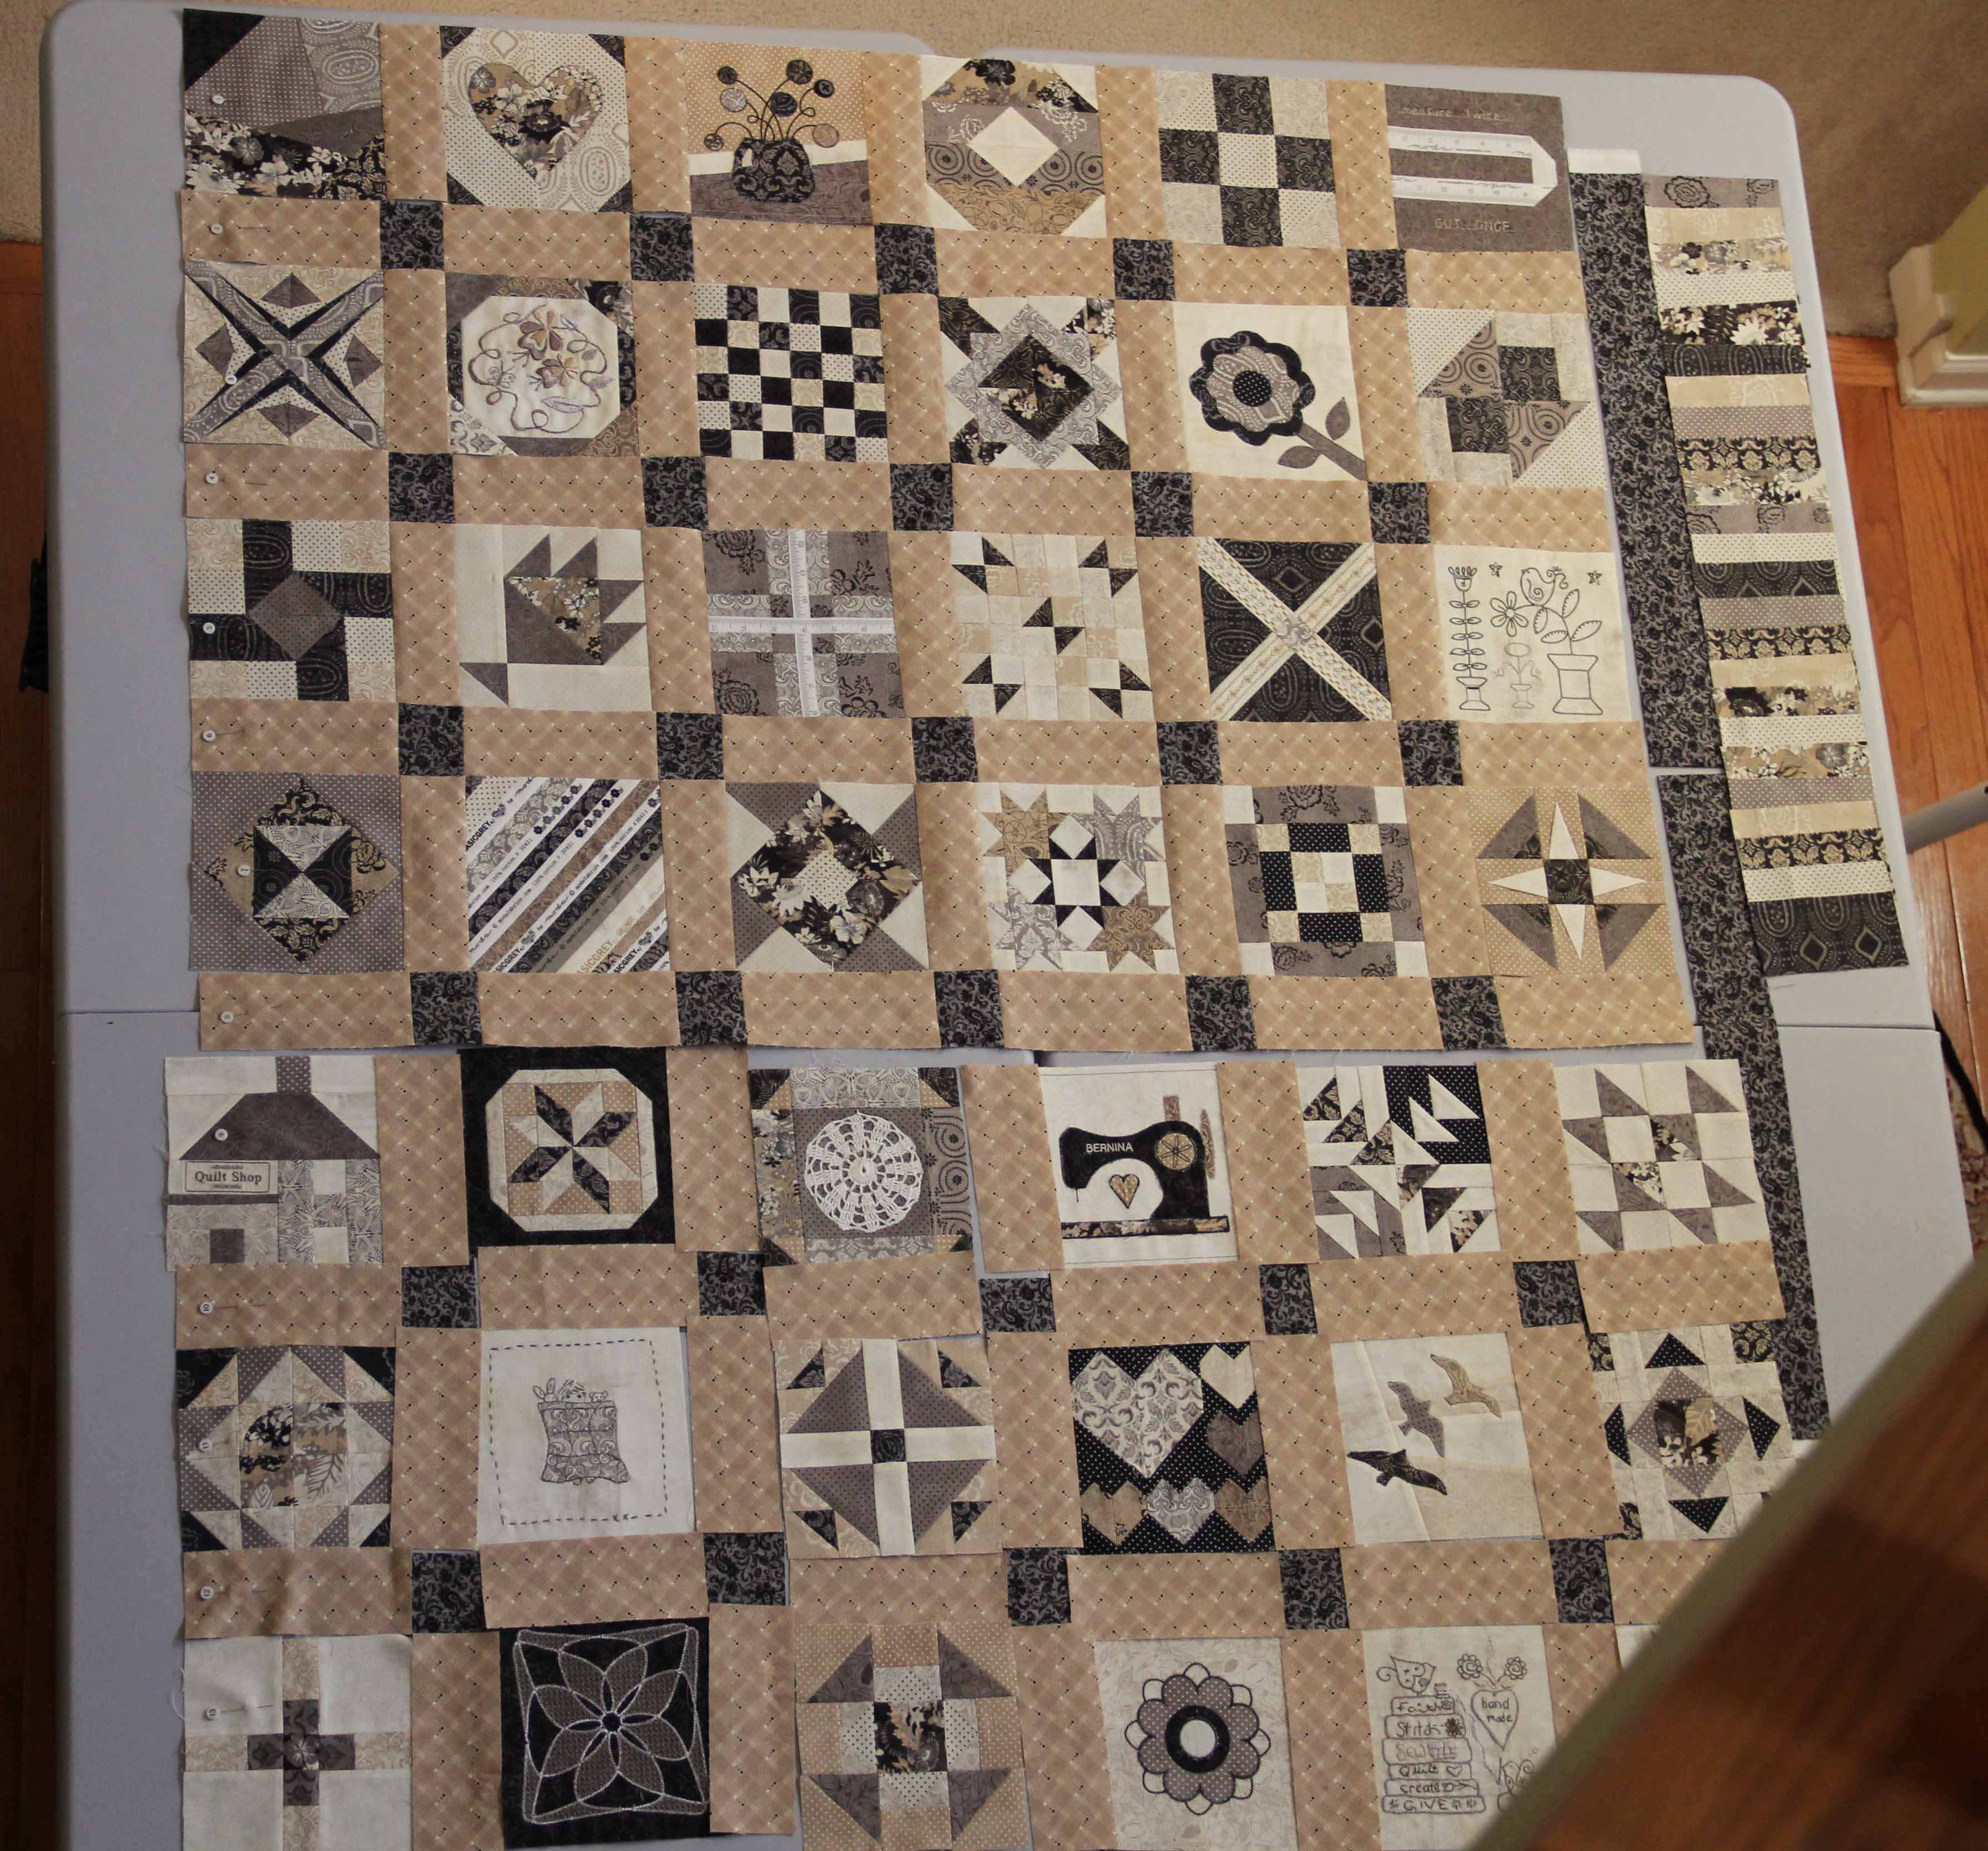
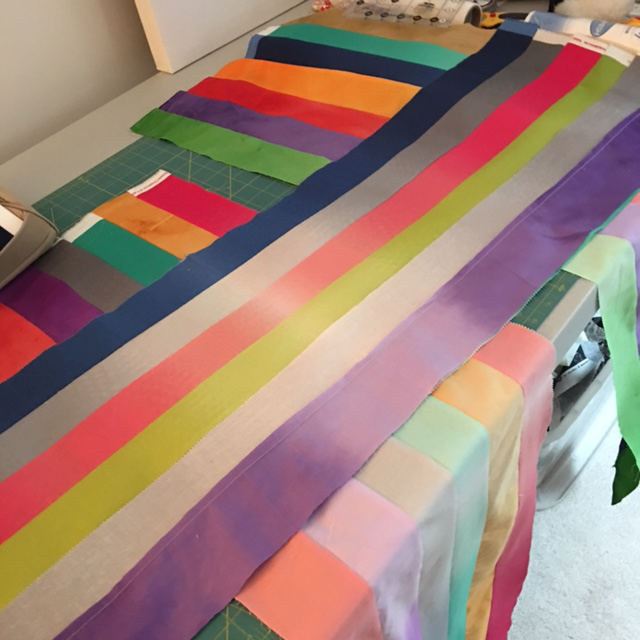
I have been cutting for days.
And I’m still not done as many of the squares will end up cut into quarter and half square triangles.
Still, because I fall in love with these fabrics anew each time I look at them, I am willing to start a project without thinking about how many hours it will take me to complete.
It’s like having a baby. Whatever you do, don’t think about how much it will cost or the hours of your life you will spend devoted to that project. Don’t think about diapers or doctors’ visits, or bumps on the head, or homework, or cub scouts (or girl scouts) or spills on the sofa or orthodontic appointments or puberty or girlfriends or boyfriends or college exams. Don’t think about the worry, the tears, the laughter, the arguments, the sleepless nights, the unexpected hugs.
It’s all just process.
And when we think too hard about it, we end up doing nothing at all.
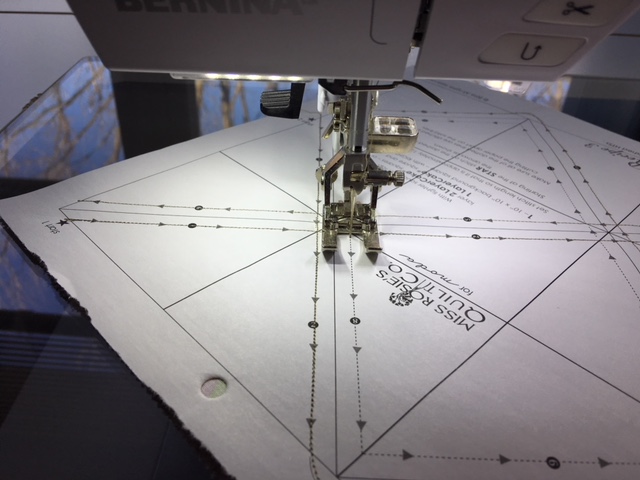
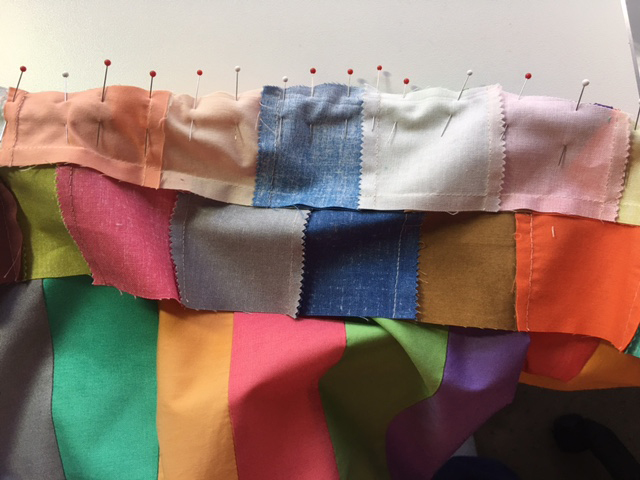
So for today, I will enjoy. And after all that cutting, I can finally start to sew.