Do You EQ?

If you haven’t heard of this yet, EQ (Electric Quilt) is software used for designing quilts.

And it’s very reasonably priced.

I had the opportunity, recently, to learn EQ7 and get to know EQ expert, writer and educator Barb Vlack.  Within minutes, she had us designing quilts.  Barb will be teaching Electric Quilt at International Quilt Festival in Houston.  If you are interested, I highly recommend her class.

As you can imagine, the program gives you rotary cutting instructions, fabric yardage and templates to complete your design. Their website Electric Quilt offers training, books, downloadable fabrics and tons of other support materials.  The blog, doyoueq.com offers a quilt club, challenges, and a stunning, stunning quilt gallery of customer’s designs, laid side by side with the quilts they then produced from the designs.

Did I say stunning?

electric quilt 1
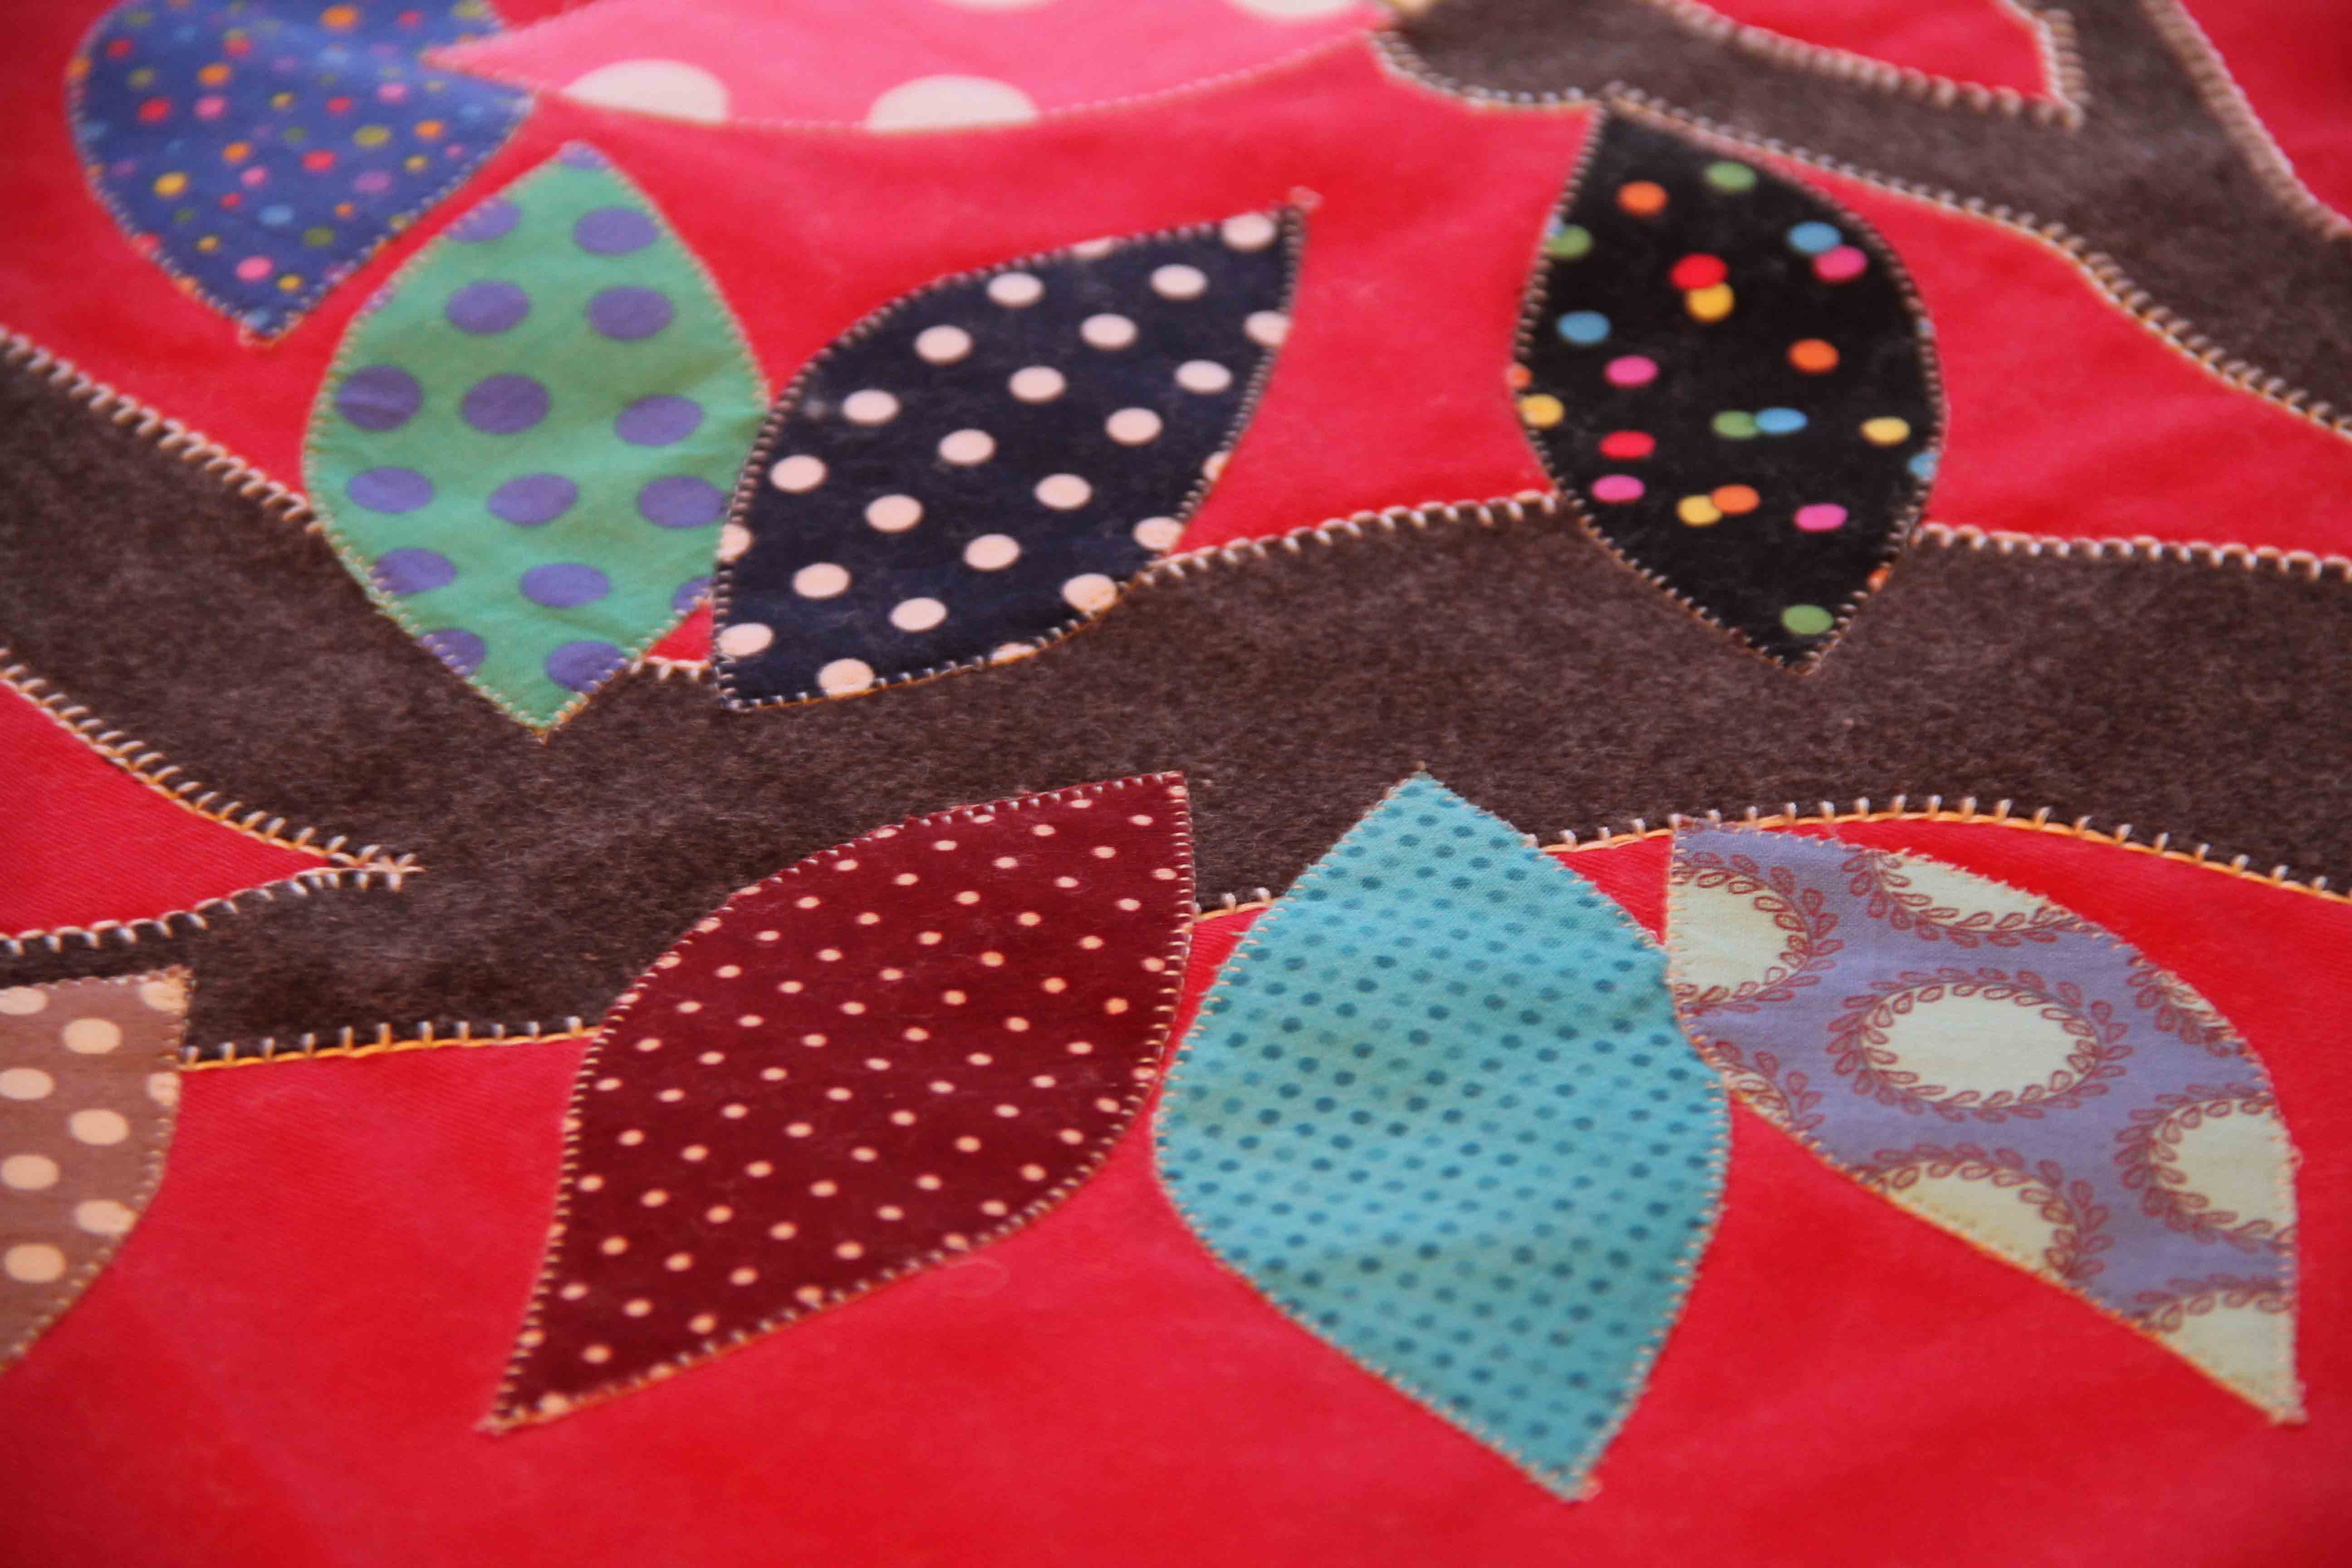
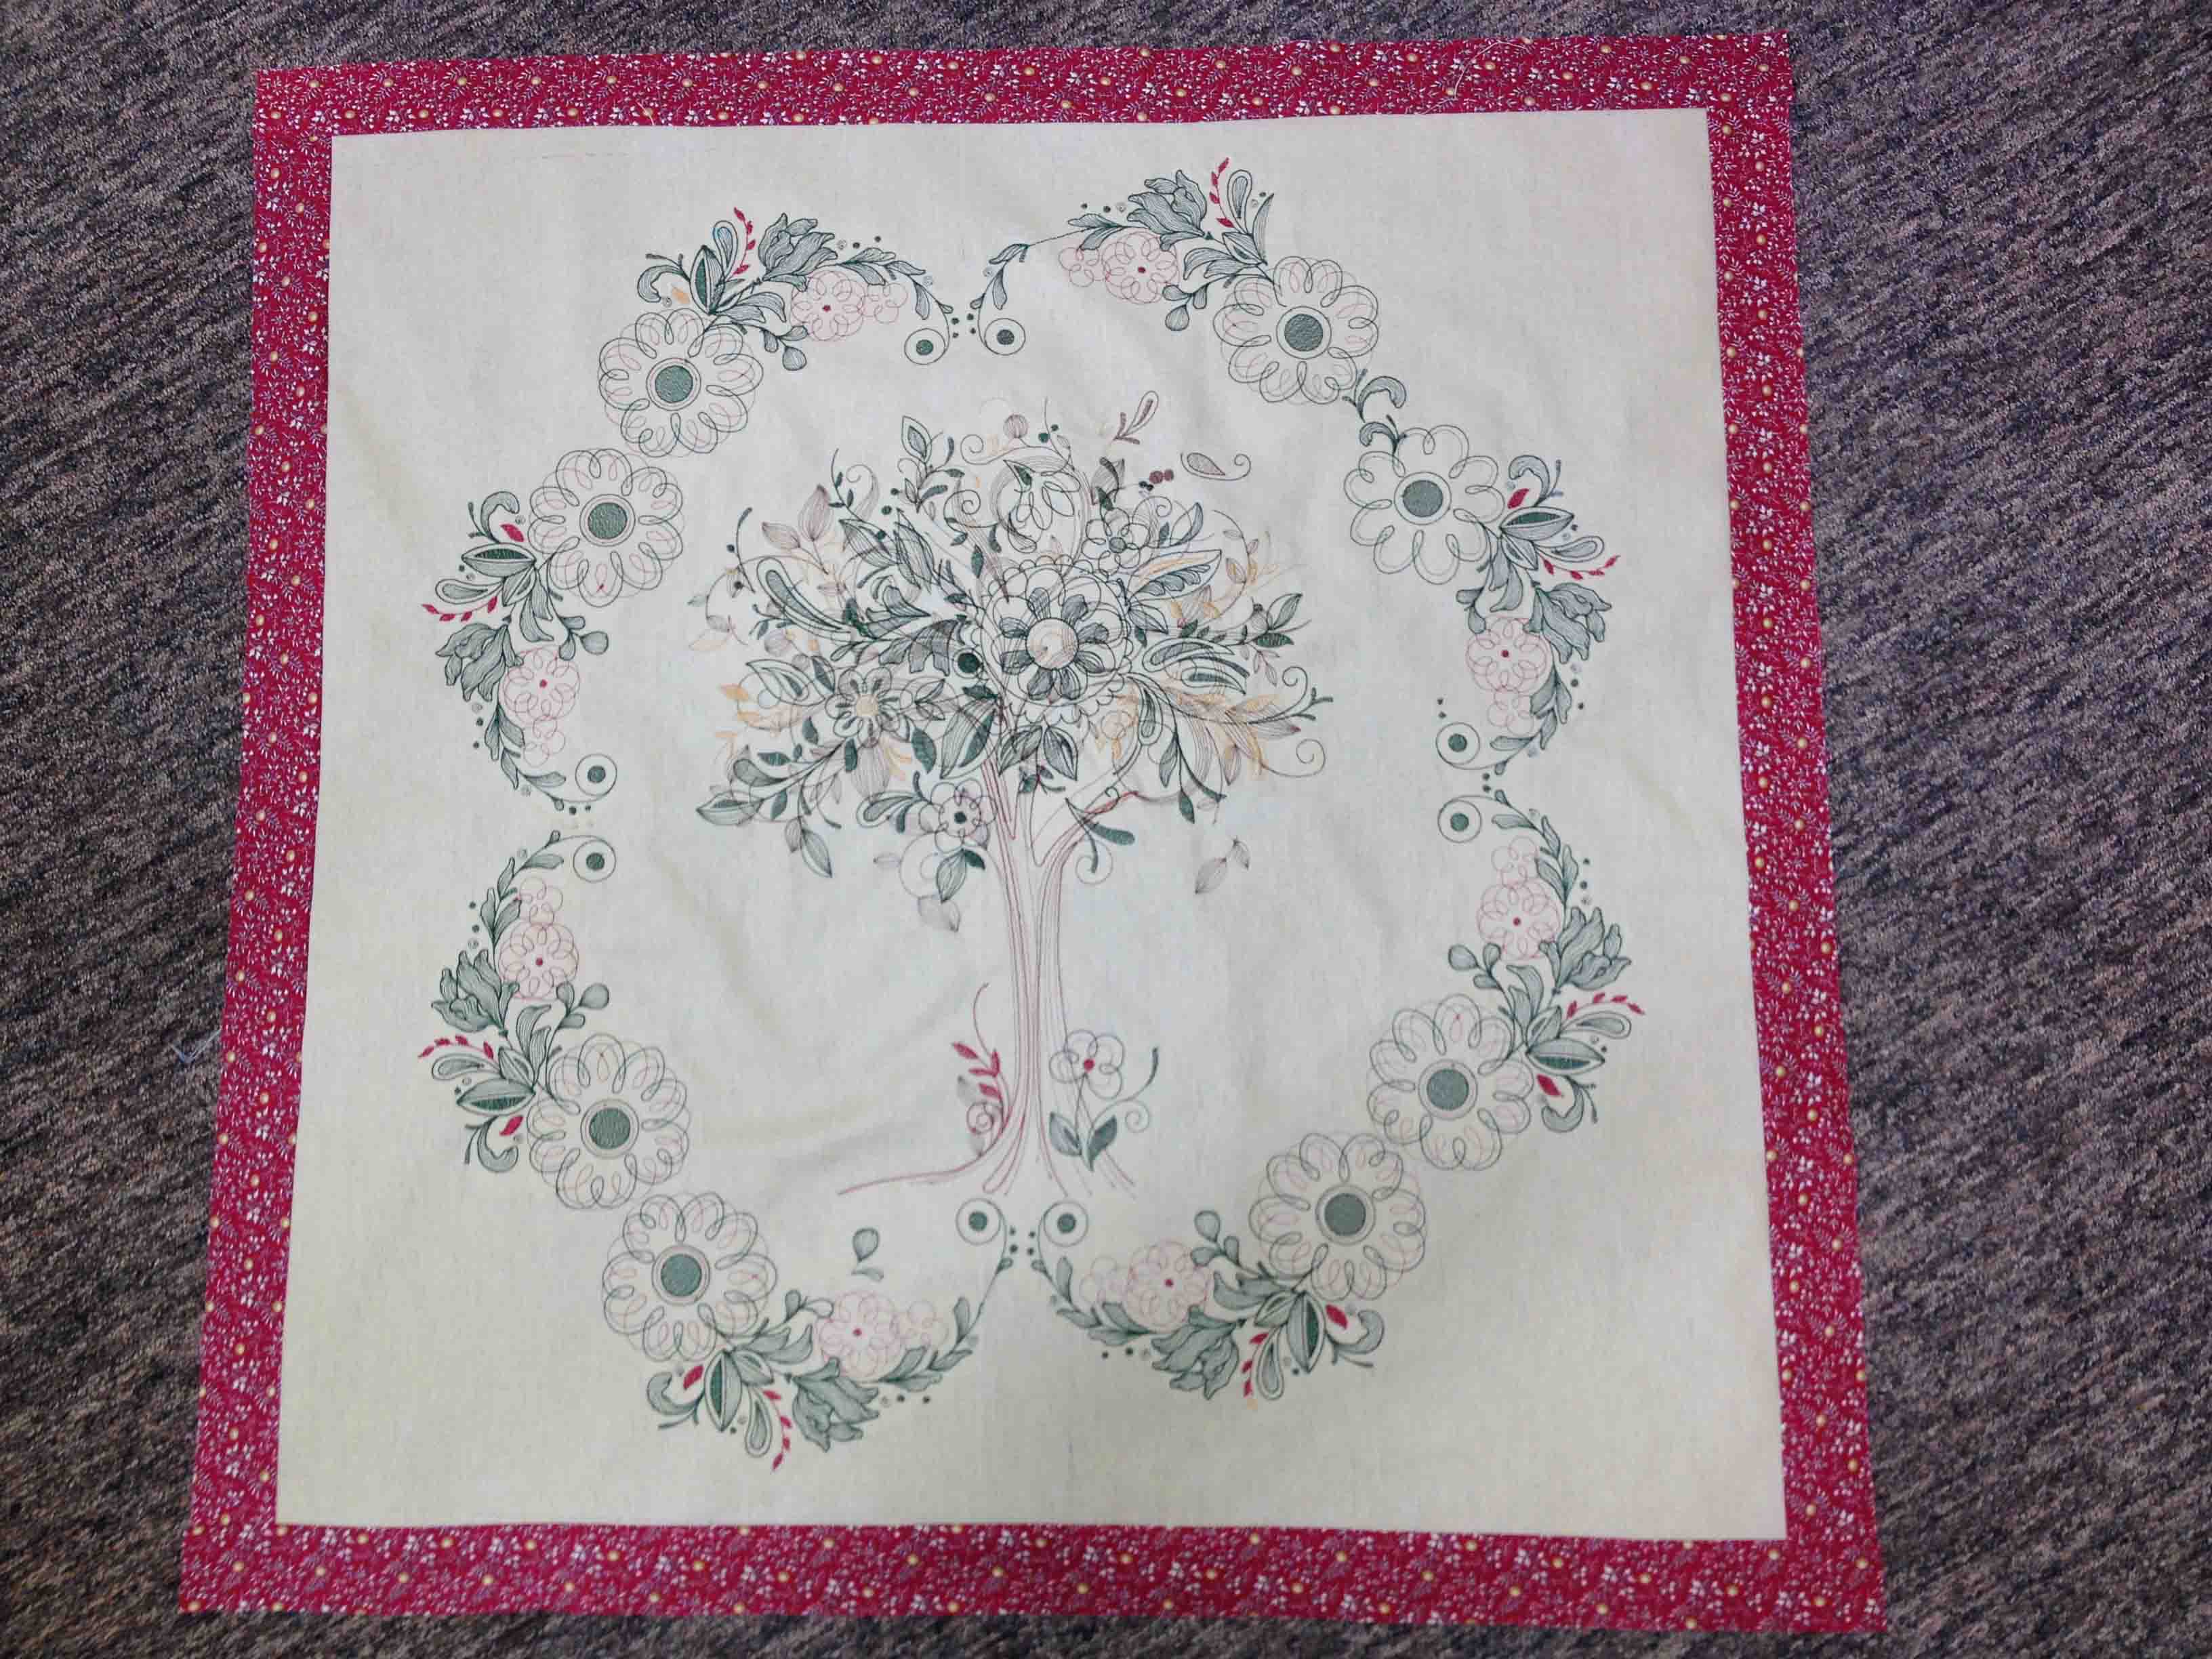
After only a few minutes of playing in the software, I designed this quilt.

electric quilt 3
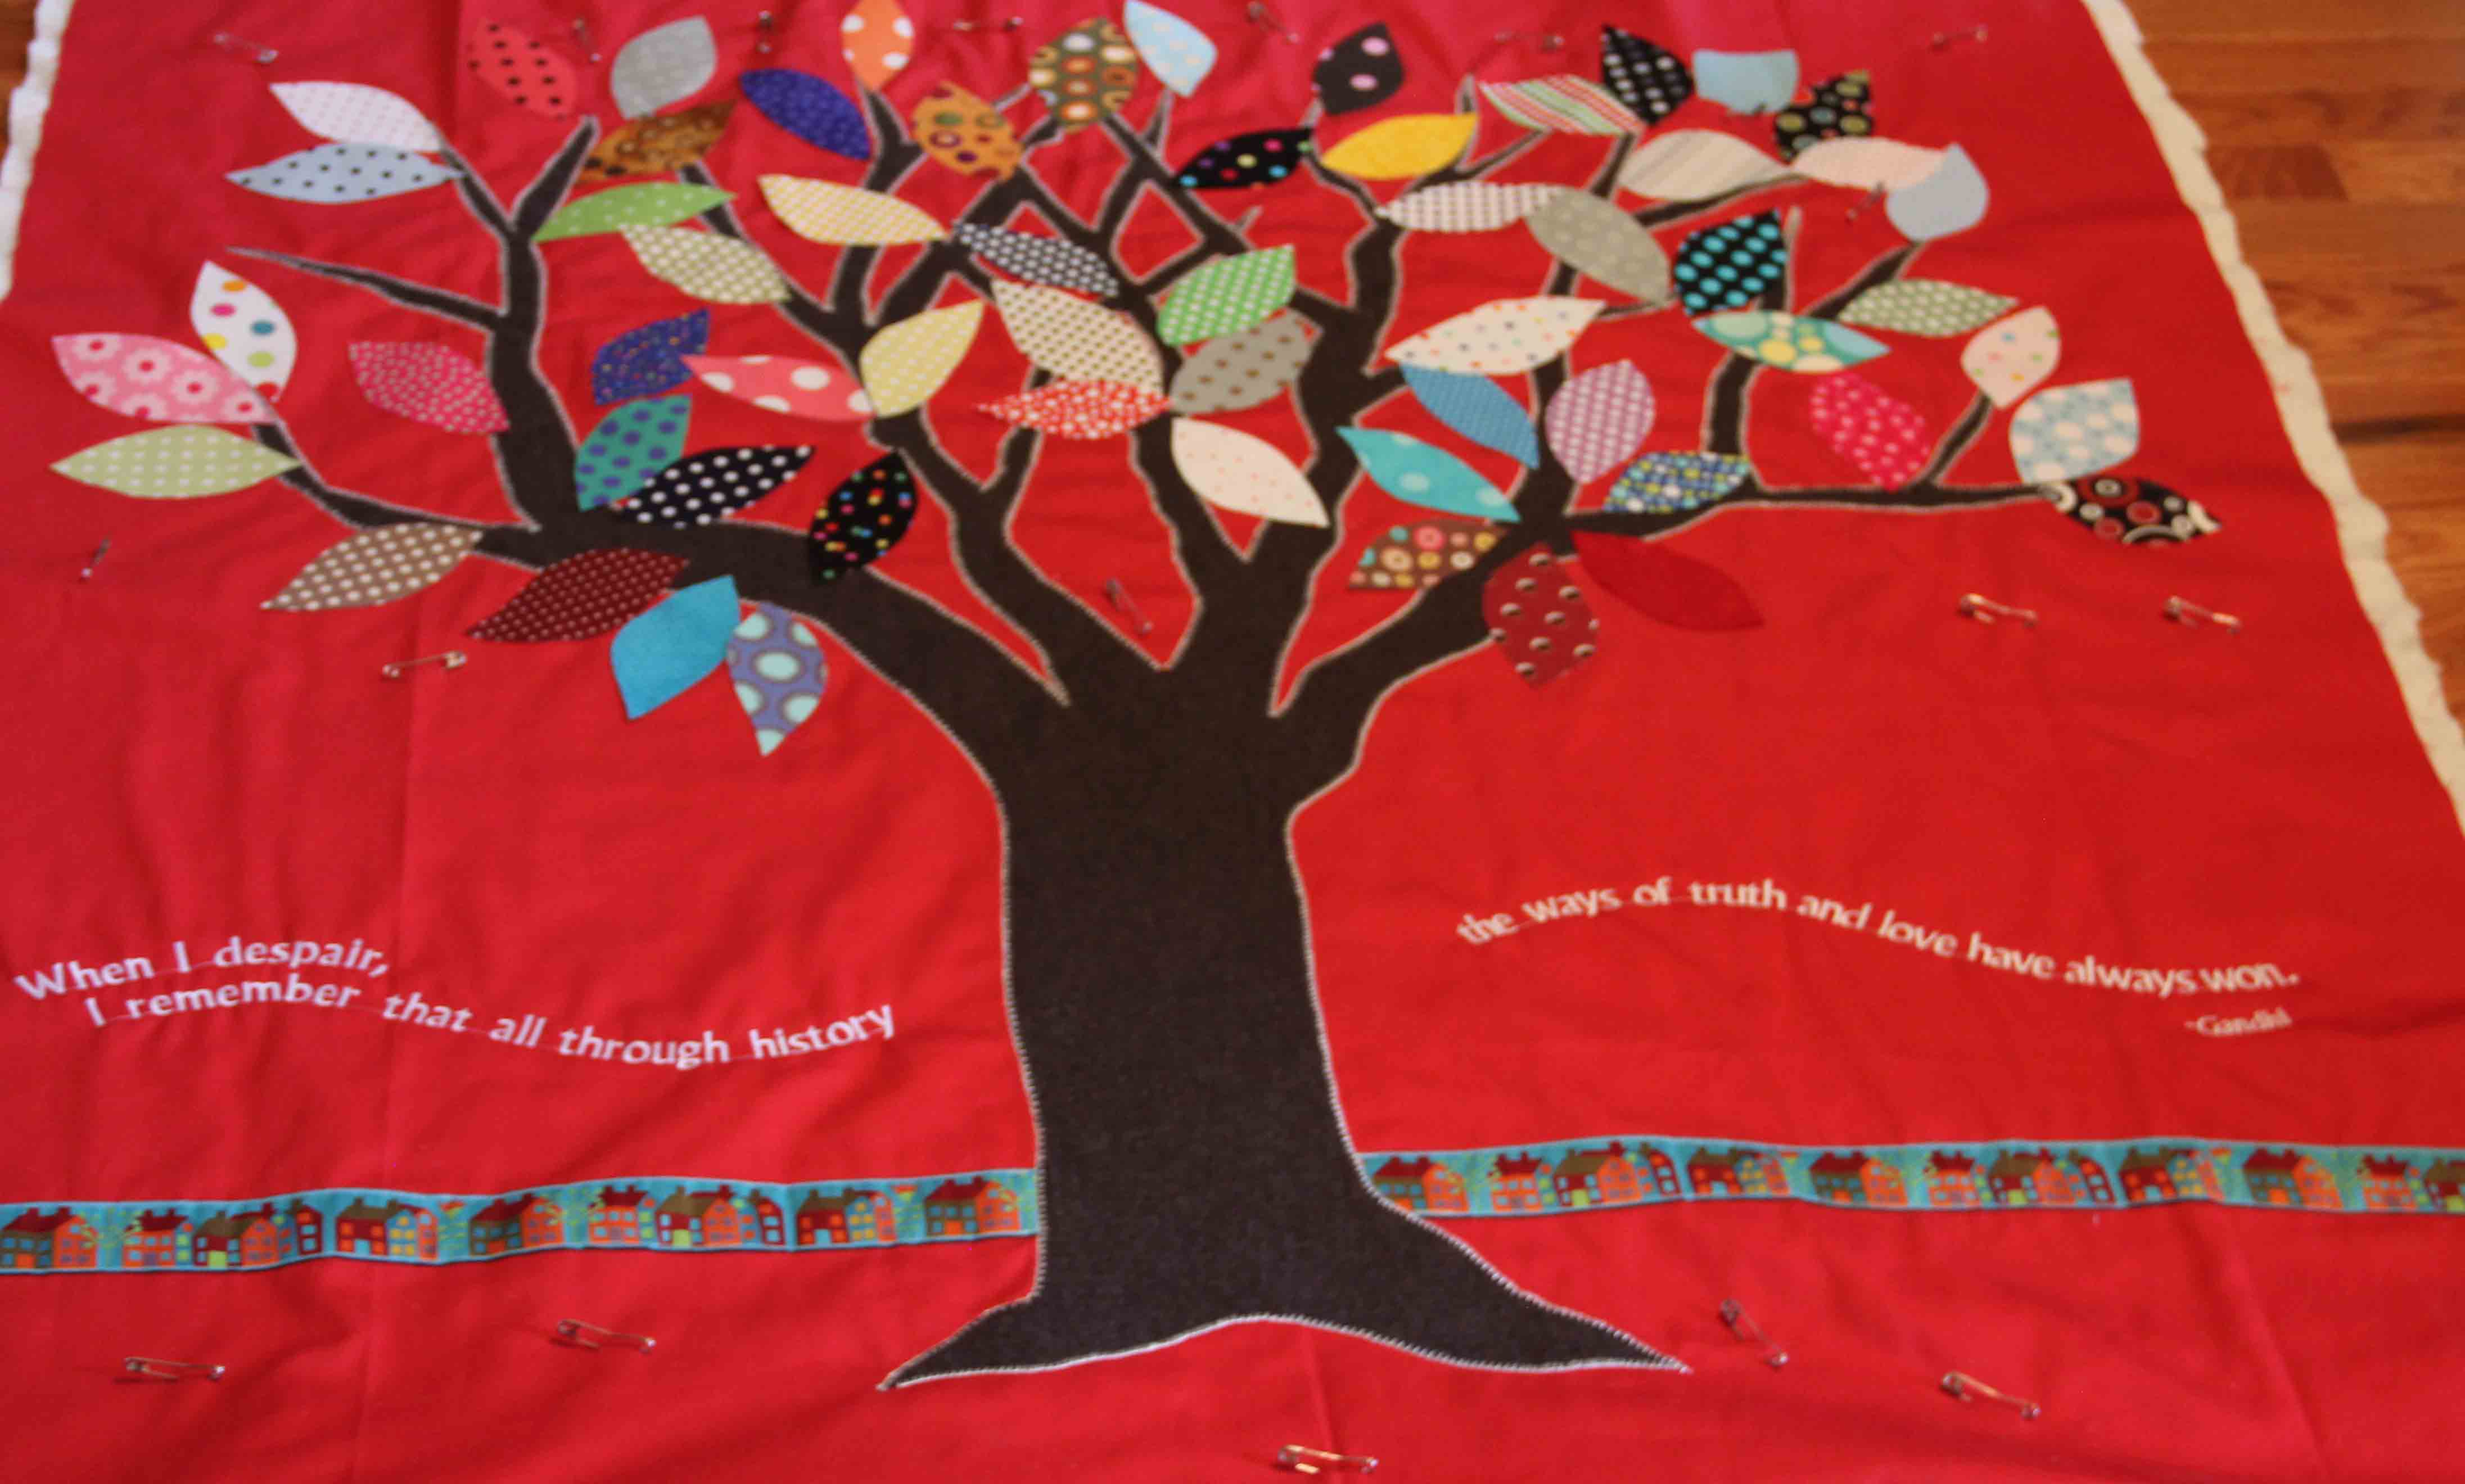
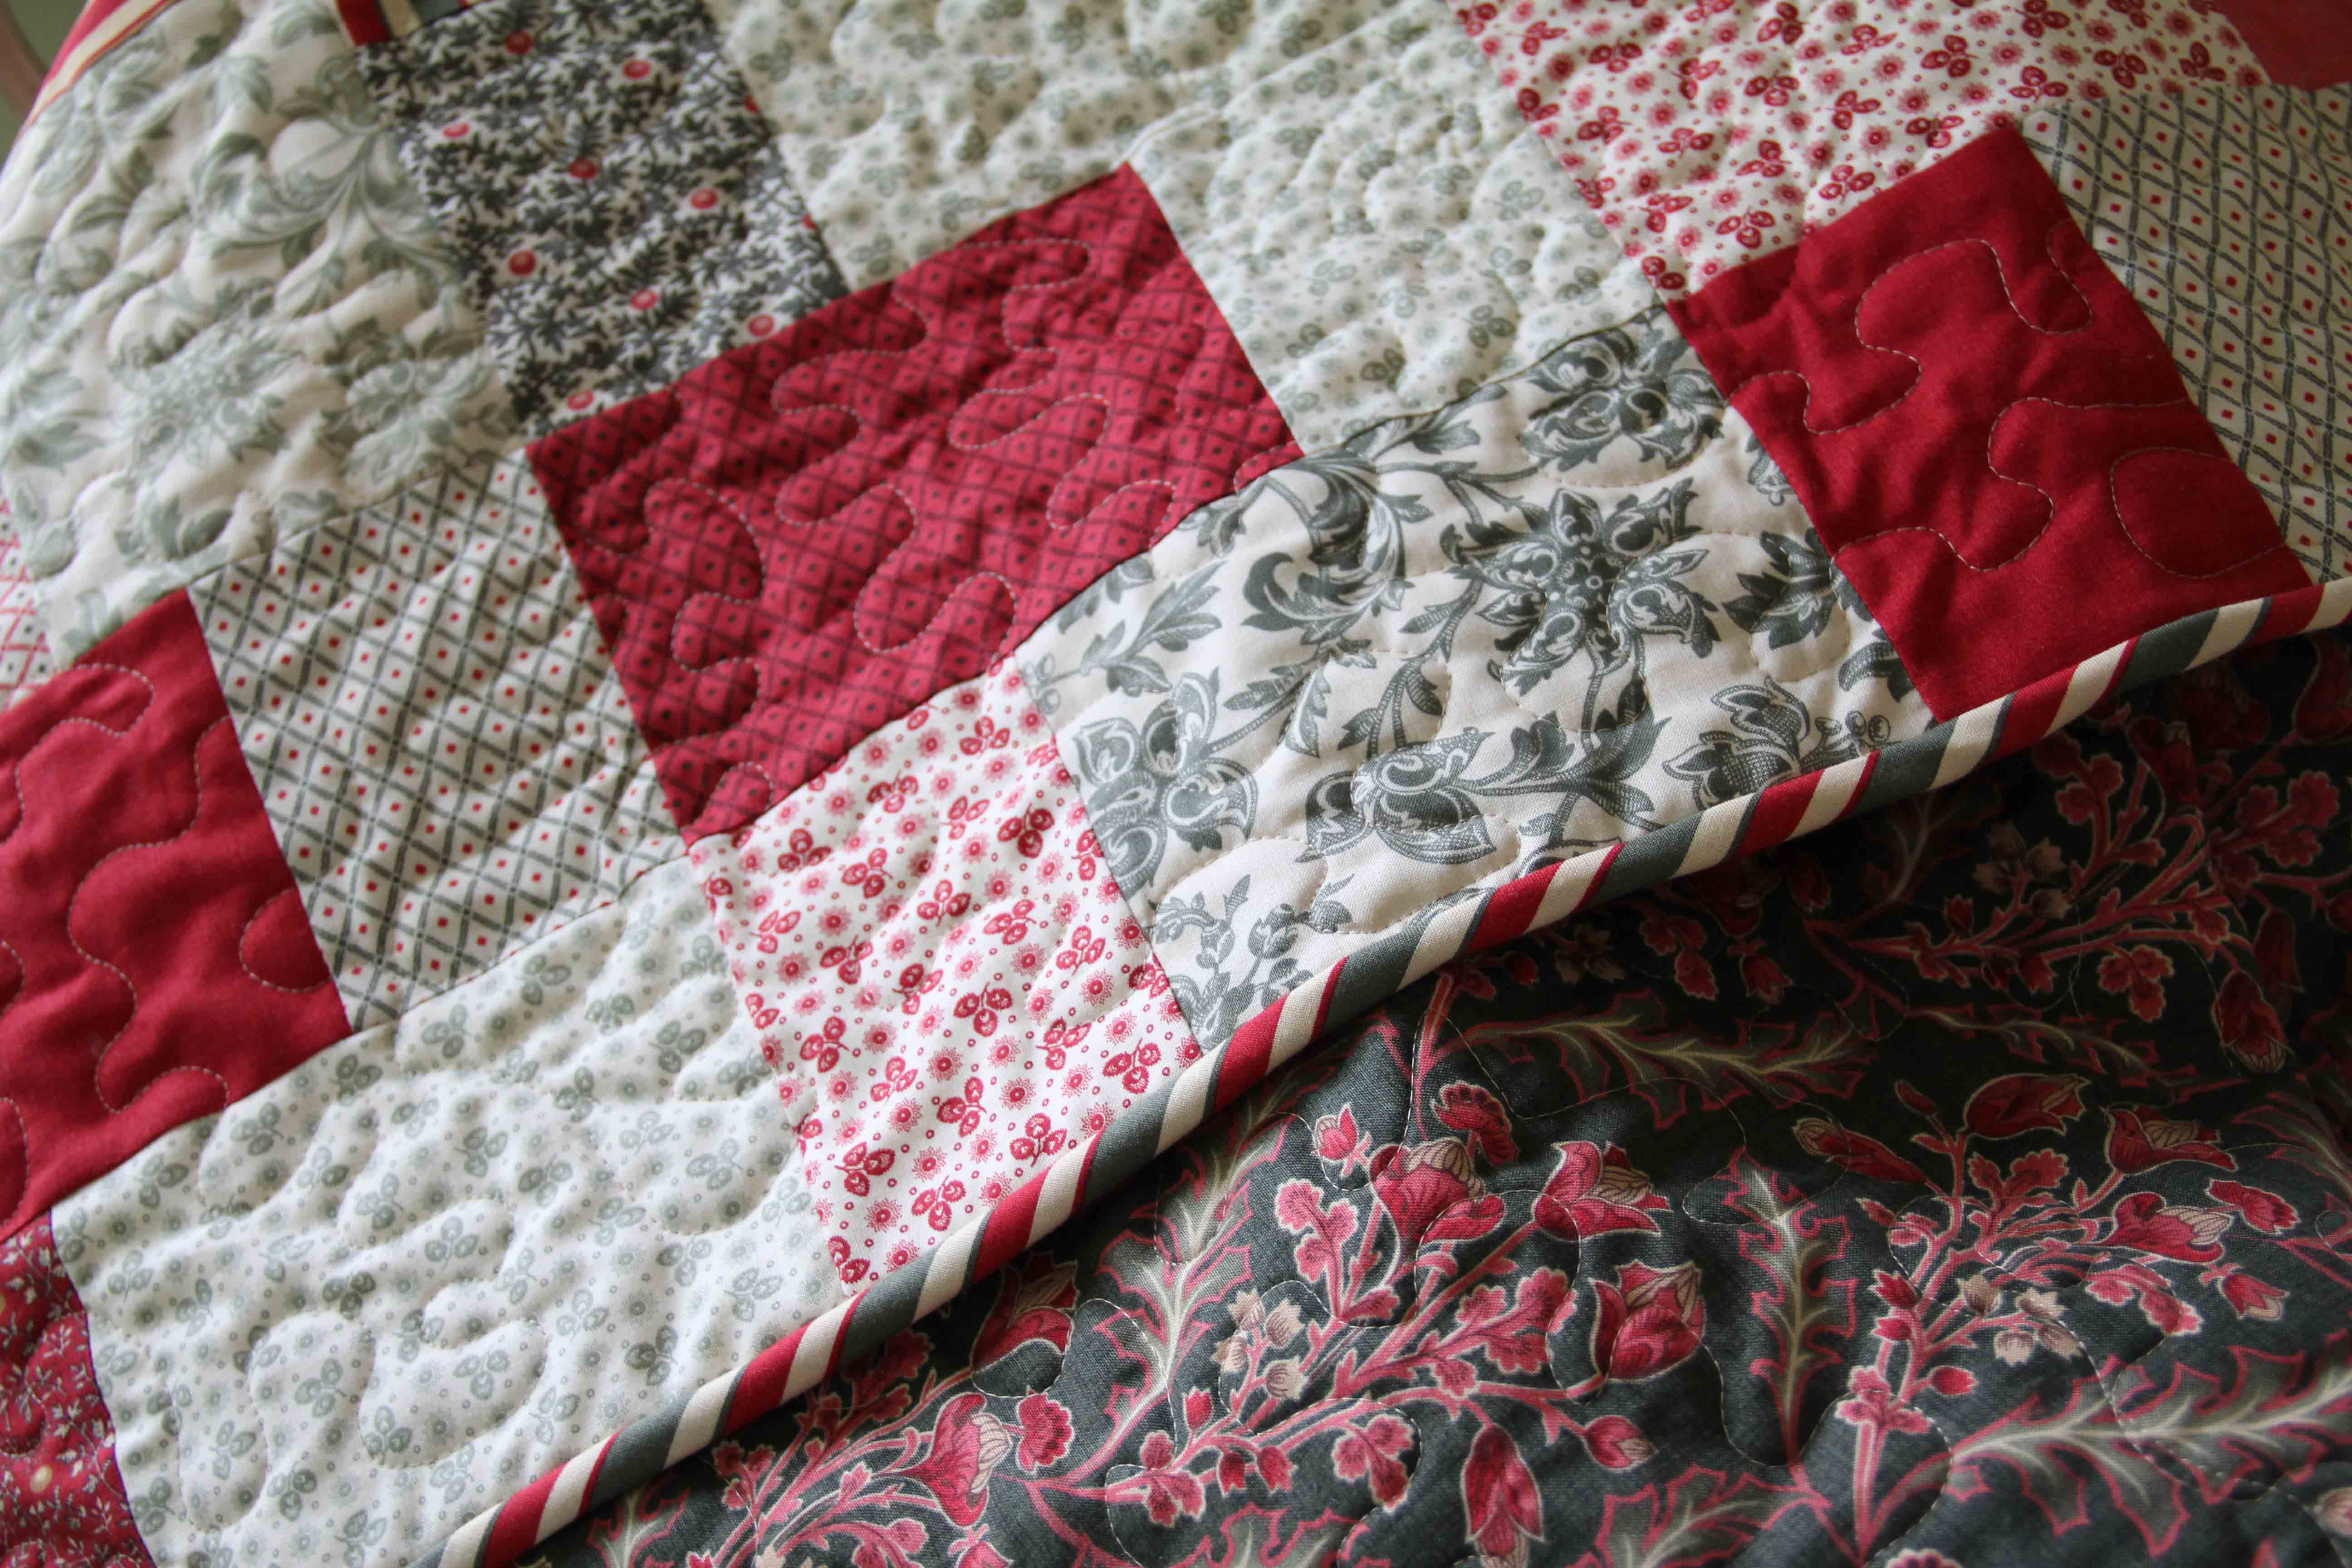
With another click it became this.

electric quilt 2Now it may take a little longer to actually sew it.

Or I can choose to just enjoy it and sew it later. Or never sew it.

But it’s still fun to discover the possibilities — my unique possibilities. You can create your own appliques, and with a plug-in, you can even create your own embroidery.  The ideas are endless.  The program comes pre-loaded with something like 4500 blocks and designs, so if you never create a block yourself, it will still keep you busy for the rest of your life.  And you can also display fabric instead of just colors. These images I’m showing? They would make great greeting cards — more ideas.

I could see myself getting lost for days in this software.

But what a terrific way to challenge ourselves, learn new techniques and explore design.

Do you EQ?

Maybe you should.


Just another Blizzard/Snowstorm/Super Bowl Sunday

Yesterday after work, at about 5:30 PM,  I stopped at the local Meijer.

You would have thought that none of us had ever eaten before or would ever eat again.  The shelves were cleared of chips and salsa, although I found some on an end cap.  The stockers were angry and the check out clerks were exhausted.  The gal at the counter told me the store had been packed all day.

I couldn’t find any potatoes. They were gone.  Yes, all the potatoes were gone.

The Canadian bacon I usually purchase had been replaced by rows and rows of real bacon and Velveeta. And ribs. Sour cream shelves were empty. And I couldn’t even find my son’s yogurt.

The combination of Super Bowl Sunday and a pending snowstorm….excuse me…. BLIZZARD…were seriously almost causing the end of civilization.

suuperbowlblizzard2

Today, the snow IS falling, thank goodness.  The plows in the neighborhood have been few and far between. I heard one last night at 3 am, then again once during the day today, and that’s pretty much it.

Of course, I have been sewing.

I used a new pattern and assembled a couple of cute table runners for Valentine’s Day.  My goal is to get them to the point where I could spend the Super Bowl doing hand work by putting on the binding.

The pattern is called Rock Candy from Jaybird Quilts and the accompanying ruler is called a Sidekick.  This is truly a simple pattern to do using the ruler, and a fun shape for a table.

jaybird quiltsI did manage to get the binding on, and now I’m ready to sit and watch the game.

jaybird quilts 2The fabric is adorable, called Kiss Kiss from moda.

So get out your chips and dip, salsa and sour cream, your chocolates and cheeses and crackers and cookies. Turn on your big screen, enjoy the screaming crowds and the silly, raunchy, depressing, goofy, and tear-jerking commercials and half-time show.

As for me, at 8 pm I switch to Downton Abbey. Pass me the stress-reducing herbal tea.


When Your Quilt Needs a Time-Out

If you have followed this blog for any length of time, you know I participated in a polka dot fabric exchange last year.  I received 60 – 10 x 10 in. squares of polka dot fabric from all around the world.

I resolved to include them all in a quilt somehow, and managed to cobble together a tree with the fabric as leaves.

But then I had to put the quilt in a “time-out”, as a friend of mine likes to say.  Quilts need it, you know.  They become unruly, arrogant, resistant.  Or sometimes they just become passive or apathetic.  Either way, when a quilt reaches that stage of behavior, it’s time to put it in time-out.  It makes absolutely no sense to argue or to fight your way through.  The quilt needs time to find its way.

So I put it in the guest bedroom where it could have some time alone to ponder its future.

I checked on it  occasionally, offering ideas and solutions, a way out.  But the quilt obstinately refused.  “OK for you,” I would think.  And walk away again, to work on another, more cooperative project.

For months it sat, sulking, pouting, depressed even.

Then one day, shortly before Christmas, when I walked in to check on it, the quilt looked eager. Just a hint of it, you understand, but there it was:  a small little whisper of earnestness.  It had formed an idea about its future.

So I listened.

And I let the ideas float around for awhile with no pressure or desire for any of them to be successful.  Tentatively, we tried something.  And then another thing, after that.

And now, the polka dot quilt and I are moving forward together, both listening, both asserting, both with renewed vigor.

I’ll let you know how it all works out.

Truth and LoveGandhi

The Perfect 1/4 inch Seam

If you are a quilter, you know the quest.  You have tools and feet that help you to measure the exactness of your 1/4 in seam.  You already know that a fraction of a sliver off here, means a big mess over there.  And you have a seam ripper for just such occasions.

Last summer at Bernina University, Bernina introduced a new foot called the  97 or 97D.  For the uninitiated, “D” stands for dual feed to be used on those machines which include dual feed.

It is a 1/4 in piecing foot engineered specifically to improve the piecing accuracy of 9 mm machines.

Sewing machines have differing lengths between the feed dogs.  Most standard machines are 5.5 mm.  Any 1/4 in. foot on that machine covers both feed dogs nicely and your small quilt pieces don’t slip.

But other machines have 7mm or 9mm opening for their stitches.  Bernina makes many machines that are 9mm.  While it’s not a huge problem for most people, it can be troublesome when working with tiny pieces.  They can get pulled down into the machine causing a real mess.  Also, a standard 1/4 in foot does not rest completely on the 9mm feed dogs, giving us less control than we would like.

Hence, the introduction of this new foot.

IMG_3202You can see the previous 1/4 in. piecing foot, 37D, is much narrower than the new foot.  The 97D allows the foot to sit directly on both feed dogs of a 9mm machine, which can only mean more accurate piecing.

When this foot was announced at BU, the crowd exploded in cheers.

When we announced it at home, we received dozens of orders from people:  How far down am I on the wait list?  They asked.  You are number 25. And counting.

And we are a tiny quilt shop.

Demand for this foot across the country was huge.

But call me skeptical.  I waited until the dust settled. Then I took it home and tried it.

IMG_3206This foot comes with a guide that sits in the notch on the foot, and screws into the machine.  I thought this guide would bother me, but friends, if your pieces are cut accurately, the guide really helps.

It’s hard to argue with perfection.

IMG_3208My 1/4 in. seam could not have been more beautiful and consistent. Over and over and over again.

I’ll have to hold my skepticism for another day.

For now, I just need to sit down and sew.

10419409_10154881064625261_8862725816109200300_n


I’m Biased.

When it comes to binding quilts, I have a new standard.  I do my best not to use a straight cut binding any more.

Here’s why.  About 14 years ago, I made a silly little Christmas quilt –stack and whack — and hand quilted the whole thing.  For years this little quilt has been in our family room — thrown over the back of a sofa, strewn on the floor, used as a way to keep someone’s feet warm, folded and propped up as a pillow, and just generally loved to pieces.  Literally.

It has been washed countless times.

And it is beginning to fall apart. How sad.

IMG_2985You can see the fraying.  In some places, it’s worn clean through to the inside of the binding.

IMG_2991Yeah, I’d say that’s pretty frayed, even though the rest of the quilt is holding just fine.  I used quilt shop quality fabric, so the fabric was not an issue.

But even quilt shop fabric cannot withstand the repeated agitation of the washing machine and pummeling of a hot dryer.

Think about this: when a binding is straight cut, the very edge that you see fraying on my quilt is really only about 2-3 strands of thread.  All the abuse that quilts take is right on those edges, on those very few threads. Straight cutting your binding may be great for a wall-hanging or something that will have little handling and use.

But when you want your quilt to last and to withstand a little love (and cleaning), take the time to bias cut your binding.  With a bias cut, binding is no longer dependent on just a few threads, but on the hundreds of threads criss-crossing those edges. SO much stronger.

A few tips:

–Take advantage of the special tools out there that will help you to conserve fabric while cutting your binding.  The following picture includes the “Bias Binding Simplified” ruler from Creative Grids.  

–Watch the video on the Creative Grids page, as she also makes my point about using bias binding.  She gets to that explanation in the first 3 minutes.

–Try the “Quilter’s Strip Ticket” for Bias Tube Construction.  That’s the red card shown below.  You can get both of these tools at your local quilt shop. If not, for heaven’s sake, ASK them to order it. Using this method, you’ll waste very little fabric.

IMG_3123

I love a striped binding, and the most recent quilt I finished was certainly completed with a bias binding. I am permanently convinced. Of course I am.

I had to live it myself to learn the hard way. As usual.

IMG_3126


Mini Quilt Mania

I was never big on the whole mini quilt trend.  Until I made one.

Here’s a quilt with a number of different techniques:  squares on point, paper piecing, rounded corners, ricrac insertion.

Yet I could work on it on a tabletop.  I didn’t have to clear my living room to lay it out.  It didn’t take me years (I’m still working on a couple of quilts, hoping I live long enough to complete them). I didn’t hurt my shoulders, my back or develop carpel tunnel.

I worked on it sporadically over a few days and now it’s DONE.

That’s the beauty of mini quilts.  They completely fill my need for instant gratification. This one will be on display at the store, then come home with me to be a placemat or table runner.  It’s cheerful enough for that post-holiday table, or would look great in the summer with a glass of lemonade on it.

mini quilt 1It still needs an adorable bright yellow binding, but the dimension is, I don’t know, 18 x 24?

I don’t have to clean out a closet to find storage for it.

The book it came from is titled, “Little Quilts” by Sarah Fielke and Amy Lobsiger.

I used mini charm packs from a darling new retro fabric line called “Pedal Pushers” by Lauren and Jessi Jung for Moda.

mini quilt detailAll the fun was actually in the details.  Paper-pieced fans over Wooly Lady wool, with ricrac sunshine rays peaking out over a quilted background.

It’s CUTE.

So while I may have been slow to get onboard…(what does anyone DO with a mini quilt? aren’t they doll quilts?  why bother?)…I’m onboard now.  Here’s what you do with mini-quilts:

— Admire them.

–Give them to your kids or grandkids.

–Learn new techniques.

–Use teensy bits of fabric.

— Put them around your house, on tables, counters, hang them on the wall.

–Finish them and move on to the next fun project and fabric line.  Seriously. They take up almost no space at all if you want to throw them in a closet or on a shelf.

Don’t worry, I’ll never completely give up my snuggly quilts or even the artsy ones. But mini quilts are like having a forkful of chocolate cake — enough to get a delicious taste but not enough to do any real damage.

The Burden of Excess

I think I have been building a fabric fortress.

Between Ebola and ISIS, global warming, widespread violence, political inertia and general public apathy, I am exhausted.  I am tired of worrying, tired of taking action against all odds, tired of challenging the status quo and tired of cleaning my house.

If only someone else would do all this work for me. Can someone else please solve world hunger, cure the diseases, make sure everyone has a safe place to live, keep my neighborhood safe, write the essays, pay the bills, do my laundry and cook the family’s dinner?

For awhile, can someone else go to work for me and comfort those who wander in and tell their stories, maybe help the woman whose husband is in the alzheimer’s care facility, chat with the lady who just lost her daughter to breast cancer, make the day brighter for the woman who is the only caregiver for her aging mom, and for that matter just generally fix all the brokenness and the heartache and worry and pain?

If you can give a hand here, that would be great.

Because I try to solve all of this with fabric. And I don’t think it’s working.

As a matter of fact, I think the fabric is suffocating me.  That’s why I spent some time this past week clearing out a great deal of the fabric in my sewing room.  I have come away with 3 giant bags of scraps: batiks, traditionals, solids, you name it.

And I am donating it to the next rummage sale.

Don’t get me wrong.  I still have plenty of fabric on hand.  I still have projects in the queue.  I still have far more than I thought possible.  I still have Sterlite bins full of lovely possibilities, full of the hope of one world-weary woman, assembling bits and pieces from random places and random lives and attaching them to one another with the audacity to believe that at some point it will become something, if not beautiful, at least useful.

I’ll never be able to part with it all.

Thank God.

But at least I let go of some of it.

rummage salela fete quilt


Slow But Steady…Maybe Just Slow

Finally, between all the end-of-summer commotion and back to school and bus rides and new schedules and coordination, I found a few moments to sew.

I wanted to get back to the Polka Dot Tree project, which has been sitting on my machine for, I don’t know, months now.

I continued outlining the branches, using the triple blanket stitch. This is such a common stitch but is a little trickier to use than a simple blanket stitch.  However, for my purposes, it stands out on the tree and branches so much better and has the look of hand stitching.

bernina triple blanket stitchThroughout the project, I had the dual feed engaged and used a number 20 foot so that I could see exactly where I was going.

polkadot tree2With the branches done, it looks a little more like a Halloween project than I was hoping.

However, after positioning some of the leaves, I got a better feel for the direction this project is headed. I guess that’s the beauty of designing and creating my own projects.

I have no idea how something is going to turn out til after it’s done.

polkadot tree1With the polka dot leaves laid out, I am liking the patchwork/scrappy thing that’s happening.  I am planning (at least at this point) to do some hand embroidery and hand stitching on the leaves, adding in some wools for dimension.  You can just get a hint of some of the fabulous wools in the upper left-hand corner of the shot.

I won’t be able to start quilting til after all of that is complete.

Since the fabric on this quilt came from 60 different people around the world in a polka dot fabric exchange, the idea of being united is important to me. I am toying with the concept of adding a machine embroidery quote along the bottom. We’ll see. Ideas are easy. Implementation takes a little time.

Multi-hooping Challenge, Part 2

The hardest part is done.

It’s not perfect, I realize that.  I would do many things differently if I were to do this project over again.

I still want to add a couple more borders and then quilt it.  I want it to be ready by the time I teach a multi-hooping class Aug 23.

Some tips on multi-hooping in machine embroidery:

–Start small.  2 hoopings would be great.

–Use light airy designs.

–The fewer colors the easier it is to follow.

–If you have a machine that has “perfect positioning,” rely heavily on that.

–Grid your fabric before starting so you know what is absolute horizontal and vertical.

–Practice, practice, practice!

I always tell my students that if you’re not making any mistakes, you’re probably not learning anything new. Mistakes, errors, booboo’s and unstitching are the hallmark of a learning curve. Ask me how I know.

Rare is the person who sits down and implements something new perfectly.  And if they did, they probably didn’t try something challenging enough.

So get out there and push the envelope!  Waste a little thread and a little fabric and a little time! (We both know it’s not really wasted, right?)

Who knows what you’ll be able to create once you move past the fear.

multihooping1

Bernina University 2014

I just got back from Bernina’s annual conference with dealers across the nation.  I’d like to share with you some of the experience, as it was held at Nashville’s Opryland resort…a tropical paradise in the south!

A few highlights:

–New 97 and 97D foot for 1/4 in. piecing on 9mm machines (that would be the 7series and 8 series, 560, 580).  Allows the foot to ride over both feed dogs giving us more control and a more precise seam.  This is available RIGHT NOW!  So get your orders in to your dealers.  If you are a quilter, this sounds like the foot for you!

–New Sterling Edition 880 that comes with DesignWorks and a GORGEOUS quilt design from Sarah Vedeler.

–New Swiss Edition 530 (hint:it’s red)

–New pink Bernettes that give a portion of proceeds to Breast Cancer research.

–The long-awaited 24 in and 20 in. longarms are here.  These machines are fantastic, but the rollout will be staggered starting in Q4 in limited markets.  They are manufactured in Switzerland 1 person, 1machine….means that one man (or woman) will assemble the entire longarm sewing machine before moving on to the next.  No assembly line production!! And let me tell you–these machines are awesome! Stitch regulator is included, takes all Bernina feet, bobbin winder up front and accessible, as well as your threads….I was really impressed by these machines.  The 24″ comes with a frame, the 20″ can be tabletop or frame.

So much more from Brewer and OESD coming up this fall as well.

Here’s a link to a fabulous youtube video from Heirloom Creations that does a great job of displaying the new machines from BU 2014. 

The view from some of my classes and wanderings: