When it comes to binding quilts, I have a new standard. I do my best not to use a straight cut binding any more.
Here’s why. About 14 years ago, I made a silly little Christmas quilt –stack and whack — and hand quilted the whole thing. For years this little quilt has been in our family room — thrown over the back of a sofa, strewn on the floor, used as a way to keep someone’s feet warm, folded and propped up as a pillow, and just generally loved to pieces. Literally.
It has been washed countless times.
And it is beginning to fall apart. How sad.
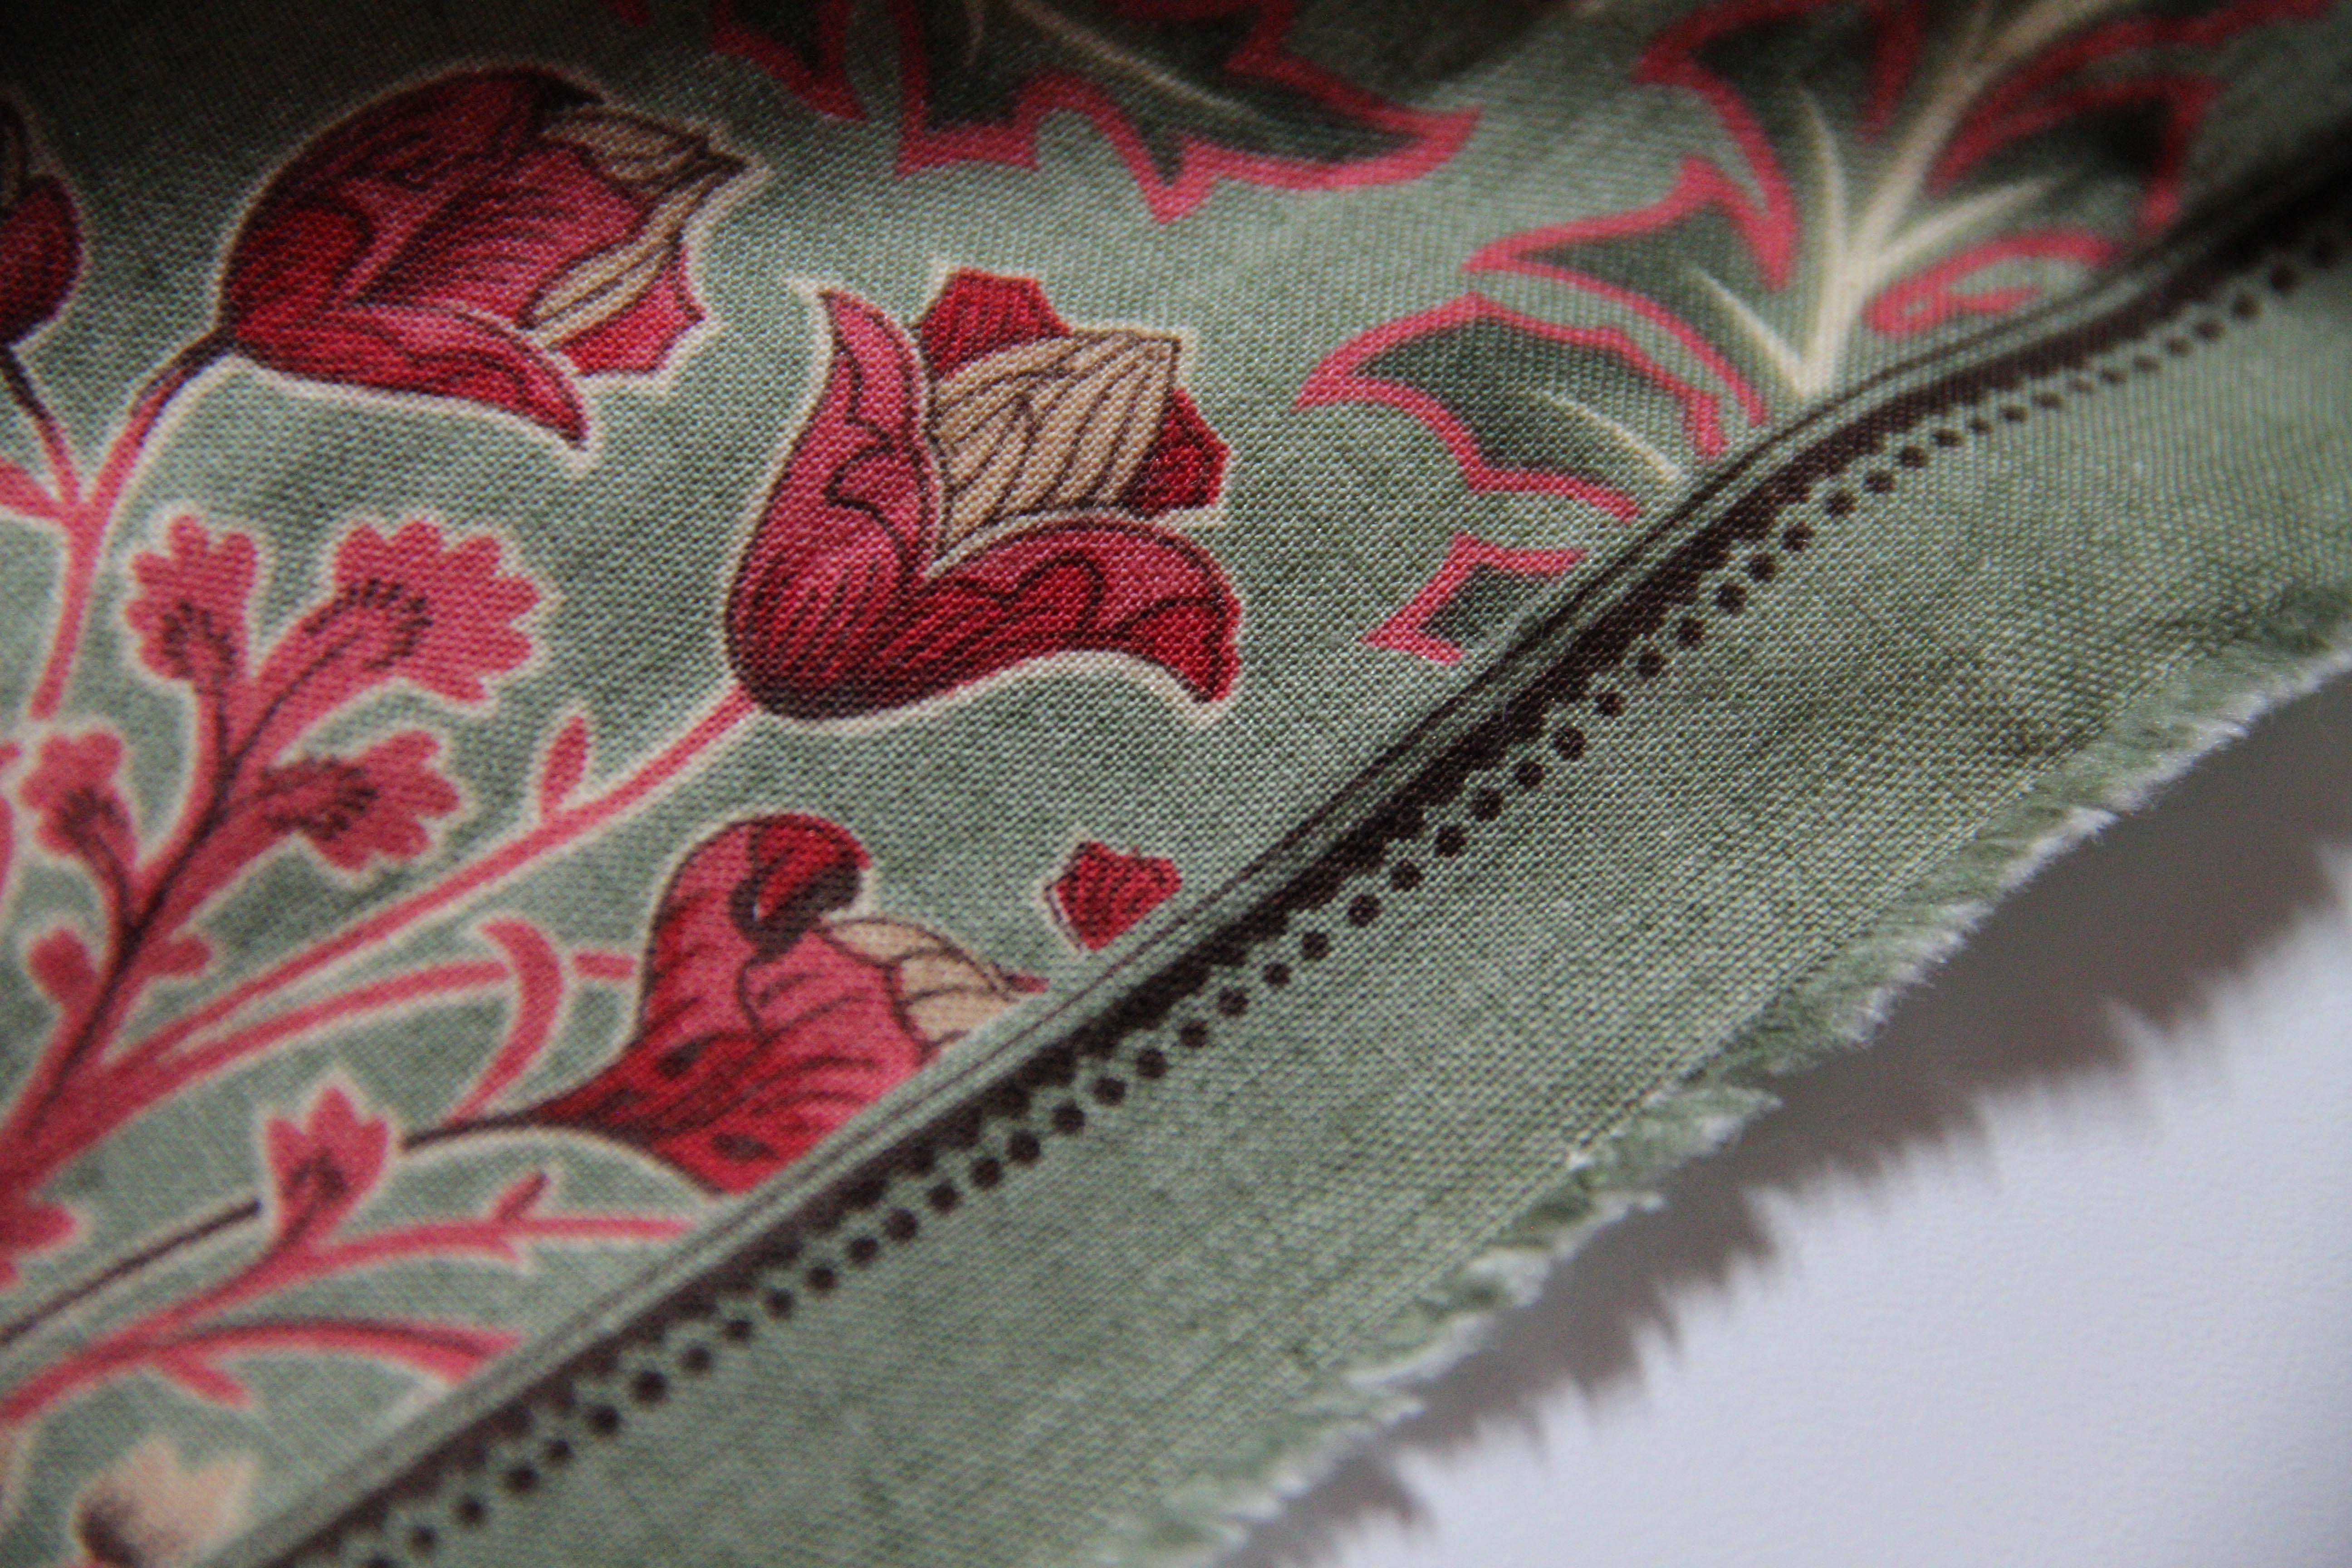
 You can see the fraying. In some places, it’s worn clean through to the inside of the binding.
 Yeah, I’d say that’s pretty frayed, even though the rest of the quilt is holding just fine. I used quilt shop quality fabric, so the fabric was not an issue.
But even quilt shop fabric cannot withstand the repeated agitation of the washing machine and pummeling of a hot dryer.
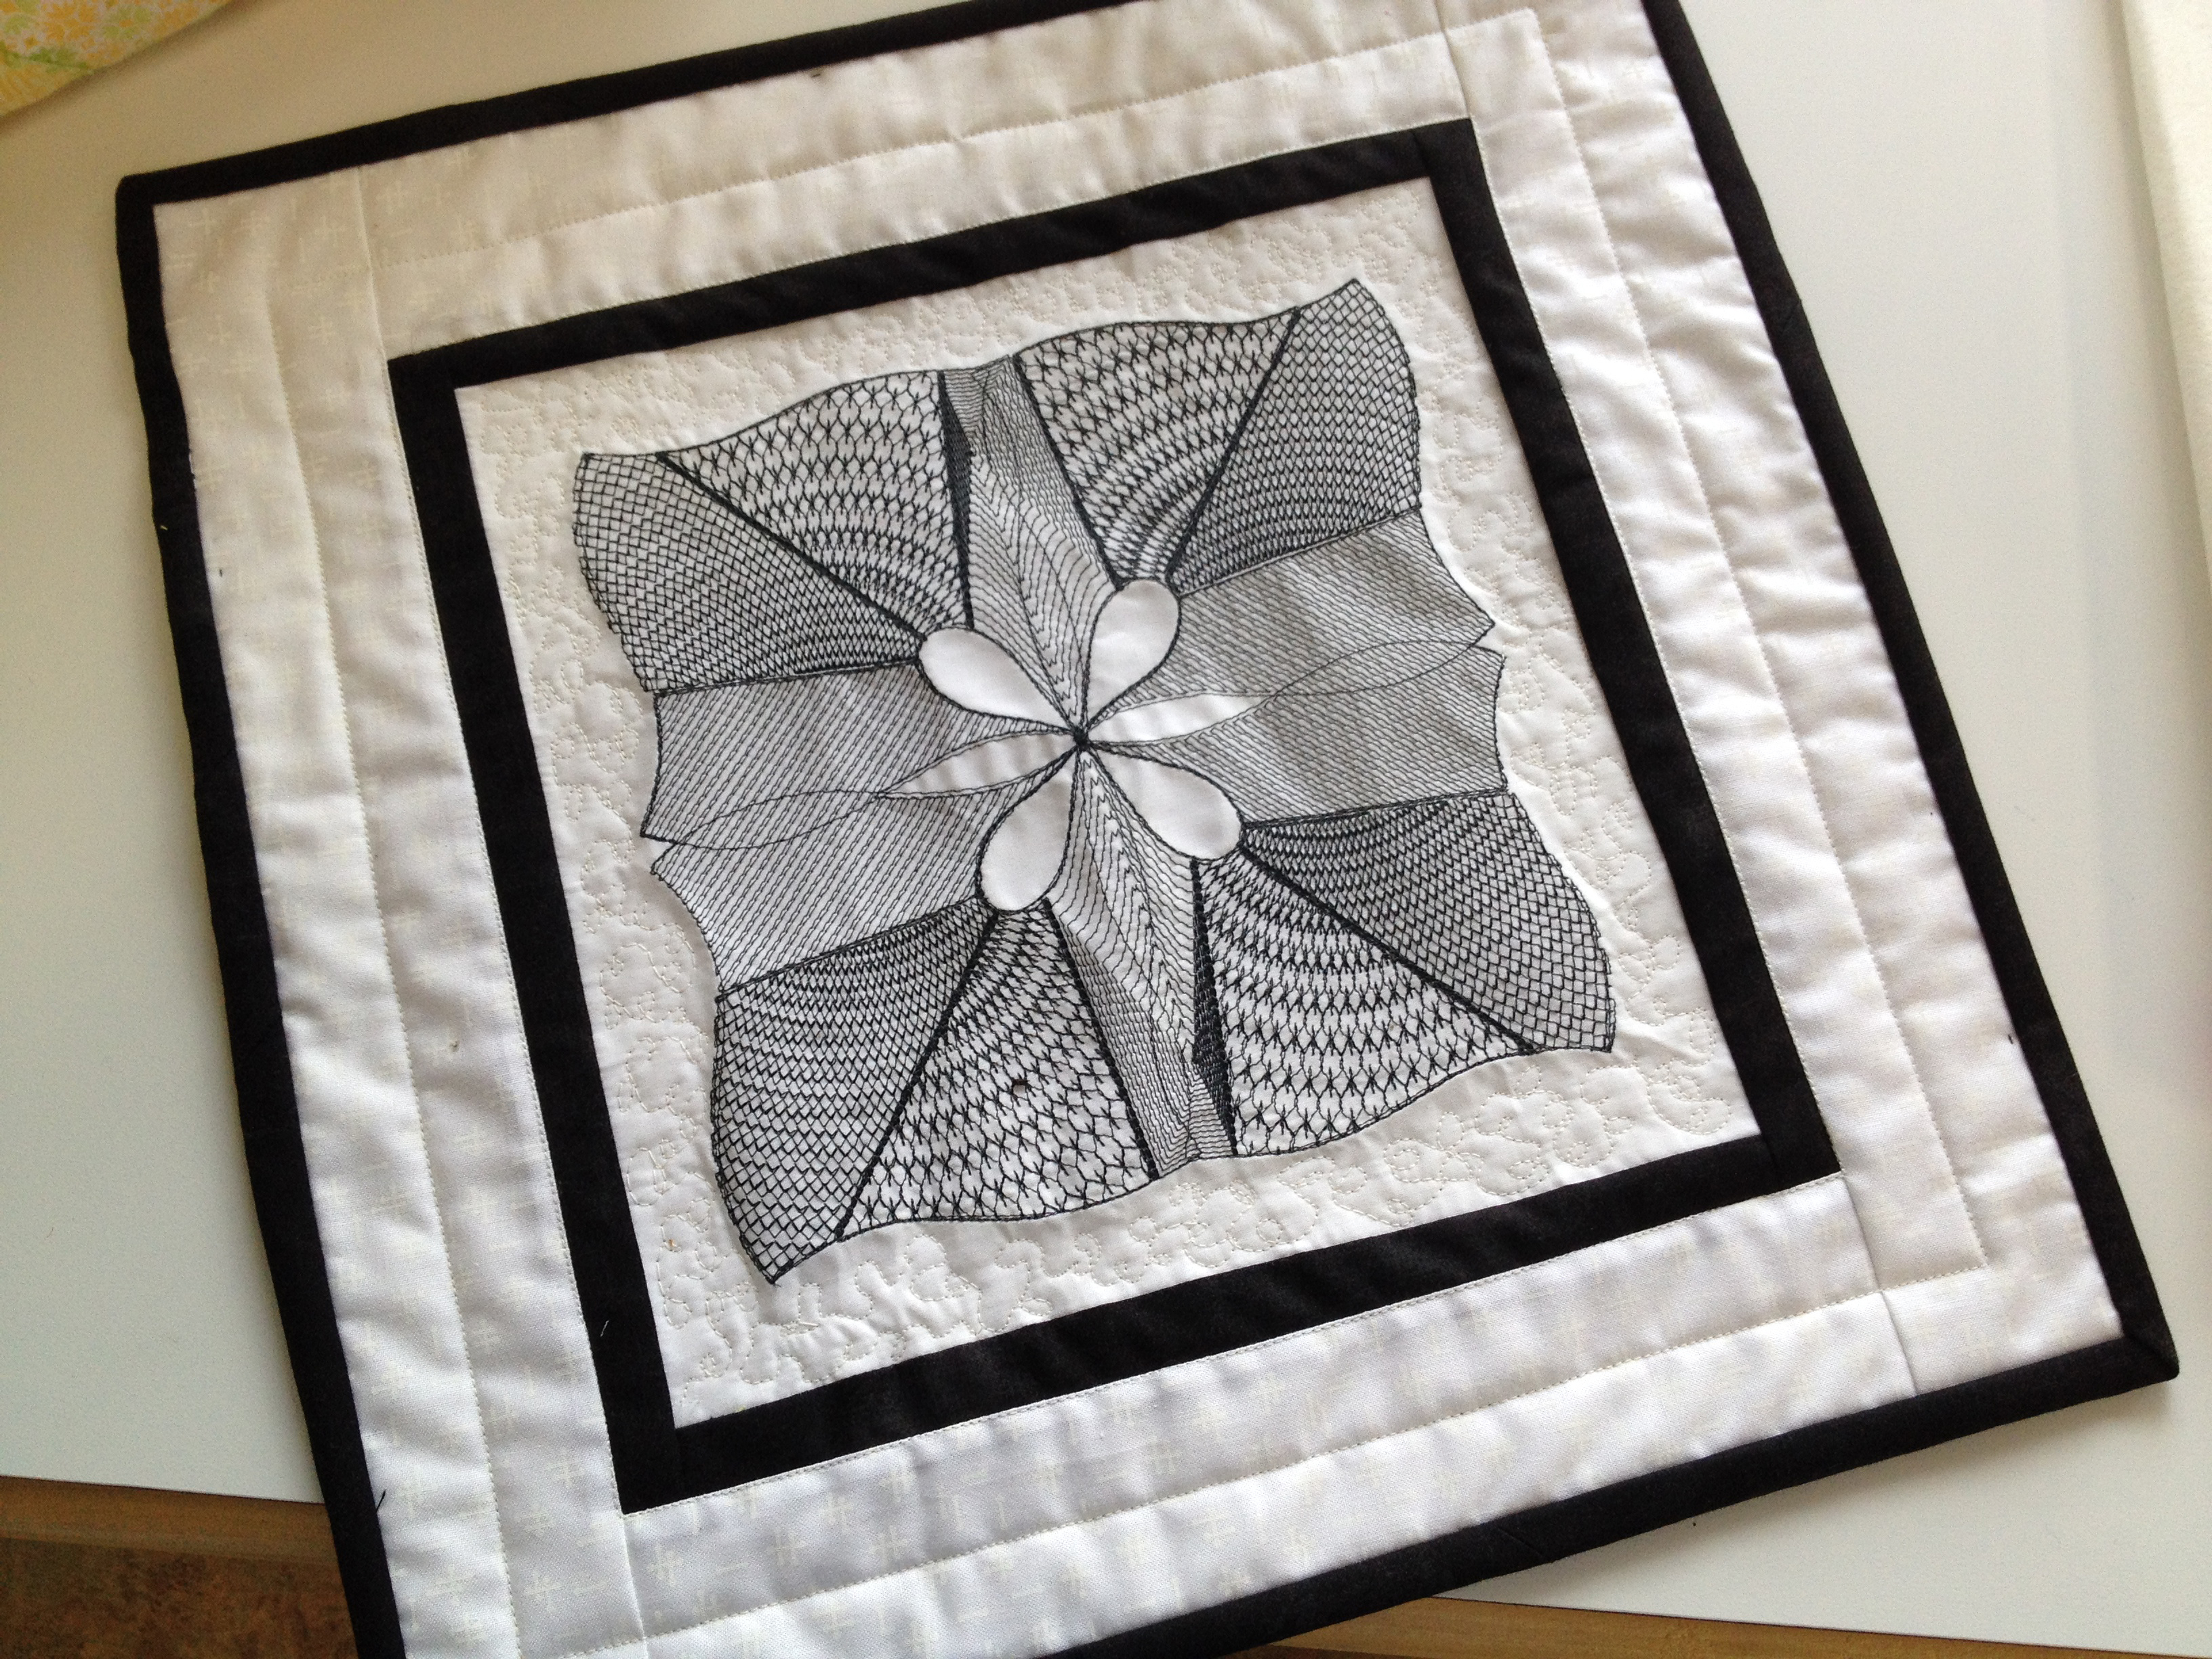
Think about this: when a binding is straight cut, the very edge that you see fraying on my quilt is really only about 2-3 strands of thread. All the abuse that quilts take is right on those edges, on those very few threads. Straight cutting your binding may be great for a wall-hanging or something that will have little handling and use.
But when you want your quilt to last and to withstand a little love (and cleaning), take the time to bias cut your binding. With a bias cut, binding is no longer dependent on just a few threads, but on the hundreds of threads criss-crossing those edges. SO much stronger.
A few tips:
–Take advantage of the special tools out there that will help you to conserve fabric while cutting your binding. The following picture includes the “Bias Binding Simplified” ruler from Creative Grids.
–Watch the video on the Creative Grids page, as she also makes my point about using bias binding. She gets to that explanation in the first 3 minutes.
–Try the “Quilter’s Strip Ticket” for Bias Tube Construction. That’s the red card shown below. You can get both of these tools at your local quilt shop. If not, for heaven’s sake, ASK them to order it. Using this method, you’ll waste very little fabric.

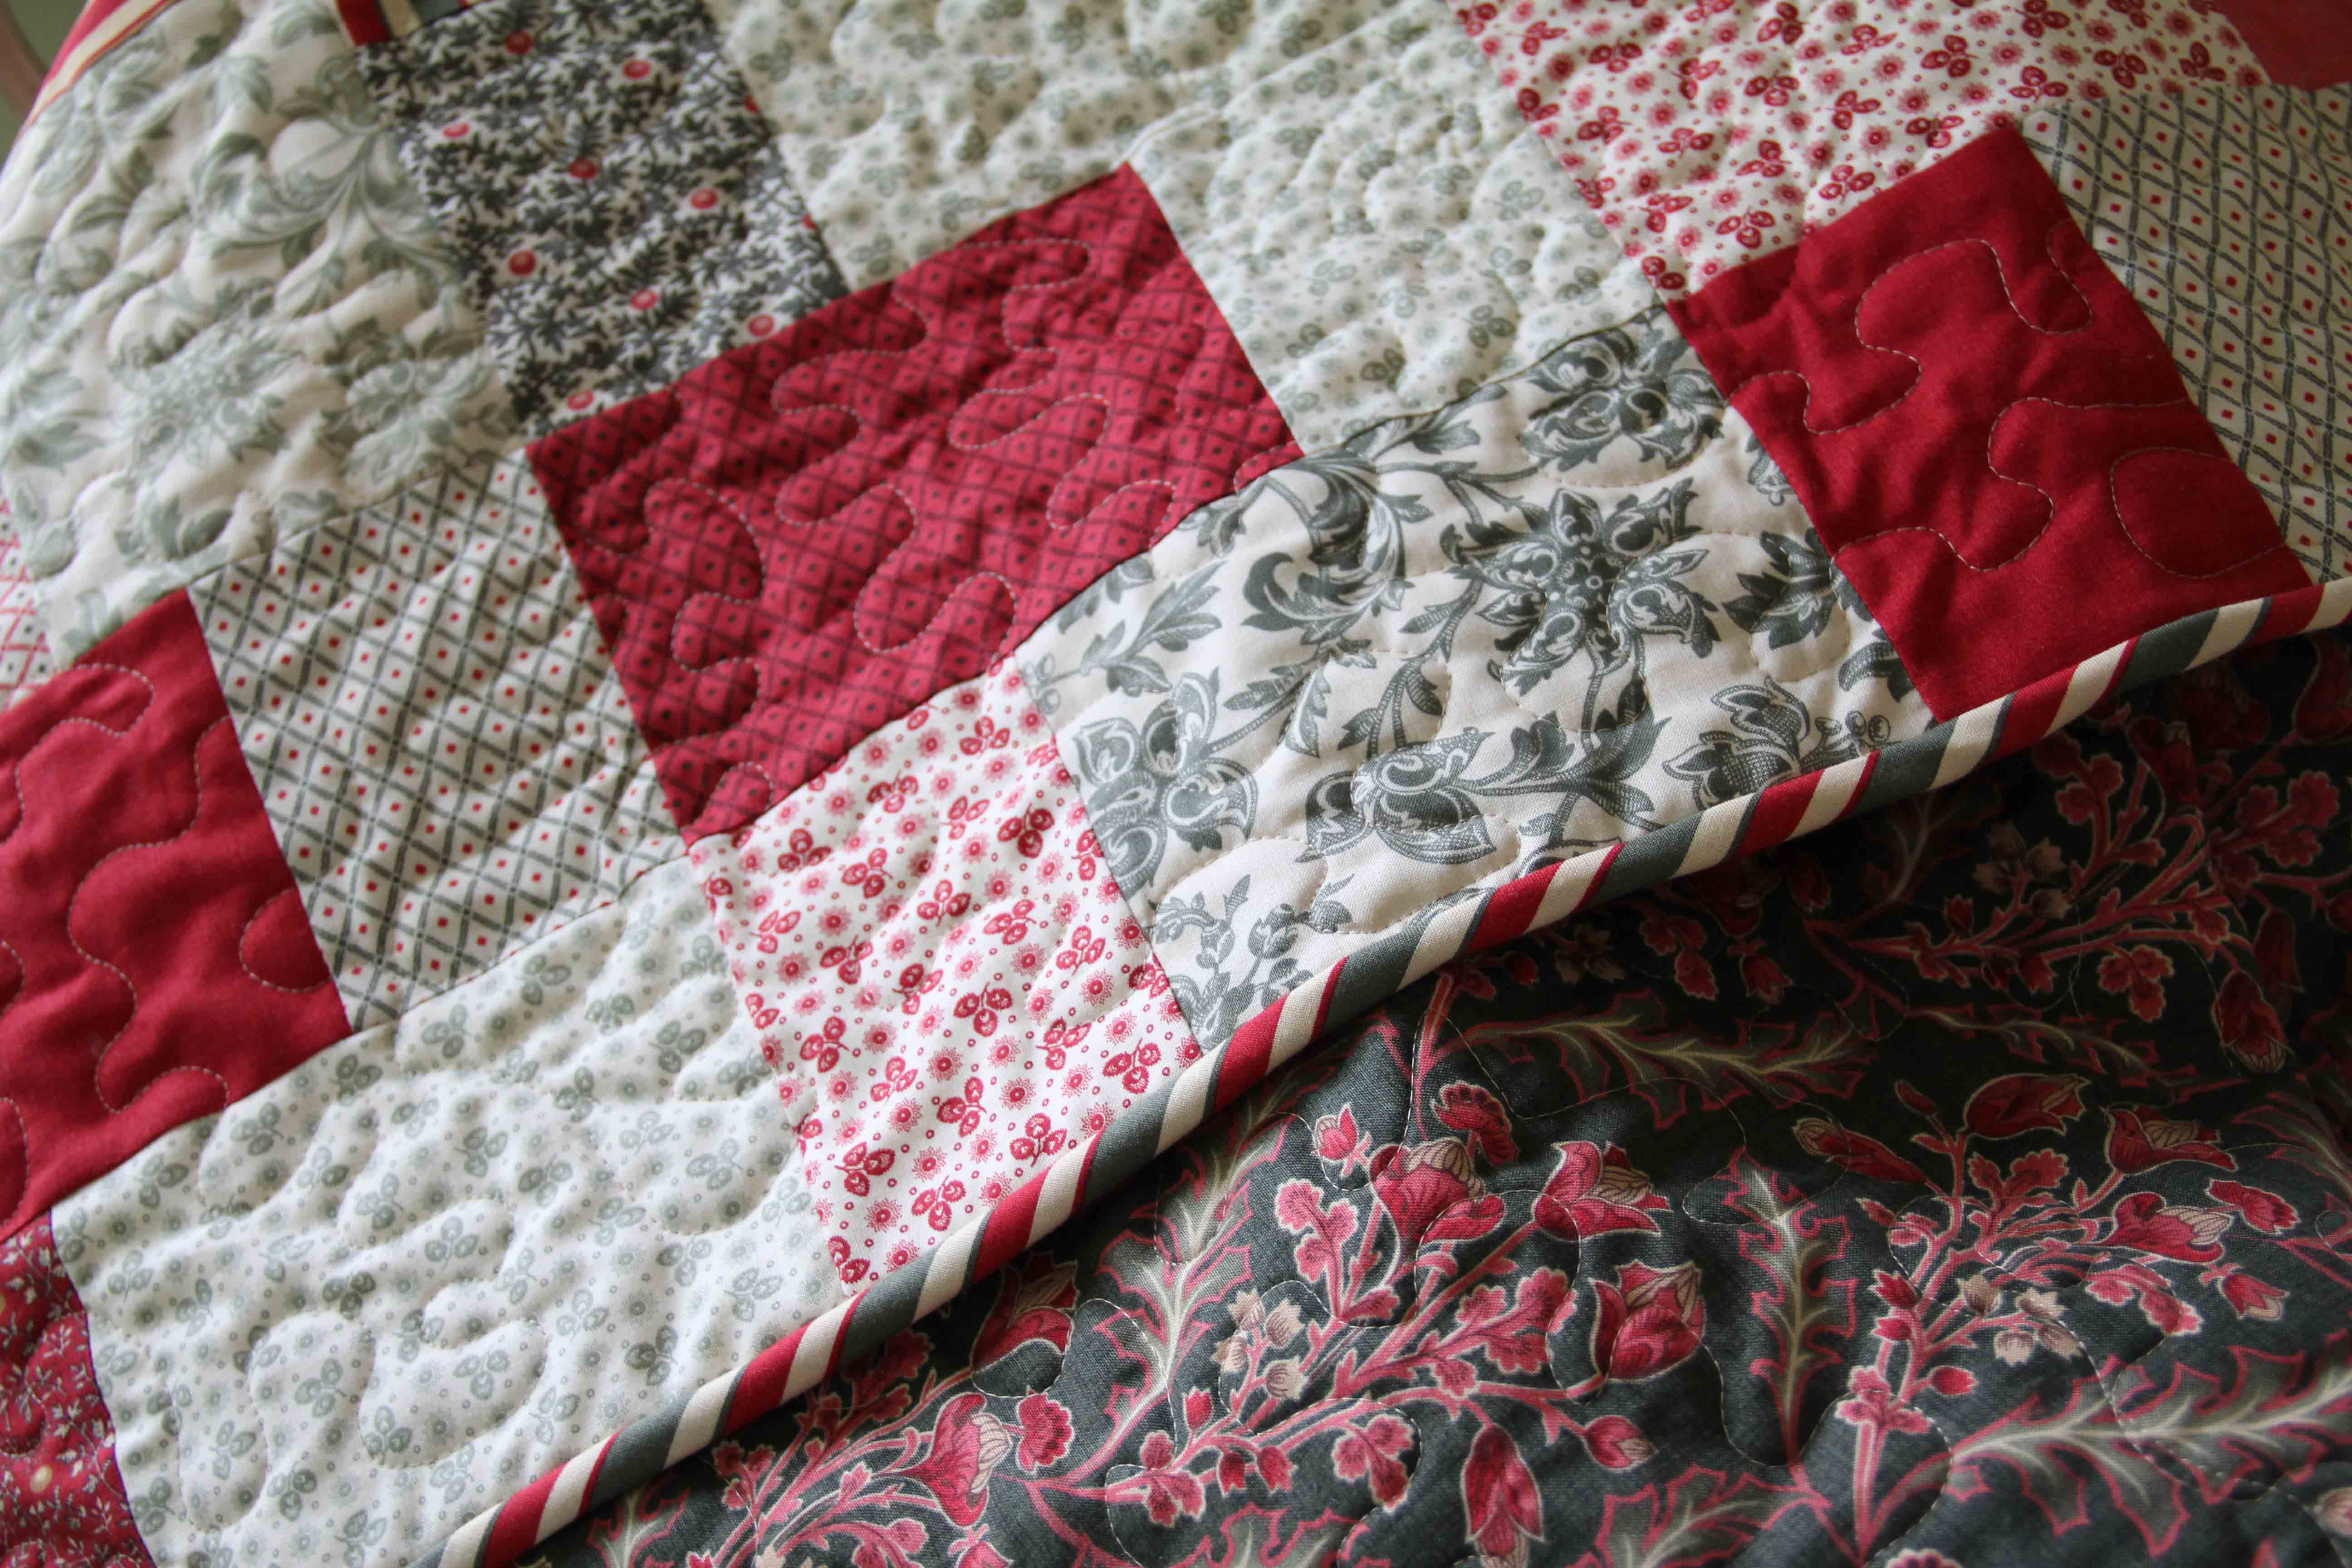
I love a striped binding, and the most recent quilt I finished was certainly completed with a bias binding. I am permanently convinced. Of course I am.
I had to live it myself to learn the hard way. As usual.