Kraft-Tex and Machine Embroidery…My Favorite Combination

Once again, I’m on the path to create something new and fresh for Valentine’s Day. I don’t know why I always want to make something for this holiday…it’s so over-hyped and over-done already. Except that it’s mid-winter, and once I put the holiday decorations away, I’m left yearning to do something different. And I always find something unique for Valentine’s Day.

Here are a few of my past posts:

My Heart’s Greeting, and Other Valentines

–The Un-Valentine

-Valentine’s Day Kraft-Tex Project

–My Practical Valentine

-Kraft-Tex, Transfer Artist Paper and Living on the Island of Lost Tools

–Buttoned-Up Valentine

I noticed that I tend to use Kraft-Tex paper a lot for this holiday. Not sure why, it just inspires me.

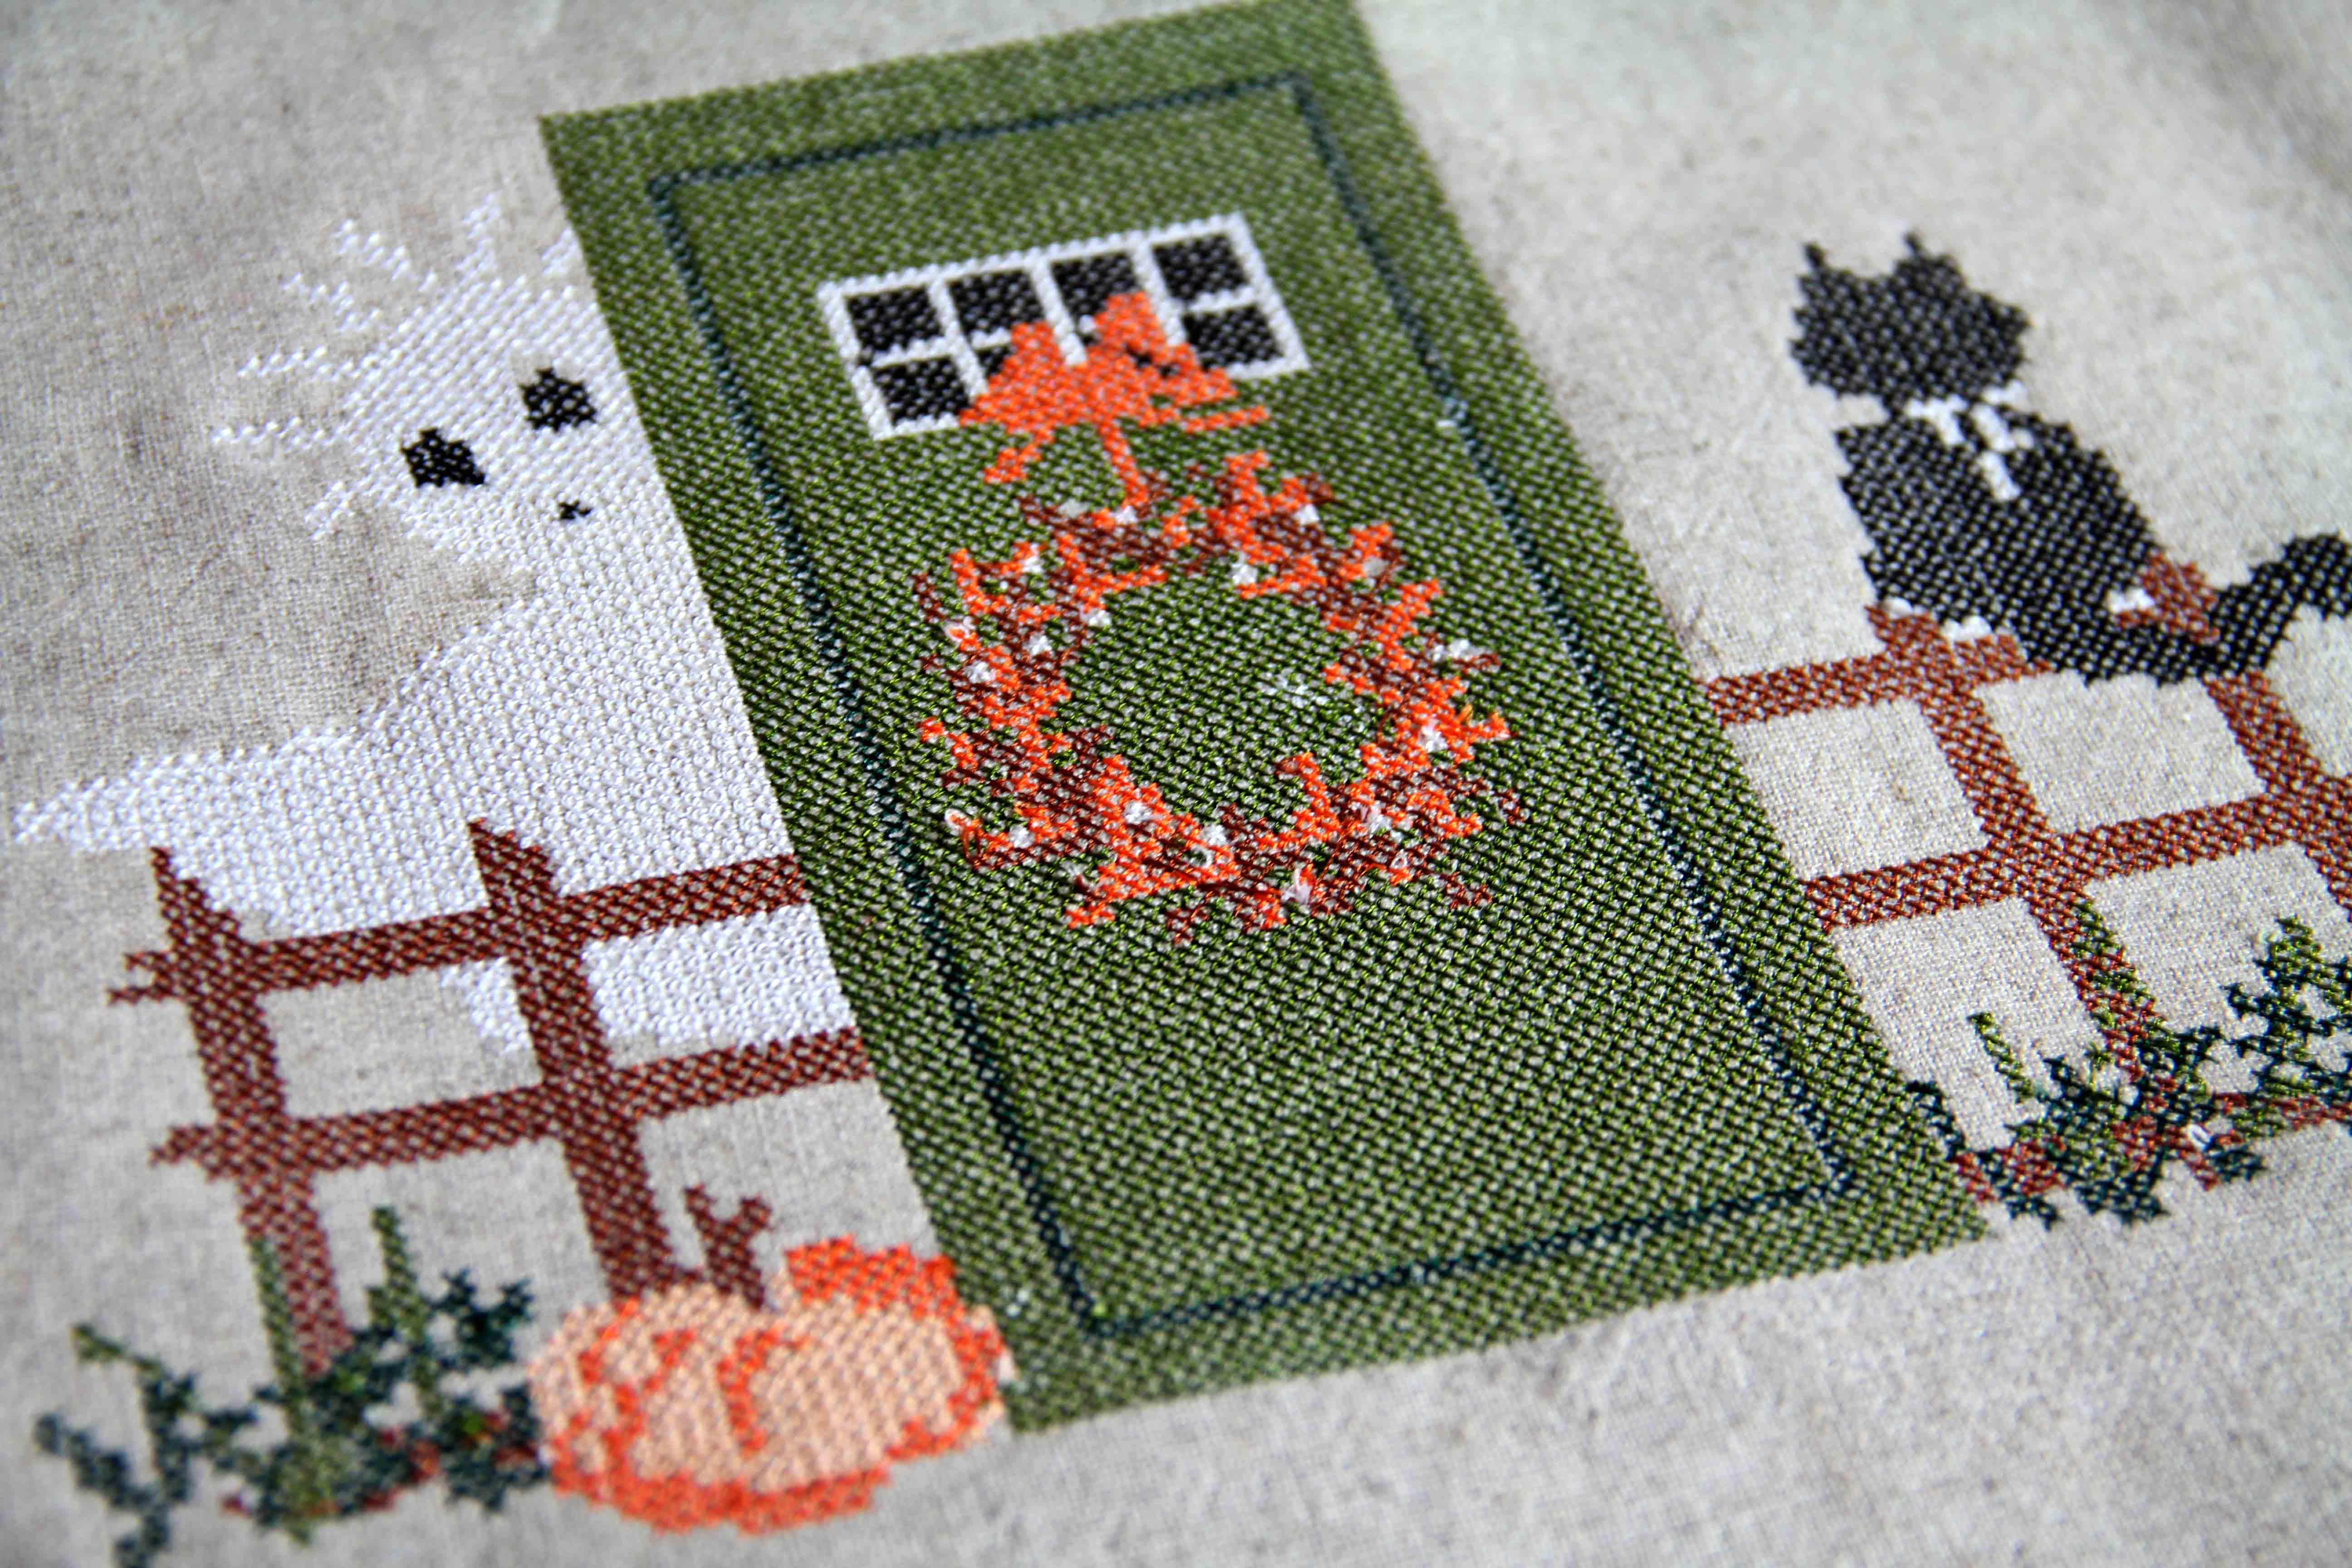
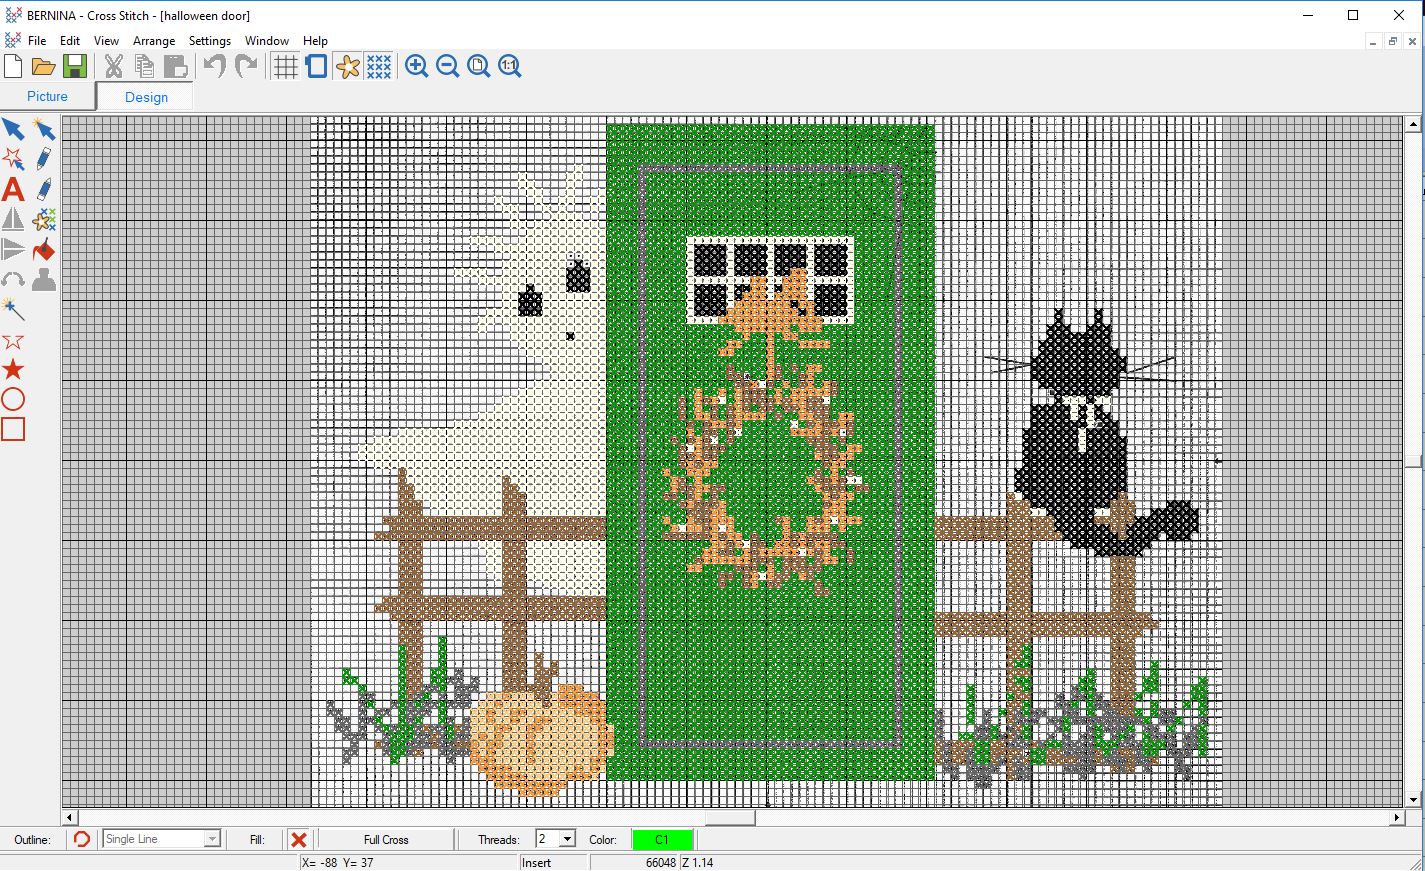
These days, I am obsessed with little houses. So I found this set of cross stitch designs on Etsy, from Waxing Moon Designs. It is an e-pattern with 3 designs.

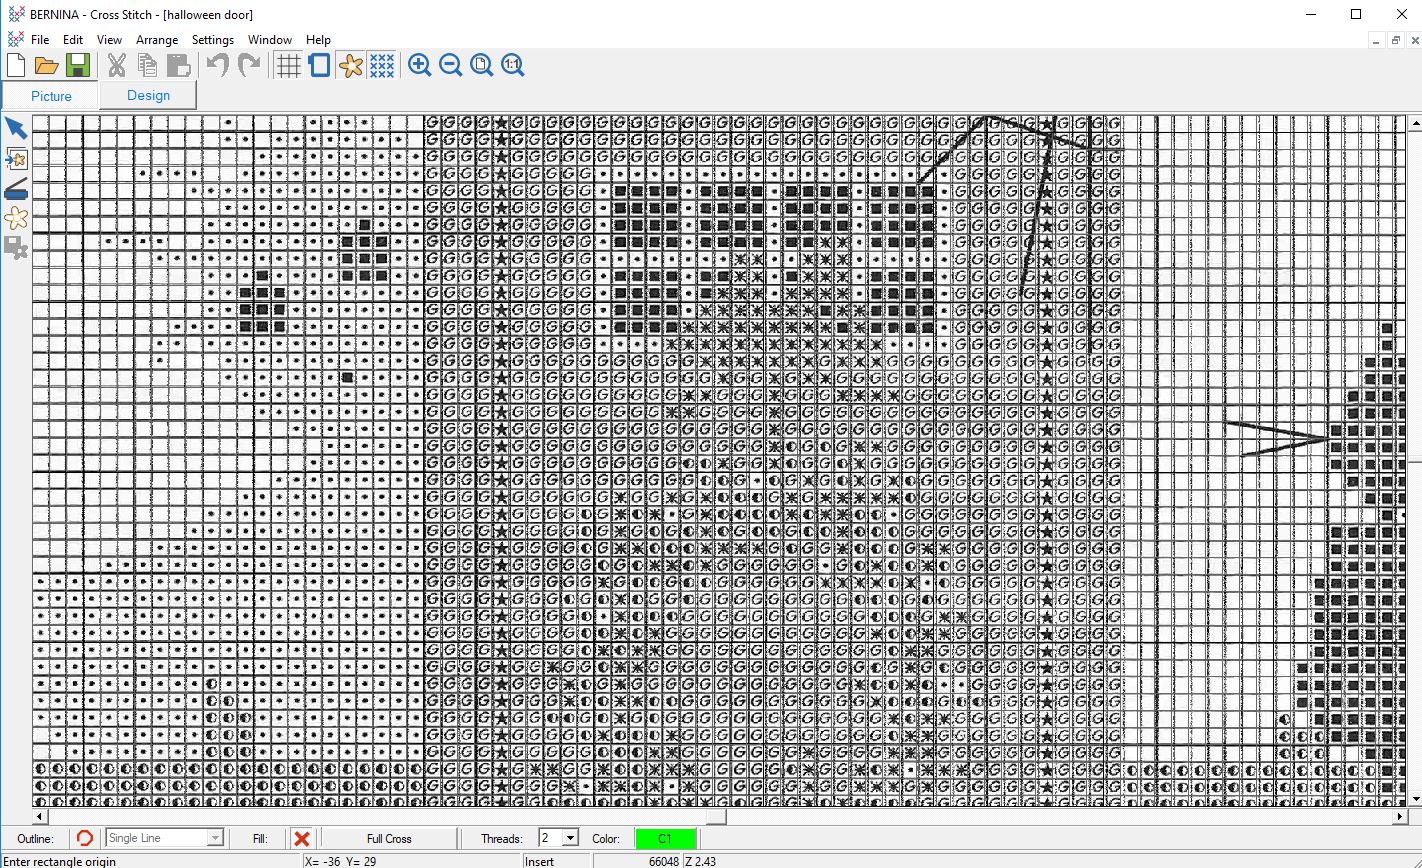
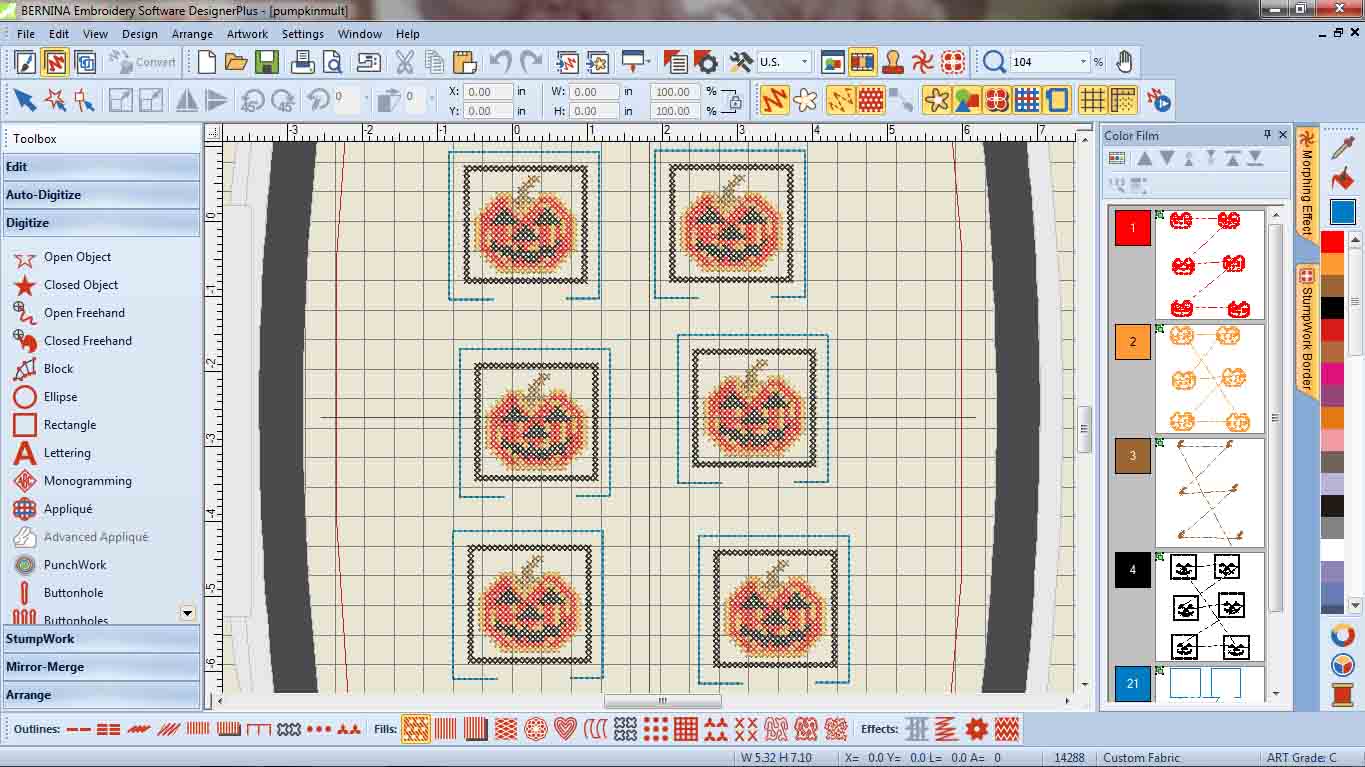
I don’t do cross stitch, but I digitize designs. So I used my Bernina Embroidery Software to re-create these in machine embroidery.

I love thiem.

Each one is adorably cute and just perfect for Valentine’s Day.

These are stitched out on the brown craft paper color of Kraft-Tex. I always use 2 layers of Stabilstick cutaway stabilizer when machine embroidering. I could easily turn these into cards or ornaments or hanging decorations.

Here is a post where I created an entire village for a Christmas tree skirt. (It’s from 2020.) And below is a video (I’m not good at videos.) showing all the different buildings in the little cross stitch town.

These days I’ve been kicking around the idea of a quilt village, with my own designs of tiny houses and a village. I have some ideas, but I have to work out the patterns.

I want to do them in applique, but it’s all still in my mind. I have other projects to finish before then.

So stay warm during this mid-winter season, and Happy Stitching!

Cross Stitch Life Hack

I love cross stitch. But I am completely inept.

I have watched the YouTube videos. I have studied people moving those needles in and out. I purchased the right fabric. I can sew, machine embroider, hand embroider, knit, crochet, do hand quilting. I’m not afraid of stitching by hand. But for the love of all that is good, I cannot figure out how to cross stitch. I. Cannot. Do. It.

So I did the next best thing.

I digitized.

I found the most adorable designs (from Little House Needleworks on Etsy.)

Using Bernina Embroidery Software 8, I got the idea into my head that I could run a border of these gorgeous cross stitch patterns around the outside of a very simple tree skirt I was making.

But as always, it was not an easy task. Like Tina Turner, I never do anything nice and easy. I do it nice, and rough.

It starts with a scan of the pattern, which needs to be trimmed to the exact pattern size in some sort of graphics software. I’m used to working in Adobe, so that’s what I used. But Bernina’s software comes with Corel, so you can use that too. Then it gets imported into the Cross Stitch application in the software.

Now comes the tedious part. Every single stitch gets reconstructed with a click, and a color choice. If you look closely enough at the above image, you can see that some of it is filled in with color, and some of it still has the cross stitch symbols shown. It took me about an hour to get everything filled in for that design.

The next step is to move it into the embroidery program. The software then converts every click that you made in cross stitch into machine embroidery stitches. And it’s pretty magical. One moment it’s just a weird looking drawing, the next minute it’s stitches that my machine will understand.

And I am absolutely loving the way these turned out.

I still have a long way to go on this tree skirt, and each design from start to finish probably takes about three hours. Could someone do it by hand in that time? Maybe someone who knows what they’re doing. That would not be me, when it comes to cross stitch. But I am just so taken in by their charm and sweetness.

I hope you are tolerating this difficult holiday season.

I leave you with this December thought:

“Someday soon we all will be together
If the fates allow
Until then we’ll have to muddle through somehow
So have yourself a merry little Christmas now.”


Machine Embroidery Cross Stitch for Halloween

I found this cute embroidery in Cross Stitch Magazine, Halloween edition.

I am not someone who is into cross stitch, but I think it looks so charming around the holidays. My way of handling this is to digitize it and then use the machine to embroider it.  I use Bernina Embroidery Software 8, which has a cross stitch application within the program. If you are not familiar with it, the sub-program has its own “help” section and manual.  I find that it is really pretty simple if you know a few basics.

I will share with you what I did to create this design, and you can explore another of my Halloween posts right here.

The first step is to scan the pattern at its original size.  This design was approximately 7.5 in. x 6 in. Shown above is the black and white scan of the image, but you can see that this image is enlarged enough to show that I can see the markings of all the different thread colors. That will be important later when I manually add them.

A few basic steps:

  1.  Crop the image right up to the outline of the grid.  You want it to be cropped as perfectly as possible when you load it into the cross stitch program. I use Adobe Photoshop to do this, but Corel is built into the software program and you can easily use that instead.
  2. Count the grid.  The heavy lines indicate ten spaces, so you can get an accurate count. You’ll need that later.
  3. Open the cross stitch program in applications.
  4. Click the “picture” tab and load the picture.
  5. Right click on the picture (this is an important step!) and plug the dimensions of the grid in the width and height. These are the number of grid boxes you counted in the second step. This aligns your image with the grid in the program.
  6. Begin adding in your stitches by clicking on the pencil.  At the bottom you can choose the type of stitch…I almost always use a full cross, but you have a number of options.
  7. Choose a color, and you’re ready to fill in your stitches using the image as your guide.
  8. Left click on each grid box to add in your stitches.

In the image above, you can see what it looks like after I added all the stitches.  This did not take long at all, maybe half an hour to get them all filled in.

Save the file as  filename.arx. .arx is the extension used by the cross stitch program.

Now you can close the whole cross stitch program and your embroidery software will still be open. When opening this file, just be sure to choose the .arx extension or “All Files”.

This is the great part. The software will digitze those cross stitches and turn the whole design into an embroidery file. Above, you can see how it turned out on my screen. I exported it then as .exp as I would any embroidery design file and saved it on a usb stick.

The first time I stitched it out, the ghost in the background was just a little too faded. I switched to a slightly darker fabric and the ghost appears more clearly on the right (although I think the picture is a little fooled by the lighting.)  In real life (!) the one on the right lets the ghost show up much better.

I had fun with this project and it’s actually a lot less time consuming than cross stitching by hand — though I have great appreciation for those who do that!

This way, I can stitch it out over and over again…on a pillow, as an ornament, on a bag, etc. I used Isacord thread for these, which is 40 weight embroidery thread.  But I am curious how it would turn out if I had done it with 28 weight, a heavier weight thread. I think that would be really sharp.  The cross stitch program would allow me to adjust the size of the grid as well, so I have lots of opportunity to go deeper and try new things.

Hope this inspires you. The cost of one magazine provides you with so many cute patterns to try. And cross stitch is a program that is so often overlooked in digitizing software.

It’s really worth some experimentation.

Things that go bump in the night…

ornamentsI have always enjoyed Halloween more than Christmas, or whatever mid-winter holiday you celebrate.  Too much pressure, too many gifts, too much hype.

And when you work in retail, Halloween isn’t much better.  Most chain stores start putting their Halloween decorations out July 5.  But when that first crisp fall breeze rolls in, and those first few leaves begin to fall, I get inspired.  Many people do. Once the kids are all back in school and the “official” fall season starts, it’s amazing how many of us turn to our craft, our hobby or our passion once again.

So this year I am teaching some students to use the cross stitch program in Bernina Embroidery Software 7.  I am not a big fan of cross stitch..at least not actually DOING it.  However, I love the way it looks, and I love how easy it is to get some things done in software (which I DO love to use).

I stumbled across some lovely cross stitch designs in Just Cross Stitch Magazine.

They always include many  many patterns for people to use.  I scanned a few of their Halloween “ornaments”, and brought the jpegs into the cross stitch software.

Then you can use the software to create stitches following the image in the background.  I wanted to keep these very simple so I could make many, but not take a lot of time.  The cross stitch program within Software 7 saves the file as .arx extension.

pumpkimcrossstitchThe next step of course, is to bring the cross stitch design into the actual embroidery software.  I love this technique because it turns all those little x’s in the Cross Stitch program into machine-readable stitches.  And then it’s just an embroidery design.

pumpkinspngOnce one file is in the software, you can repeat it multiple times.  I also rearranged the color film, along the right, to stitch all of one color at once instead of all the colors in one pumpkin at a time.  This is a huge step and really cuts down on thread changes.

At the end, I added a double run stitch around the outside of the ornament, leaving the bottom open, so the little critters could be turned inside out and stuffed.  Before that last double run thread stitches, I added the backing, with right sides together. Under the backing I taped down some ribbon, so that they could be hung.  As you can see, in the hoop, they look like little ravioli.

inthehoopWhen all is done stitching, I cut everything out, clipped corners, turned it inside out, stuffed them with polyfill, and used the machine to stitch along the bottom closure.

cat doneVoila!  Six or eight of them will fit into the jumbo hoop.  I managed to create a cat, a witch and a pumpkin.  I also made some larger ornaments with regular embroidery on them.

pumpkin hoopI bought a cheap Halloween tree for the house and one for the shop…these will be on display for awhile!  And if I have time, I’ll make more…it’s a little addictive.  And really pretty fast and easy when you make use of technology!  Gotta love it.

halloweentree2