I Did Some Holiday Soul-Searching, and All I Heard was…Cricuts

In my quest for a white-ish, neutral holiday color theme, I got the crazy idea of making some of my own putz houses. Now, you need to understand that I really am not adept with paper crafts, and I’m demonstrably terrible with a glue gun. I rarely use one.

But in googling putz houses, I found some svg files on Etsy that seemed like something I would like to do. You can find files to purchase all over. Just google putz house svg files. My first inclination was to print them out and then cut them out by hand.

Silly me.

I couldn’t see how to print the files. I did, however, locate accompanying pdf’s. So that at least gave me some vague instructions.

Undeterred, I remembered that my local library has a “maker” lab. I stopped in and asked if I could use their Cricut. Now, I have never touched a Cricut. I have never even known anyone who owns one. Still, I am endowed with a brain that consistently says, “I can figure it out.”

Whether I can or not is debatable.

Luckily, the attendant at the maker lab, was very sweet in explaining that no one is allowed to touch the equipment unless one of the experts is on hand to guide you. ( I think that is an excellent policy). So I set up an appointment for a couple of days later. I was eager to start my holiday decorating. And now these putz houses had become an obsession.

When I arrived, a very nice lady sat me down at the computer and taught me Cricut’s software. I should say she told me what buttons to push to do what I wanted. I am in no way versed in the software.

The next problem we ran into is that I brought 8 x 10 card stock, and a Cricut really likes 12 X 12. In addition, the files were designed to fit easily onto 12 x 12 and not necessarily 8 x 10.

So back to the drawing board, the software, and we resized everything to make it fit on my 8 x 10 card stock. Fortunately, only the church needed the larger sheet. By changing landscape to portrait for some of the houses, I was able to get most to fit. But some did need to be re-sized. The woman at the lab let me use a 12 x 12 sheet she had on hand and that got me through the hurdle.

Once I got them all cut, then I bundled up my sheets of card stock and went home for the assembly. As you can see in the photo at the top of this post, it was not pretty. I definitely put the smaller church together wrong, with the steeple at the back. But I got the hang of it with the larger size and that one is correct.

I wasn’t sure how I would feel about them, but in the end I think they were exactly what I was hoping for.

Simple, white structures that I could use on top of the mantle.

I like them.

I don’t think I could have asked for anything better. It’s precisely what I had in mind. Festive, but soft-spoken.

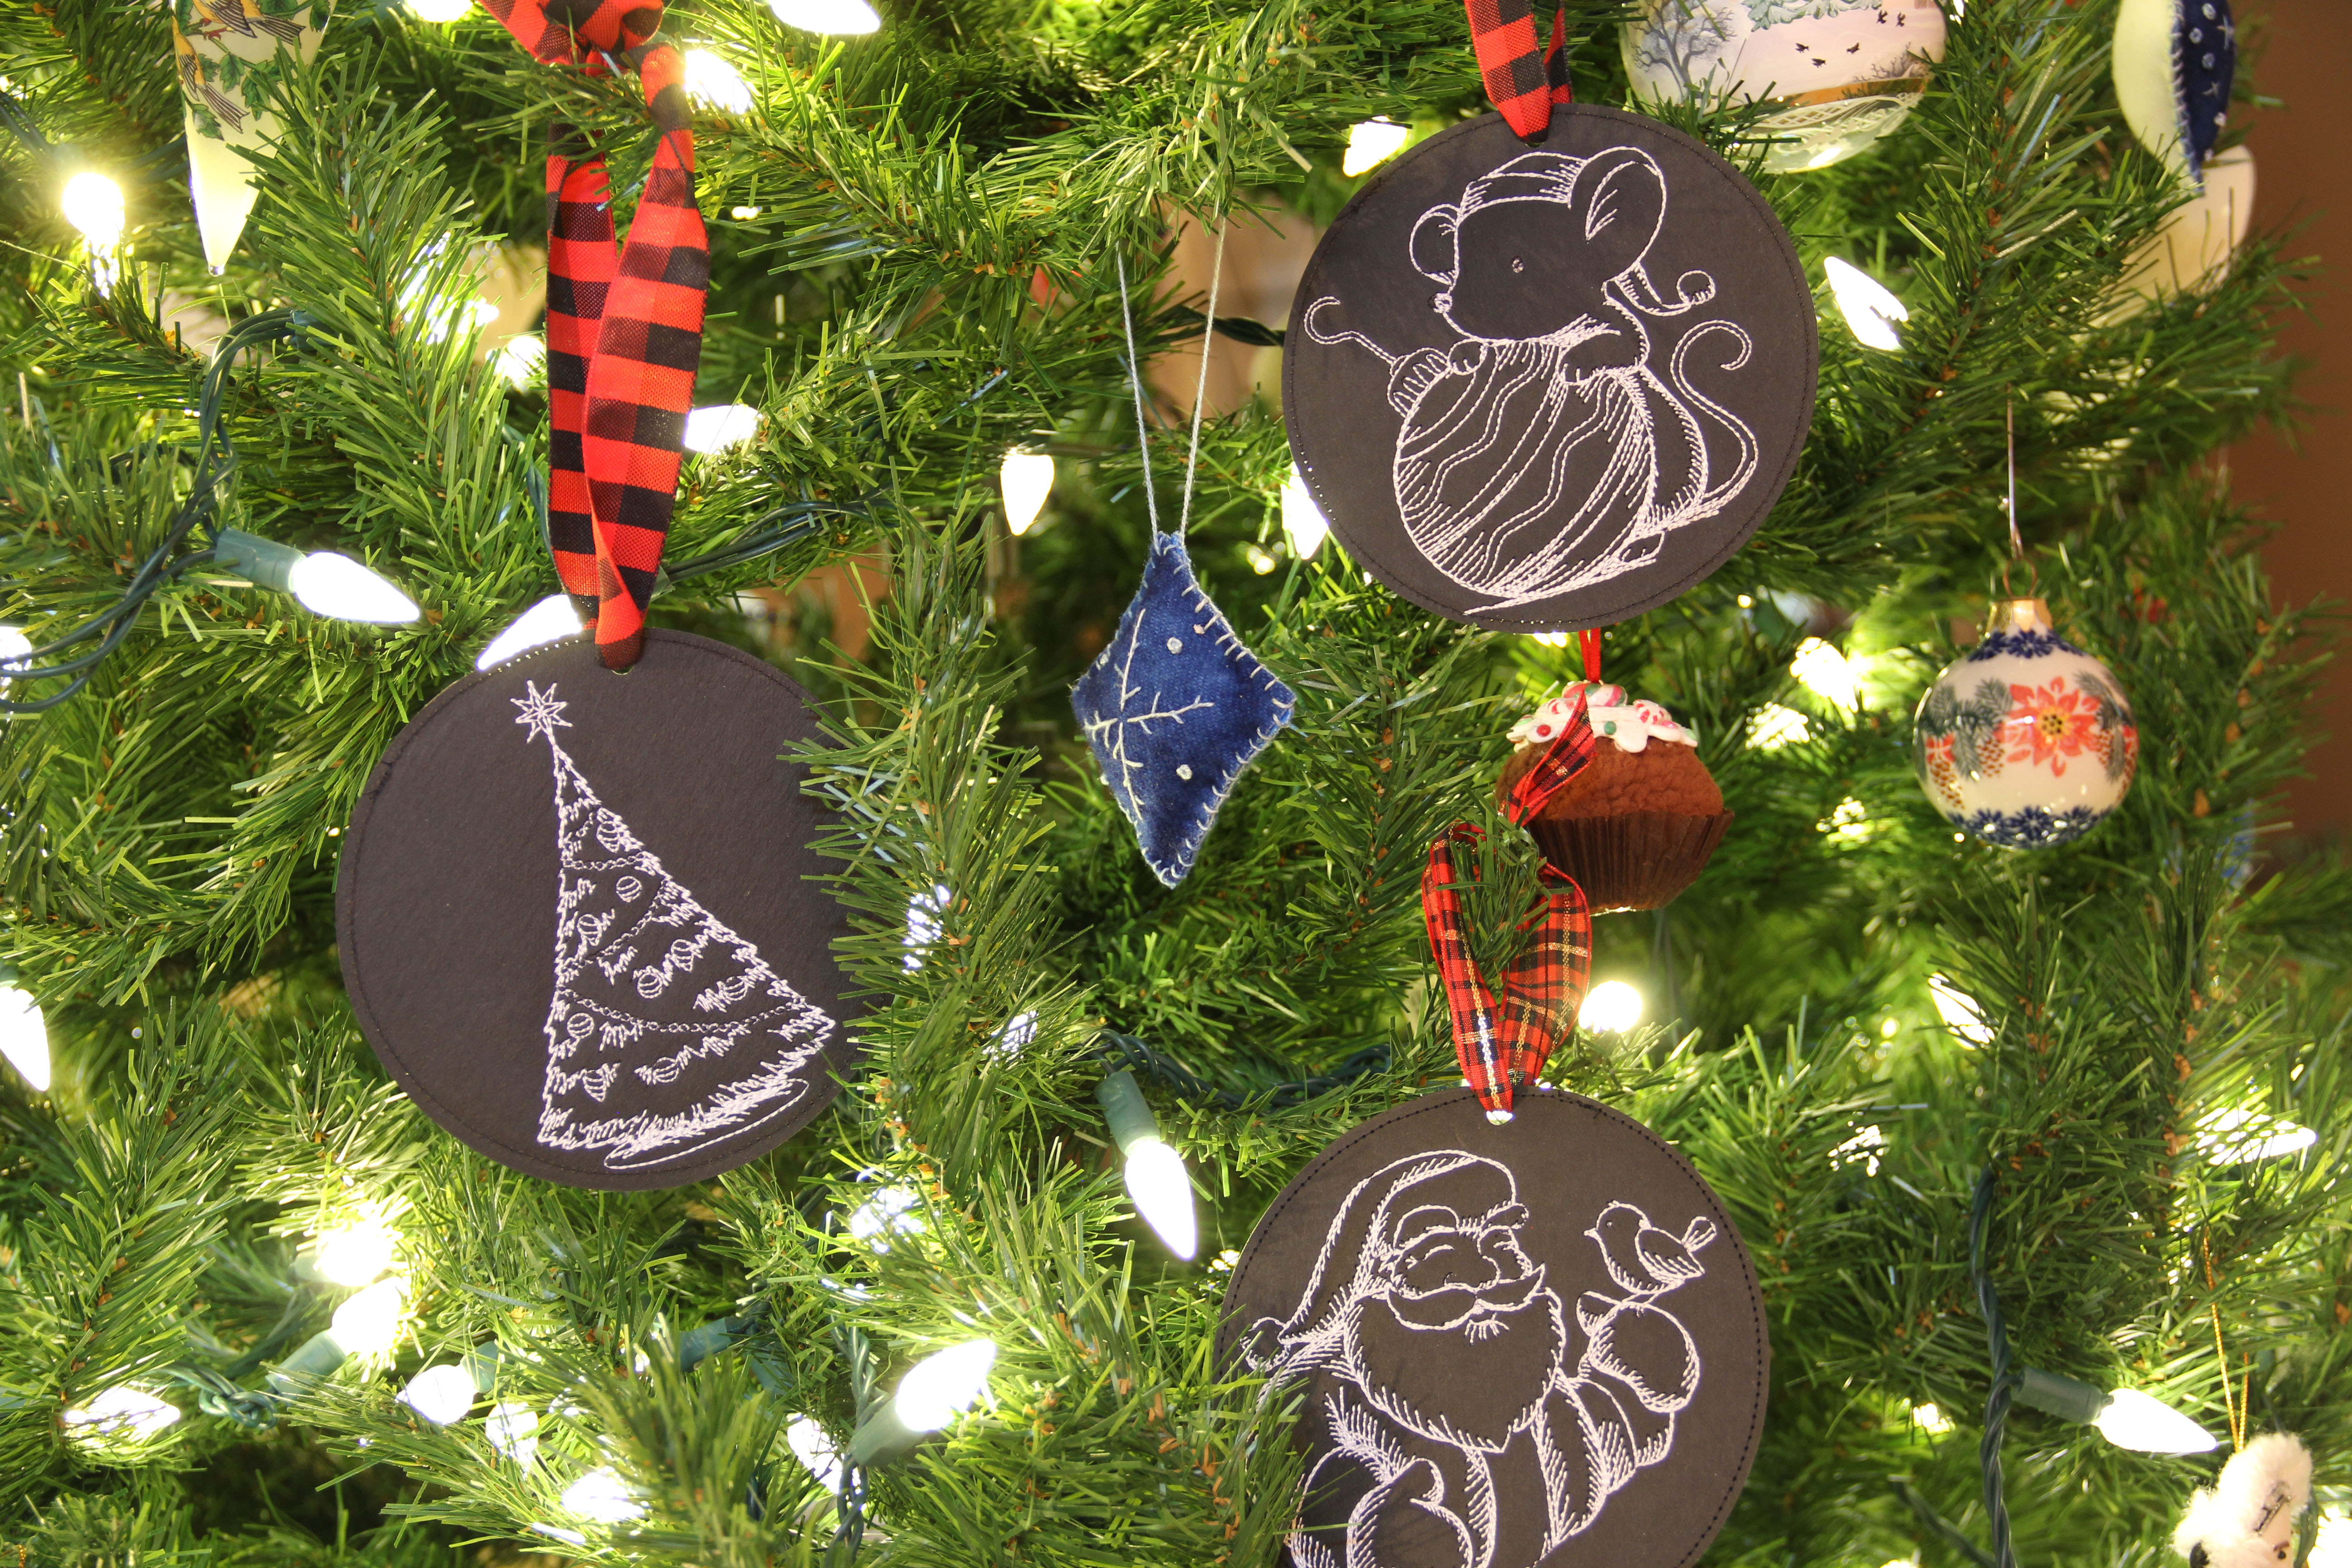
The tree is curated with only the light, white, neutral ornaments, and I supplemented with some ribbon that I got half-price at Joann’s.

Now, when I go out and see all the holiday decorations and the Christkindlmarkets and open houses, I have a singular goal: Do they have any white-ish ornaments I can’t live without?

This experiment in a low-key decorating project has been a success. I have a friend who cherishes every ornament and hangs it with the memories of when she purchased it. I love that.

But I also love NOT that. Those ornaments will still be there next year and every year until I’m gone. Sometimes, you just want to keep it simple.

And I think the only rule about decorating for the holidays is: What makes you happy?

And after that, rule #2 is: Don’t make extra work for yourself.

That second rule is cultivated over time. When your kids are young and you have boundless energy and you are visiting multiple houses and different families…well, bless your heart.

Age and time tend to mellow our holiday ambitions, at least to a reasonable degree.

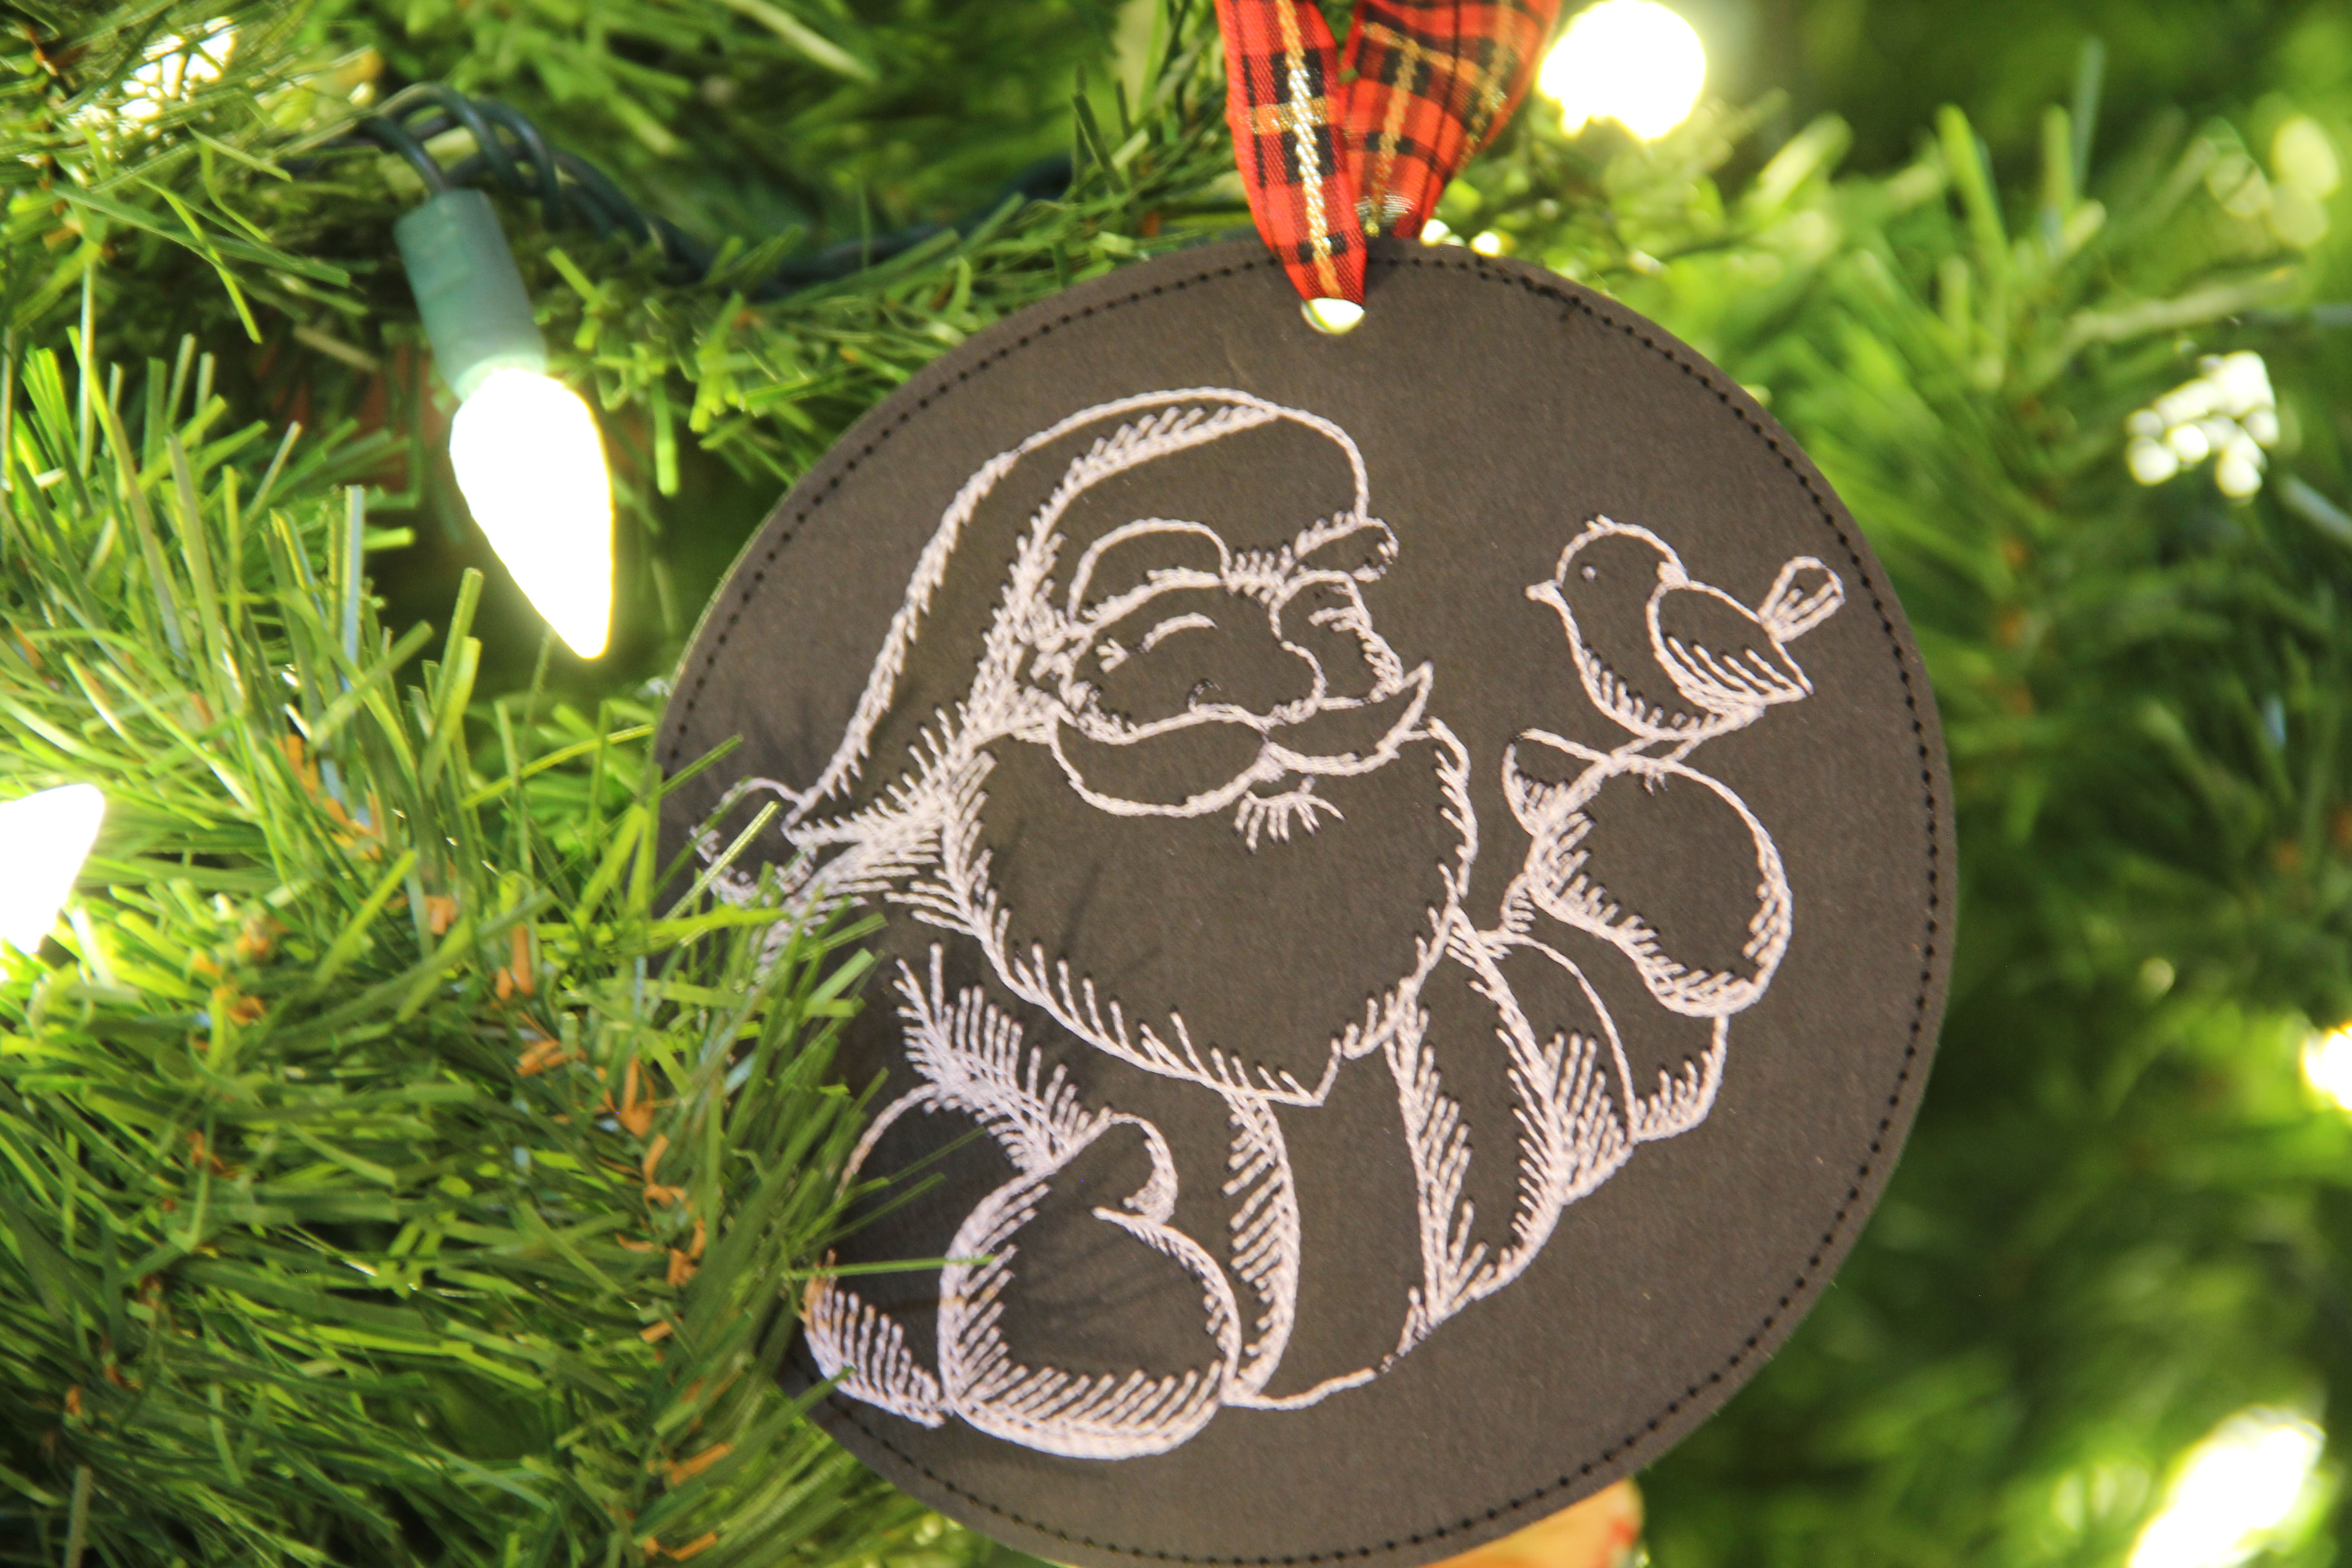
Wishing you and yours all the best this holiday season. May your decorating (and your stitching!) make you happy.

Qullting with Machine Embroidery: An Experiment

Even good ideas can start with a real mess. That’s what’s shown above.

I had the inspiration to do a small quilt/wall-hanging featuring a panel of some holiday-decorated sheds. Charming right? They really are.

And I wanted the quilting to be featured, because I really liked the idea of falling snowflakes as a quilting design.

I got this design at Embroidery Library who just never fails me. Then the idea snowballed (no pun intended) and I found a charming village embroidery that I wanted to incorporate.

So far so good.

But I really got hung up on the border. I wanted so badly to incorporate red and white buffalo checks. I tried it in so many ways. I wanted it to fit with my soon-to-be Christmas theme of red and white gingham. (Never mind that my whole house is going to look like a CrackerBarrel.) Anyway, you can see from the top pic that the red was jarring and annoying.

The village border embroidery, however, was adorable and I had to use a mid-tone fabric, so that the snow trim on the village would show up.

I finally landed on a layout that seemed calm, and simple and peaceful, like the images on the quilt.

Now for the snowflake quilting. The first thing I did was stitch out the design on pieces of cutaway stabilizer. I stitch out the first right side up, and the second upside down. Yes, I could have just turned it around in the machine each time, but I also saved the design in software both ways. So with each hooping, I could choose A or B, and didn’t have to fuss with turning the design upside down and back on the screen every time. I cut them to precisely fit the inside of the hoop and used it as a guide to hoop each design.

With the first stitch out, I knew I was going to love the quilting.

Giant snowlflakes falling on a sleepy Christmas village. Yum!

But then I started to really worry about the darker color. Would the snowflakes be too busy? Would the embroidery design underneath hold its integrity against the quilting?

It worked just fine, I’m happy to say. The quilting adds texture, and if you look closely you can see the snowflakes. But they do not overwhelm the village, which was my fear. The quilting thread throughout is Isacord white. Top and bobbin. And it worked like a dream.

Do not try to do machine embroidery quilting with Aurifil. Look. I love Aurifil as much as anyone else, but it really is not designed for the high speed of machine embroidery. It breaks and you will want to scream. (Ask me how I know. Luckily, I learned that lesson on a prior project. Now I only use machine embroidery thread when using machine embroidery for quilting. Just imagine doing 40-some-odd hoopings, and you have to keep stopping for thread breaks. Trust, me on this one…use embroidery thread.)

And one more word of advice: Be sure to leave plenty of batting and backing around the outside of your quilt when you are embroidering. I had to do several hoopings that reached the edge of the quilt and stitched off. You need the room to let the design stitch on something as it runs off the end of your quilt.

In the end, the quilting turned out lovely, and I’m really enjoying the tiny details. It’s a “look closer” kind of quilt.

I want to encourage you to try machine embroidery for quilting. I know it’s intimidating, and 40+ hoopings sounds daunting. But each hooping took about 7 minutes to stitch out. So maybe 8 hours of work spread out over 2-3 days. I was able to precisely place each sequential hooping by using the 2 different cutaway stabilizer templates.

The look is exactly what I wanted. But let me tell you, along the way, I was never sure it would work. I guess that’s what makes it fun.

Happy Stitching to all of you, and Happy Holiday Season!

P.S. Don’t forget your quilt labels!

Cross Stitch Life Hack

I love cross stitch. But I am completely inept.

I have watched the YouTube videos. I have studied people moving those needles in and out. I purchased the right fabric. I can sew, machine embroider, hand embroider, knit, crochet, do hand quilting. I’m not afraid of stitching by hand. But for the love of all that is good, I cannot figure out how to cross stitch. I. Cannot. Do. It.

So I did the next best thing.

I digitized.

I found the most adorable designs (from Little House Needleworks on Etsy.)

Using Bernina Embroidery Software 8, I got the idea into my head that I could run a border of these gorgeous cross stitch patterns around the outside of a very simple tree skirt I was making.

But as always, it was not an easy task. Like Tina Turner, I never do anything nice and easy. I do it nice, and rough.

It starts with a scan of the pattern, which needs to be trimmed to the exact pattern size in some sort of graphics software. I’m used to working in Adobe, so that’s what I used. But Bernina’s software comes with Corel, so you can use that too. Then it gets imported into the Cross Stitch application in the software.

Now comes the tedious part. Every single stitch gets reconstructed with a click, and a color choice. If you look closely enough at the above image, you can see that some of it is filled in with color, and some of it still has the cross stitch symbols shown. It took me about an hour to get everything filled in for that design.

The next step is to move it into the embroidery program. The software then converts every click that you made in cross stitch into machine embroidery stitches. And it’s pretty magical. One moment it’s just a weird looking drawing, the next minute it’s stitches that my machine will understand.

And I am absolutely loving the way these turned out.

I still have a long way to go on this tree skirt, and each design from start to finish probably takes about three hours. Could someone do it by hand in that time? Maybe someone who knows what they’re doing. That would not be me, when it comes to cross stitch. But I am just so taken in by their charm and sweetness.

I hope you are tolerating this difficult holiday season.

I leave you with this December thought:

“Someday soon we all will be together
If the fates allow
Until then we’ll have to muddle through somehow
So have yourself a merry little Christmas now.”


Sewing Through the Midwestern Blizzard

#SNOWVEMBER, is what I’m told.

Actually, it’s just raining. but they say the snow is coming…and plenty of it. I am skeptical, but that’s nothing new.

These little ornaments on the tree are made from Kraft Tex. (See my previous post for more details.) I think they turned out cute, and I am anxious to try stitching them out on fabric and turning them into little stuffed ornaments. I think that would be adorable. These have designs on both sides, because I just wanted some flexibility. I’ll need to make some minor adjustments to the software file I use to stitch out the designs on fabric. On the new ones, I’ll add a seam around the outside, leaving an opening to turn them. Then it will be just a matter of stuffing them.  I’ll share when I start that.

But for this task, I wanted to show you the greatest little tool I got at the shop as it was closing. I didn’t think I’d ever need it, didn’t really have any idea why I might use it, but of course I purchased it anyway.

And it sat in my sewing room for over a year.

(Incidentally, as we speak, the rain has turned to snow out my window. Maybe they are not all liars after all.)

It’s called a Circle Rotary Cutter from Olfa. I finally decided to try it out for this project and I am in love with it. I guess I just didn’t know how desperately I needed to cut accurate circles. It has a ruler attached so you can set the radius. You basically use it like a compass, with the sharp point in the center, and a blade instead of a pencil at the end. Suddenly I am imagining all the wool projects I’d like to invent using circles, as well as paper, Kraft Tex, felt, and basically anything a rotary cutter will go through.

In minutes I had beautiful, ACCURATE circles. Do not discount the significance of getting a circle perfectly round.

I am off now, to work on a quick quilt that I must finish before the holidays. We all have those last minute projects. For those of you in the Midwest, Happy Blizzard-Sewing!

The Ubiquitous Old Red Truck — And Other Holiday Icons

C’mon. You know you’ve seen this truck everywhere.

I’m not sure when it became the definitive retro/vintage/holiday symbol. But somewhere along the way it did. I’ve seen it in catalogs, in charming shops, on TV (Hallmark Channel has at least one movie where the truck is a co-star.) I’m sure this old truck obsession is a simple longing for tradition, simplicity, home-baked cookies and the scent of actual pine. But let’s remember: this cute, sentimental old truck could put out enough dangerous fumes to choke a horse pulling an open sleigh. We are excellent at suspending reality during the holidays.

That said, my grandfather had a dark green/blue one just like it on the farm. (You can see it in the pic with Mom and me below.)

Since I’m as sentimental as everybody else around the holidays, I found myself purchasing the truck machine embroidery shown at the top. Buy it here.

I stitched it out on Kraft Tex.  If you’re not familiar with Kraft Tex, it’s the miracle textile that the Levi’s logo is made of.  It doesn’t rip.  It’s washable. It lasts forever and takes a beating and doesn’t show wear and tear. And you can sew with it and on it.

I wasn’t sure how it would hold up with 22,000 stitches on it, but I used Stabilstick Cutaway stabilizer and it was perfect.

Then I started getting more ideas about holiday decor using Kraft Tex and machine embroidery. You can find some cute and simple designs here.

I stitched them out, again using the Stabilstick cutaway stabilizer.  I put a design on the front and on the back, trimmed them to size, rounded the corners, and stitched in black around the outside.  They are the perfect shape for mouse pads.  But I added ribbon and will give them out on Thanksgiving as a holiday decoration.

Once I did those, I started testing ornaments.

CAUTION: Don’t just resize the designs.

I tried to take them from 7 or 8 in. wide down to 4 in. Even in software, they did not size down properly.  They were not originally .ART files, so the software was struggling to reduce stitches. I tried it anyway, but…

Yuck. Big mistake. So I went back to the website and ordered some new ones in smaller original sizes.

These turned out just fine.  I’ll be adding ribbon and using them as ornaments. They will have different designs on each side. I’ll share more when I get them completed.

For now, I’m wishing all of you a wonderful Thanksgiving and a relaxing weekend with loved ones. My holiday will be spent with 10 close family members and 2 dogs. That’s charming and sentimental enough for me.