
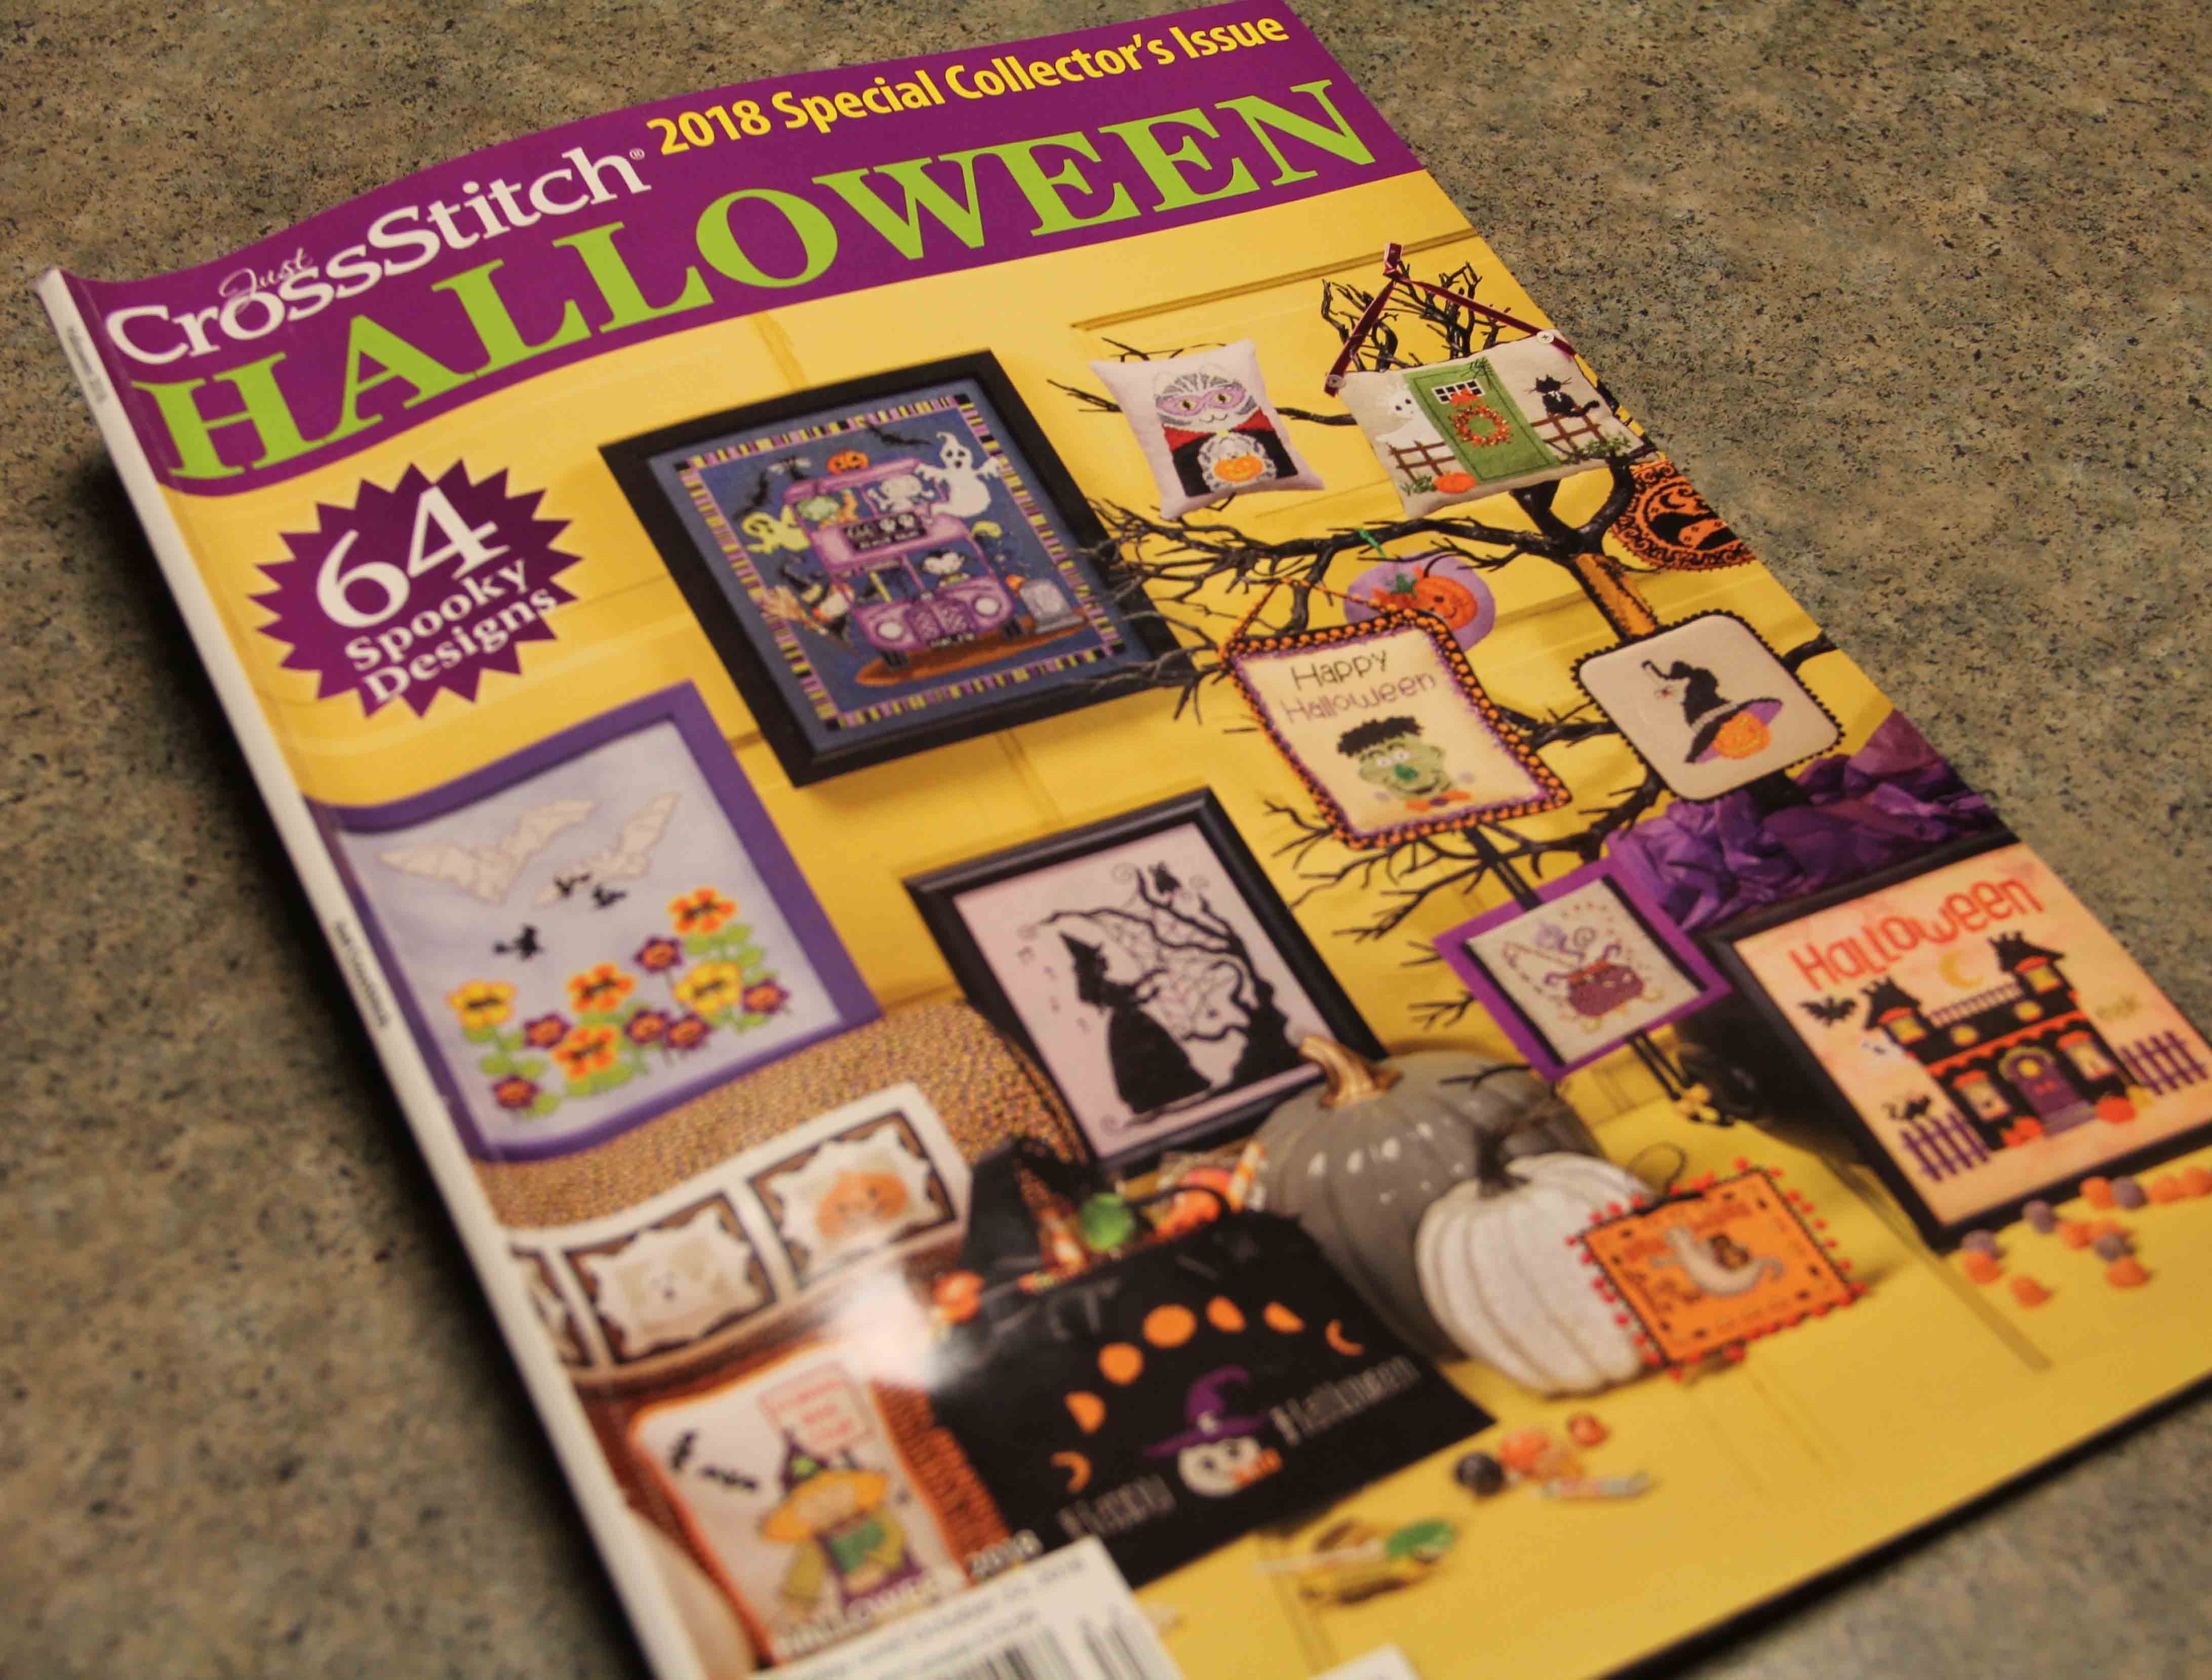
 I found this cute embroidery in Cross Stitch Magazine, Halloween edition.
 I am not someone who is into cross stitch, but I think it looks so charming around the holidays. My way of handling this is to digitize it and then use the machine to embroider it. I use Bernina Embroidery Software 8, which has a cross stitch application within the program. If you are not familiar with it, the sub-program has its own “help” section and manual. I find that it is really pretty simple if you know a few basics.
I will share with you what I did to create this design, and you can explore another of my Halloween posts right here.
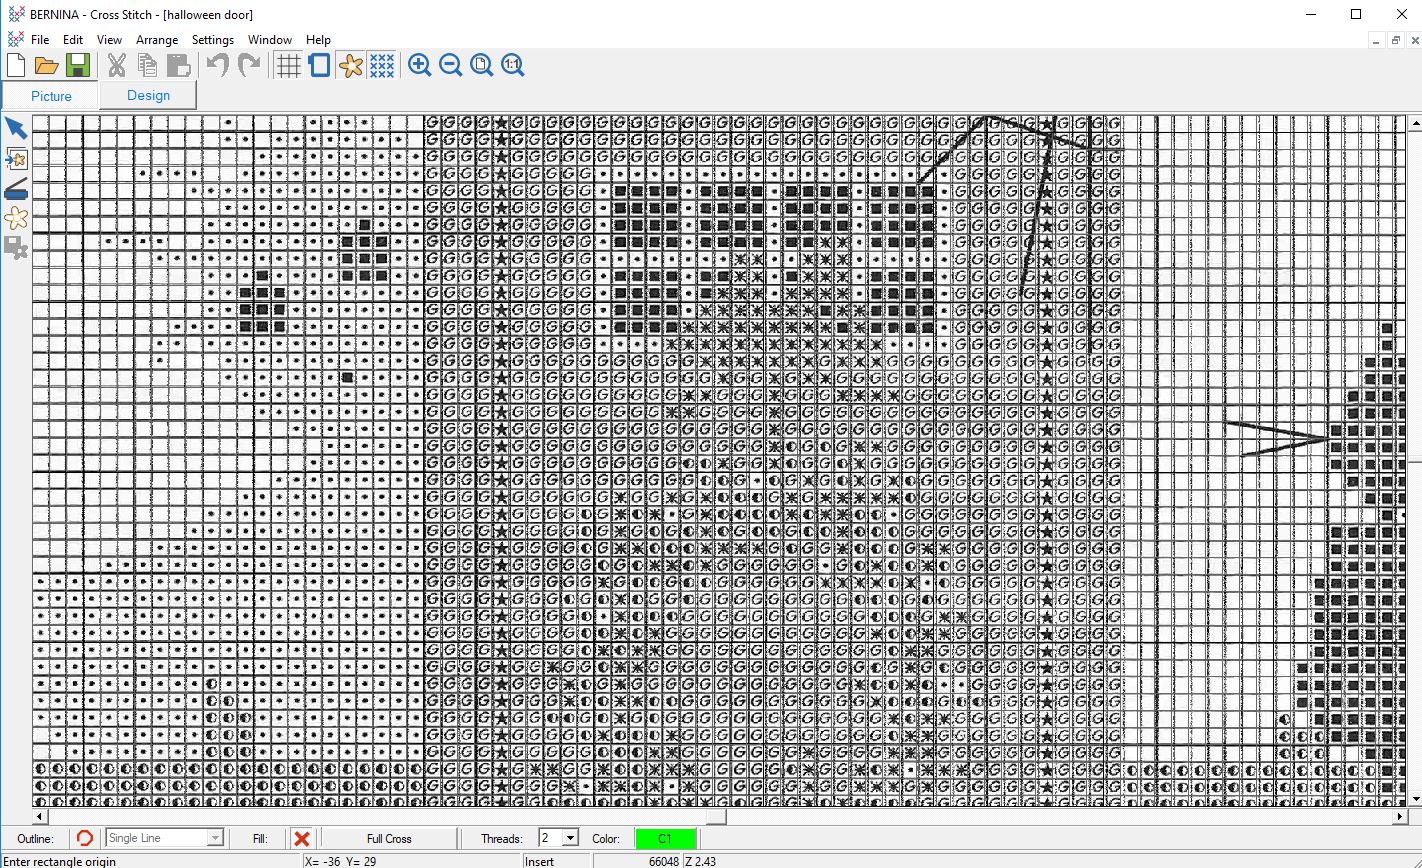 The first step is to scan the pattern at its original size. This design was approximately 7.5 in. x 6 in. Shown above is the black and white scan of the image, but you can see that this image is enlarged enough to show that I can see the markings of all the different thread colors. That will be important later when I manually add them.
A few basic steps:
- Crop the image right up to the outline of the grid. You want it to be cropped as perfectly as possible when you load it into the cross stitch program. I use Adobe Photoshop to do this, but Corel is built into the software program and you can easily use that instead.
- Count the grid. The heavy lines indicate ten spaces, so you can get an accurate count. You’ll need that later.
- Open the cross stitch program in applications.
- Click the “picture” tab and load the picture.
- Right click on the picture (this is an important step!) and plug the dimensions of the grid in the width and height. These are the number of grid boxes you counted in the second step. This aligns your image with the grid in the program.
- Begin adding in your stitches by clicking on the pencil. At the bottom you can choose the type of stitch…I almost always use a full cross, but you have a number of options.
- Choose a color, and you’re ready to fill in your stitches using the image as your guide.
- Left click on each grid box to add in your stitches.
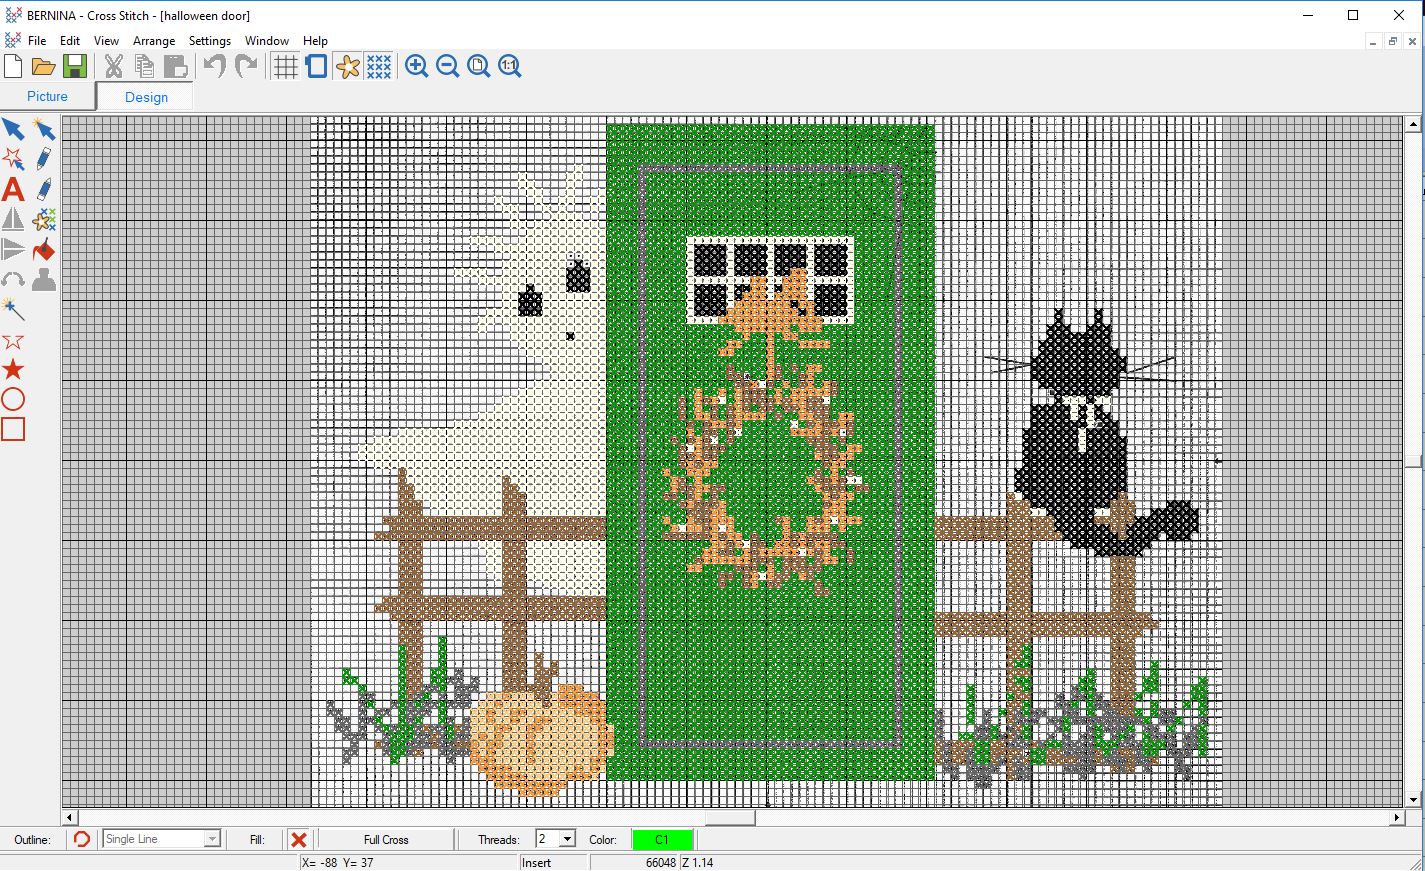 In the image above, you can see what it looks like after I added all the stitches. This did not take long at all, maybe half an hour to get them all filled in.
Save the file as filename.arx. .arx is the extension used by the cross stitch program.
Now you can close the whole cross stitch program and your embroidery software will still be open. When opening this file, just be sure to choose the .arx extension or “All Files”.
 This is the great part. The software will digitze those cross stitches and turn the whole design into an embroidery file. Above, you can see how it turned out on my screen. I exported it then as .exp as I would any embroidery design file and saved it on a usb stick.
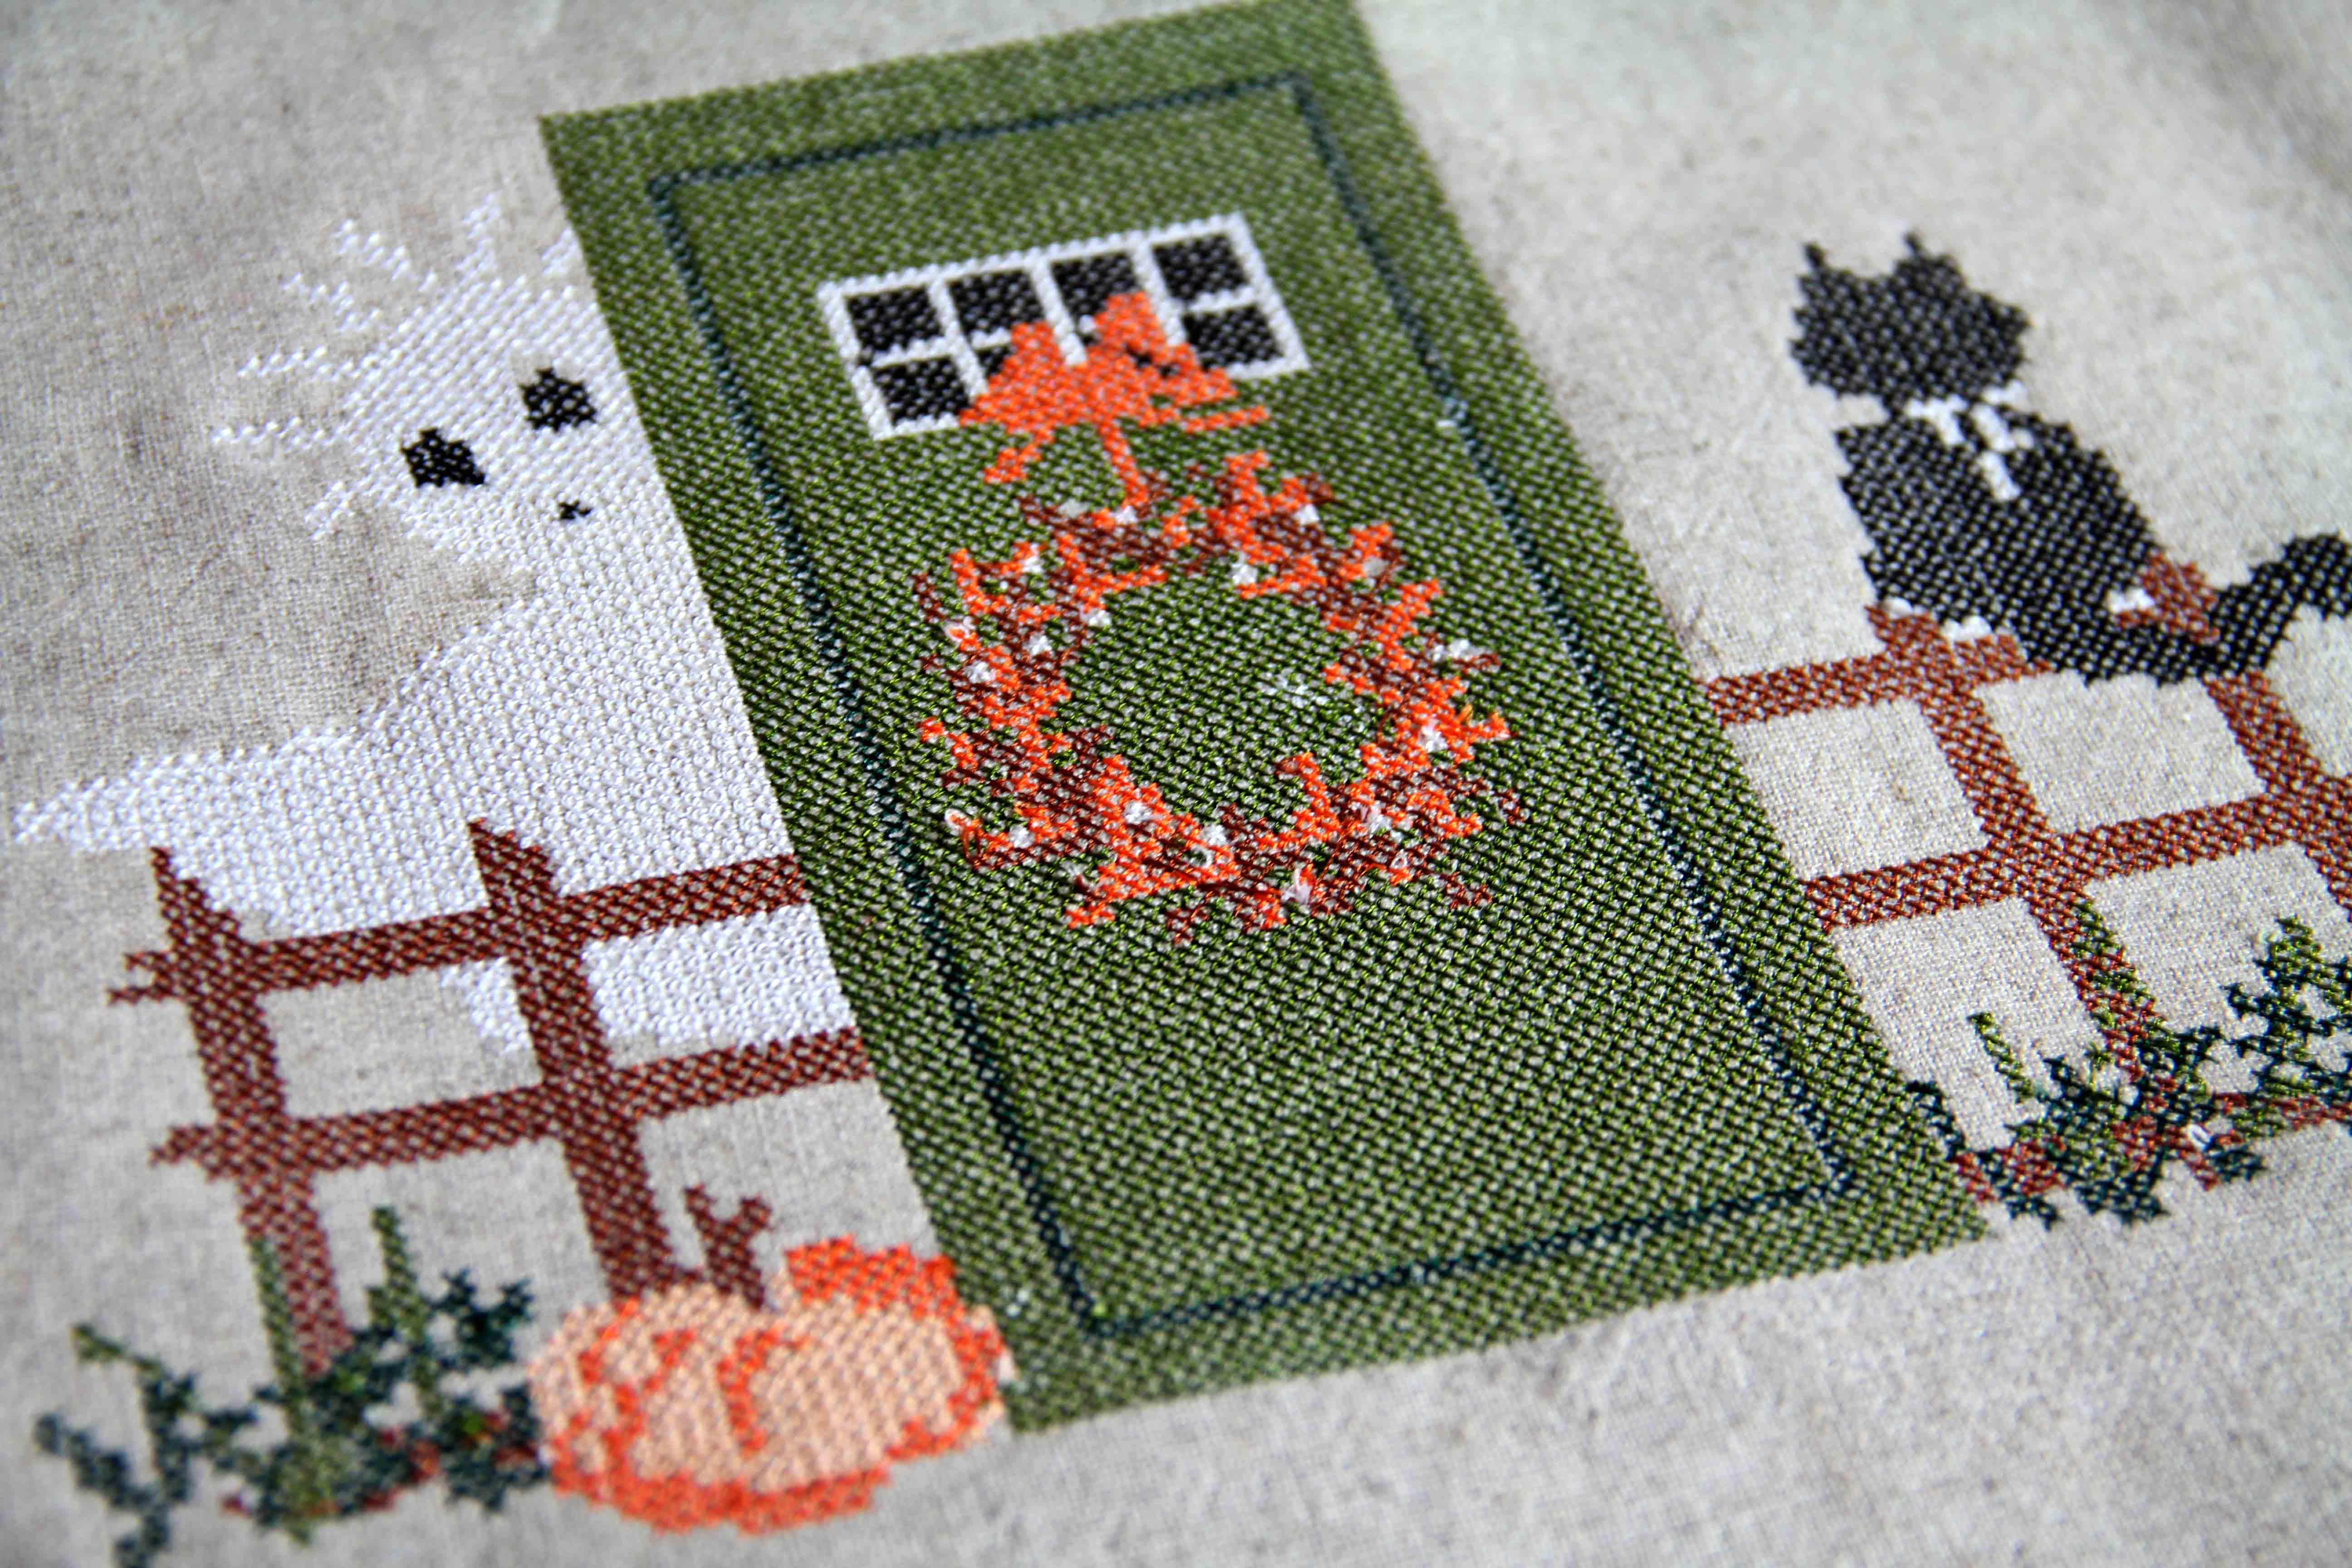
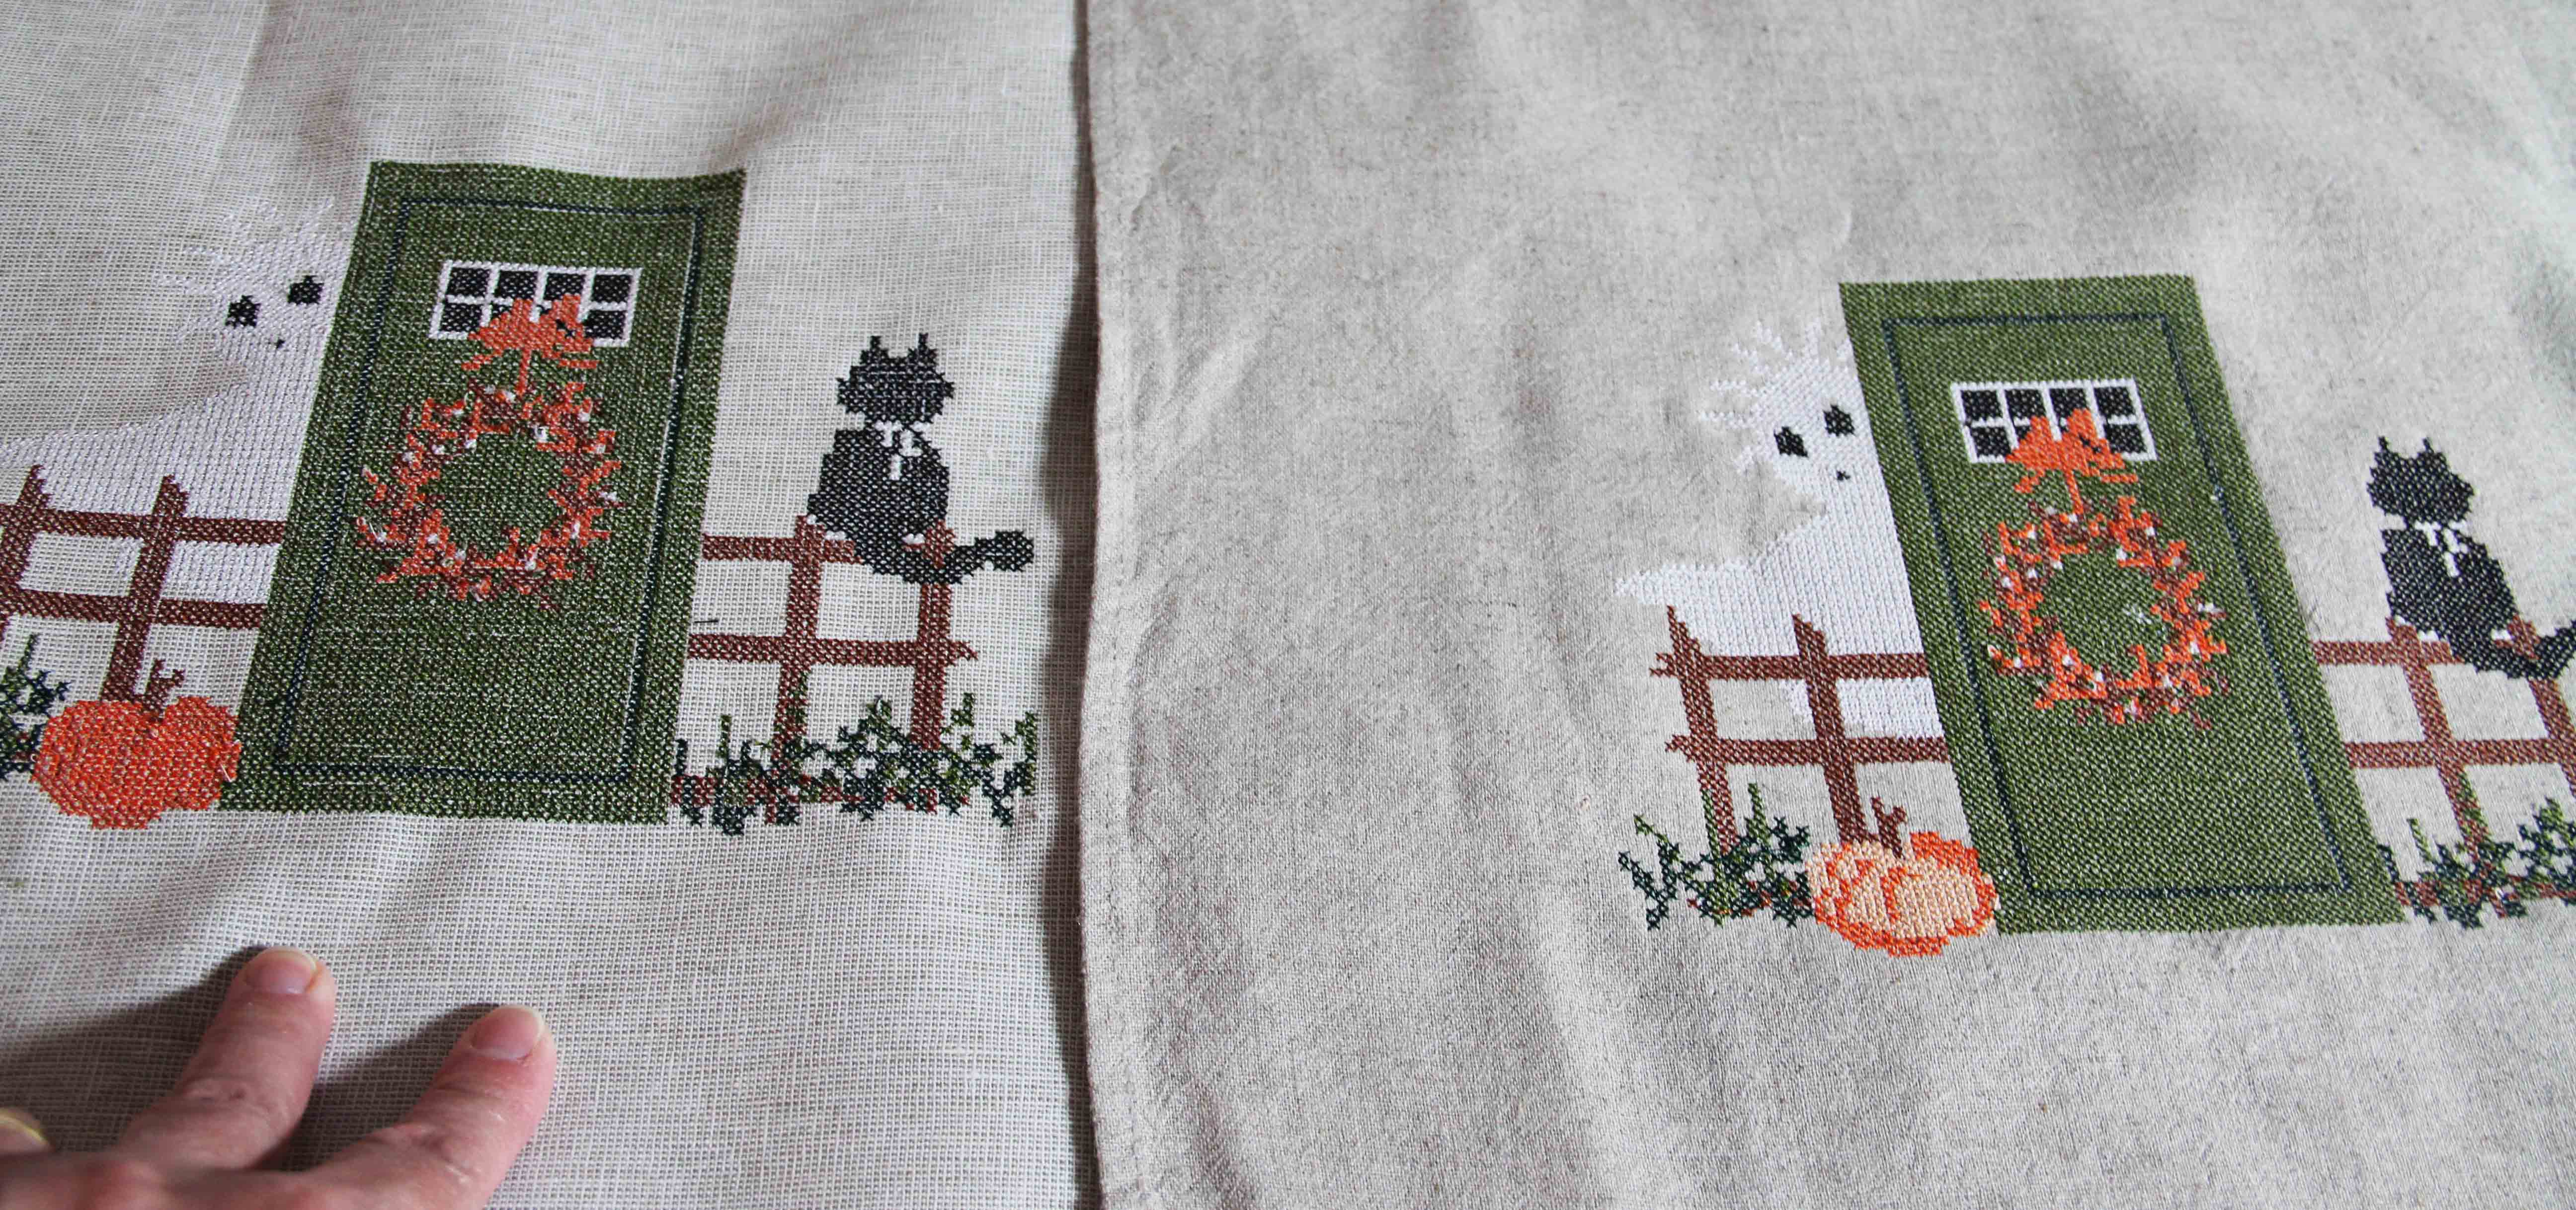
The first time I stitched it out, the ghost in the background was just a little too faded. I switched to a slightly darker fabric and the ghost appears more clearly on the right (although I think the picture is a little fooled by the lighting.) In real life (!) the one on the right lets the ghost show up much better.
 I had fun with this project and it’s actually a lot less time consuming than cross stitching by hand — though I have great appreciation for those who do that!
This way, I can stitch it out over and over again…on a pillow, as an ornament, on a bag, etc. I used Isacord thread for these, which is 40 weight embroidery thread. But I am curious how it would turn out if I had done it with 28 weight, a heavier weight thread. I think that would be really sharp. The cross stitch program would allow me to adjust the size of the grid as well, so I have lots of opportunity to go deeper and try new things.
Hope this inspires you. The cost of one magazine provides you with so many cute patterns to try. And cross stitch is a program that is so often overlooked in digitizing software.
It’s really worth some experimentation.