Improv and More

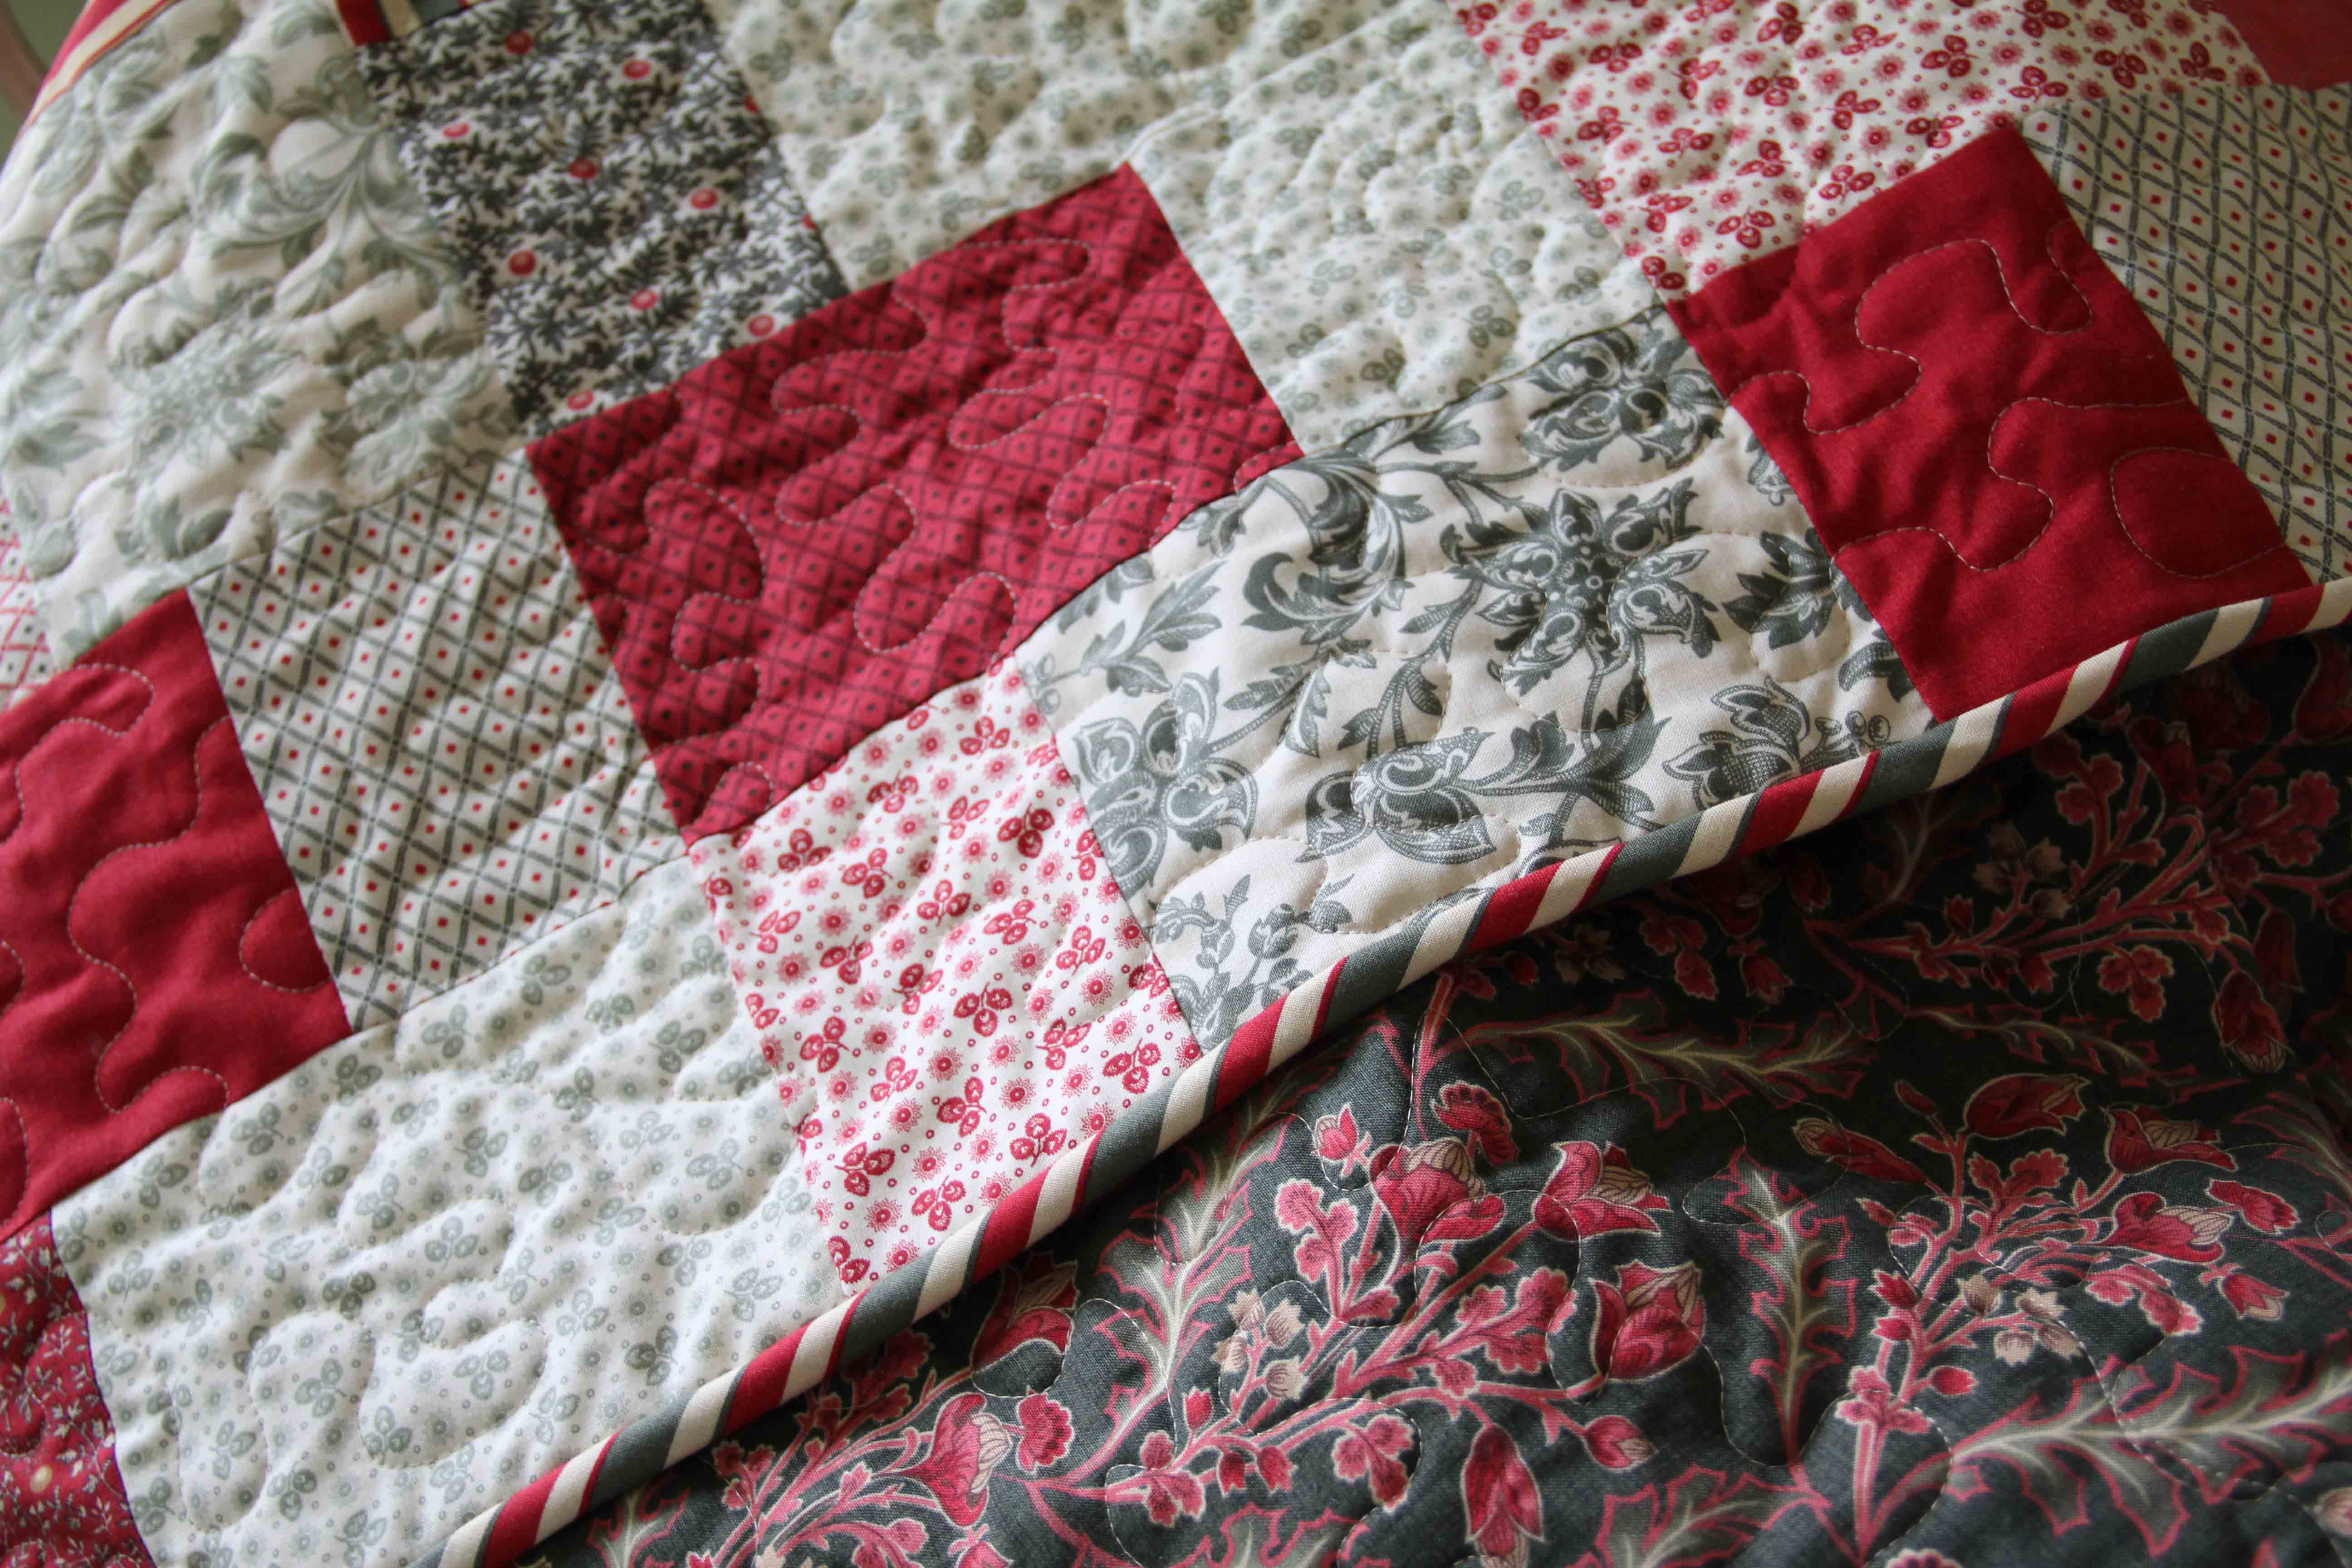
I have started working on an improvisational quilt.

Basically , it means I start sewing before I have any idea what I’m creating. For anyone who knows me, this way of doing things is right up my alley.  I just purchased this book, “An Improv Handbook for Modern Quilters” by Sheri Lynn Wood.

improv2

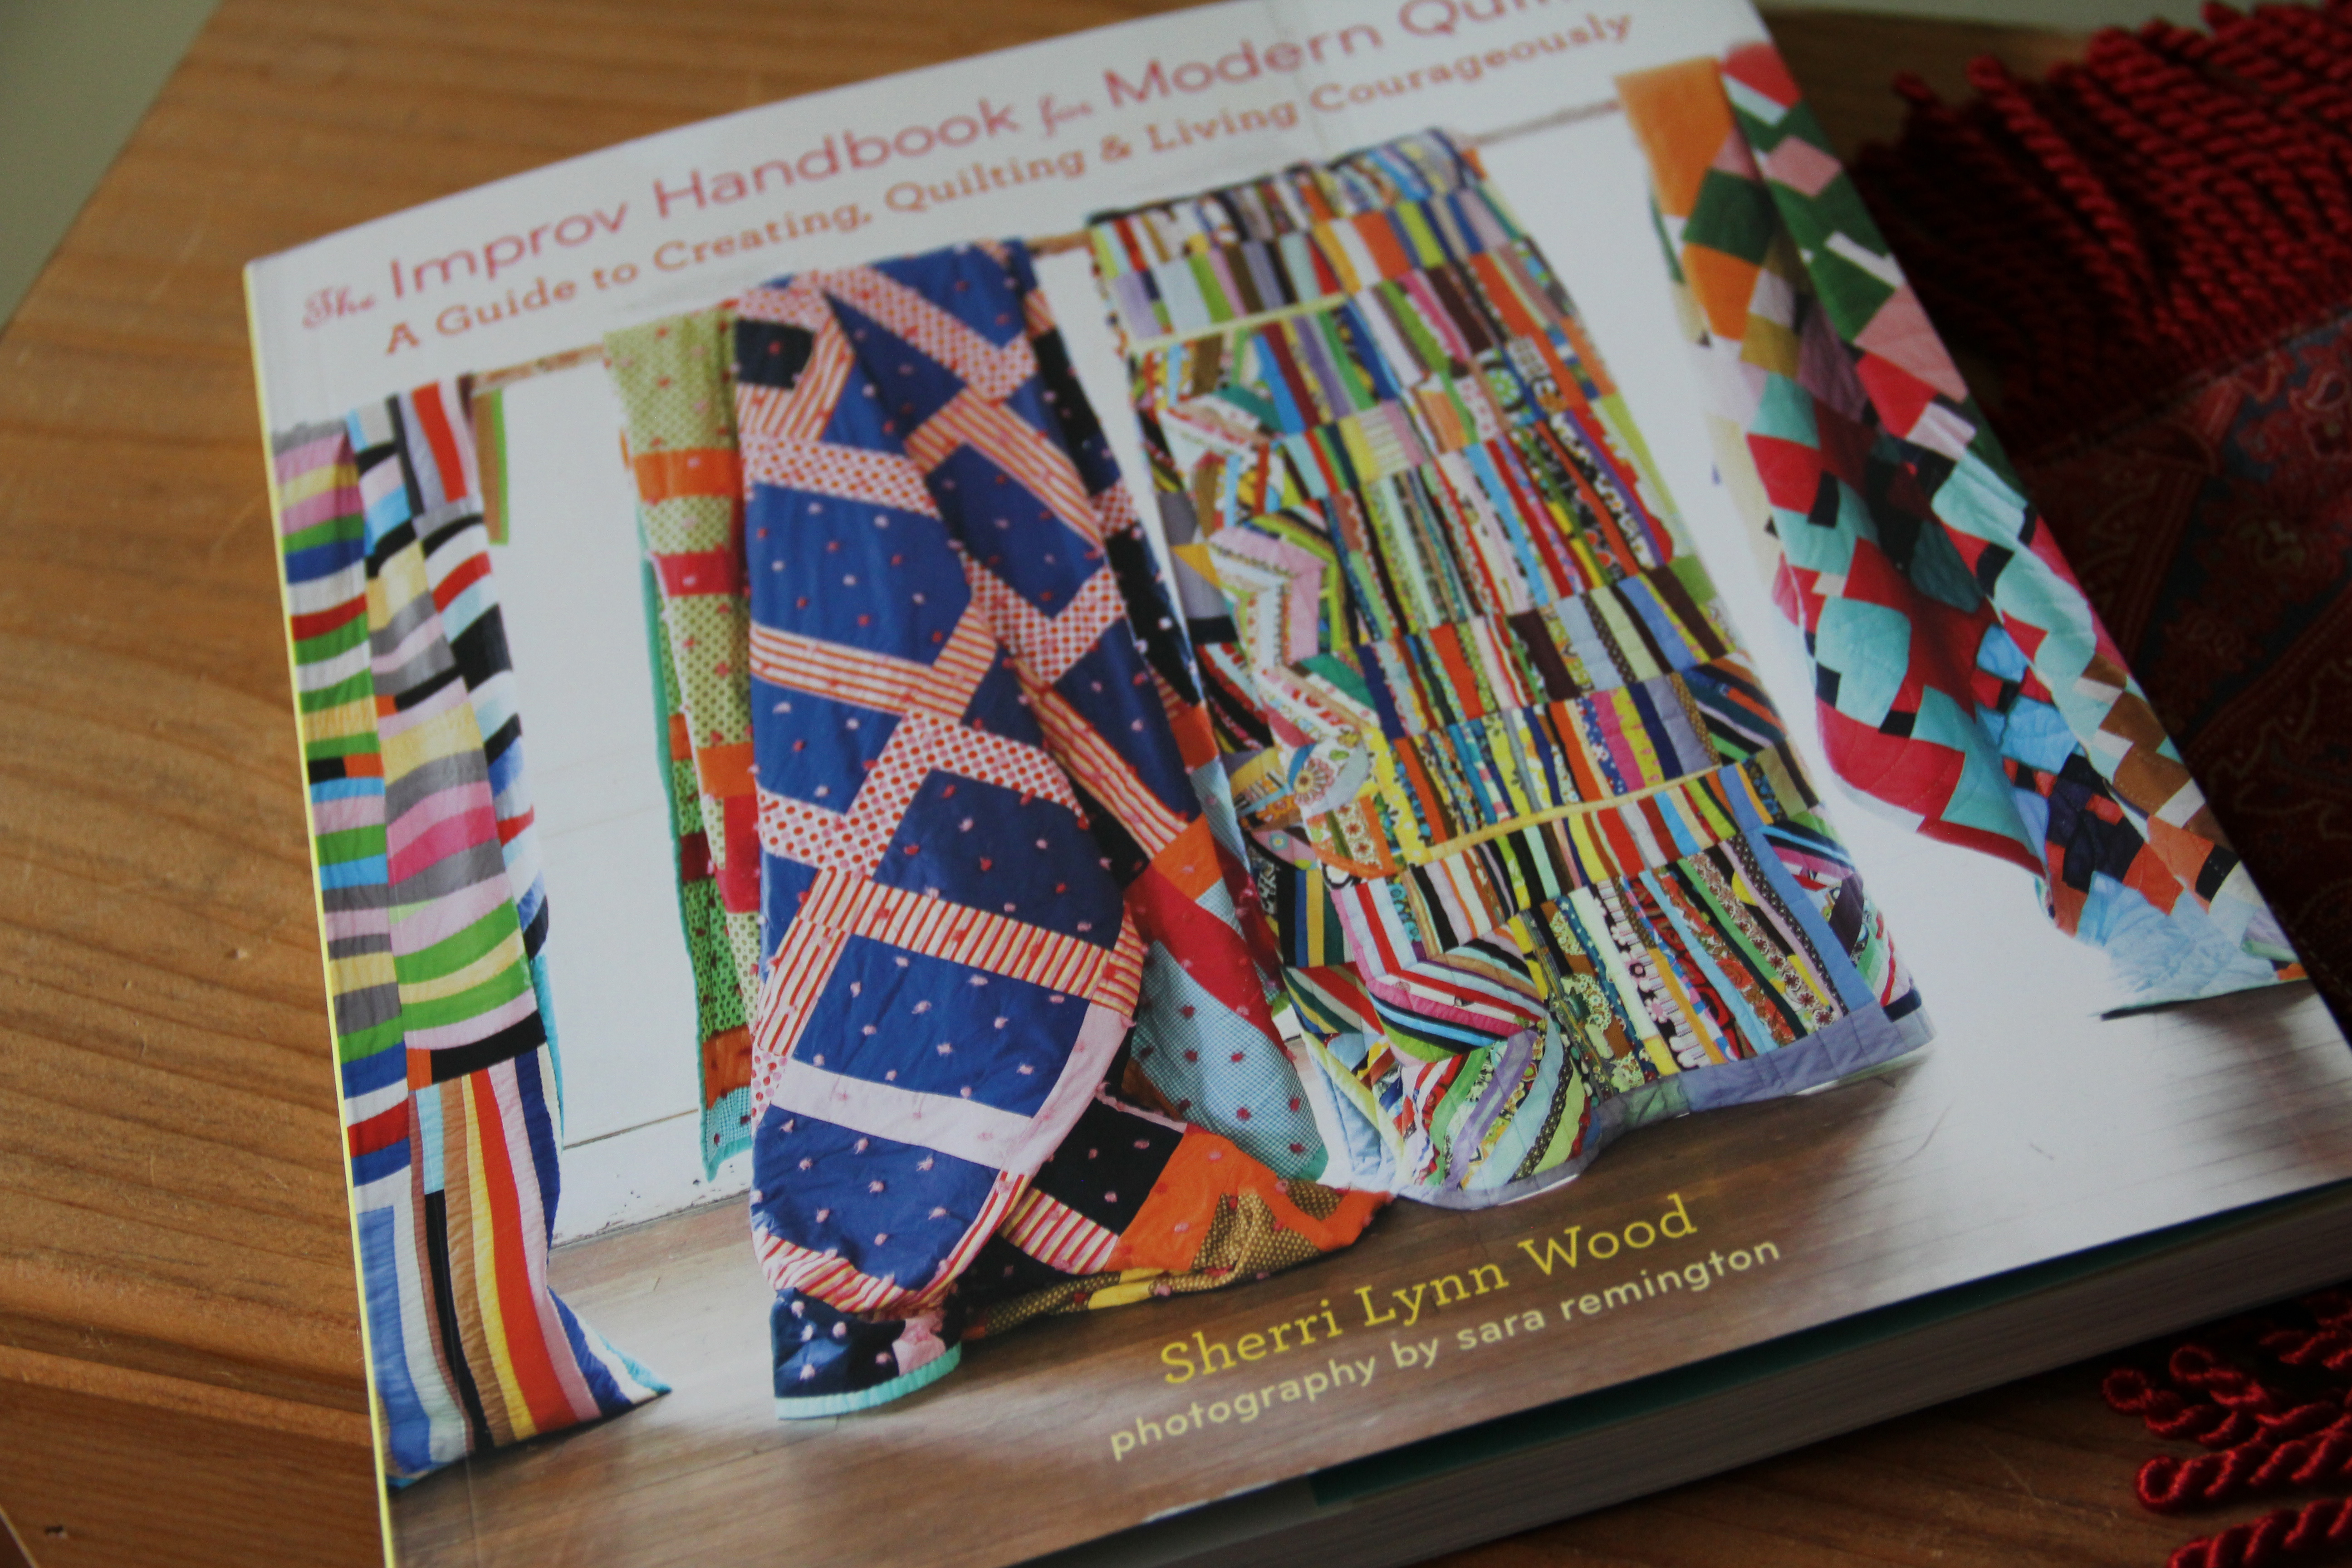
Naturally, I flipped through the book and then started without so much as reading a paragraph.  I promise I will go back and read. The book looks great.  I just was inspired by the word “improv” and began immediately.

improv1


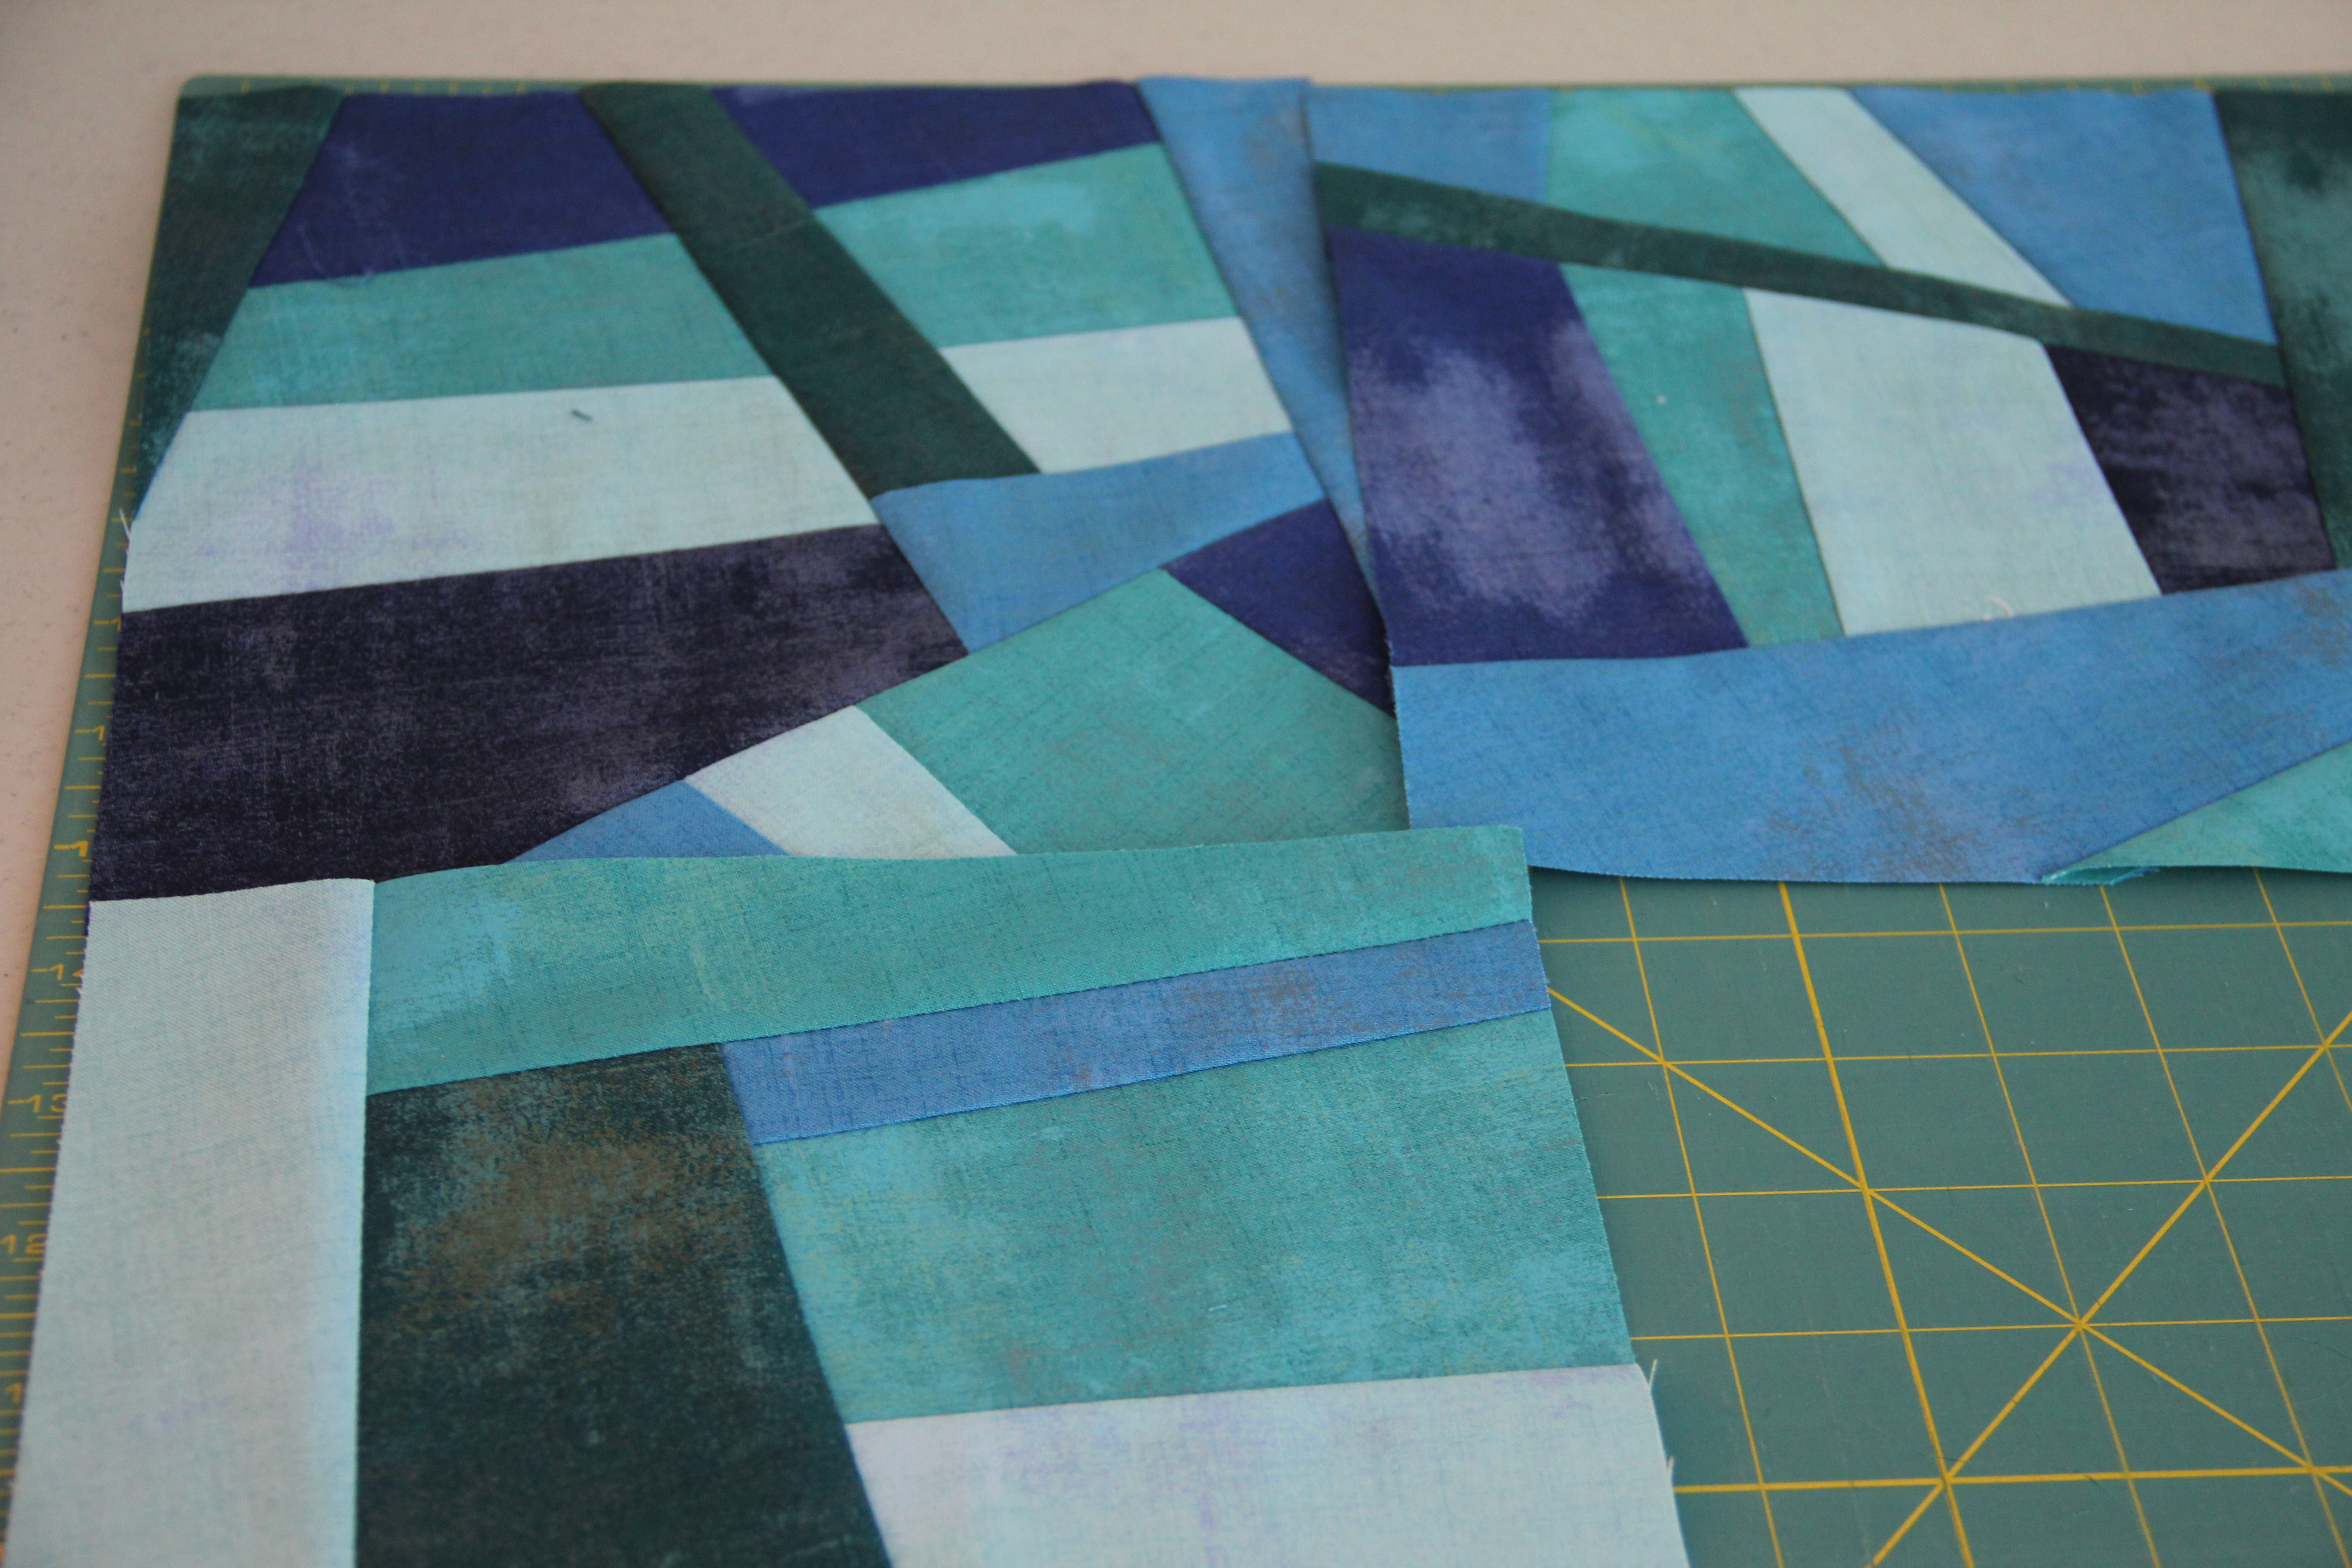
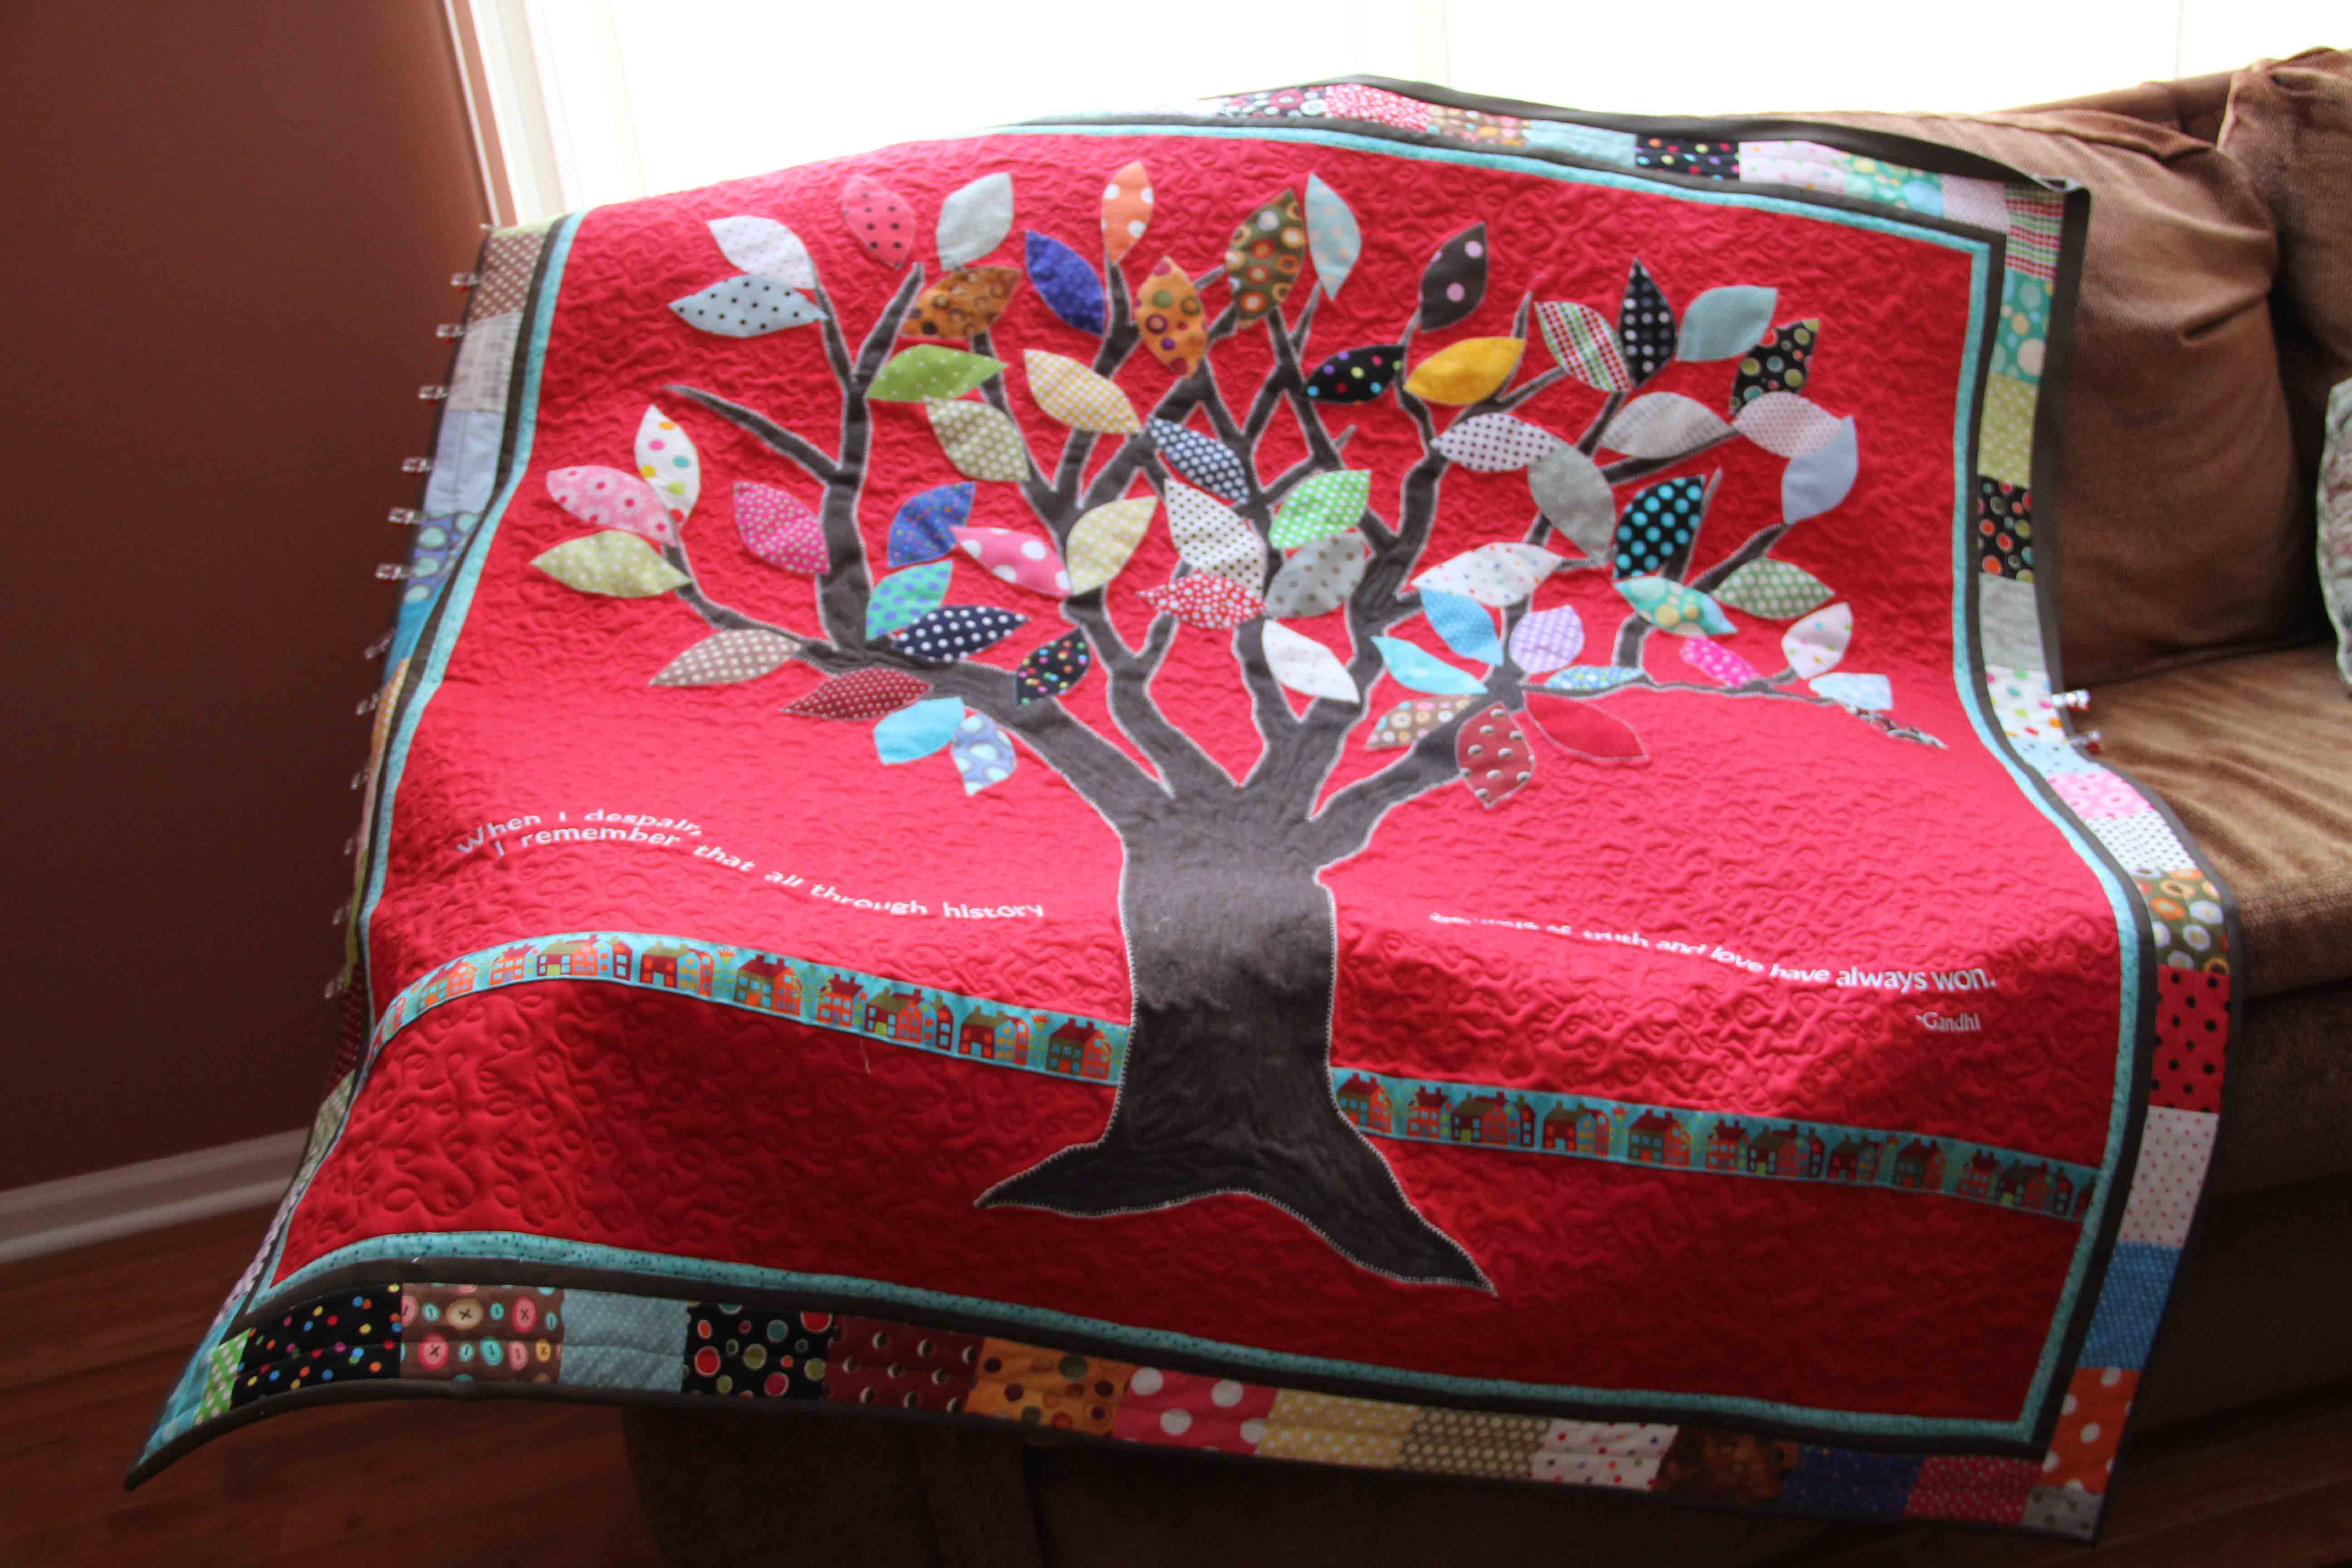
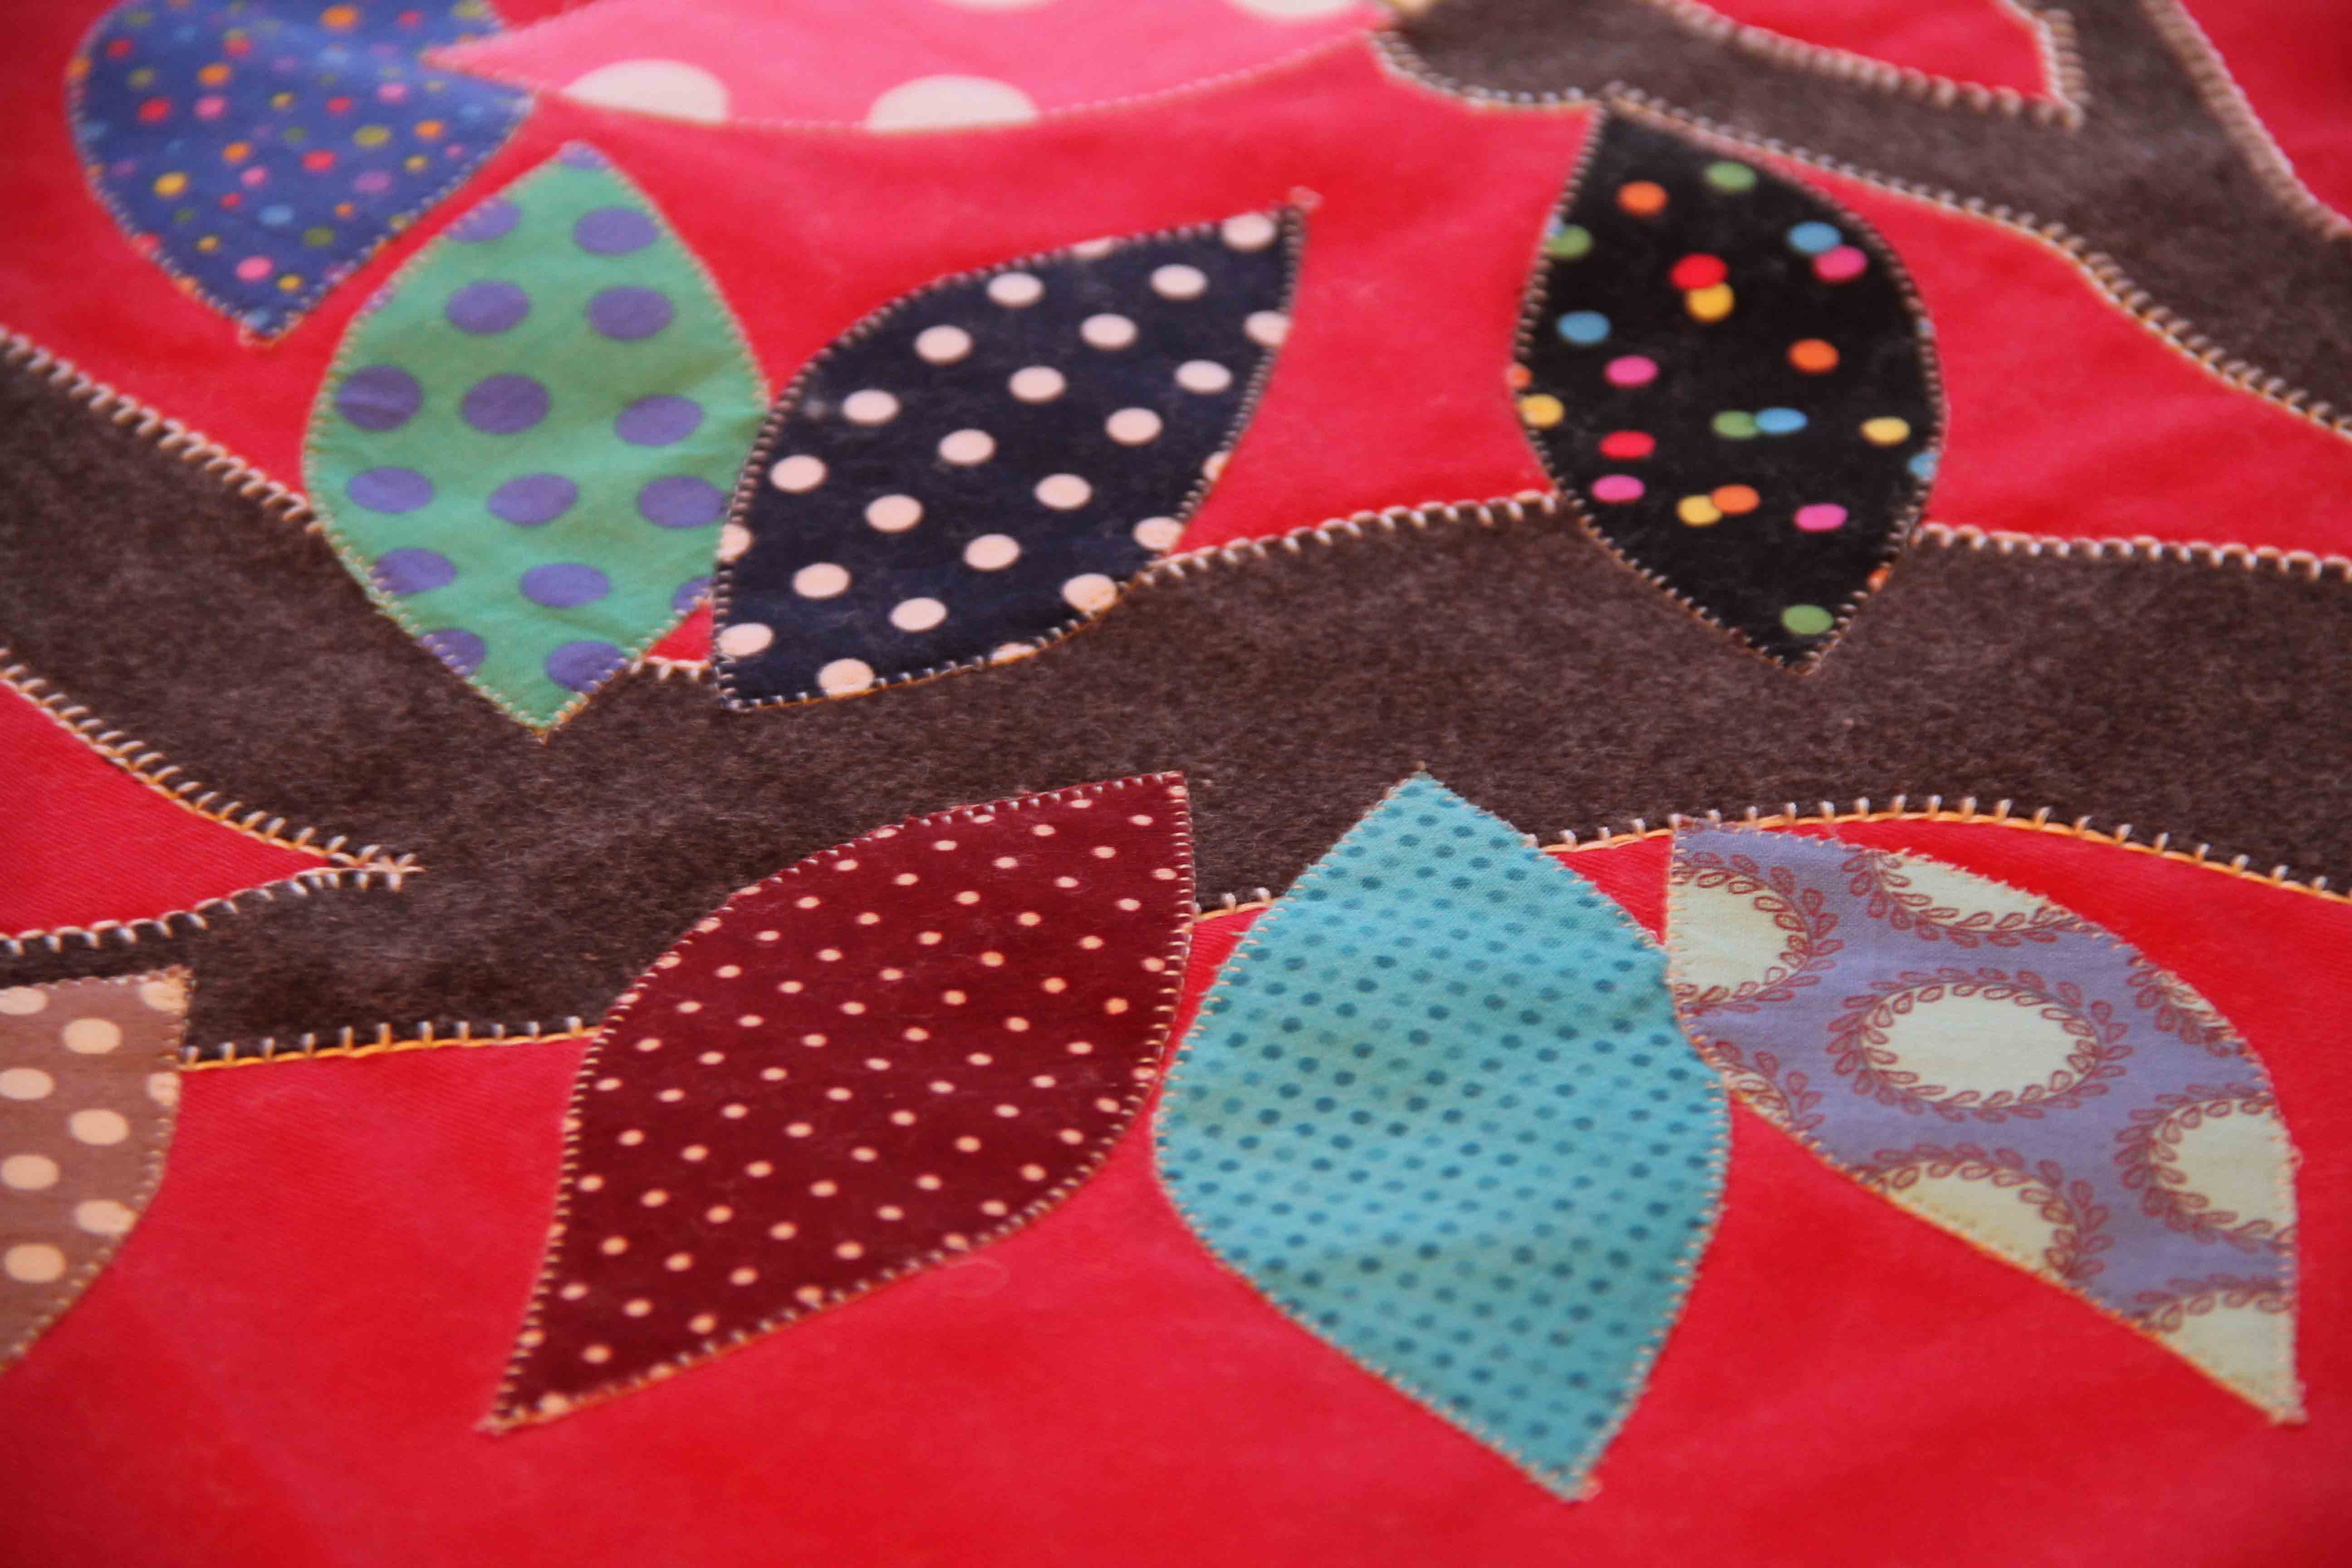
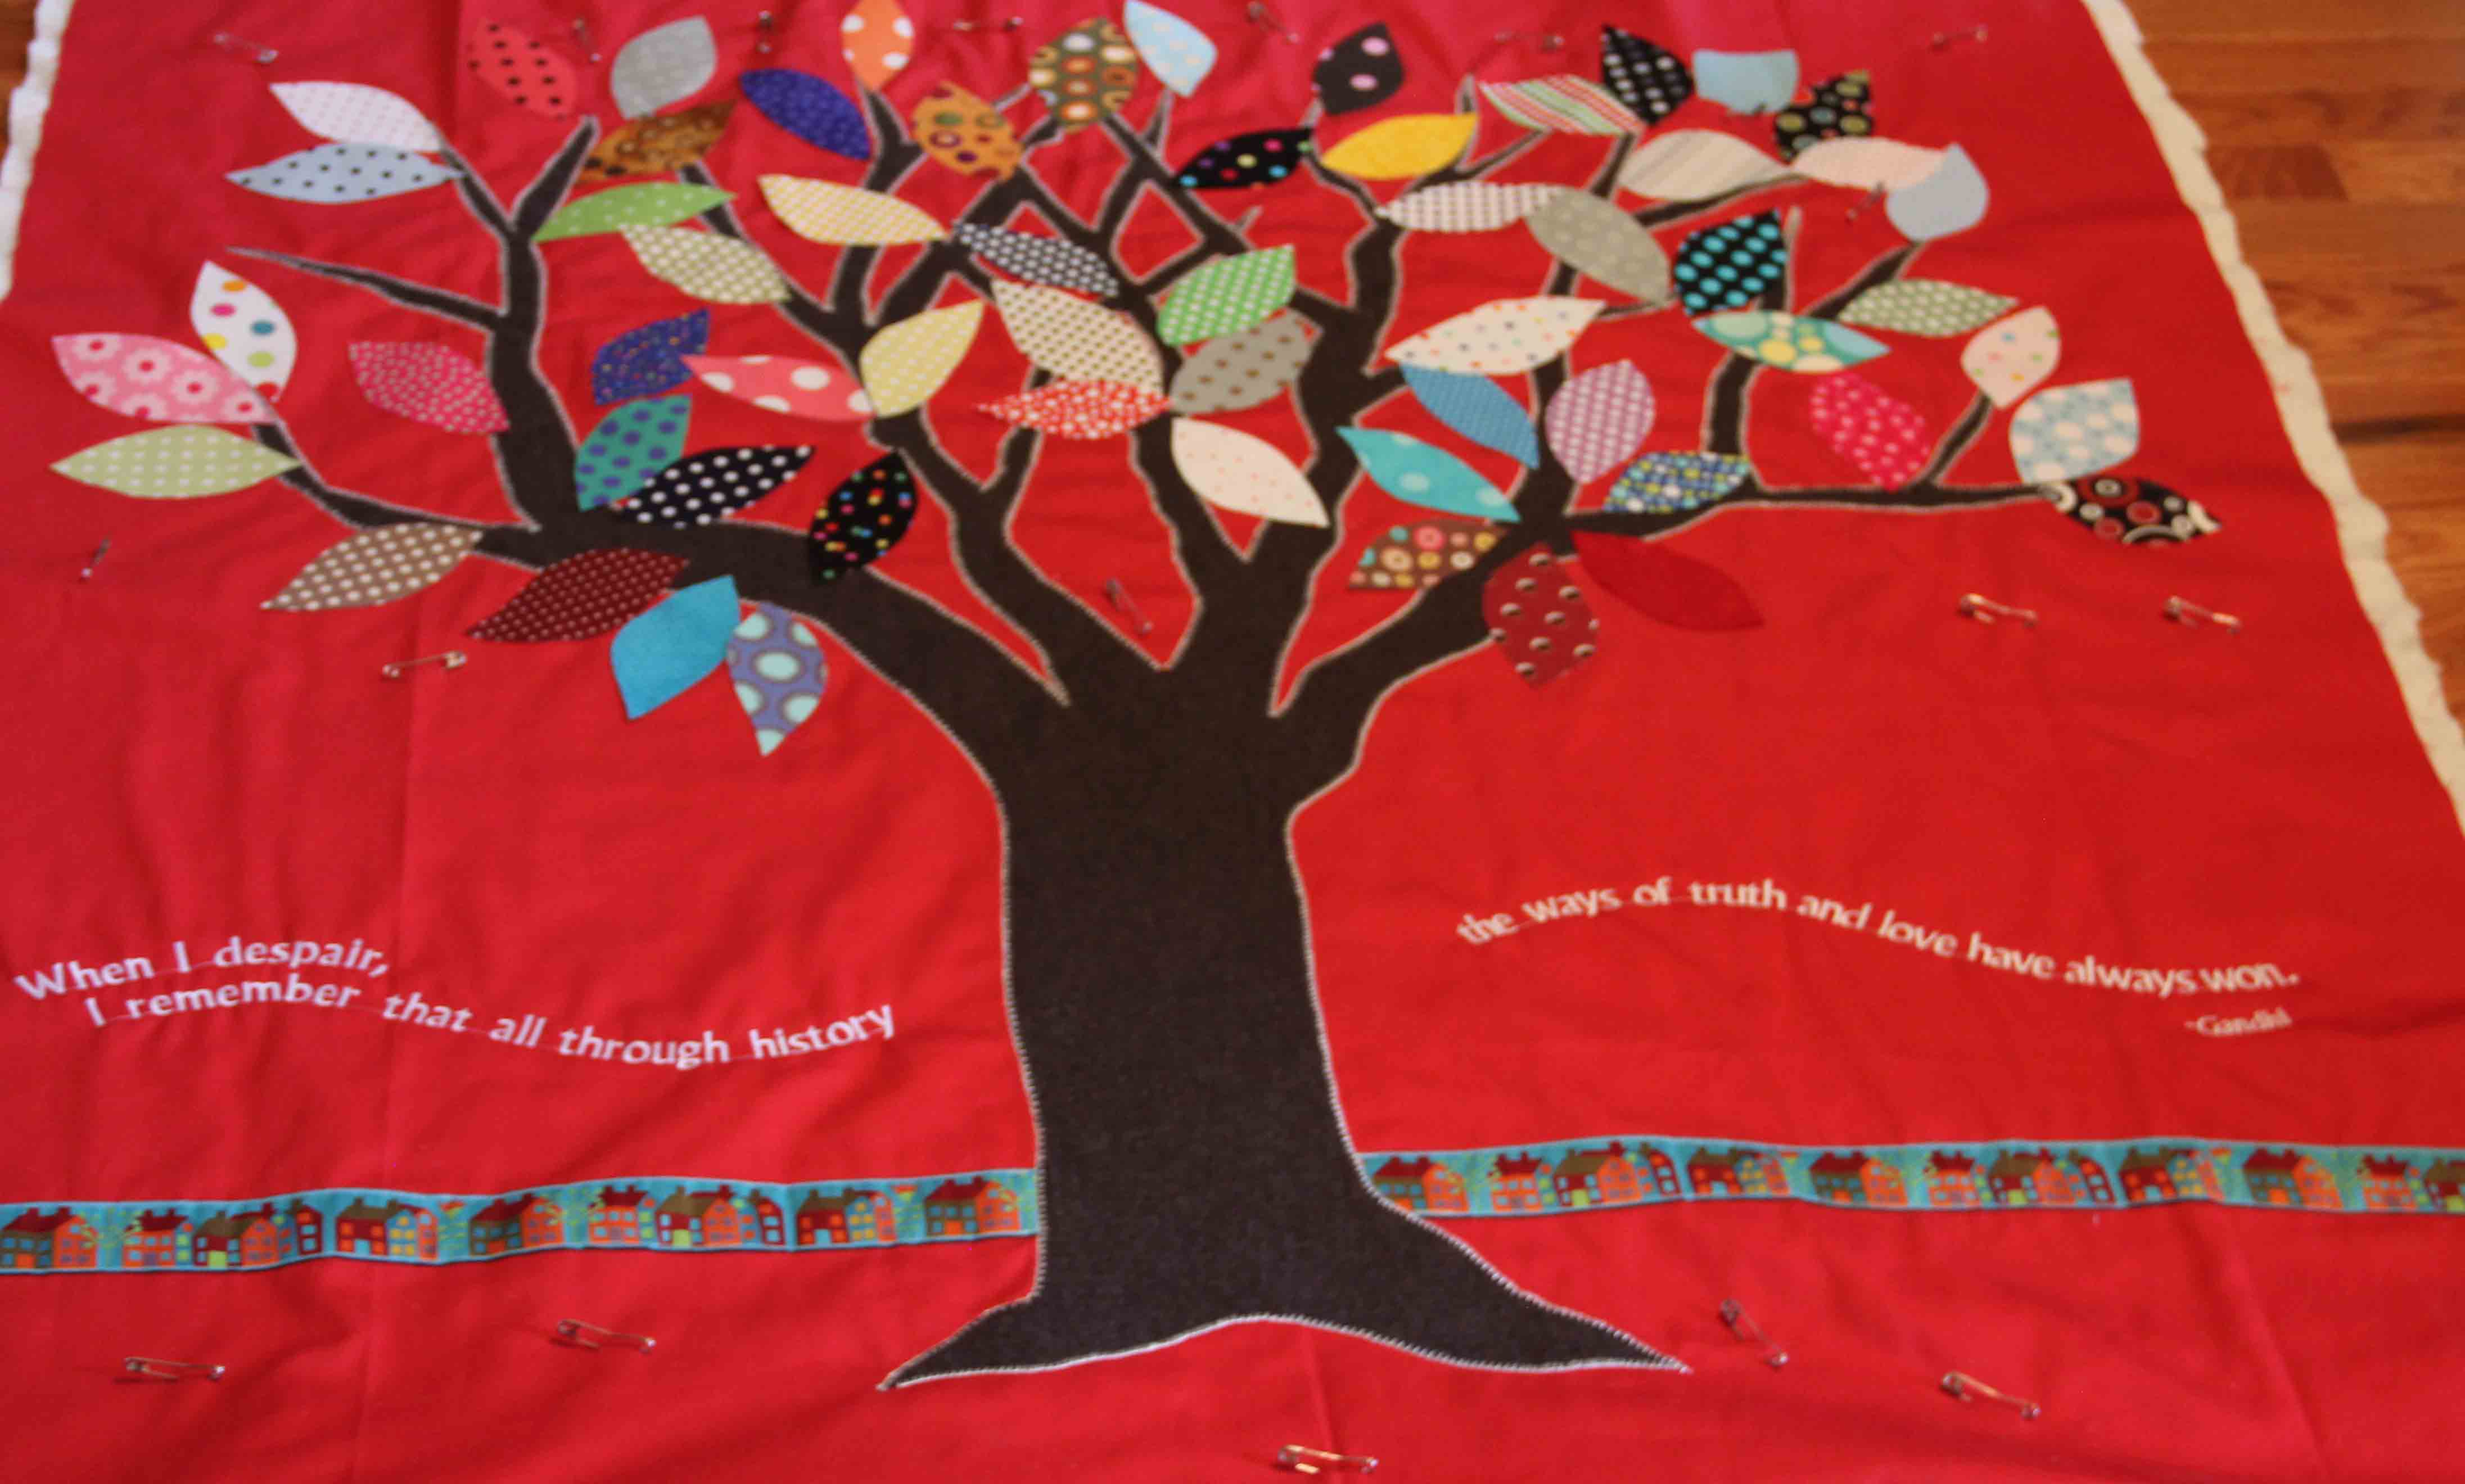
Here’s a sneak peak and to be honest , I don’t know how I will complete it. Just know that it’s a gift, so I don’t want to divulge the whole quilt til it’s been given away.  At that point, it’s done and there can be no regrets or turning back.  For now, it’s simply a work in progress.

In machine embroidery, I am preparing to teach a Software Inspirations class based on a tutorial from Sylvain Bergeron, Bernina educator.  In it, we learn to create textile fabric using embroidery…like argyle.

argyle1
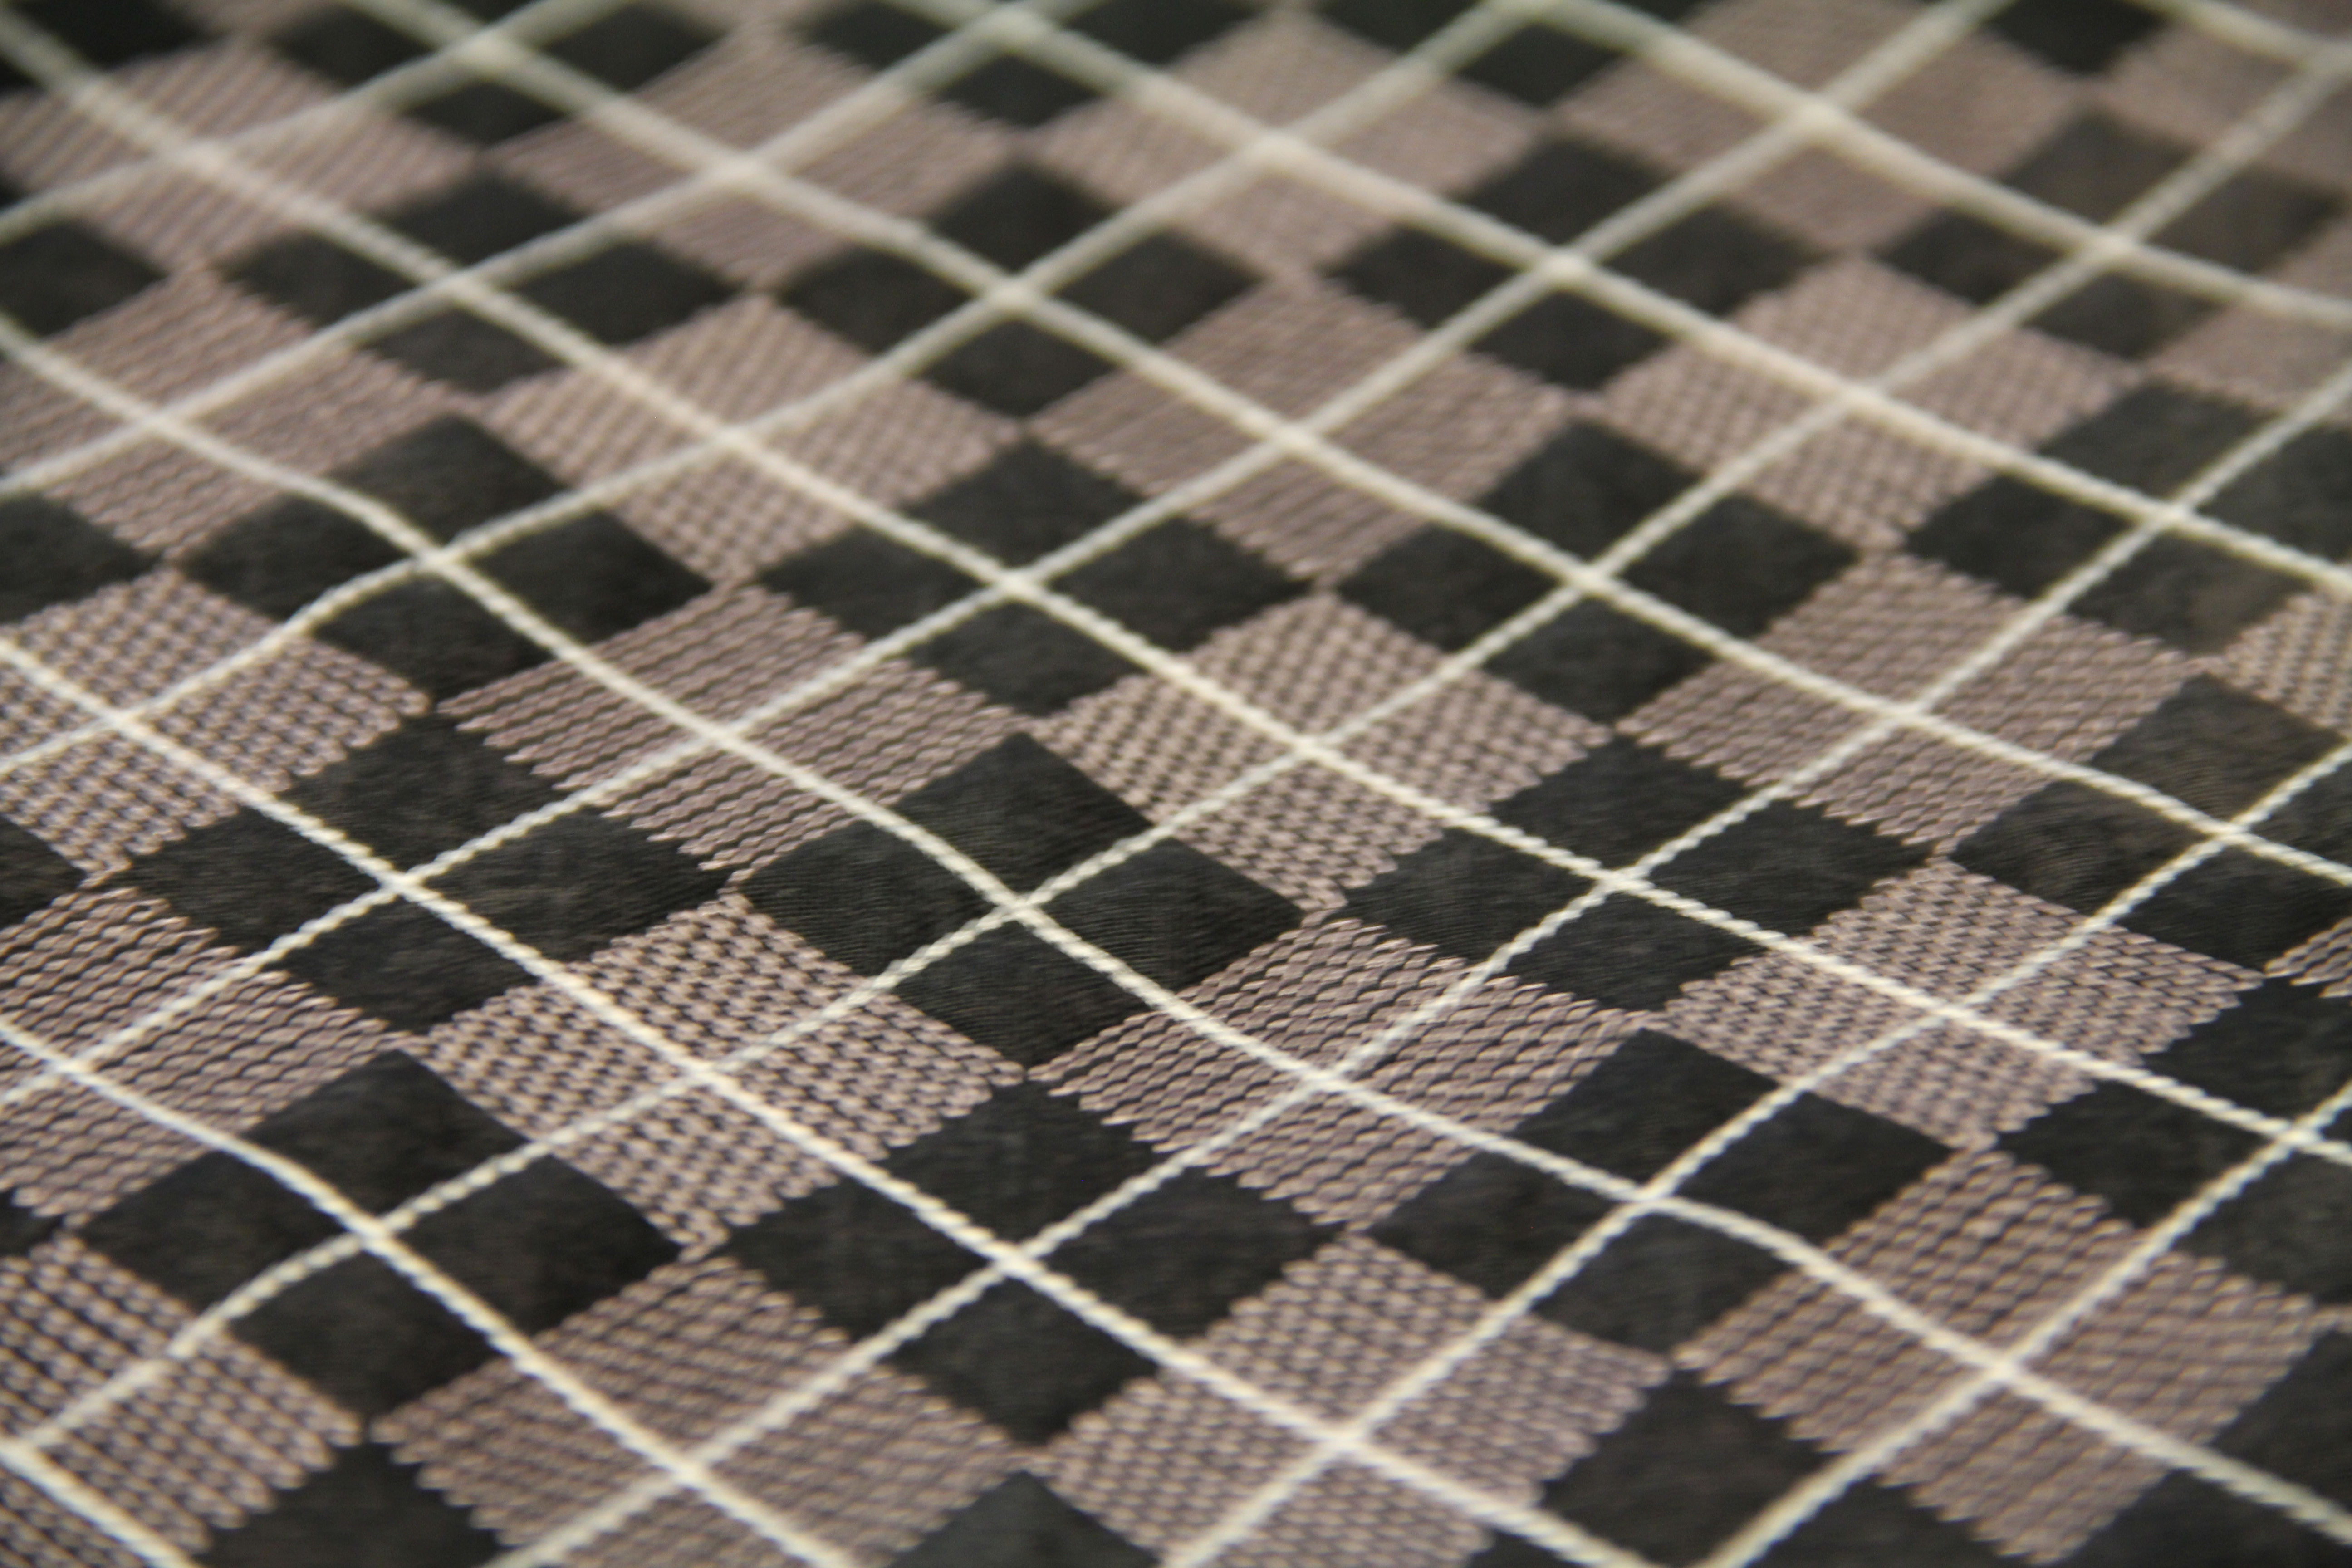
This is done completely in software, then stitched out as machine embroidery.  It can now be cut up and used as a handbag piece, or in a quilt, or basically used as any other fabric.  Would be fun to do a small series of these in different shades and then put them together as a quilt or table runner.  Although I’m sure this image looks black and white, the thread used in the squares is actually a mauve with white lines, on Moda’s black grunge fabric.

That being said, like many sewists, I spend a lot of time in the garden in the spring, head back into the sewing room when it rains or as the weather gets too warm and buggy to be hanging around outside.  I leave you with a few lovely pics from around the area this past couple of weeks.  The earth is stunning.
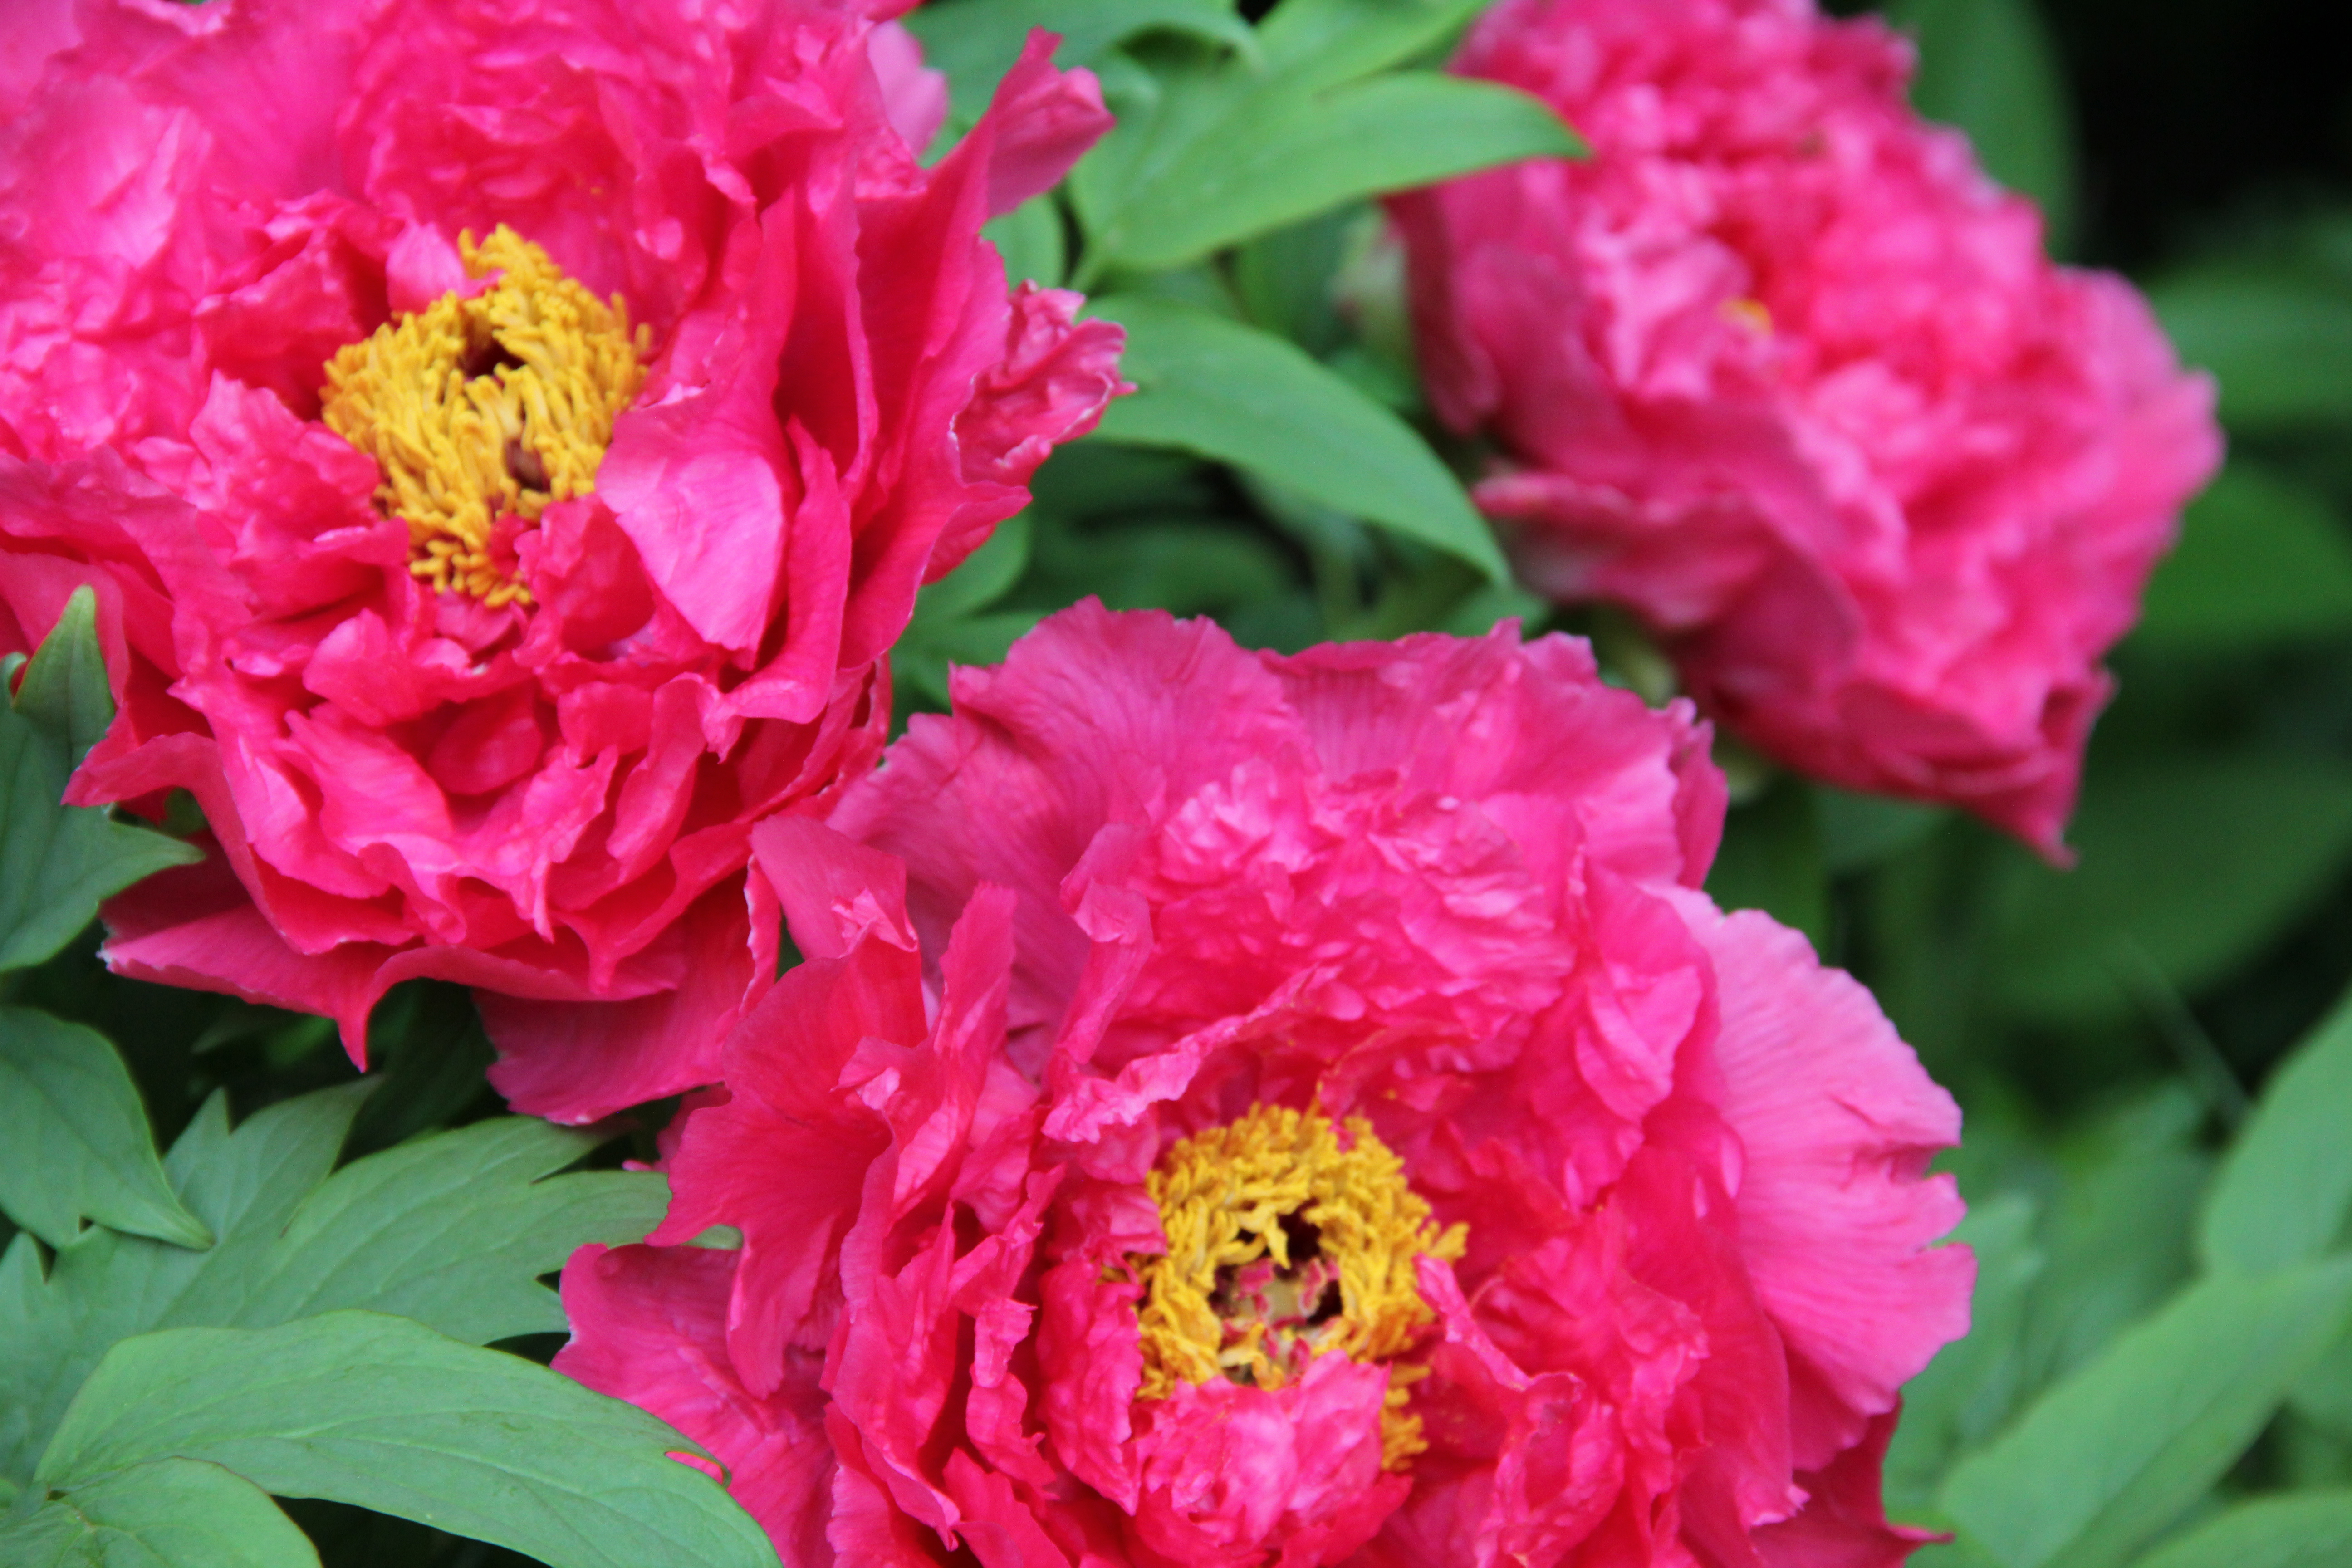
peonies2

Peony tree

Wild  phlox

Wild phlox

Crabapple tree

Crabapple tree

Quilt Market Mash-Up

quilt market springQuilt Market 2015 is in full swing in Minneapolis this year.  If you’re not familiar with Quilt Market, it’s the place where all the fabric designers and fabric makers and product developers present their new products to potential buyers (shop owners).

It is a twice-yearly event, spring and fall.  I am hoping to attend the one in the fall, but we’ll see as things get closer!

For this year, I am content to live vicariously through social media.

If you want to follow along with all the chatter and visuals and news, here are a few ideas for getting the scoop.

On twitter, instagram and facebook, follow the hashtags:

#quiltmarket  #fqsquiltmarket #showmethemoda #modagoestomarket

Fat Quarter Shop’s blog site will be live tweeting, updating, creating youtube videos and much more.

Art Gallery Fabrics is streaming live at certain times during the show.  Find out more here.

Want a visual overview?  Head over to #quiltmarket’s Instagram stream.

That’s enough social media to hold me for awhile — especially since I’ll be working into the weekend.  Have fun and enjoy all the new and exciting stuff out there!


Machine Quilting with Embroidery

I love doing my own quilting. But it’s not the easiest thing in the world, is it.

I’m actually OK at it, as long as the quilt is less than twin size.  Bigger than that, and well, let’s just say I am still in the process of hand-quilting a queen size quilt I started quilting over a year ago.  Still, I find it difficult to bring myself to hand over my quilt to someone else.  Maybe one day I will change my mind.  But for now, if I make a quilt, I want to be the one to quilt it.

So I have been experimenting with using my embroidery module to quilt.  The largest hoop I can fit on my machine only goes to 8 inches wide, so that limits the size block I can quilt.

Nevertheless, my first experiment is with a simple block and a couple of simple quilt designs.

machine quilting 2I know the hoop looks like it will go wider, but I am using a hoop that’s larger than my machine will go.  (For all you Bernina fans, I have a 780 machine and a jumbo hoop instead of the maxi hoop.)

Using King Tut variegated thread from Superior, I got a beautiful stitch that really added dimension to the quilt.

IMG_3625When doing this kind of quilting, the trick is to use a machine that has “perfect placement”.  This simply means that even after you have the block hooped, the machine gives you the option of moving the design in tiny increments to get your placement just right.

I still need to add the binding, and this was not a huge piece.  But I look forward to trying this with larger and larger quilts.

I also have another technique in mind that I will be trying soon, so I’m hoping to show you more options using your embroidery.  Lots and lots of quilting embroidery designs are available.  Let’s make the most of our embroidery and get those quilt tops quilted!

quilt in the hoop


Quilt Market Prep

It’s that time of year again. Quilt Market is coming up and the fabric designers and manufacturers are revving up their marketing engines. Come May 15-17, they will be at full throttle and social media will be abuzz with new product, new designs, new fabric and quilty fun.

But I’ve always loved a good preview.

And fabric manufacturers are getting good at it.

One of my favorites is Art Gallery Fabrics.  Young, hip, fresh, at least by my standards.  I love what new designers (read: young people) are doing in the industry.  Art Gallery has released a Look Book of their new Spring 2015 fabric. 

Take a look and let me know your favorites.  Mine so far is Sketchbook and Happy Home, but I have to admit, I love them all and would be hard-pressed to choose.

Moda, the pop queen of fabric manufacturers, is also starting to tease some of their new lines. On their blog, we get a glimpse of the new Bonnie and Camille,  as well as Minnick and Simpson, Zen Chic and Fig Tree Quilts.

Stay tuned, as I will try to distill some of the quilt market info as it becomes available.  In the meantime, quilt on, friends!

grandneice


New quilt in progress for my  grand niece,  pattern is free from Me and My Sister Designs.  Fabric is Airmail, by Eric and Julie Comstock.


Do You EQ?

If you haven’t heard of this yet, EQ (Electric Quilt) is software used for designing quilts.

And it’s very reasonably priced.

I had the opportunity, recently, to learn EQ7 and get to know EQ expert, writer and educator Barb Vlack.  Within minutes, she had us designing quilts.  Barb will be teaching Electric Quilt at International Quilt Festival in Houston.  If you are interested, I highly recommend her class.

As you can imagine, the program gives you rotary cutting instructions, fabric yardage and templates to complete your design. Their website Electric Quilt offers training, books, downloadable fabrics and tons of other support materials.  The blog, doyoueq.com offers a quilt club, challenges, and a stunning, stunning quilt gallery of customer’s designs, laid side by side with the quilts they then produced from the designs.

Did I say stunning?

electric quilt 1After only a few minutes of playing in the software, I designed this quilt.

electric quilt 3With another click it became this.

electric quilt 2Now it may take a little longer to actually sew it.

Or I can choose to just enjoy it and sew it later. Or never sew it.

But it’s still fun to discover the possibilities — my unique possibilities. You can create your own appliques, and with a plug-in, you can even create your own embroidery.  The ideas are endless.  The program comes pre-loaded with something like 4500 blocks and designs, so if you never create a block yourself, it will still keep you busy for the rest of your life.  And you can also display fabric instead of just colors. These images I’m showing? They would make great greeting cards — more ideas.

I could see myself getting lost for days in this software.

But what a terrific way to challenge ourselves, learn new techniques and explore design.

Do you EQ?

Maybe you should.


Polka Dot Finale

I am crossing the finish line.

Still sewing the binding, but the quilt label is done, the sleeve for hanging is complete and all I have left is the last bit of hand stitching to pull it all together.

The red background is twill, the tree is wool and the rest is cotton, with a wide variety of thread weights for applique.

For everyone who participated in the Polka Dot Fabric Exchange, I THANK YOU!  Your fabric is lovely, especially when it’s pieced together with everyone else’s!

I really enjoyed challenging myself with this project, as it was a meaningful way of bringing together quilters from around the world.

For fun, I thought you might like to see the creative journey, step by step in images.  Dedicated to quilters everywhere…we’re all on the same family tree!

sketchPolka dot Exchange

Notes from the Exchangeperlefinaltreedrawingtree1polkadot tree1polkadot tree1IMG_3294IMG_3293Scribbling a thought at the breakfast table.


The fabric begins to come in from all across the US and the world.


I am moved by the notes attached to every fabric square, so I saved them.


Testing for applique.


Getting an idea of how the tree will look.


Transferring the drawing of the tree.


Cut out and fused down.


Leaves have been cut out and placed for position.


All appliqued, embroidered, quilted, just about done.

Hugs to my polka dot friends!

When Your Quilt Needs a Time-Out

If you have followed this blog for any length of time, you know I participated in a polka dot fabric exchange last year.  I received 60 – 10 x 10 in. squares of polka dot fabric from all around the world.

I resolved to include them all in a quilt somehow, and managed to cobble together a tree with the fabric as leaves.

But then I had to put the quilt in a “time-out”, as a friend of mine likes to say.  Quilts need it, you know.  They become unruly, arrogant, resistant.  Or sometimes they just become passive or apathetic.  Either way, when a quilt reaches that stage of behavior, it’s time to put it in time-out.  It makes absolutely no sense to argue or to fight your way through.  The quilt needs time to find its way.

So I put it in the guest bedroom where it could have some time alone to ponder its future.

I checked on it  occasionally, offering ideas and solutions, a way out.  But the quilt obstinately refused.  “OK for you,” I would think.  And walk away again, to work on another, more cooperative project.

For months it sat, sulking, pouting, depressed even.

Then one day, shortly before Christmas, when I walked in to check on it, the quilt looked eager. Just a hint of it, you understand, but there it was:  a small little whisper of earnestness.  It had formed an idea about its future.

So I listened.

And I let the ideas float around for awhile with no pressure or desire for any of them to be successful.  Tentatively, we tried something.  And then another thing, after that.

And now, the polka dot quilt and I are moving forward together, both listening, both asserting, both with renewed vigor.

I’ll let you know how it all works out.

Truth and LoveGandhi

The Perfect 1/4 inch Seam

If you are a quilter, you know the quest.  You have tools and feet that help you to measure the exactness of your 1/4 in seam.  You already know that a fraction of a sliver off here, means a big mess over there.  And you have a seam ripper for just such occasions.

Last summer at Bernina University, Bernina introduced a new foot called the  97 or 97D.  For the uninitiated, “D” stands for dual feed to be used on those machines which include dual feed.

It is a 1/4 in piecing foot engineered specifically to improve the piecing accuracy of 9 mm machines.

Sewing machines have differing lengths between the feed dogs.  Most standard machines are 5.5 mm.  Any 1/4 in. foot on that machine covers both feed dogs nicely and your small quilt pieces don’t slip.

But other machines have 7mm or 9mm opening for their stitches.  Bernina makes many machines that are 9mm.  While it’s not a huge problem for most people, it can be troublesome when working with tiny pieces.  They can get pulled down into the machine causing a real mess.  Also, a standard 1/4 in foot does not rest completely on the 9mm feed dogs, giving us less control than we would like.

Hence, the introduction of this new foot.

IMG_3202You can see the previous 1/4 in. piecing foot, 37D, is much narrower than the new foot.  The 97D allows the foot to sit directly on both feed dogs of a 9mm machine, which can only mean more accurate piecing.

When this foot was announced at BU, the crowd exploded in cheers.

When we announced it at home, we received dozens of orders from people:  How far down am I on the wait list?  They asked.  You are number 25. And counting.

And we are a tiny quilt shop.

Demand for this foot across the country was huge.

But call me skeptical.  I waited until the dust settled. Then I took it home and tried it.

IMG_3206This foot comes with a guide that sits in the notch on the foot, and screws into the machine.  I thought this guide would bother me, but friends, if your pieces are cut accurately, the guide really helps.

It’s hard to argue with perfection.

IMG_3208My 1/4 in. seam could not have been more beautiful and consistent. Over and over and over again.

I’ll have to hold my skepticism for another day.

For now, I just need to sit down and sew.

10419409_10154881064625261_8862725816109200300_n


I’m Biased.

When it comes to binding quilts, I have a new standard.  I do my best not to use a straight cut binding any more.

Here’s why.  About 14 years ago, I made a silly little Christmas quilt –stack and whack — and hand quilted the whole thing.  For years this little quilt has been in our family room — thrown over the back of a sofa, strewn on the floor, used as a way to keep someone’s feet warm, folded and propped up as a pillow, and just generally loved to pieces.  Literally.

It has been washed countless times.

And it is beginning to fall apart. How sad.

IMG_2985You can see the fraying.  In some places, it’s worn clean through to the inside of the binding.

IMG_2991Yeah, I’d say that’s pretty frayed, even though the rest of the quilt is holding just fine.  I used quilt shop quality fabric, so the fabric was not an issue.

But even quilt shop fabric cannot withstand the repeated agitation of the washing machine and pummeling of a hot dryer.

Think about this: when a binding is straight cut, the very edge that you see fraying on my quilt is really only about 2-3 strands of thread.  All the abuse that quilts take is right on those edges, on those very few threads. Straight cutting your binding may be great for a wall-hanging or something that will have little handling and use.

But when you want your quilt to last and to withstand a little love (and cleaning), take the time to bias cut your binding.  With a bias cut, binding is no longer dependent on just a few threads, but on the hundreds of threads criss-crossing those edges. SO much stronger.

A few tips:

–Take advantage of the special tools out there that will help you to conserve fabric while cutting your binding.  The following picture includes the “Bias Binding Simplified” ruler from Creative Grids.  

–Watch the video on the Creative Grids page, as she also makes my point about using bias binding.  She gets to that explanation in the first 3 minutes.

–Try the “Quilter’s Strip Ticket” for Bias Tube Construction.  That’s the red card shown below.  You can get both of these tools at your local quilt shop. If not, for heaven’s sake, ASK them to order it. Using this method, you’ll waste very little fabric.

IMG_3123

I love a striped binding, and the most recent quilt I finished was certainly completed with a bias binding. I am permanently convinced. Of course I am.

I had to live it myself to learn the hard way. As usual.

IMG_3126


Mini Quilt Mania

I was never big on the whole mini quilt trend.  Until I made one.

Here’s a quilt with a number of different techniques:  squares on point, paper piecing, rounded corners, ricrac insertion.

Yet I could work on it on a tabletop.  I didn’t have to clear my living room to lay it out.  It didn’t take me years (I’m still working on a couple of quilts, hoping I live long enough to complete them). I didn’t hurt my shoulders, my back or develop carpel tunnel.

I worked on it sporadically over a few days and now it’s DONE.

That’s the beauty of mini quilts.  They completely fill my need for instant gratification. This one will be on display at the store, then come home with me to be a placemat or table runner.  It’s cheerful enough for that post-holiday table, or would look great in the summer with a glass of lemonade on it.

mini quilt 1It still needs an adorable bright yellow binding, but the dimension is, I don’t know, 18 x 24?

I don’t have to clean out a closet to find storage for it.

The book it came from is titled, “Little Quilts” by Sarah Fielke and Amy Lobsiger.

I used mini charm packs from a darling new retro fabric line called “Pedal Pushers” by Lauren and Jessi Jung for Moda.

mini quilt detailAll the fun was actually in the details.  Paper-pieced fans over Wooly Lady wool, with ricrac sunshine rays peaking out over a quilted background.

It’s CUTE.

So while I may have been slow to get onboard…(what does anyone DO with a mini quilt? aren’t they doll quilts?  why bother?)…I’m onboard now.  Here’s what you do with mini-quilts:

— Admire them.

–Give them to your kids or grandkids.

–Learn new techniques.

–Use teensy bits of fabric.

— Put them around your house, on tables, counters, hang them on the wall.

–Finish them and move on to the next fun project and fabric line.  Seriously. They take up almost no space at all if you want to throw them in a closet or on a shelf.

Don’t worry, I’ll never completely give up my snuggly quilts or even the artsy ones. But mini quilts are like having a forkful of chocolate cake — enough to get a delicious taste but not enough to do any real damage.