Machine Embroidery Applique

I know you’re out there….all of you who have heard about applique using your embroidery machine, but have not seen a design created this way or have not had the courage to try it on your own.

No problem.

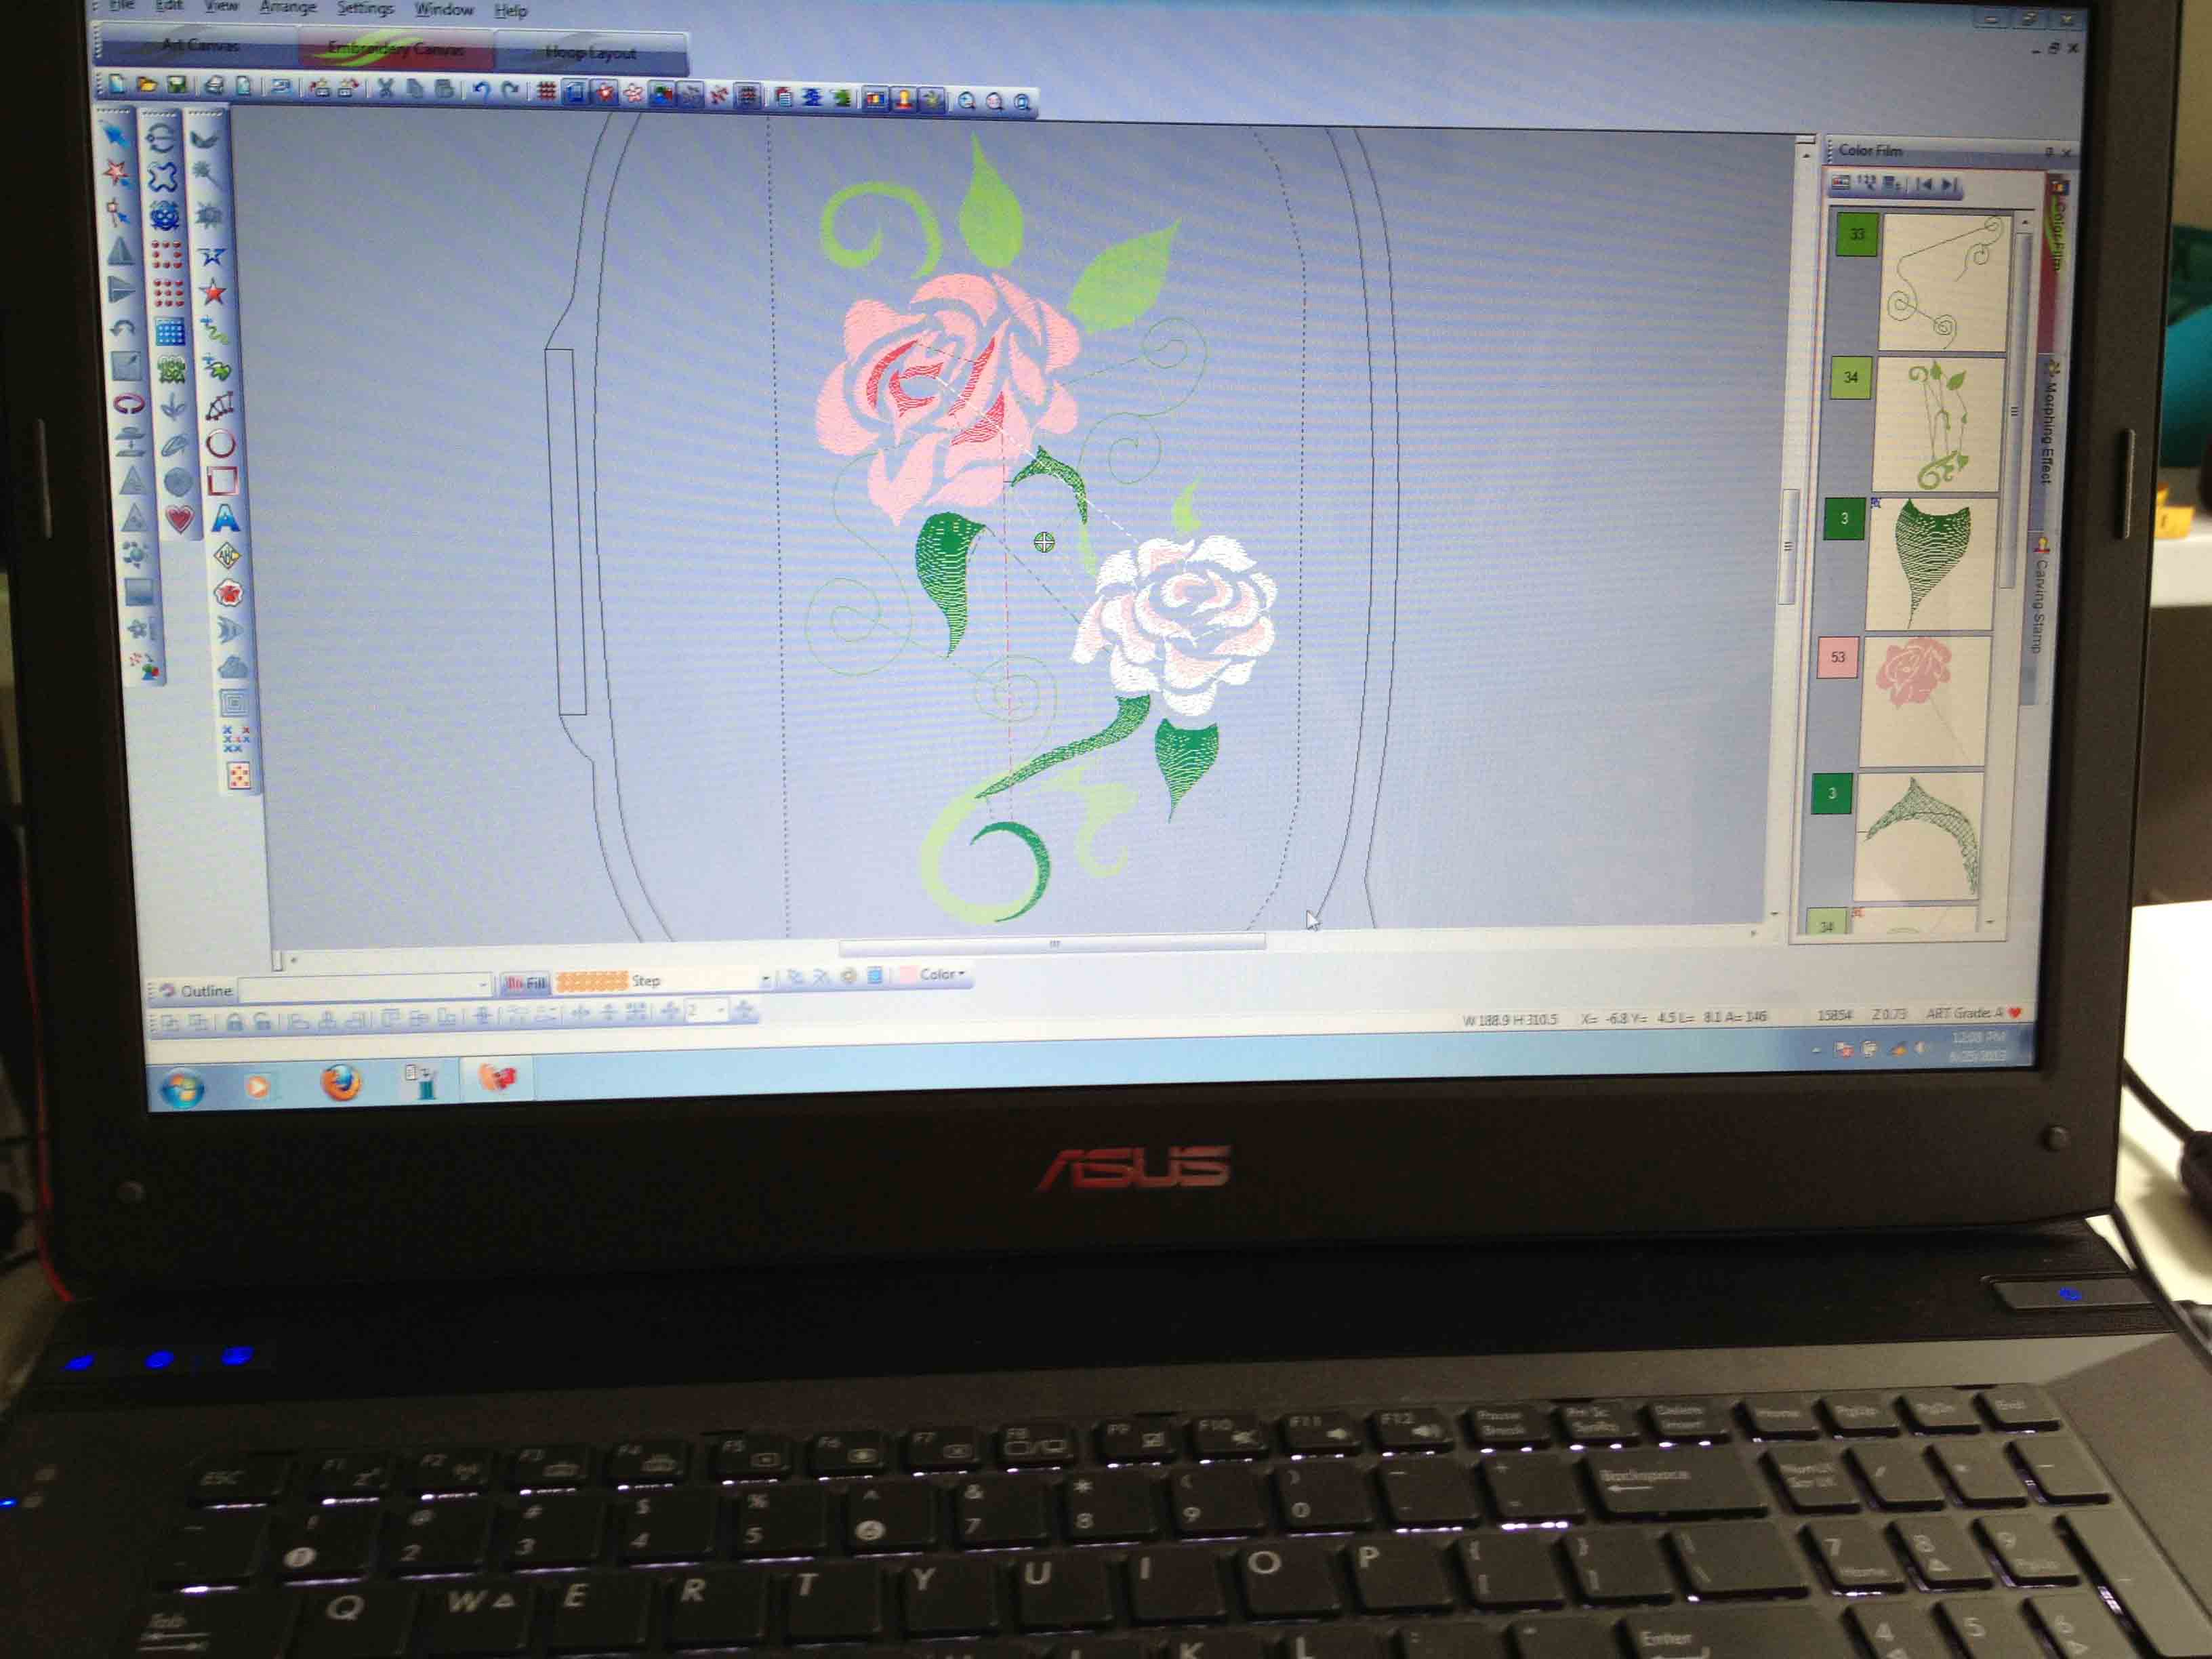
Last night I stitched out this design from one of the new Bernina collections called “Caravan”.  Now when I say “Bernina collections”, it just means that Bernina distributes the designs.  You don’t have to own a Bernina. The designs work on any embroidery machine, and come in all machine formats.

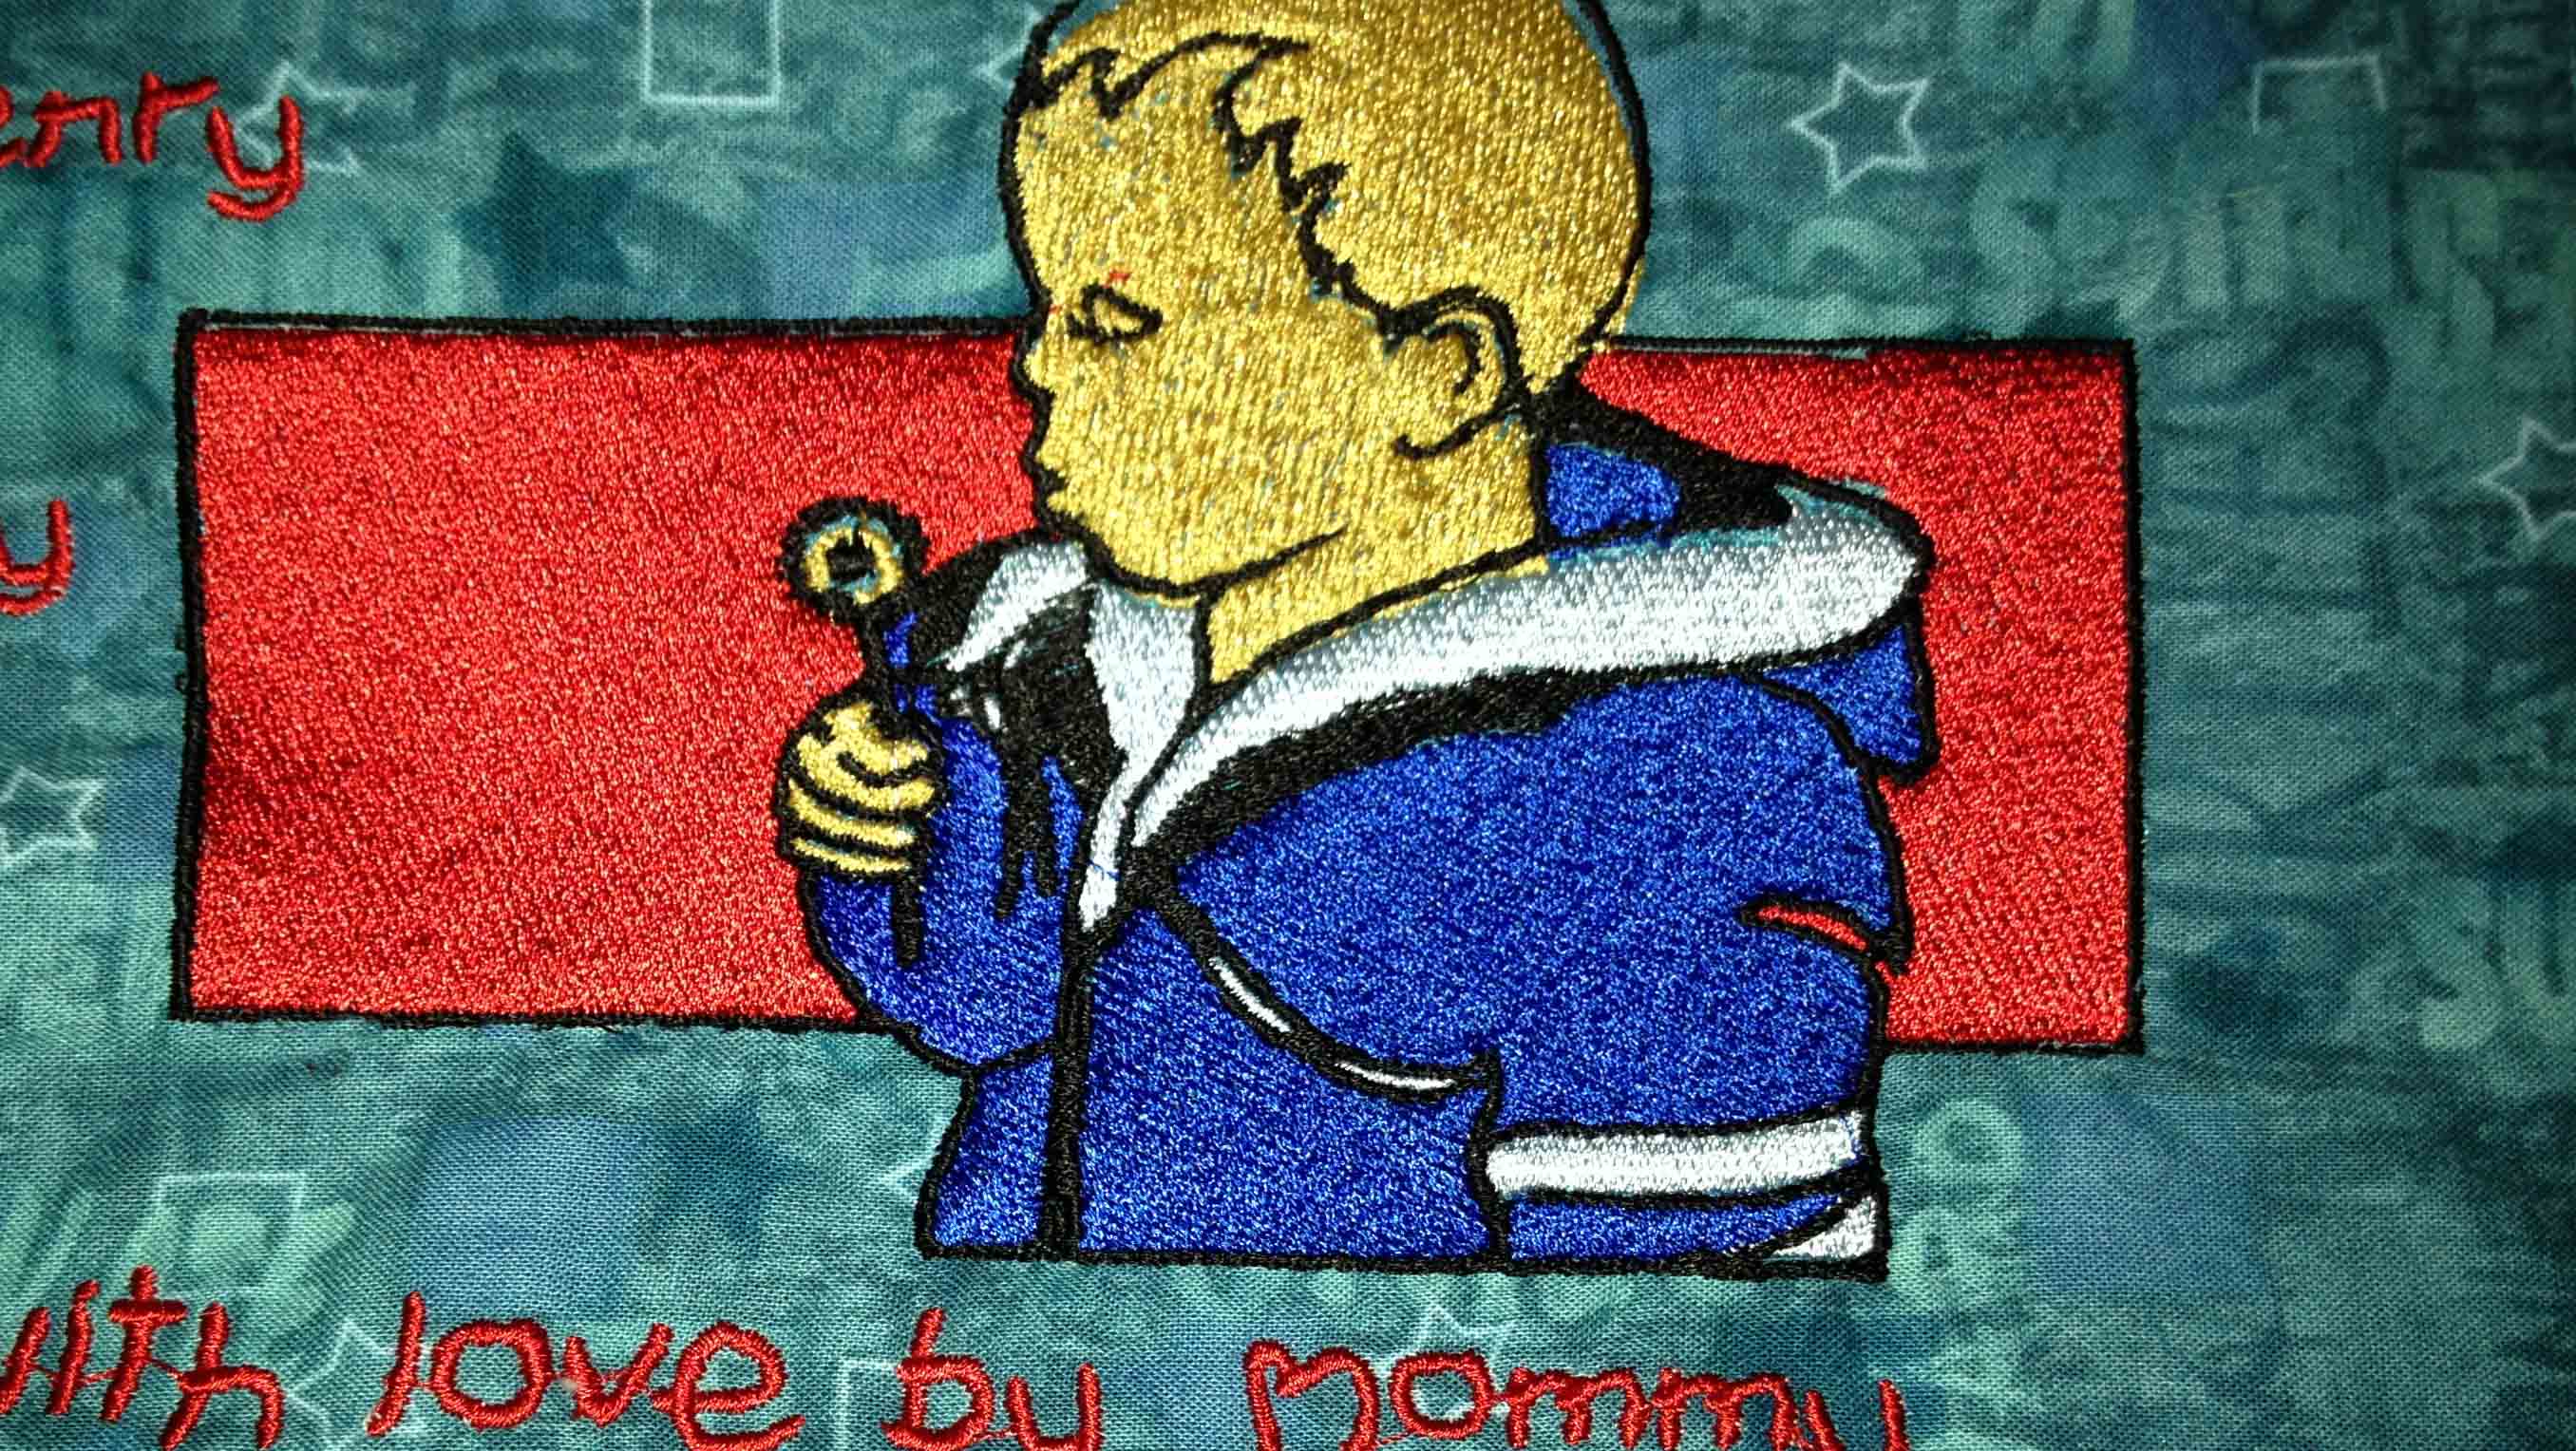
First start stitching out the design.  I chose a denim jacket to support all the craft stitches included in this design and I used 2 layers of poymesh cutaway stabilizer.

caravan1
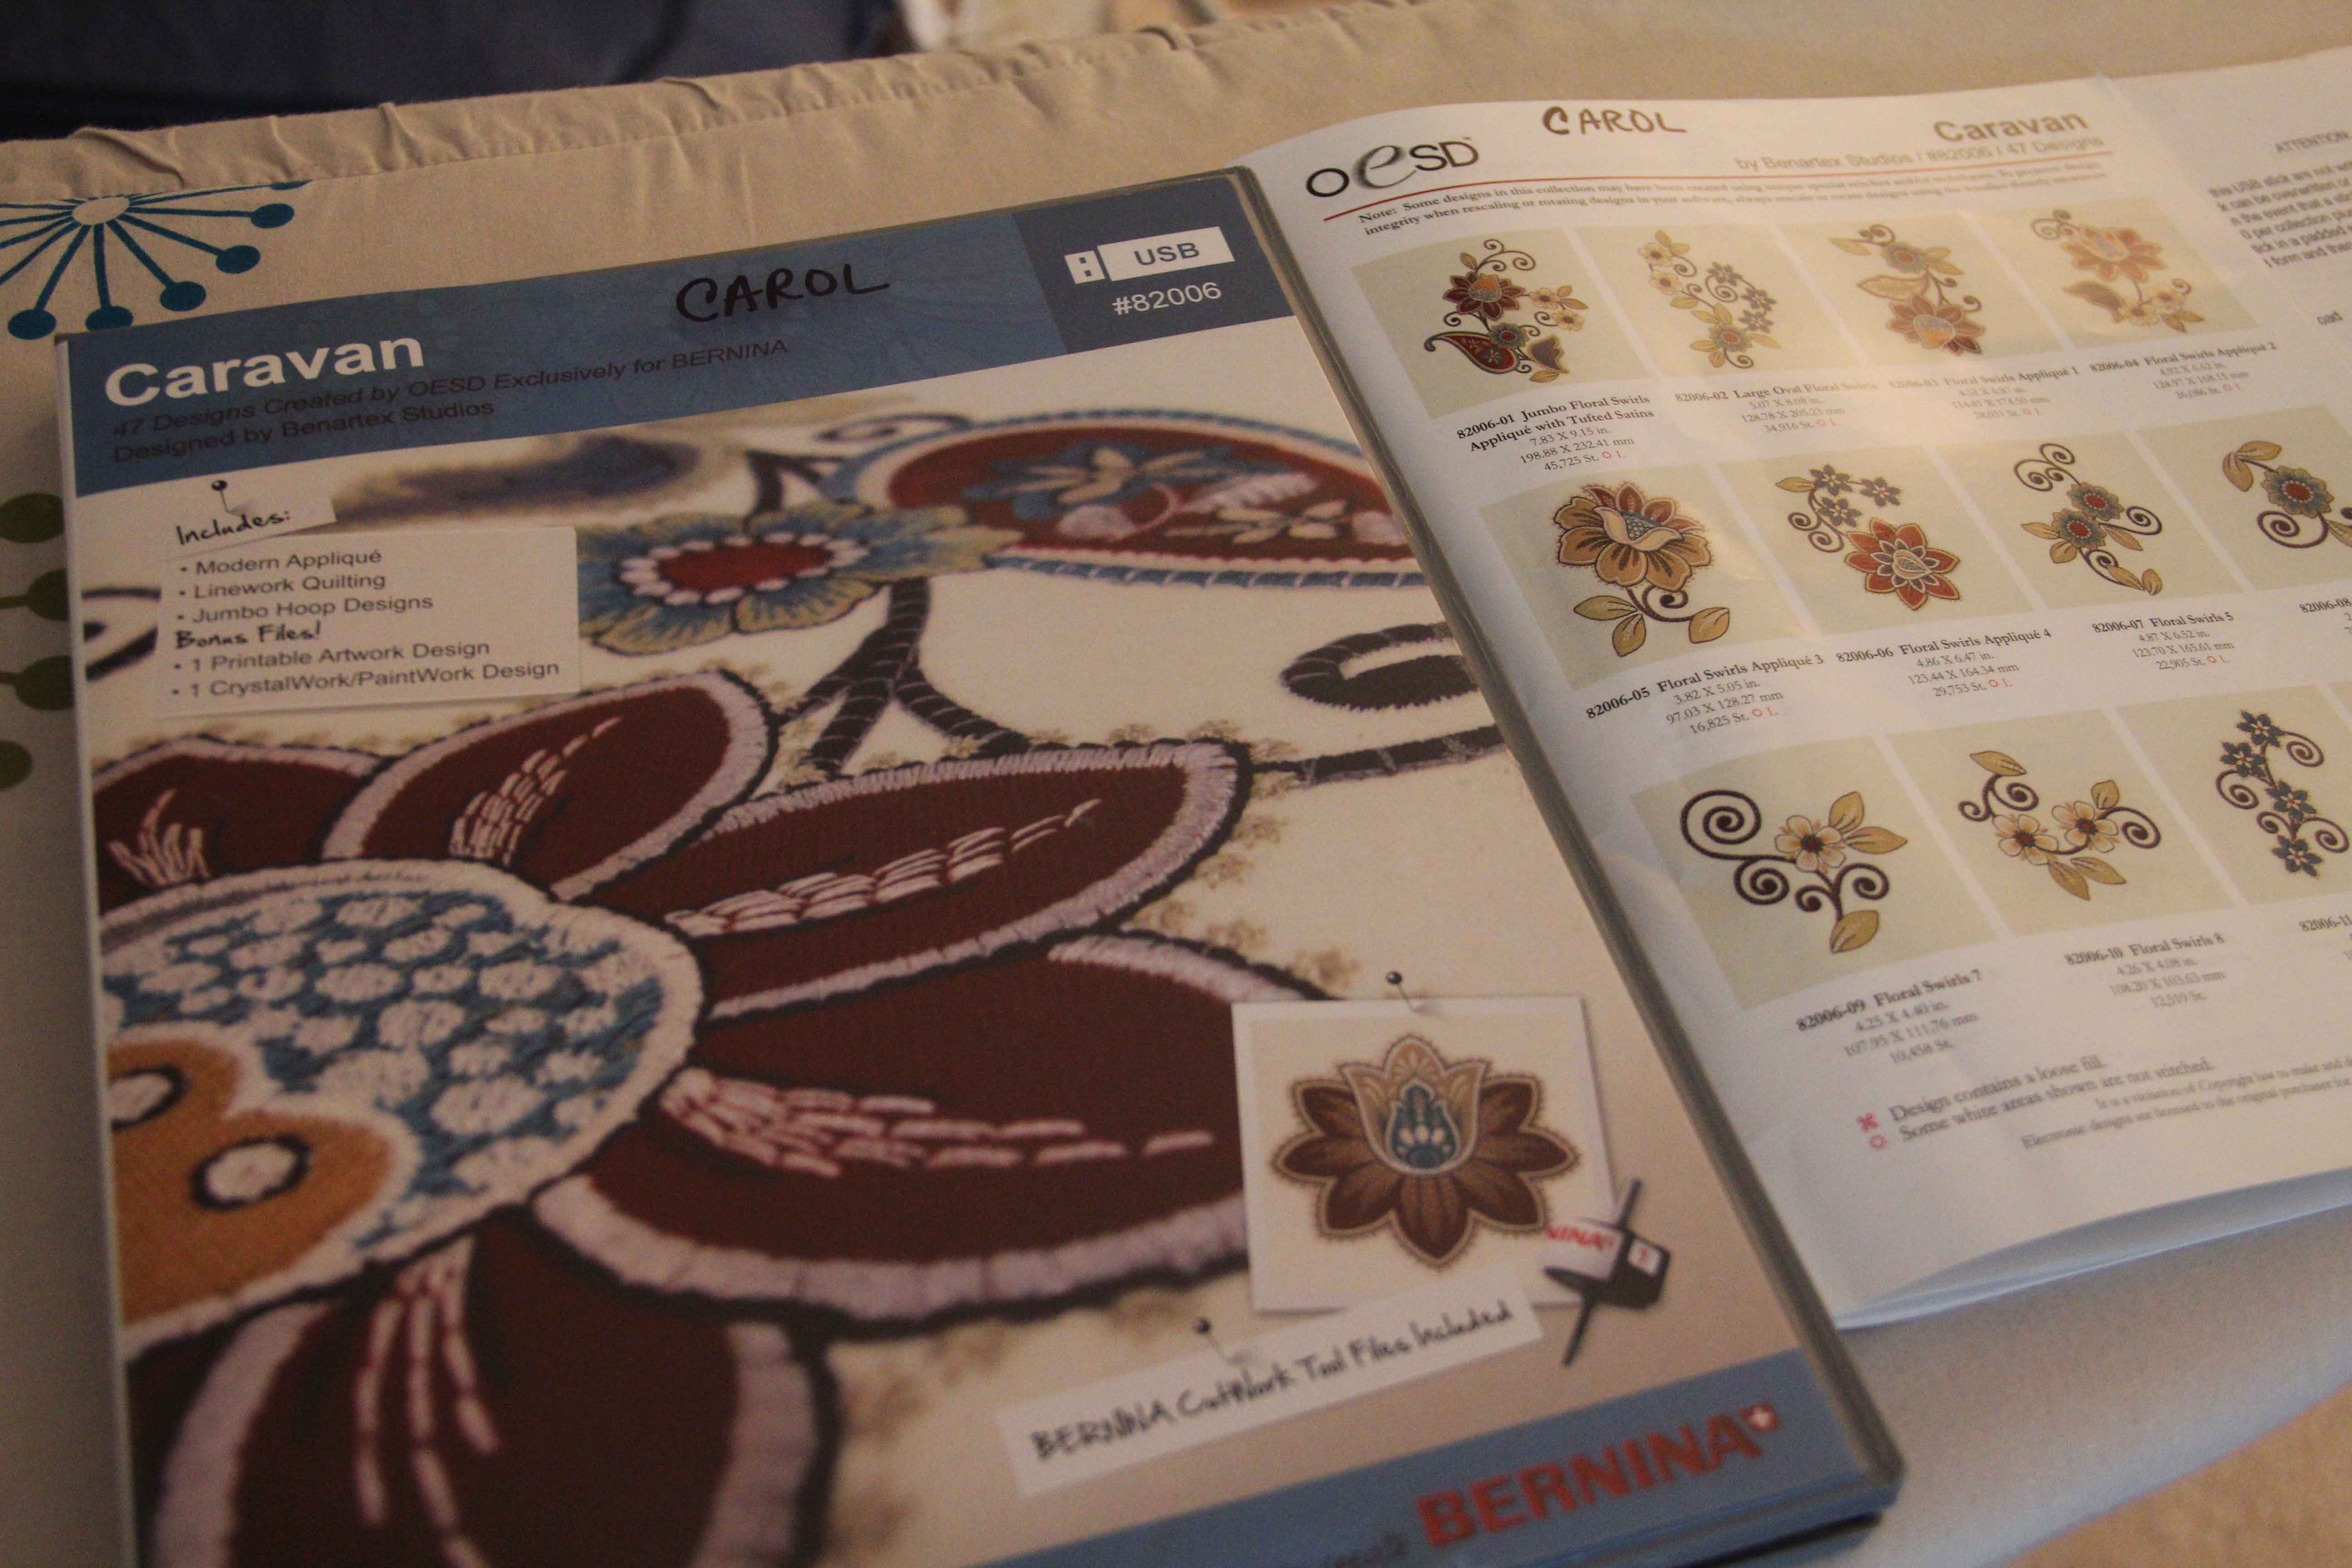
This embroidery machine applique collection contains designs for applique, cutwork, crystalwork, paintwork and a printable. The kit comes with a catalog of designs, as well as suggested thread colors, pattern pieces and even a way to get your designs back if you accidentally write over the usb stick!


Bernina embroider software 7
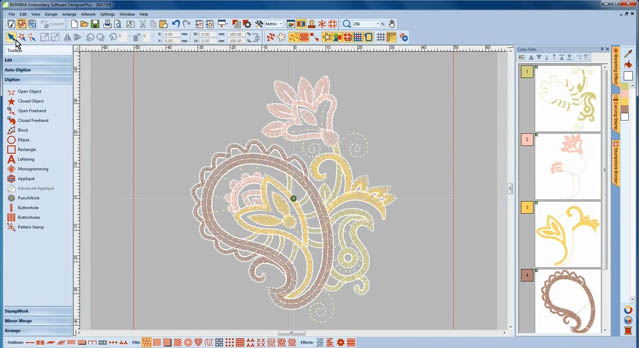
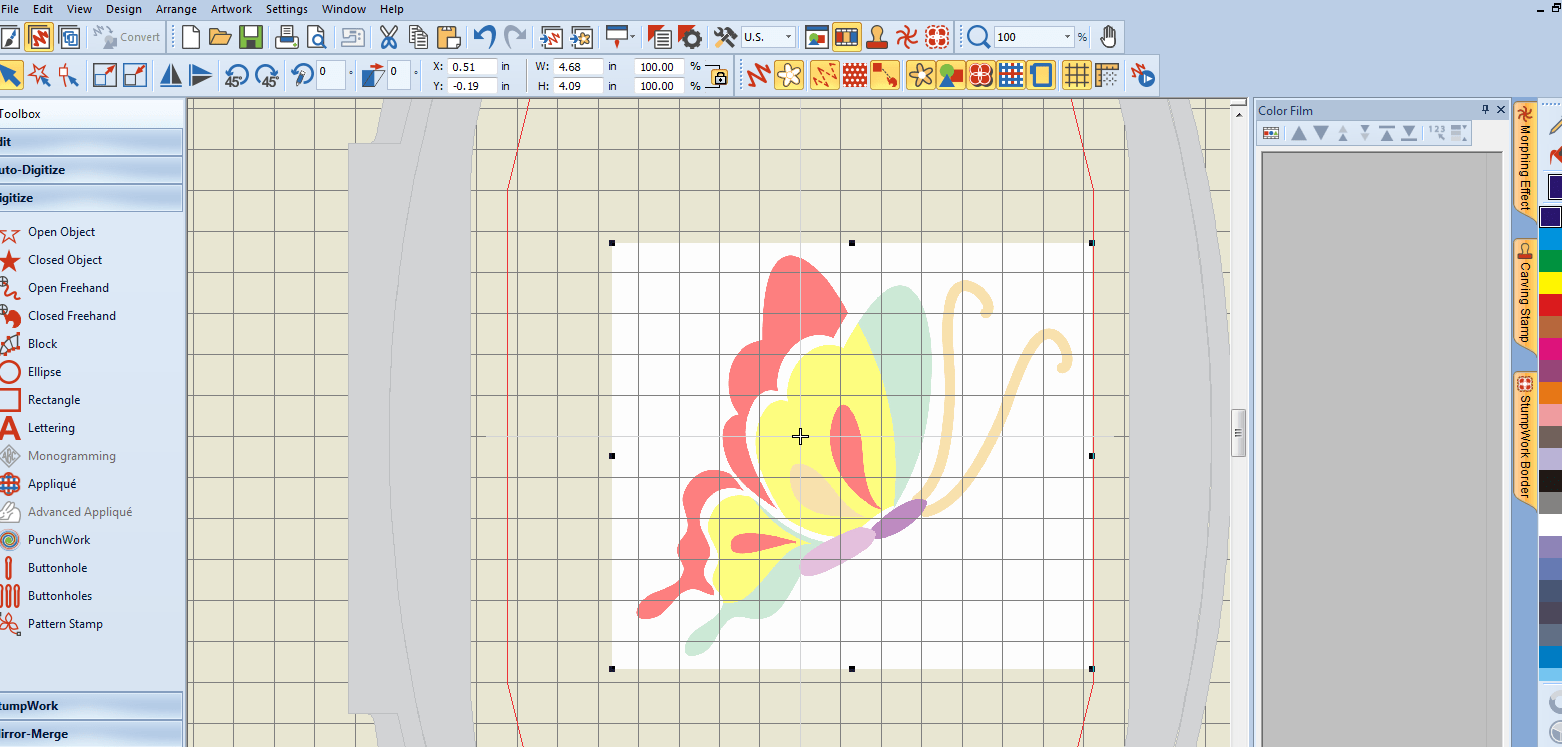
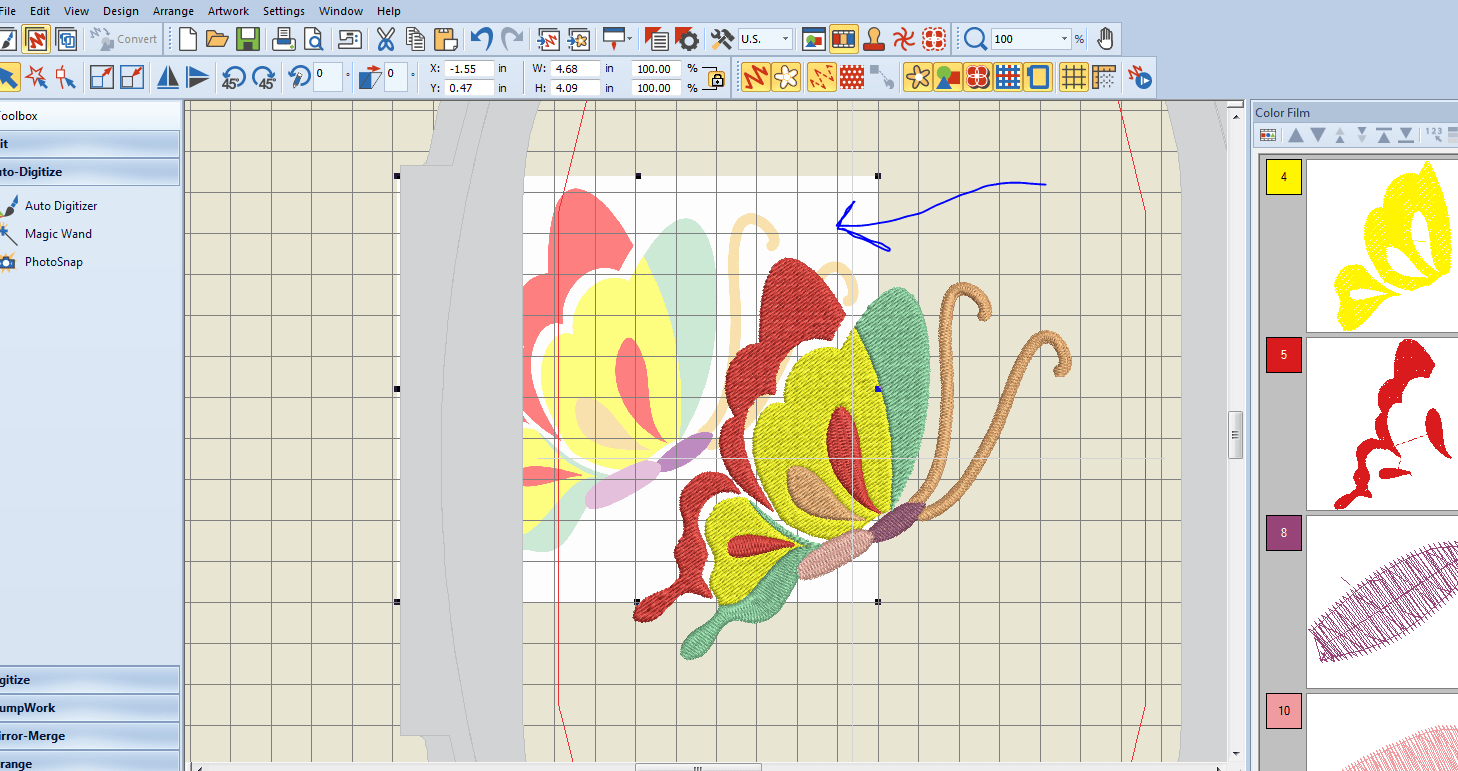
Keep Bernina Embroidery Software 7 open nearby, or you can use any software or none at all. It just helps to keep track of the thread colors as you go.


placement line
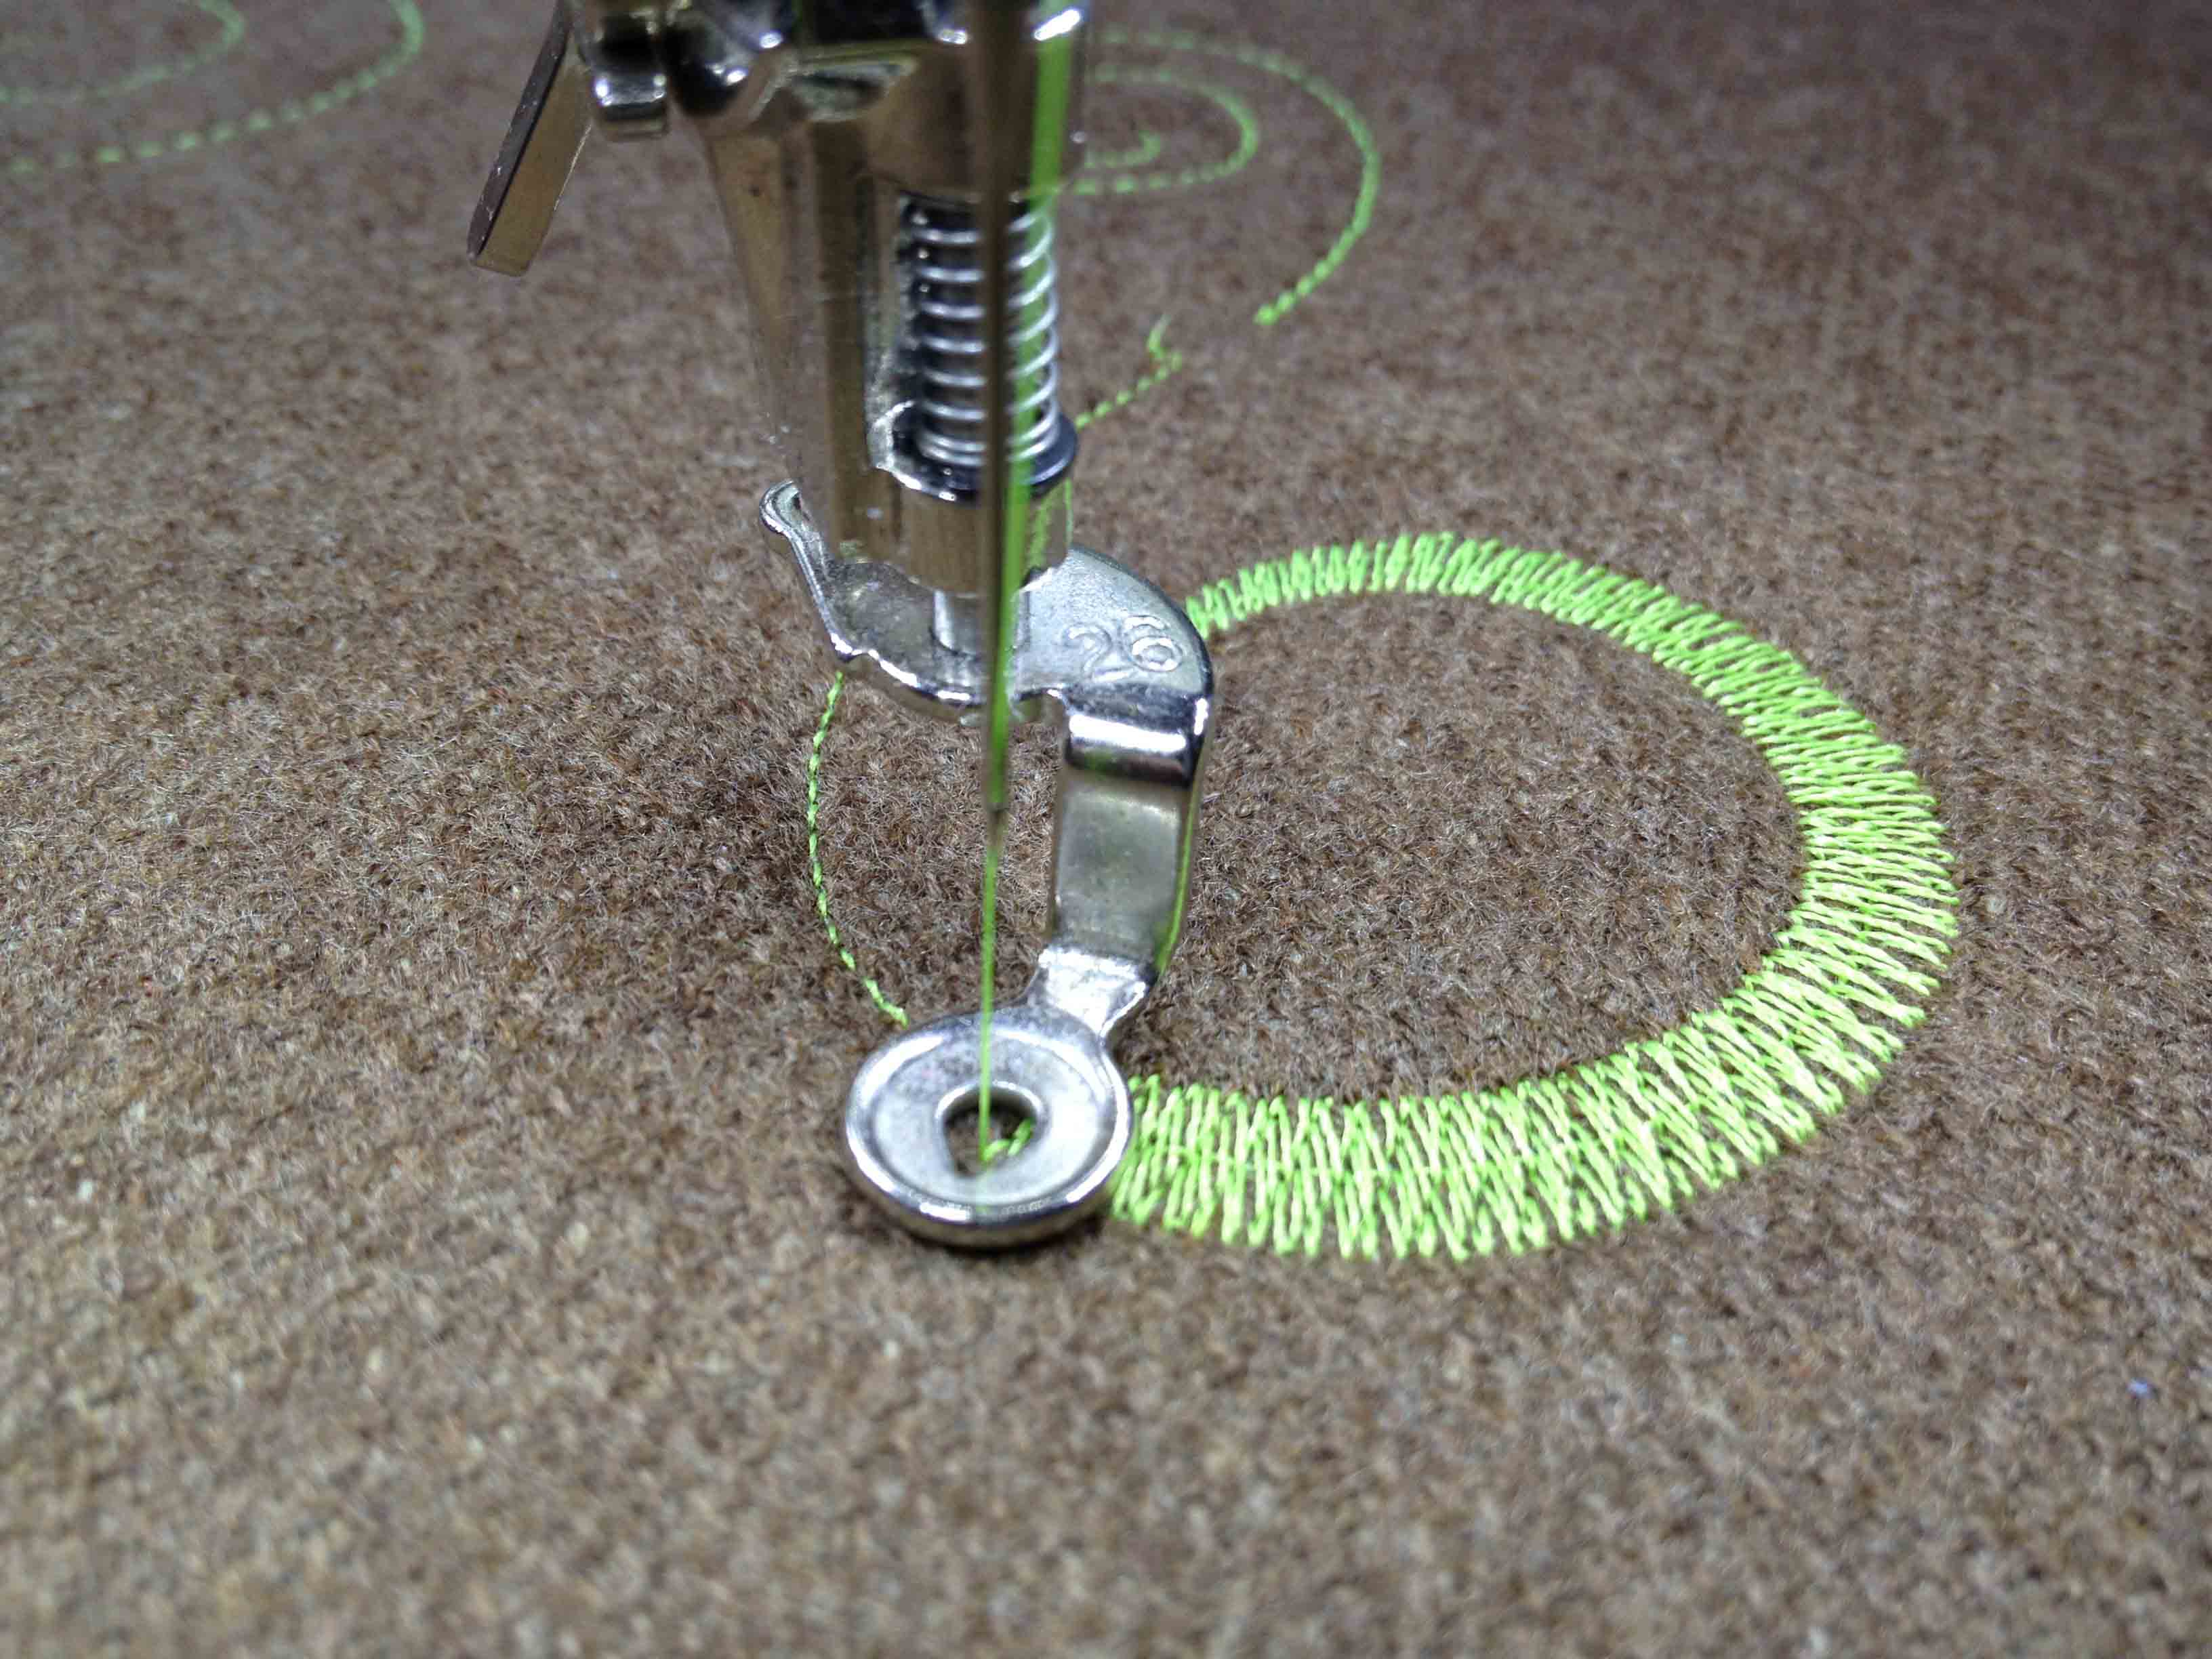
Because the design was originally digitized as an applique, one thread color will be used as a placement line. This is usually just a simple running stitch.


applique fabricAdd the fabric, then let the next thread color run.  It will trace the outline of the applique. Use applique scissors to cut away the fabric around the top running stitch.


applique scissors
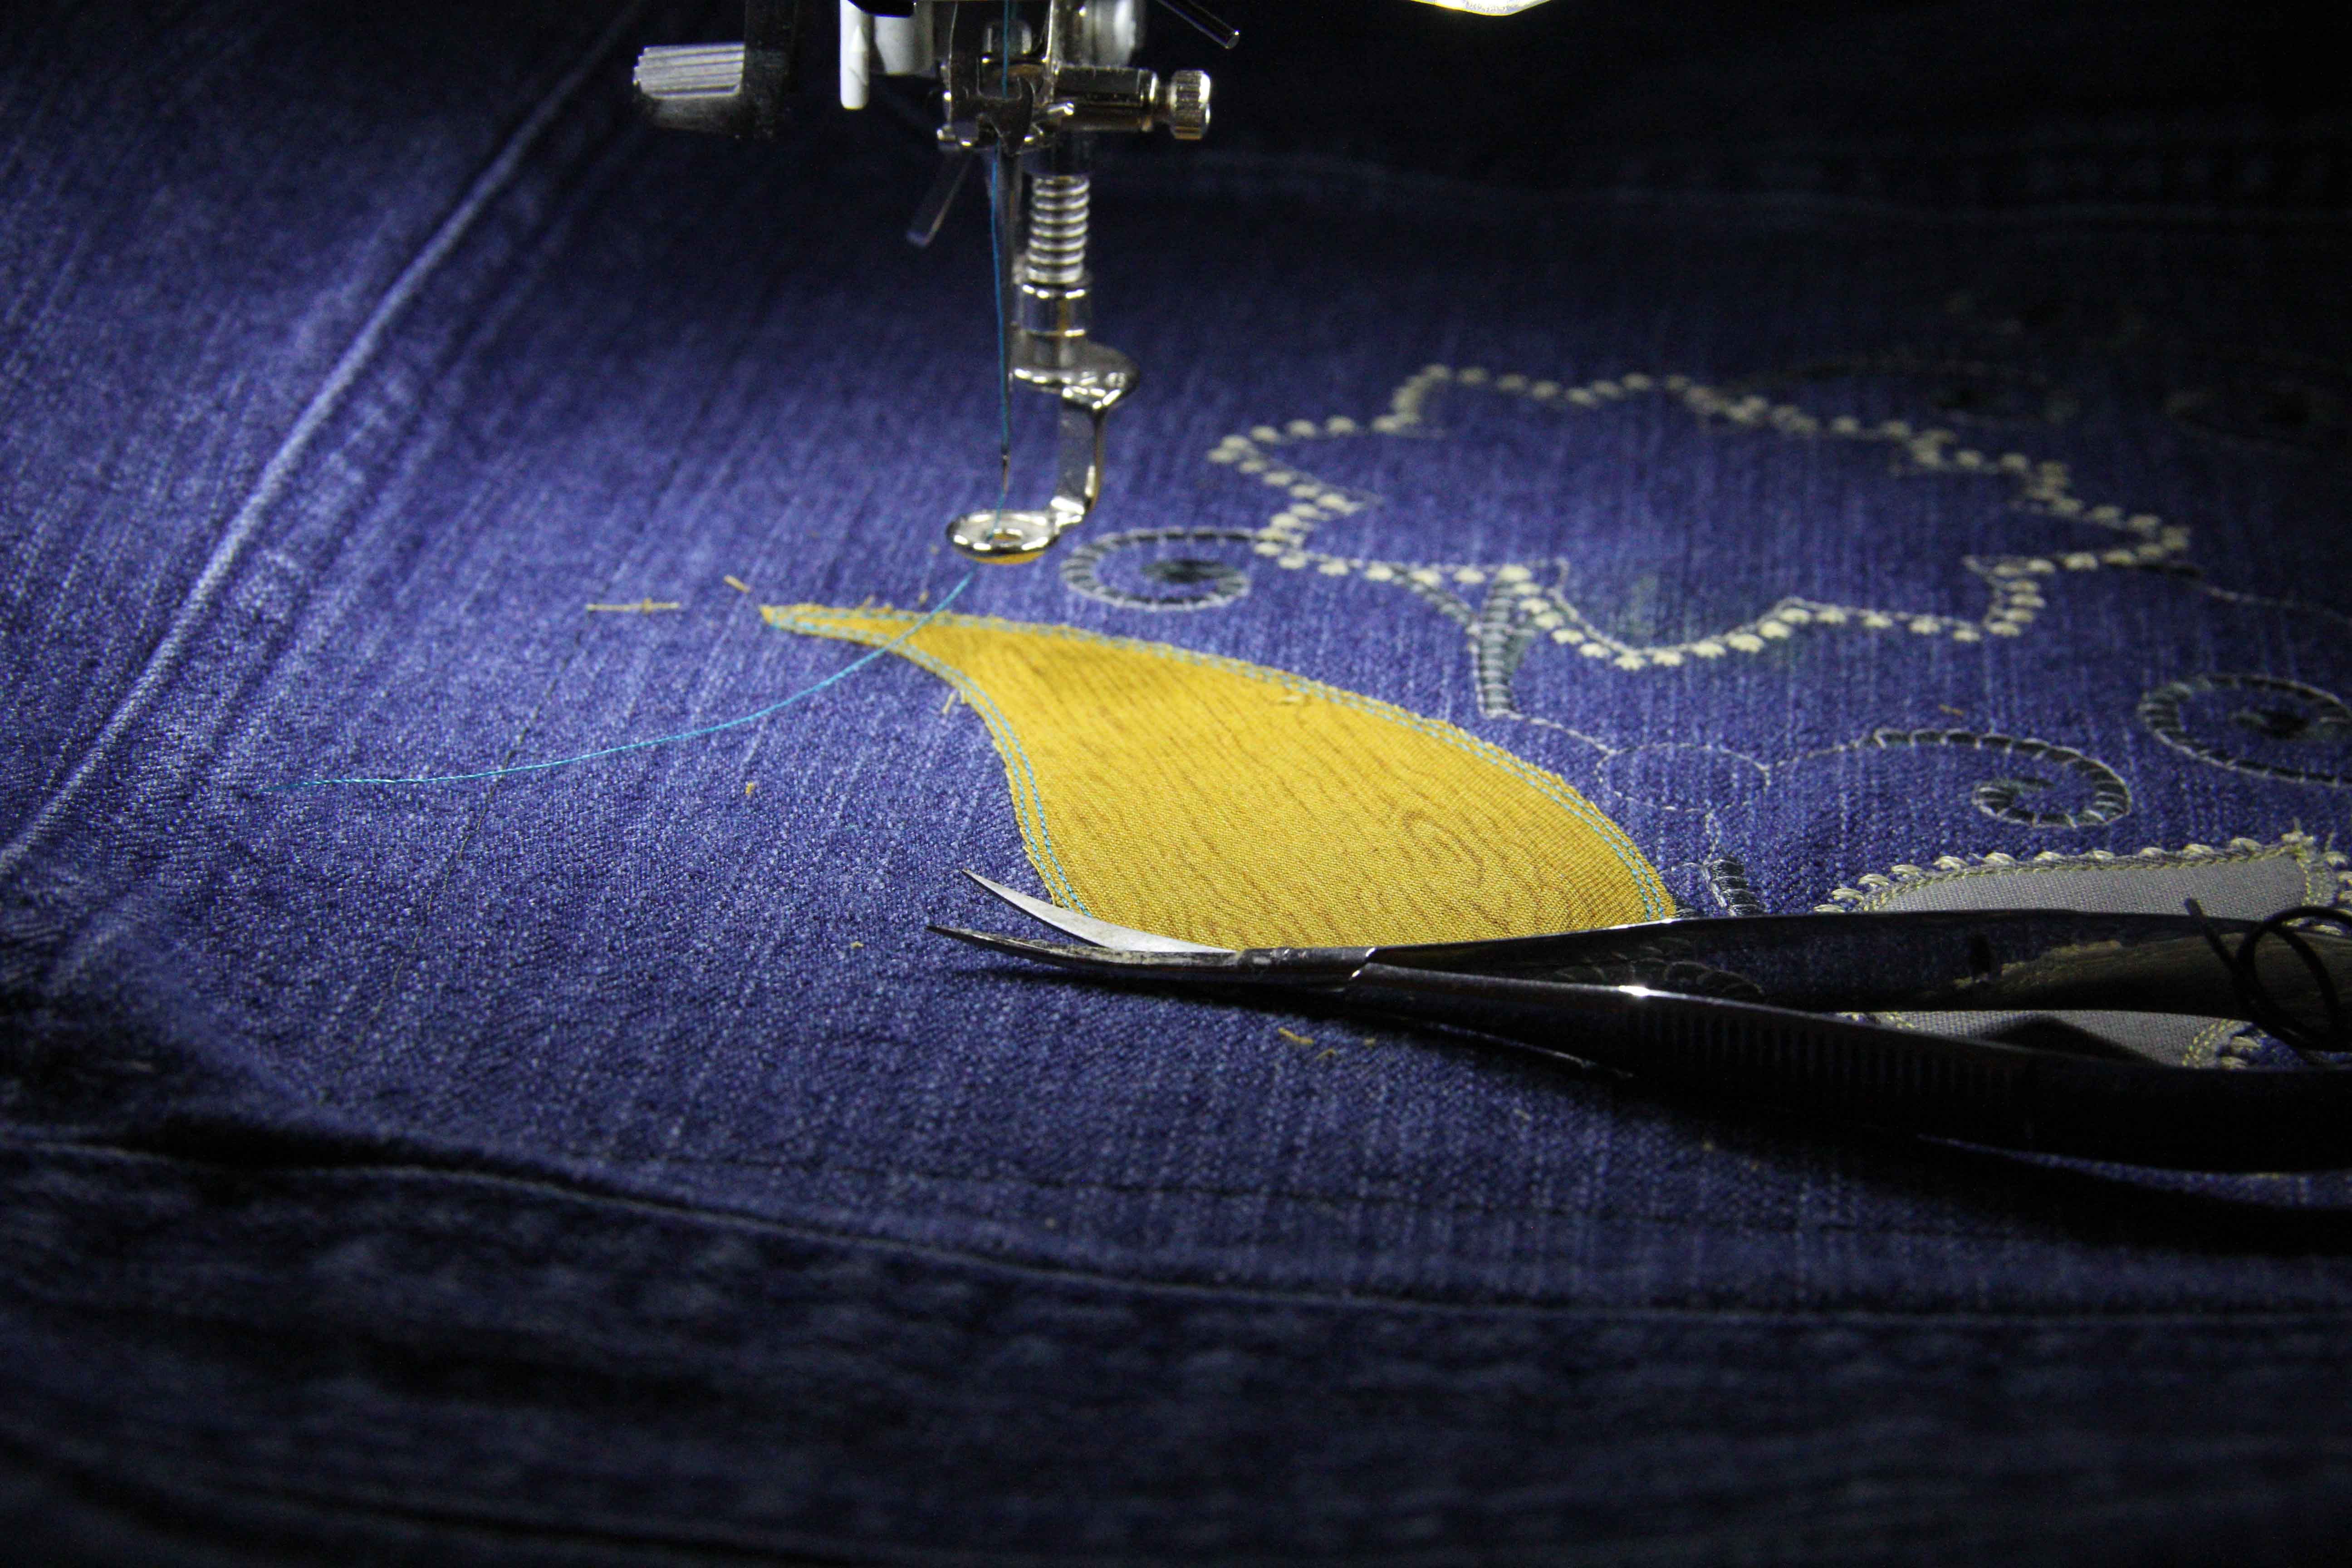
I prefer to use these small rounded snips because they allow me to get into tight corners.  Because they point up, they’ll also prevent you from poking holes in the fabric underneath. You can find different types of applique scissors on the market.


caravan in progress
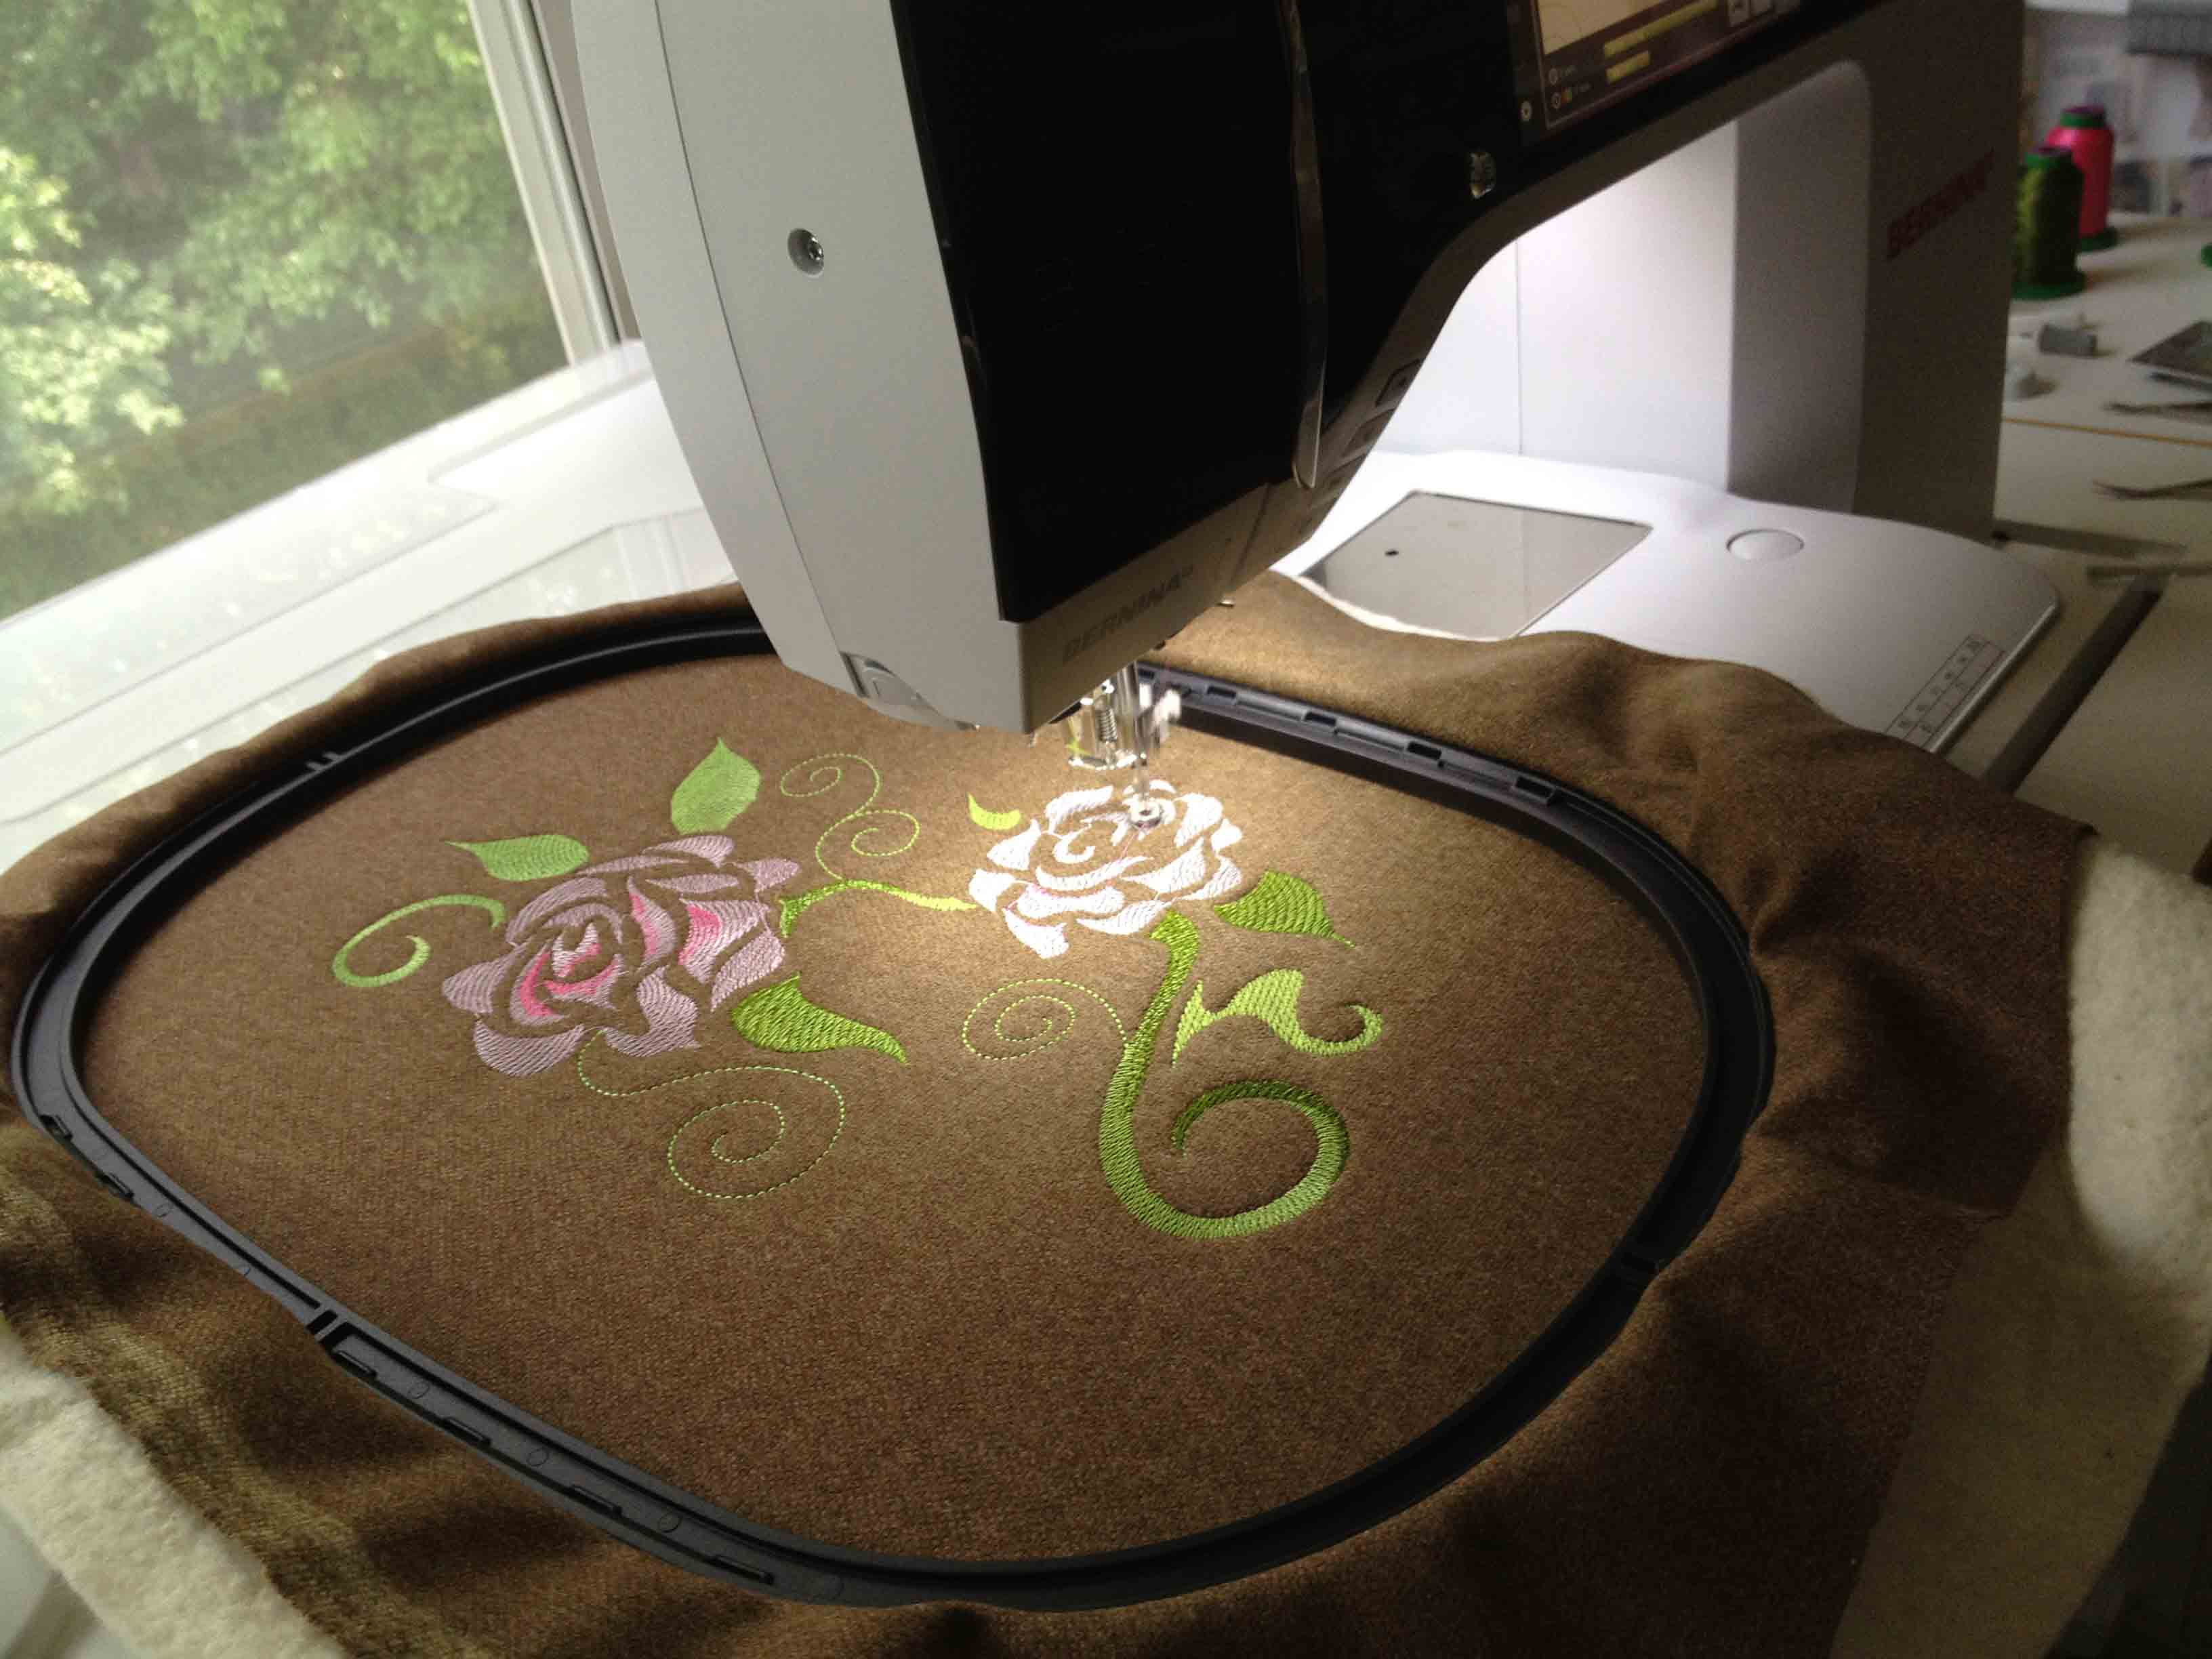
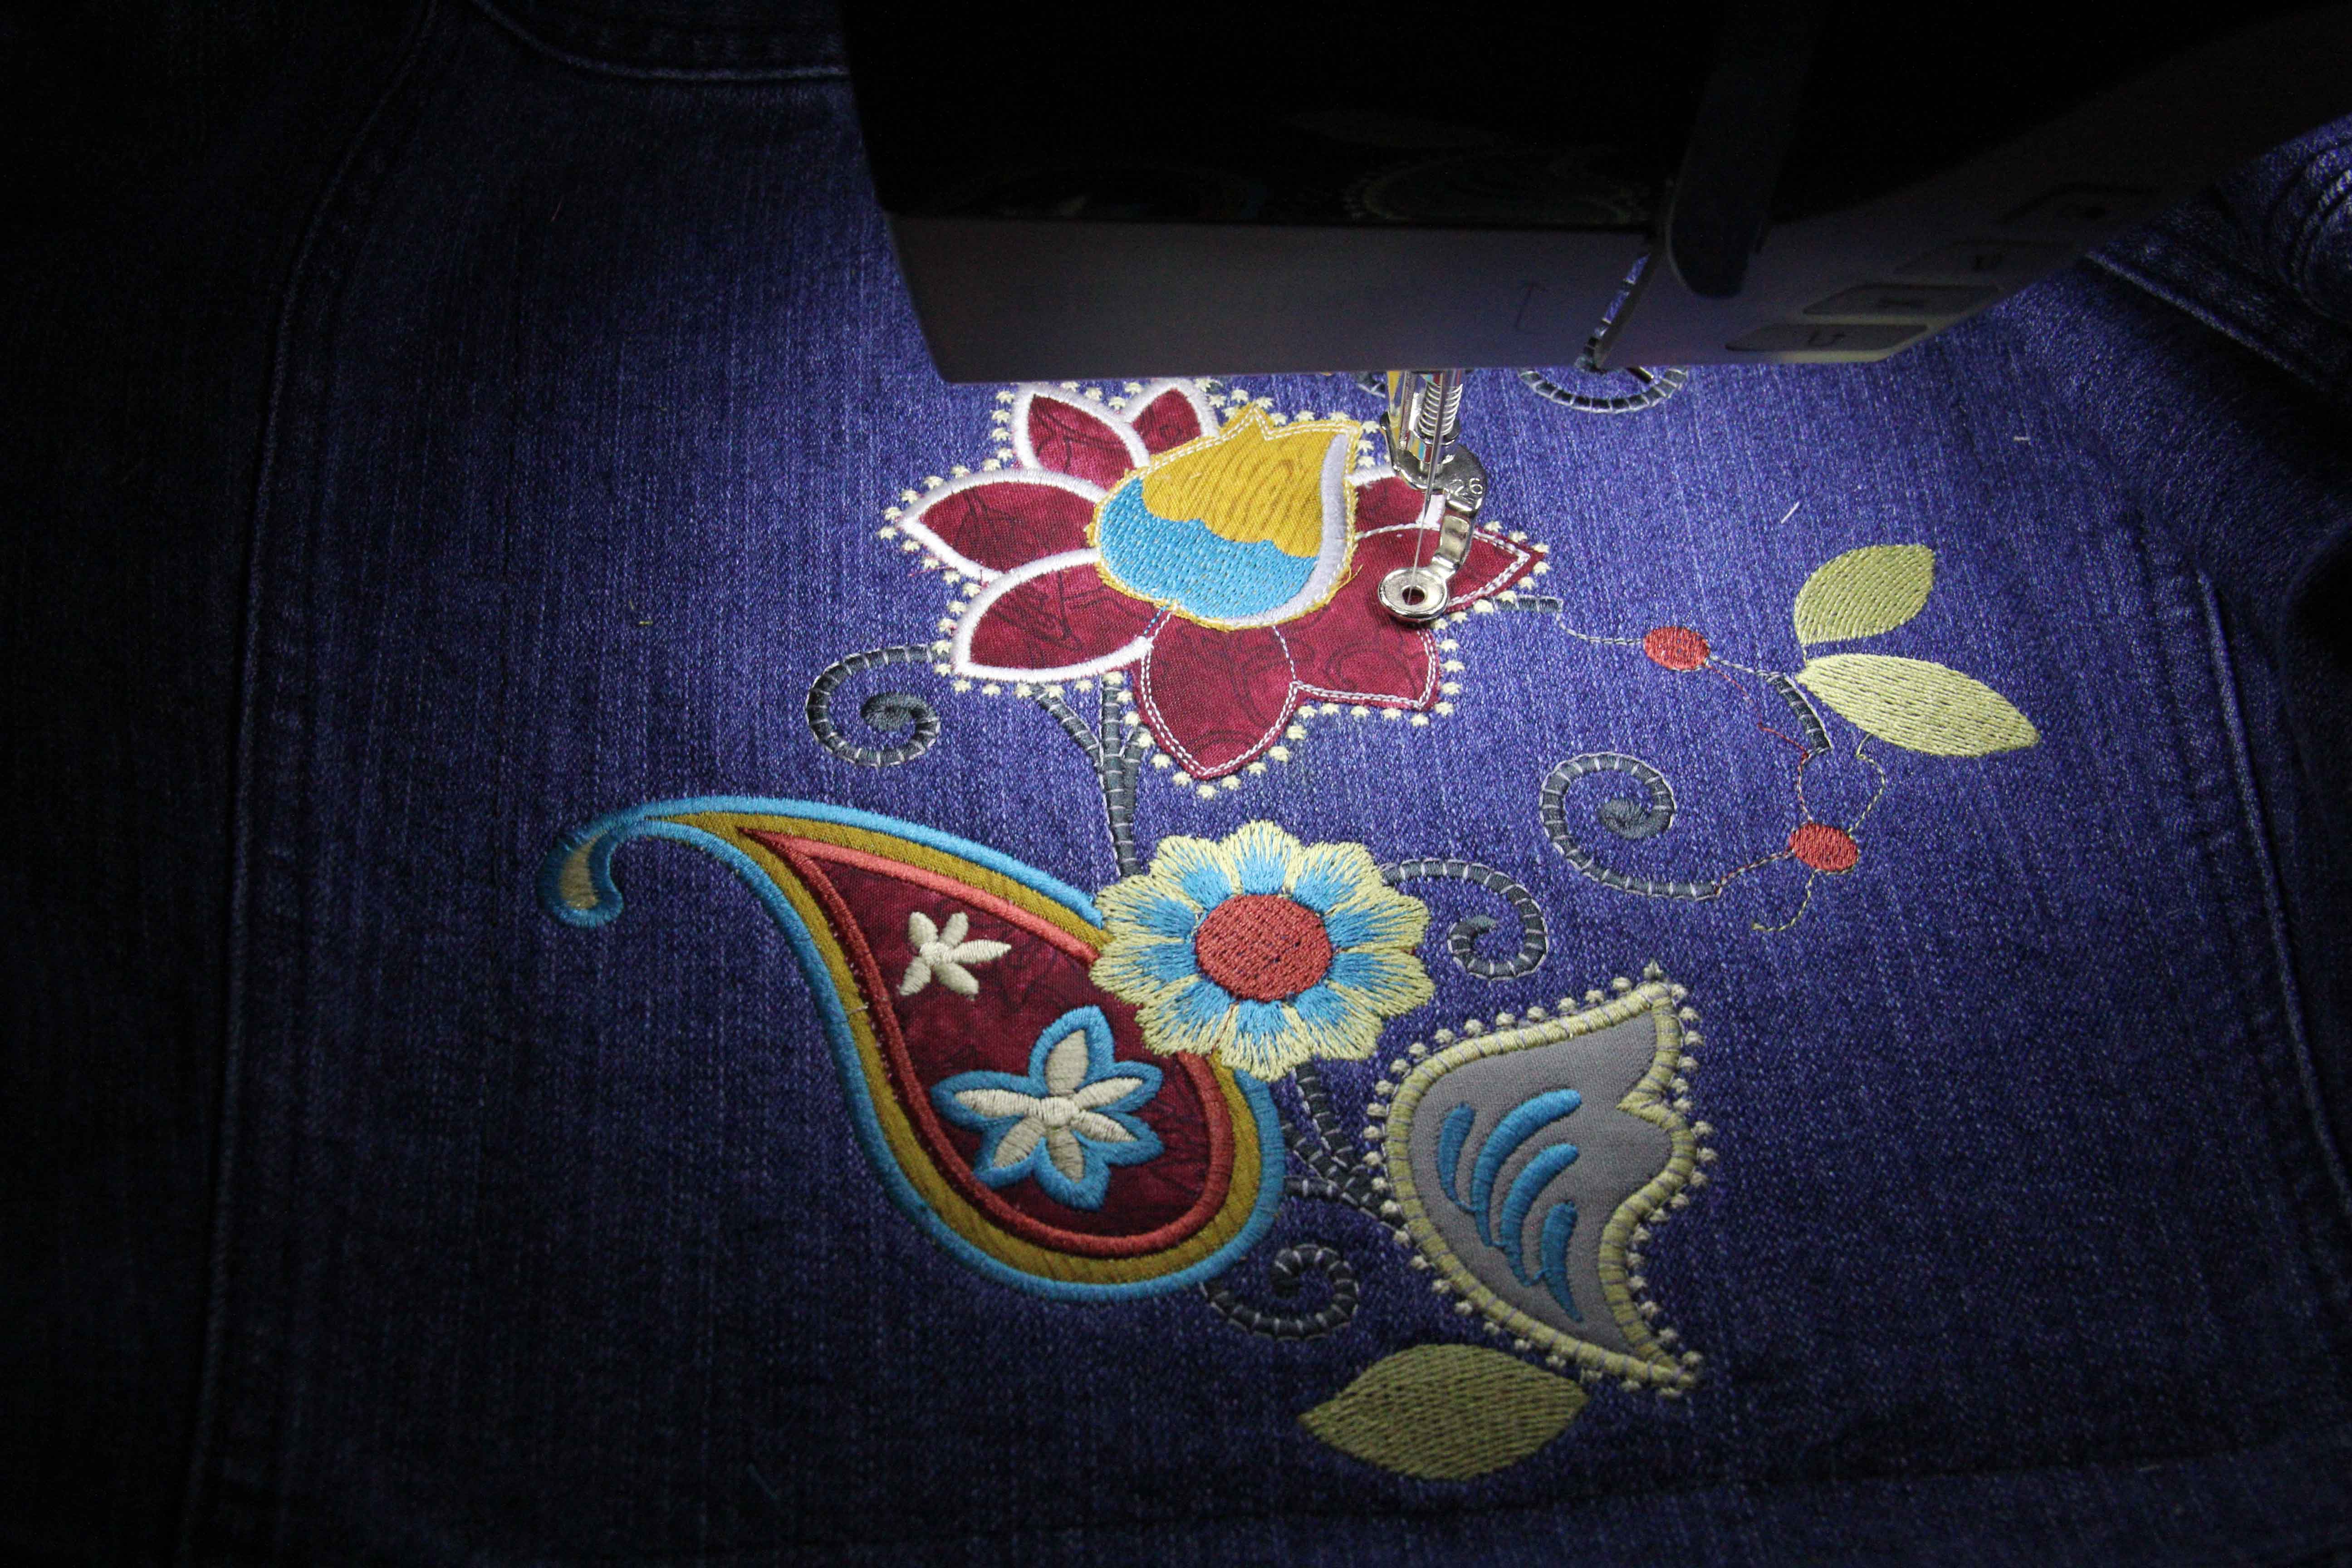
Take your time with these designs as you will be stopping to lay down fabric, trim it away and the design will layer stitches on top to finish the look.  This particular design had 5 layers of applique.  Can you see them all?


Looks great on my denim jacket!

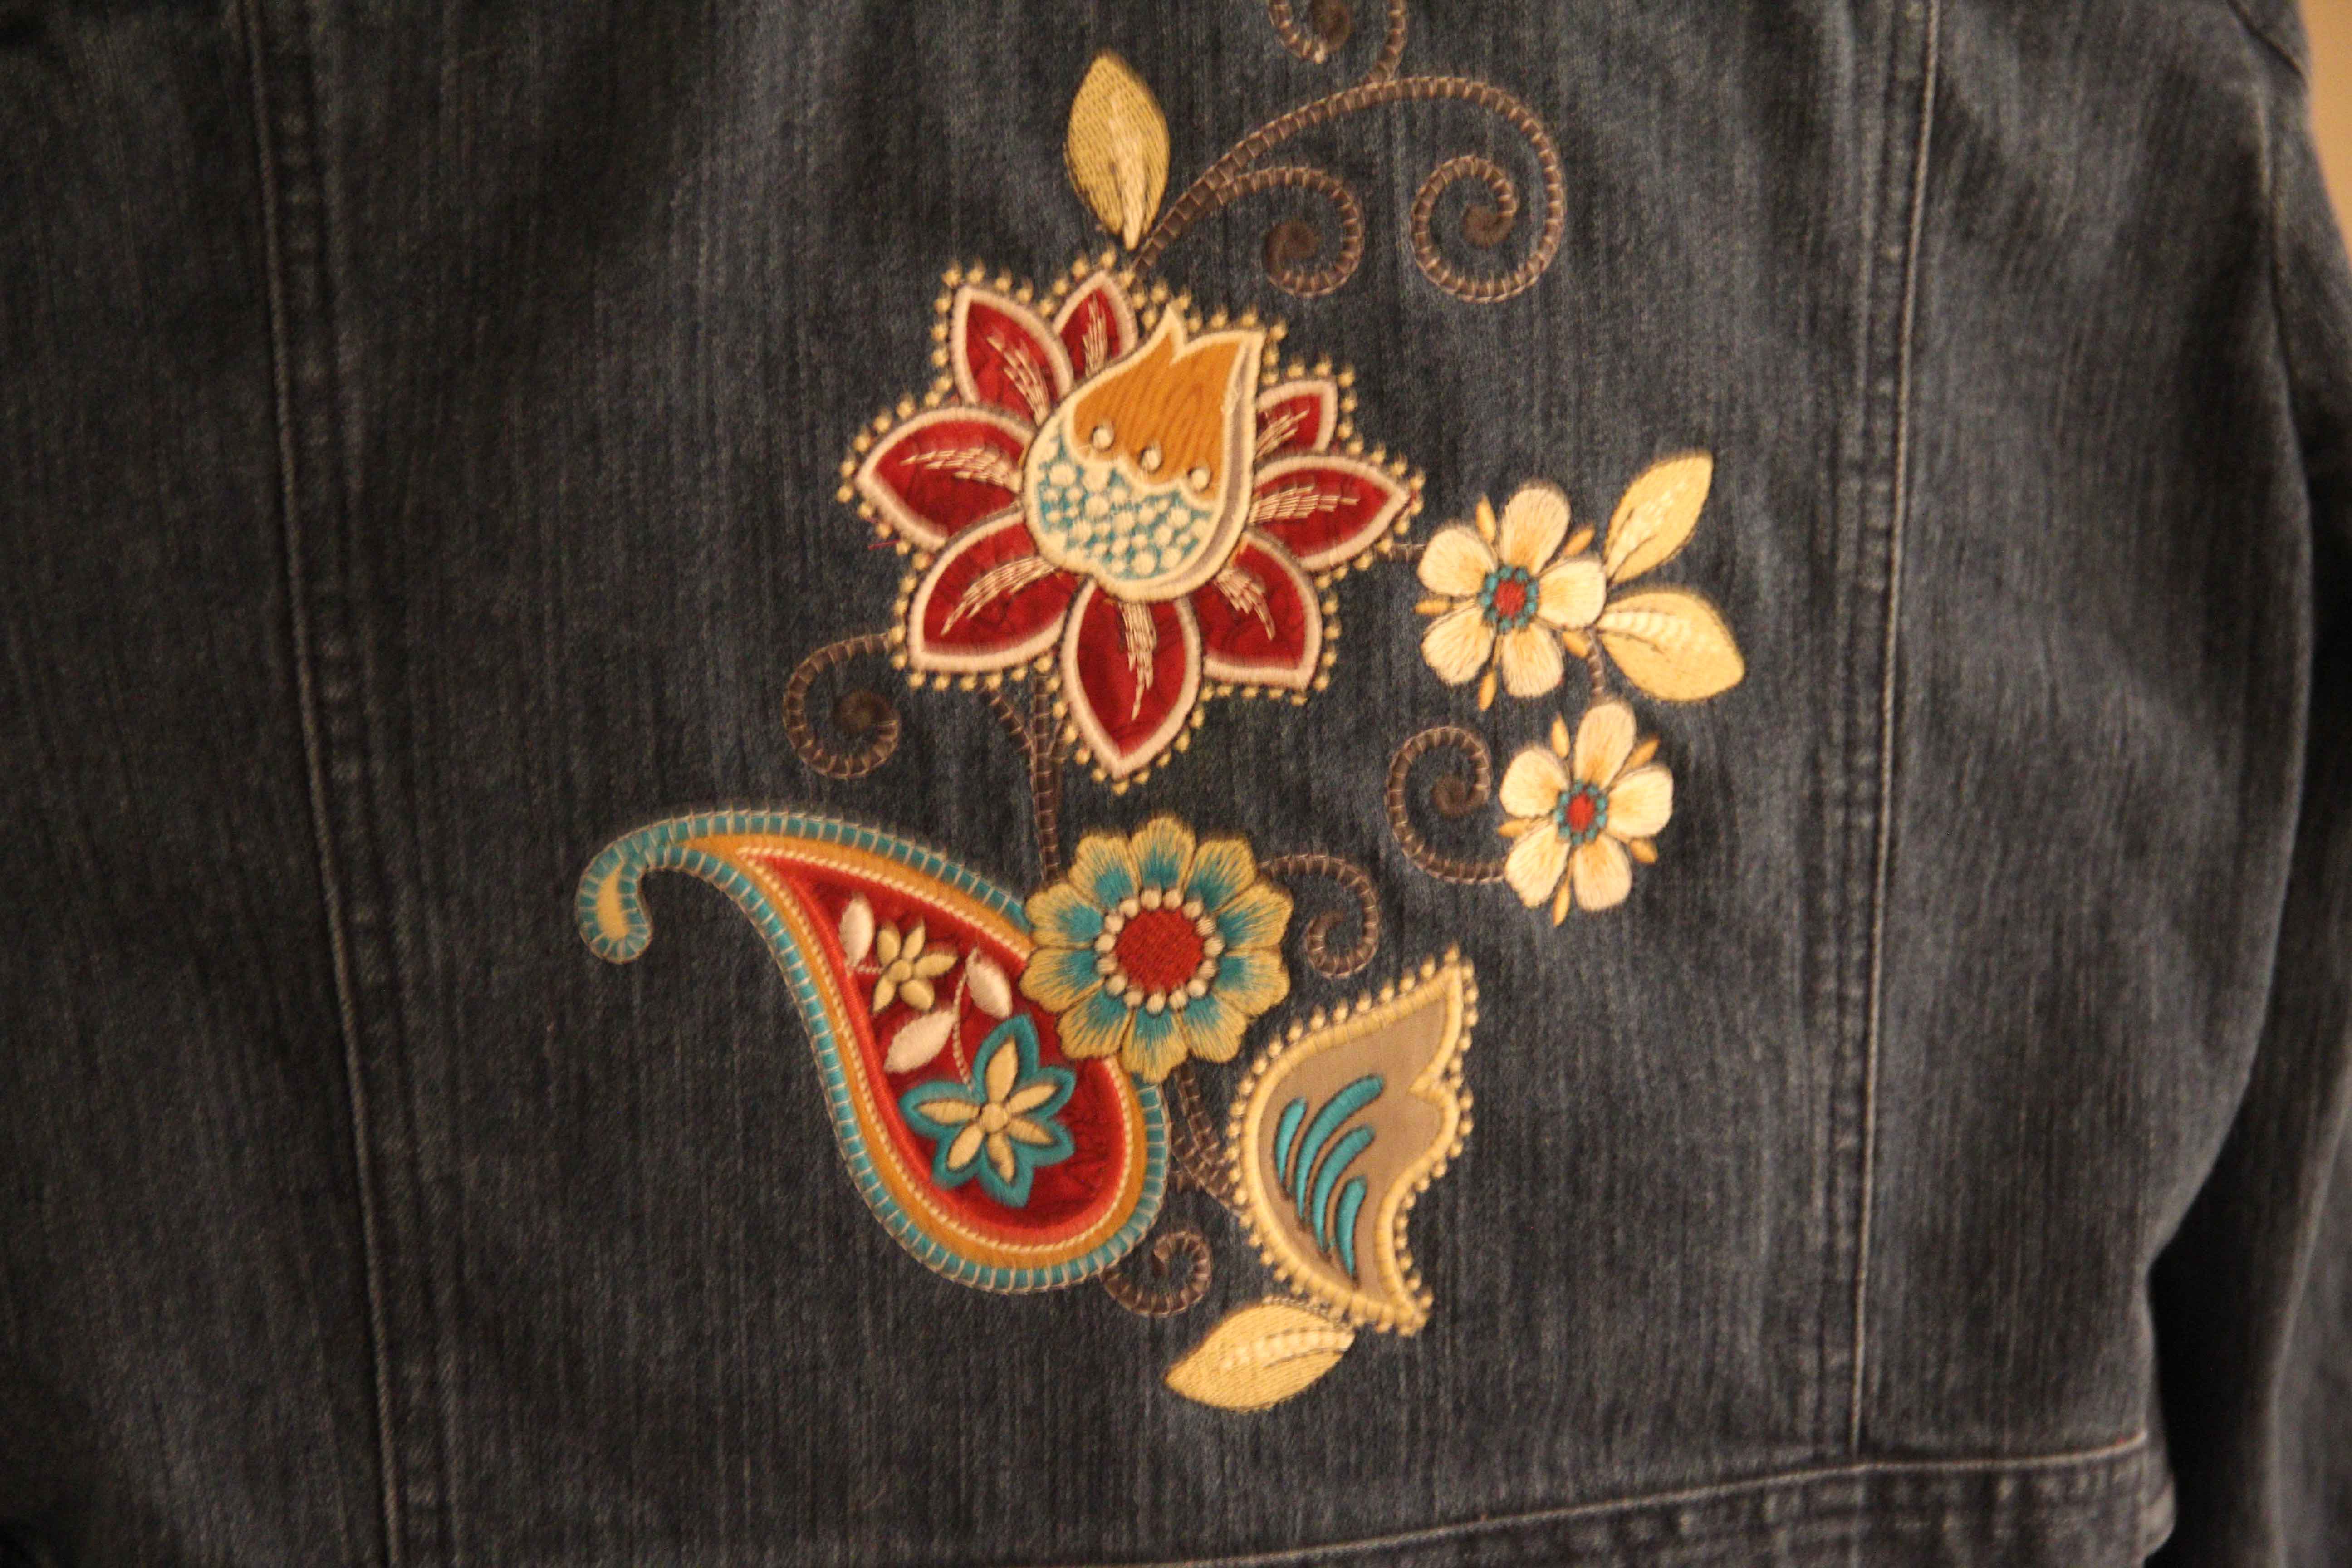
Looks great on a denim jacket!

I apologize for the darkness of some of these shots.  That’s what happens when I work at night!  Anyway, here’s the final design!  The detail on it is magnificent!  Machine embroidery applique is not difficult at all.  It’s just knowing when to lay down fabric.  Jump in and try this.  It will give your designs added dimension, color and complexity without adding more stitches.

Autodigitizing a Bitmap and a Vector

These are two VERY simple procedures in Bernina Embroidery Software 7.  I am not going into any real details because any software owner should have classes available to them.  However, if you need a quick refresher or some basic help on getting started, this will get you there.

Autodigitizing a Bitmap:

Open your software to a new file, click “insert artwork” up at the top.  Navigate to your c: drive and find the “Embroidery Software 7” folder.  Double click to open all the design folders.  Double click on the “artwork” folder.

insertembbitmapNext find the butterfly, and click open to bring the bitmap into the software.  All the designs in the folder entitled “artwork” are bitmaps and can be loaded the same way.

insertartworkDe-select the artwork by clicking outside of it.  Then go over to the left side of the screen under the heading “autodigitize’ and click on “autodigitizer”.  Then click on the image. So many people forget that step and then get lost.  Once you click on the image, you’ll see a dialog box confirming the number of colors. Click OK.  Next a dialog box will appear that allows you to omit some of the colors.  Since you almost always want to eliminate the white background, click “omitted colors”, then click the white box.  Click “OK ” and the butterfly will become stitches.  It’s that easy.  Now, obviously, you can make changes to the design and edit it an infinite number of ways.  But before you send it to the machine, be sure to click on the image in the background and delete it.

autodigitizeDigitizing a vector:

Vectors should almost always be brought into the software using “Artwork Canvas”.  But before we get too far, be sure to move your Corel Clipart into your Embroidery Software 7 folder so you’ll have access to it.  The clipart folder contains only vectors, so it’s a great resource for artwork.

(Here’s how to move it:  Go to your “start” menu under “All programs”, find Corel Essentials 6.  Click ONCE.  You will see a folder called “content”.  Click ONCE.  Then right click on the “clipart” folder and hit copy.  Navigate to your c: drive and find the embroidery software 7 folder. Click TWICE to open it.  Find a blank area and right click, then click “paste”.  The clipart folder should now appear with all your other design folders.  By the way, the Mastery Book for Software 7 has all these instructions.)

Back to vectors.  Open a new file in Software 7.  Click on the “artwork canvas” icon to get into the Corel part of the software. This may take a few seconds the first time you go into artwork canvas.  It’s a big program.  When it’s open, click the “load artwork” icon, shaped like a flower, usually the first icon on the left.  You’ll get a dialogue box to navigate to a file.  Head over to your c: drive and find the clipart folder we just added. Click TWICE to open the folder.  At this point you can choose any of the files to open.  Once you click “open”, be sure to hit enter on your keyboard to place the file.

vector1With the artwork selected, simply click the button at the top that says “Convert” .  If you hover, it will say “convert vectors to embroidery”.

vector2And that’s it!  You’ll end up back in embroidery canvas with digitized art. Now, you may want to edit colors, stitch types, density, pull compensation etc.  But for the most part, you are digitizing!

Be sure to get a copy of the Mastery Books for Software 7.  It goes into detail on all the features and you’ll want to work with your dealer to learn the specifics.

Then get digitizing!  Now that you know bitmaps and vectors, nothing can stop you!  (Except copyrights, of course..but that’s for another time!)


Vector vs. Bitmap — A Primer for Machine Embroiderers

One of the most frequently asked questions by machine embroiderers is how to handle graphics.  In embroidery software, vectors are handled differently than bitmaps.  But the first step is to understand whether you are looking at a vector or a bitmap.

The main difference is that a bitmap is composed of pixels.  Here is a (very) brief presentation that will help you to understand.  In the next post, I will offer a few options for auto-digitizing vectors and bitmaps in Bernina Embroidery Software 7.

slide1slide2slide3slide4


Label Your Quilts to Preserve the Moment

Quilt label for my son's quilt

Quilt label for my son’s quilt

I have a confession.  I am not very good at remembering to make quilt labels.  Yet I know just how important they are and how much character they add to a quilt.

And the thing is, I love to make labels.  The one pictured above is digitized (I knew absolutely nothing about digitizing at the time) from a picture of my son when he was 4 years old.  He was blowing a dandelion.  I made him a quilt that year, from fabric that he loved, and I wanted it to be a remembrance of that time in his life.  It includes his name, the date the quilt was finished and of course, “Made with love by mommy.”

Right now, I have at least 3 quilts which need labels.  I can no longer remember exactly what year I made the quilts. (Sometime in the last 5 years).

I am especially guilty of not labeling anything that I make for myself or for our house.  When giving something away, I am a little better at the labels.  A little.

It seems irresponsible to make a quilt, put it out there in the world and not give it a label, an identity, a reason, a meaning.

At work, a customer told me she never puts on the binding of a quilt until after she adds the label.  I think that’s a good recommendation.  We all know that the last stitch of binding means we’re done. Complete. Finished. Put it away.  But making sure that label is in place before the binding is on, is a way to trick ourselves into getting it done.

So let’s agree to make the effort.  We never pass this way again.  My son will never be 4 years old again. But we can capture that tiny little season, and wrap ourselves up in it with a cup of hot chocolate on a cold October evening.

label2

Bernina Embroidery Software 7 – It’s Here!

sftware73I’ve been in training the past couple of days learning Bernina’s new embroidery software…Software 7.

Here’s the verdict.  I love it.

And believe me, if I didn’t love it, this blog would be about something else!

My first impression was that the new interface with its bright colors and larger icons made the software feel remedial — like entry level stuff — when we all know this digitizing software is probably the most complete consumer embroidery software on the market.

As I played around, I found all my “usual” icons in places that are far more intuitive than they were before.  I think beginners will have a much easier time understanding all the capabilities of this software.

A few general highlights:

–More single run lettering capabilities and fonts which will be perfect for quilt labels, recipes etc.

–Micro lettering, which will allow tiny satin stitch fonts

–A “Paint Bucket” which allows you to change colors in small parts of a design very quickly

–Easy-to-use, intuitive navigation…lots of little surprises here, but all good

–Improvements in slow redraw, including being able to redraw in artistic view

–Ability to change from Metric to US measurements with the click of a mouse

–Ability to add an article of clothing in the background of your design to calculate position, sizing

–“Quick trace” ability in Artwork Canvas (turning a bitmap into a vector)

–Stumpwork, trapunto, and raised satin stitch capabilites

Overall, the improvements were easy to figure out and to use.  That’s the hallmark of good design…when you “get it” right away.

I was able to load Software 7 on the same computer as Version 6, but most of you will want to simply update.

I can’t wait to spend a little time working on projects.  FYI, Bernina’s Software Sampler will continue to focus on Version 6 until the end of the year, at which point everything will be focused on Software 7.

Here’s a video provided by Bernina that will give you an overall idea of their new Software 7.


O the Weather Outside is Frightful

Table runner

Table runner with text on a path, applique, free standing lace and an embroidery from the new collection Urban Doodles:  Lilies with Spheres.

Not really.  The weather outside is not frightful at all.  In fact it’s quite delightful.

However, in the world of quilting and embroidery, we’re already thinking ahead to fall and winter and gearing up for the holidays.  If I waited to start my fall quilting projects until it’s really fall, I’d never get them finished on time.  So, we quilters and embroiderers start getting excited about new holiday fabric right about now.

This particular project involved embroidery text set on a path. This month in the August Software Sampler, Amanda Whitlatch will cover all of this in detail and much more, so be sure to visit Sew Generously or your local Bernina dealer to attend or find out more.

Using V6 embroidery software, go into Art Canvas and set up a vector shape for the text to follow.  See below. You don’t have to use a spiral, you can create a freehand line, or use a rectangle or another shape.  I just had some fun with the spiral.

IMG_1715

Next, click the text icon on the left, then go to the text menu and click “Fit Text to Path” .  Type in your text.  Select all.  Then click the icon on the left that says “Convert text to embroidery.”  This will open embroidery canvas, and your text will be converted.

IMG_1718


Be sure to check your text to make sure it is large enough to stitch out properly.  You can always increase the size, but at this point it will be treated as a graphic and not as text.

IMG_1719

I want to create a couple of mug rugs to match the table runner using this text below.

IMG_1721

Have a little fun with this, and be sure to visit your local quilt shops soon.

The Northern Illinois Quilt Shop Hop is still on until the end of August.

You can still enter drawings, get 15% off your purchases, and best of all, most of the shops now have the newest holiday fabrics in store!  So start planning your projects–  because as soon as the kids are back in school and that first North Wind begins to blow, we both know you’ll be itching to get behind that sewing machine!

A Rose is a Rose

The upcoming Software Sampler from Bernina features some of the gradient and blending tools in the V6 Designer Plus software.  I needed to create a sample and wanted to spend my time on something I could use…not simply a store sample.  So I decided to create a design of roses that would in some way match up to the peonies I needle punched some time ago.  I thought maybe I could use up more of the wool and embroider some matching designs.

This is not an intimidating thing to do, it just takes the courage to map out a sketch and think through the order of the stitches.  For those of you with machine embroidery capabilities, it also takes some software.  But the truth is, if you can trace something in pencil, or draw it freehand, you can easily turn it into machine embroidery.  All it takes is a little time and practice.

flower sketch
As you can see, I started to test out some colors and blending ideas as well as just the basic shapes.  At this point, the sketch does not have to be perfect, the drawing only has to give you a basic idea, although, the more accurate here, the less guess work in the software.

The scan of the artwork is then loaded into the V6 software, and you can simply begin to create the shapes right on top of the image.  Once the basic shapes have been digitized, just delete the image from the background.

Digitize section by section, piece by piece, in the order that you want the design to stitch out.

Digitize section by section, piece by piece, in the order that you want the design to stitch out.


On this design, I was particularly careful about stitch density. Since this design was being created in the jumbo hoop, it had the potential to be very stitch-heavy.  I wanted to keep the count down.  The way to do this is to go into object properties under the fill tab and make adjustments to the fill stitch size and spacing – on each shape as you digitize.  This can be time-consuming, but is so worthwhile.  The total stitch count on this design was under 17,000 stitches.  Without adjustments, it could have gone up to 30,000 or 40,000 or more.

A good look at the stitch spacing and length.  You can see this will not be a dense design.

A good look at the stitch spacing and length. You can see this will not be a dense design.

The test stitch-out was successful.  I highly recommend using slow redraw to check the progress of your design as you digitize BEFORE actually stitching. I think I will make a few changes before I do a mirror image of this design for the other side of the peonies (see below.)

Stitching in progress.

Stitching in progress.


Roses and peonies.

Roses and peonies.

Obviously , this quilt is still sorting itself out in my mind.  But it’s beginning to come together. Machine embroidery possibilities are endless.  It just takes a little time to learn the basics.  You can do this too, I assure you – with almost any image. I am clearly not a master digitizer.  The only requirement is a willingness to jump in and try things.