 Are there any Splendid Sampler participants still out there?
I know there are. We were in the neighborhood of 20,000 strong when we started last February. I know many of you are up to date and still participating…and many, many more of you, like me, are hanging on…barely.
We knew when we started that this would be a long and unpredictable journey. A yearlong commitment to any project is risky, and in this one, we really had no idea what blocks would be thrown our way.
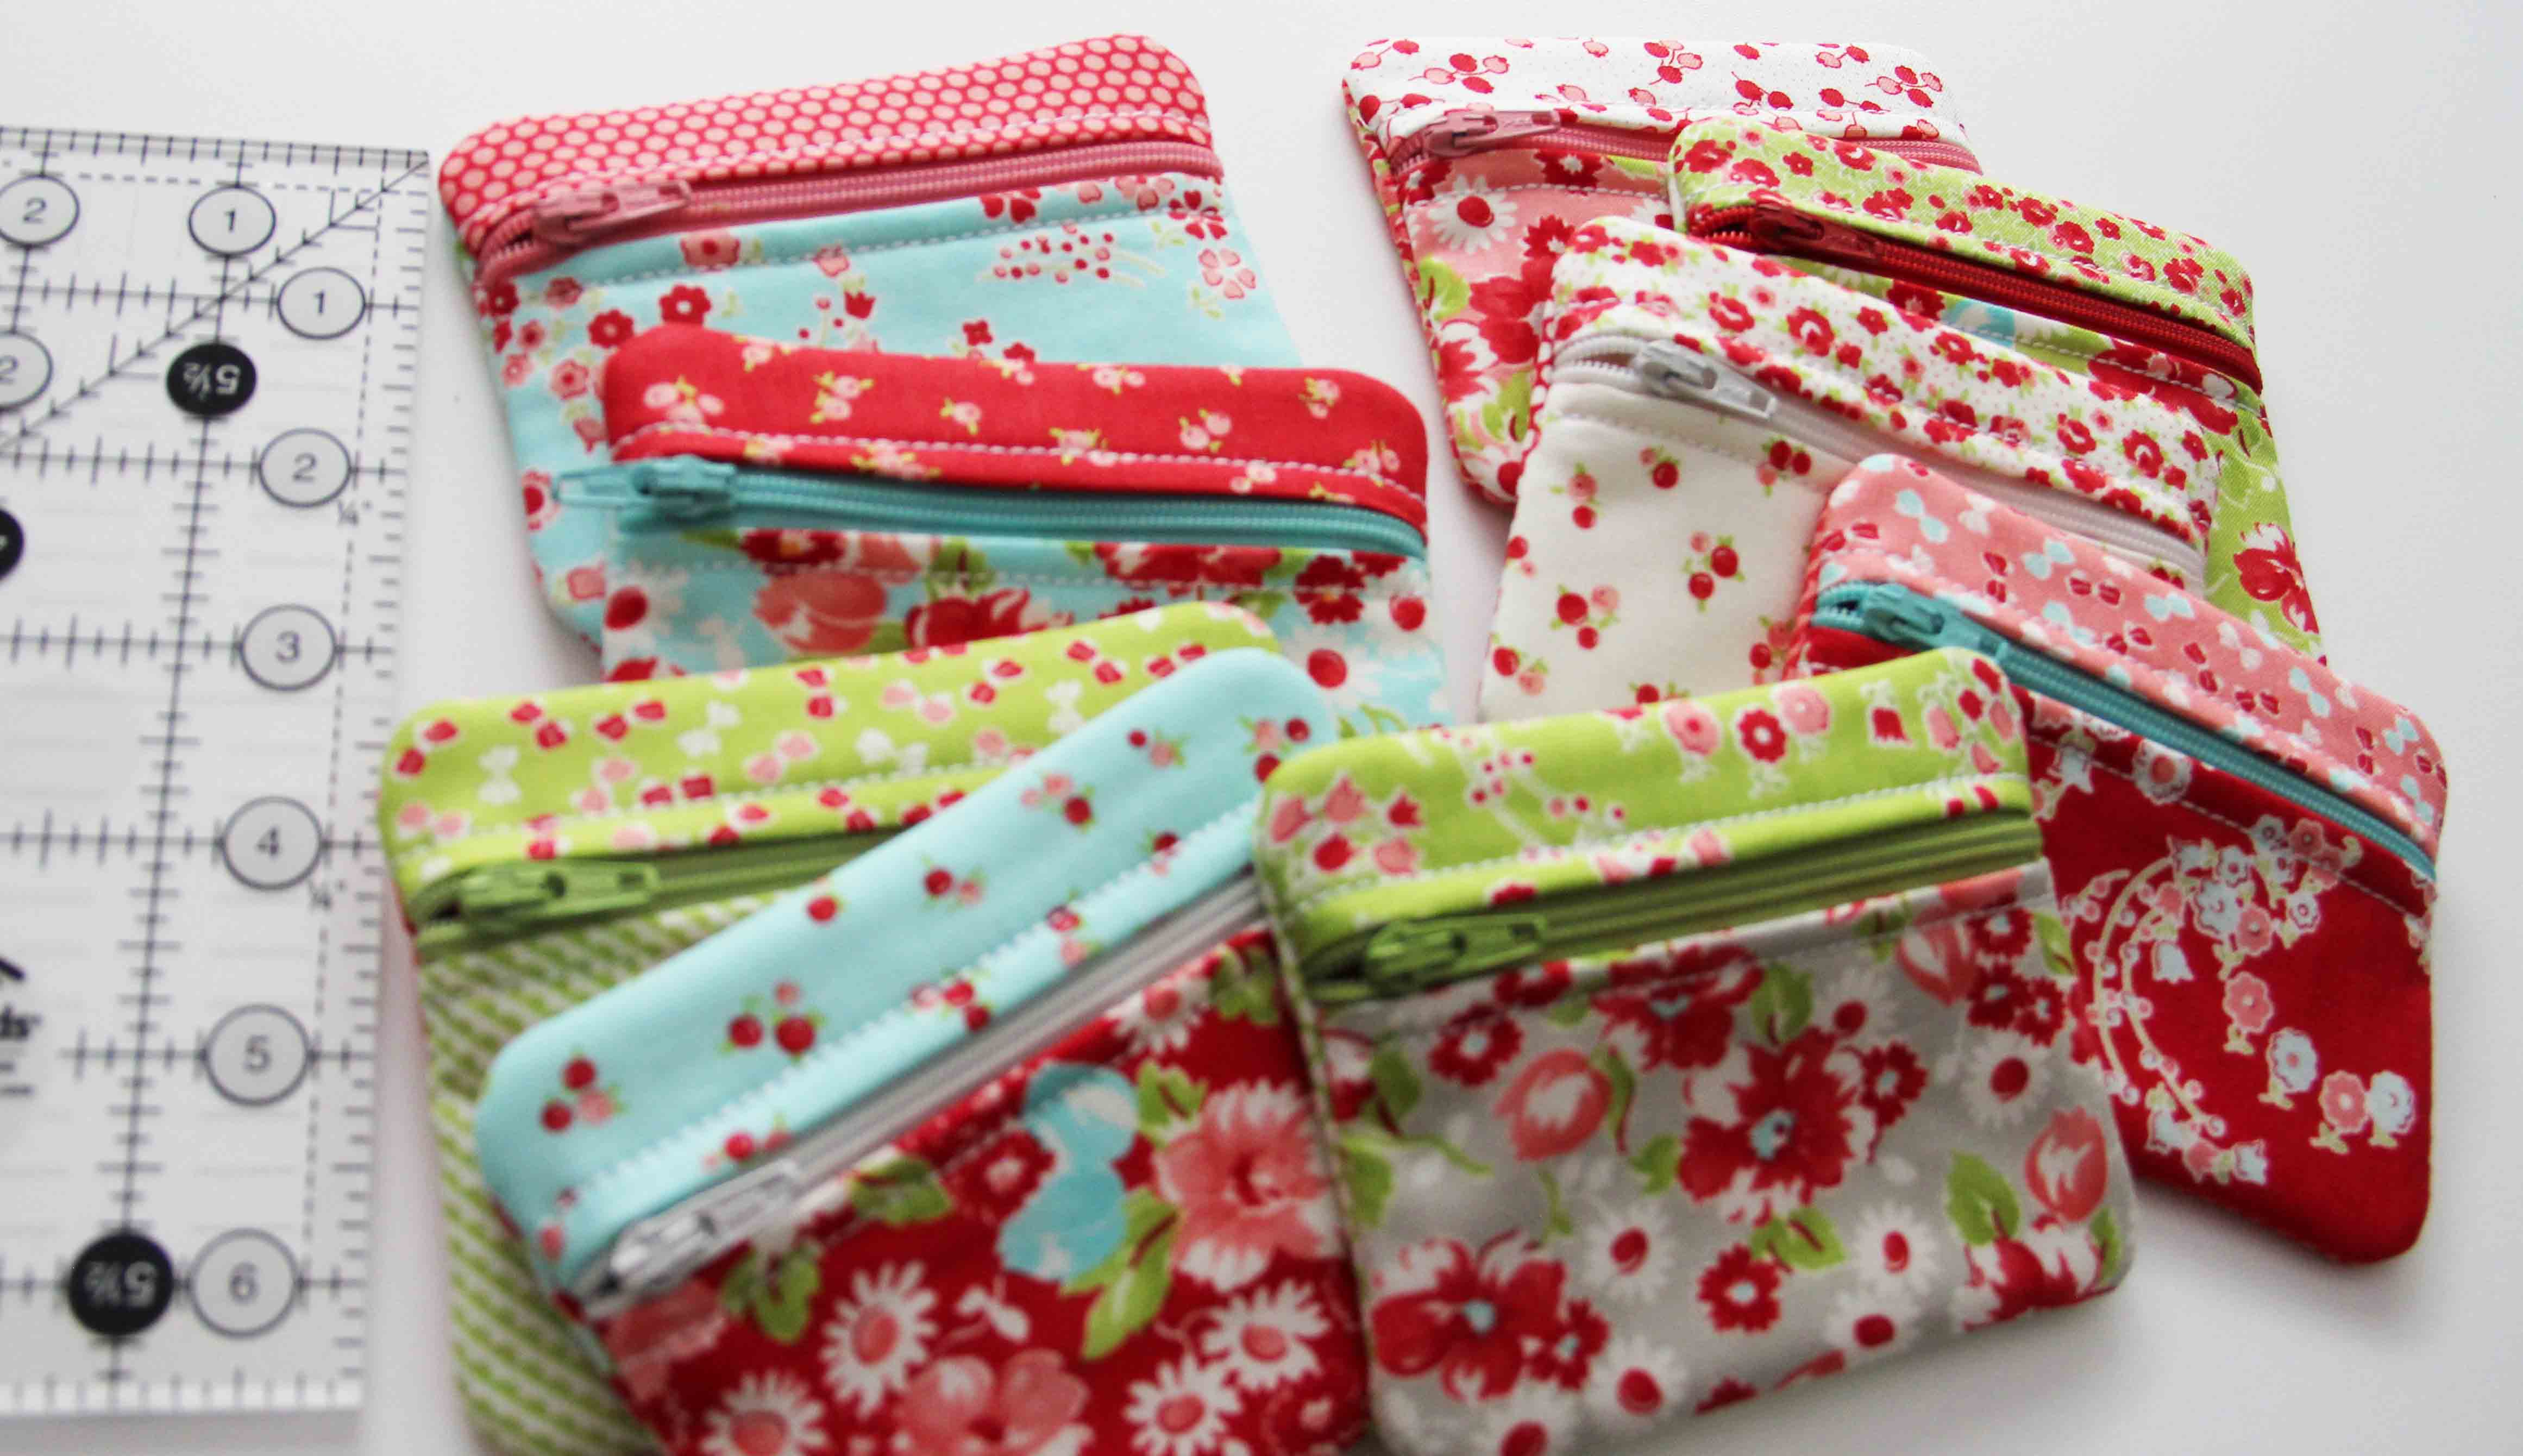
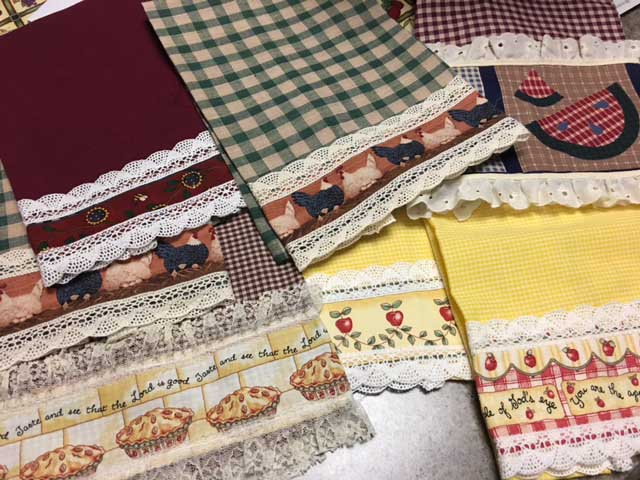
My special thanks to all the designers who have donated their time and effort to these wonderful blocks. While I have deep respect for all of you, I may not sew out a few of your blocks. Please don’t be offended. Sometimes the stress of learning a new technique, combined with time constraints, just has me putting off a few blocks. Also, in fairness, If I had the same taste as all 75 or 80 designers, I wouldn’t have much of my own. So, every now and then, a block just isn’t my thing. That’s OK. I still appreciate the work, and I probably would take the time to do them under different circumstances.
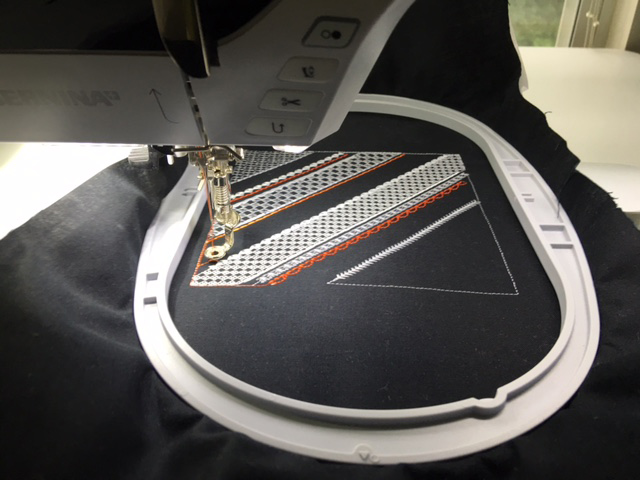
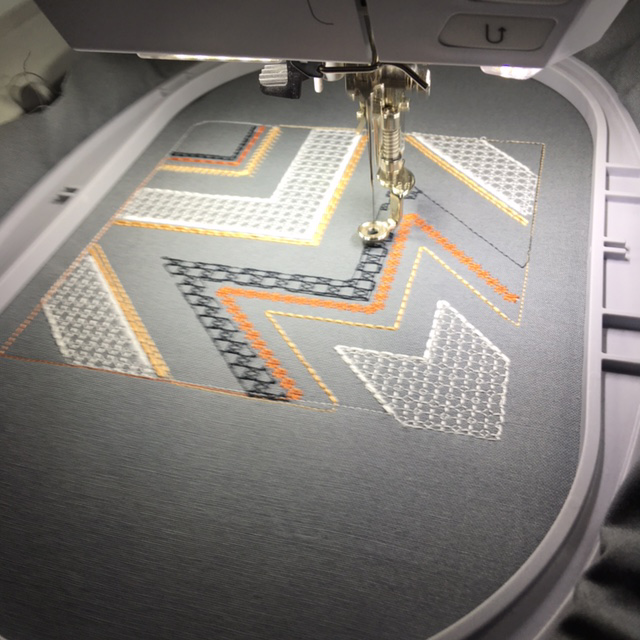
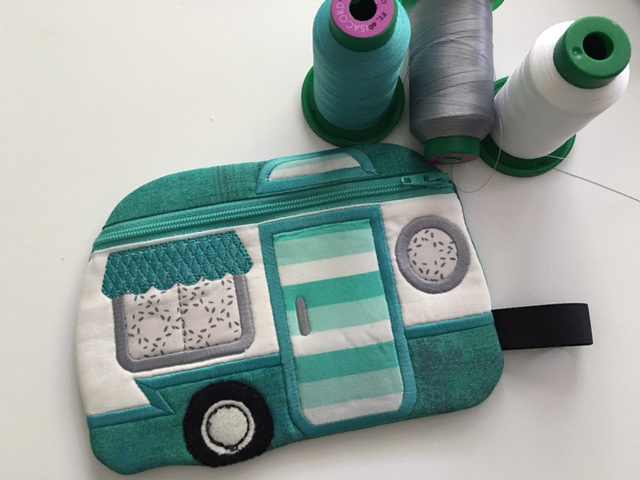
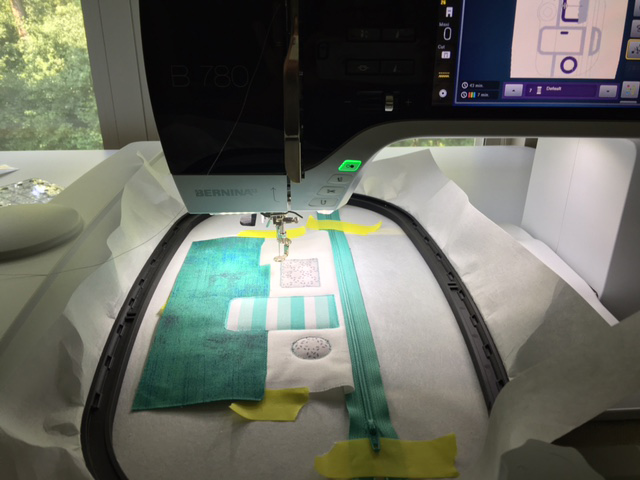
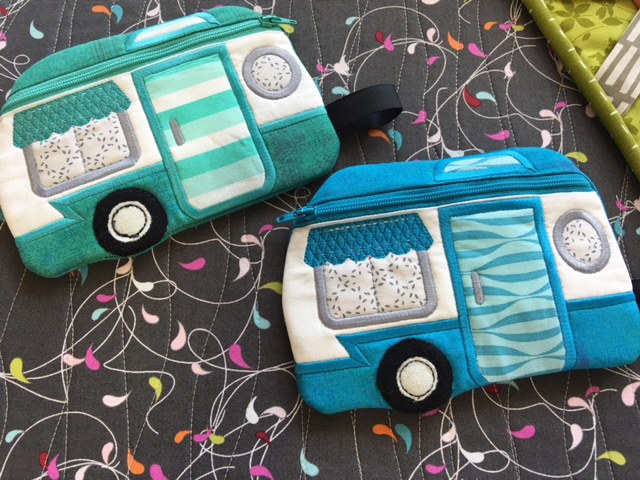
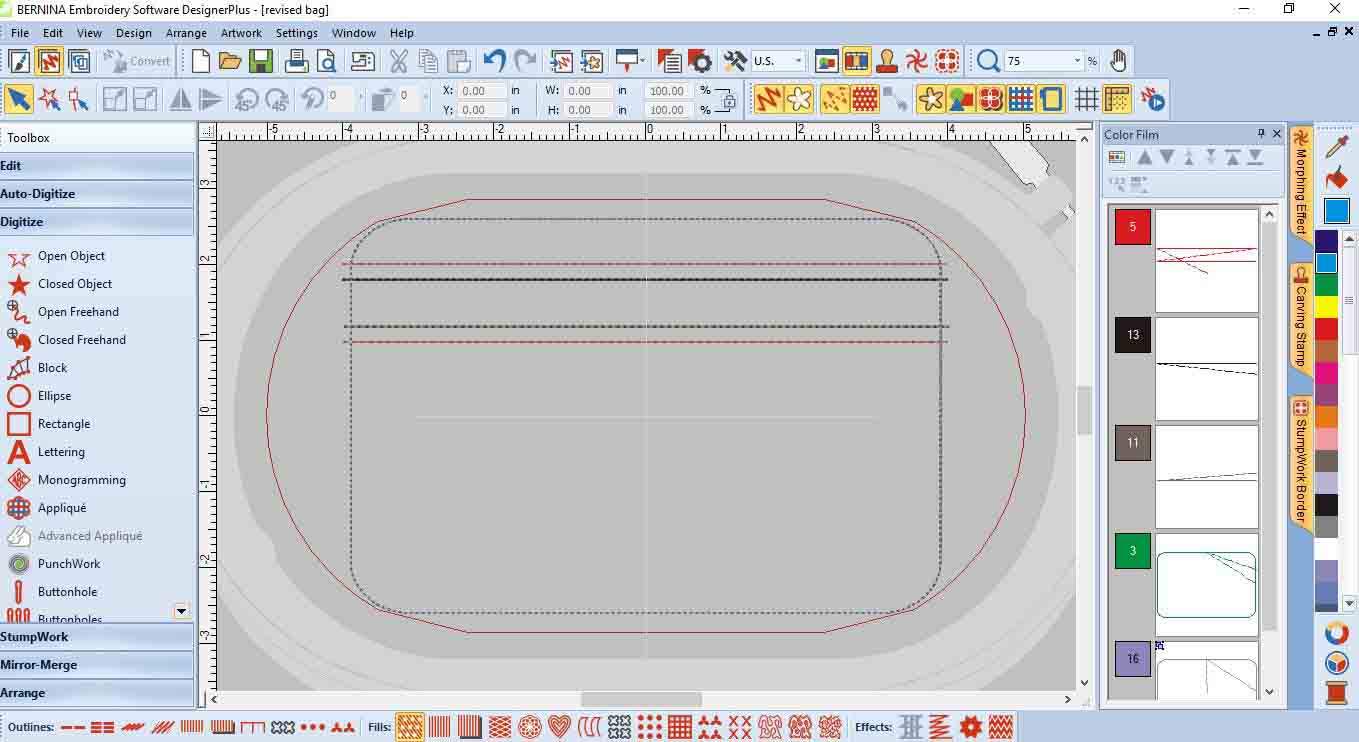
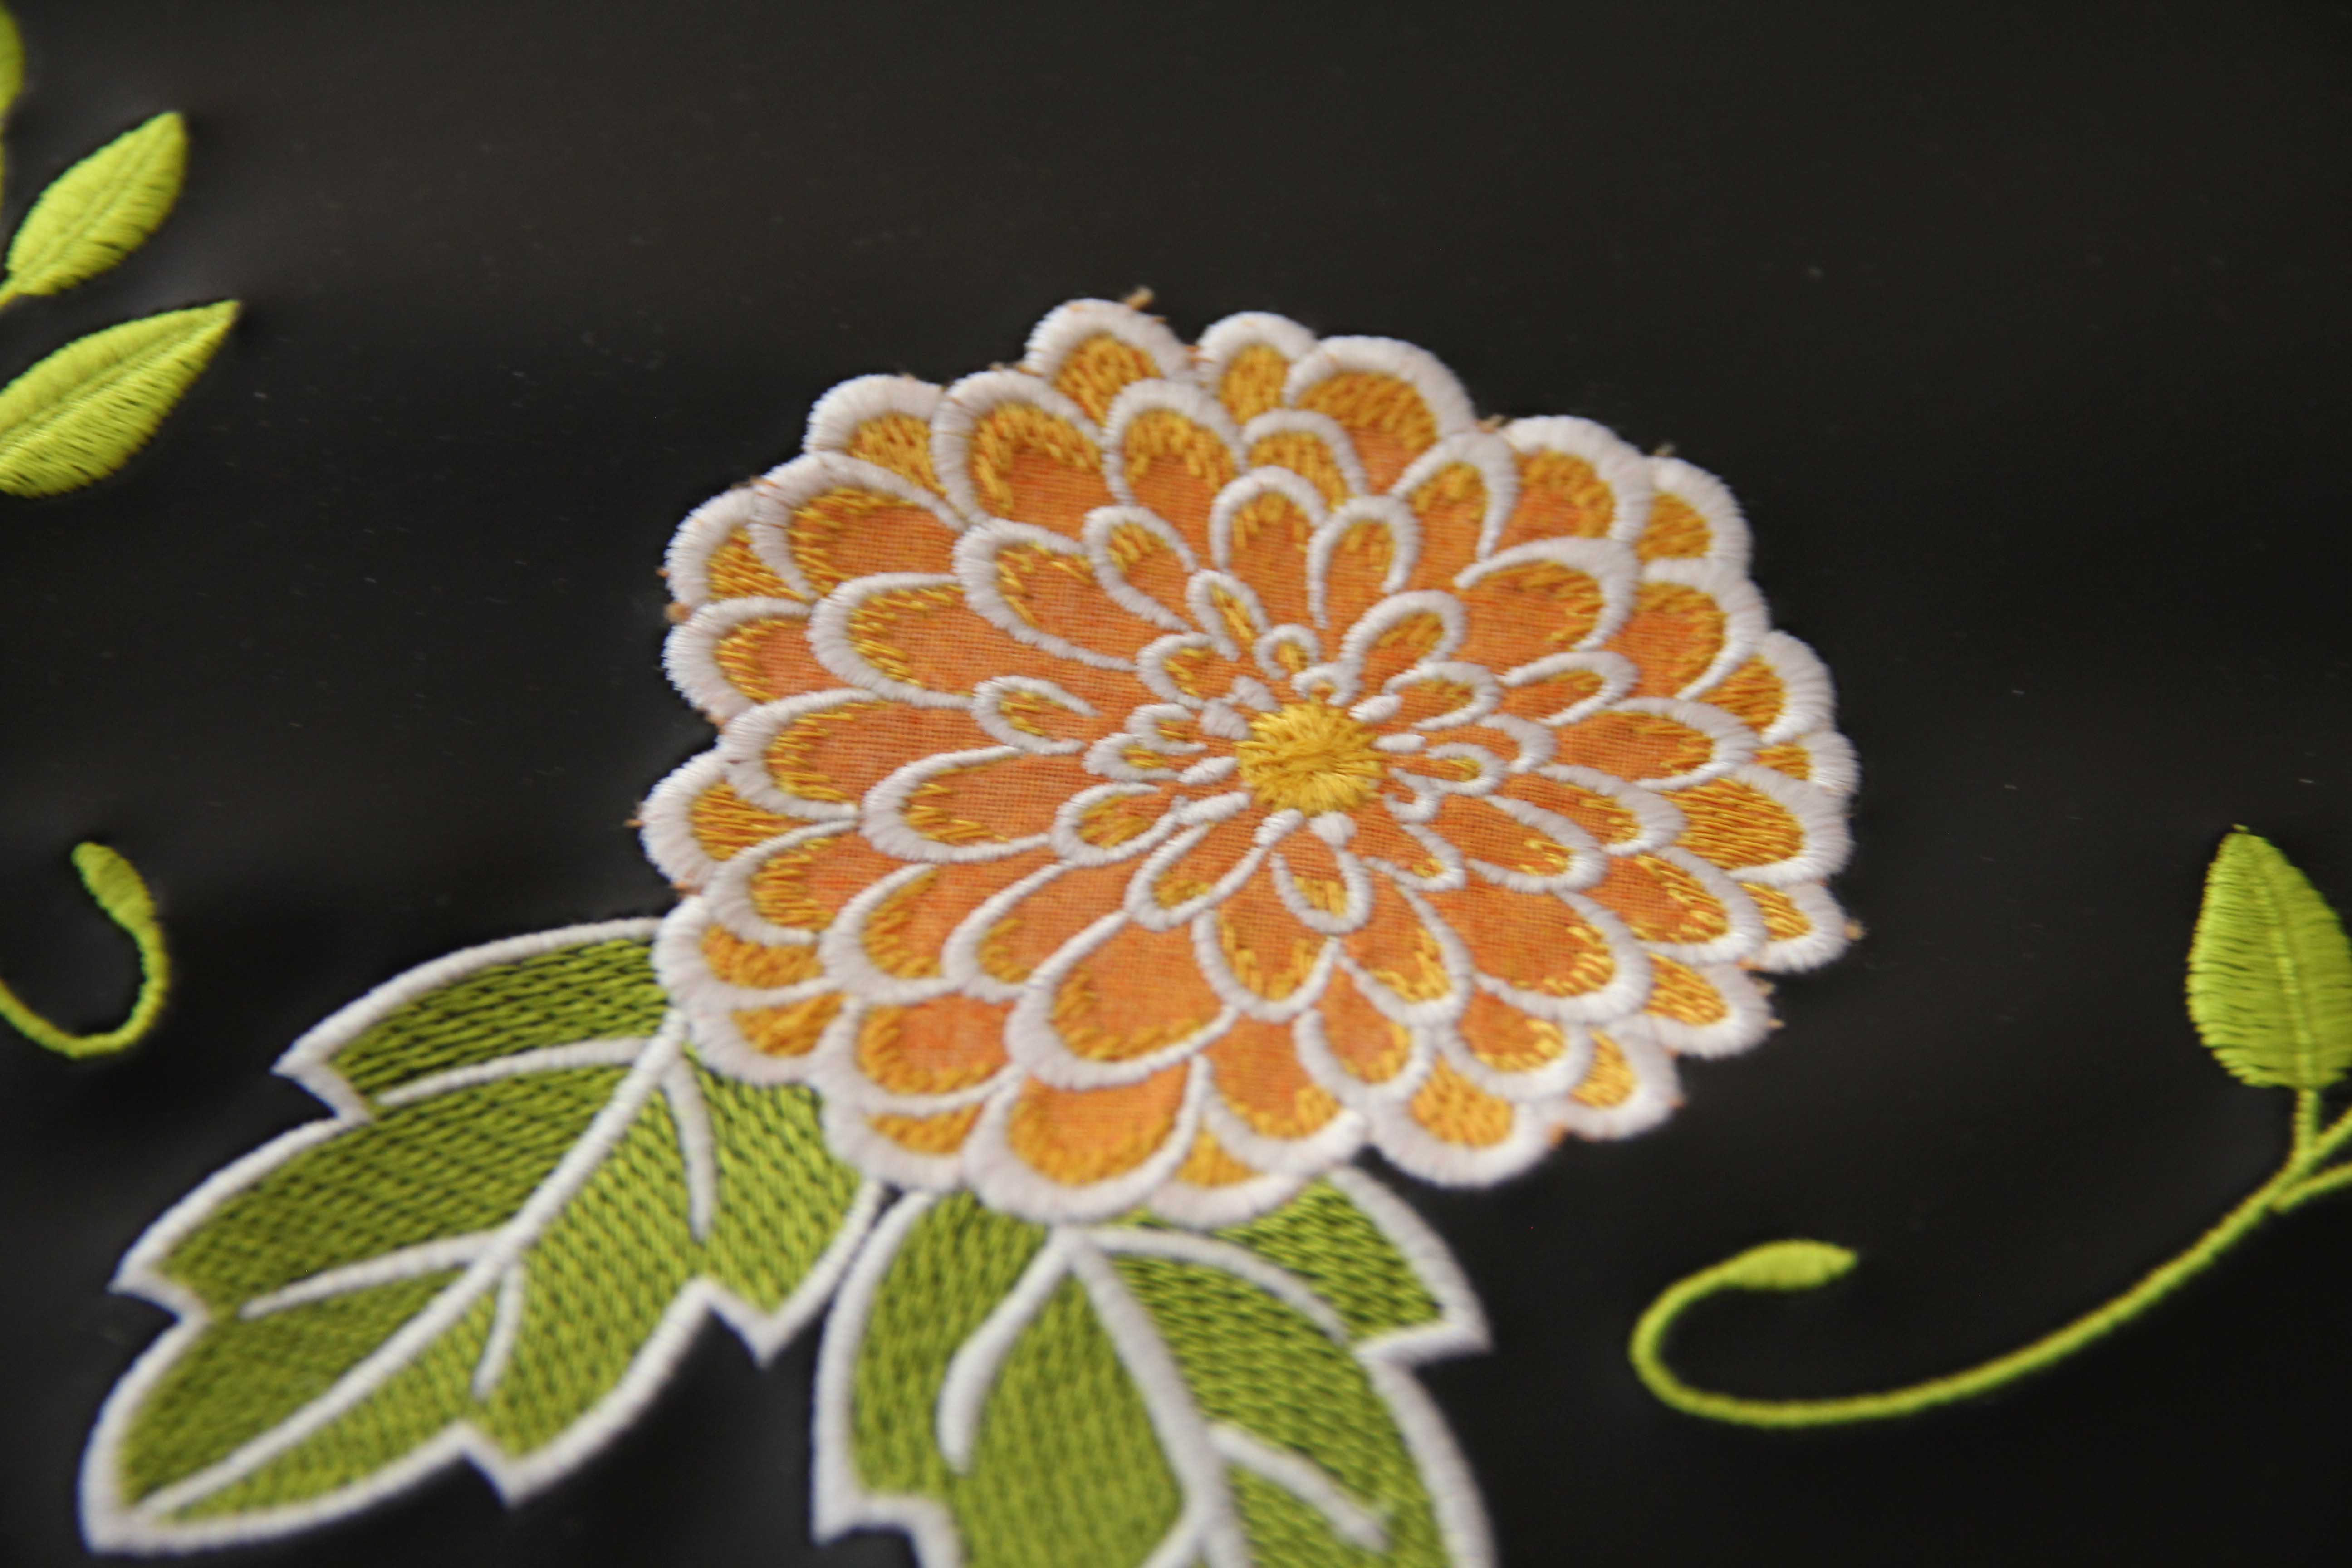
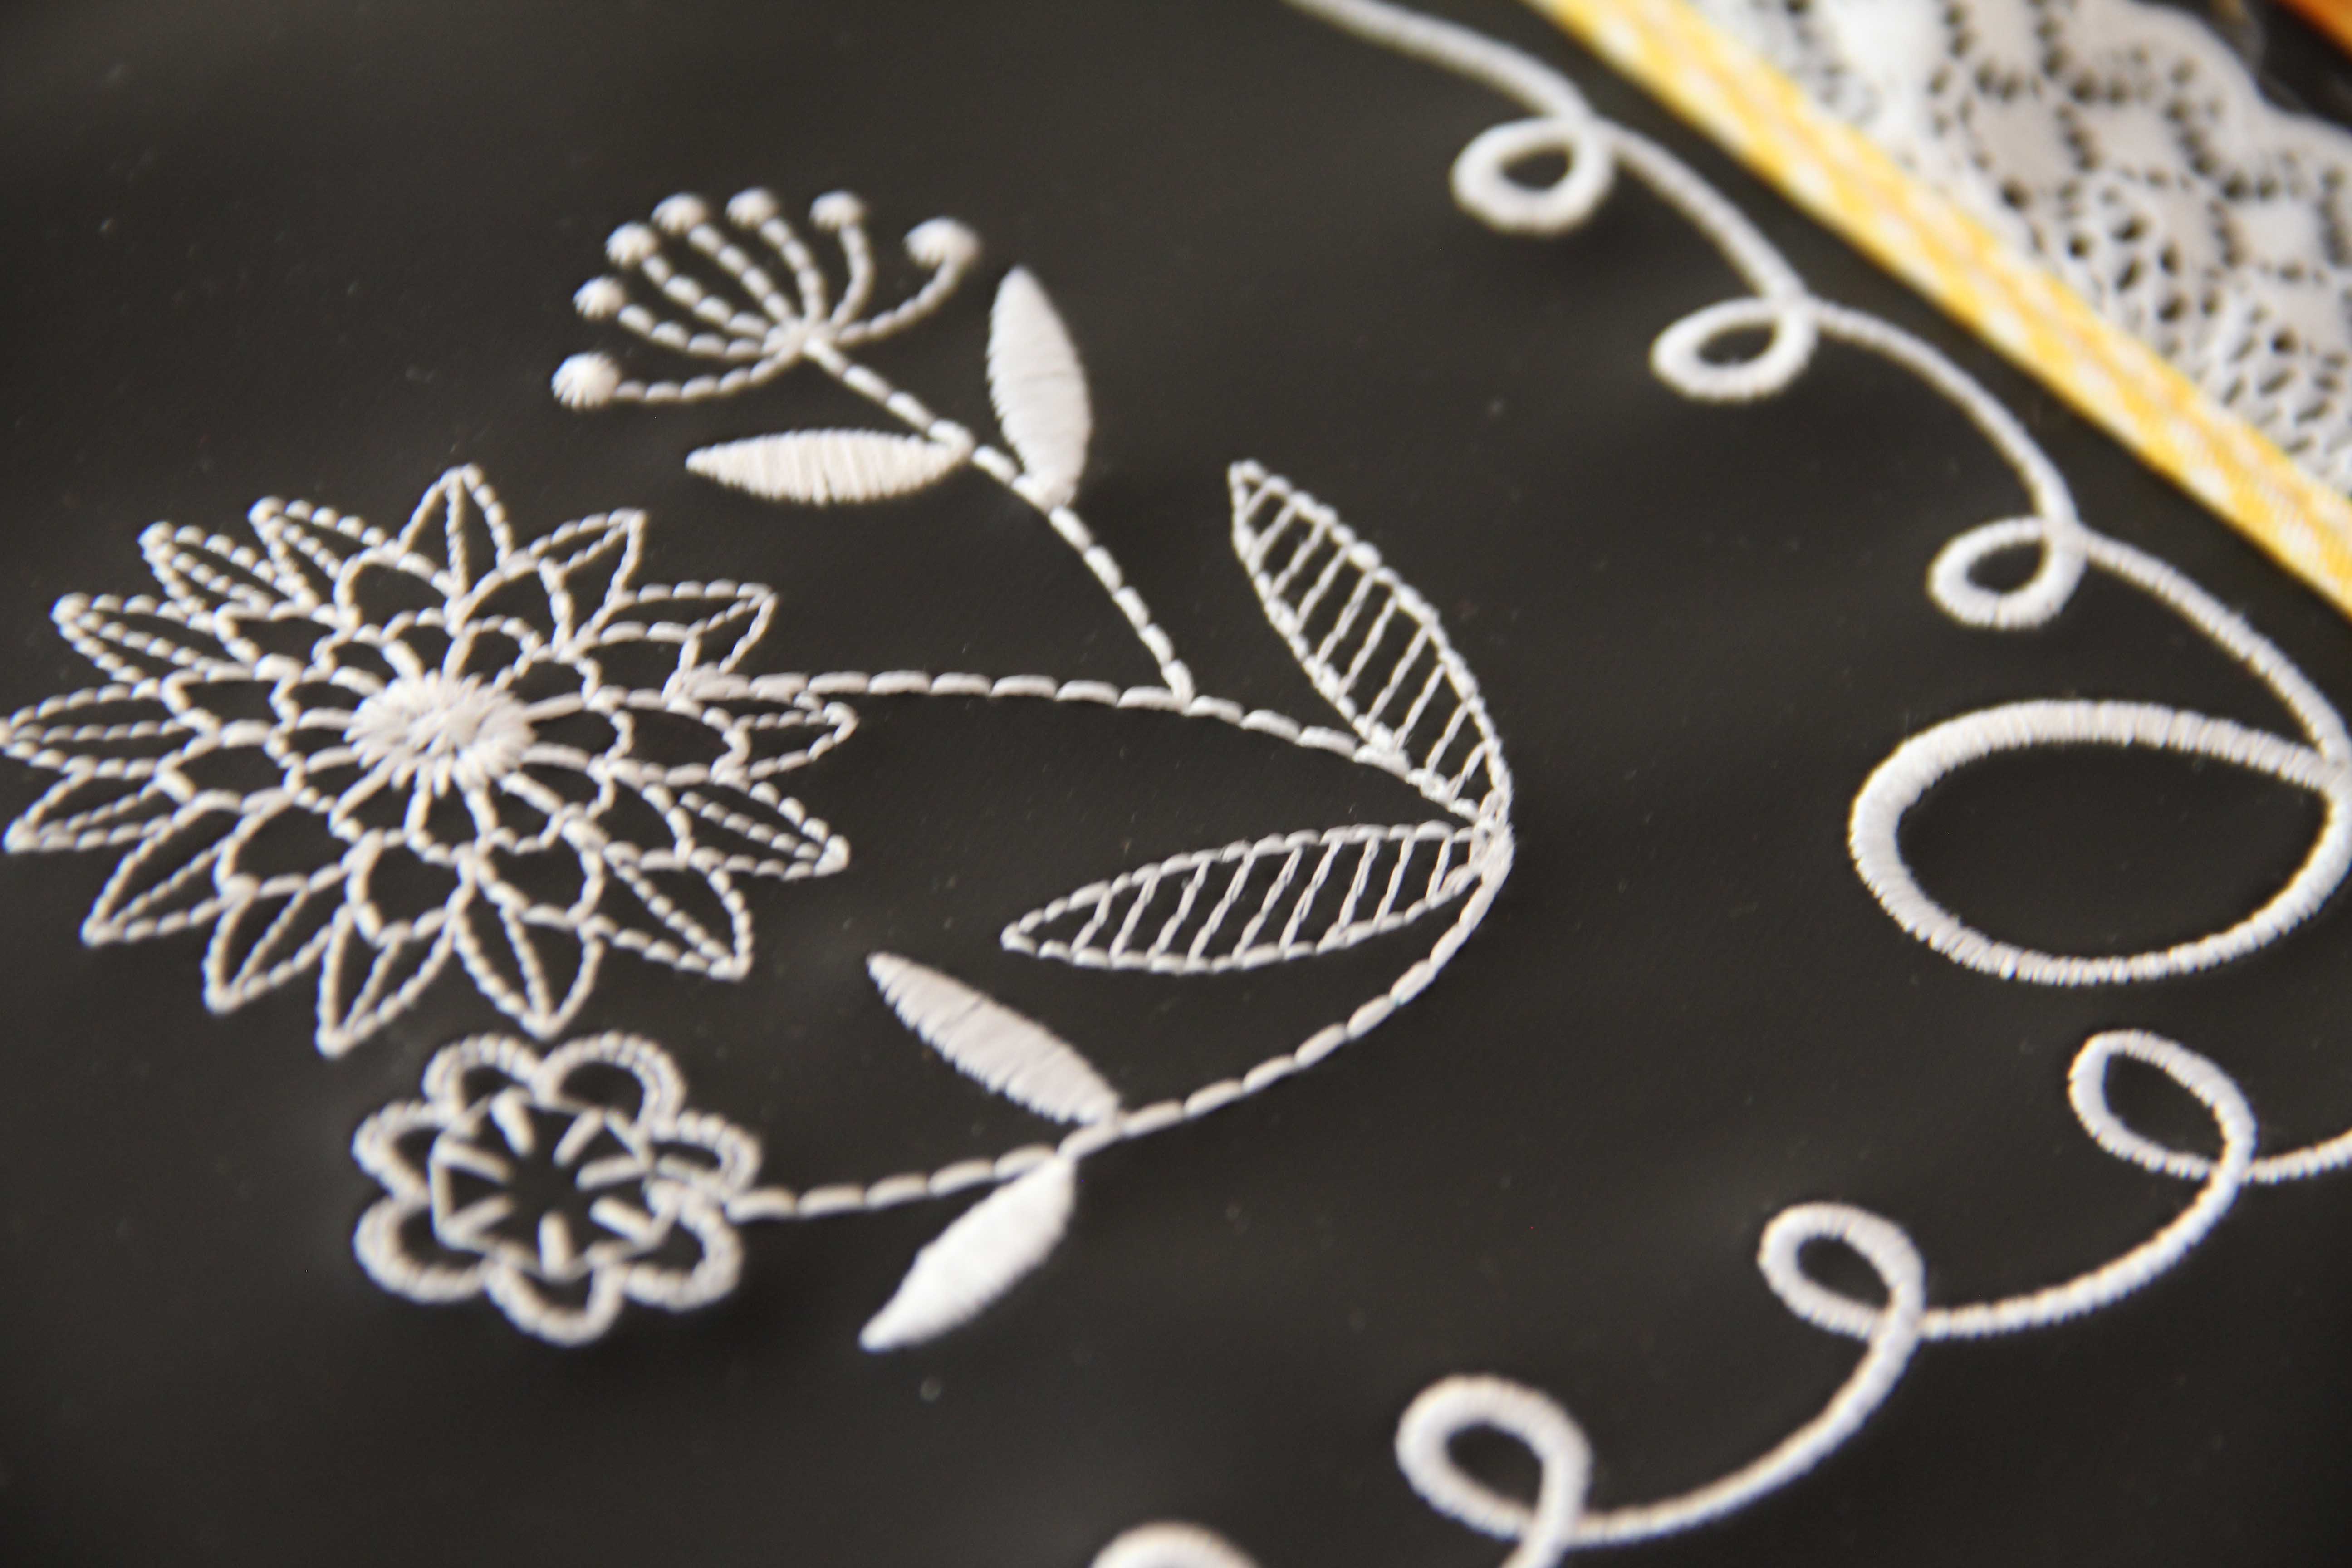
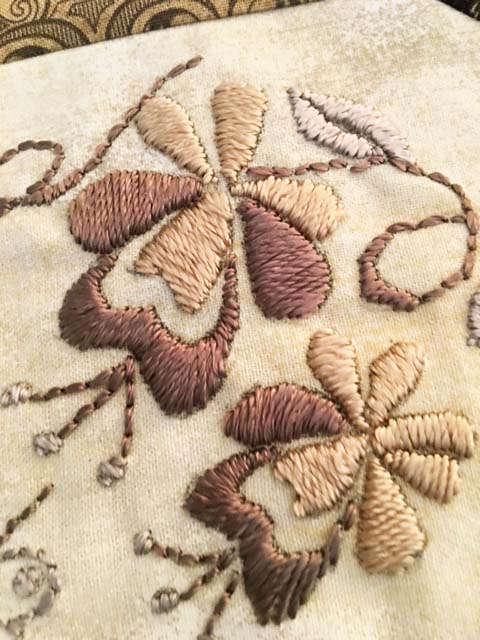
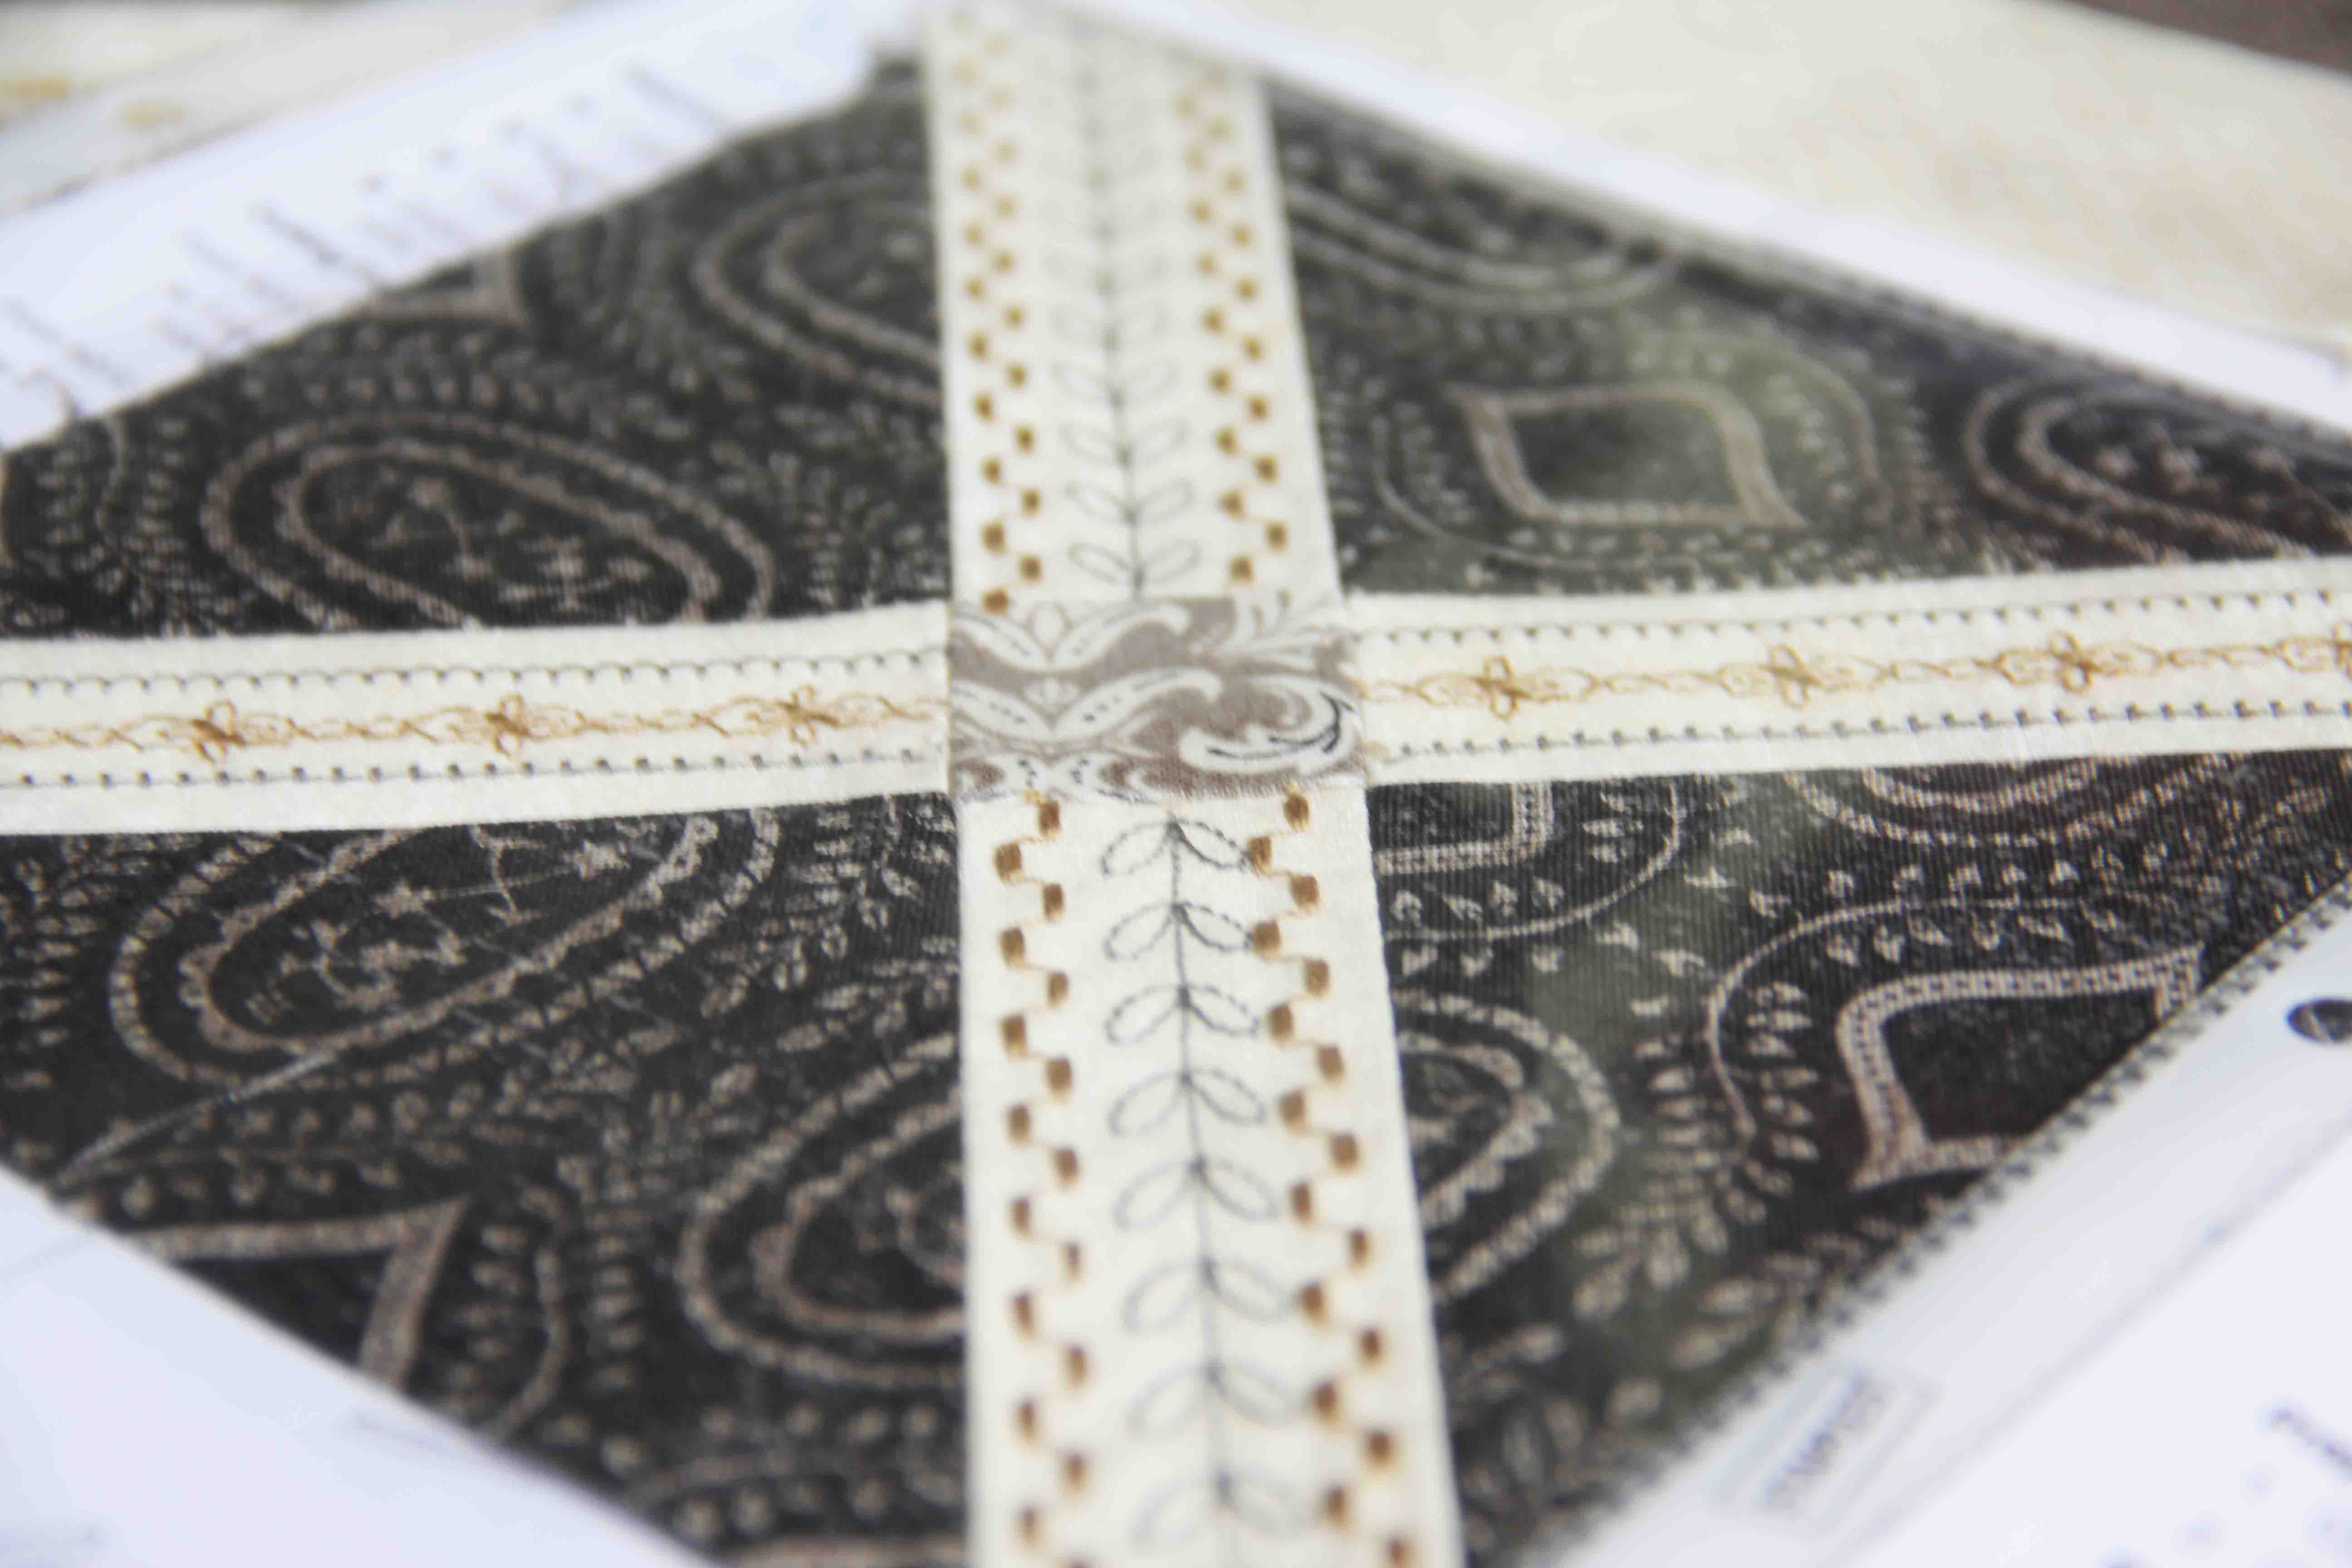
But, hey, it’s my quilt, and at the end of the day, I reserve the right to be a little choosy. That said, I have ventured into many an area I never thought I’d enjoy–like hand embroidery. Believe me, I still fall back on machine embroidery when I fall behind…or when I don’t really want to do any applique. Then I just digitize the whole block.

But a few of them I’ve done by hand, and while time-consuming, they have that unmistakable “slow stitched” look.
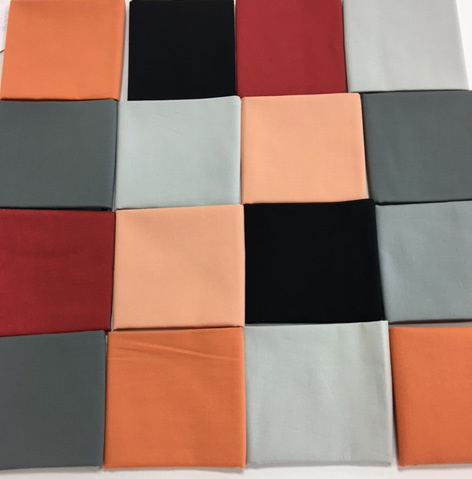
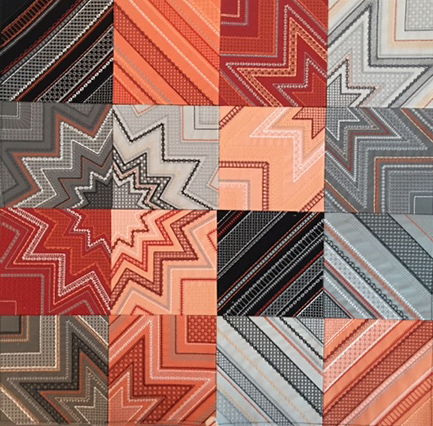
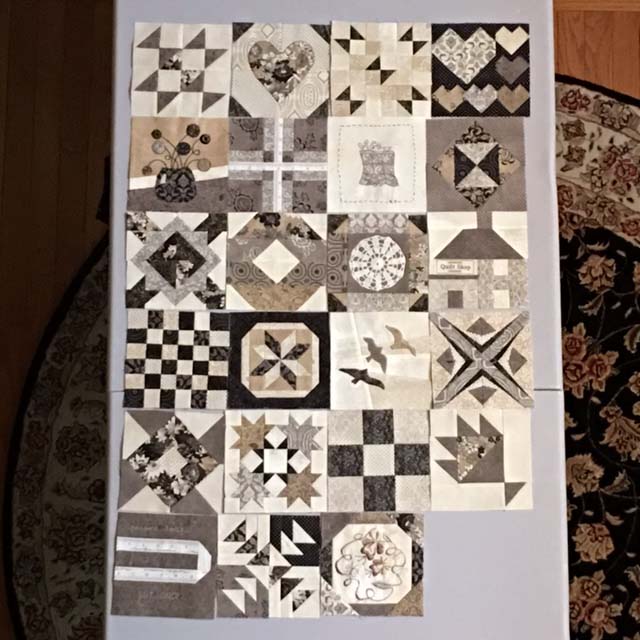
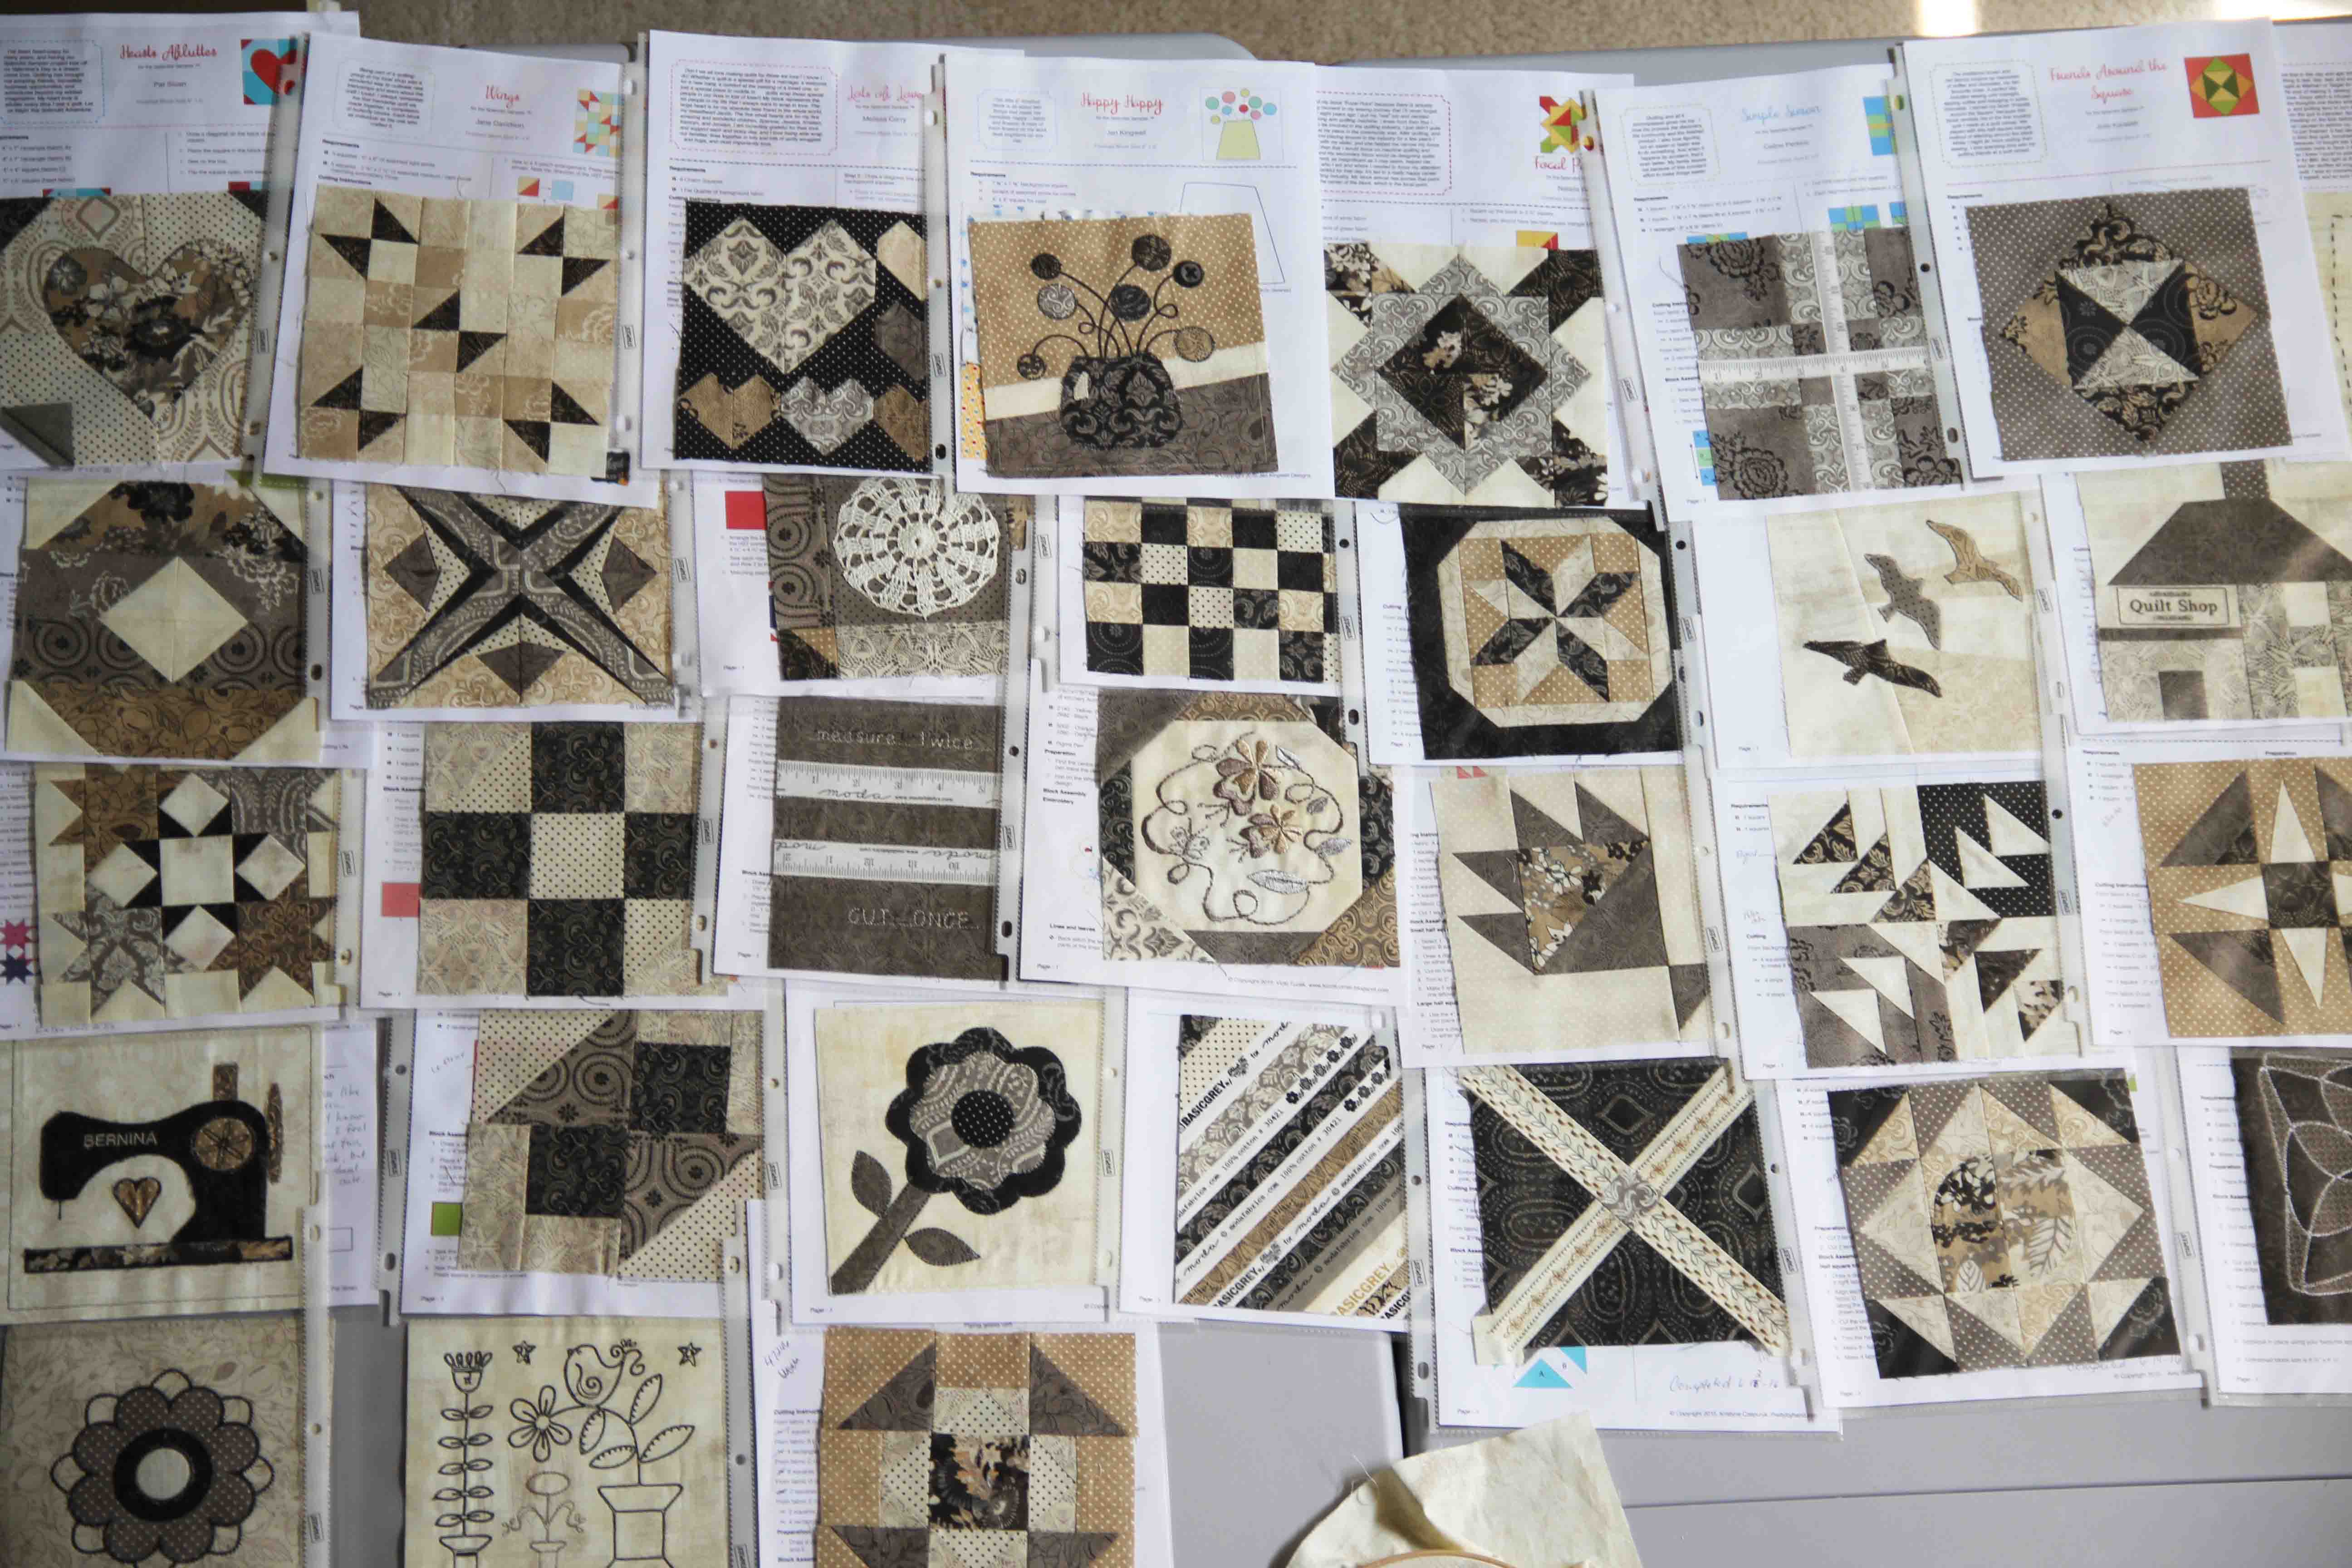
 No matter how you look at it, I am still proud that at the end of this year or the beginning of the next, I will have an amazing, interesting, unique and lovely quilt all pieced and ready to be assembled. It will be both a tribute to fellow quilters and a learning process on my part. In this picture, I left the blocks in their cellophane sleeves so they don’t begin to fray from too much handling.
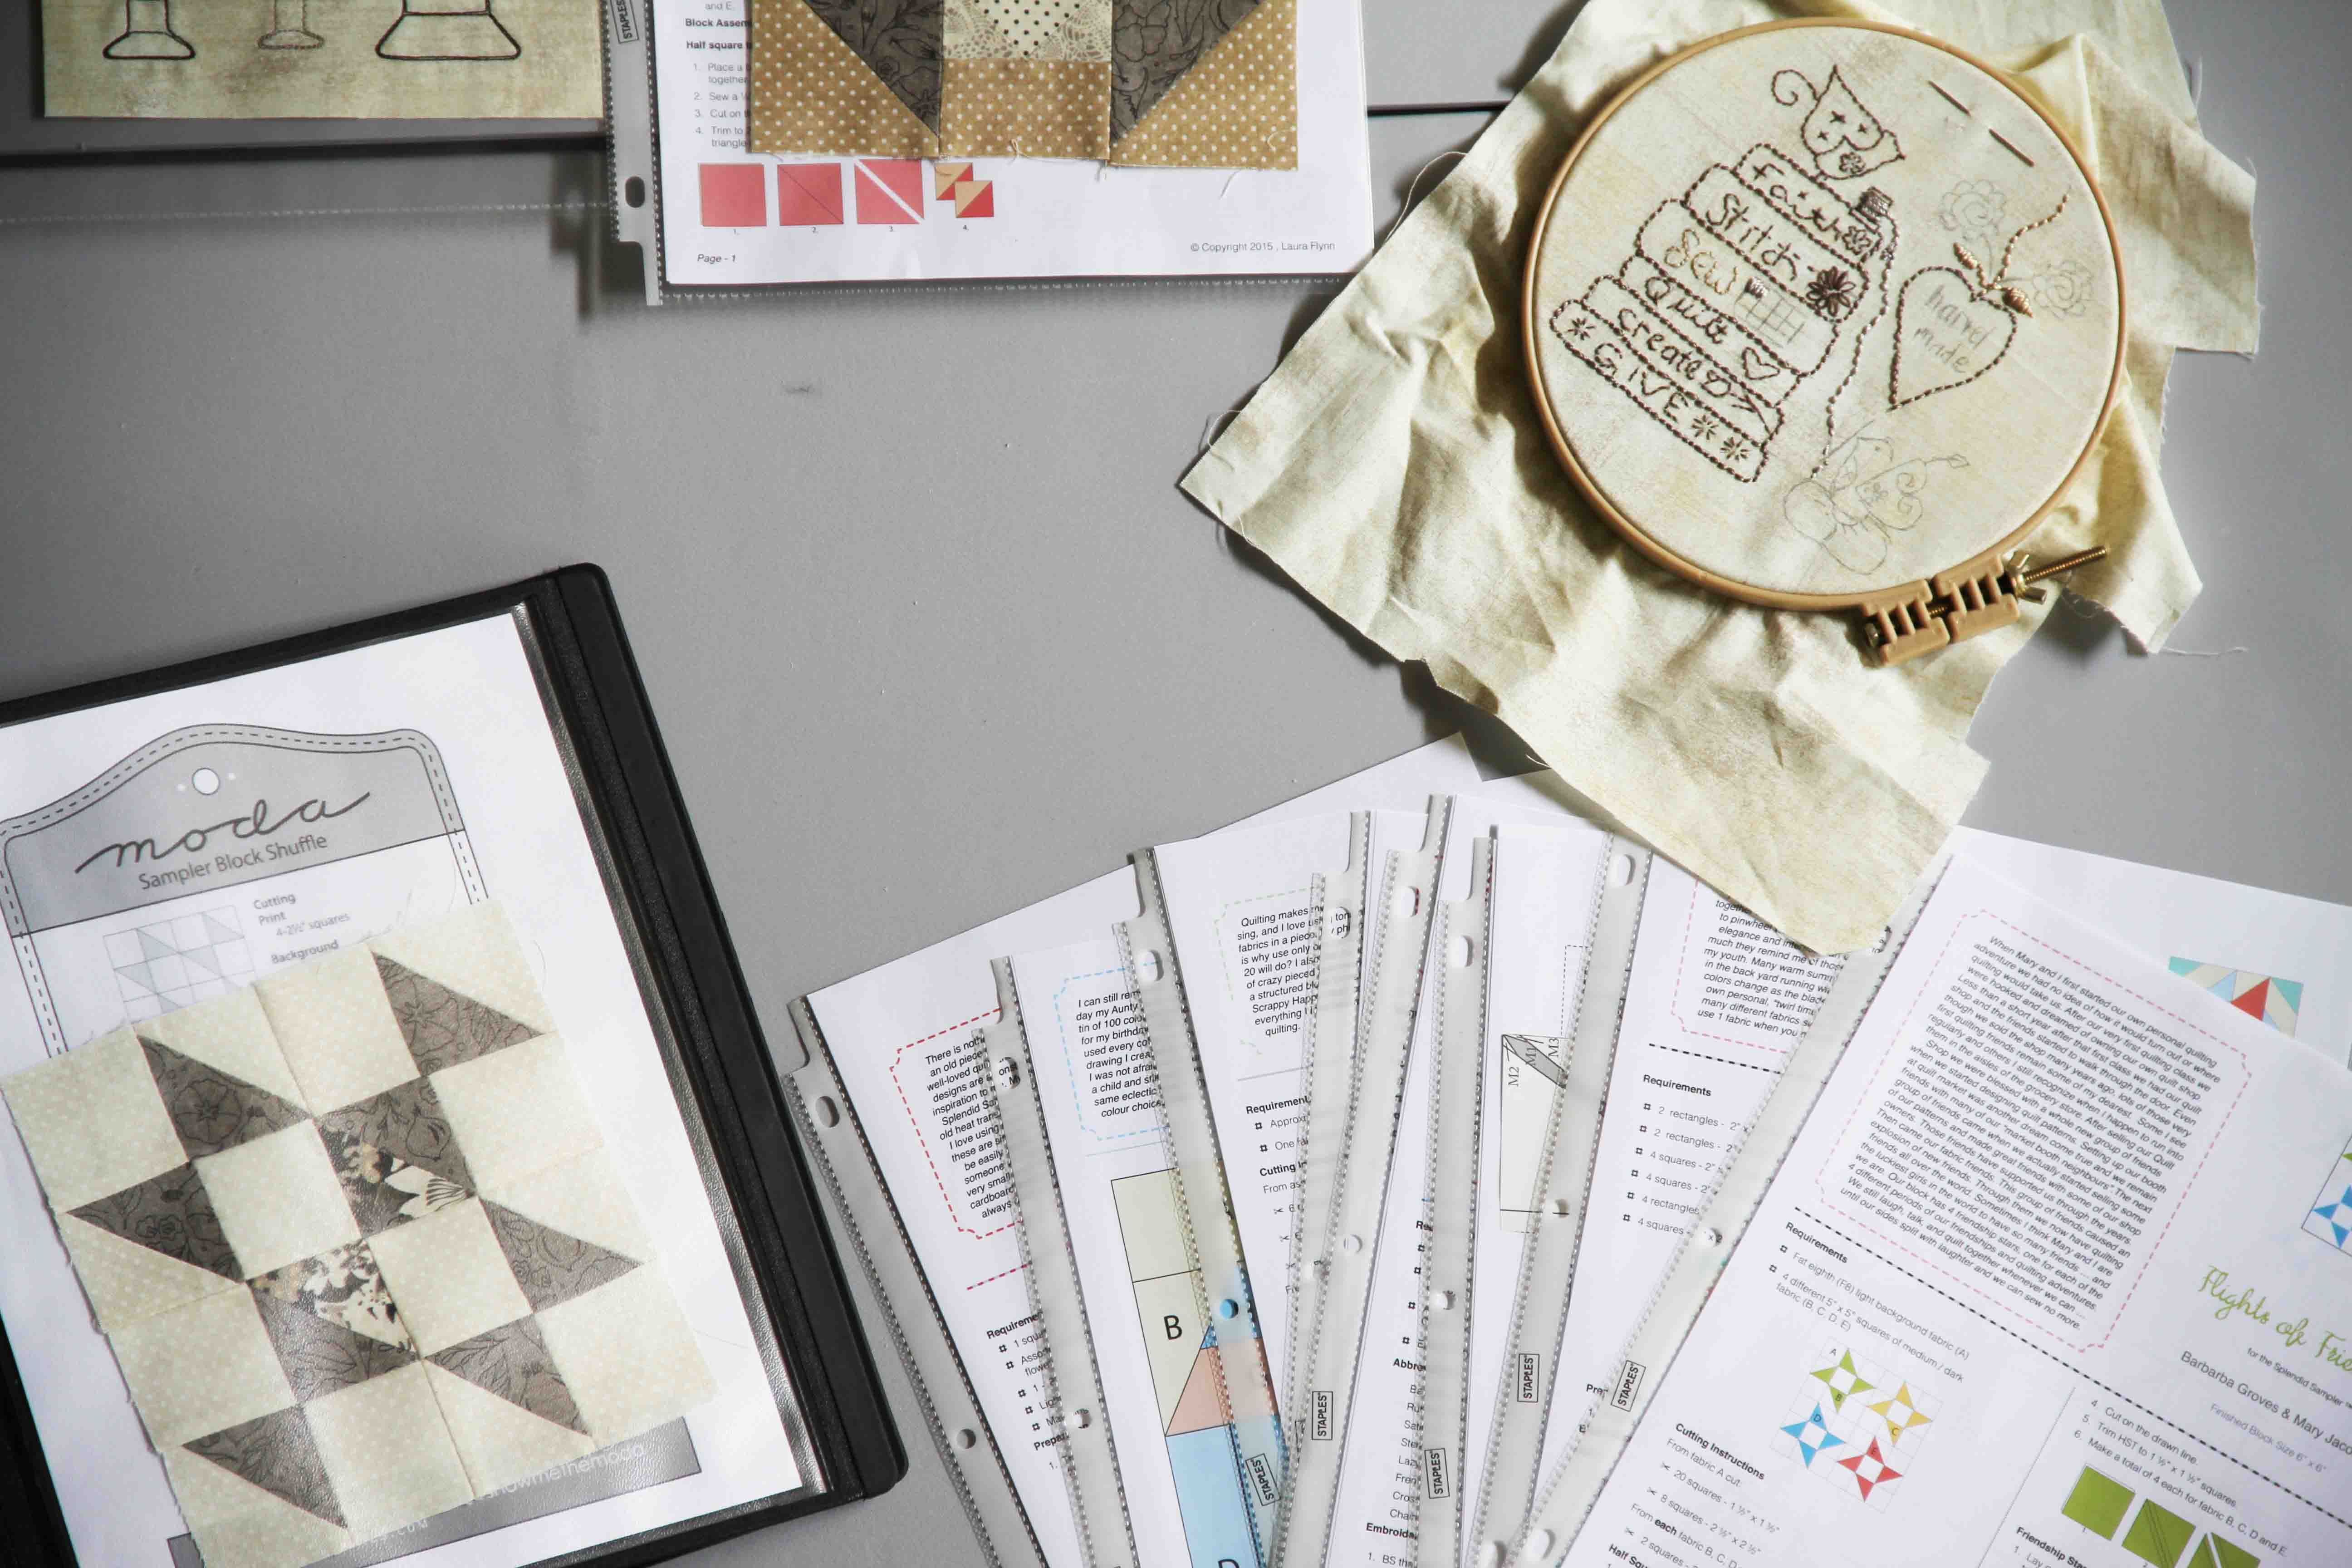
 Now back to the business of filling in some of the blocks I missed along the way.
 If you are inclined to join, feel free to hop on board. You can find the block patterns and all you need to know right here.
The Splendid Sampler Facebook page is also a great place for inspiration and community–see everyone else’s projects!
New blocks come out every Sunday and Thursday, and bonus blocks are plentiful. The patterns will be available for free for a year and then they will all be assembled in a book. (You know we’ll all want the book!)
Keep going Splendid Sampler lovers…we’ve rounded the corner!