I love one-of-a-kind.
If it hasn’t been done before, I’m in. Even if it has been done before, but it can be done slightly differently, I’m in.
What I’m not really interested in doing is creating exactly what someone else has already created. Let’s be honest, here. Nothing under the sun is really new any more. We all receive our inspiration from someone, or something, or some technique. Original ideas come from many places, but they almost always require inspiration from somewhere, and we all learn from one another.
That’s OK. As long as it’s new to you. I don’t judge people who take a pattern and re-create it exactly as the book dictates. That’s how we learn. We aren’t all designers. I’m not…at least I don’t get paid to be one.
But my favorite projects come to me like a whirlwind, and I have all to do to scribble them down before they disappear. The end product is not always exactly what I had planned, but I know when I have a starting point.
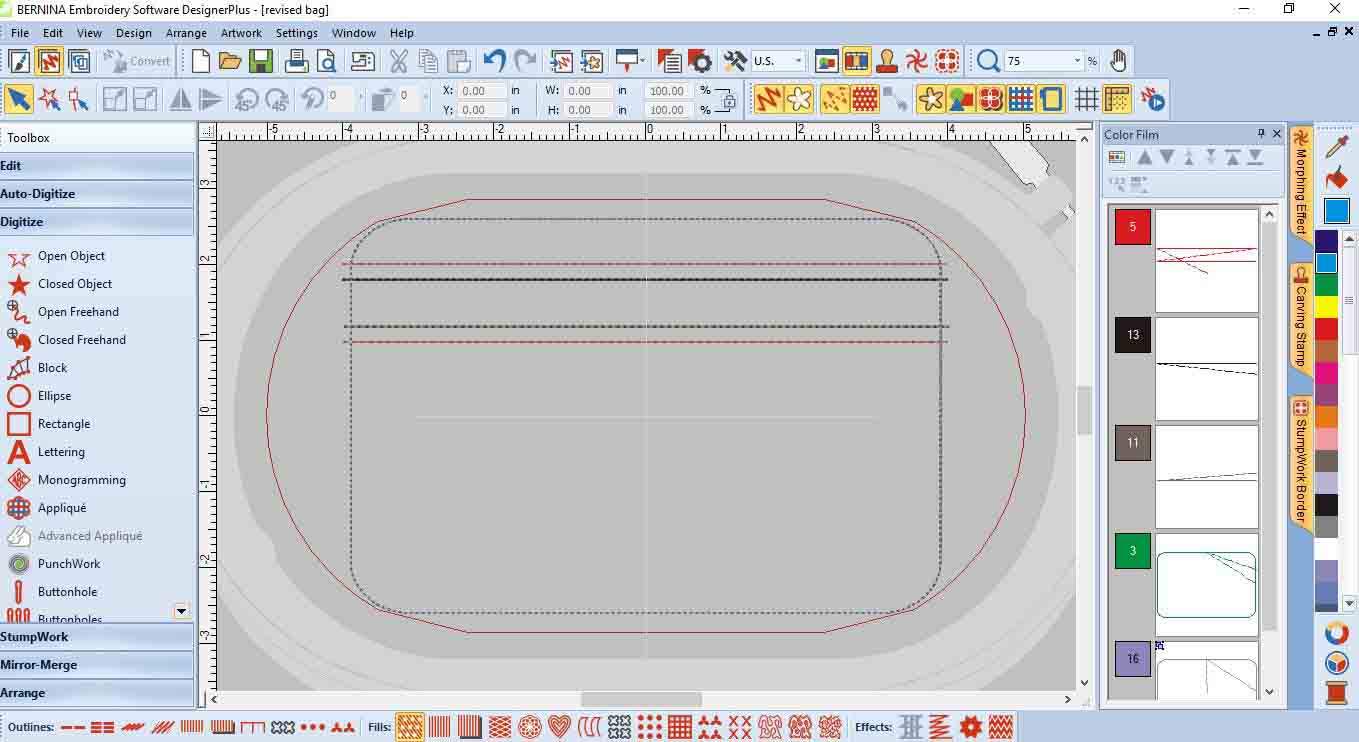
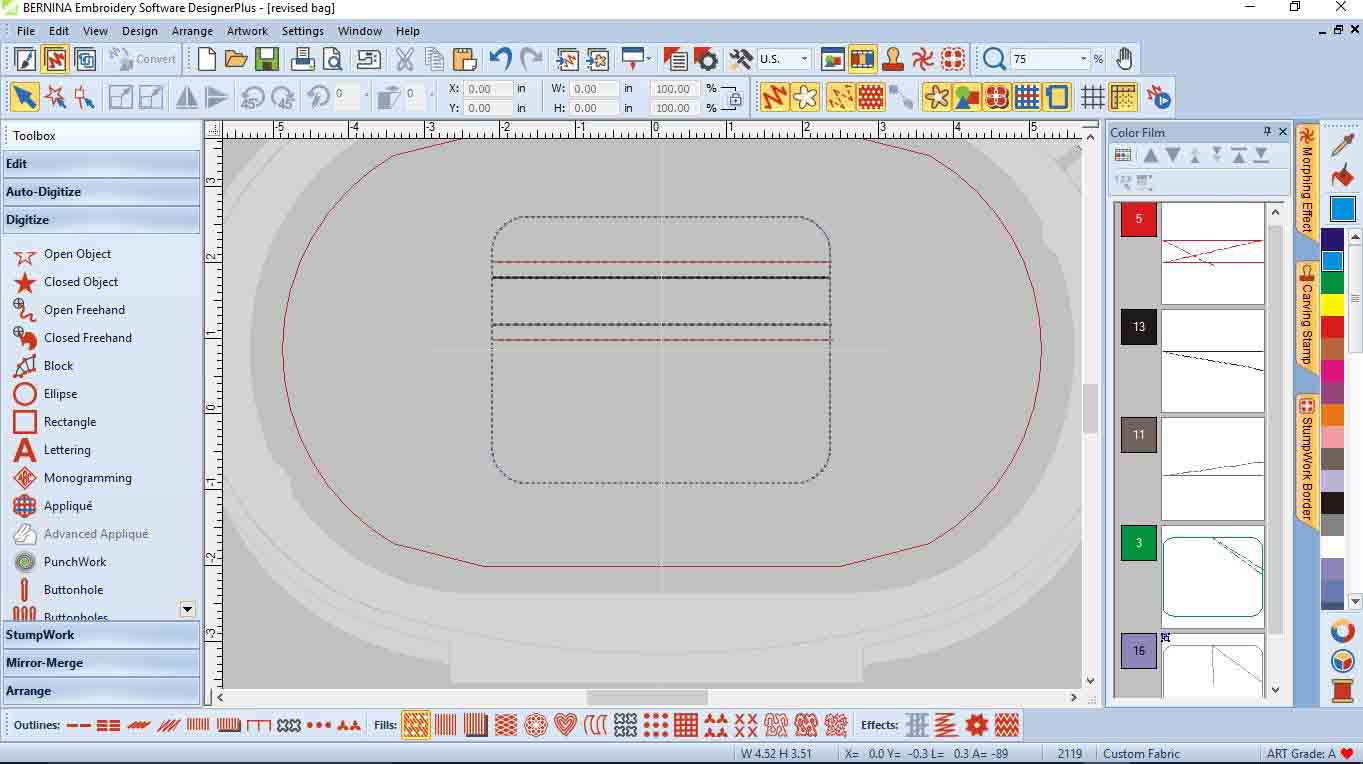
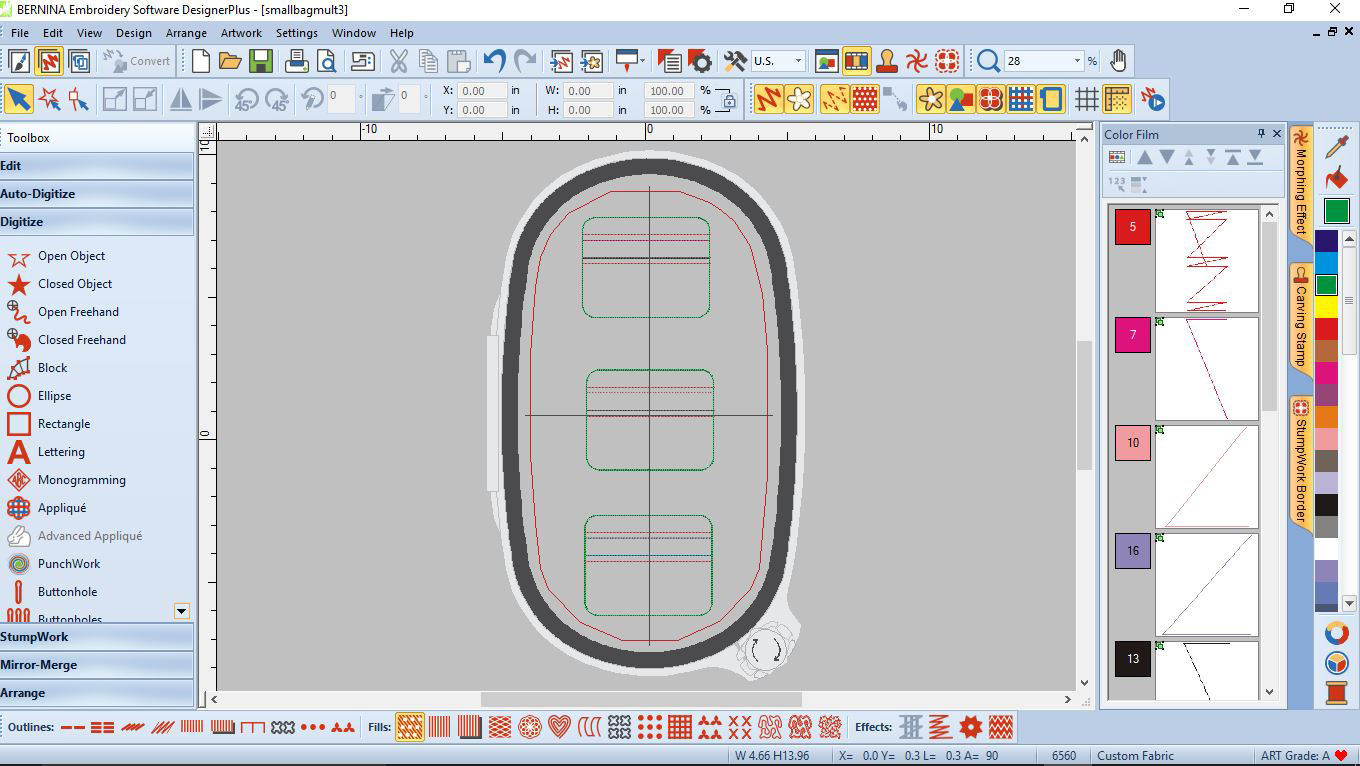
My challenge: To create a project based on some digitized rulers created in Artwork Canvas within Bernina Embroidery Software 8.
I started with the 3 black ruler shapes, wondering how to place them in an interesting project.
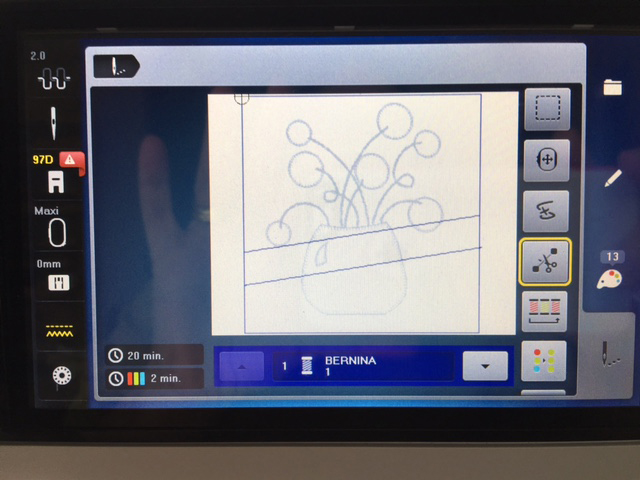
I knew I wanted to use a sewing theme, and I also wanted to incorporate Amanda Murphy’s Sewing Room embroidery designs. I thought they were cute and fresh. (See the link below).
Sitting at the computer one day, I had an idea. I don’t ever design on a computer. It’s just not fast enough to capture the idea before I talk myself out of it.
So I grabbed the back of the closest sheet of paper and scribbled out this initial design.
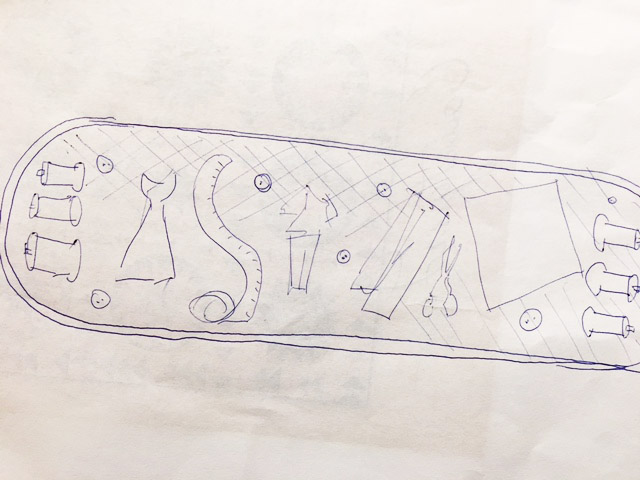 I thought I’d make a table runner, with all the embroidery designs lined up in a row. I thought about adding buttons scattered around the design, since the theme has thread spools, scissors , rulers, etc.
I didn’t have any fabric at home that was close to my reach that was in the right shape to hold all the designs.
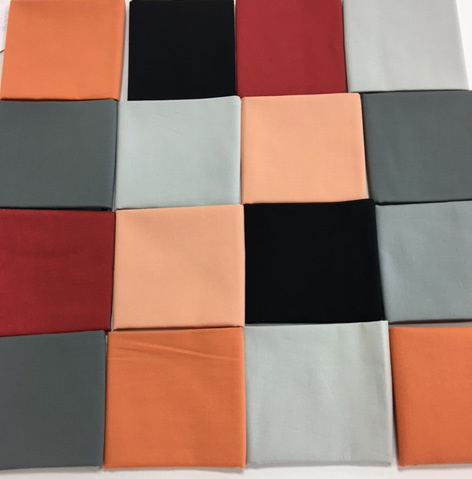
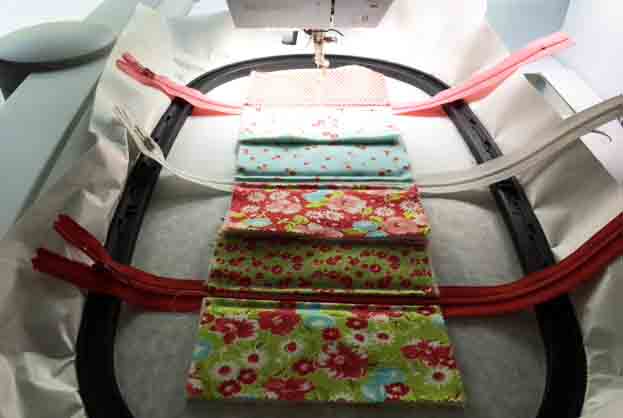
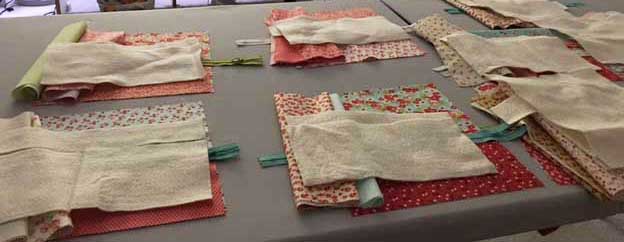
So I stitched a number of half fatquarters together (fat-eighths). I think they were leftover from this project.
And I printed out some templates to see if I was getting close to my original thought.
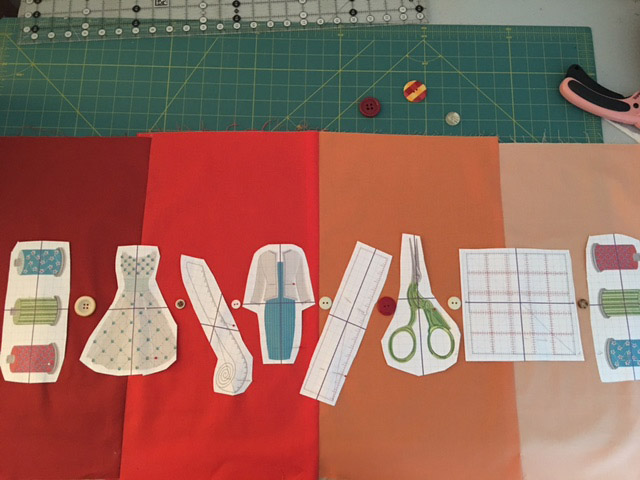 It was going to work.
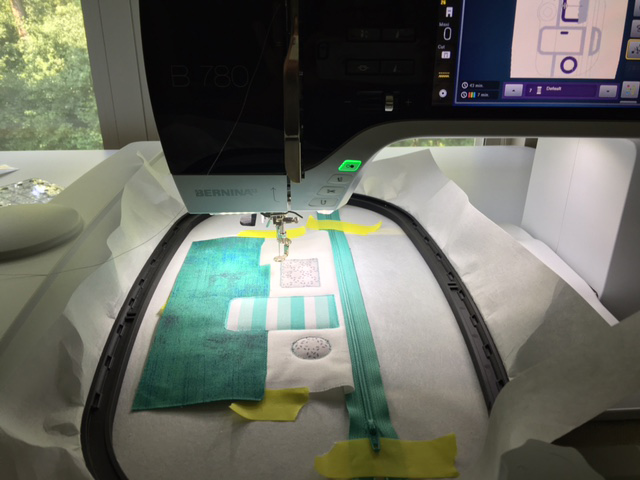
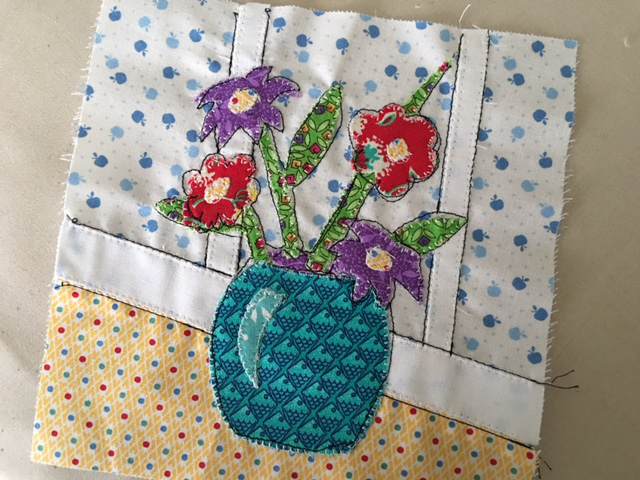
I began embroidery, and once the embroidery was complete, a friend at work (hey Bobbie!) asked if I was making another valance…this time for my sewing room. (You can check out the last time I made a valance here.)
I had actually been thinking of it as a table runner, but when she said valance, I suddenly saw that too!
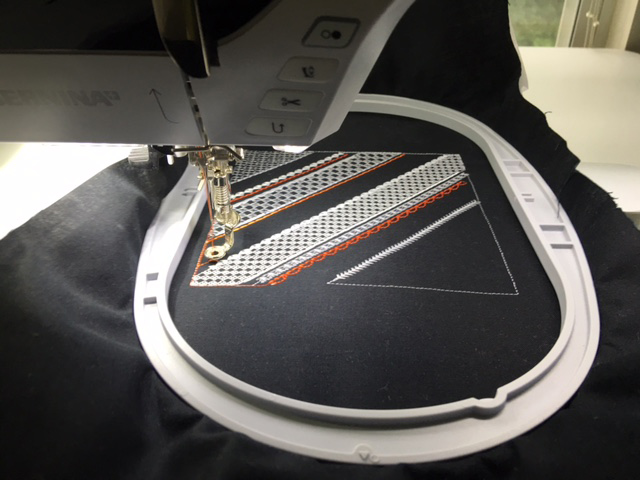
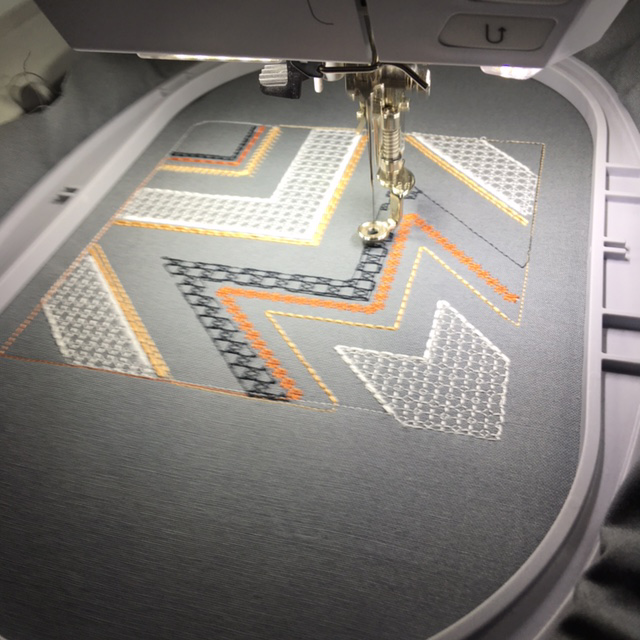
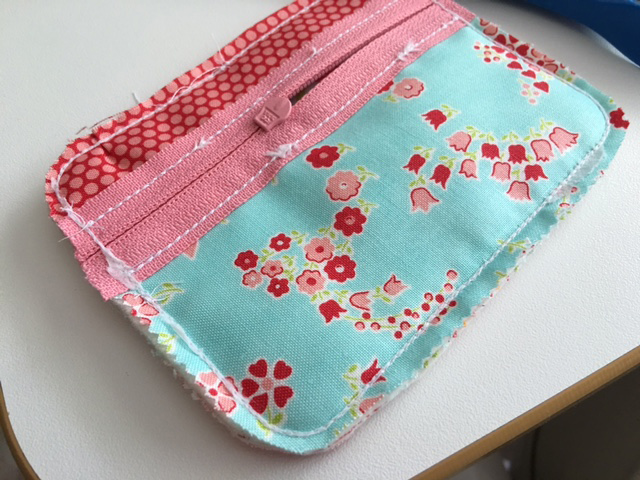
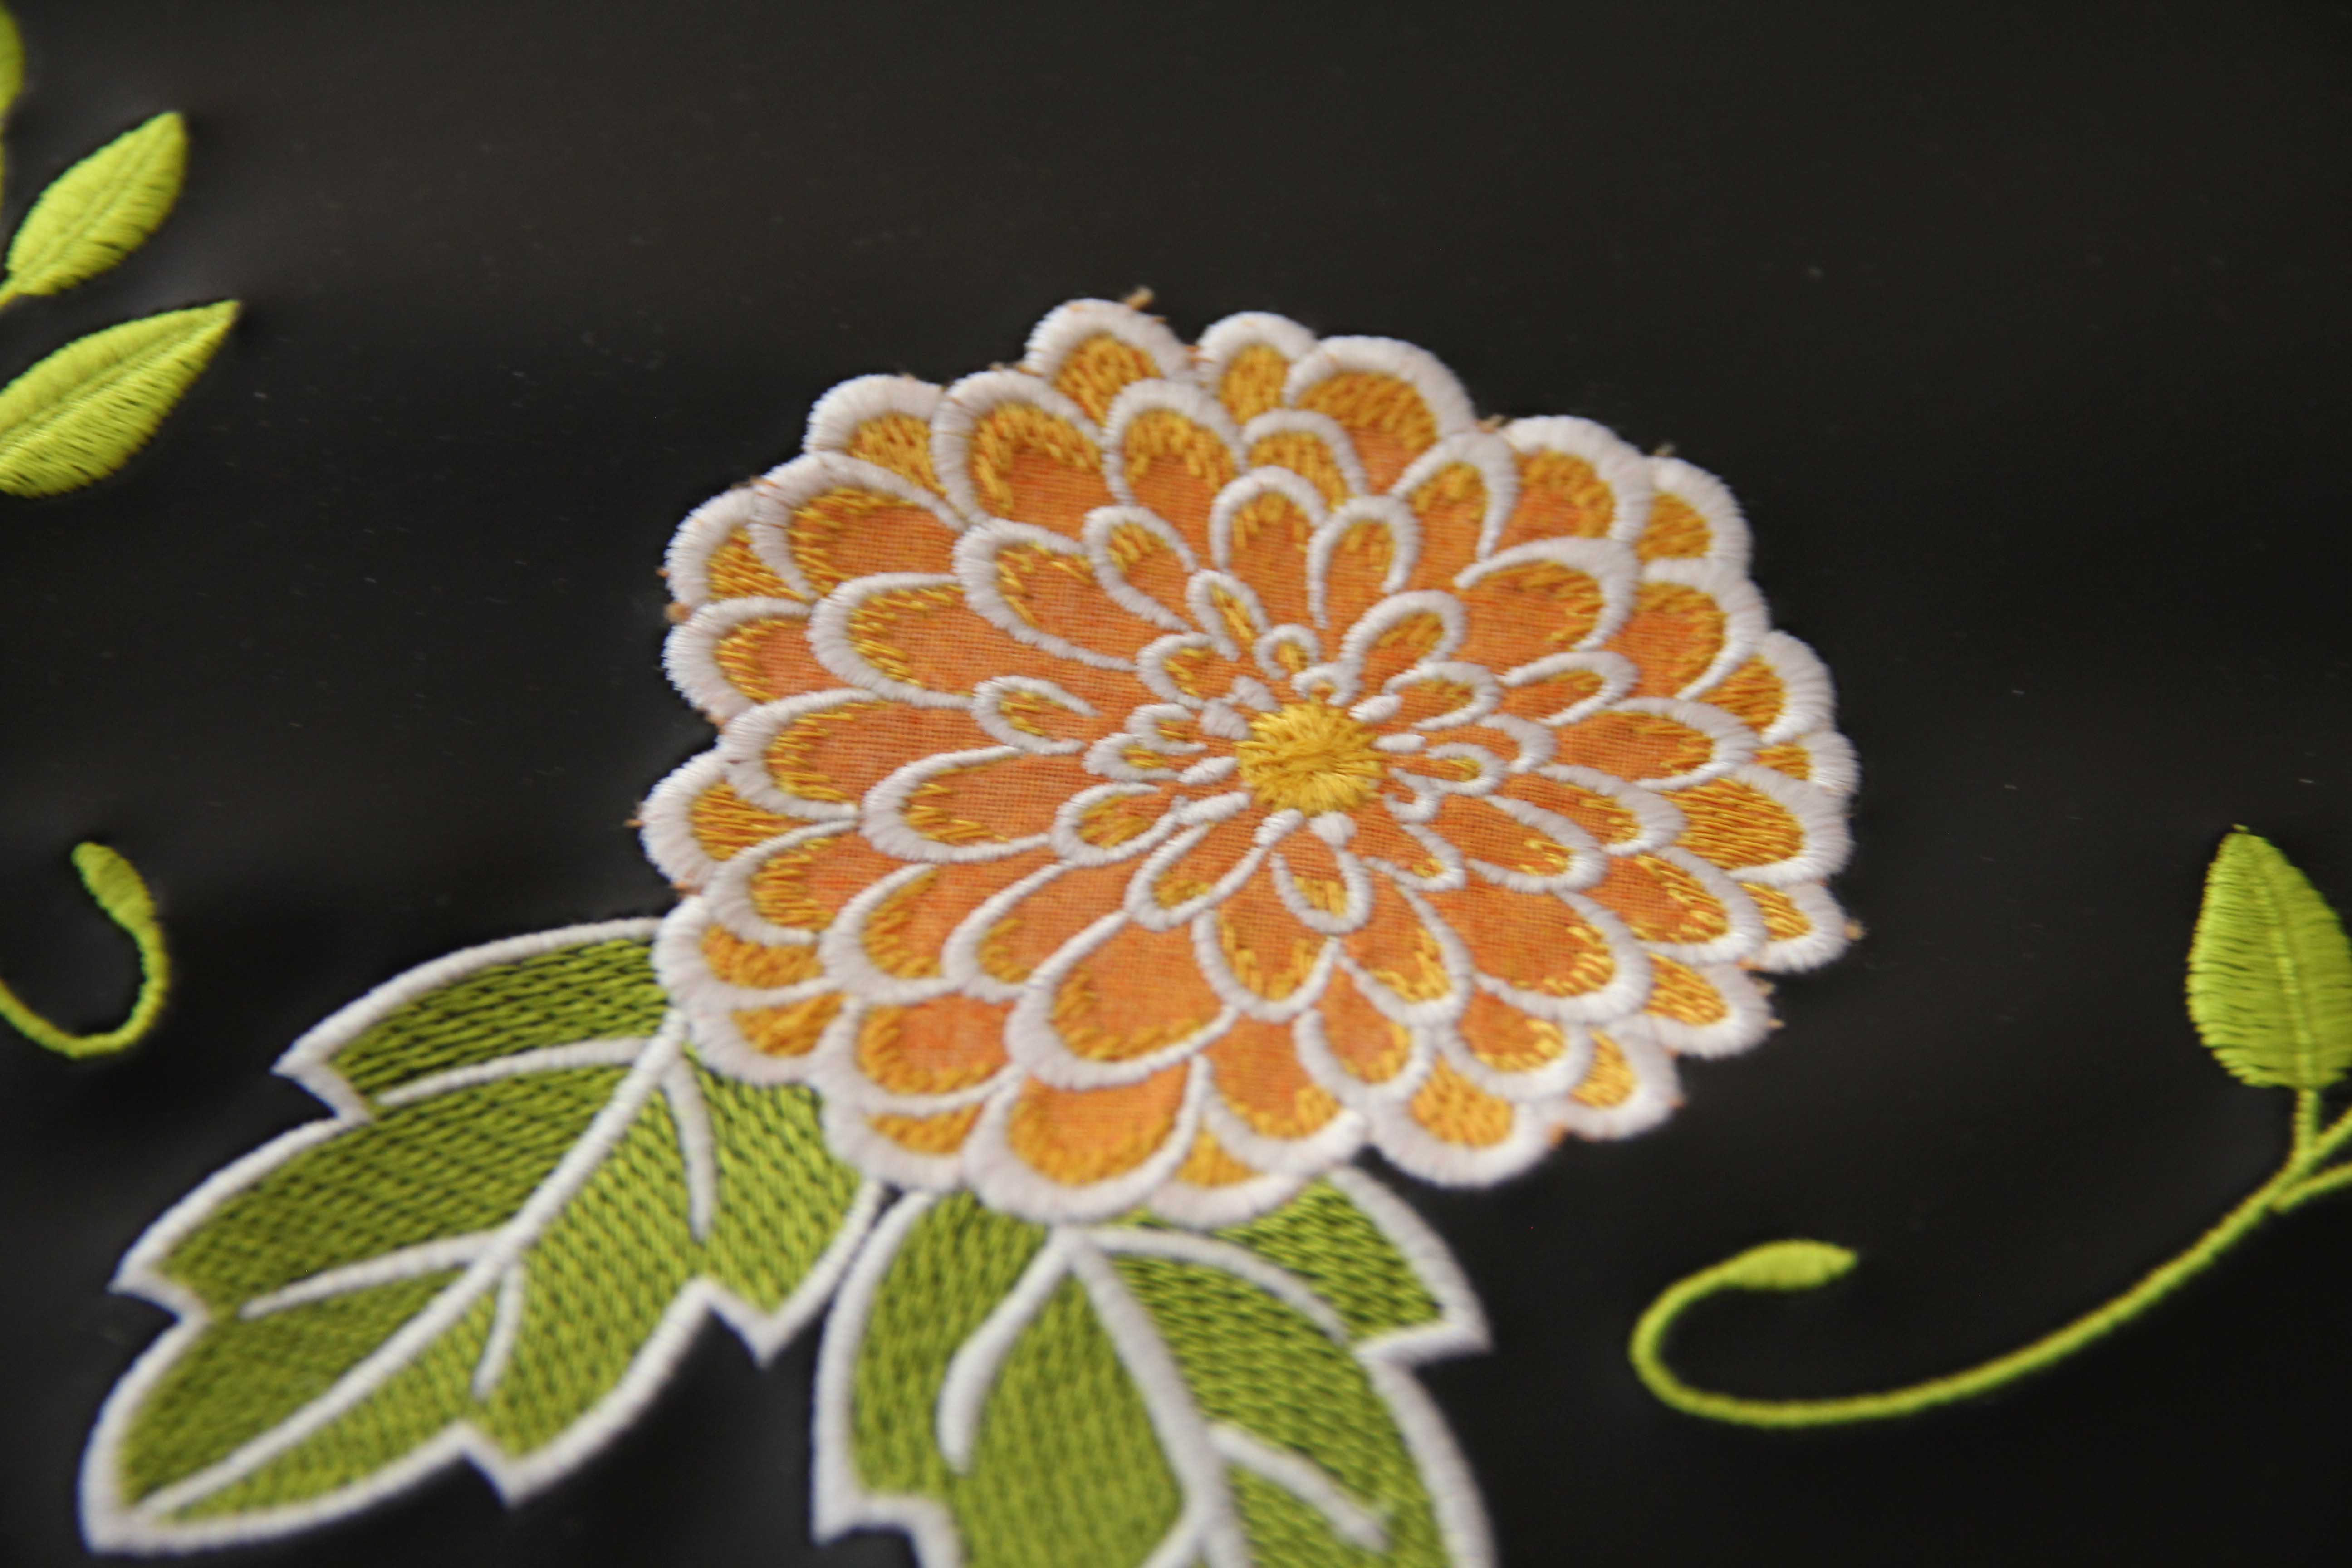
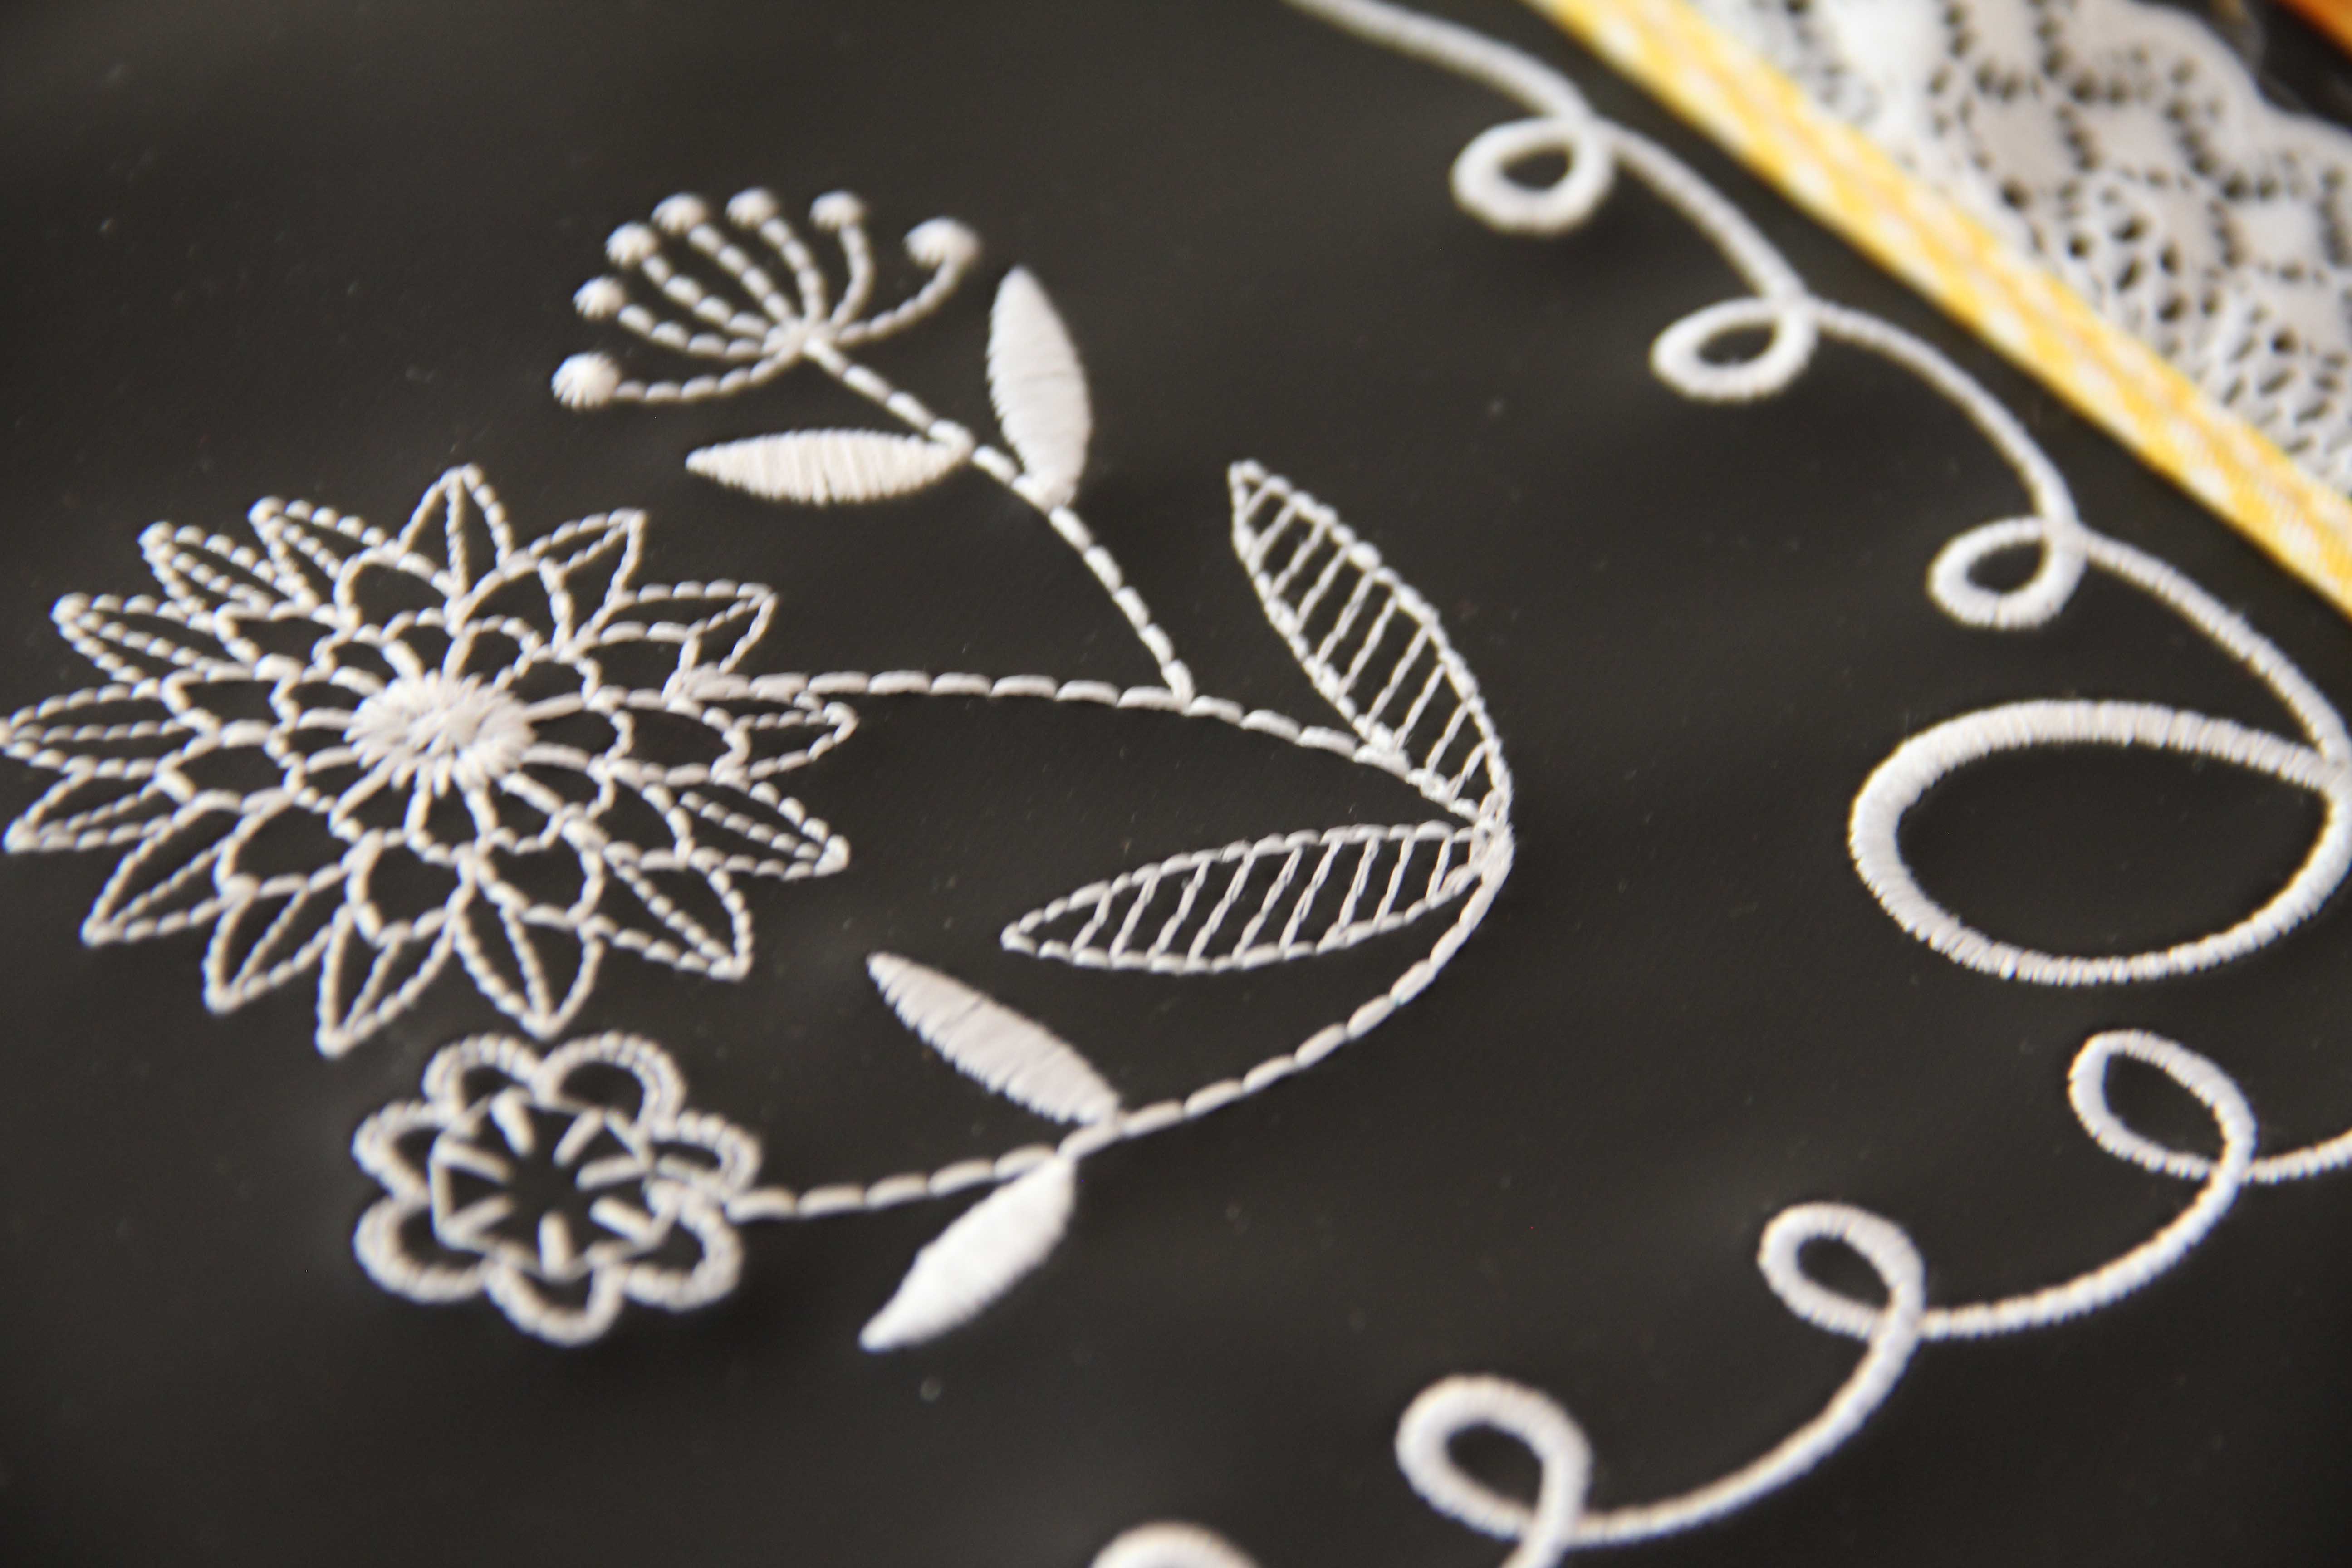
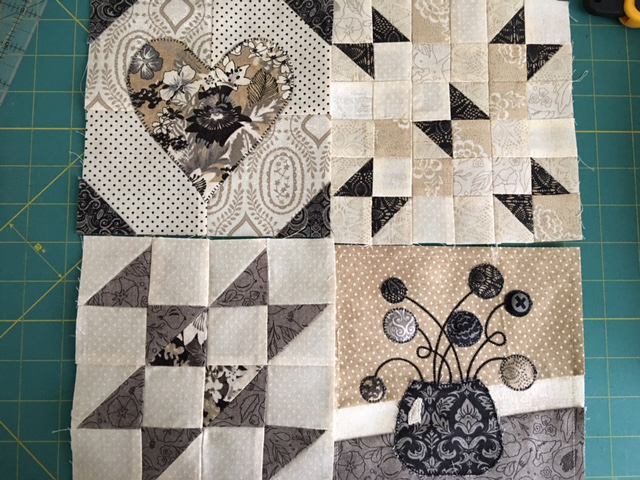
I continued with the quilting which for some reason was a part of the original scribble and I couldn’t depart from it. Here are a few of the detail shots.

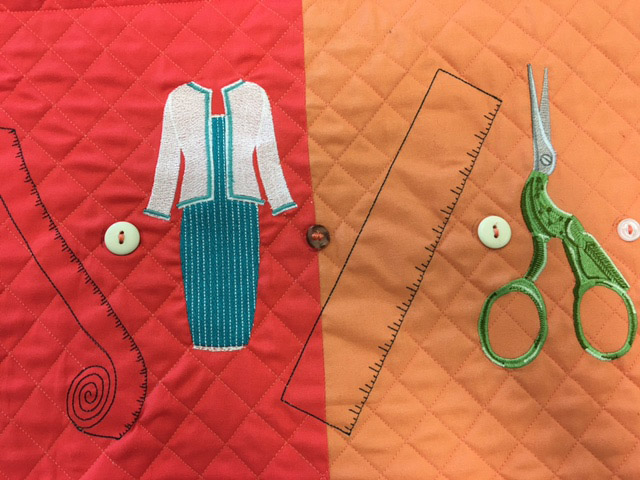
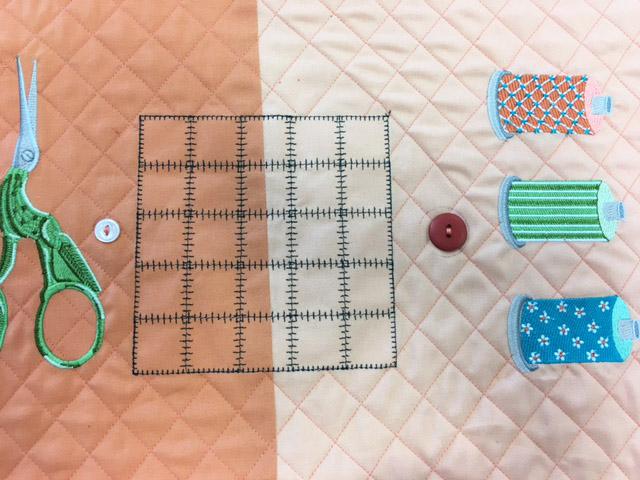
I’m sure you can see why I wanted to use Amanda Murphy’s embroideries…but it actually works pretty well with the digitized rulers.
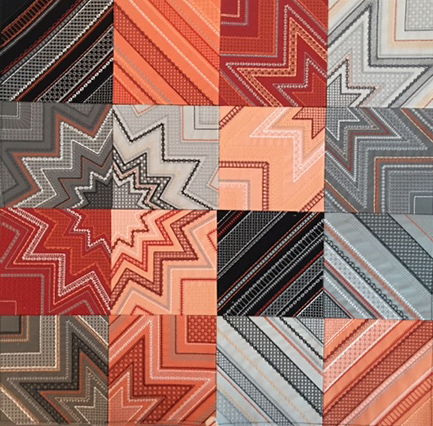
Here’s what it looks like complete. It’s quilted all over using a walking foot, and the back is turned down to form a rod pocket.
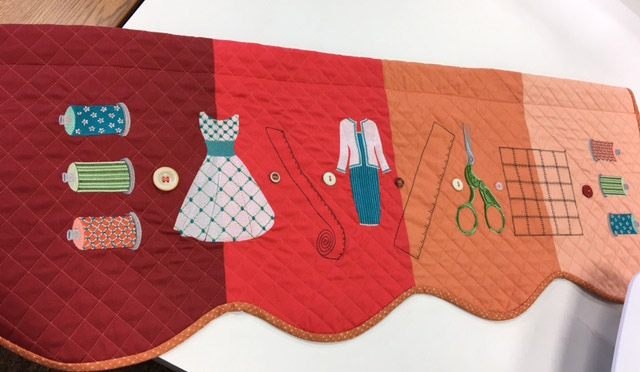 It will be at the shop for a while, but I can’t wait to hang it on the window in my sewing room. I moved the random-sized buttons to the middle to give it a look of continuity. I love the Barbie-style dresses.
You can make the rulers if you attend Bernina’s November Software Inspiration class at your local dealer. And if you don’t have software, I’m sure you can find a measuring tape embroidery or replace it with another design. The point is not to make the same valance I made, (although you certainly are welcome to do that) but to make it your own! Have fun with the idea, and create something new and original for your own home.