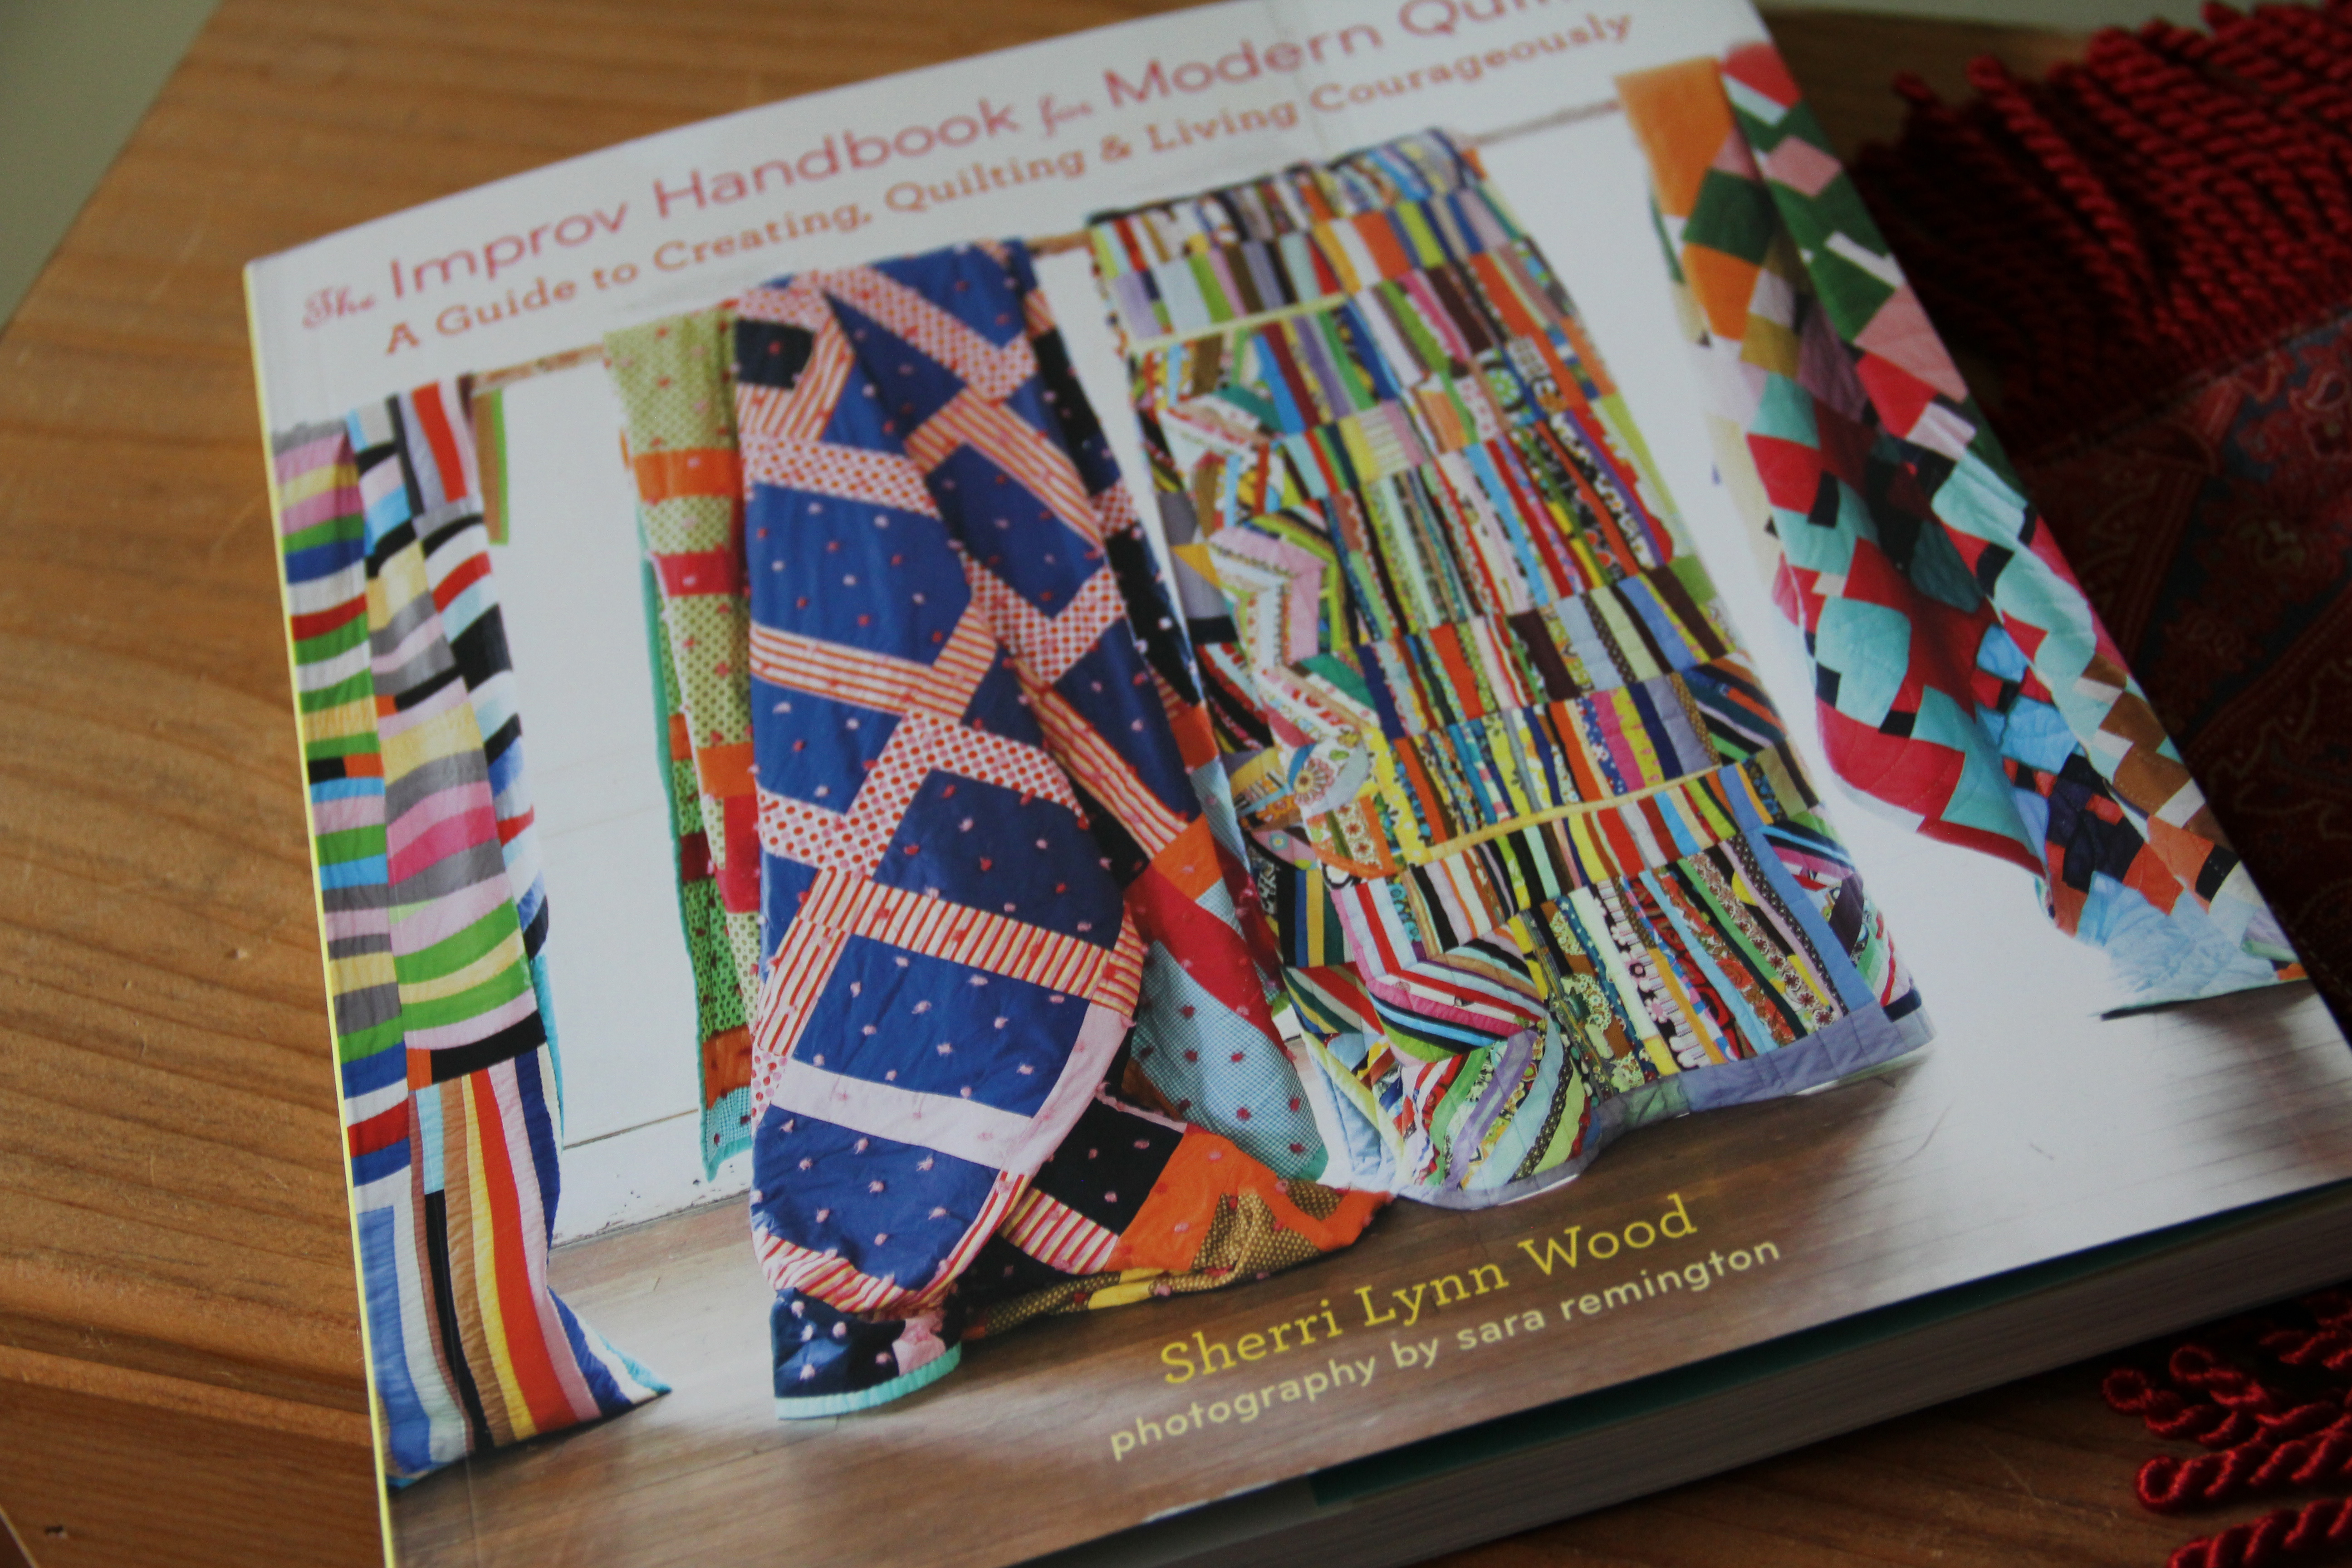
Whipped up a little tabletop quilt with inspiration from Sylvain Bergeron, Bernina educator. One of his Software Inspirations tutorials included a couple of fun embroidery designs in circles. It was part of a much larger presentation, but I wanted to stitch the circle designs out for my students to see.
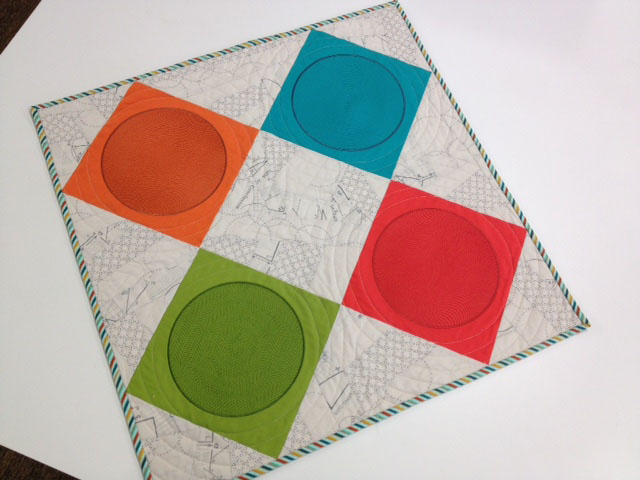 In this overview photo, it’s hard to see the detail inside the circles, but the effect of stitching them on vibrant colors offset by simple background fabric is striking.
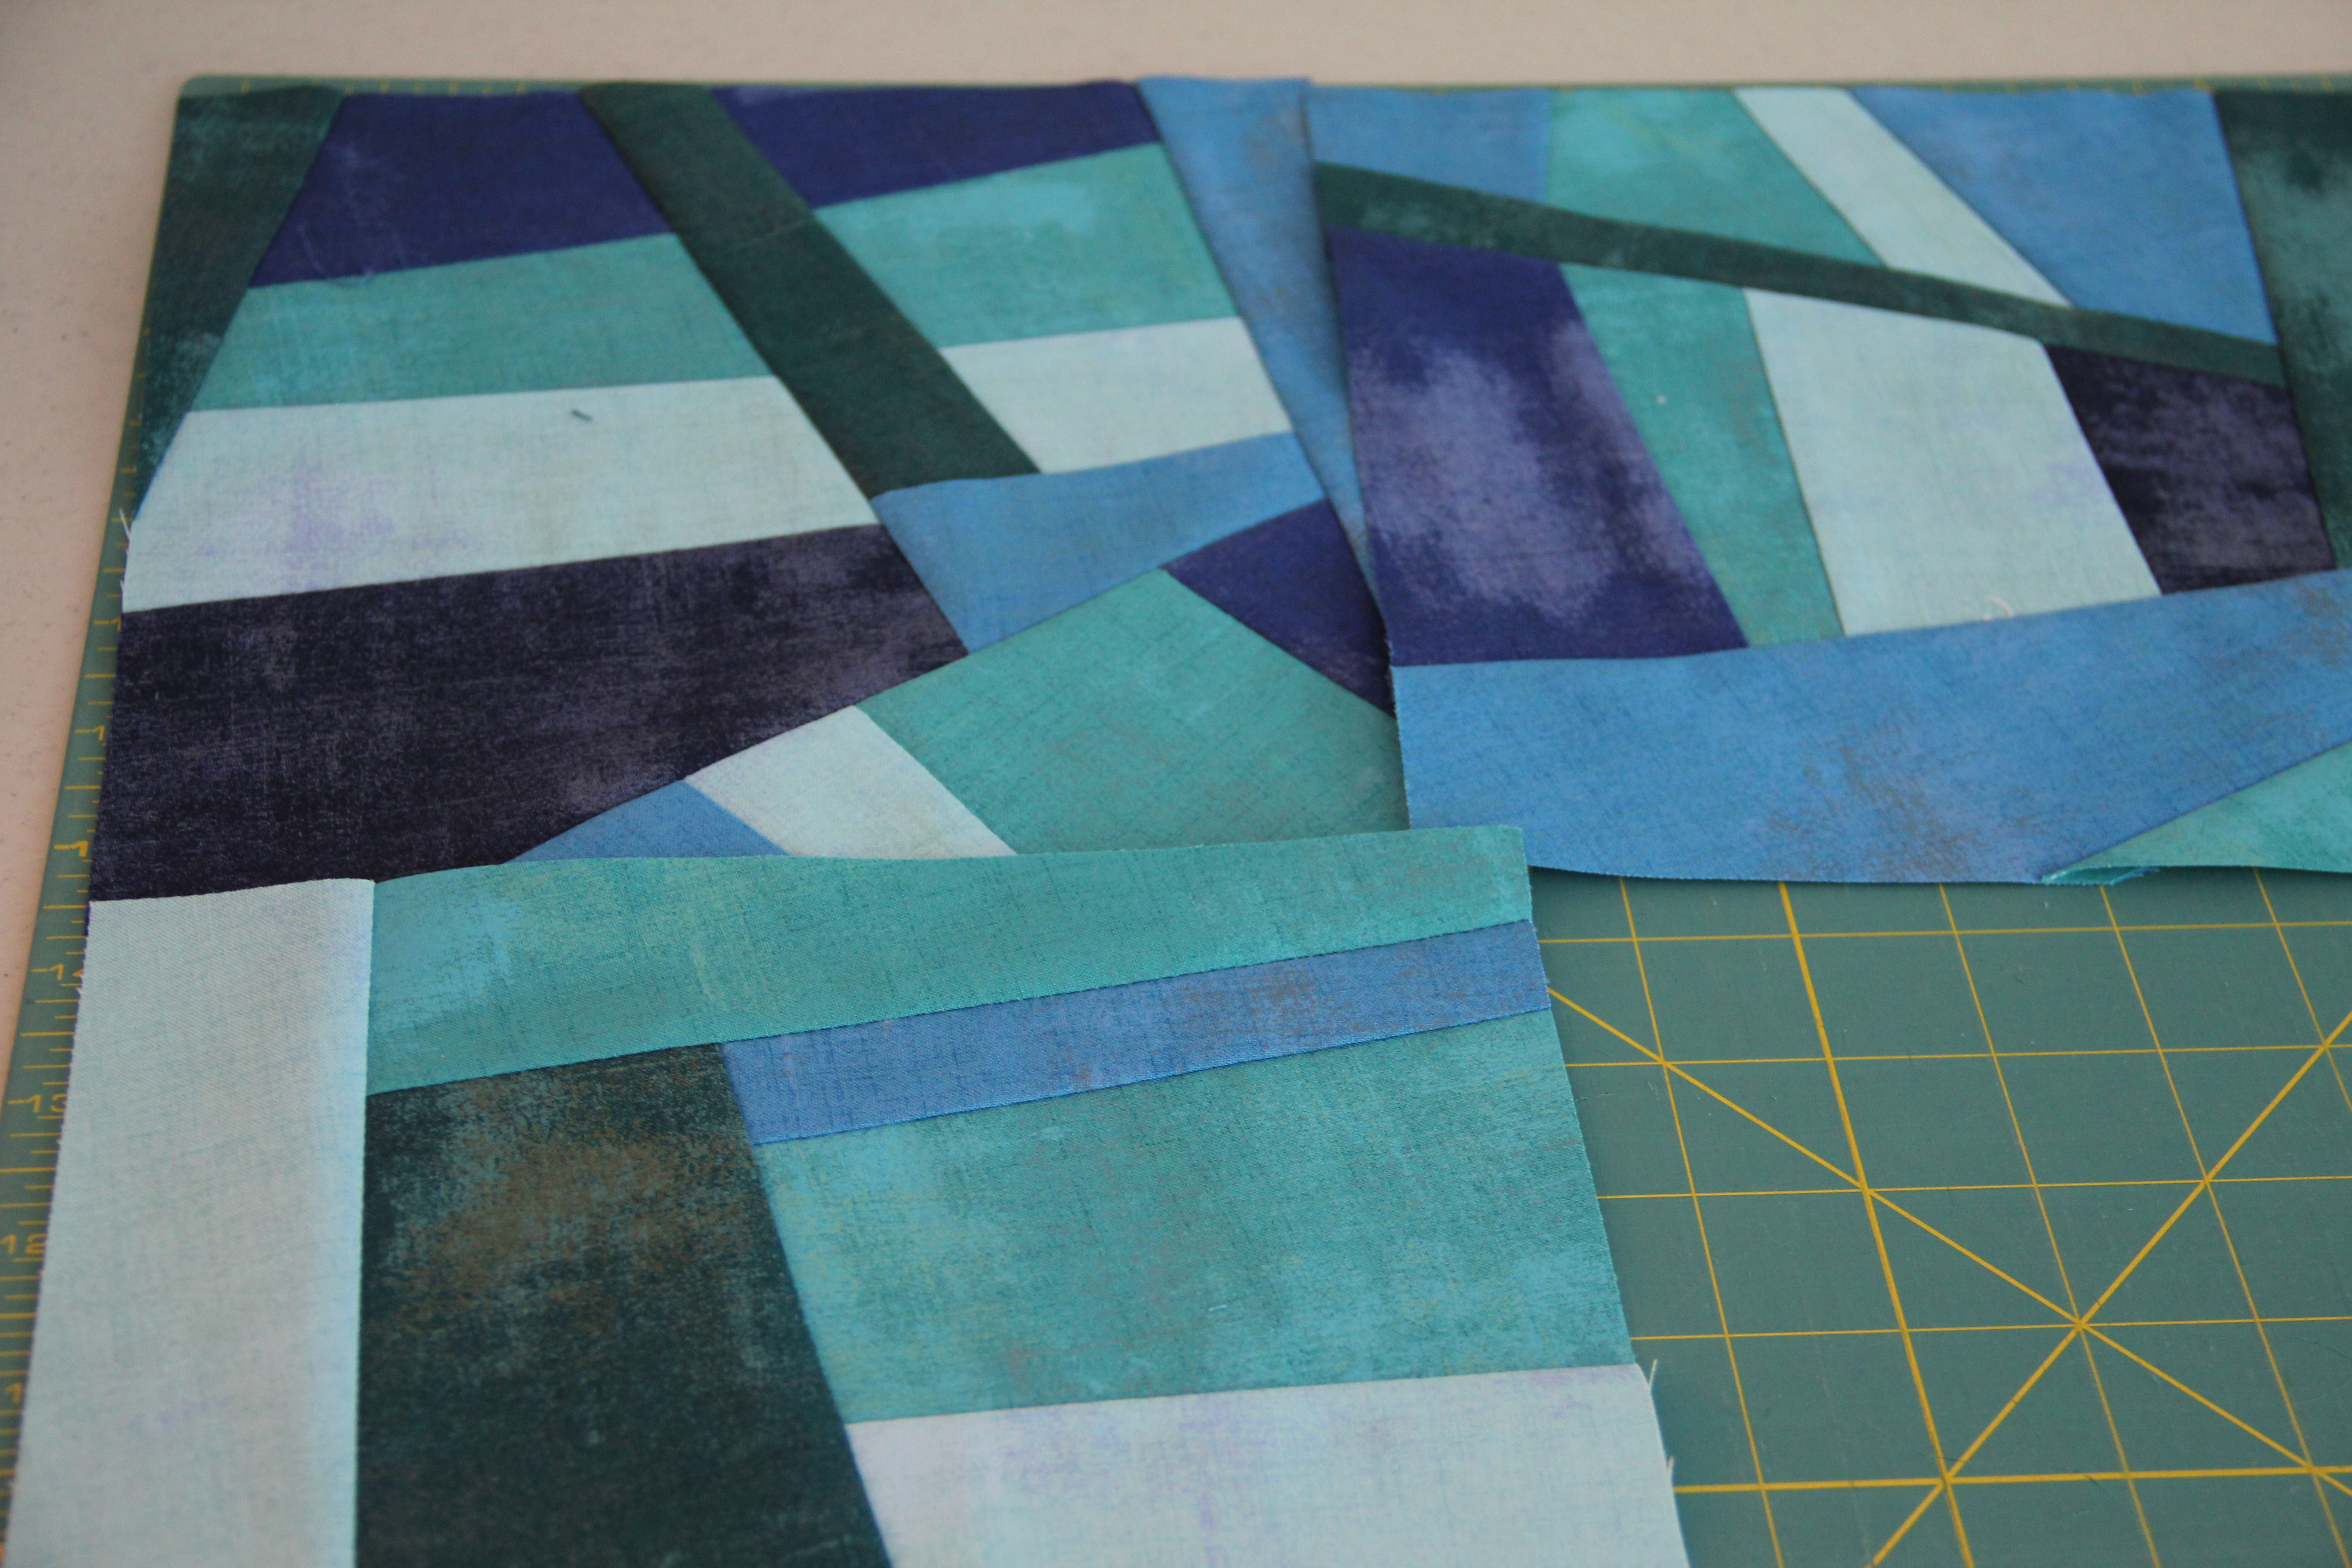
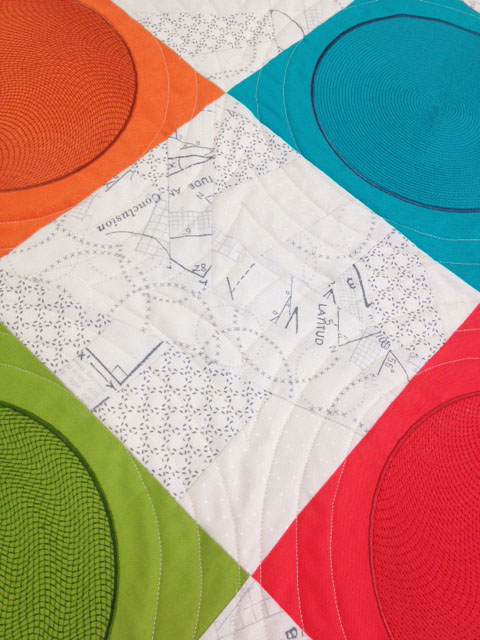
The background fabric is 4 or 5 variations of Modern Background Paper by Zen Chic, one of my new favorite lines. I want to use this background fabric on everything….and I do. It’s so versatile, it looks great everywhere. Anyway, on this quilt, I just crazy pieced some variations together and cut them to fill the “on point” circles.
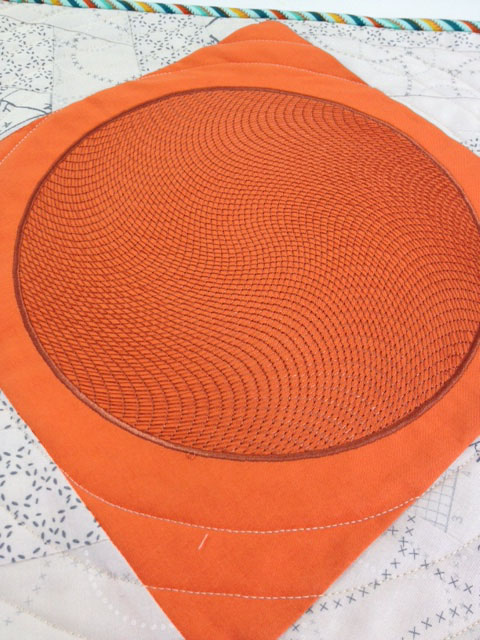
Sylvain called this one “Dragon Scales” and I guess if you think about it, that’s what it looks like.

The green one is called “Snake skin” for obvious reasons.
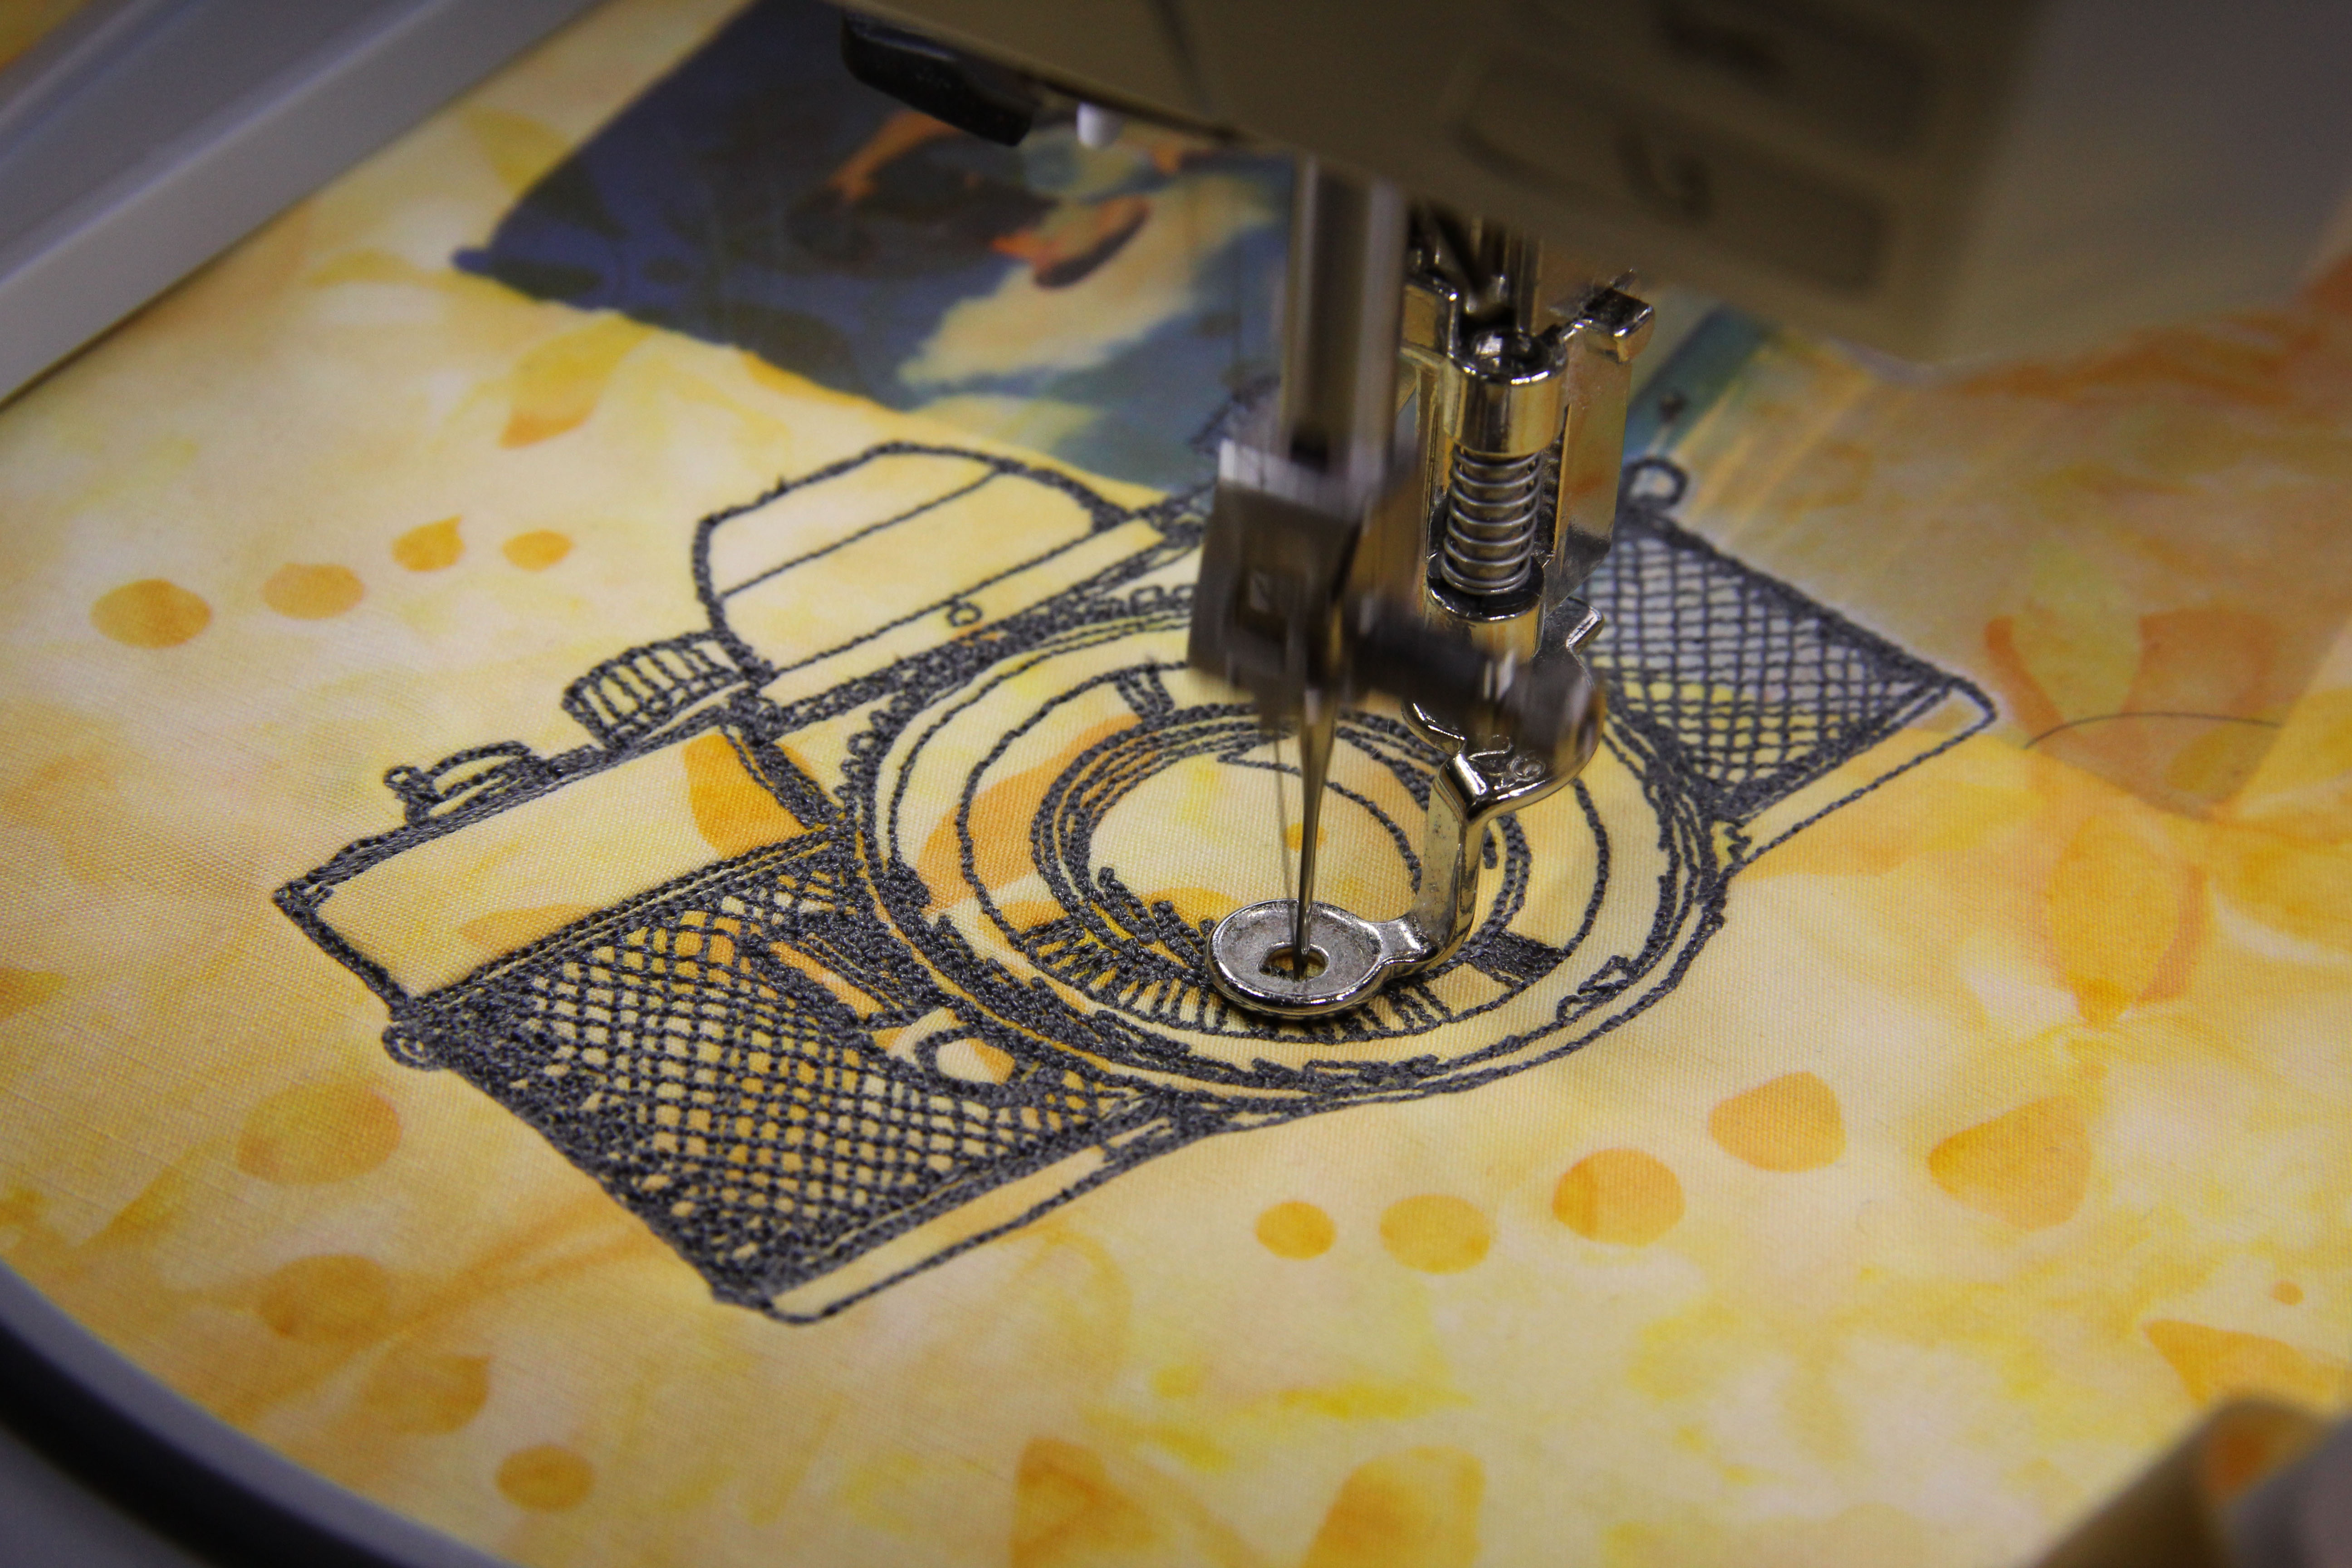
If you work in Bernina embroidery Software at all, these are very simple. You just digitize a circle and morph the fill. Of course, you’ll have to play with the settings of fill spacing and morphing, but that’s basically the way these are created. You’ll have to attend Software Sampler at your local dealer to get all the details.
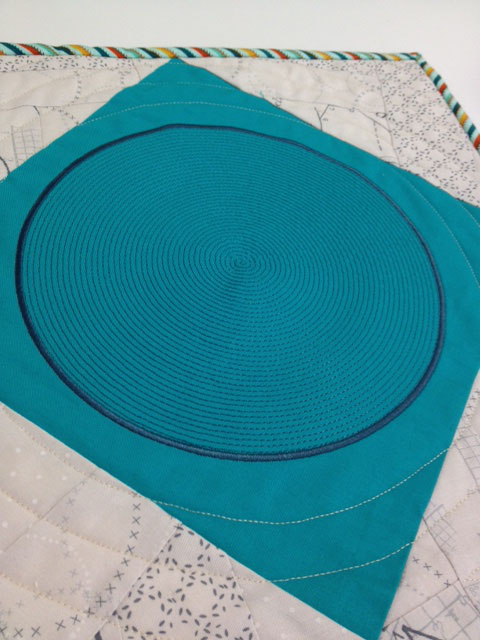
I added another circle to the quilt, using the ripple fill.
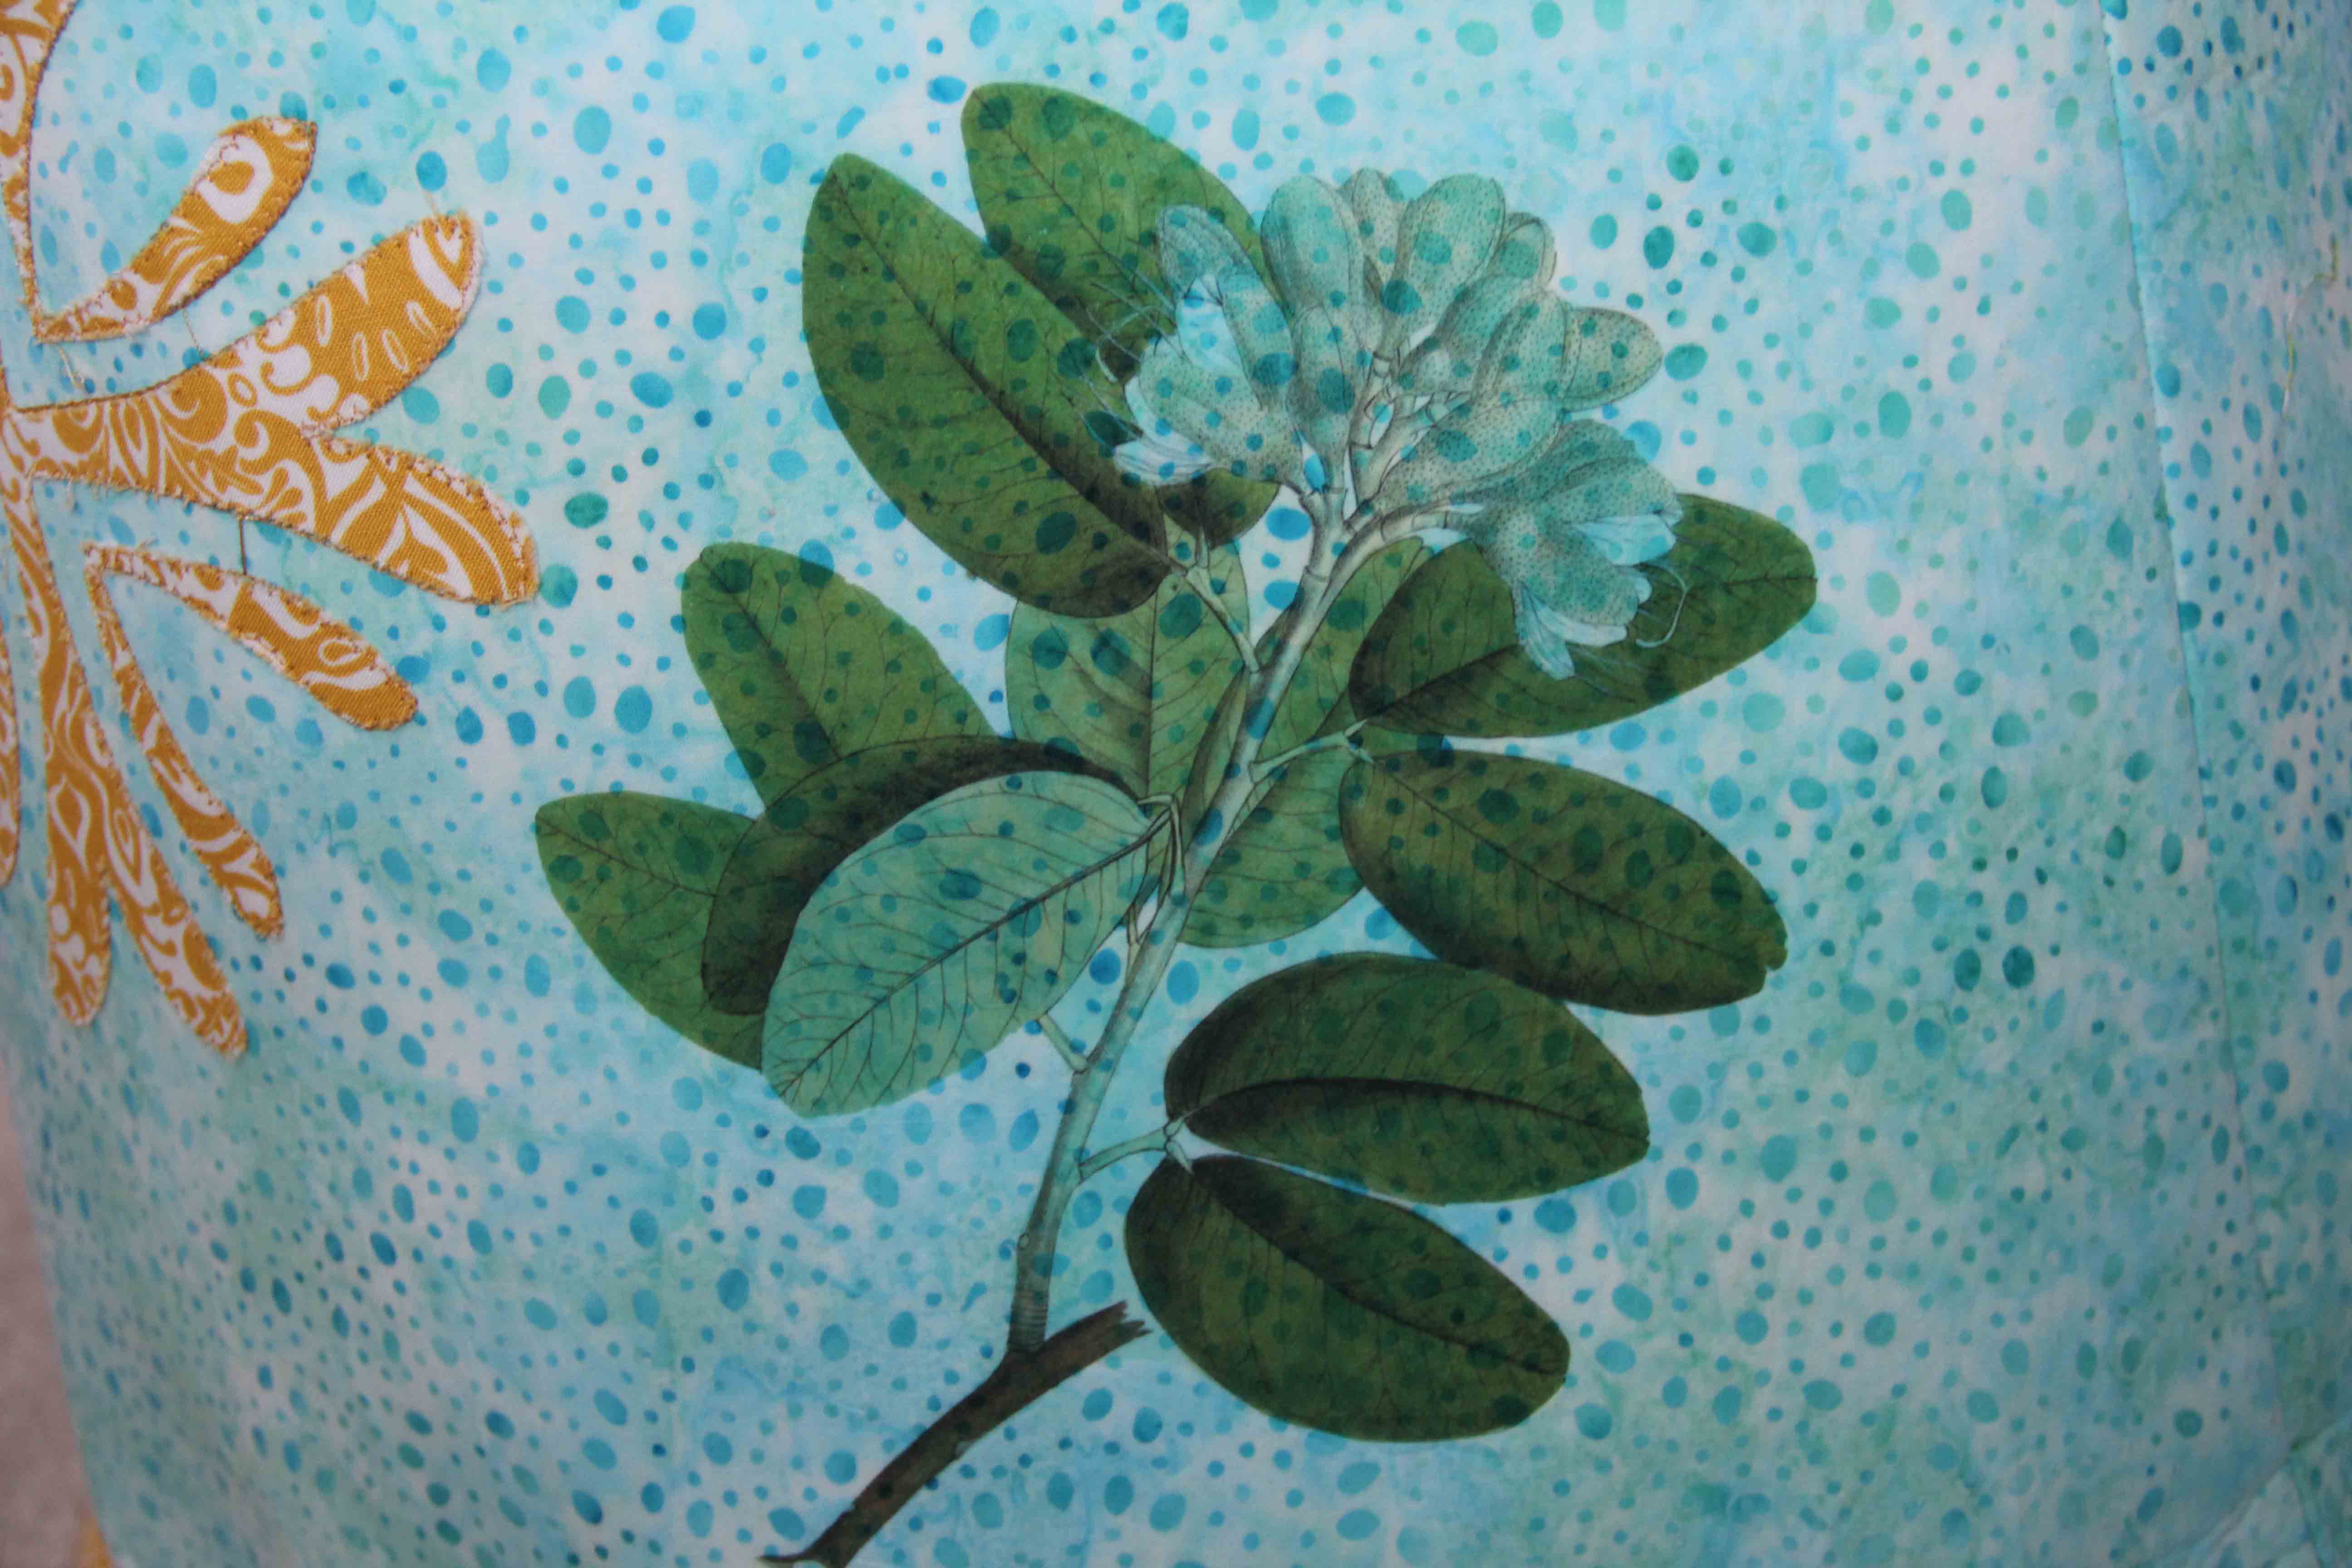
All are mesmerizing to look at when you get close enough to notice the detail.
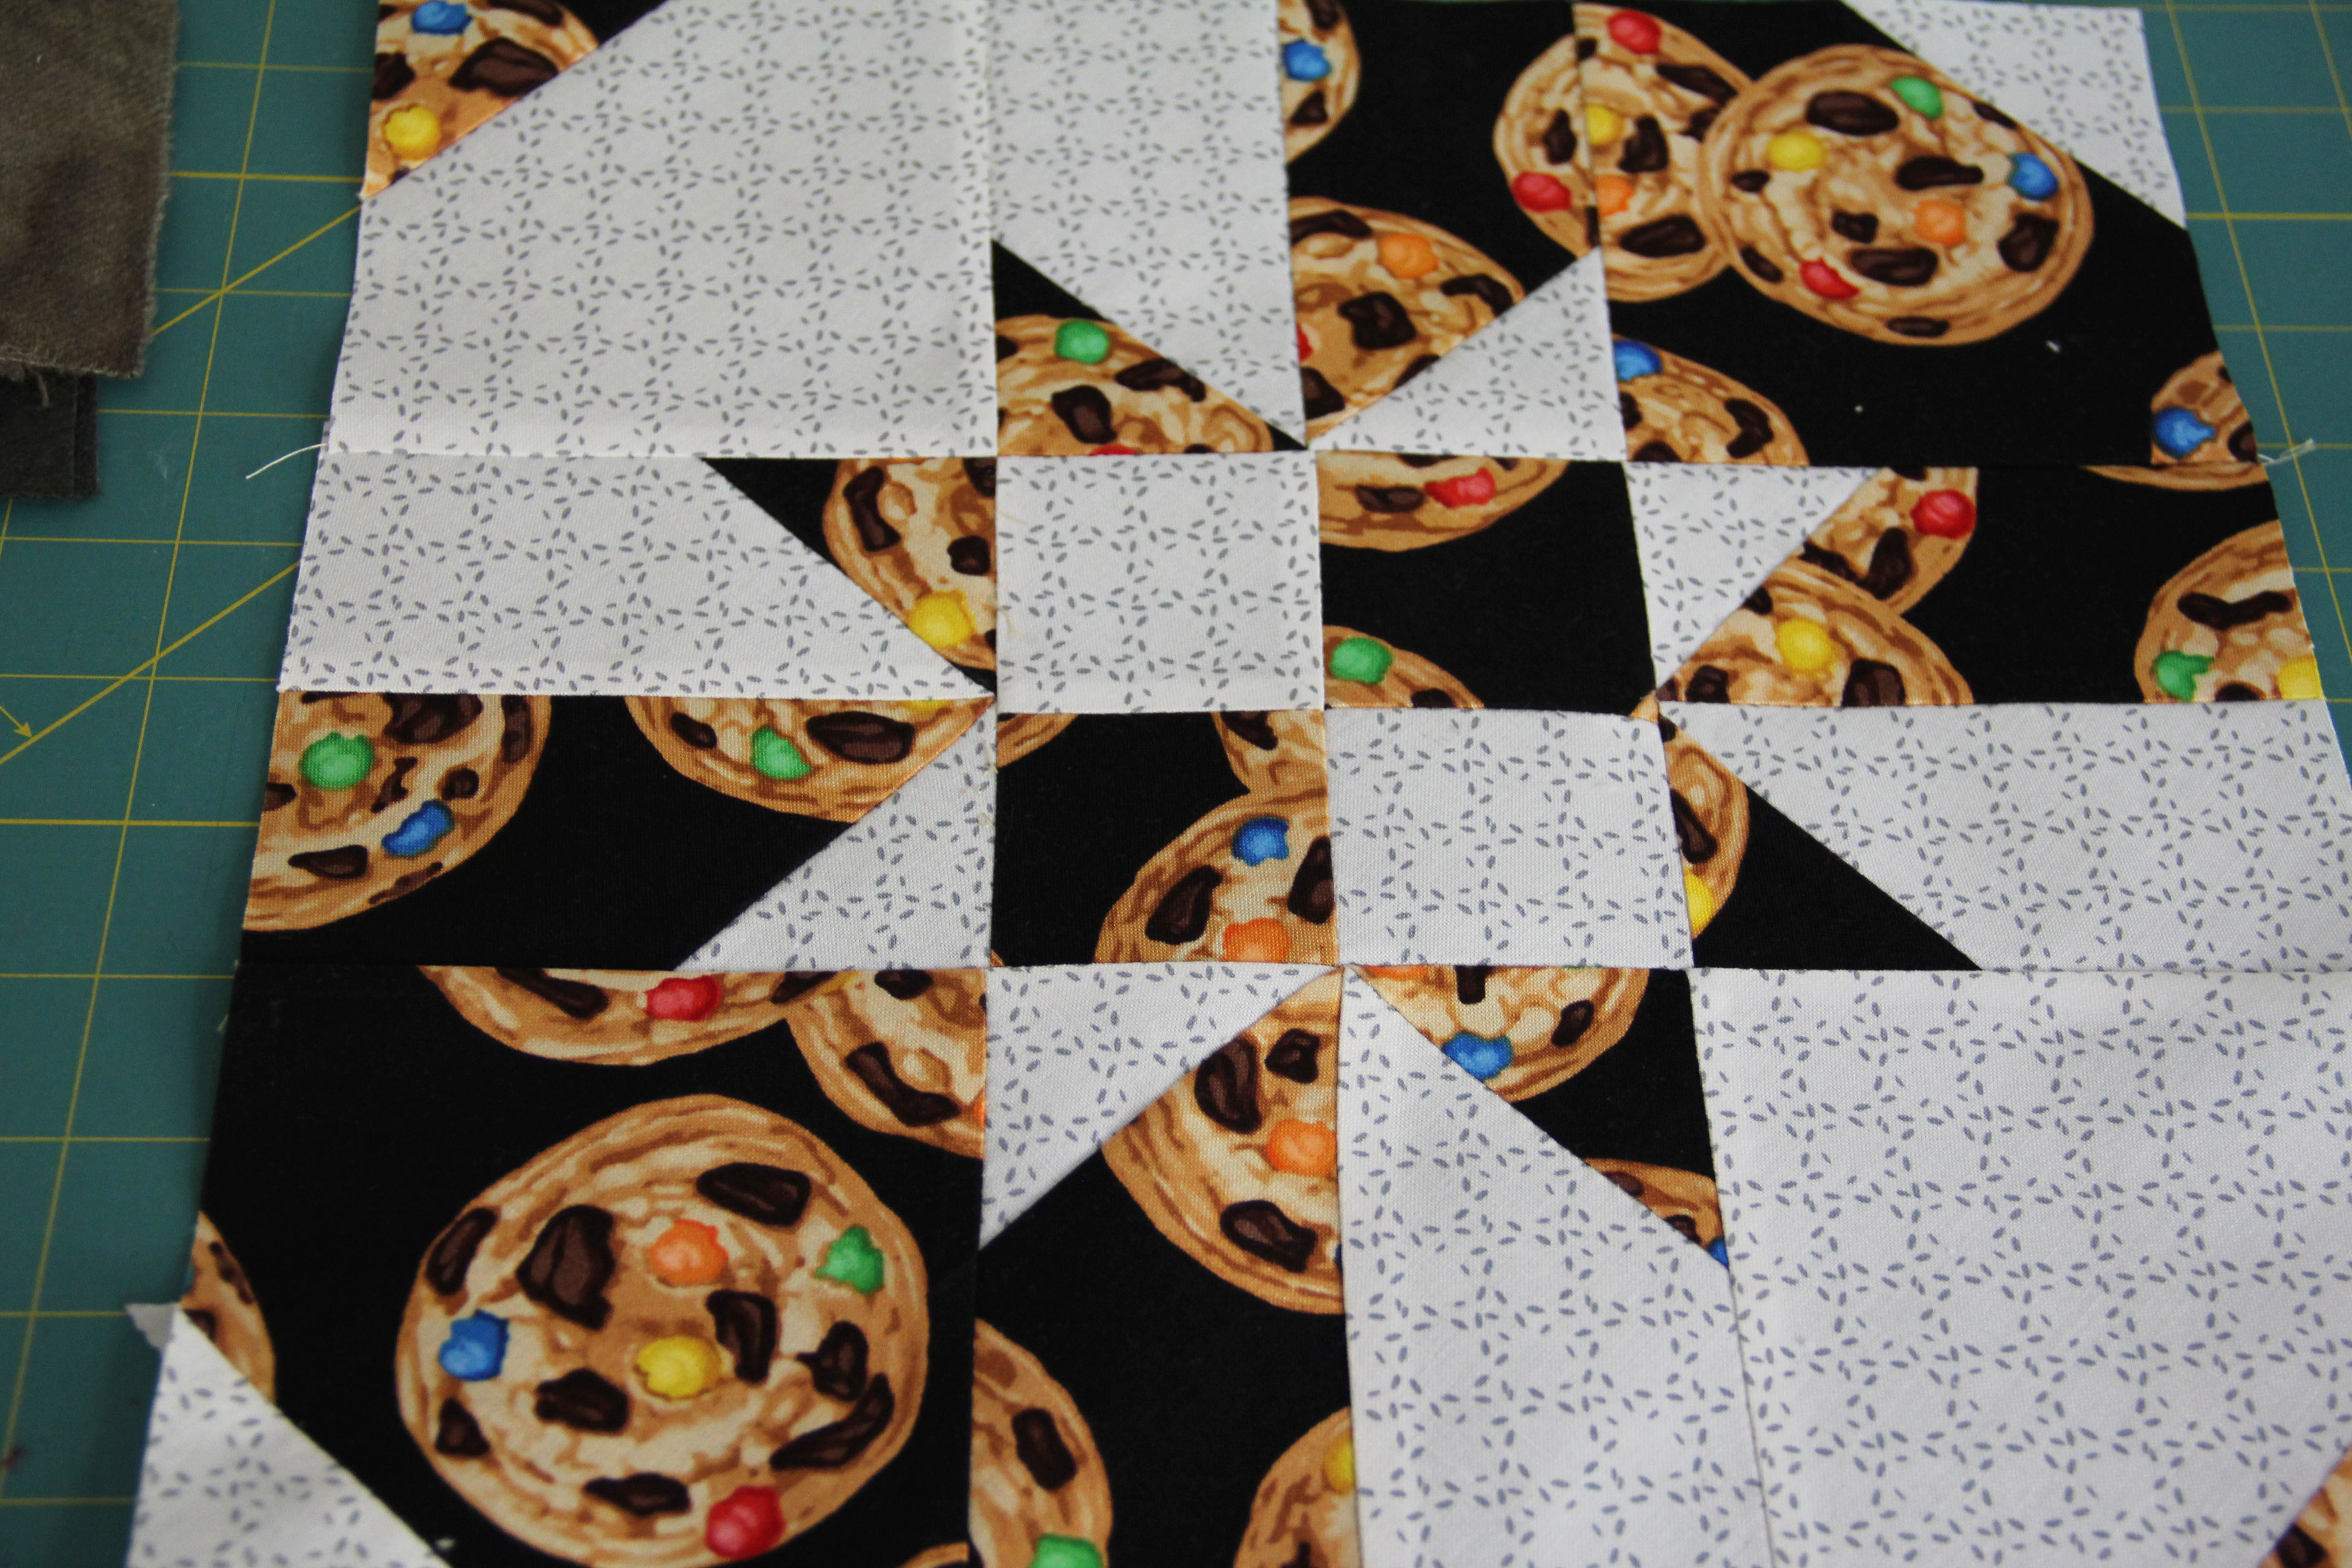 Up next, the first block for a disappearing hour glass quilt for my 13 year old son, who has requested it be made entirely of junk food fabric. Hoping to finish as a Christmas gift. Also hoping not to gain any weight while working on it.