Guess where I was last weekend? Guess where we brought 43 of our best friends?
Our shop organized a bus trip to Missouri Star Quilt Company and it just happened to be the weekend of their 7th Birthday Bash! What a wonderful time we had — wonderful weather, great people and fabric, fabric, fabric!
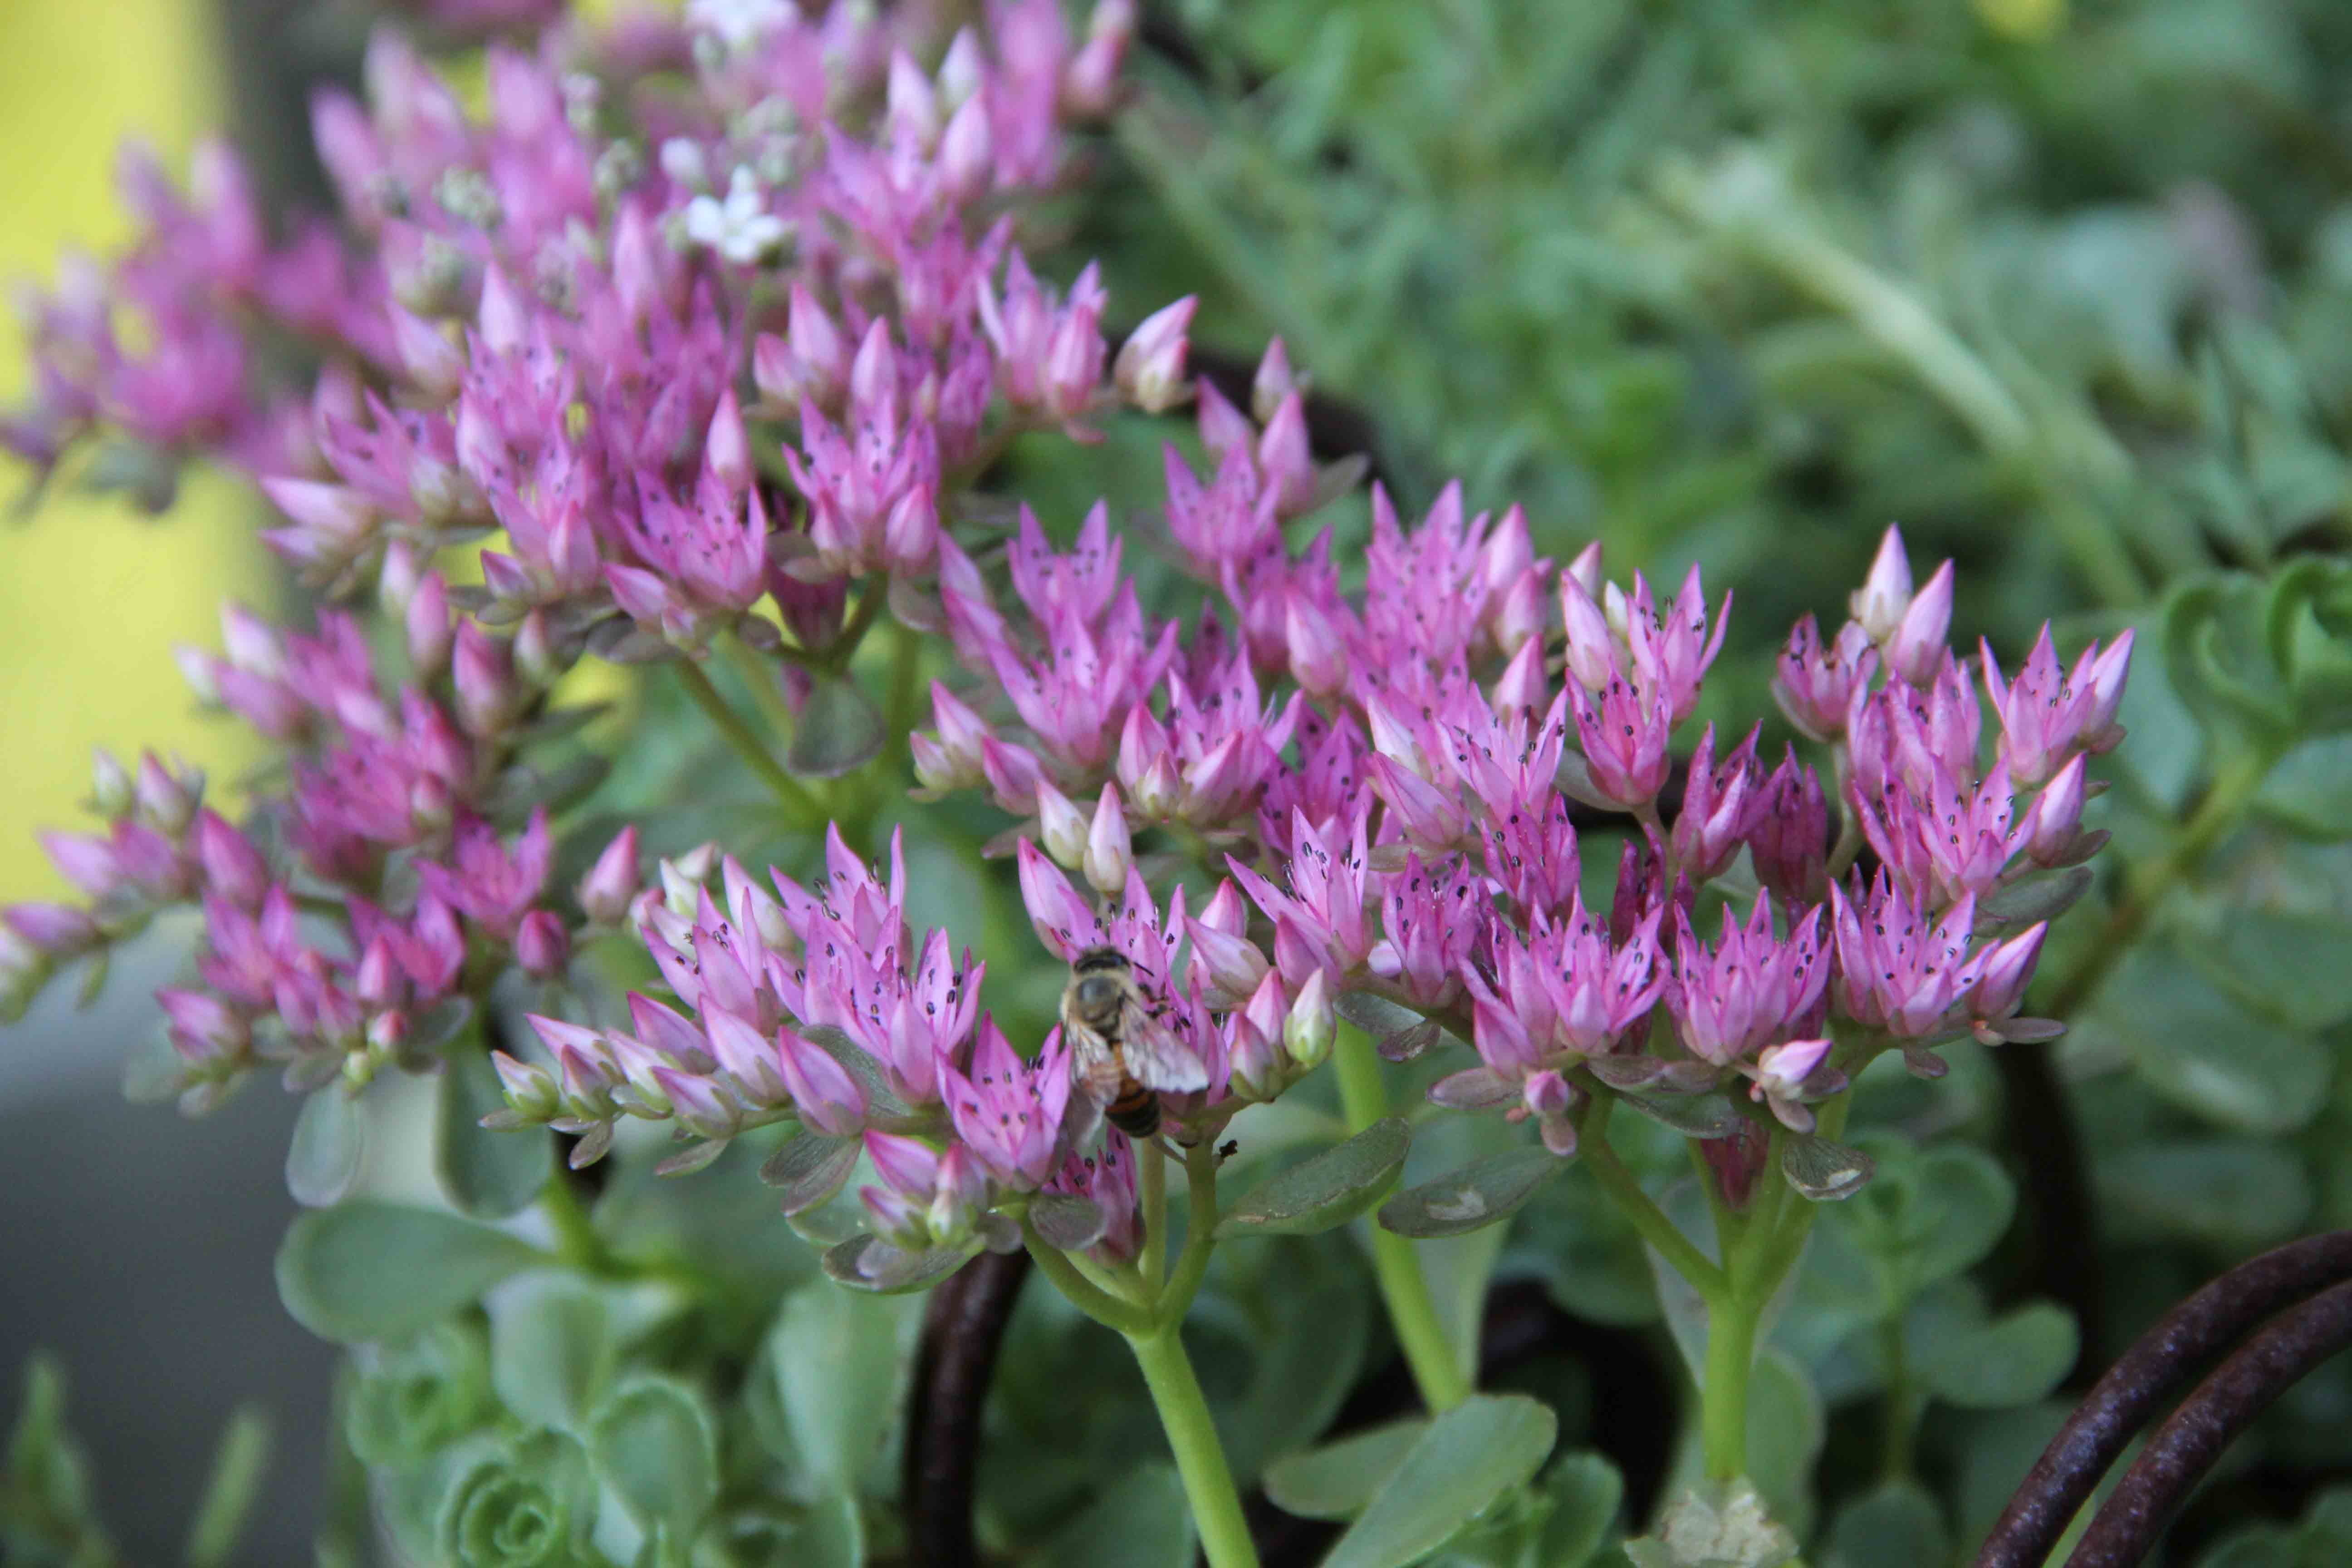
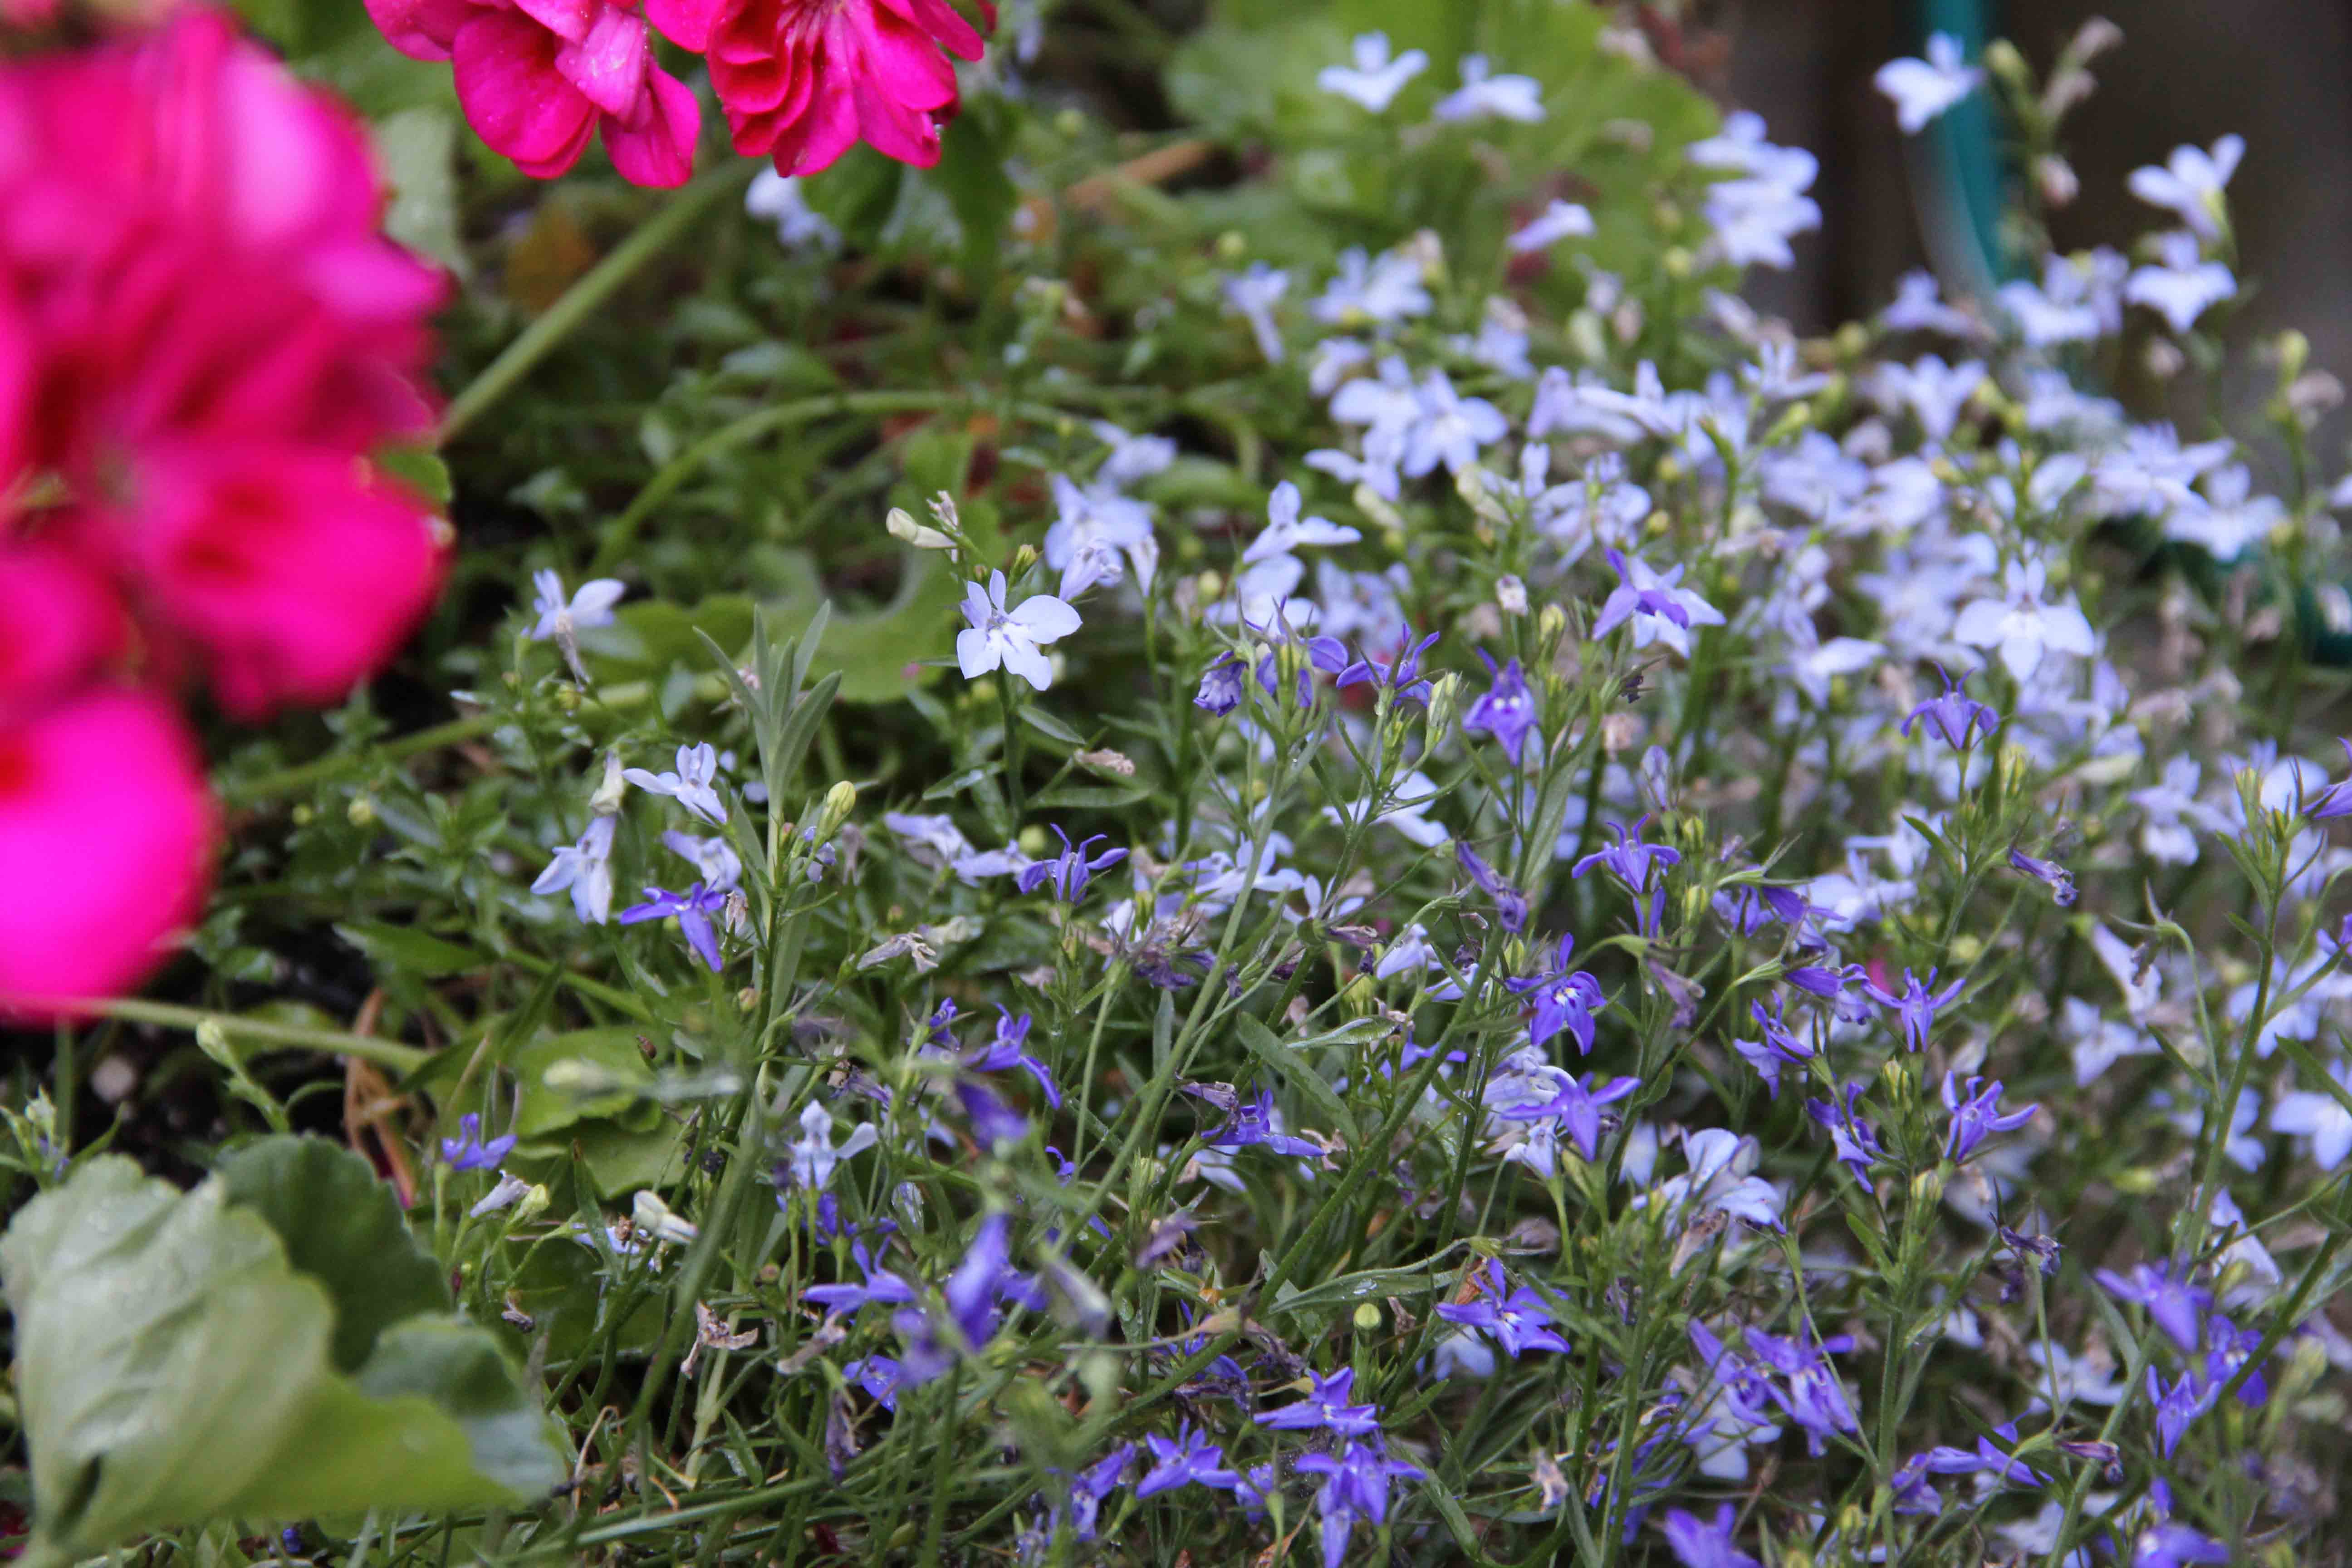
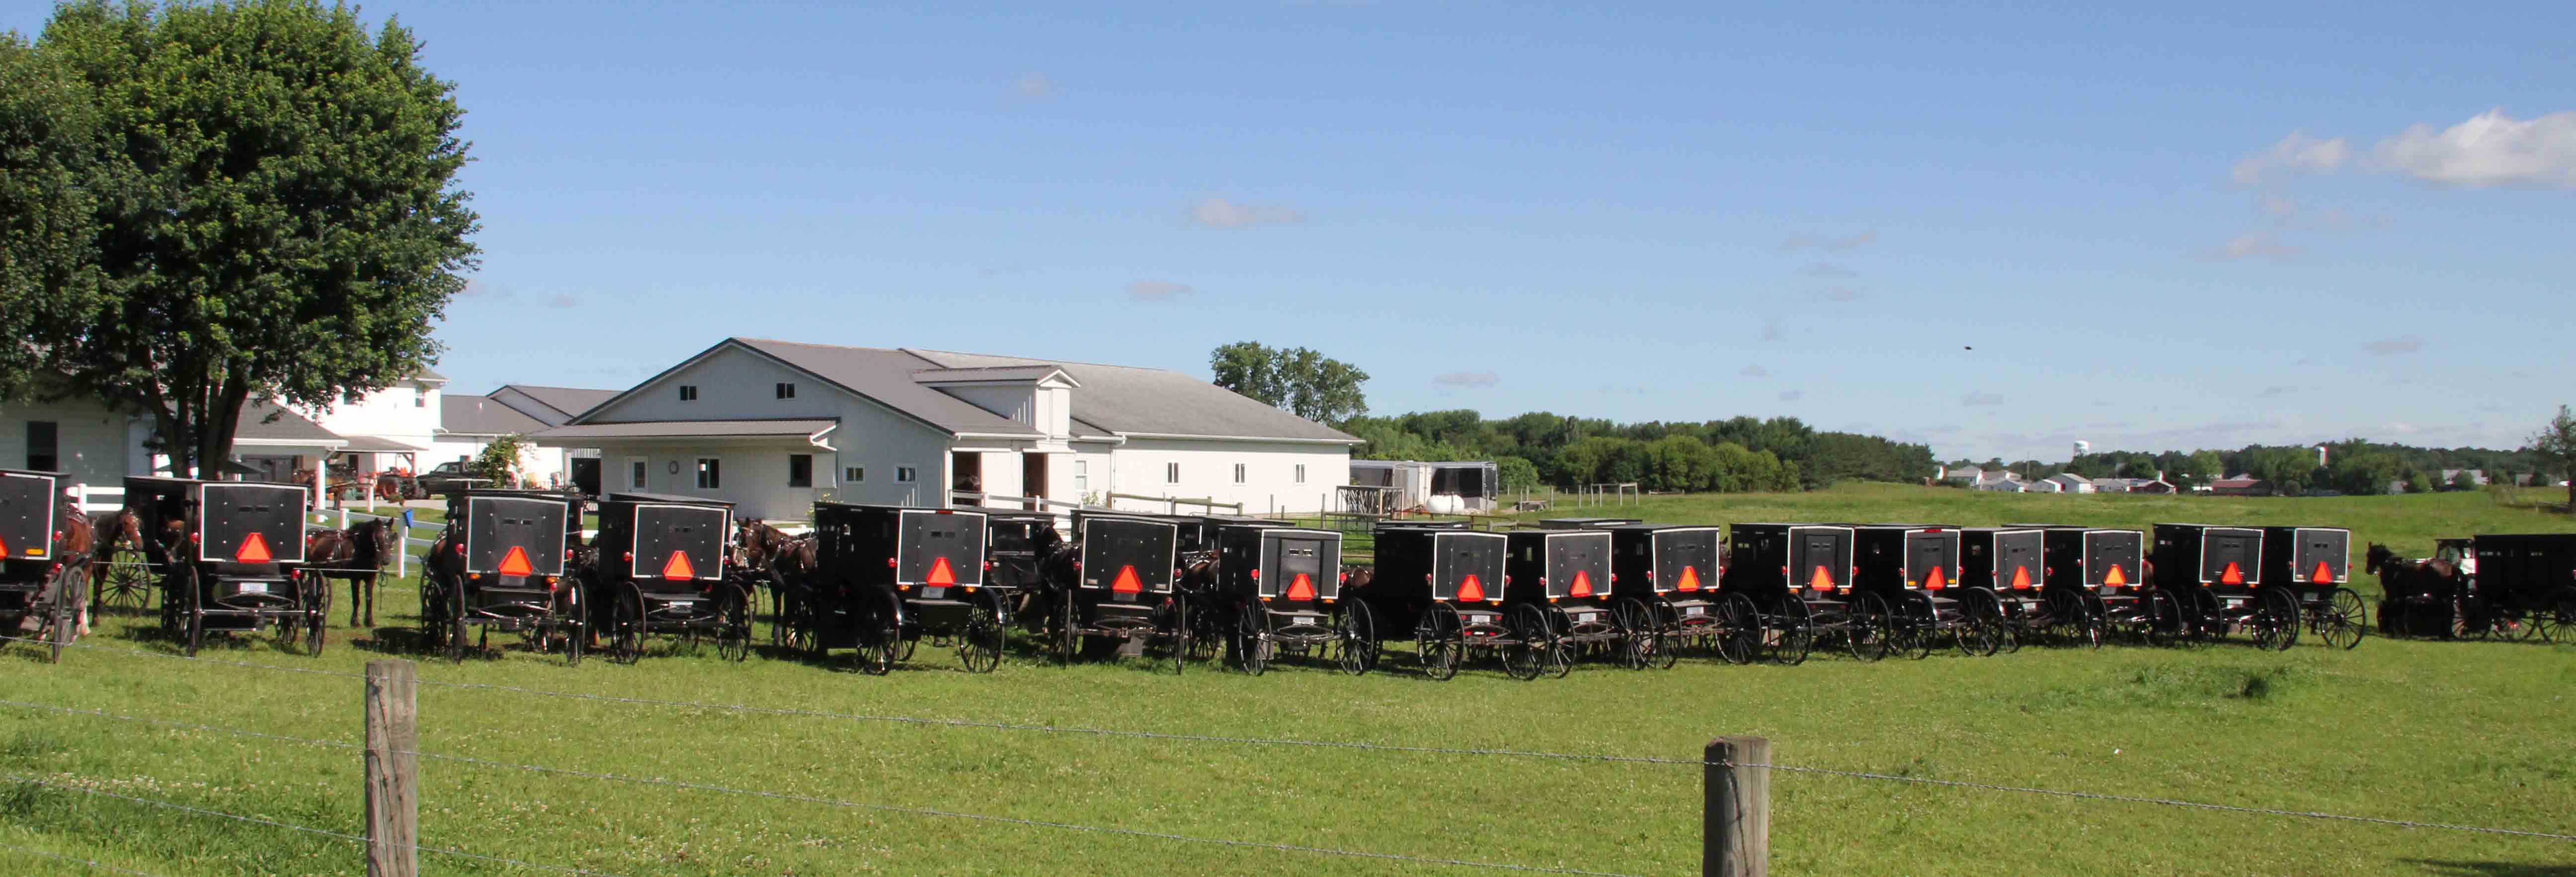
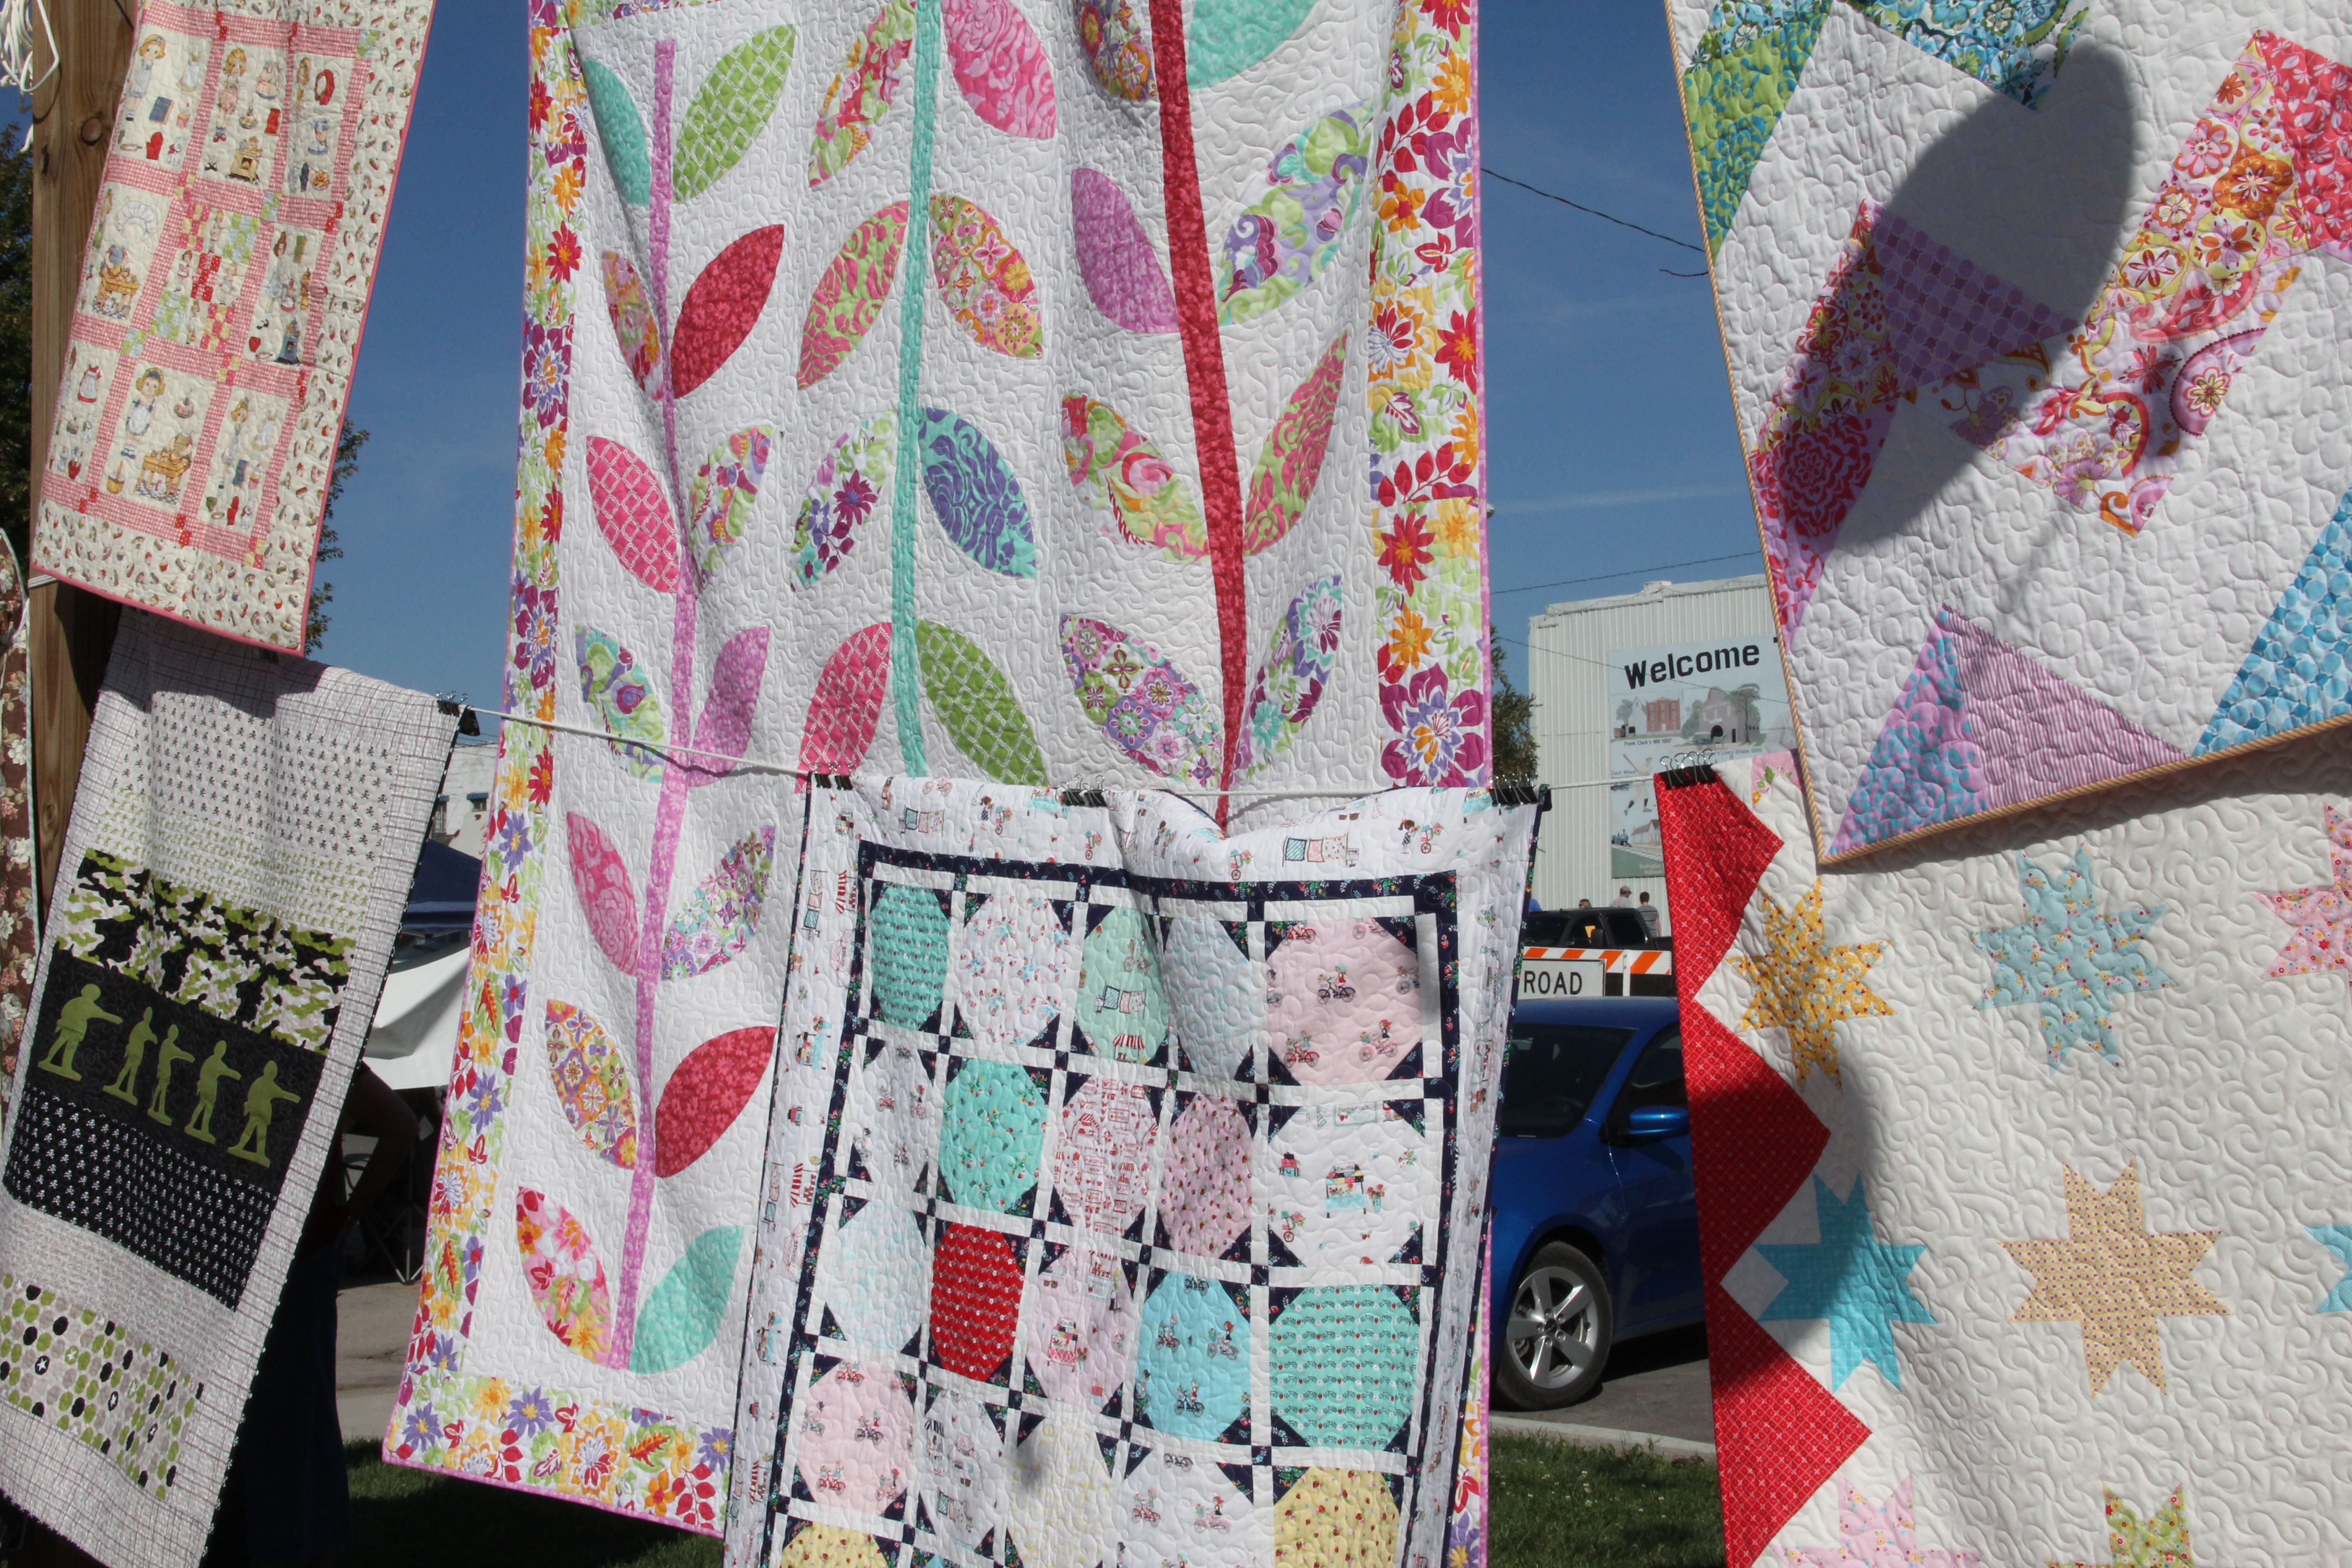
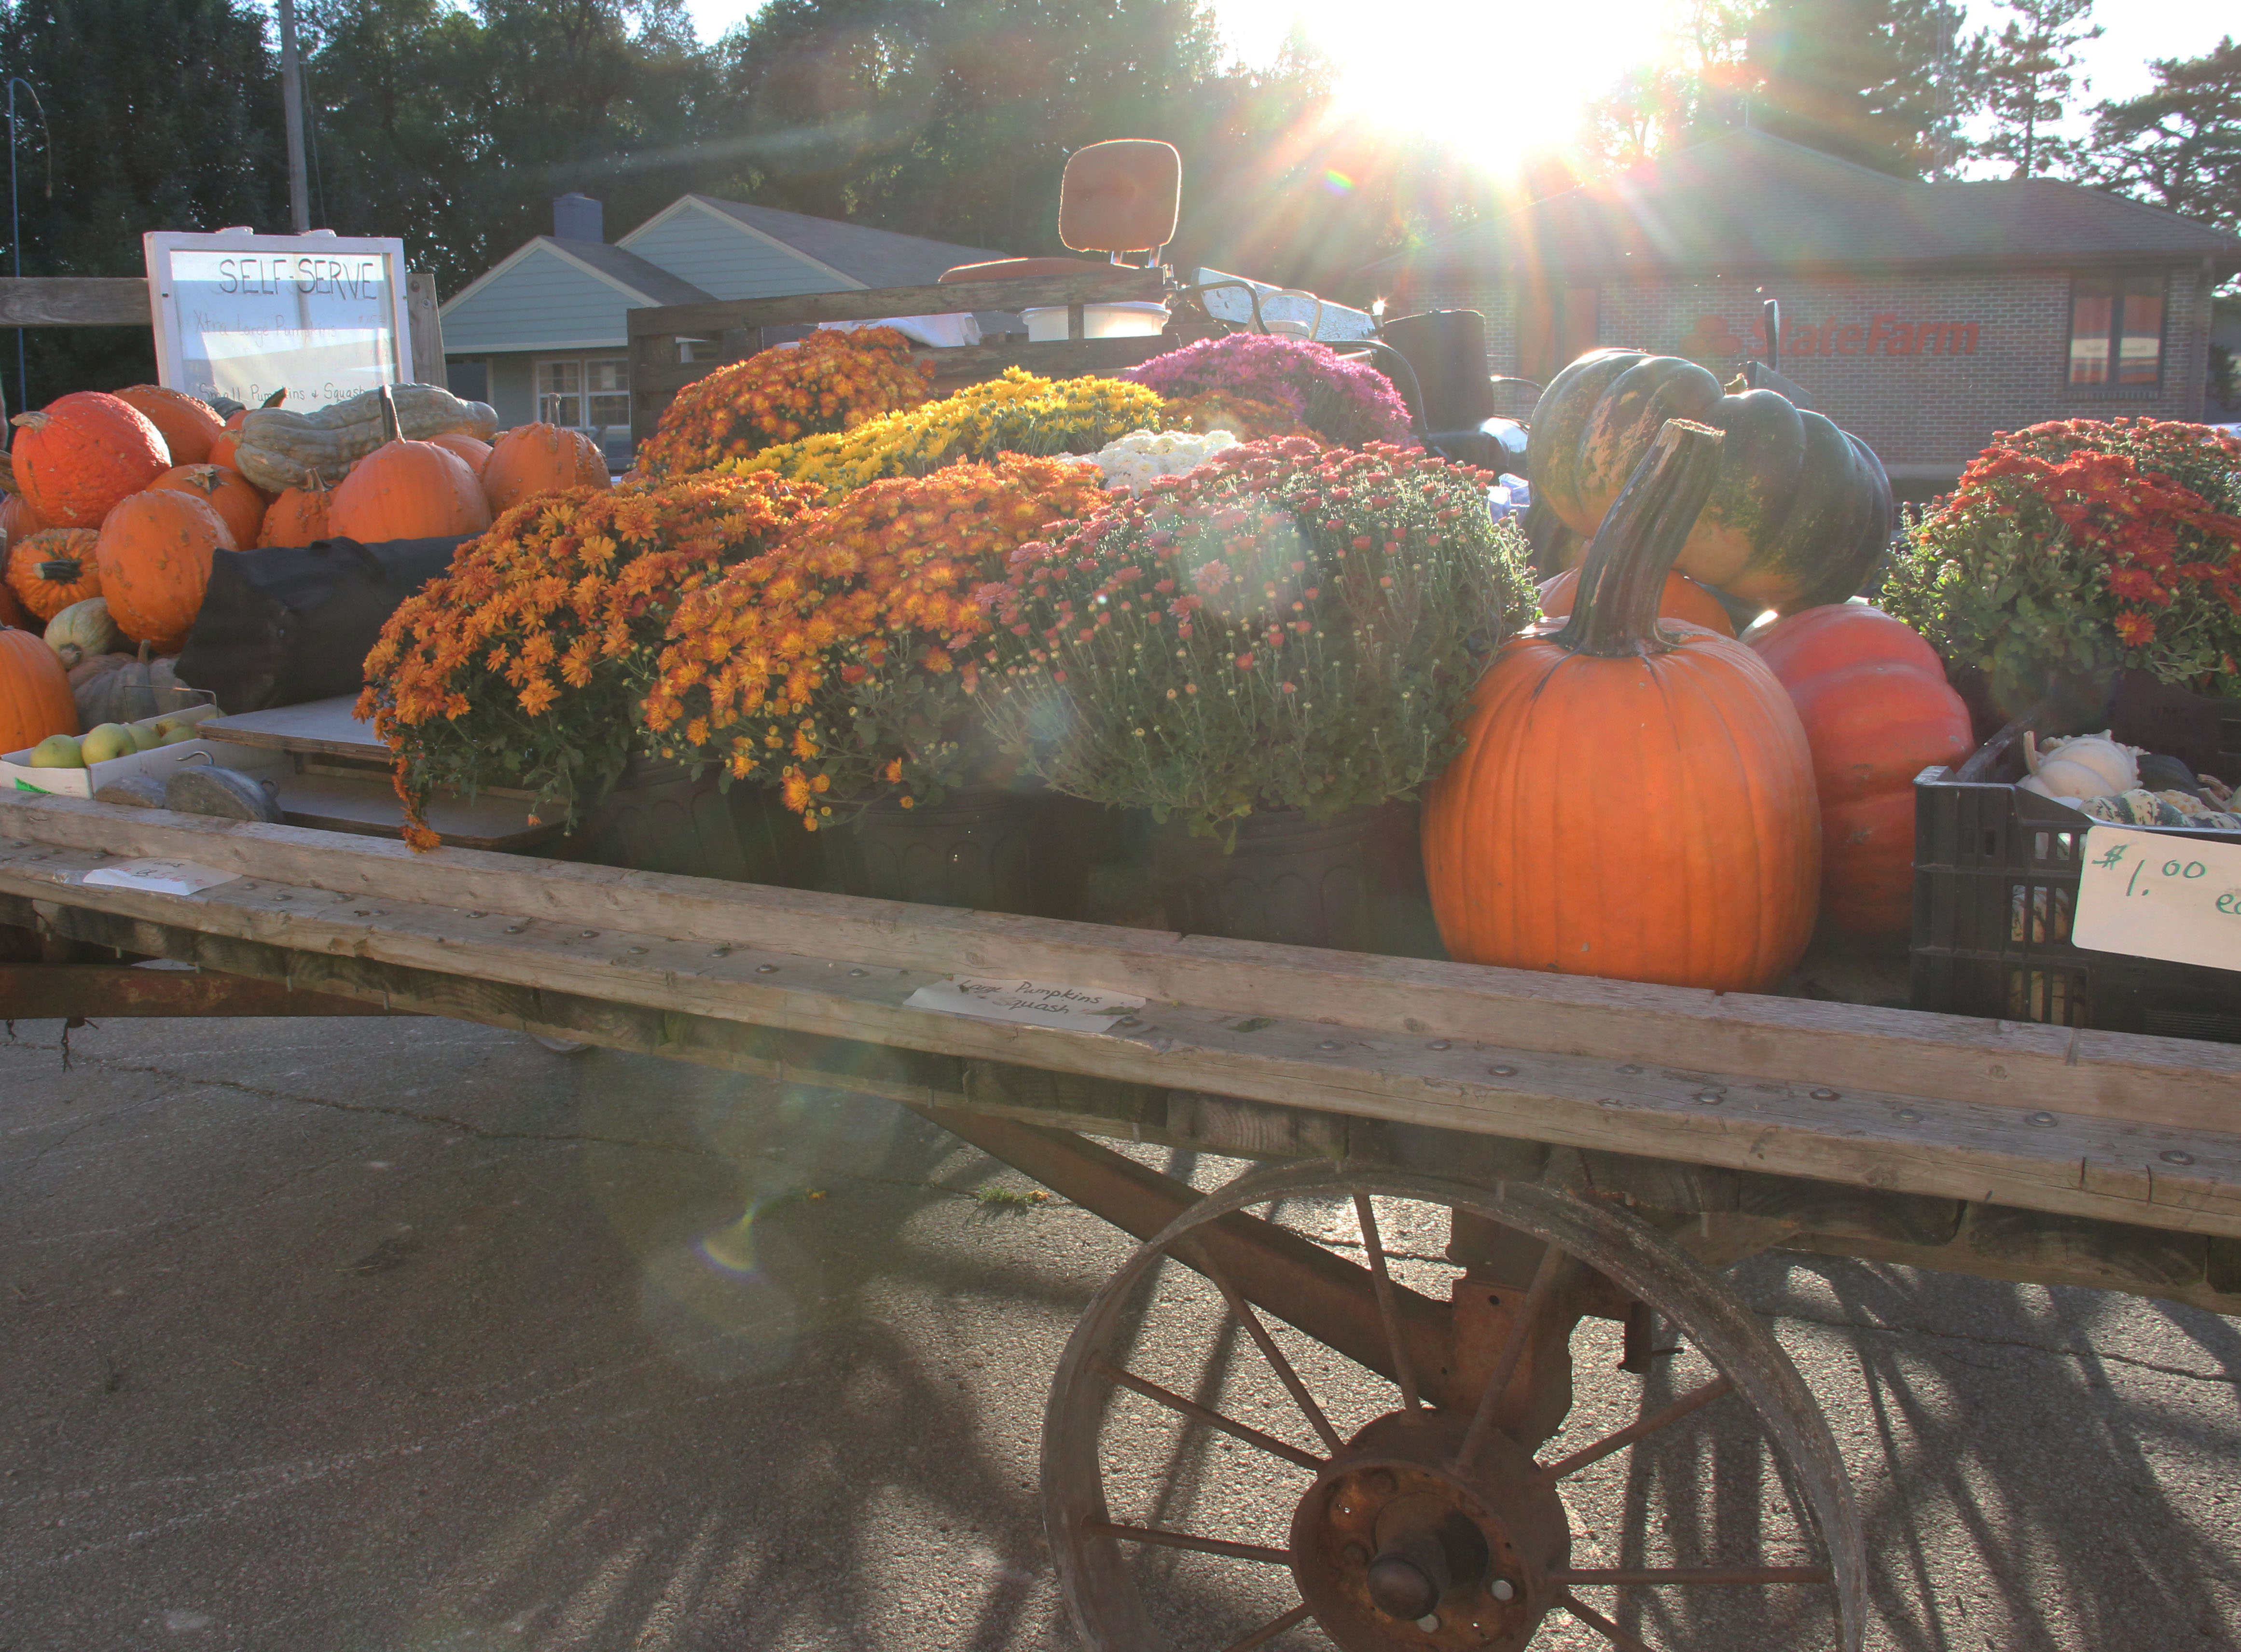
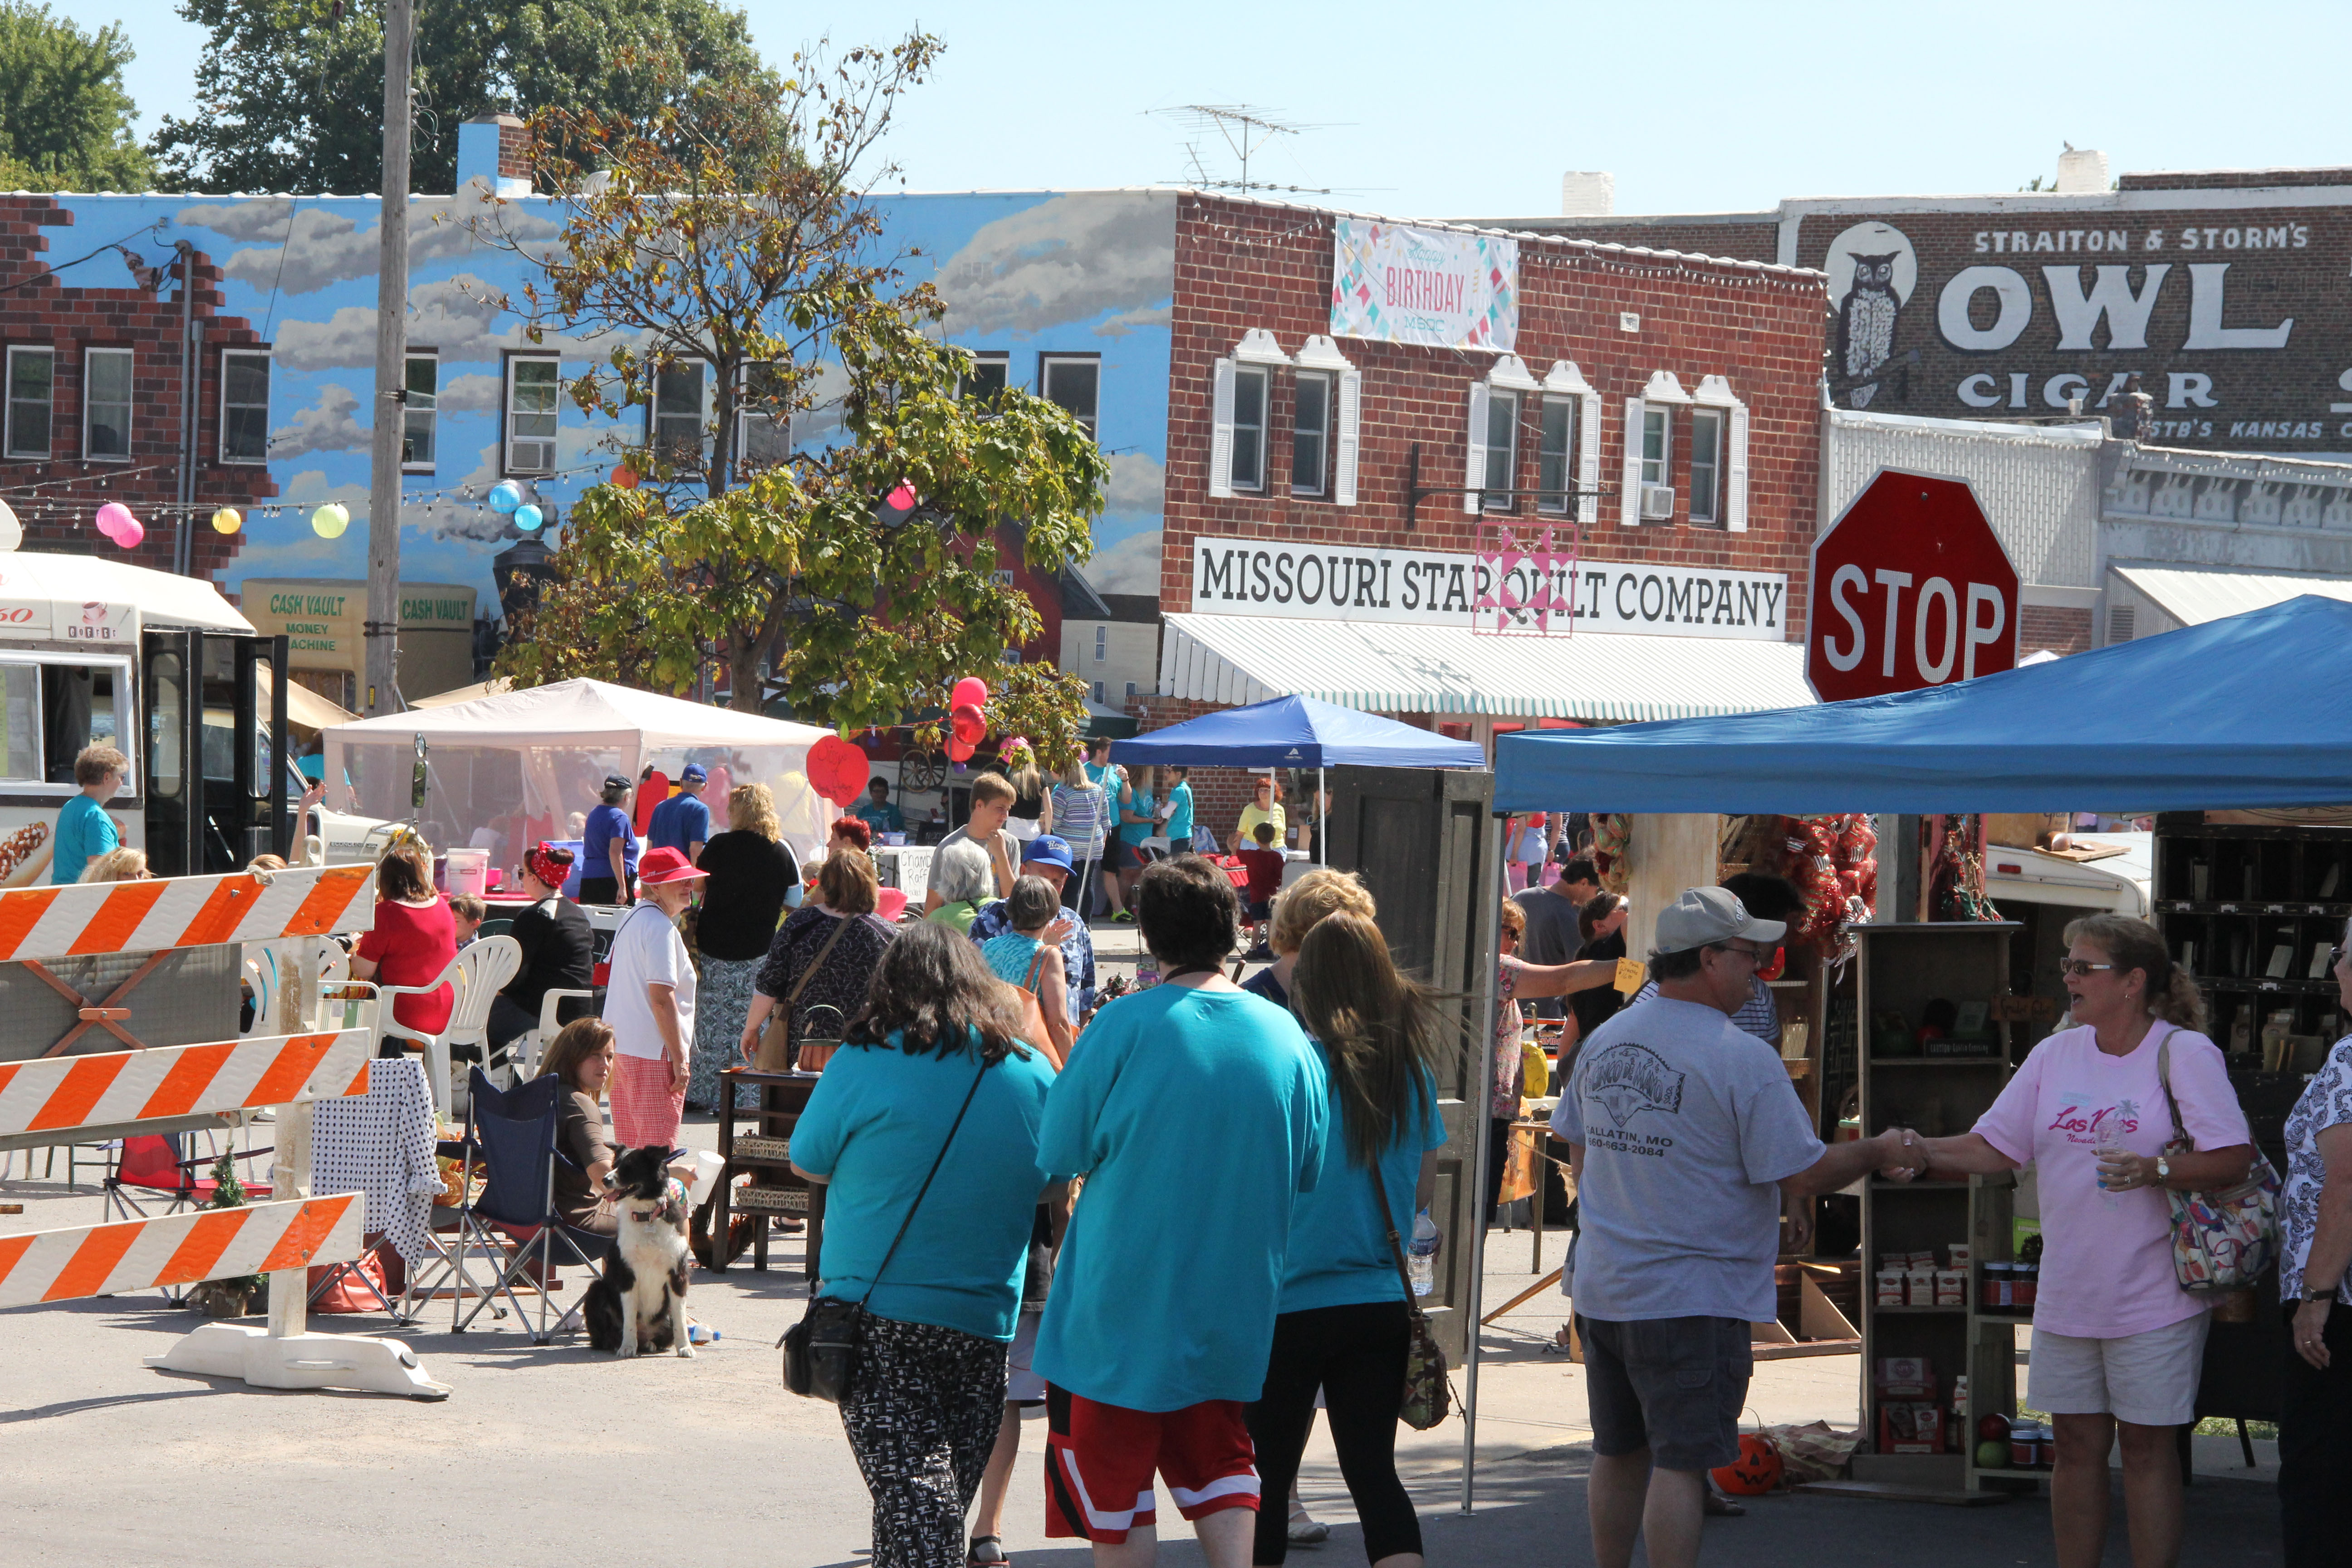 As you can see, the tiny town of Hamilton was hoppin’ the weekend we were there! MSQC sponsored events like layer cake walks, a Pinata (filled with Aurifil thread, no less! If you want to see quilters really go at it, dangle some Aurifil in front of them!)
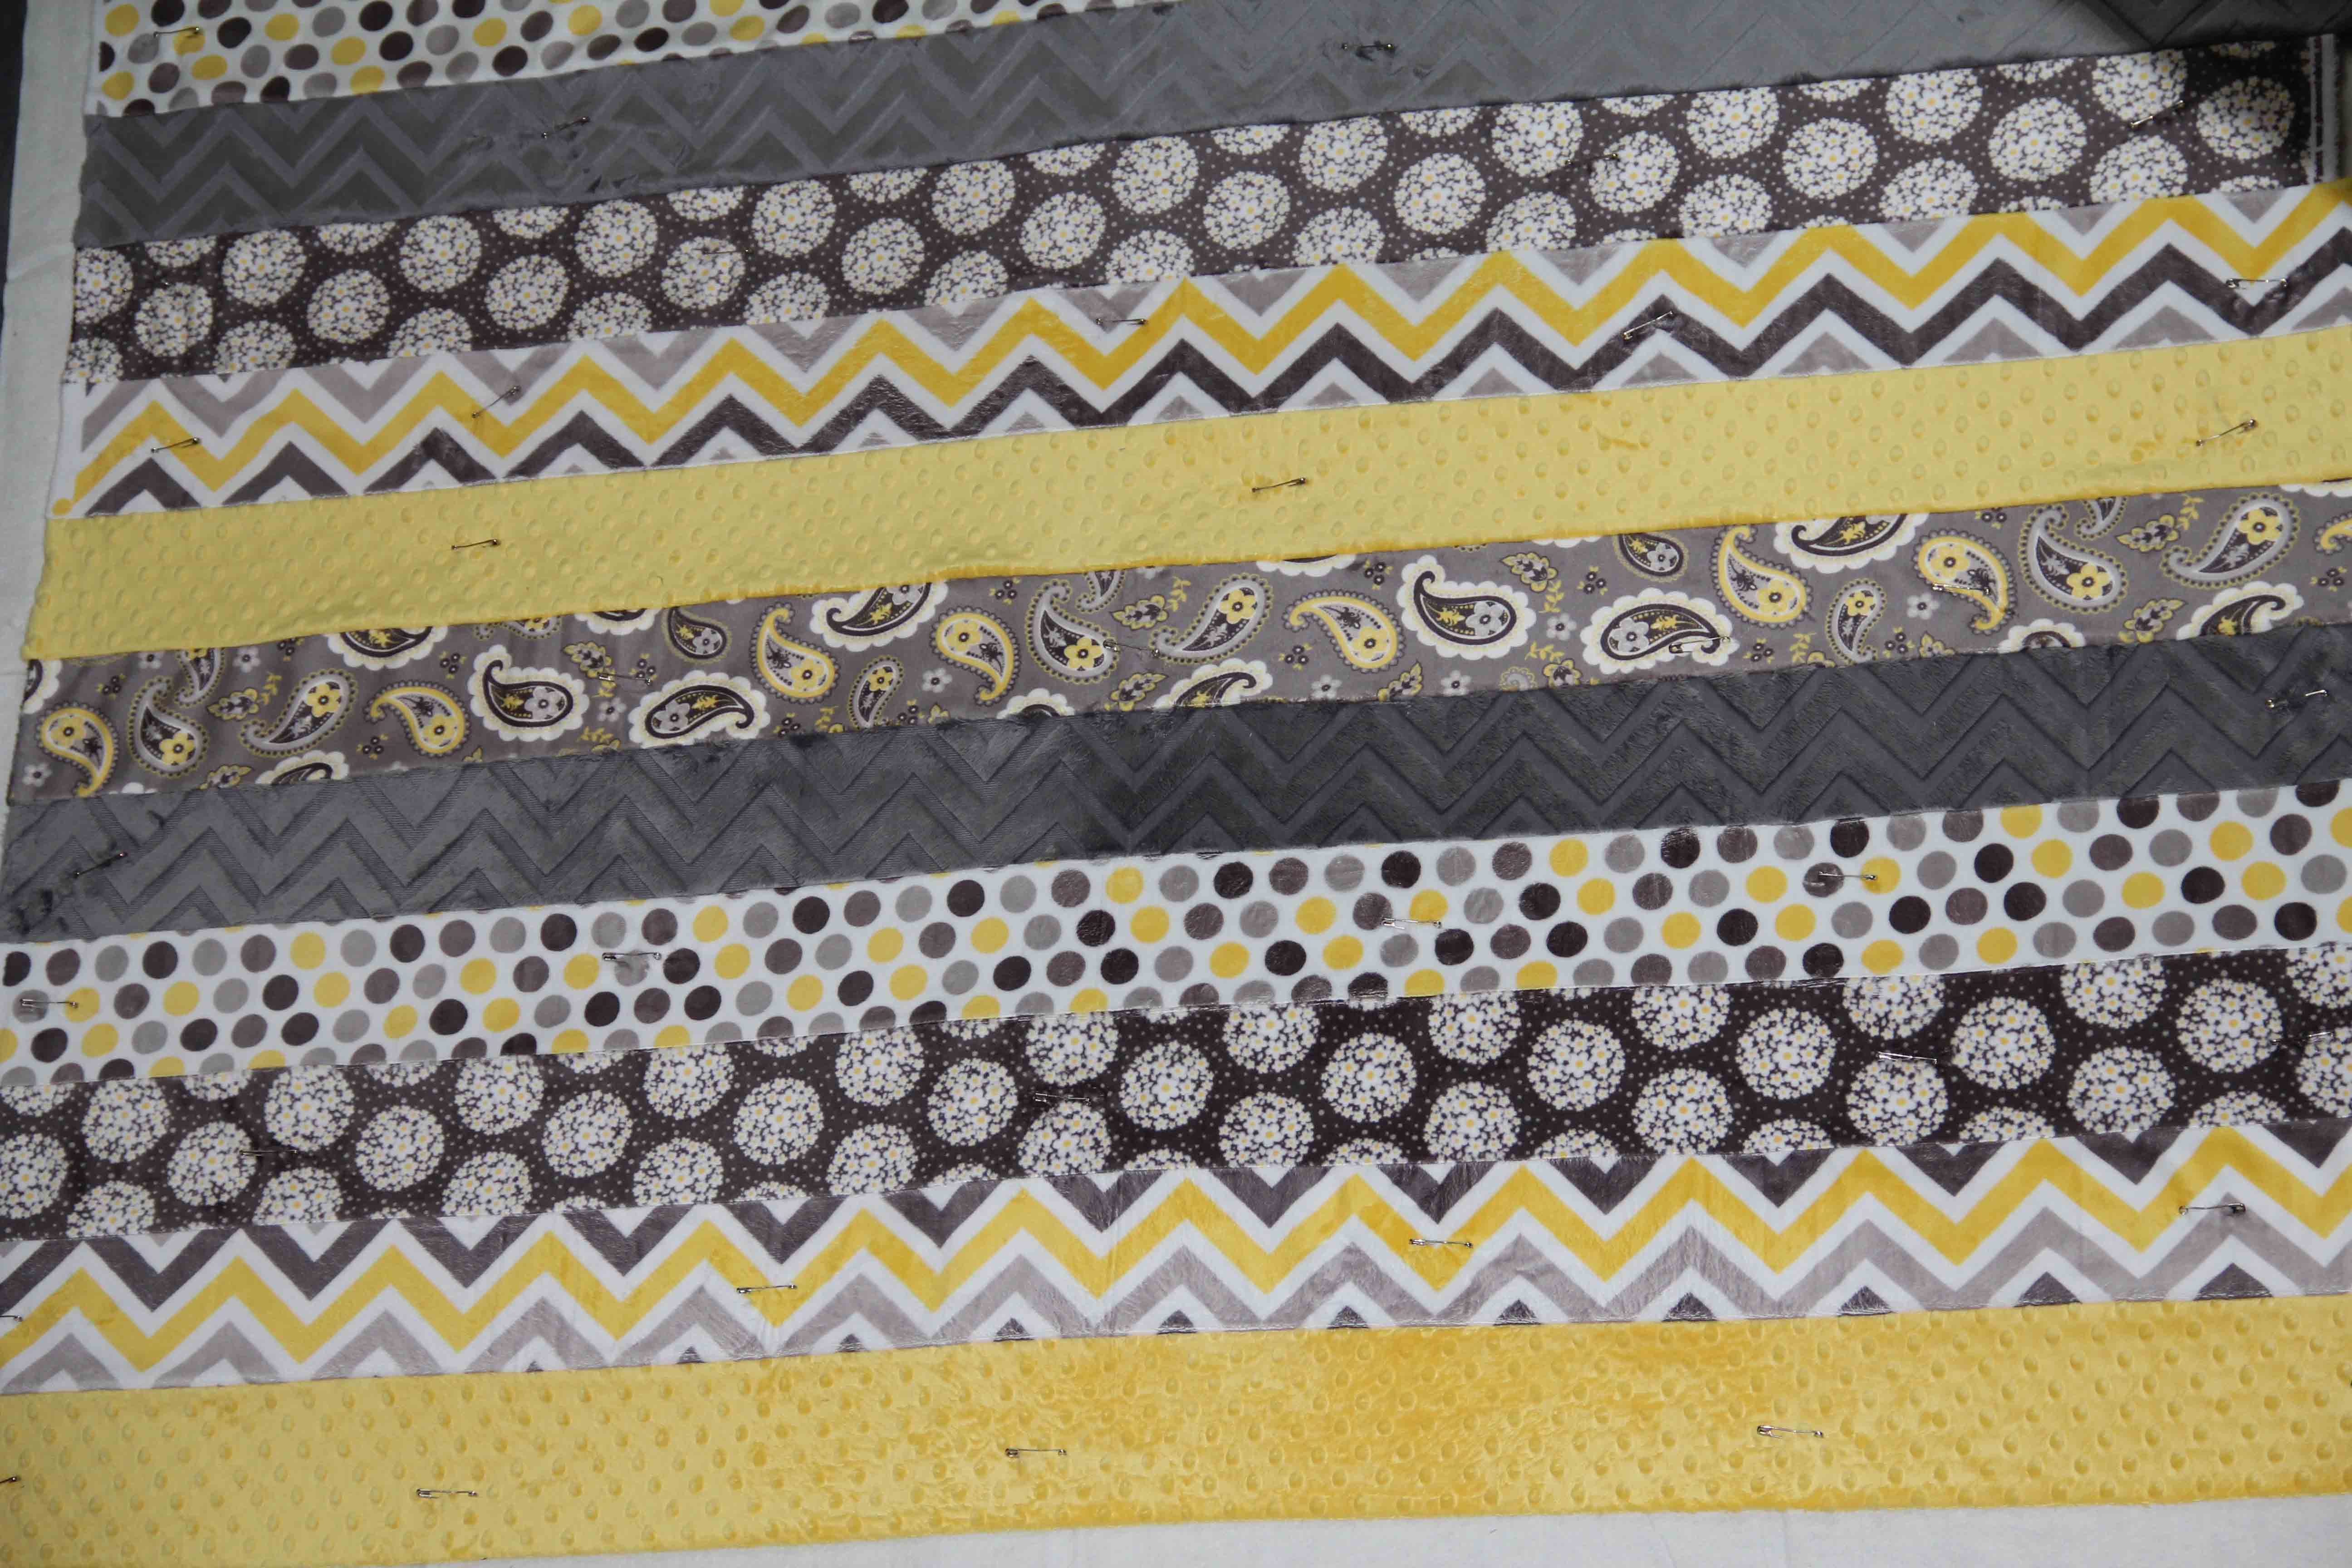
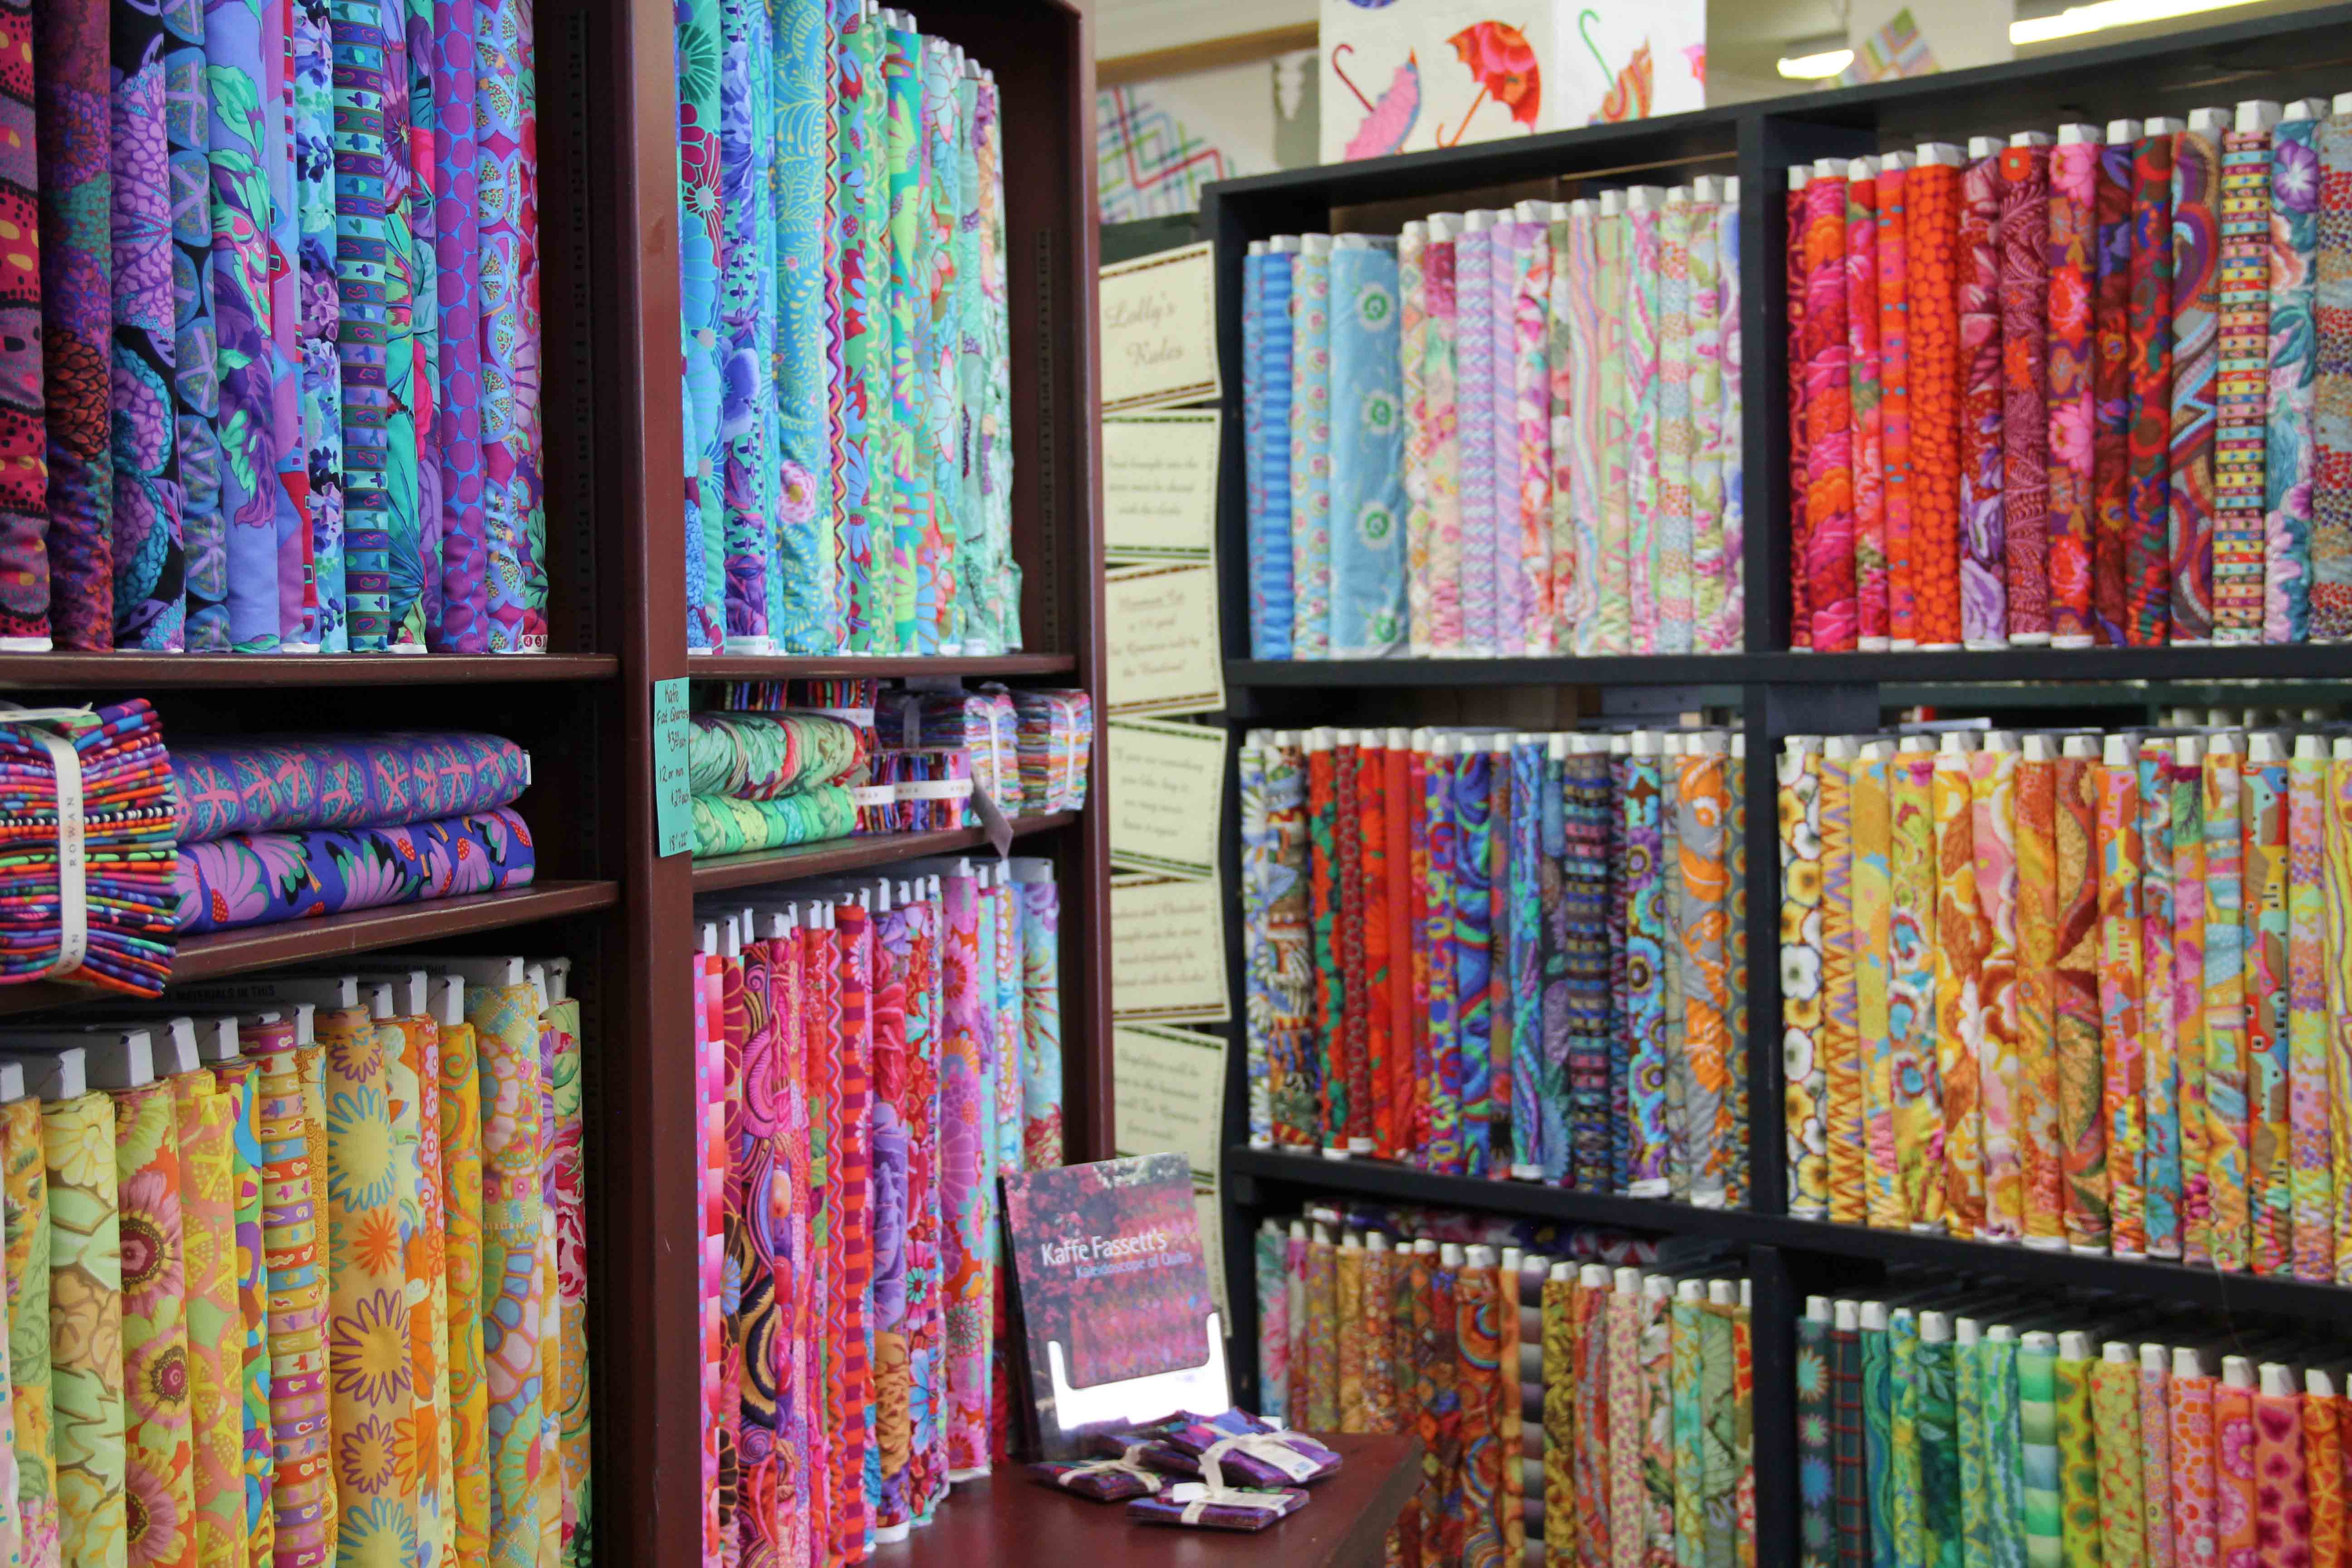
Local vendors were out, with the local Lions Club fixing hot dogs and sandwiches on the grill, antique shops and 77 cent fatquarters, which MSQC kept filled to the brim!
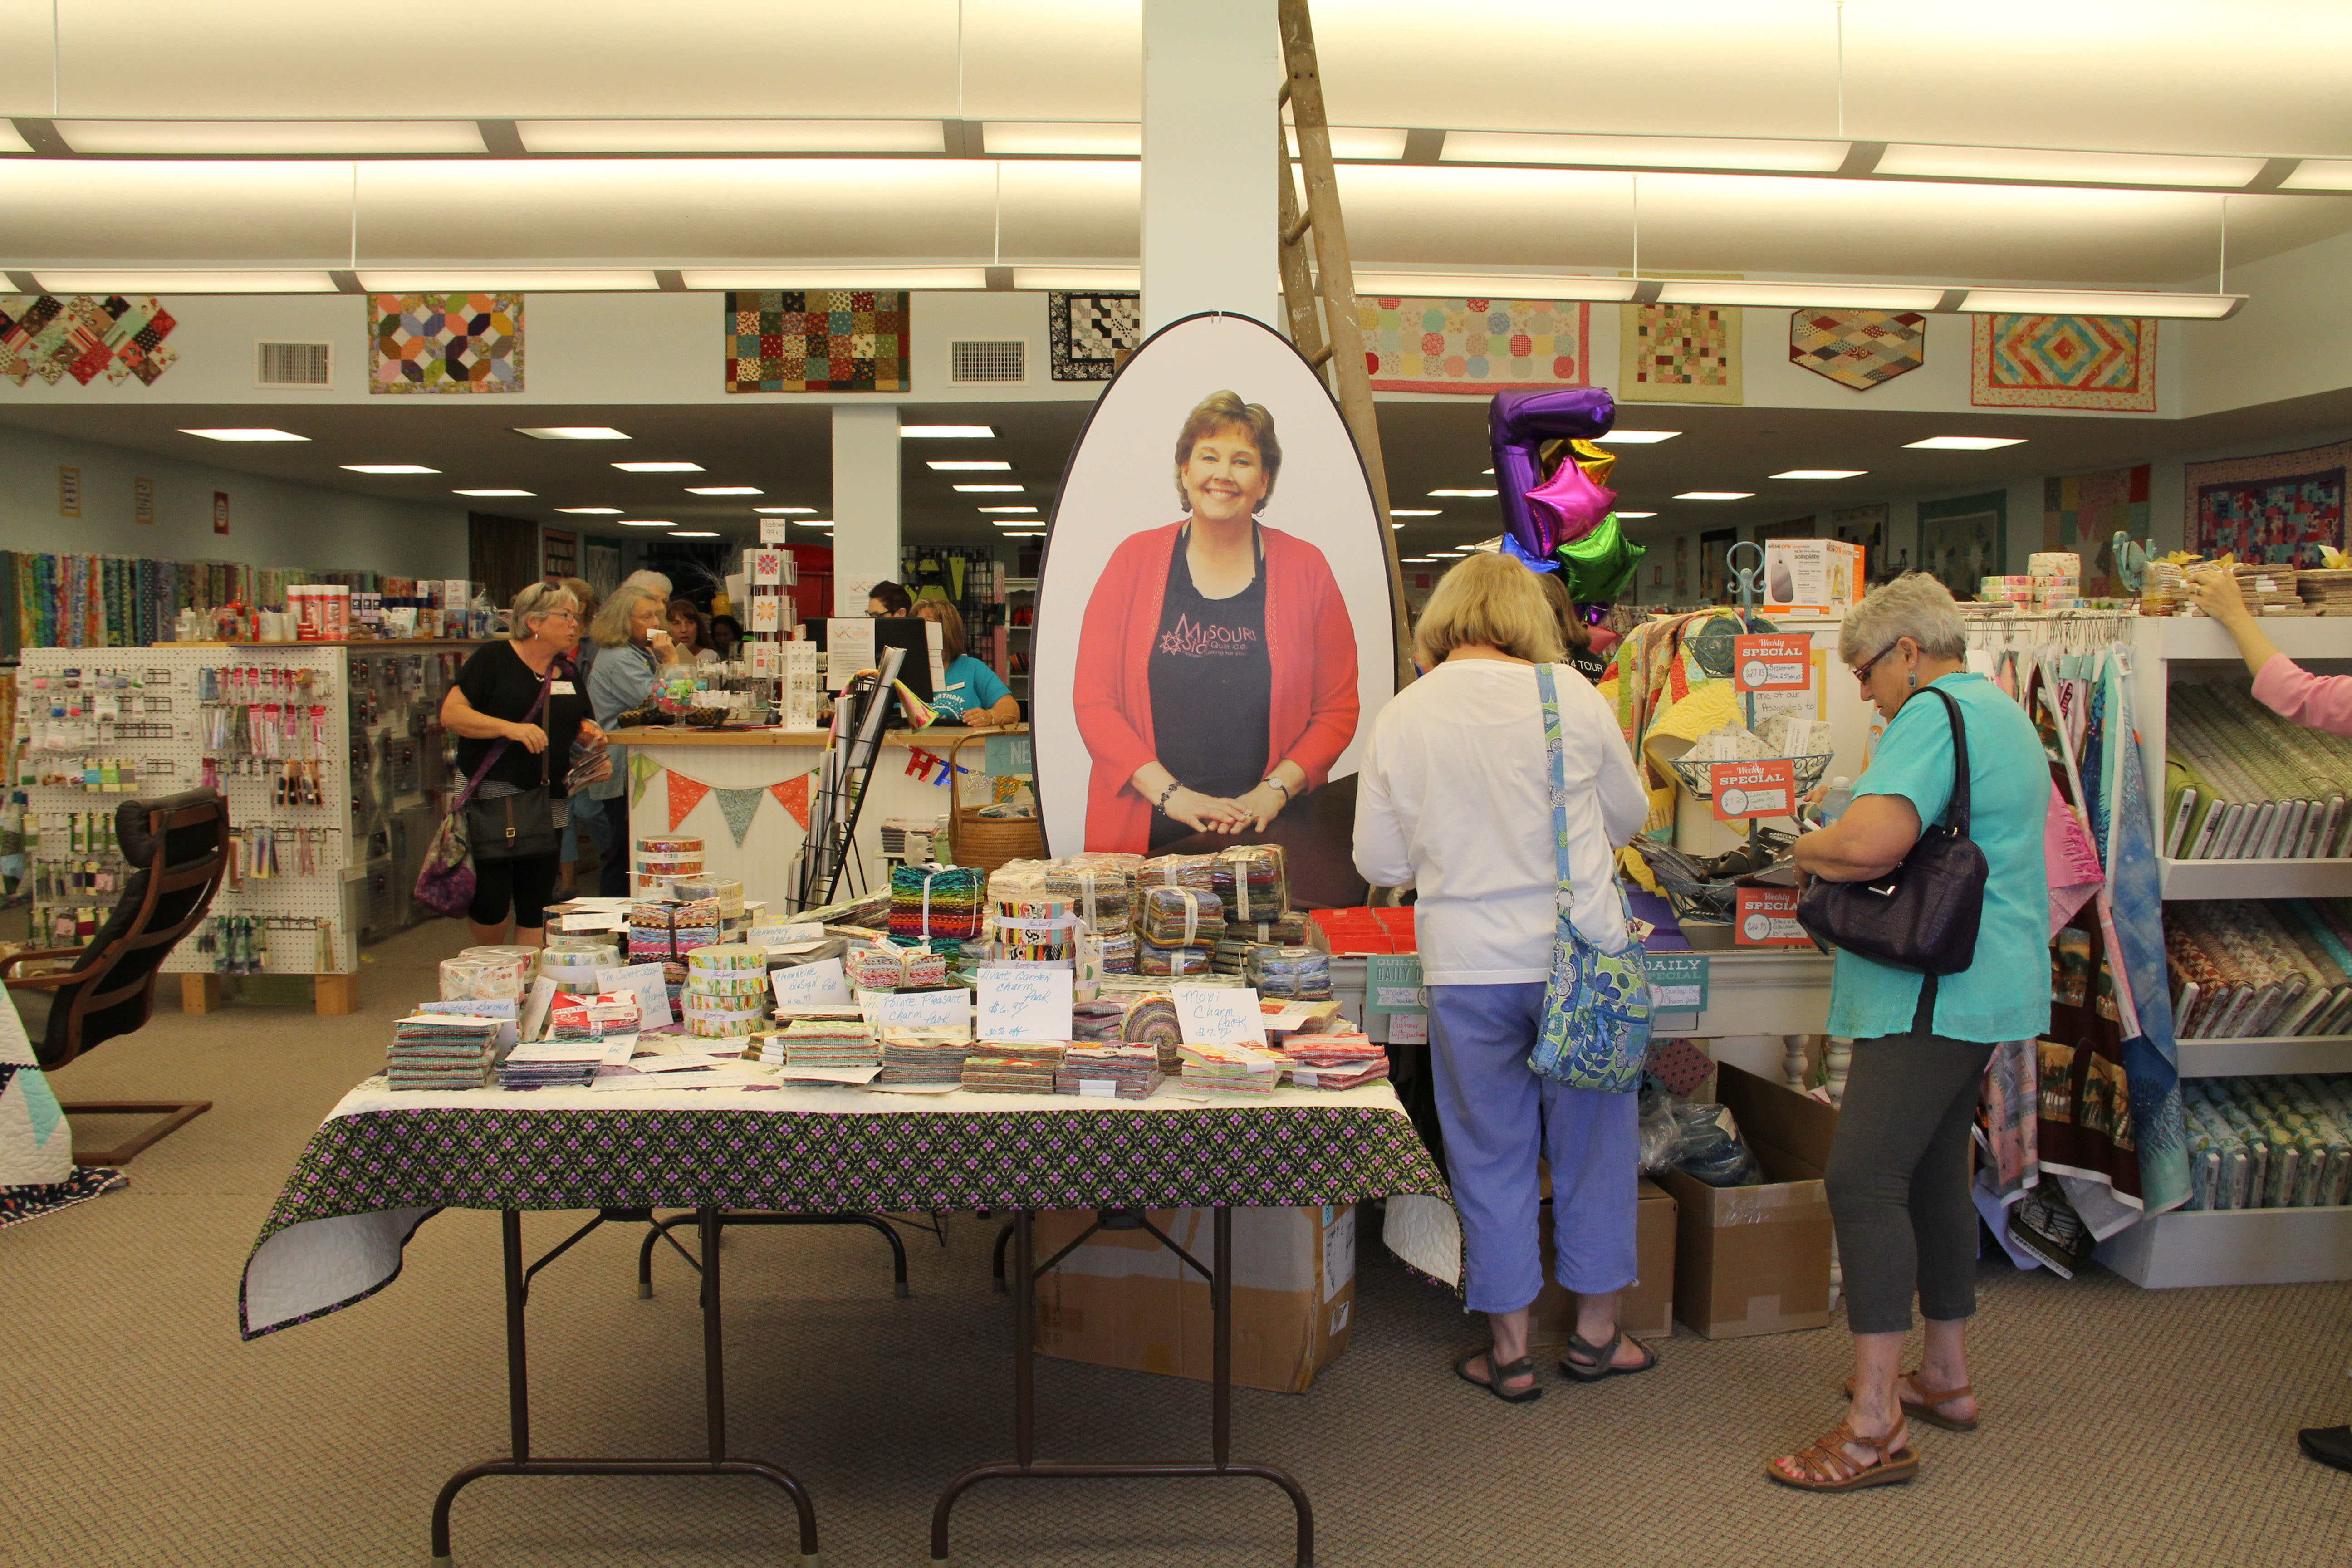
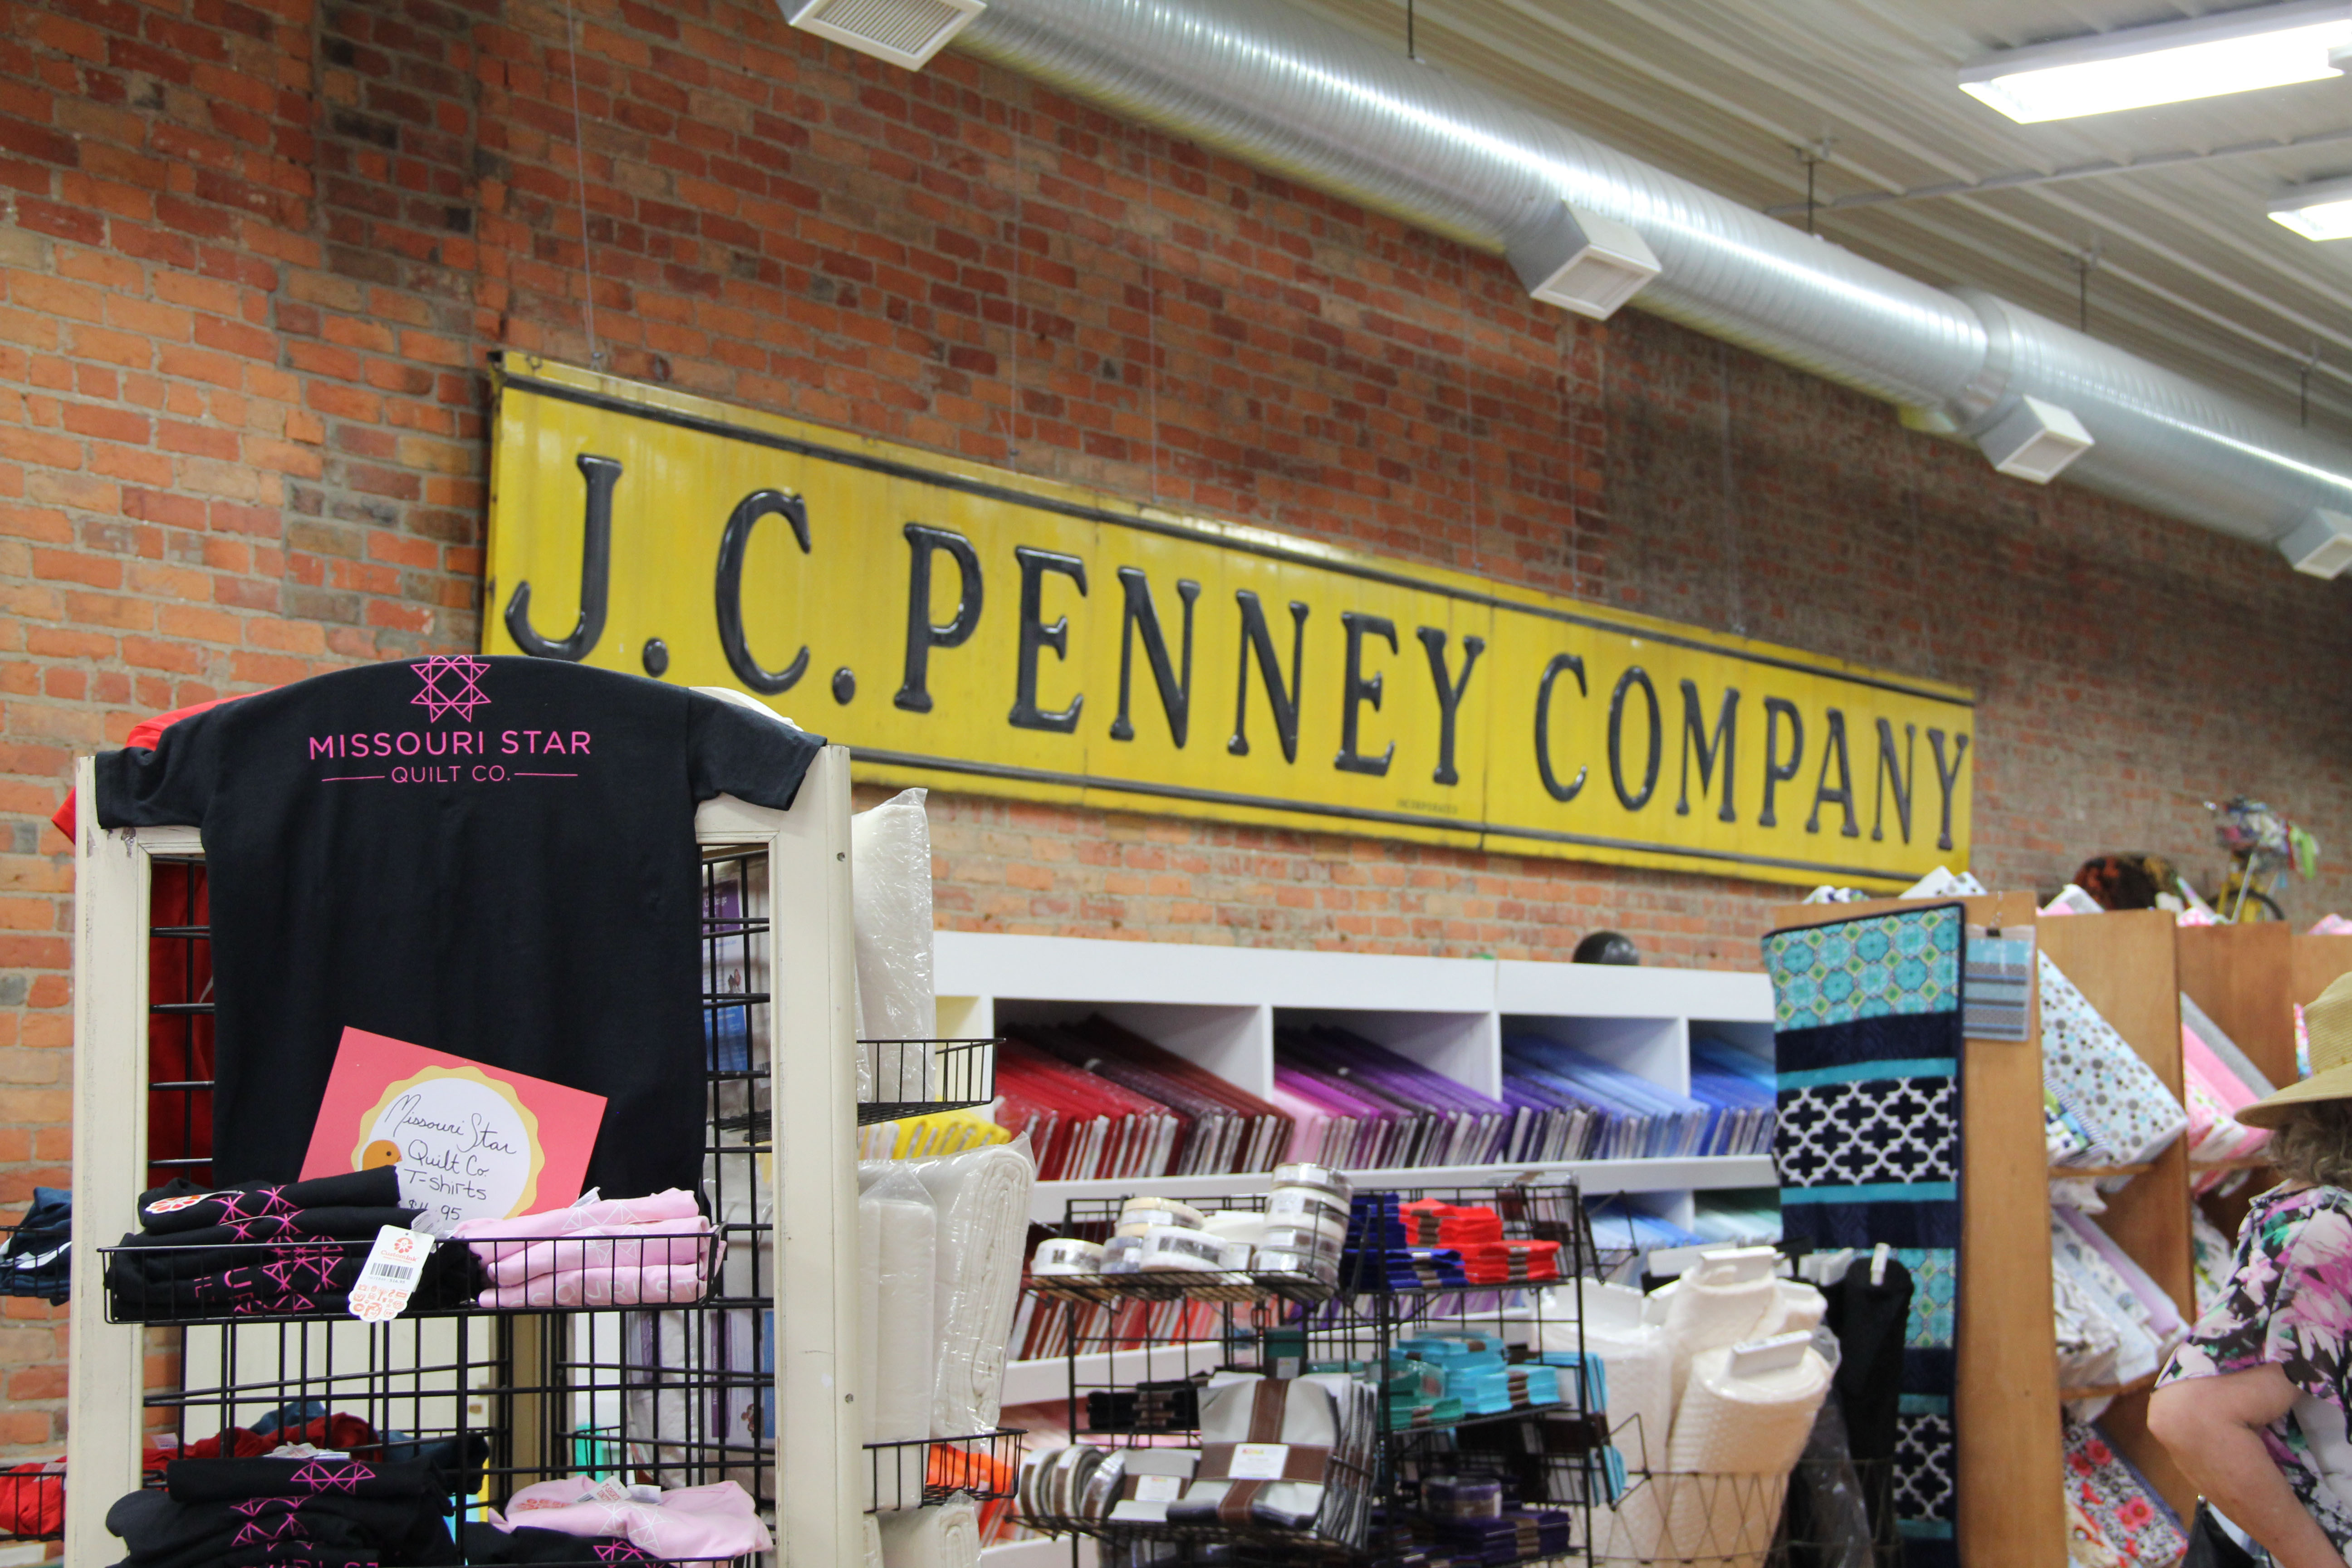
They actually have 6 quilt shops in town, and if you’re thinking about making the trip, I will give you some tips along the way! Here are the six quilt shops:
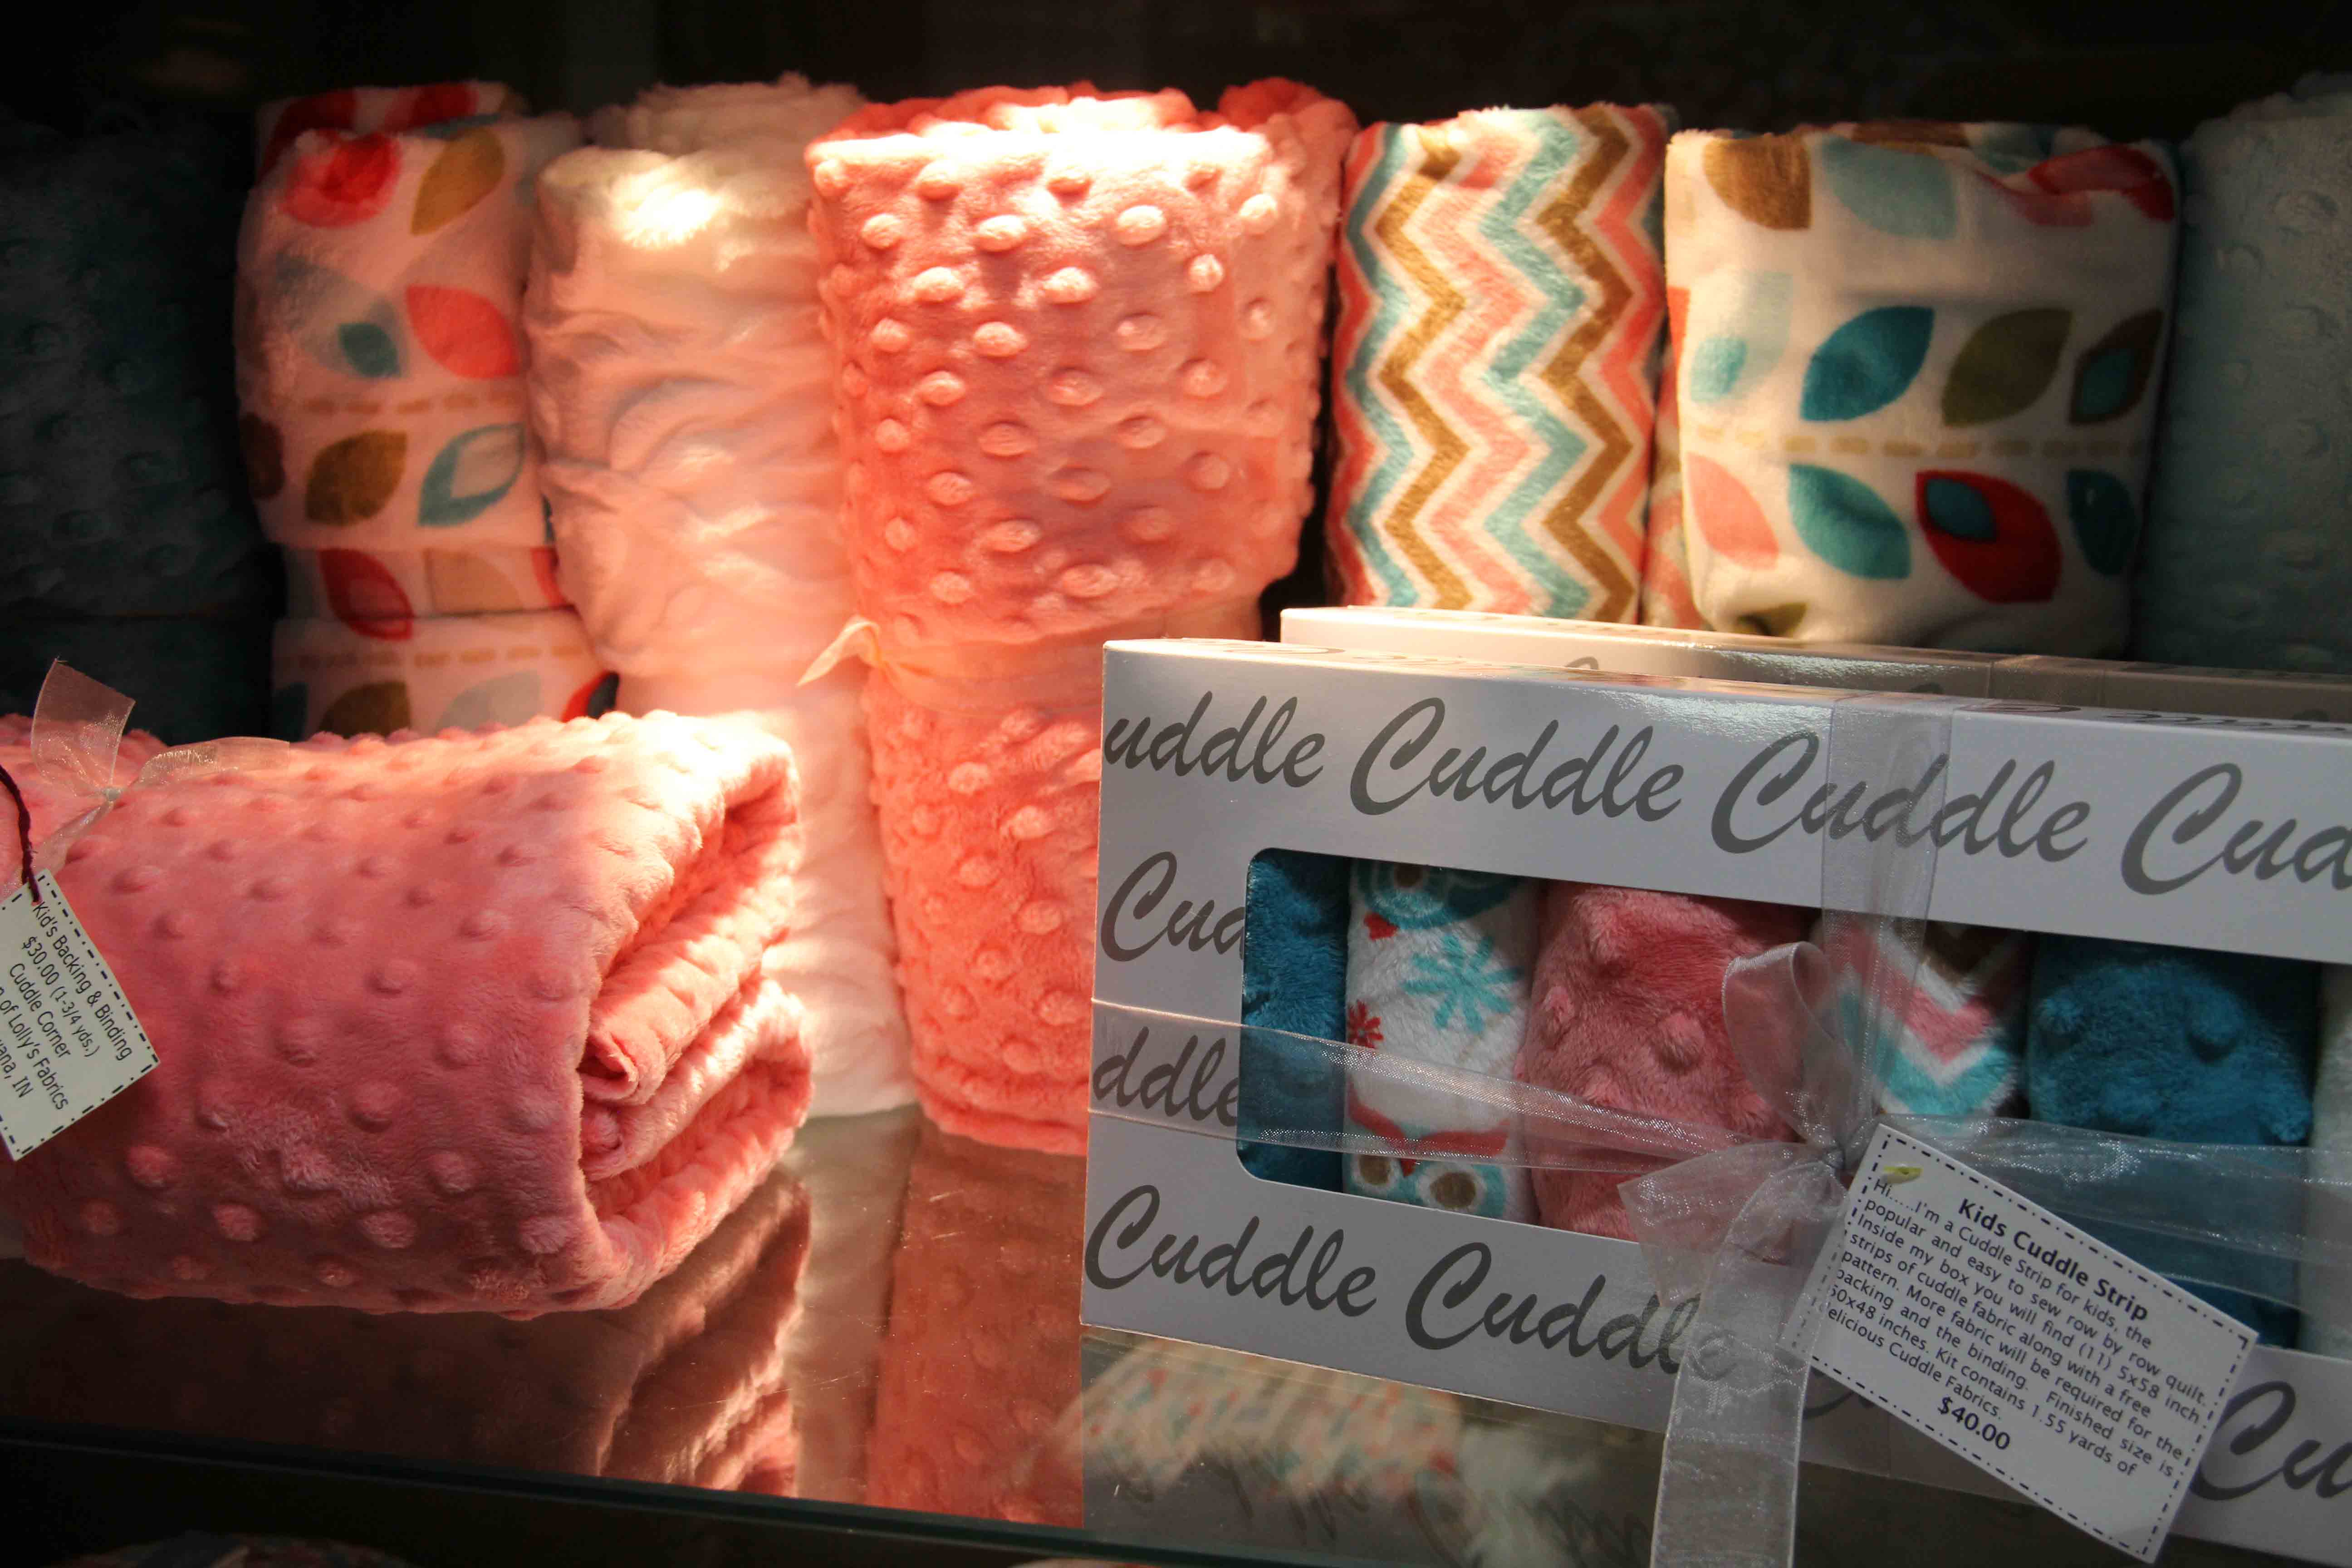
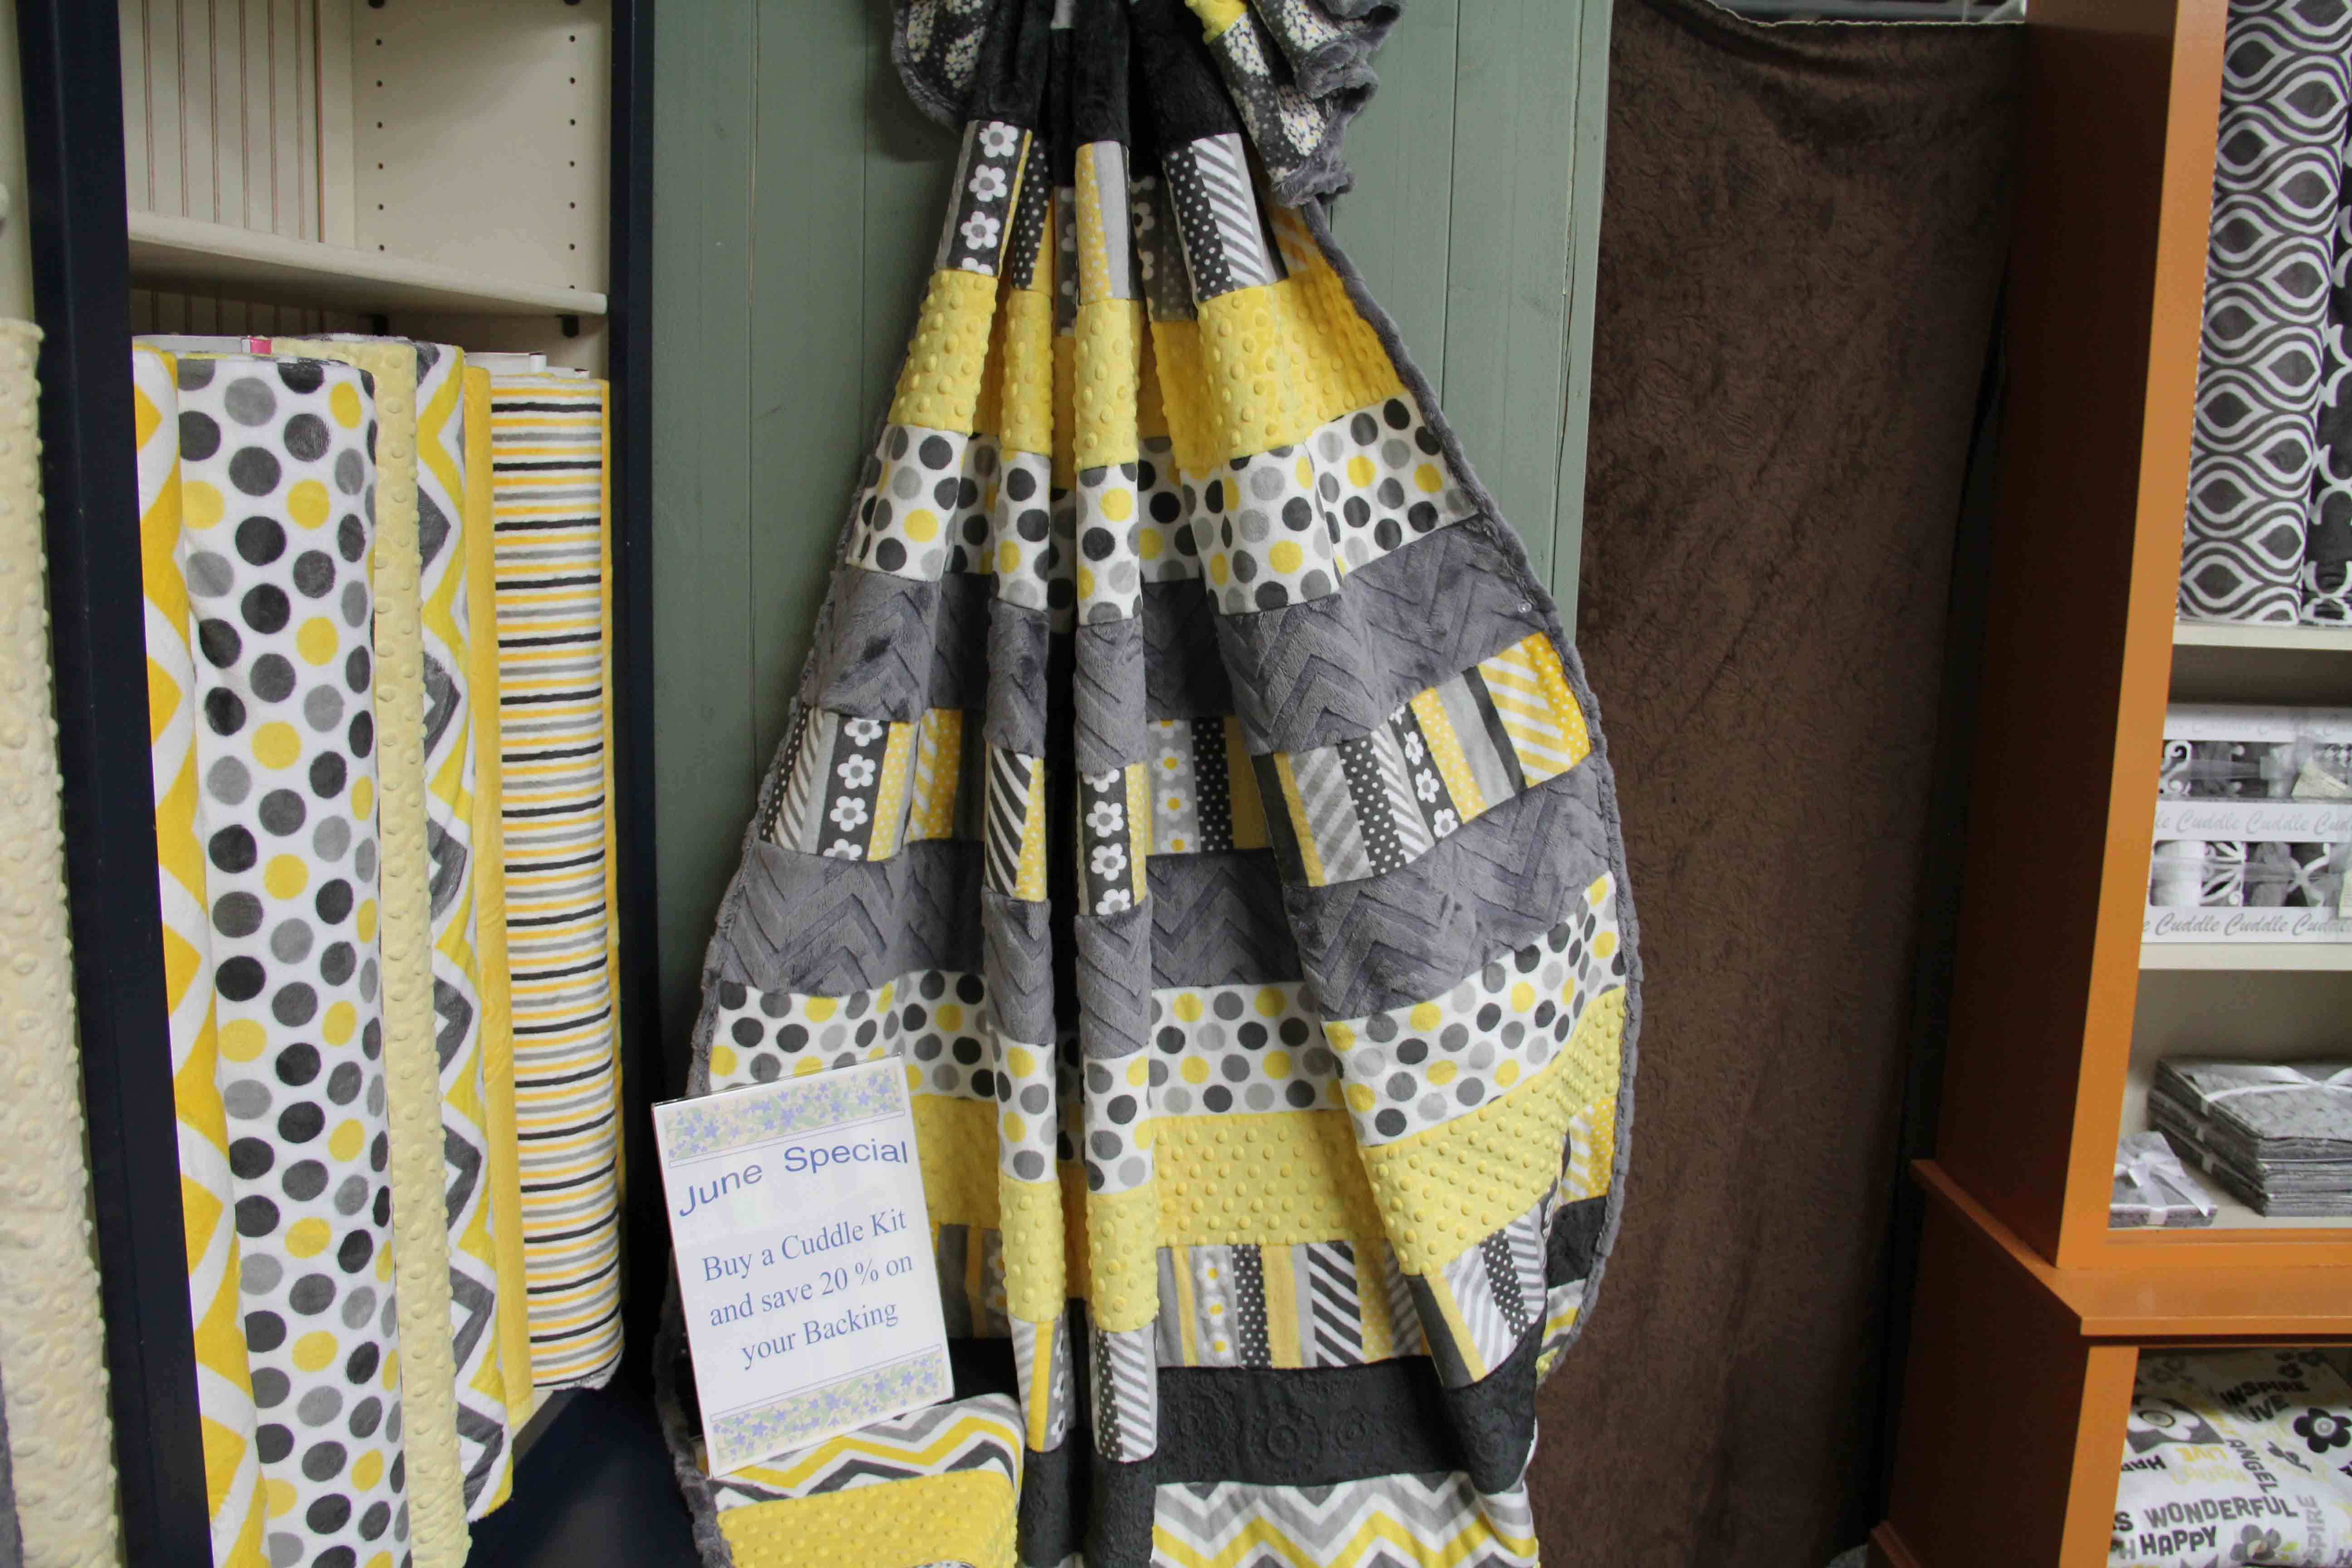
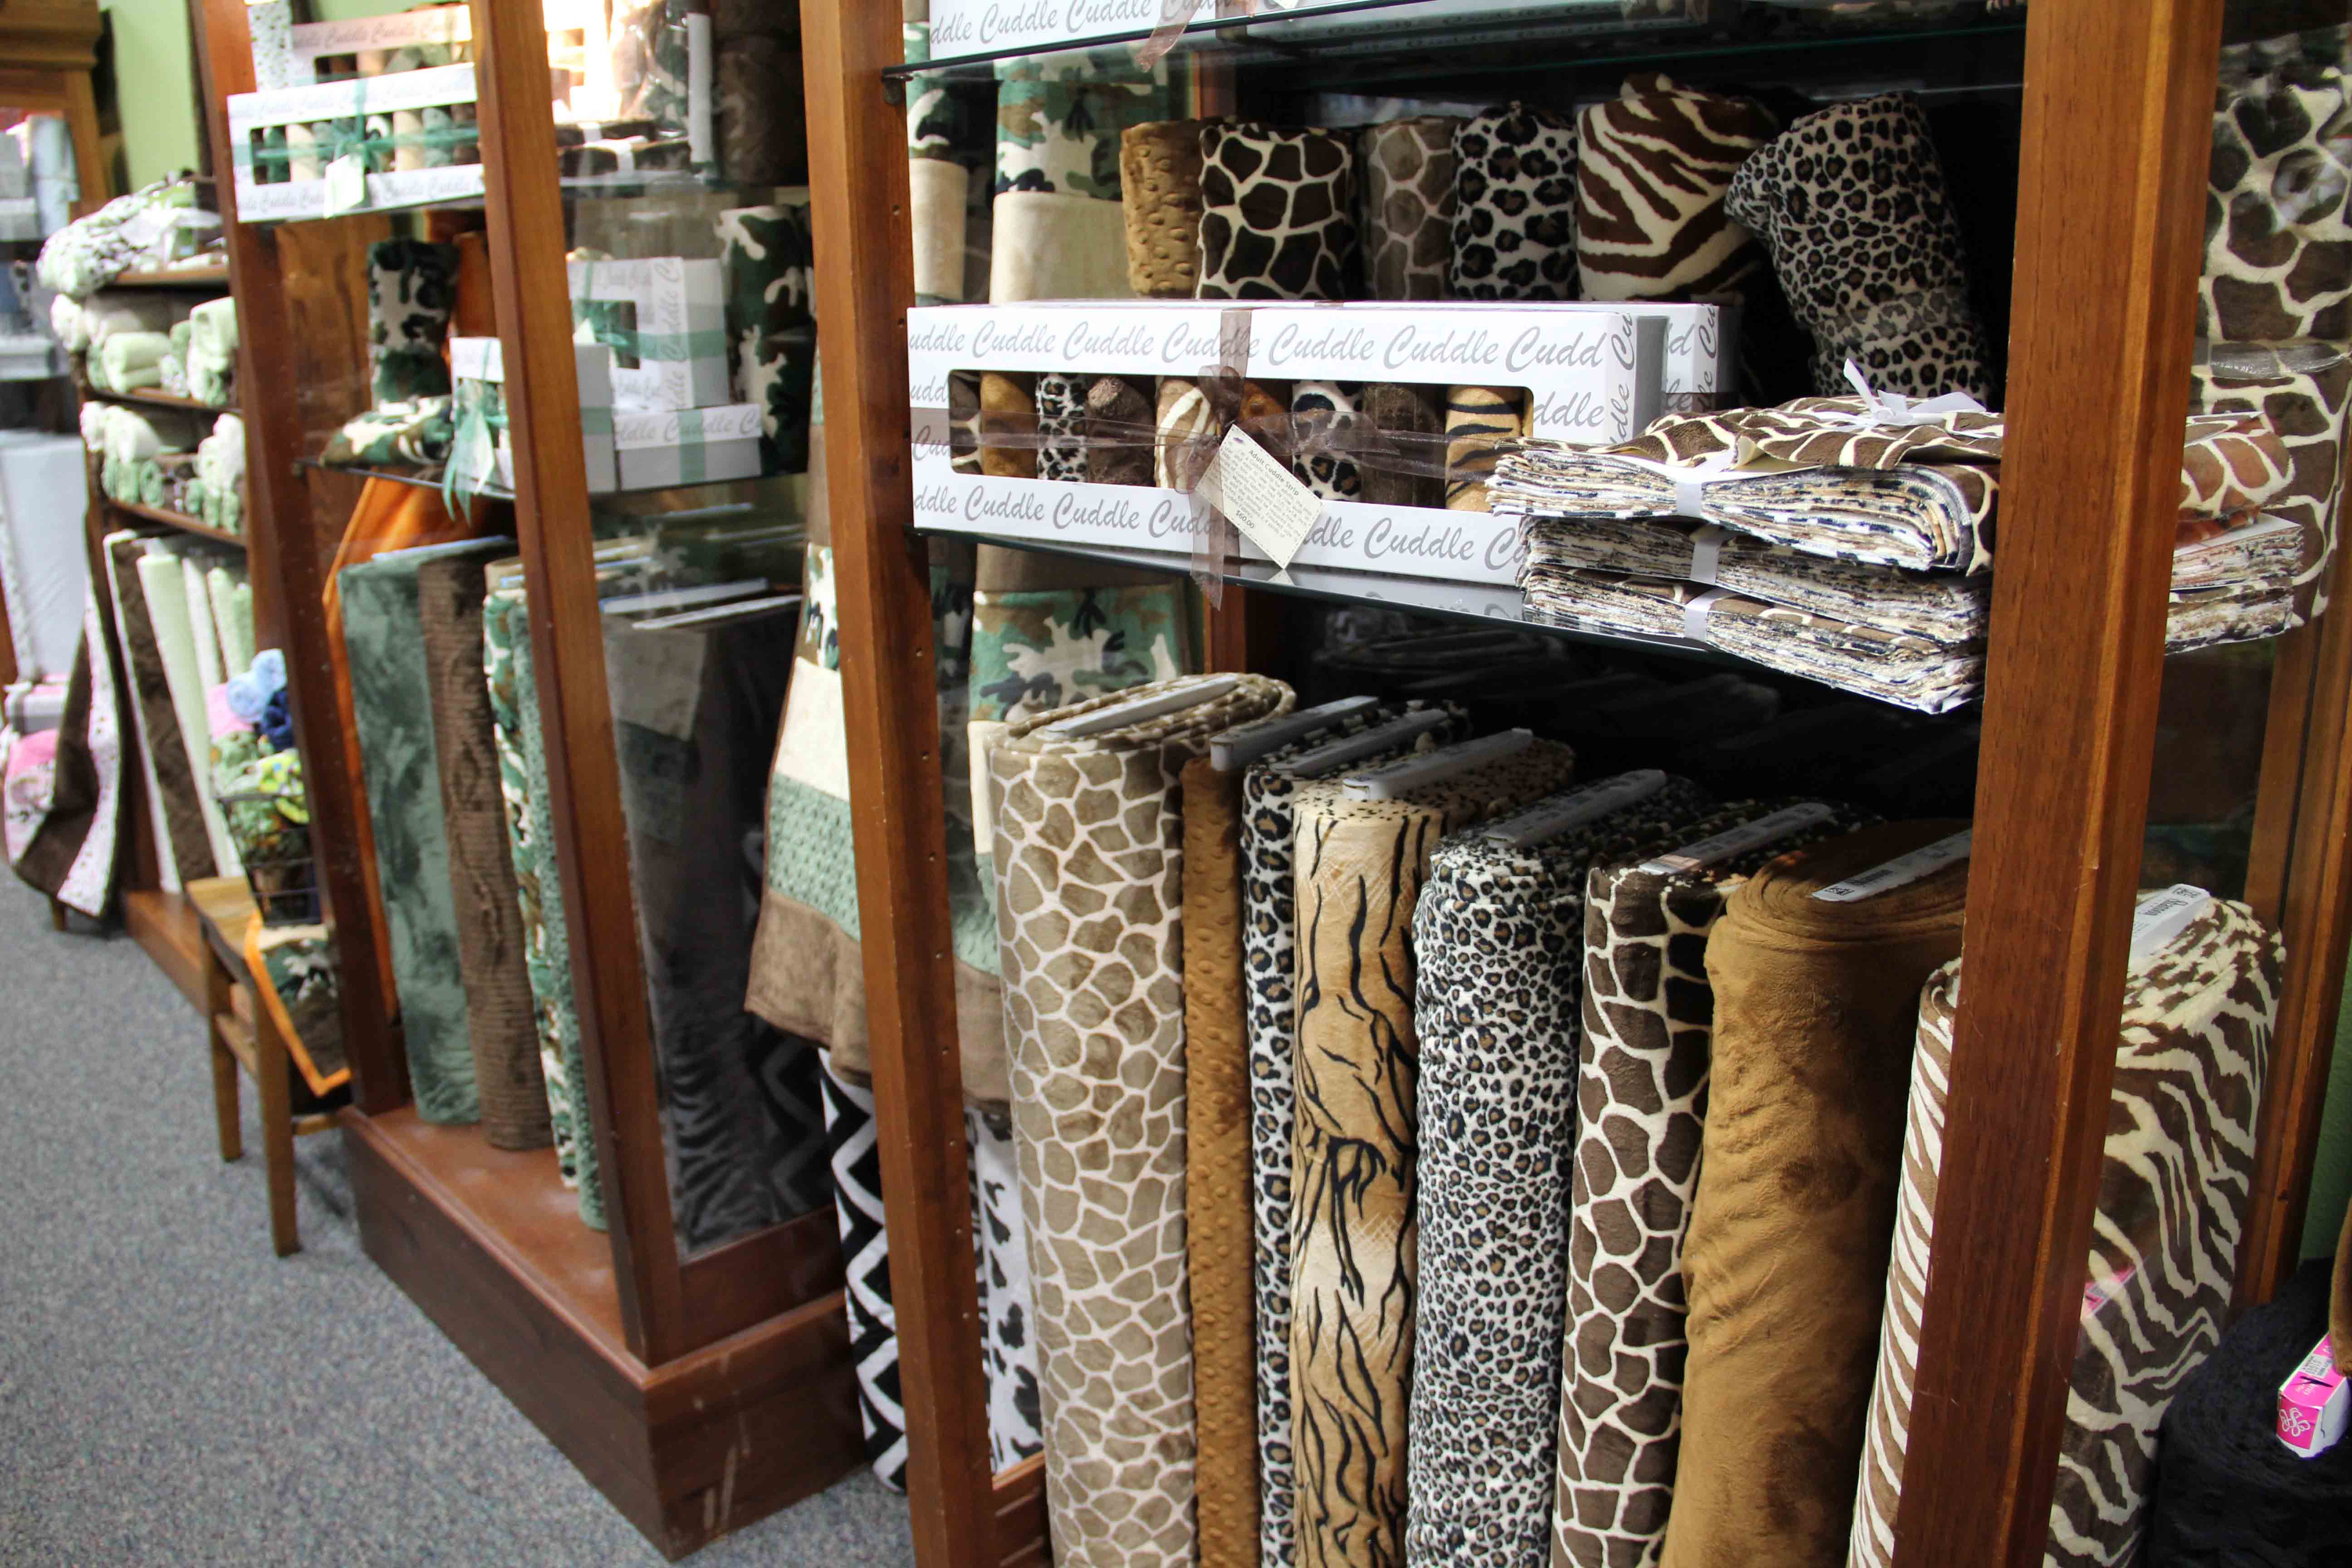
- Main Shop, has modern fabric, notions etc.
- Mercantile has reproduction.
- Sew Seasonal had, you guessed it, seasonal fabric…every holiday you can imagine.
- Novelty. A whole shop of it.
- Solids and modern: think chevron fabric, Moda bella solids, Robert Kaufman, Stonehenge, etc.
- And the JCPenney shop carried wool, Snuggle, and other basics, as I recall.
We had a trunk show with Jenny Doan, host of MSQC tutorials. And may we just add that she is just as delightful in person as she is in the tutorials. No difference!
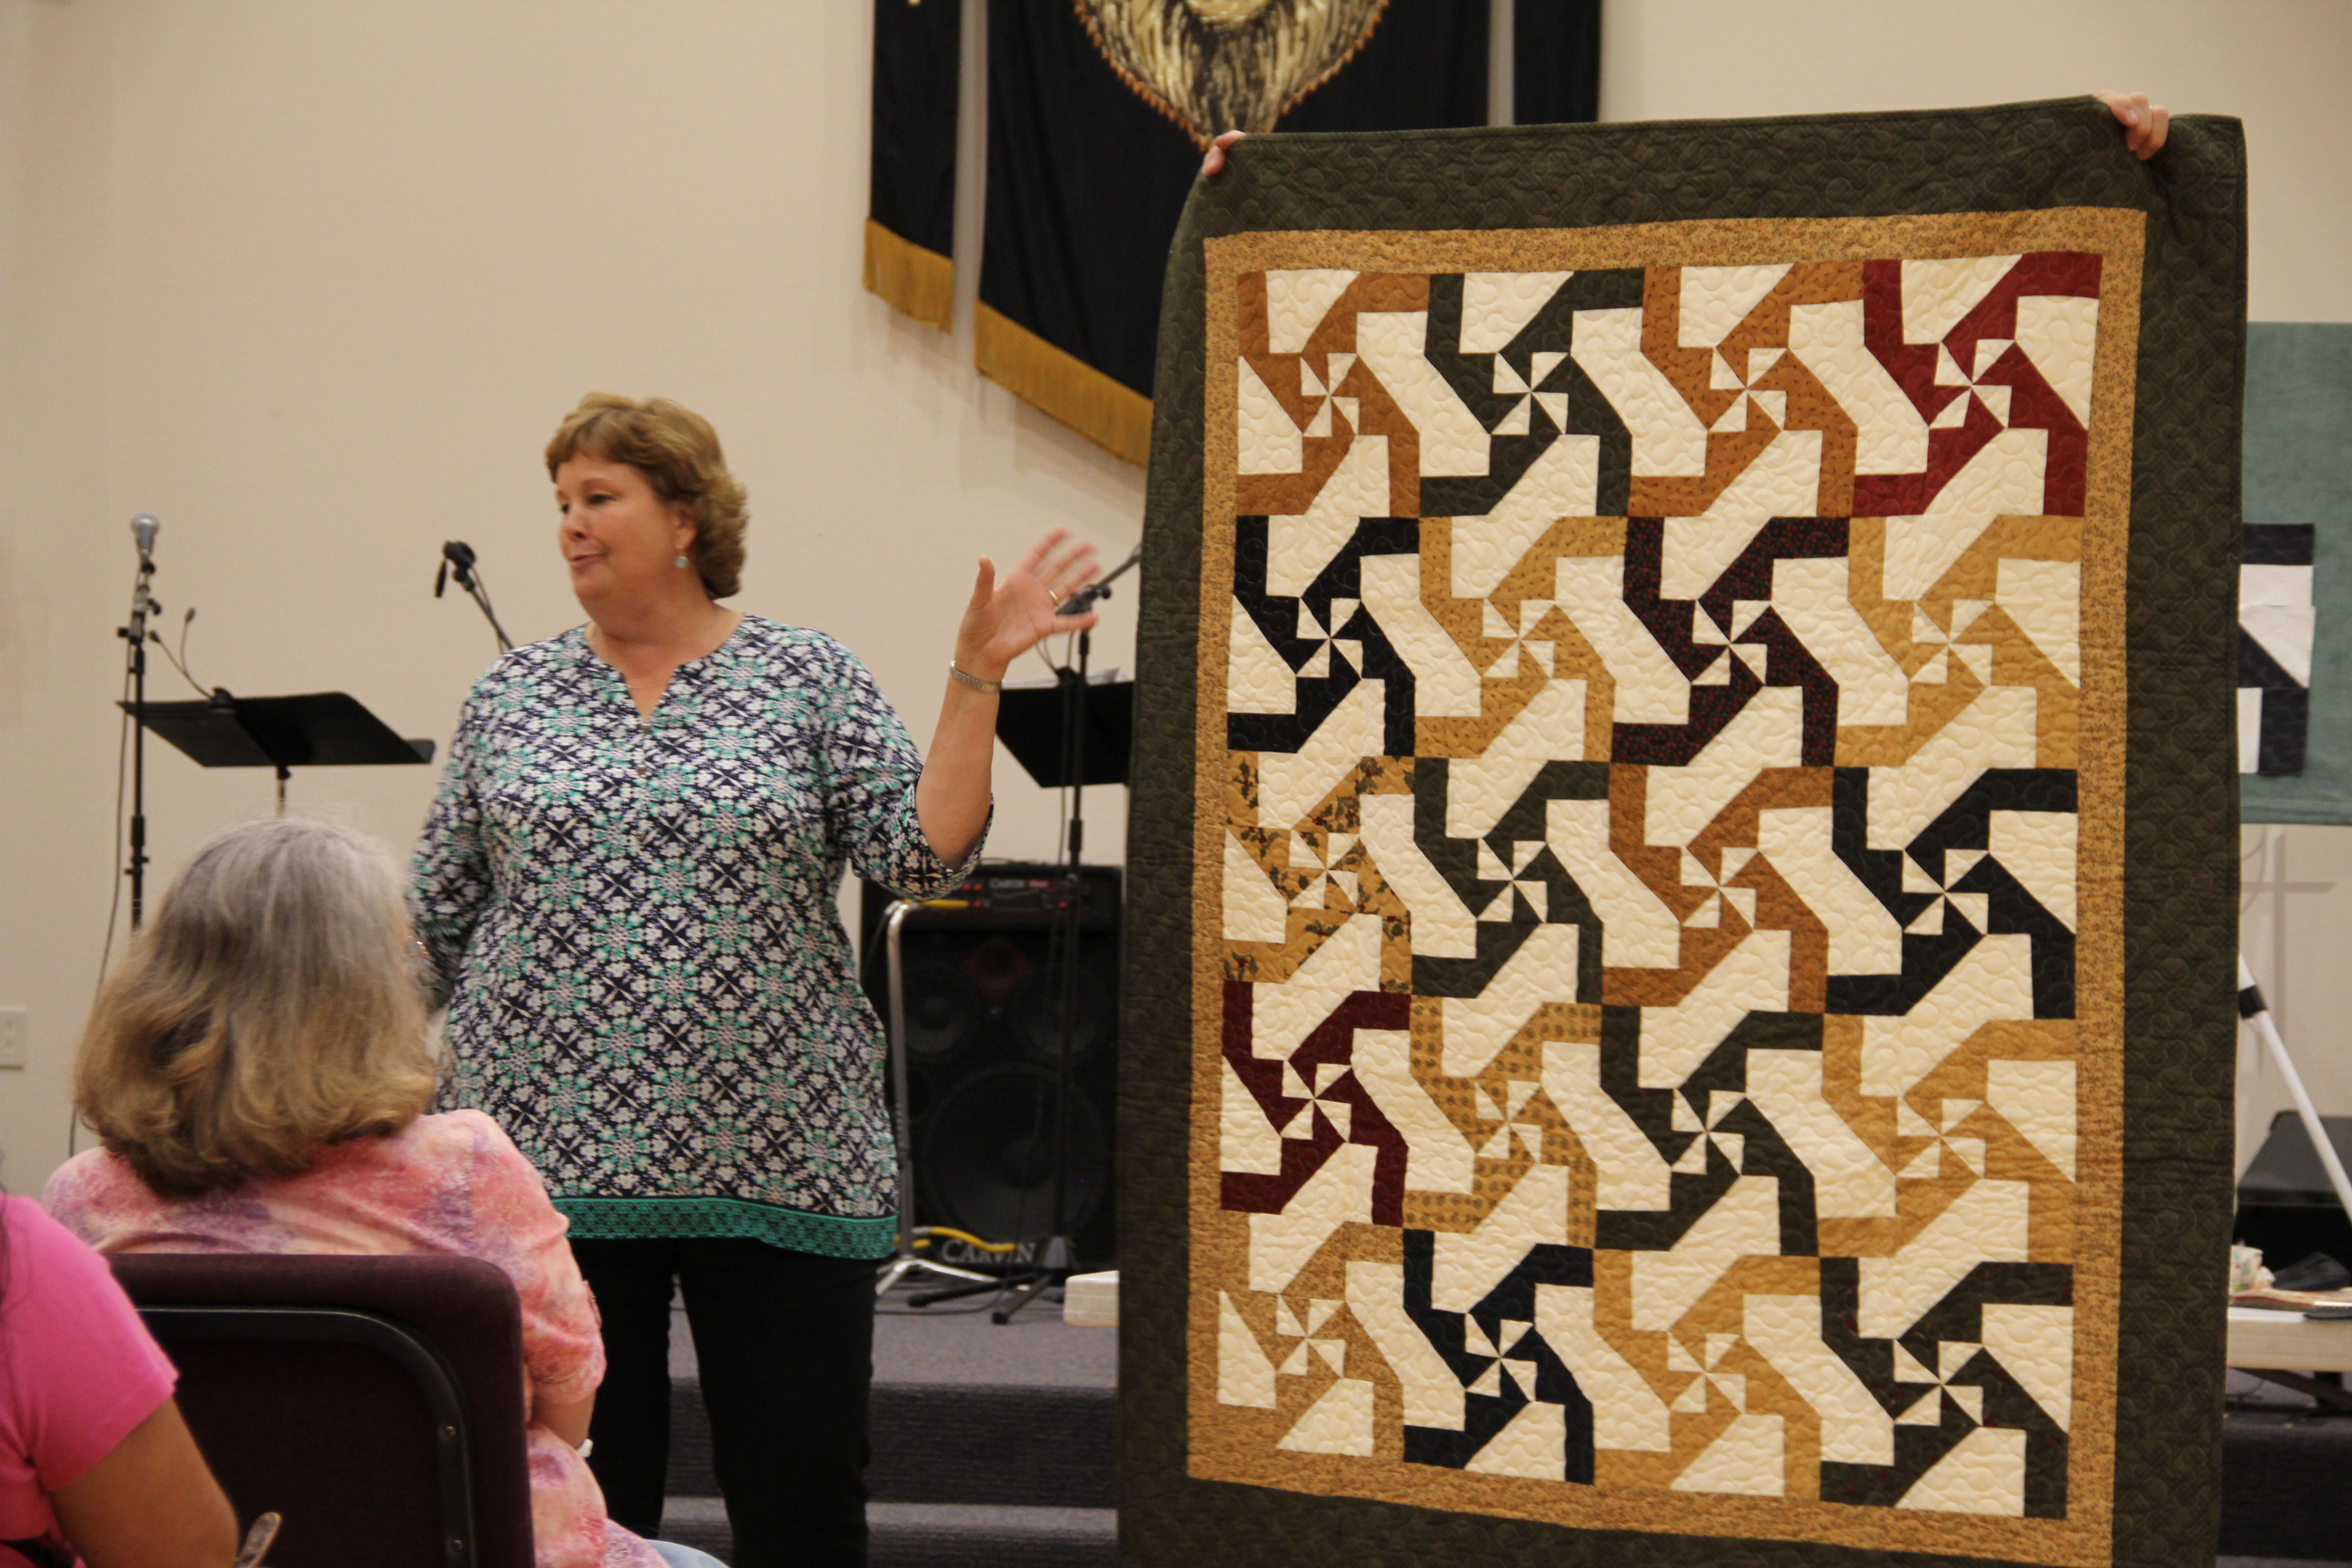
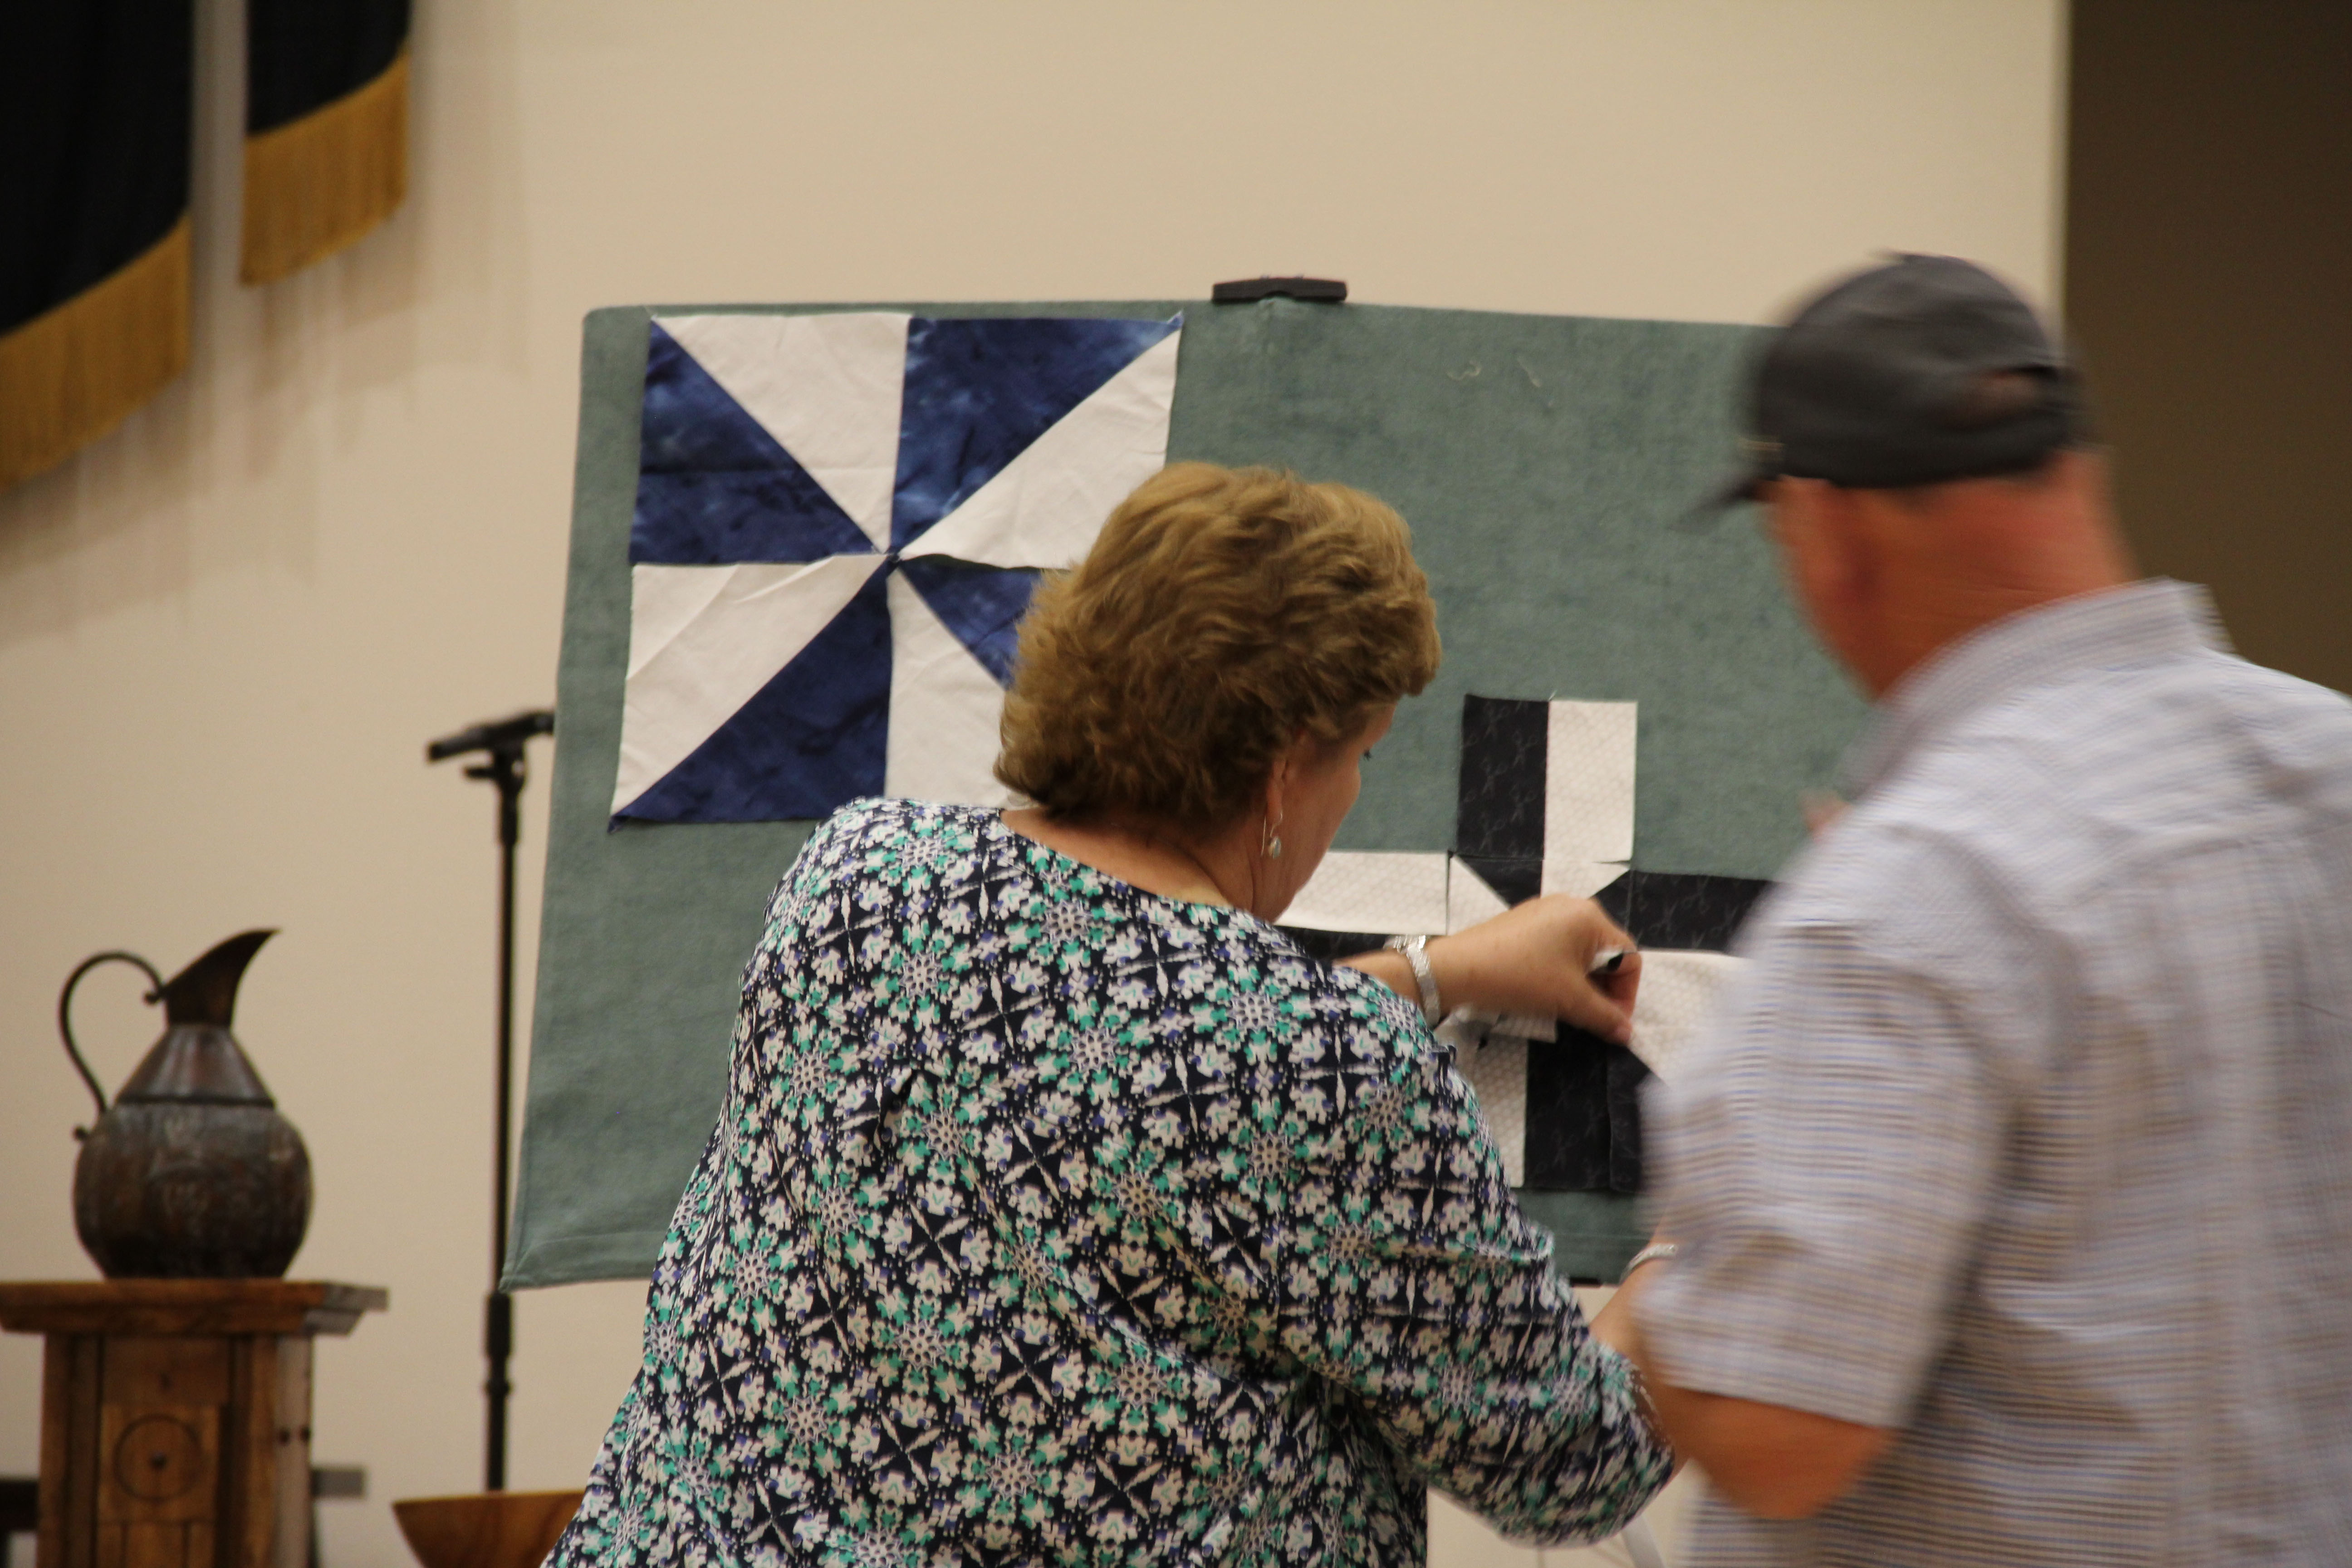 She does the show with her husband, and the two of them are such a great partnership!
 Some teensy little tidbits from Jenny: this turkey MAY appear in an upcoming pattern and tutorial.
She also mentioned that they will soon be opening another 6 stores! (Likely within the next month or so! (The new stores will include a machine shop, a wool specialty shop and one store with all wideback fabric!)
My tips for making this trip:
- You won’t find any hotels in Hamilton, but you could consider their retreat center. For us, the sleeping arrangements were a little too cozy and dorm-like for a bus load of folks. And the retreat center only holds a maximum of something like 37 people? Not sure about that number, but not enough for us. I HIGHLY recommend (and so does MSQC) GuestHouse Acorn Inn in Cameron, about 10 minutes away. It was clean and comfortable and the breakfast was outstanding…real eggs! If you have a group, call the manager ahead of time to make arrangements, they are very accommodating.
2. If you have a large group, by all means, set up a trunk show with Jenny…she’s a hoot and it’s wonderful! Yes, there is a fee, but well worth it. Call the store and tell them you’d like a trunk show. They will put you in contact with the right person.
3. Make arrangements for your group to have a meal at Blue Sage Restaurant in town. No kidding. Just do it. The food is fabulous! Our group thoroughly enjoyed it at the end of a bustling day! The chicken pot pie is amazing. Just sayin’.

 Had to share with you some of the murals MSQC had done in the town. They are just beautiful.
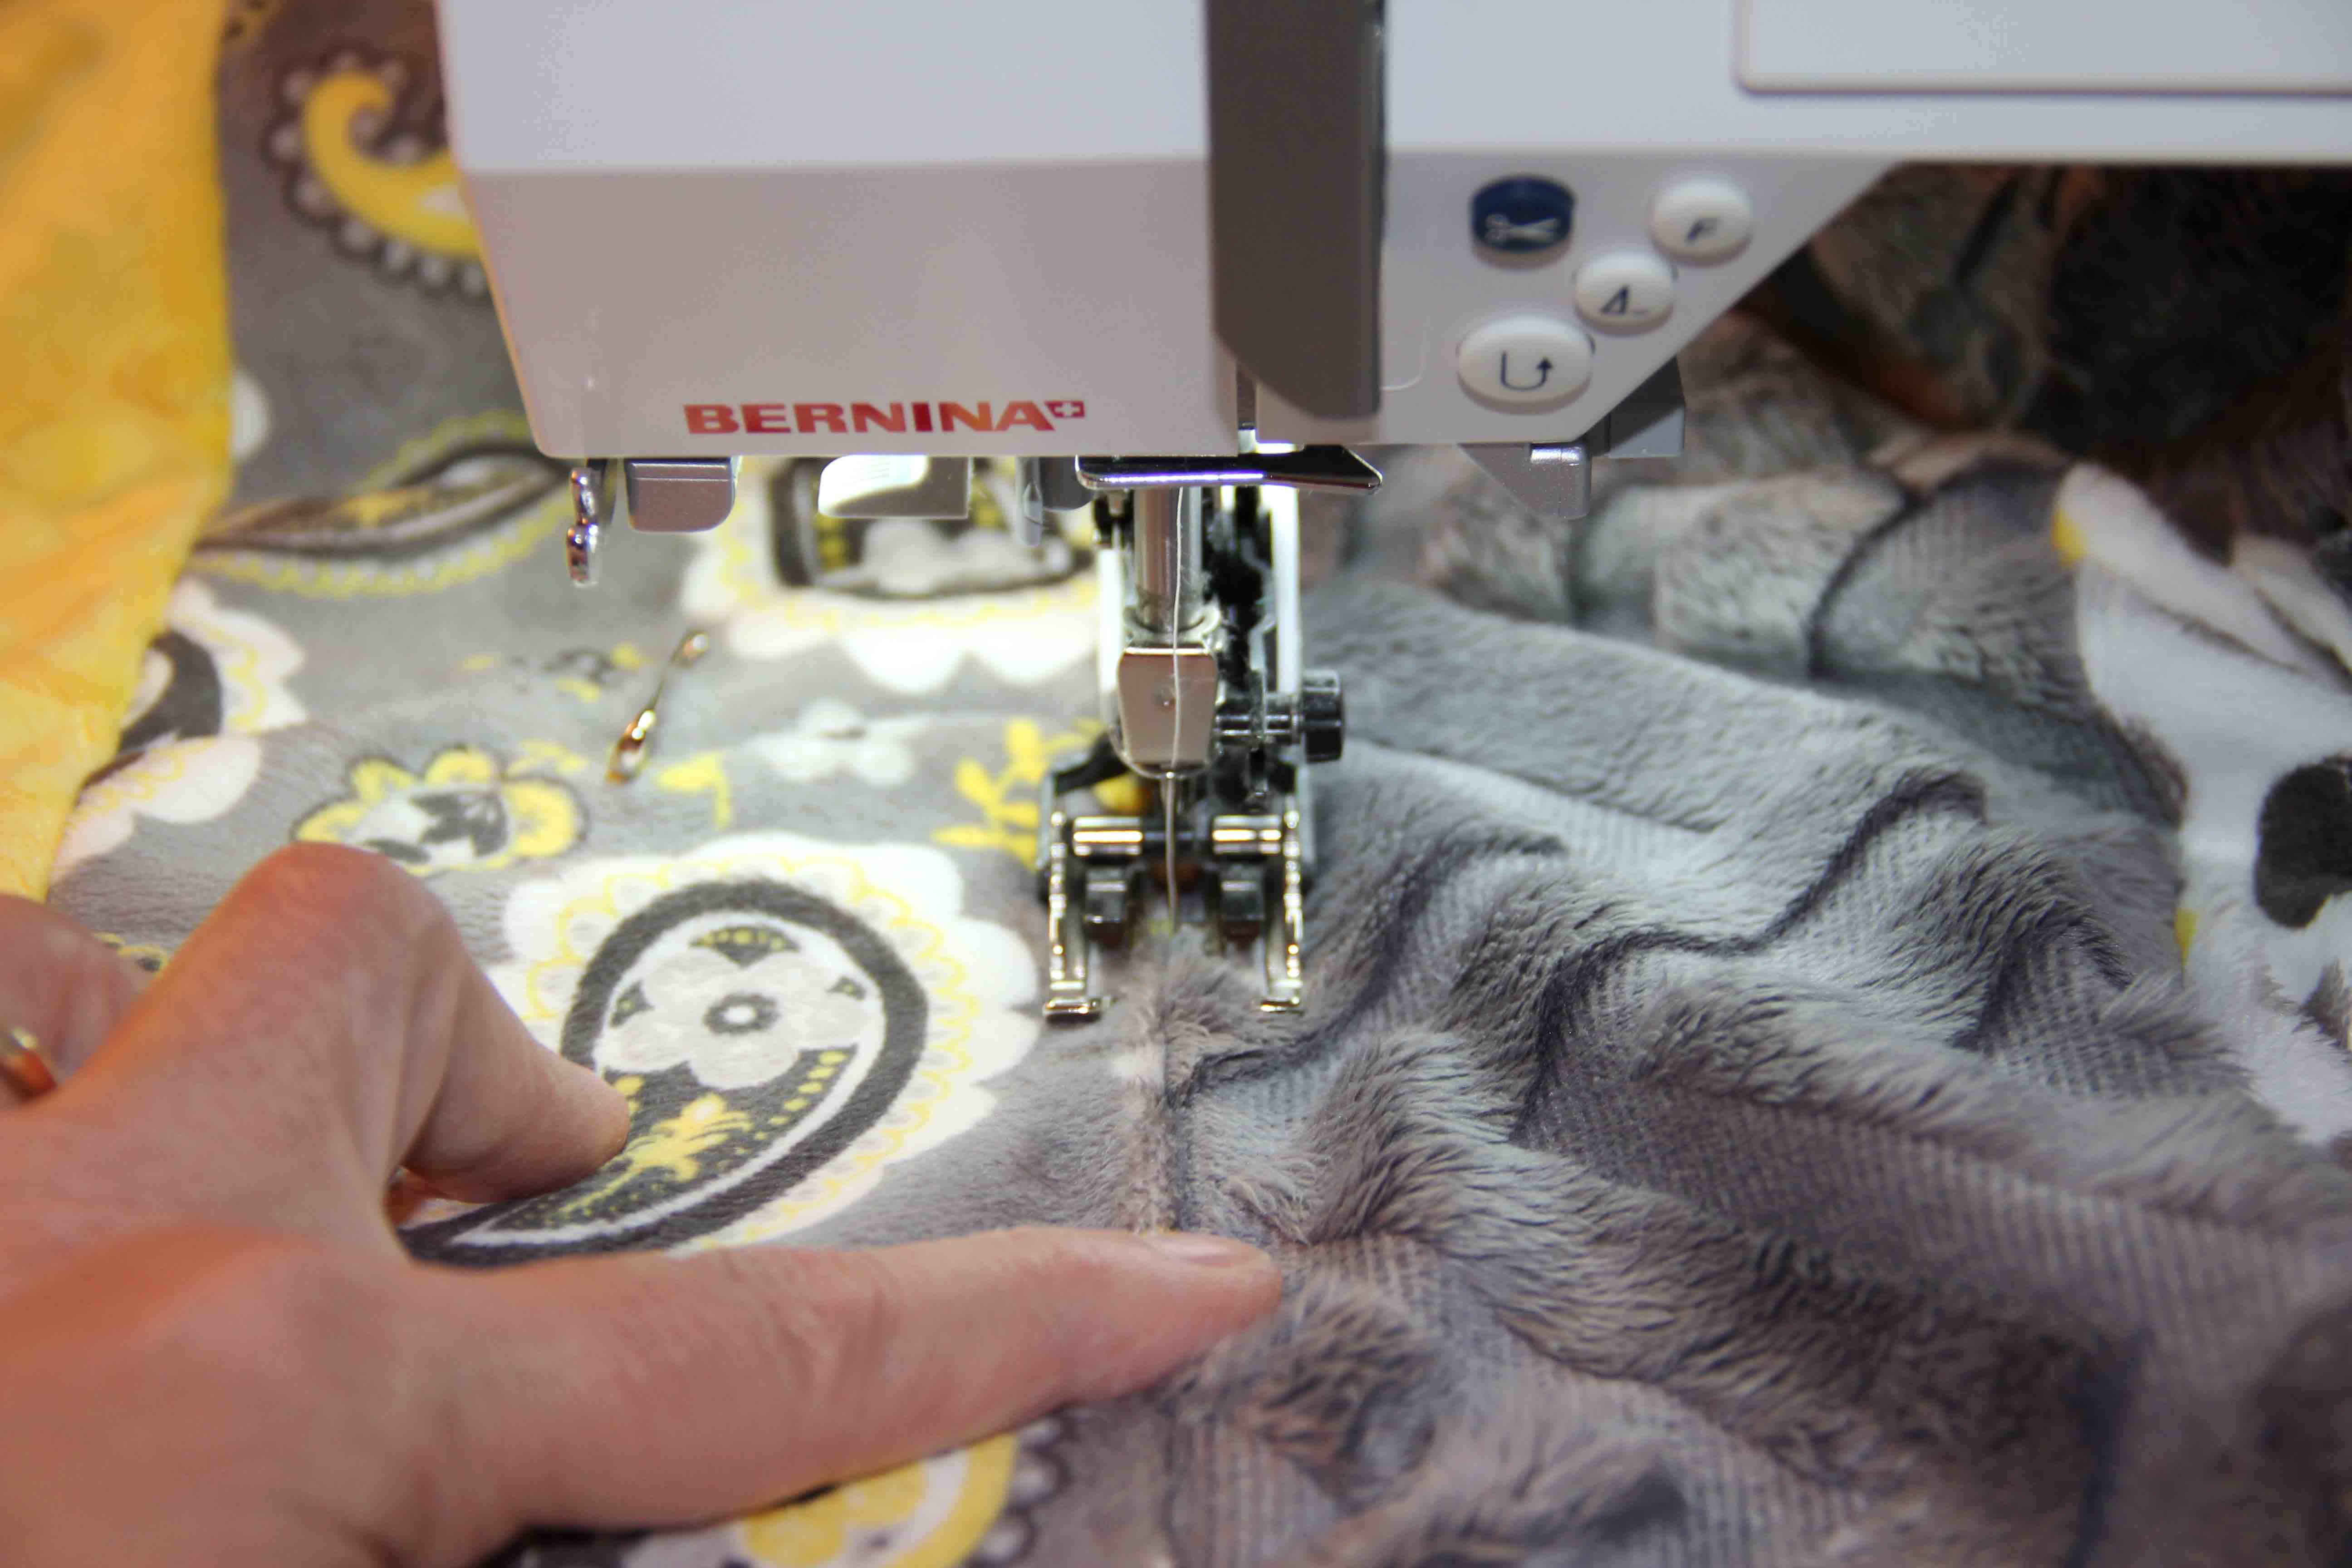
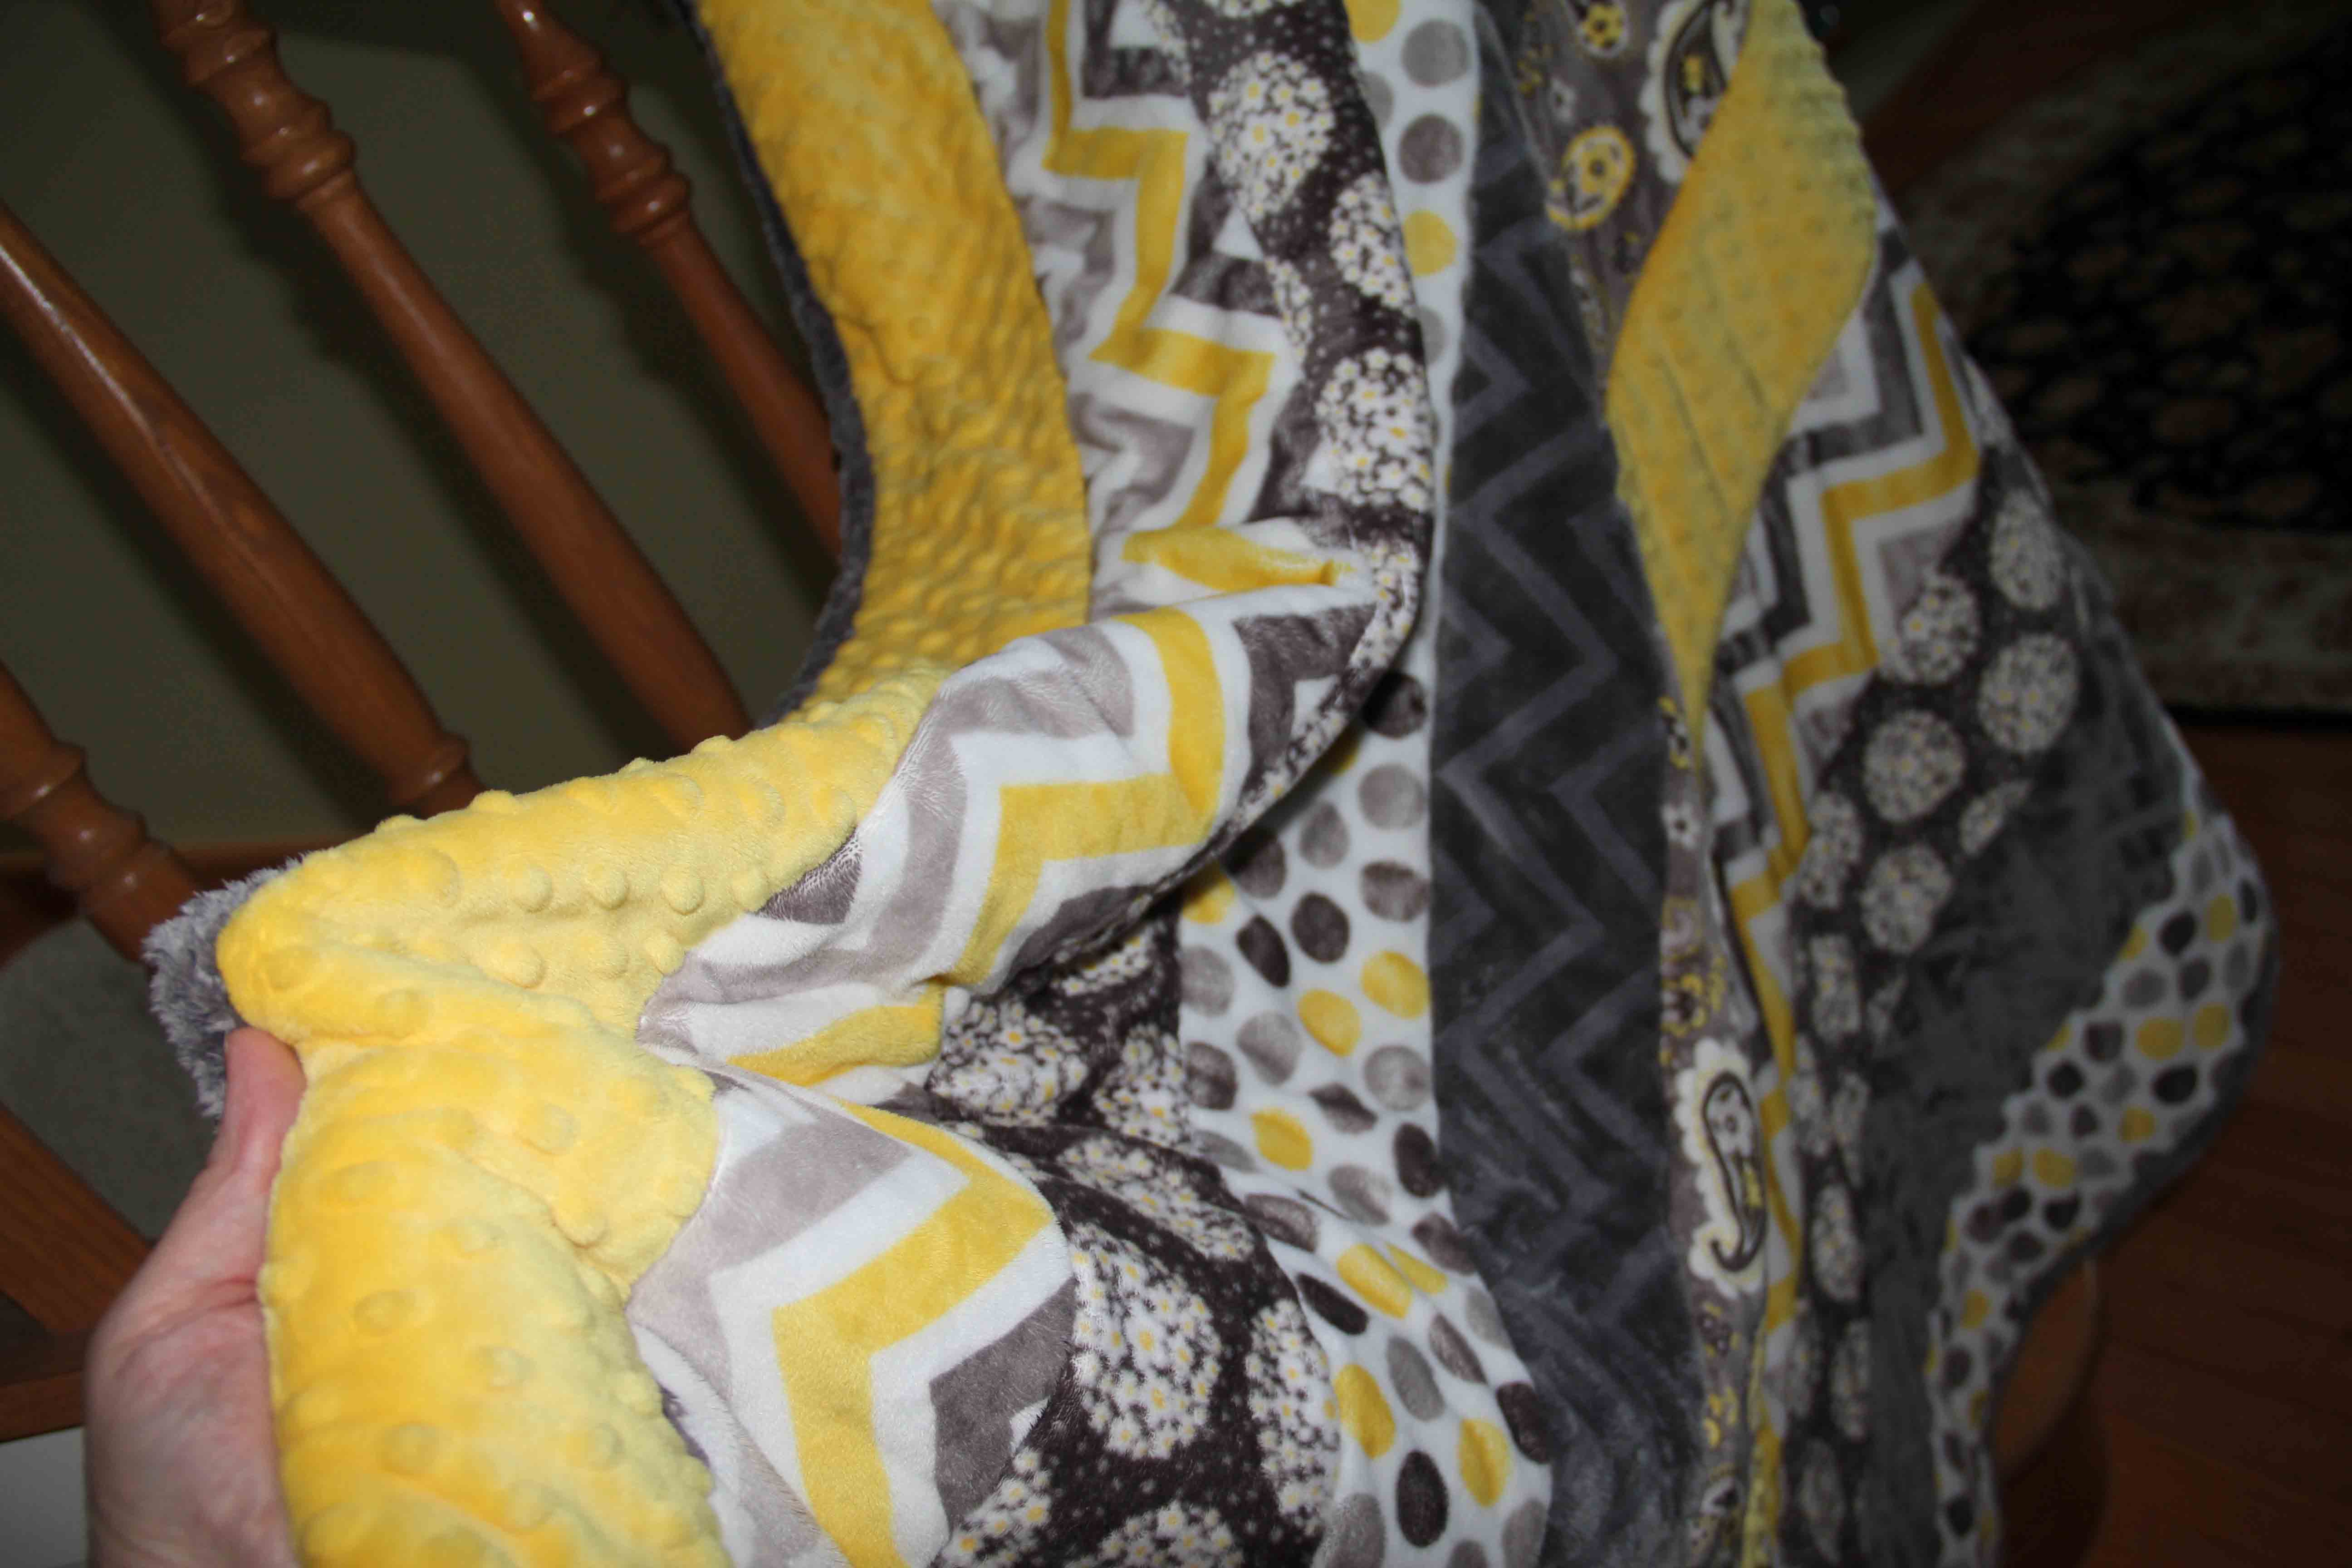
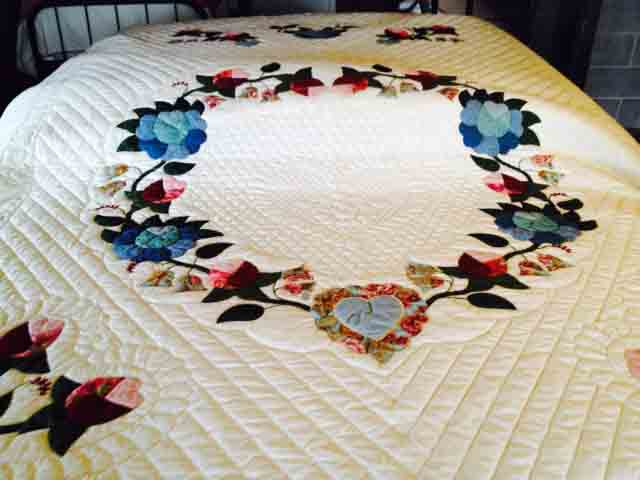
 This small town experience is one to be savored. Take your time and enjoy your surroundings. I know our group really enjoyed themselves (and they MAY have purchased a little fabric too.)