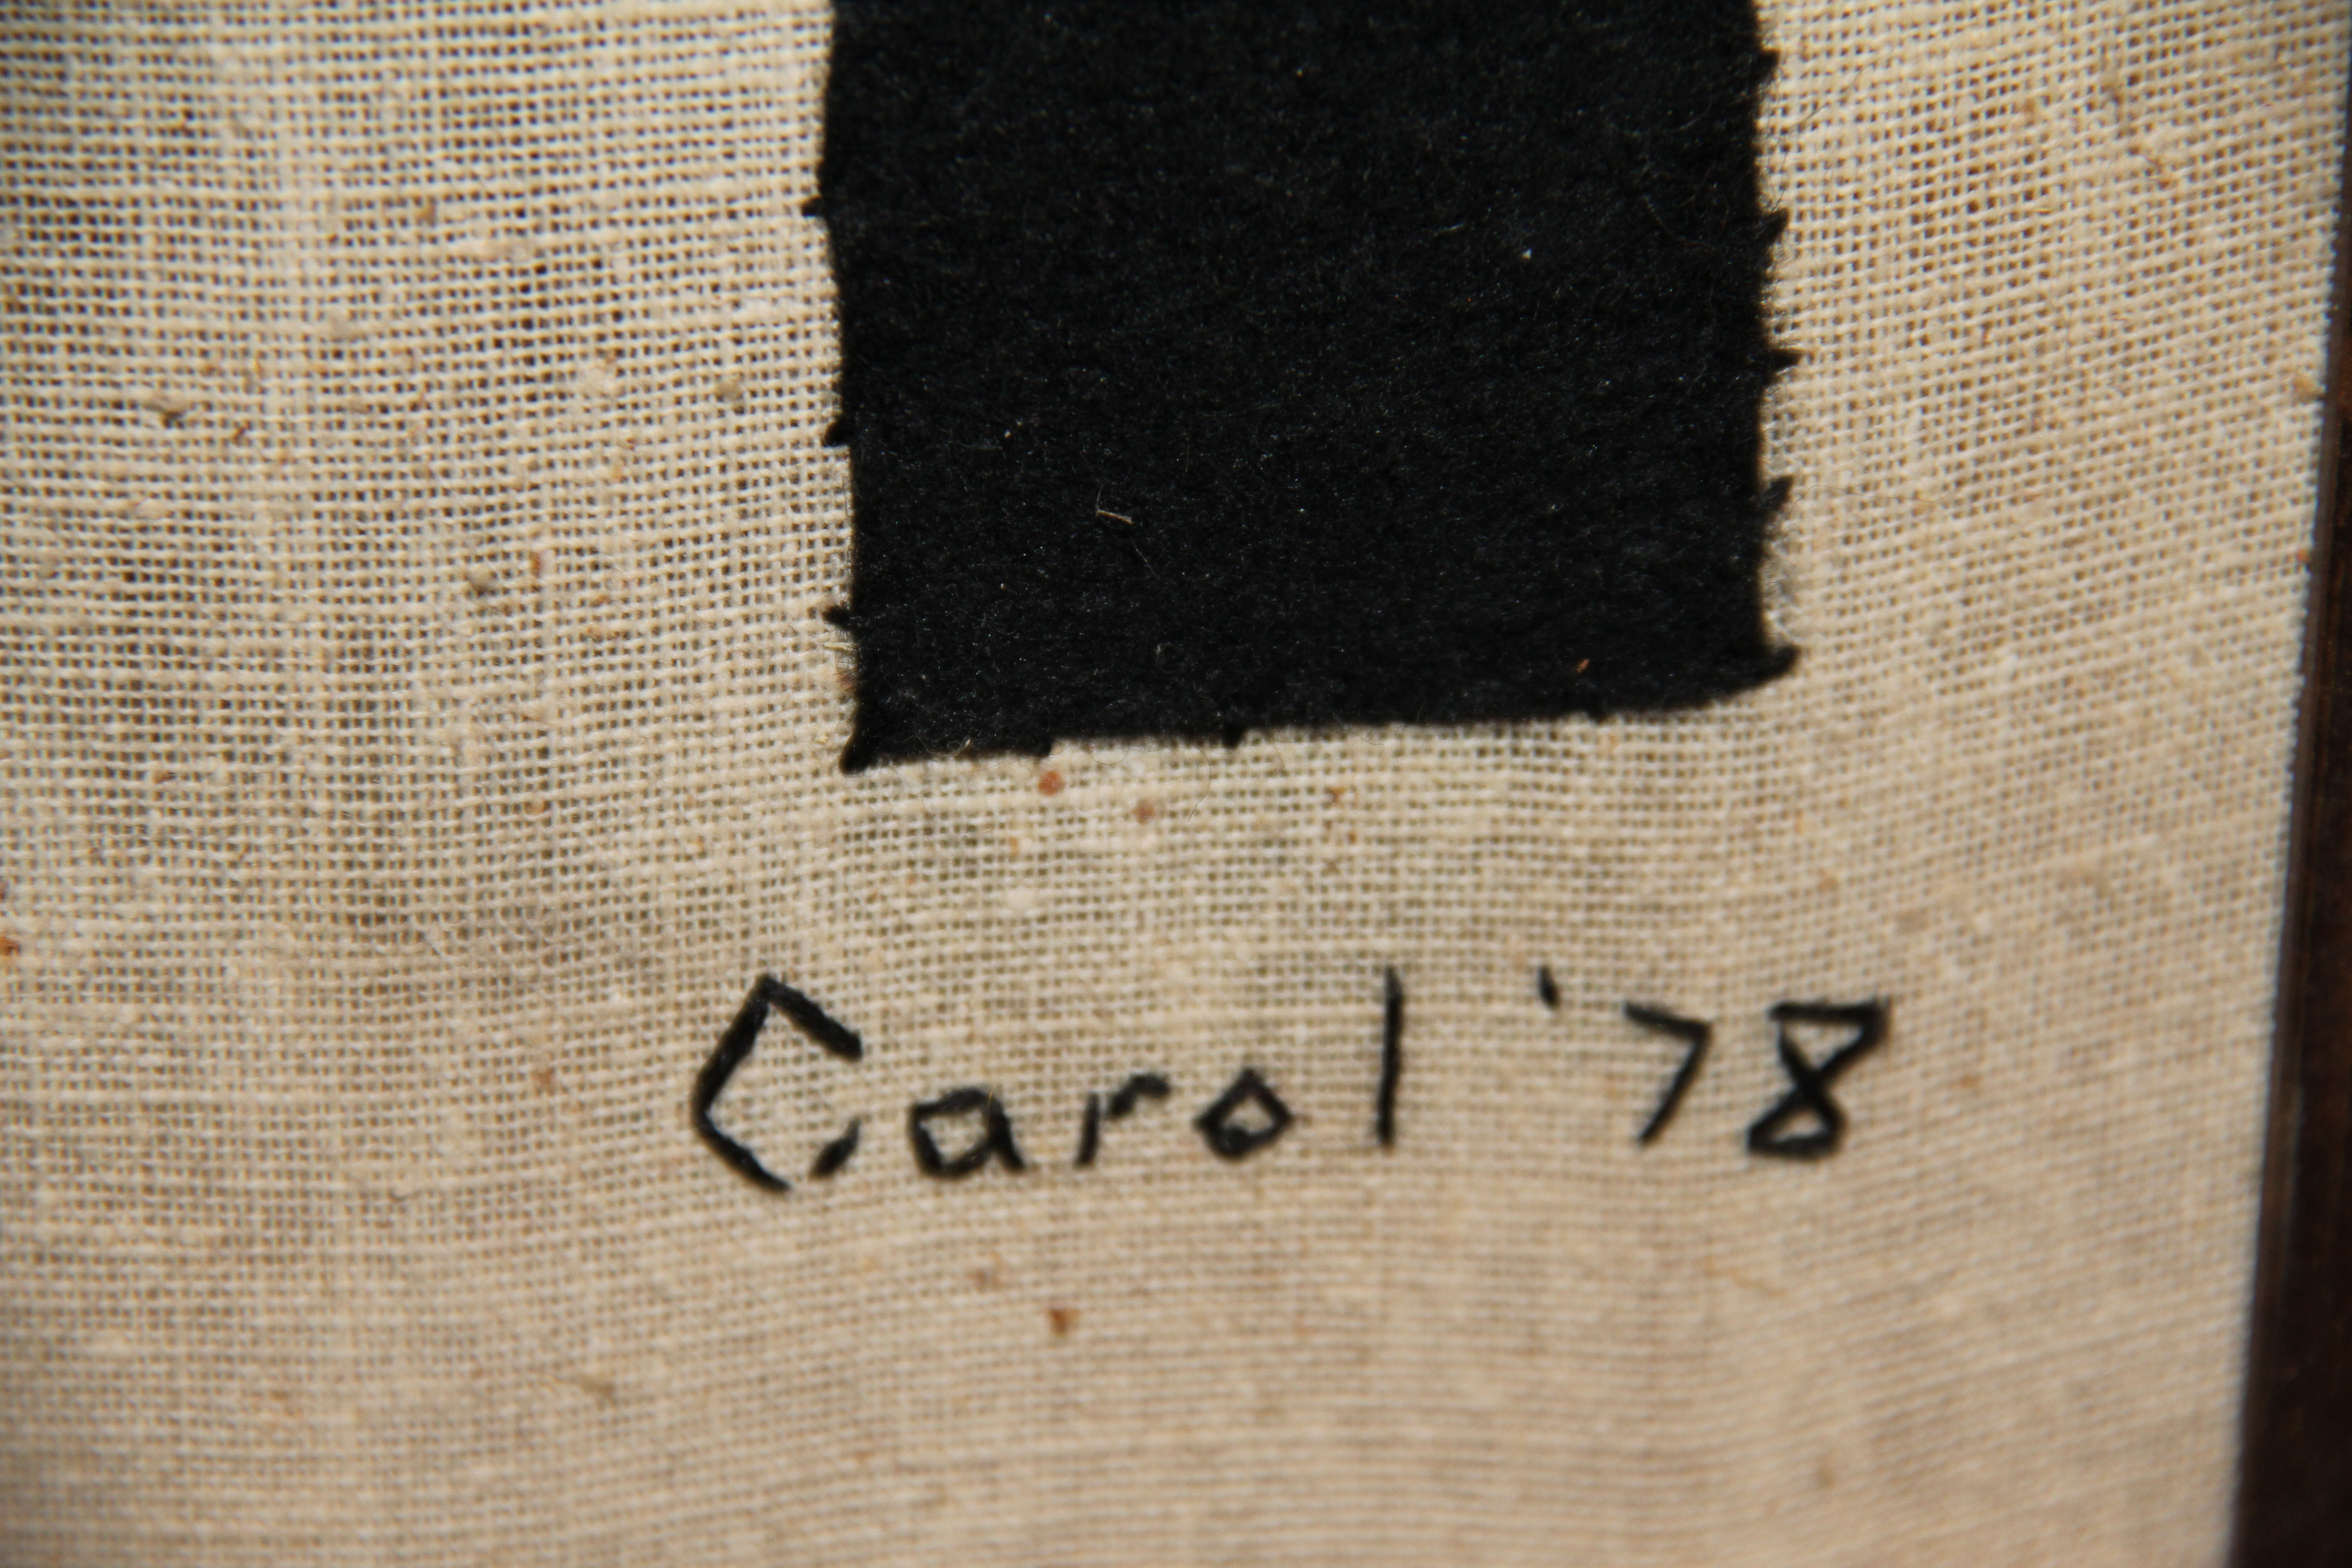
It’s a little frightening, I know.
As I sit here, there’s a giant hole on my sewing table where my machine should be. However, I finally got it together and decided to do the right thing. Every sewing machine needs to be professionally cleaned and maintained on a regular basis…which means at least once a year.
No matter how good you are at caring for your machine (and I am VERY good at caring for my machine), you still need to get it in front of a professional. You will never be able to get the dust, fiber and general build-up out of the inside of that machine by yourself. Don’t try.
Don’t use canned air. It will only force dust into places it doesn’t belong. When you bring the machine in to your dealer, be sure to include your standard foot and stitch plate, so the tech can check both a straight stitch and a zigzag and usually some decorative stitches.
Bring your foot pedal and cord.
And bring anything else you are having a problem with (buttonhole foot, stitch regulator, walking foot.) No problem with those? Don’t bring them. Your dealer does not want to be responsible for any more loose parts than necessary.
Have you purchased a machine in the last 5 years? They get updated. If you aren’t doing it yourself, make sure the tech updates your machine to the current firmware.
I made the decision to bring it in this week, when my family is back at school and work. I also took the week off…which is a little weird because now I cannot sew. I did it deliberately as a way to force myself to clean out the basement. Like many of you, if the sewing machine is in the house, I will come up with a reason to sew.
(Yes, I know I have another smaller machine and a serger just waiting to be used, but with the main machine at the shop, I am more likely to find something else to do.)
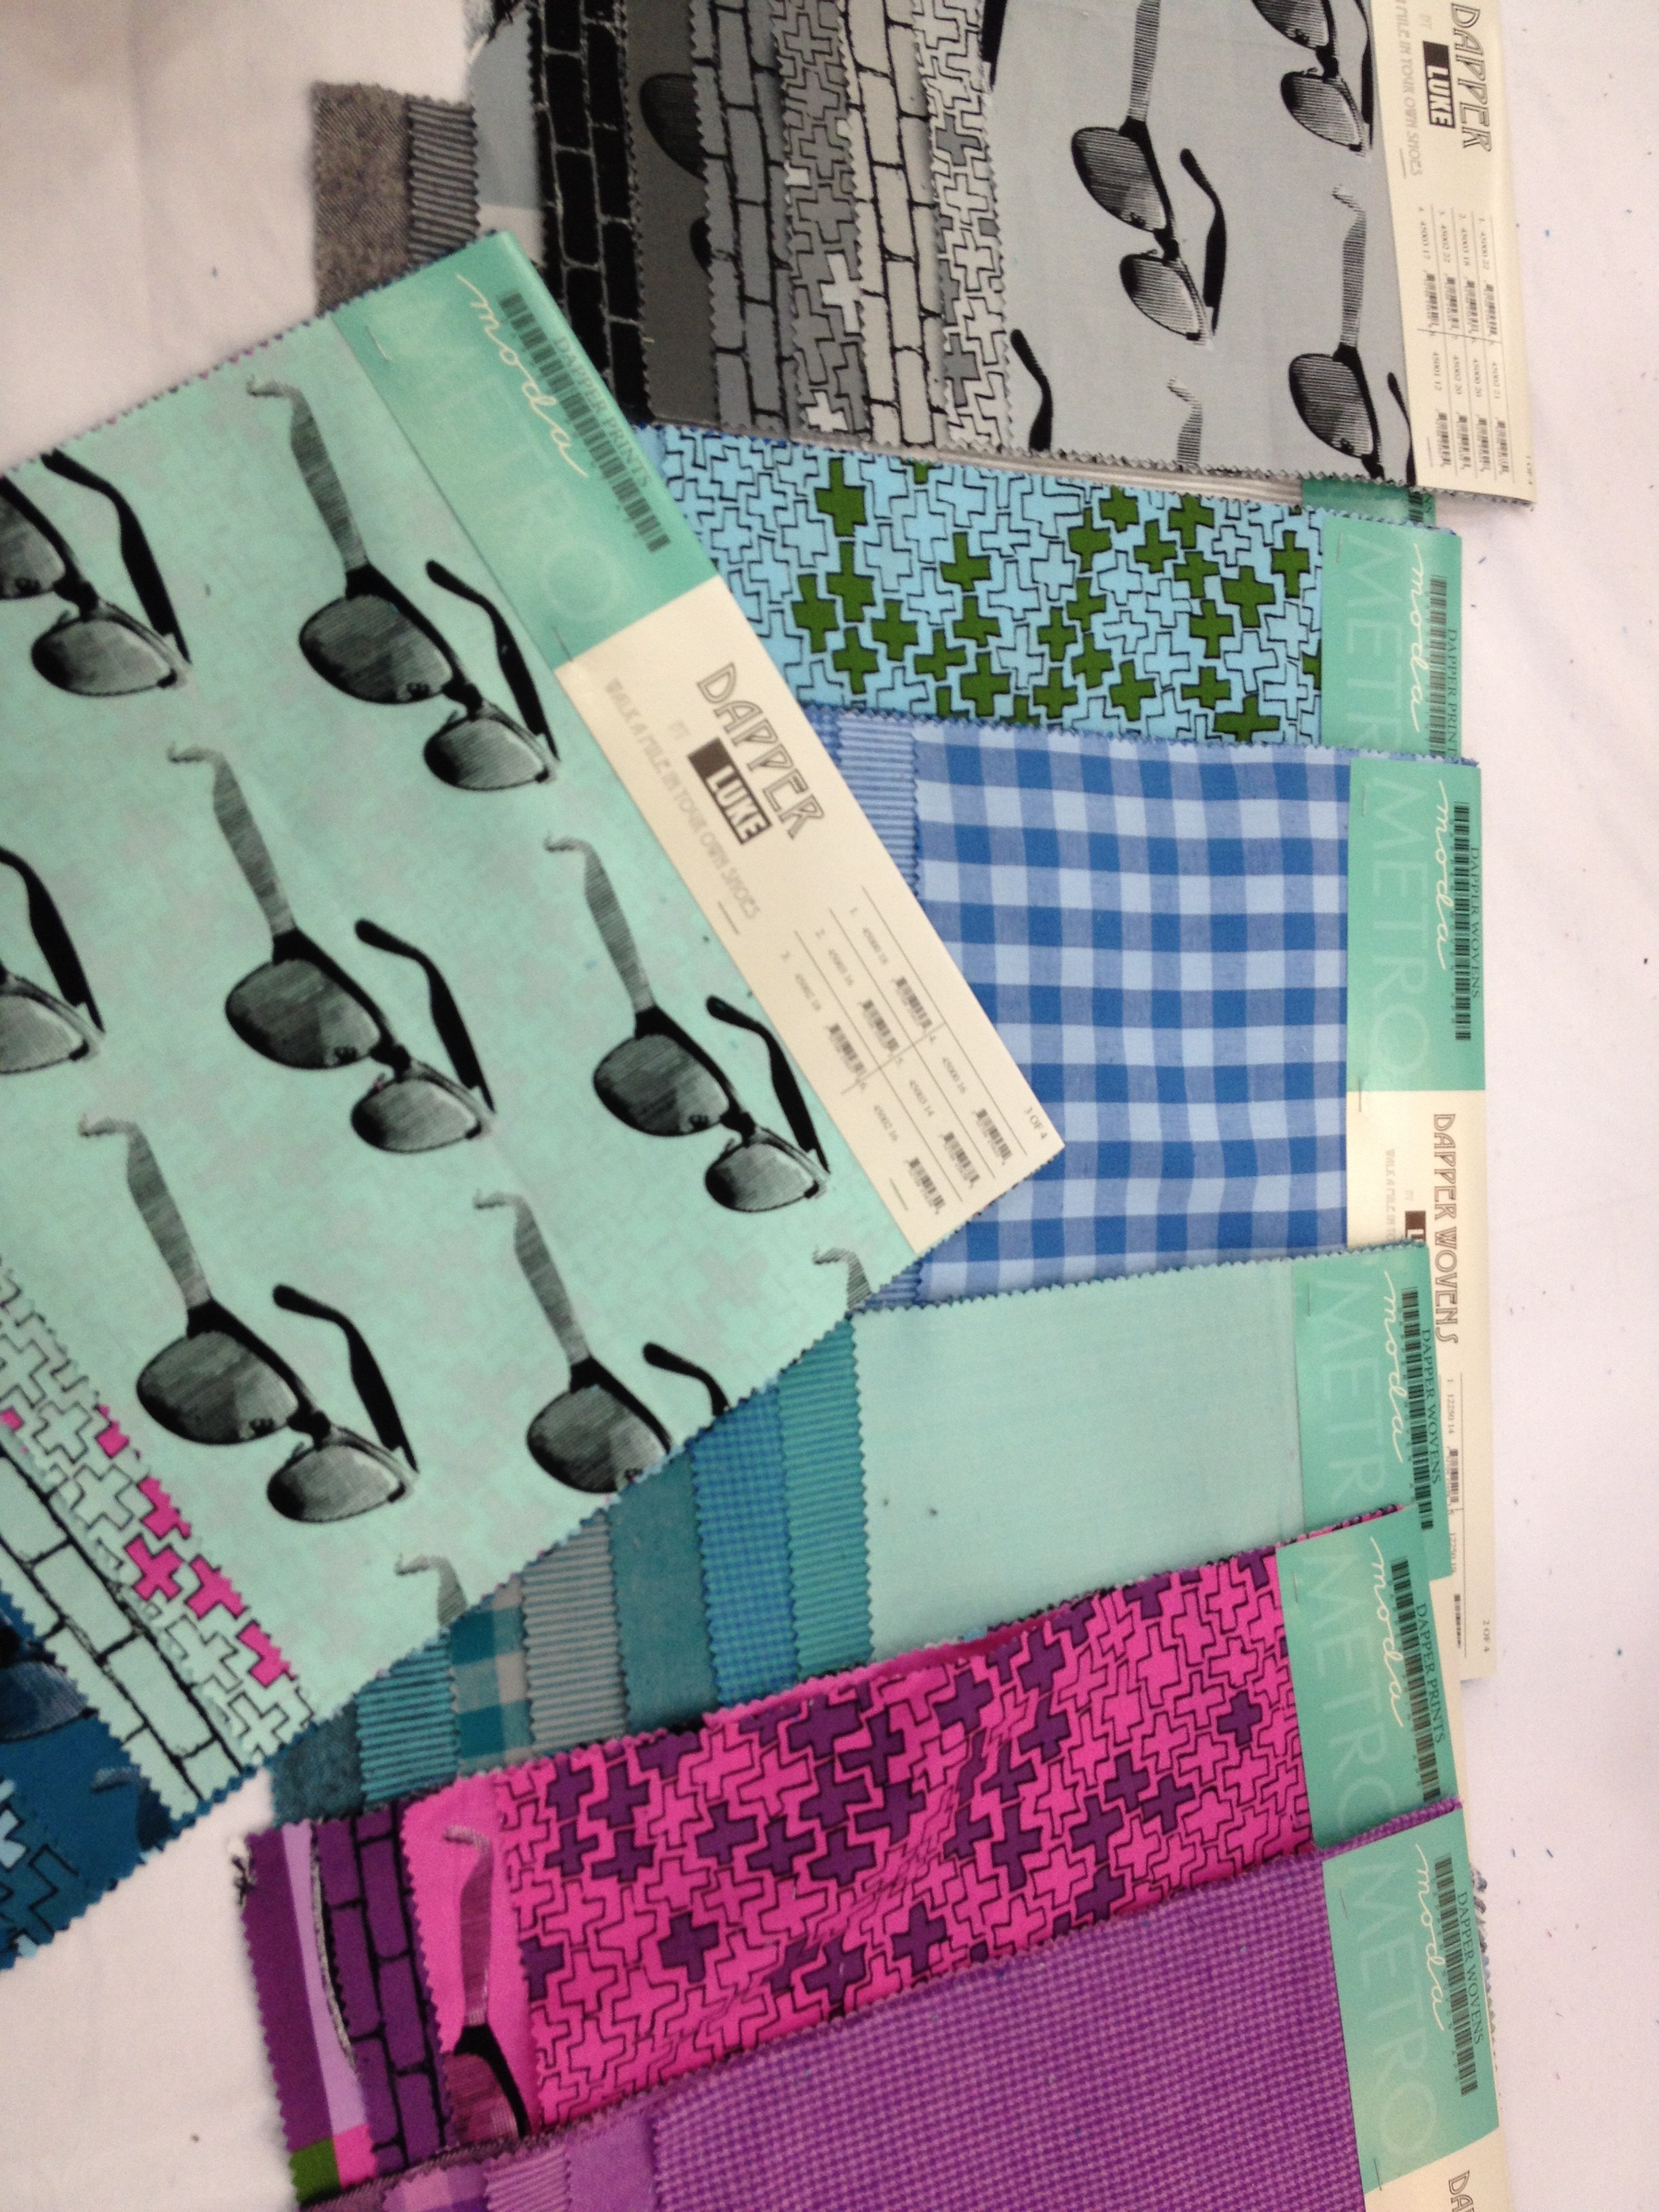
That said, while cleaning out the basement, I came across something I picked up at Quilt Market in October.

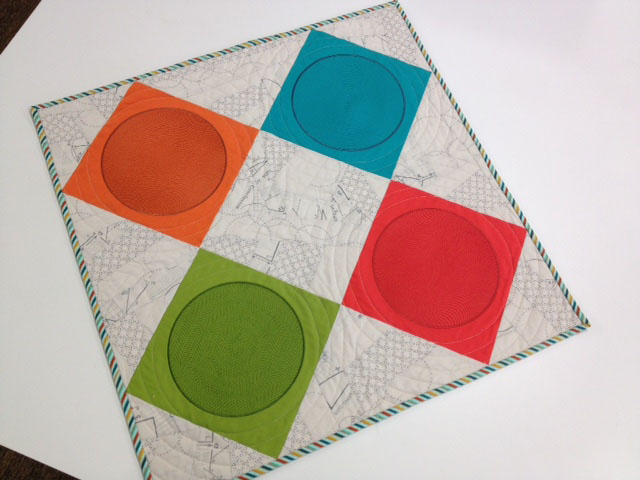
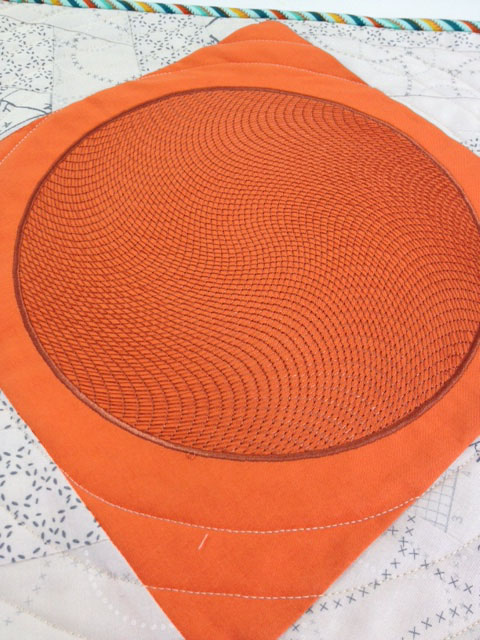
It’s an inkjet printable cotton poplin fabric. It also comes in cotton twill. For grins, I tested it out with a couple of my photos.

 I’ll admit the quality is better than I expected, and captured quite a bit of detail. The fabric then lifts away from the paper backing and can then be used as any other fabric. The poplin is very thin and I would certainly use a woven fusible interfacing on the back.
But if you are in the market for a memory quilt or just want to document your garden, as I do, this is an excellent alternative to products I’ve seen out there.
Happy 2016, Happy Stitching, Happy Clean Machine, and Happy Emptying-Out-Your Basement!
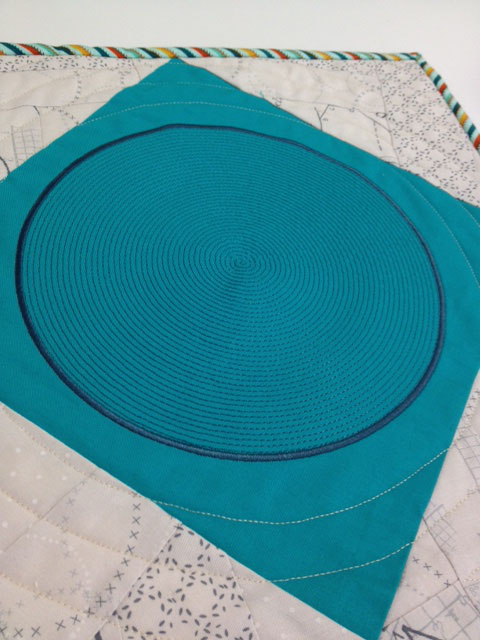
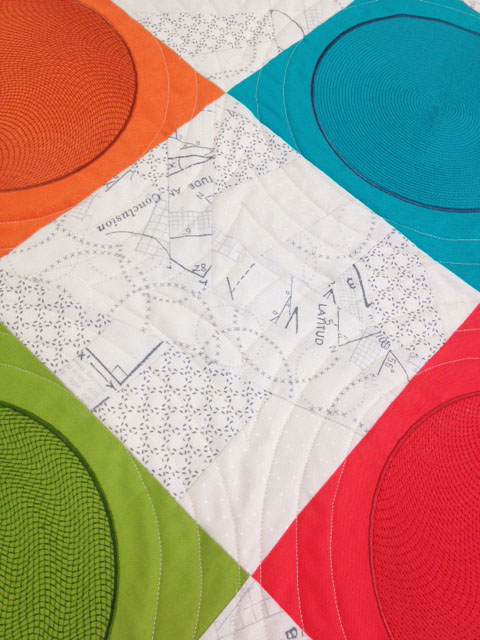
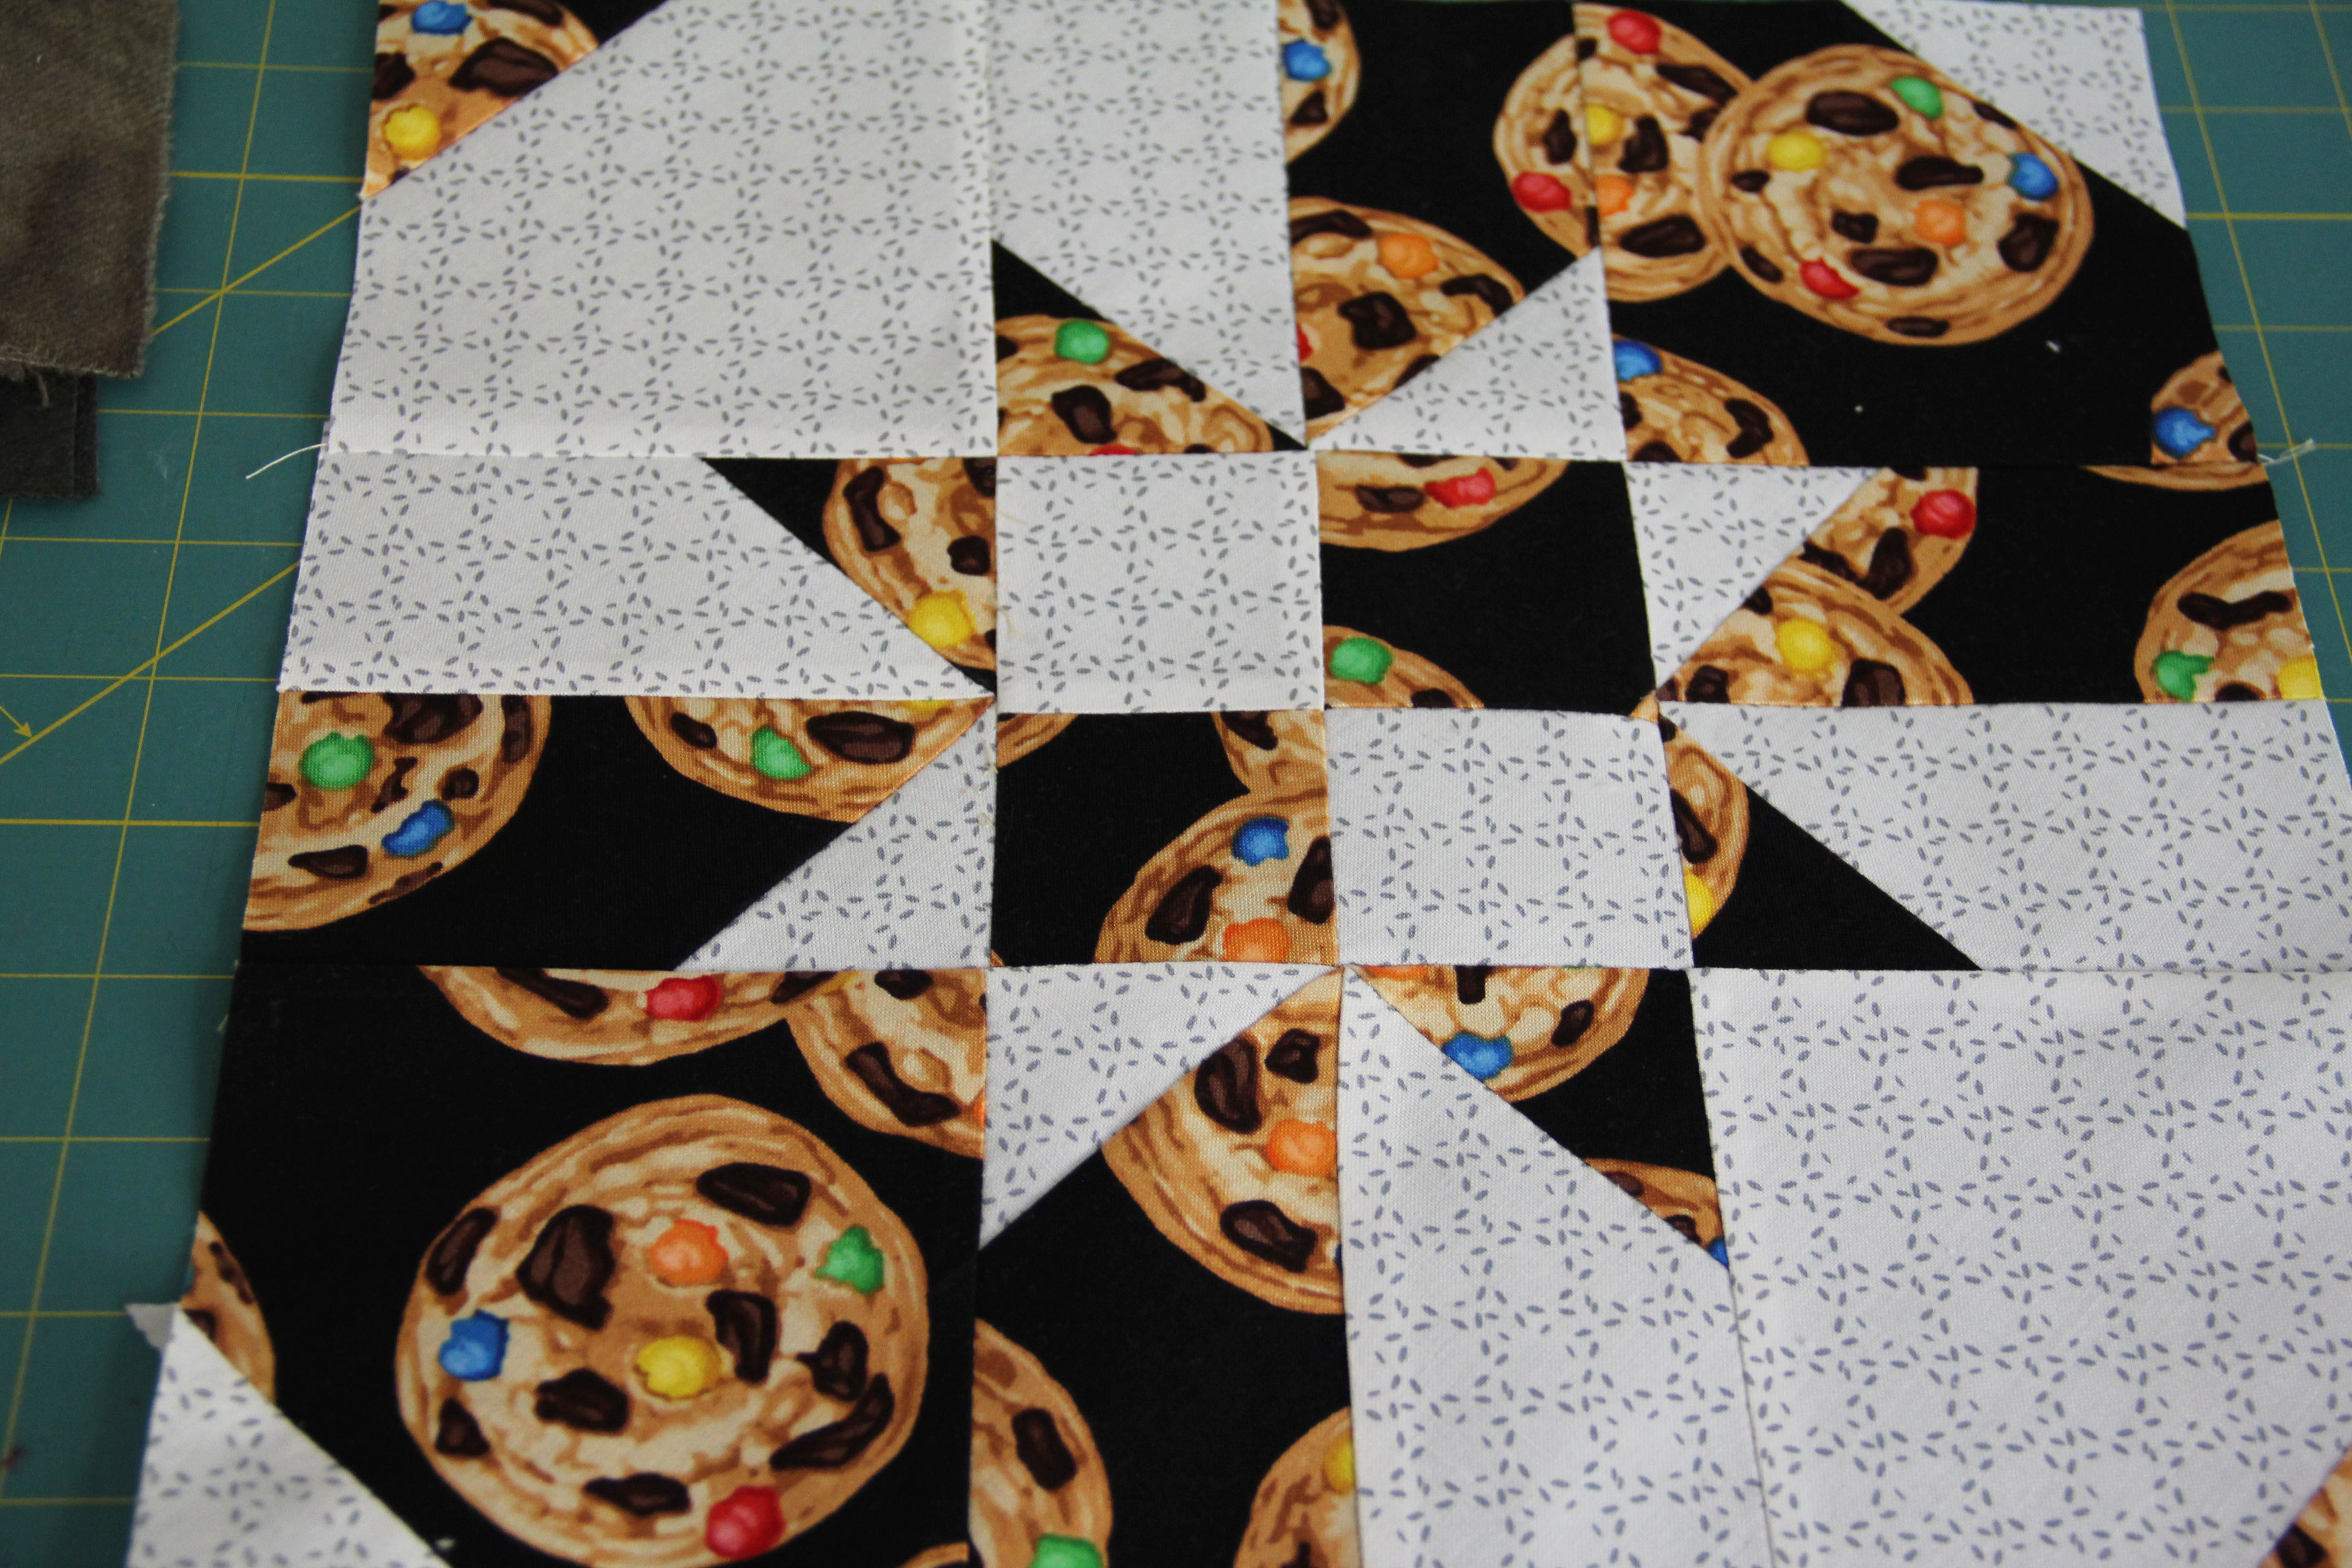
 I’ve been working on this quilt for my teenage son.
 I guess what I’m enjoying about the quilt is that up close, you can see the details of the food, but you have to step back a bit to notice the quilt pattern.

 It was larger than I expected, hanging over the top of a full size bed, so quilting was a bit of a challenge.
 The border is chocolate chips. My son picked out the binding fabric which I thought was quite hideous against the chocolate chips.
 Finally, I pieced the backing from other fabrics he had selected along the way: maps, pheasants and computer gear.