Quilting Using Machine Embroidery

machine embroidery quilting4I have wanted to try this technique for a long time now.  And I’m going to teach a class on it in the fall.

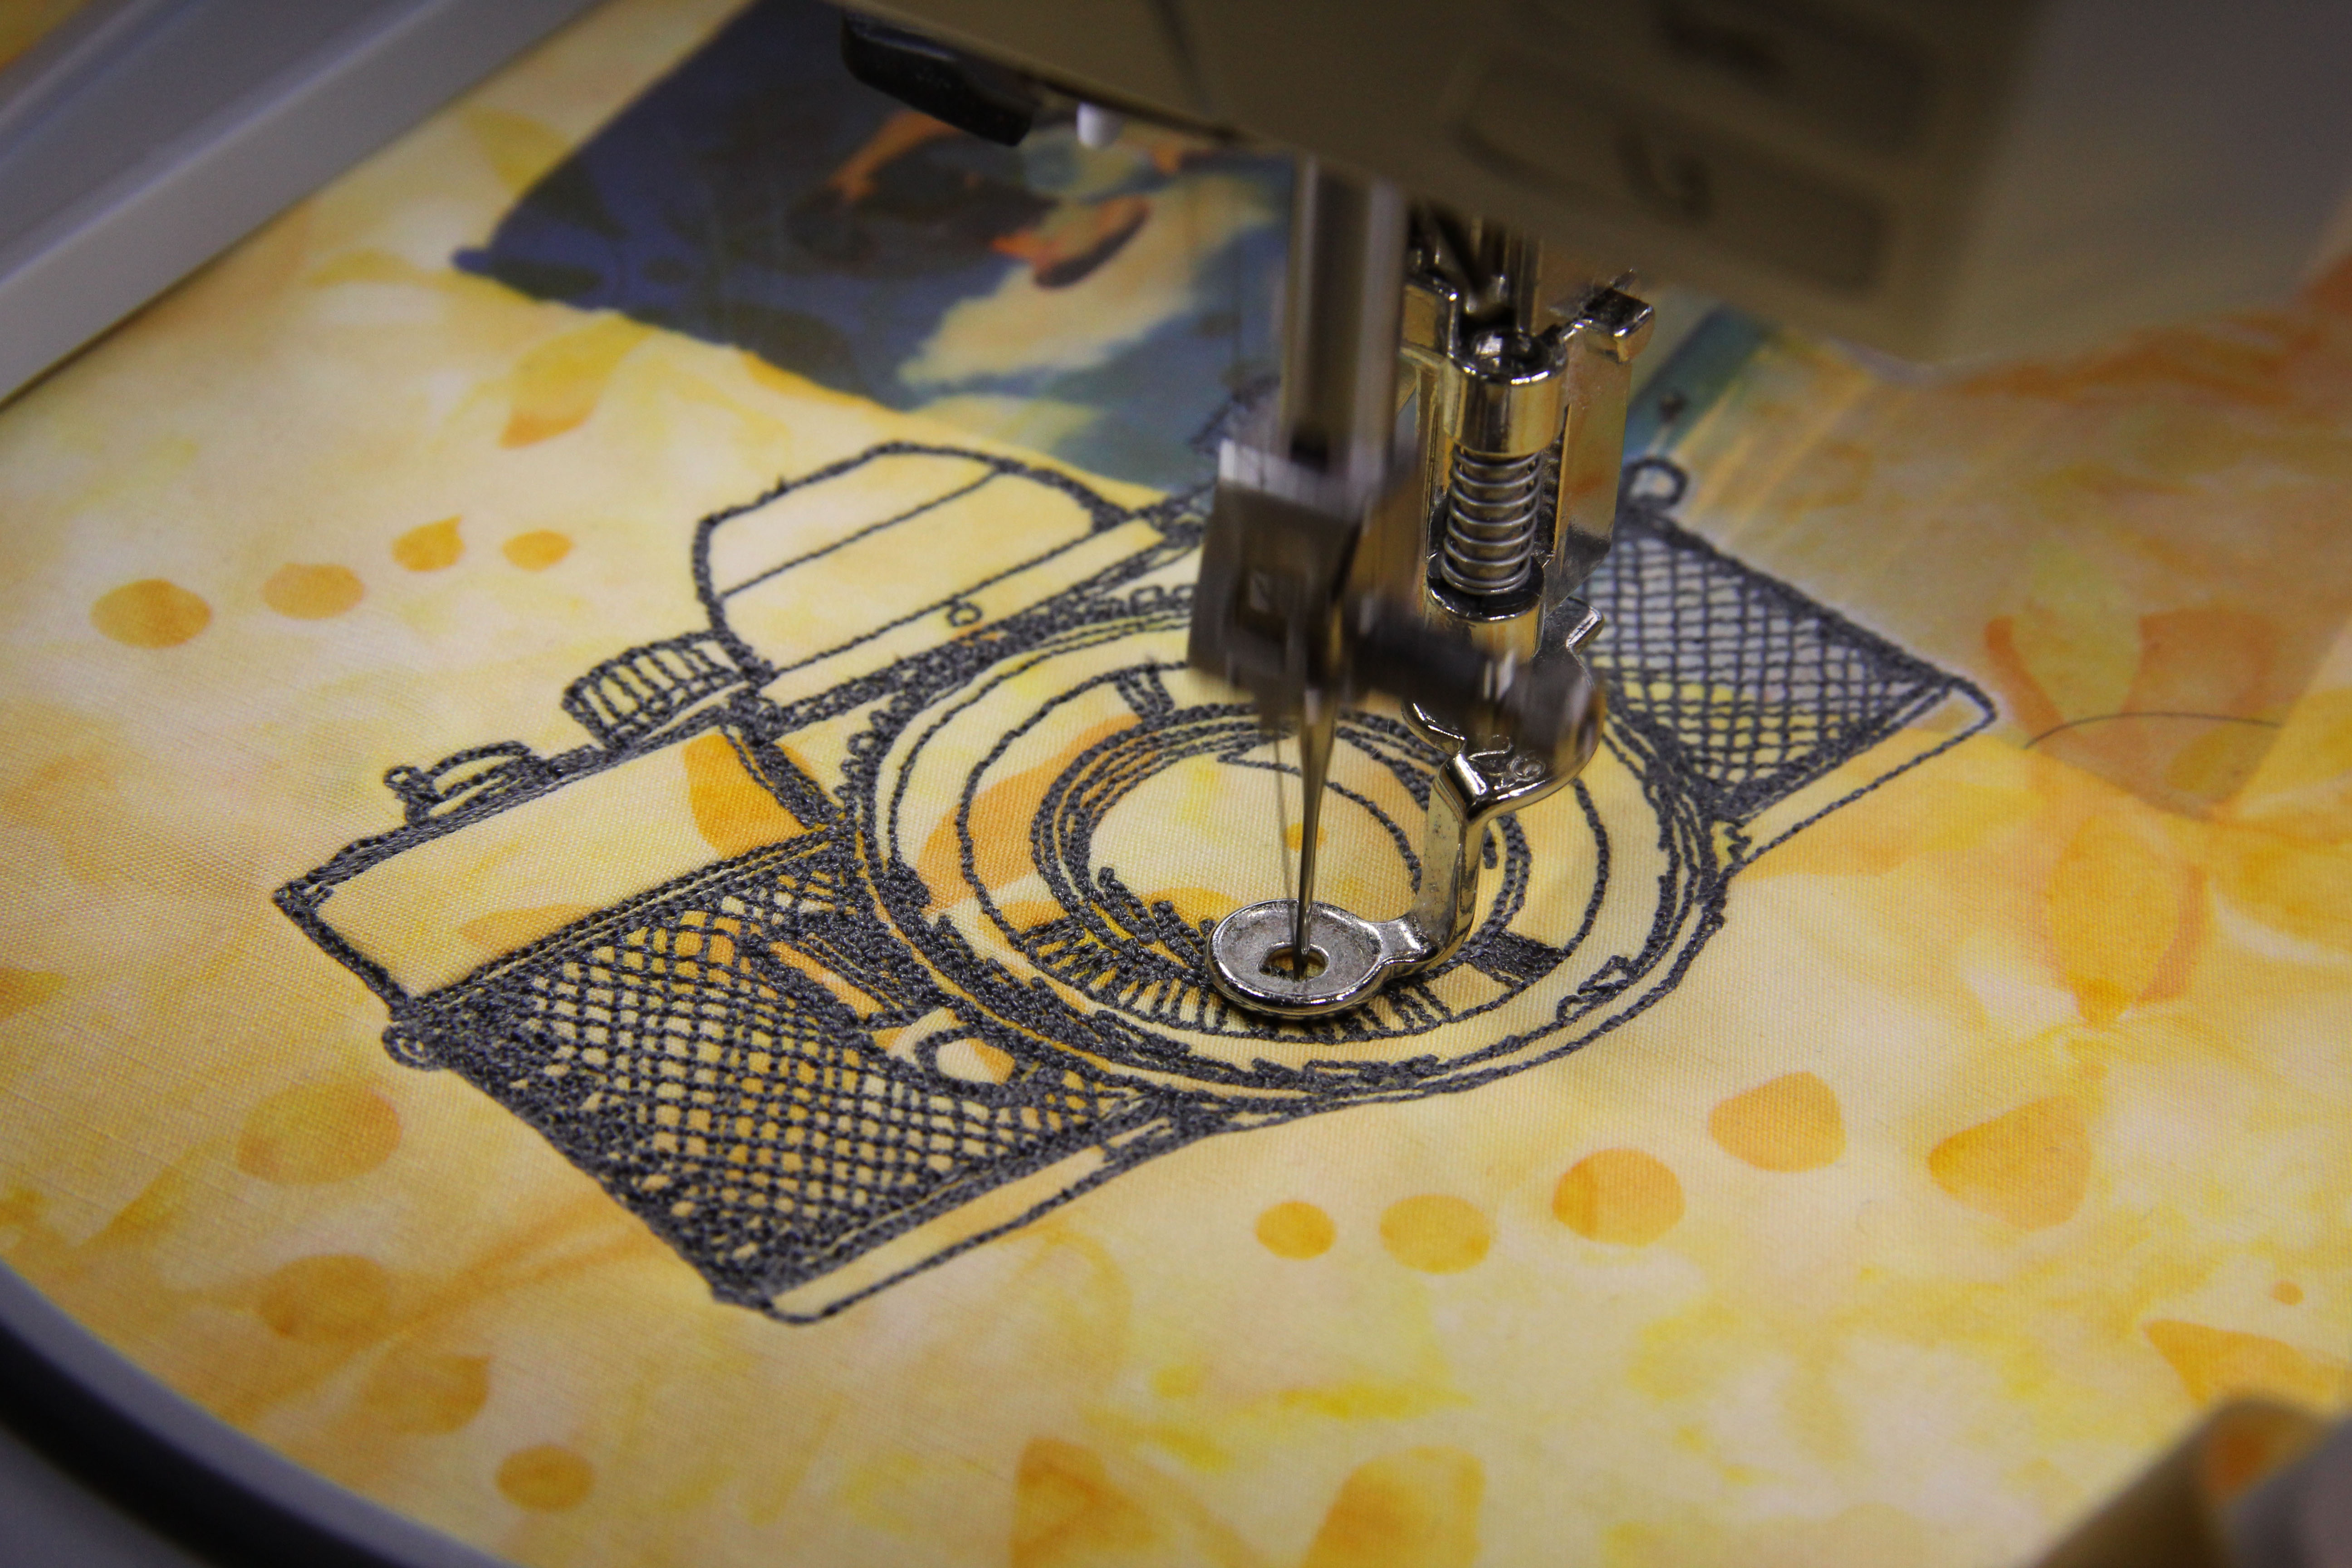
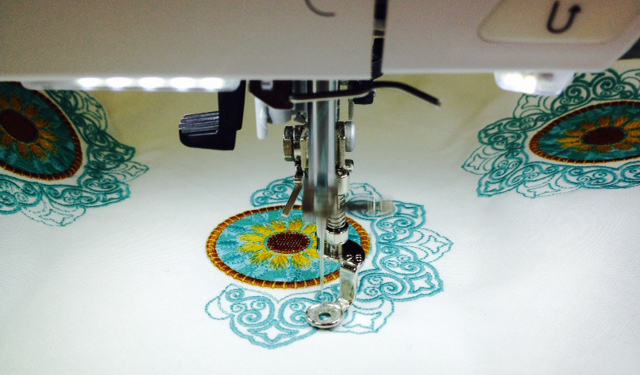
If you have a sewing machine that is capable of embroidery, you can do it too.

Many people love the look of a quilt that has long-arm quilting.  It gives a very polished, professional look to a finished quilt.  Most of my quilts I use free-motion and do them at home.  As you know this is awkward with larger quilts, twin size and up. But using your embroidery module to quilt is really worth trying, especially if you are someone who is comfortable with embroidery (hooping and hooping over and over…and if you’re not familiar, what a great way to get good at it).

embroidery quilting 1
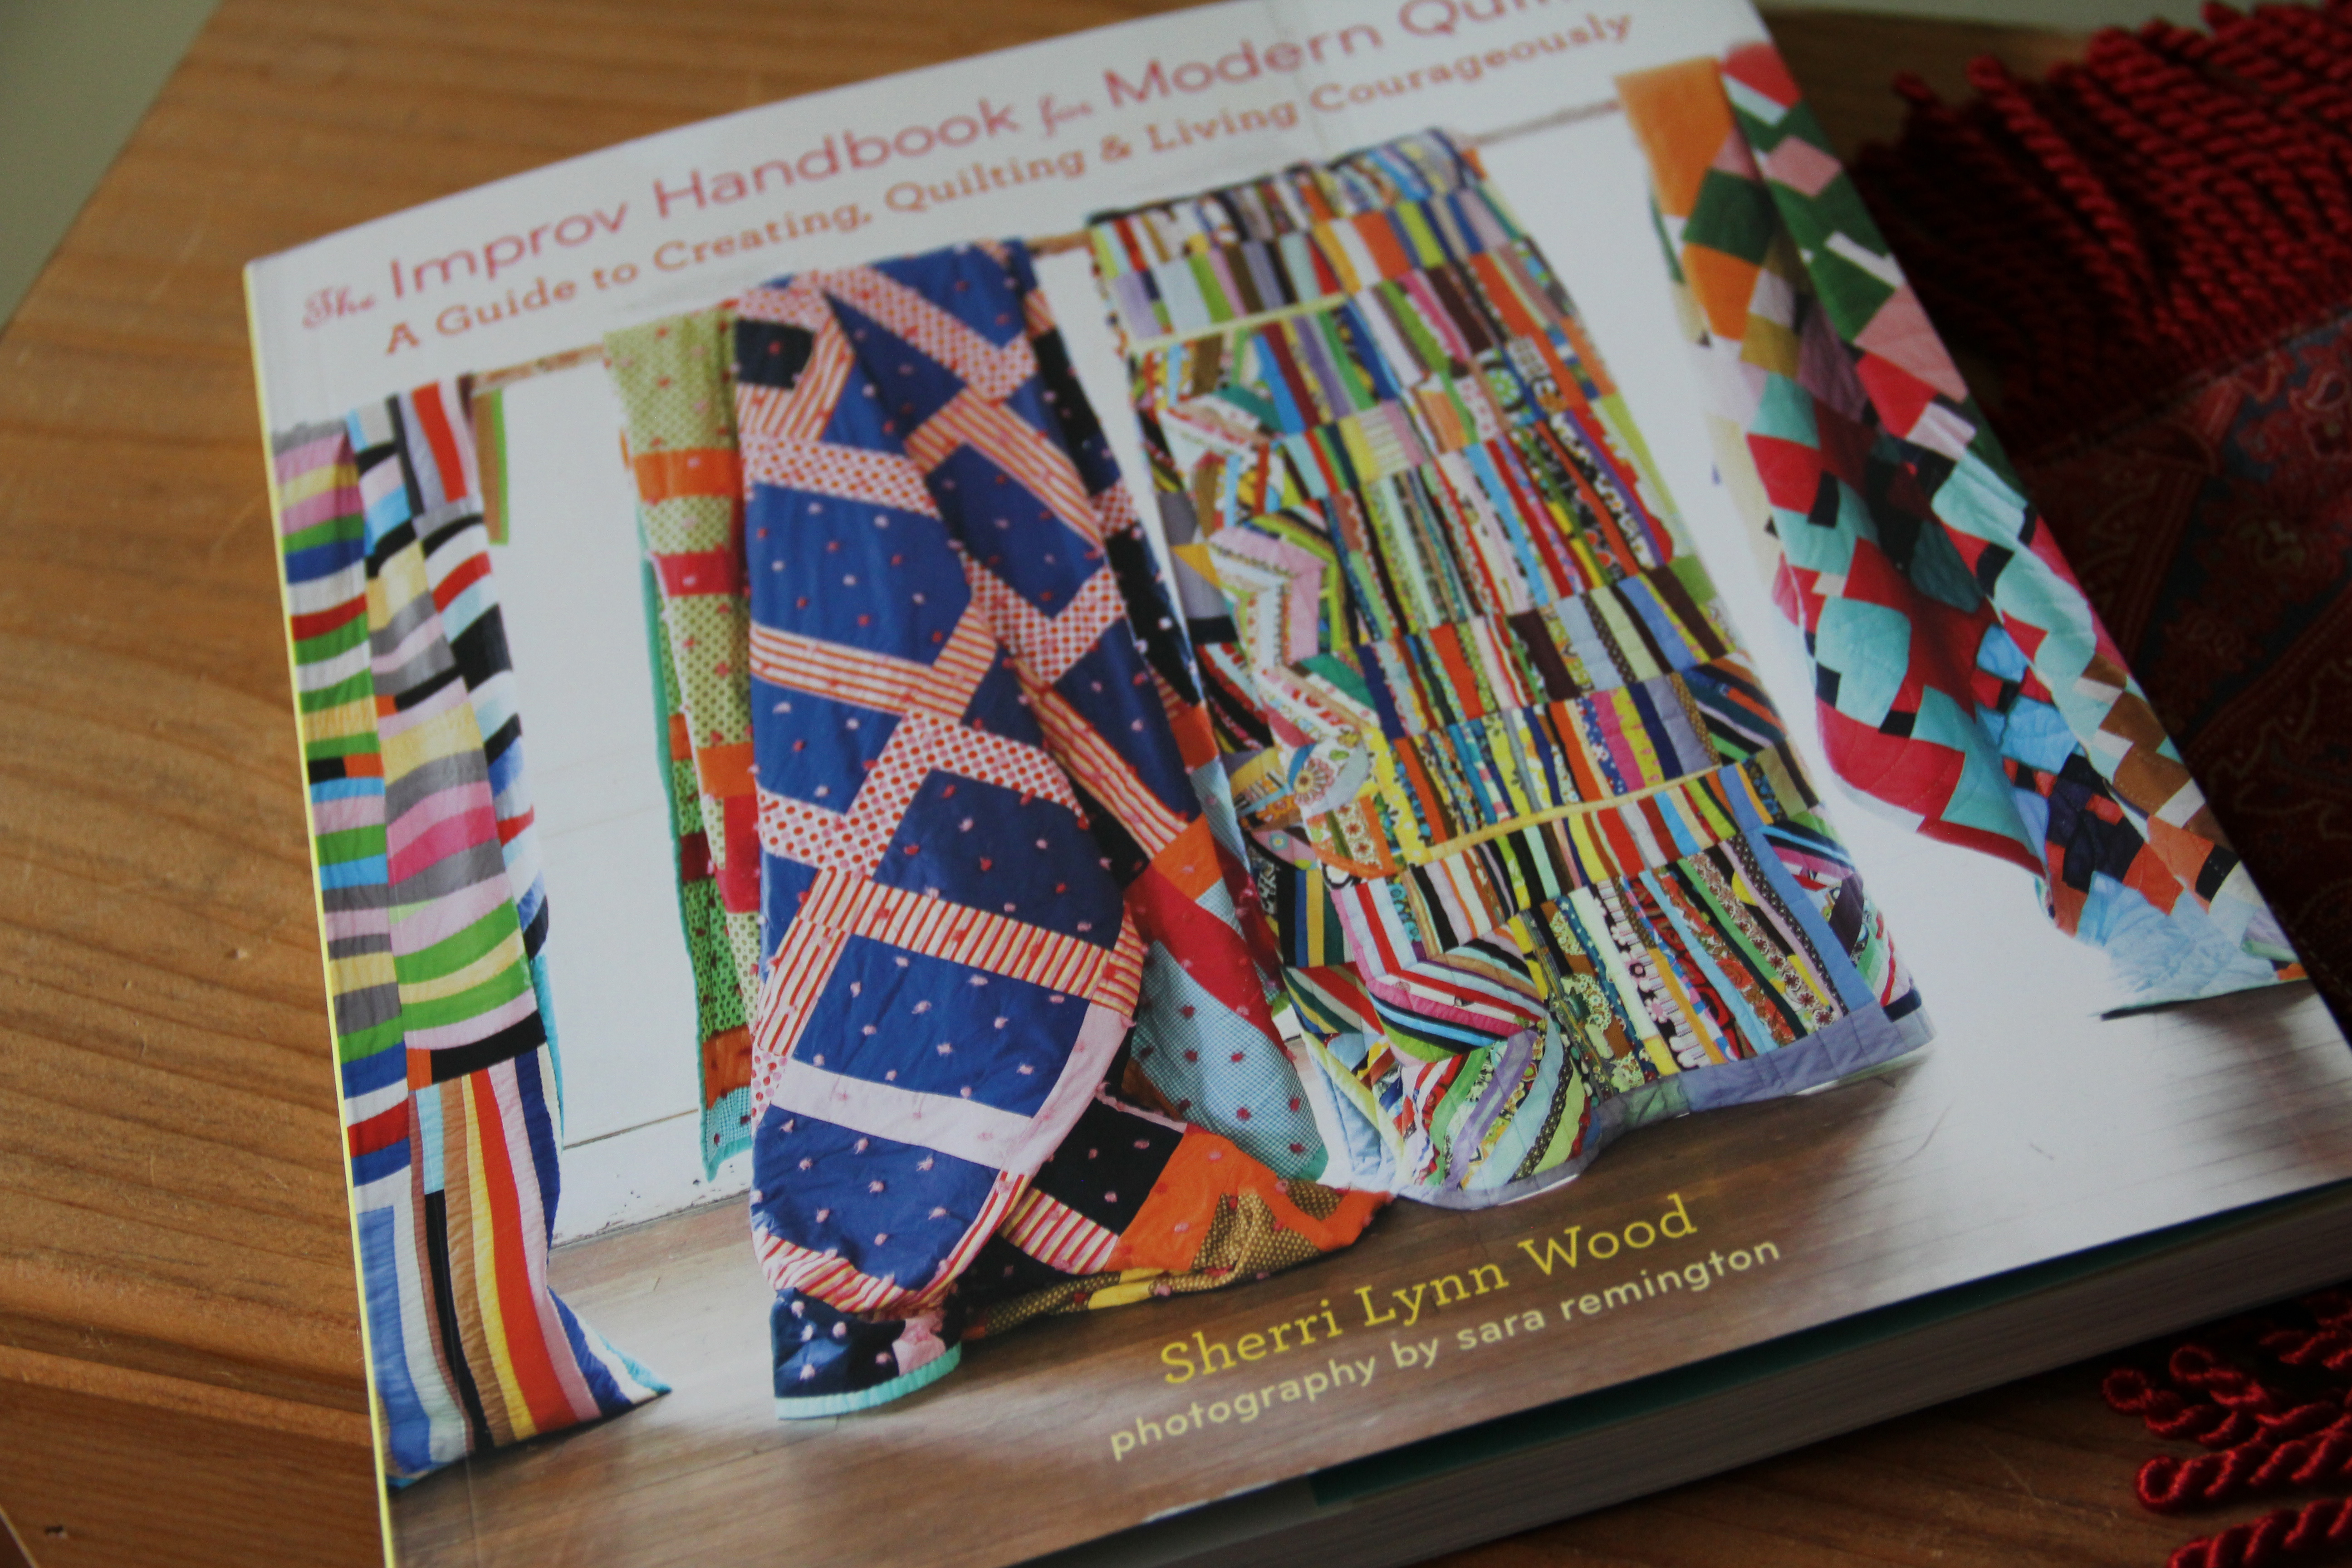
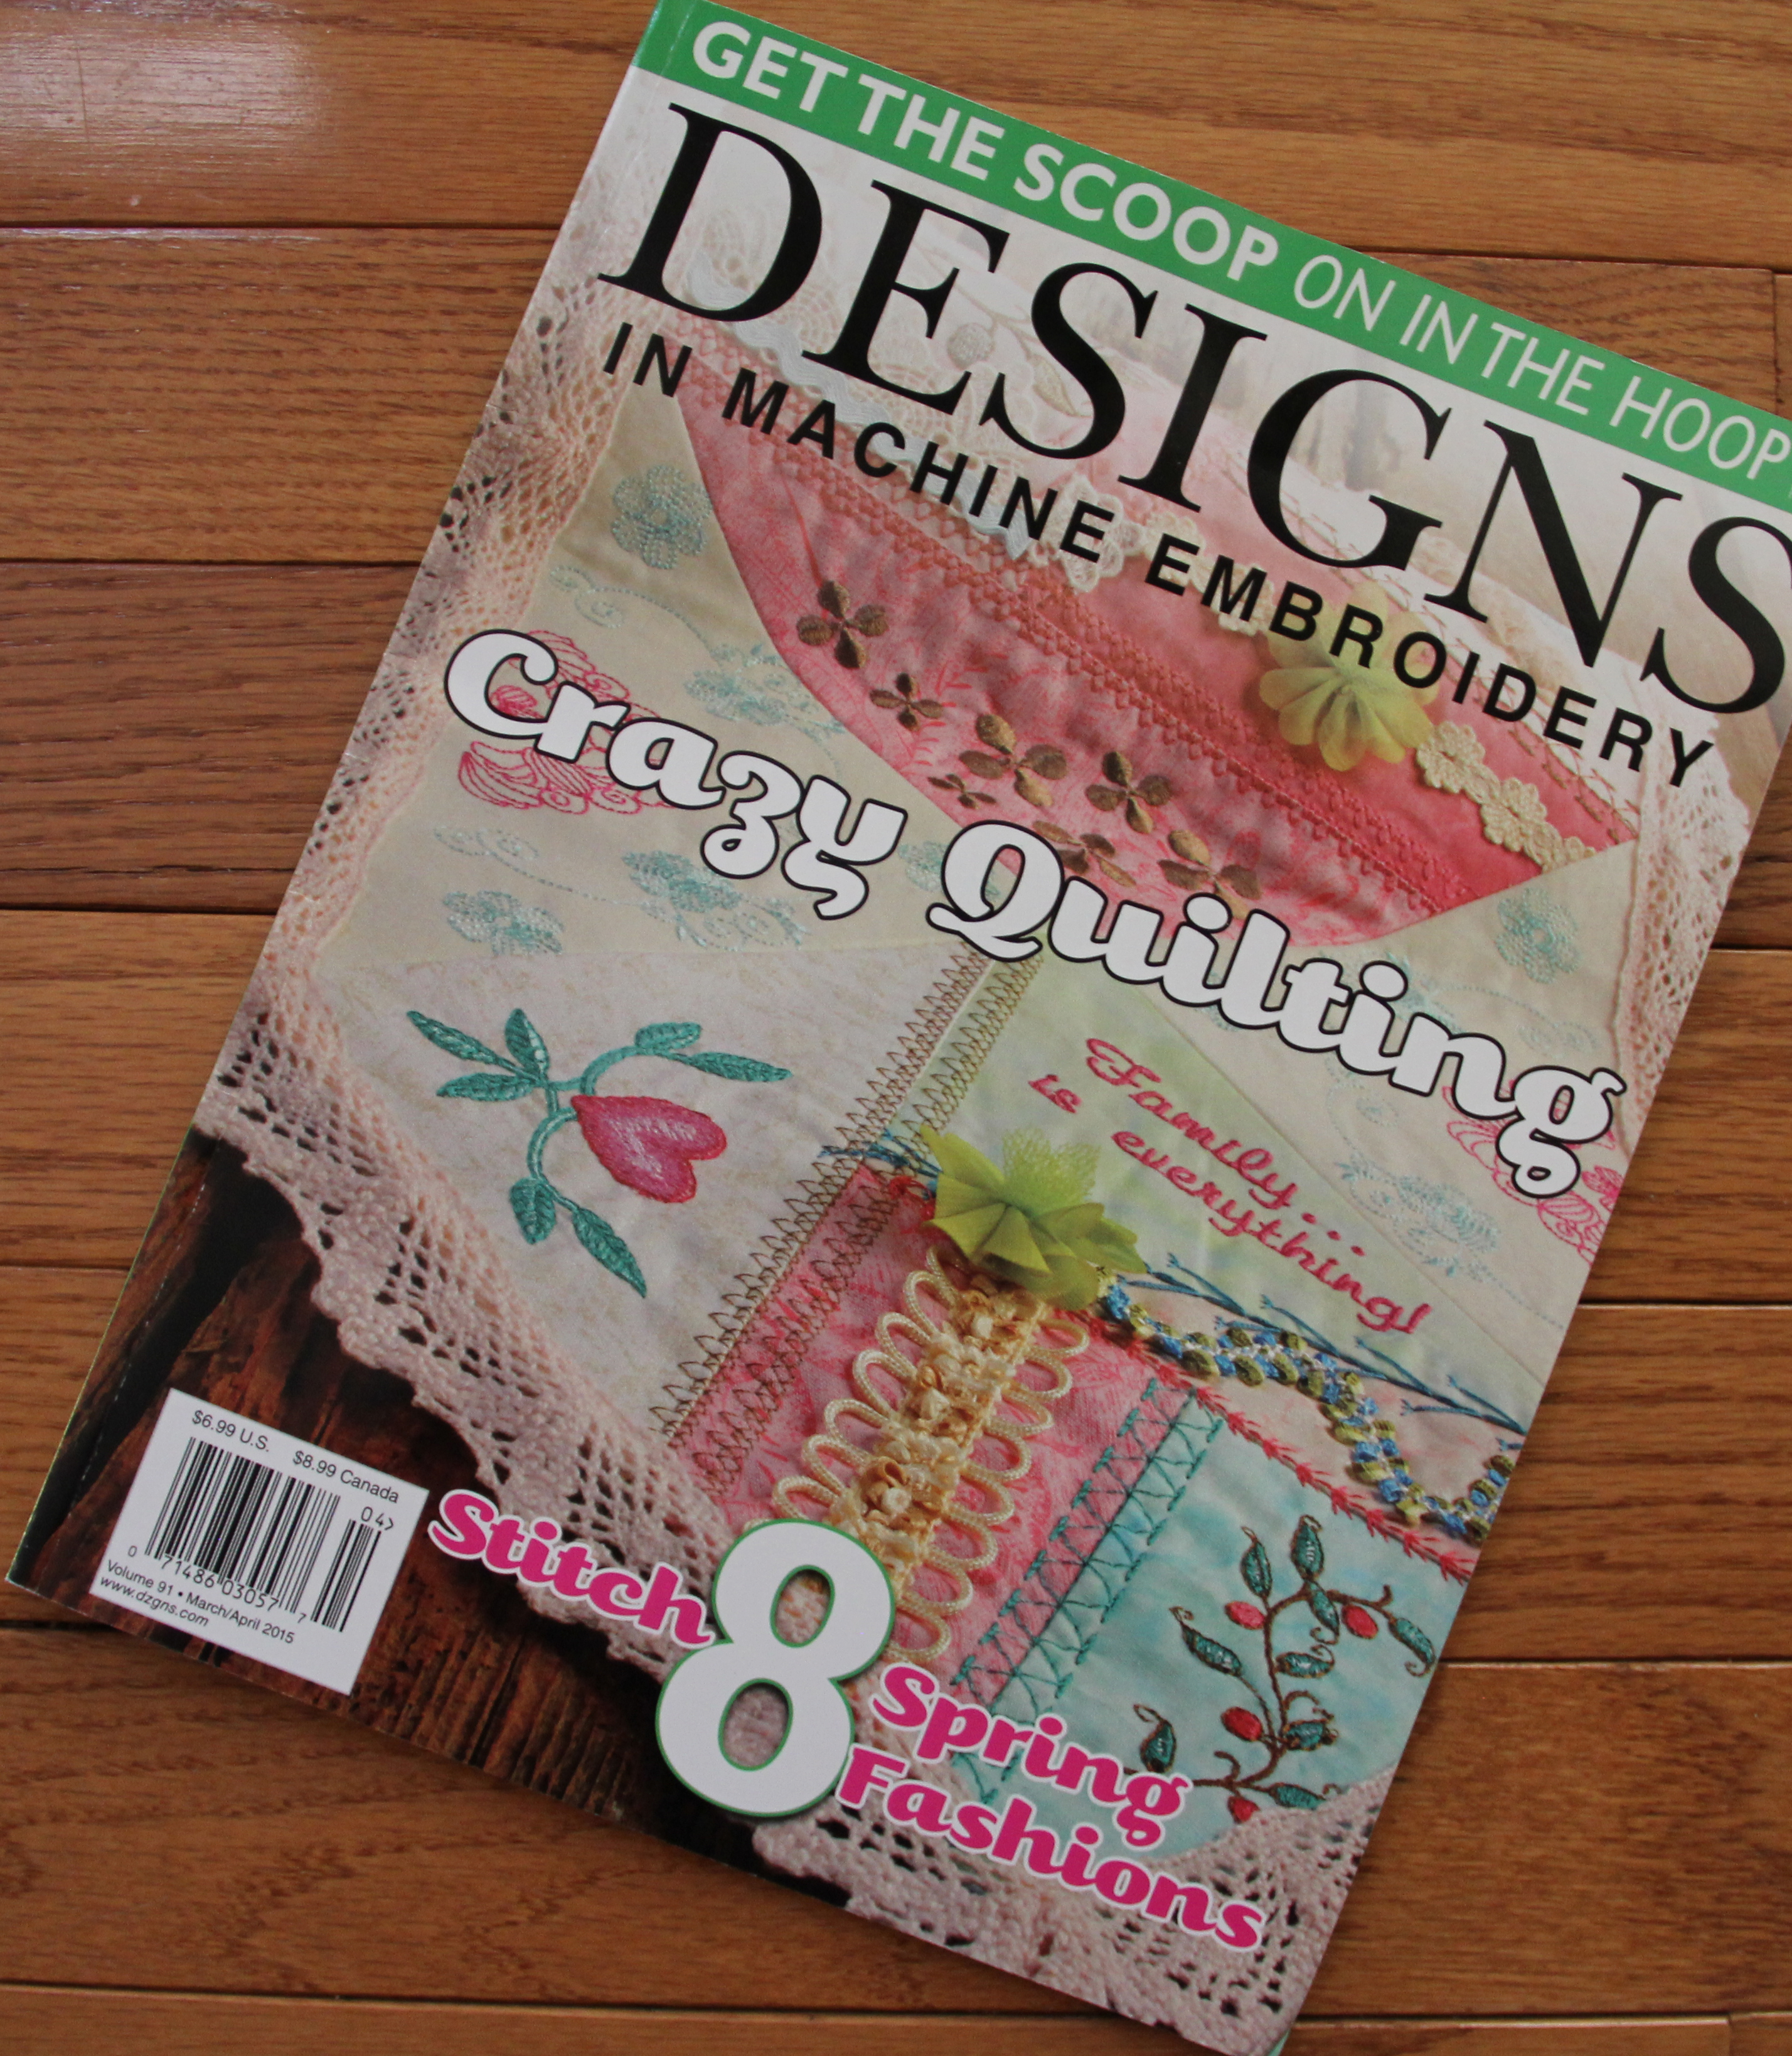
For this particular technique, I followed along with this book from Amelie Scott, “Edge to Edge Quilting on Your Embroidery Machine.” 

She provides special quilting embroidery designs that have an easy start and end point.  All the work is in the positioning and the time invested in the stitch-outs and hooping.

machine embroidery quilting2
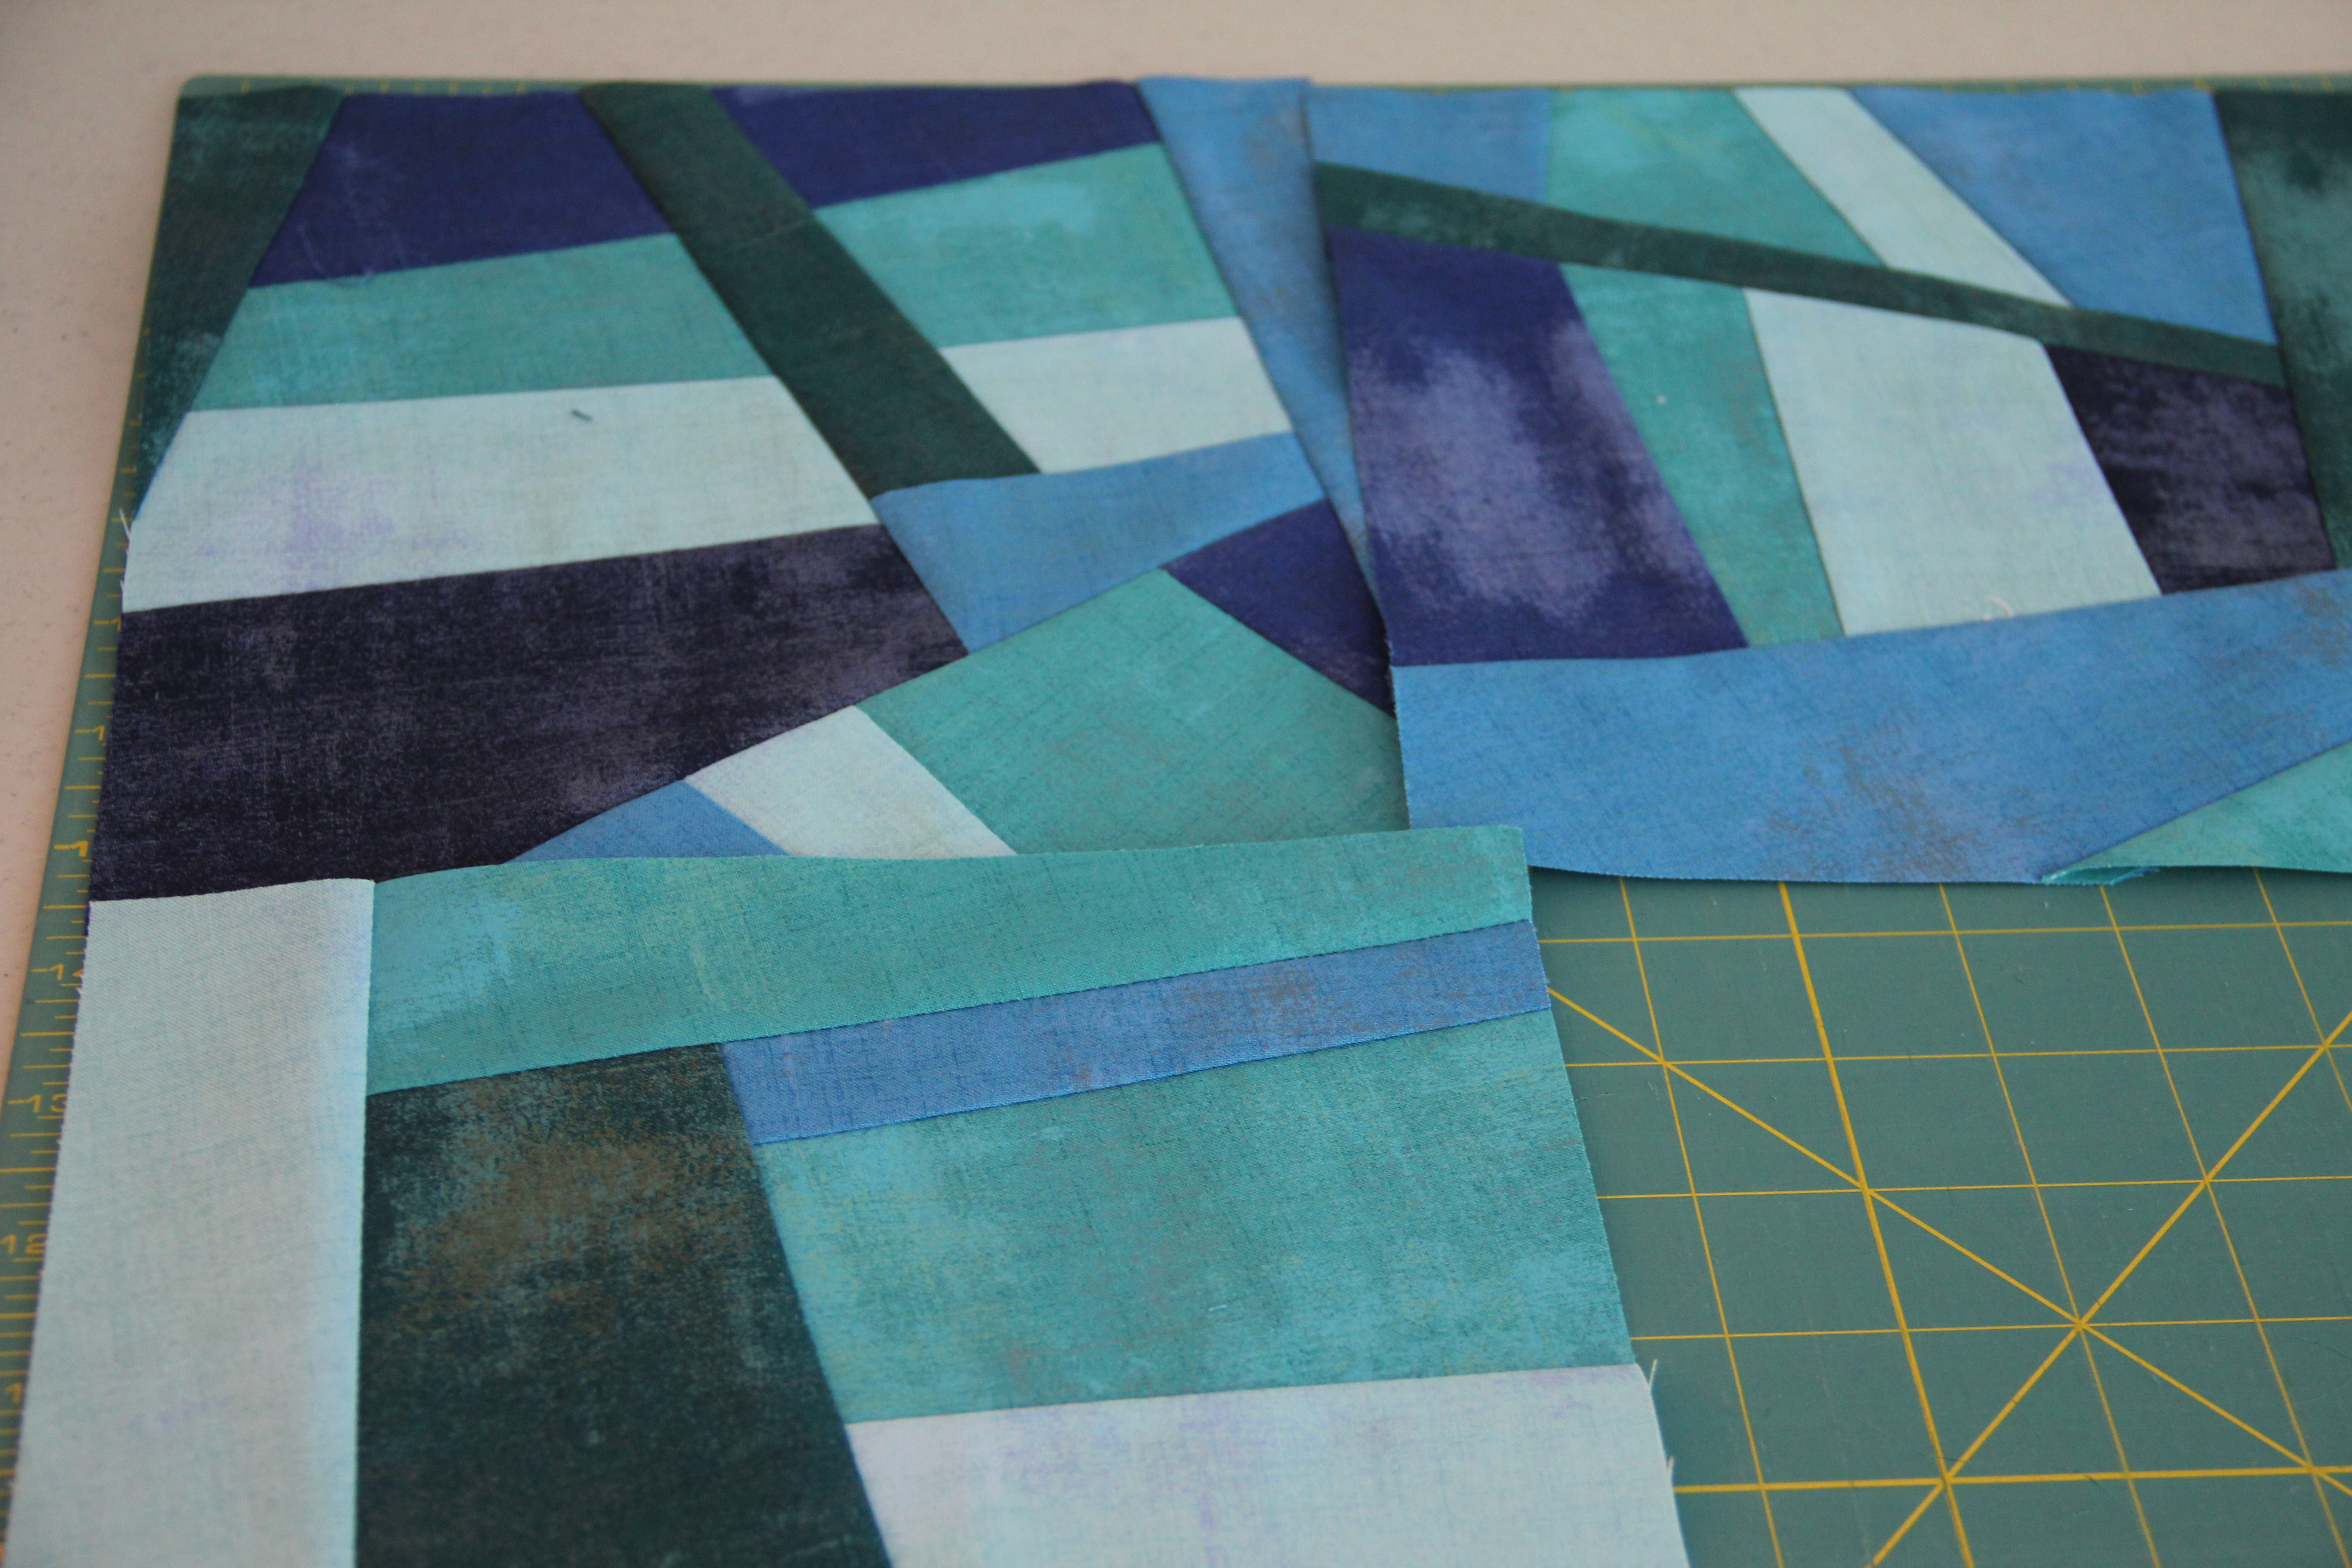
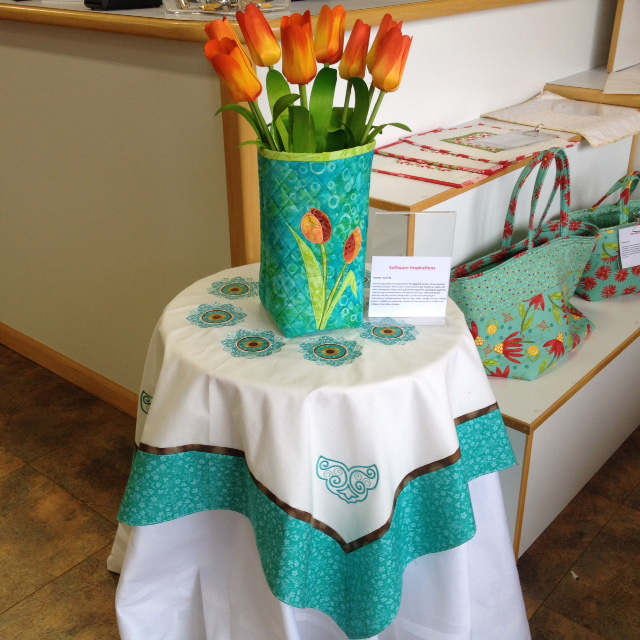
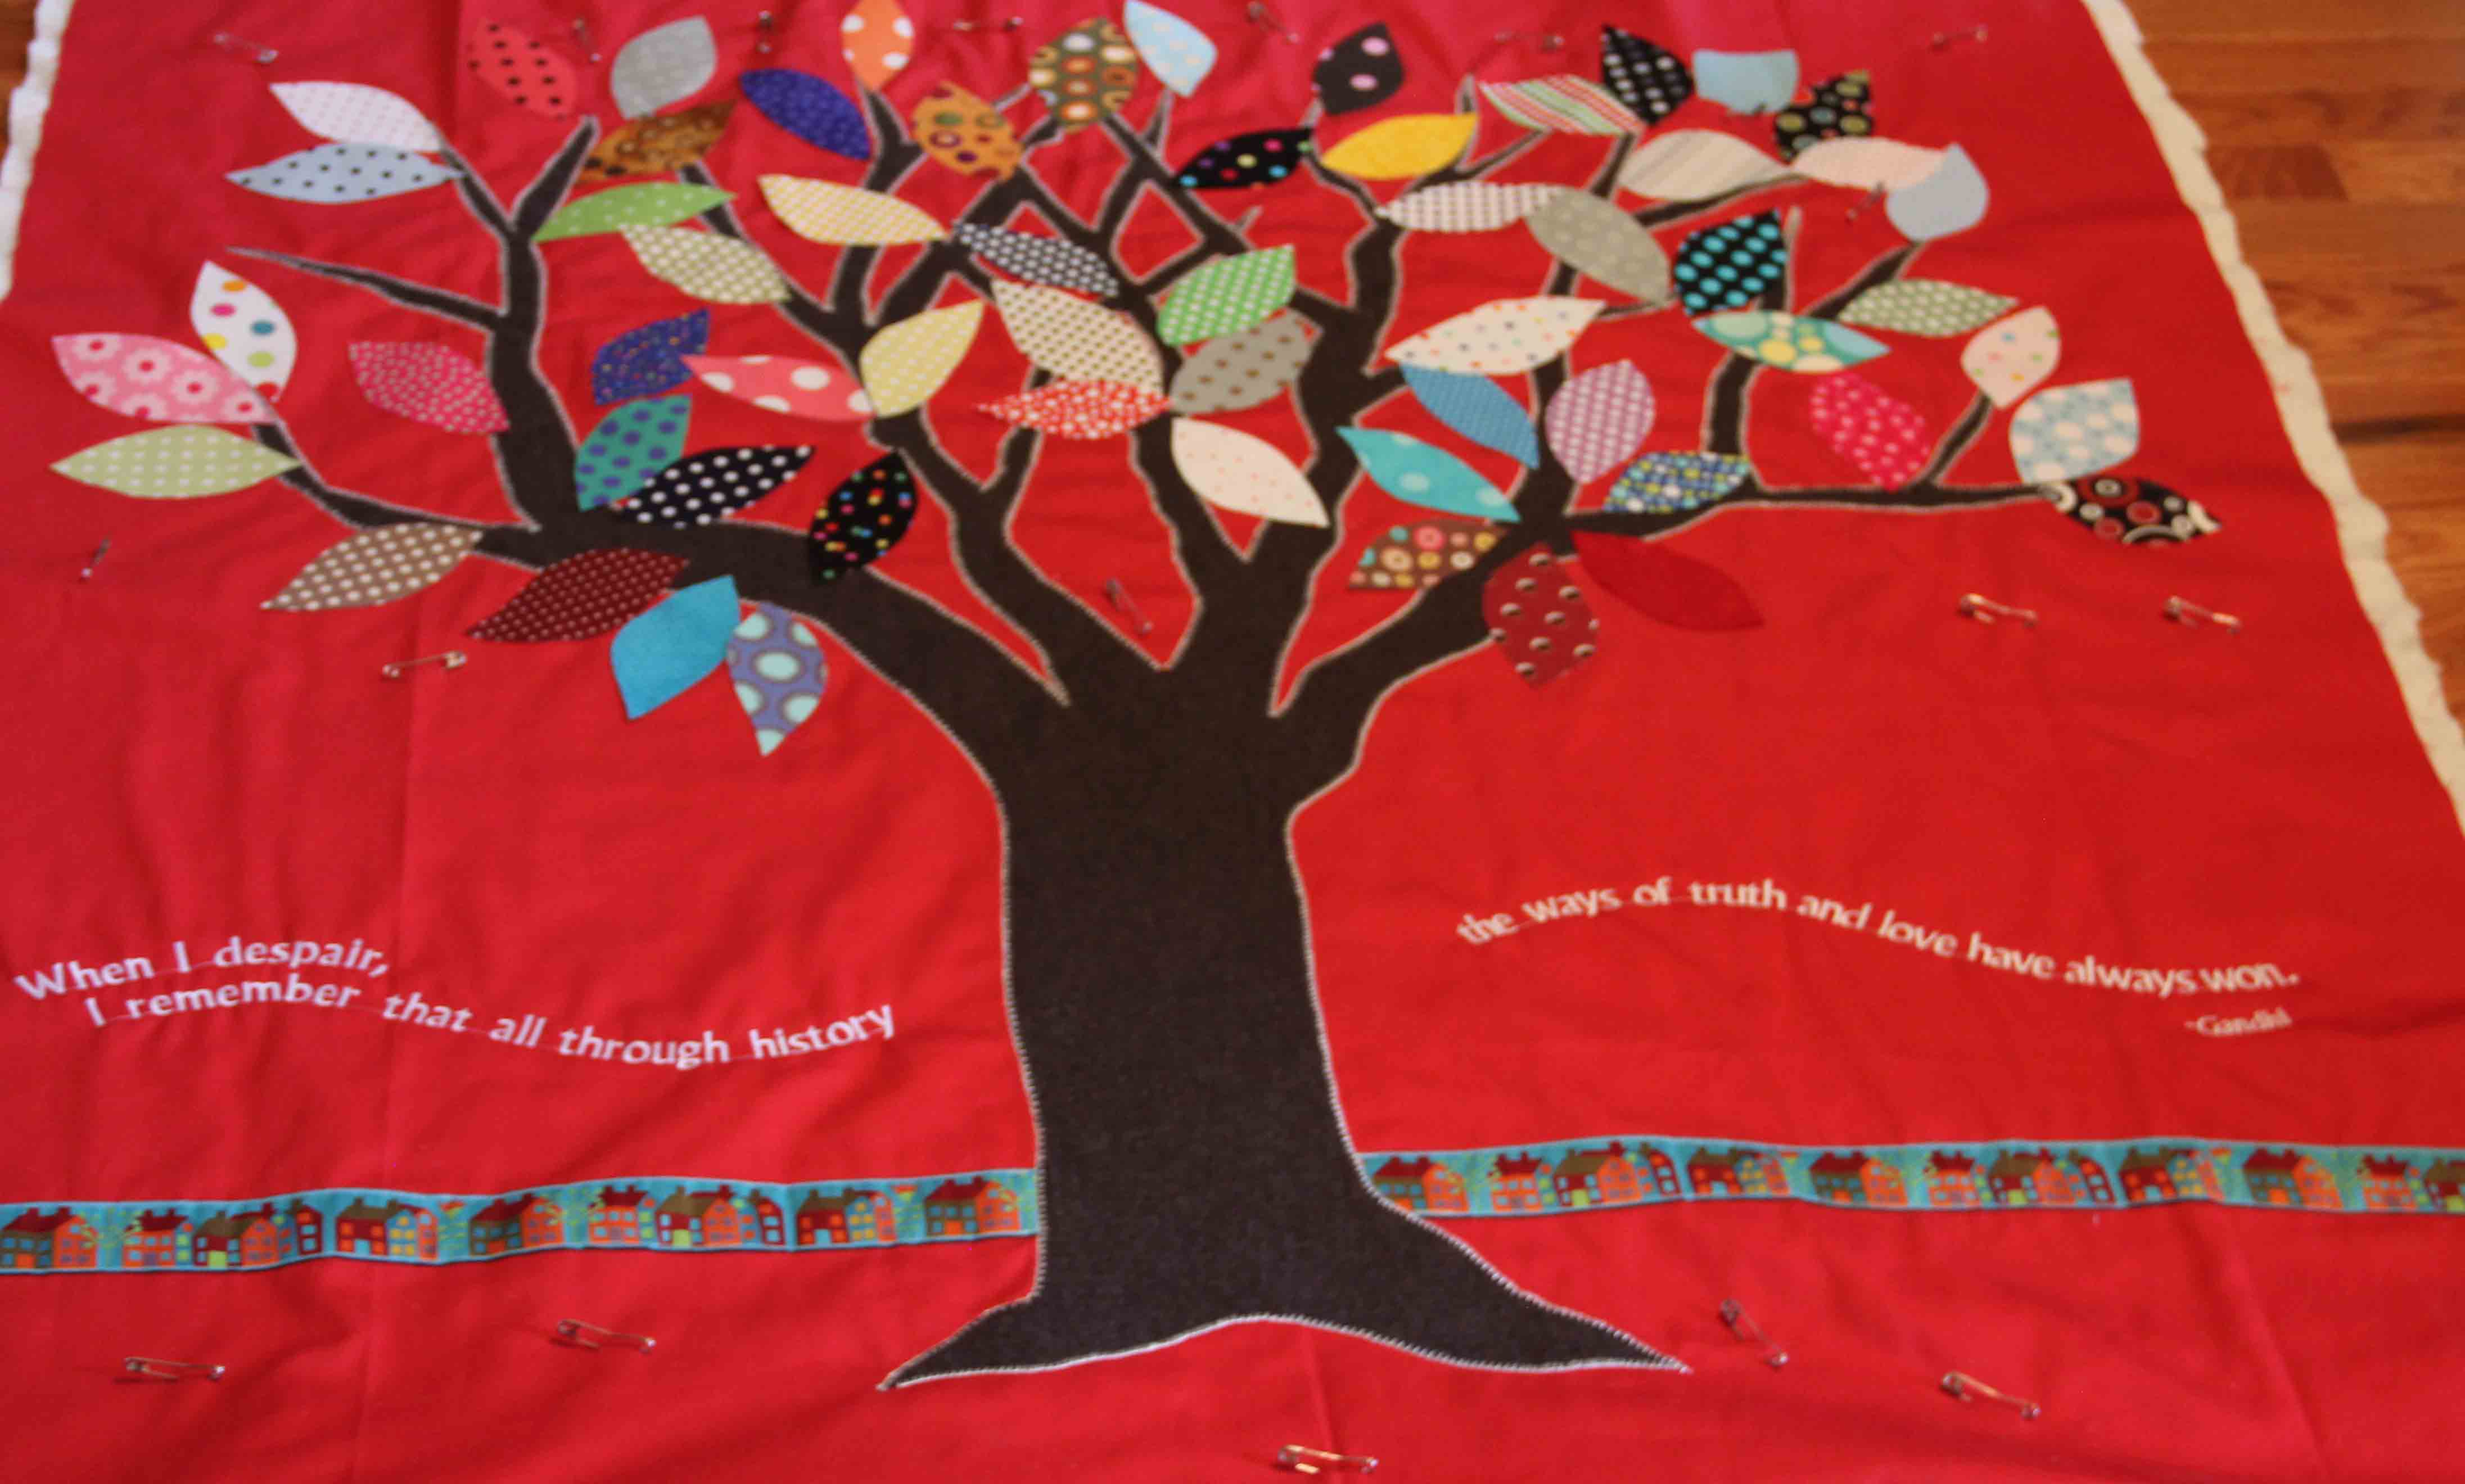
As you can see on my quilt, you will still be hefting around a a lot of fabric.  And by far, the trickiest part is calculating the number of hoopings and working out the positioning.  But that’s just a little bit of math and little bit of decision-making.

machine embroidery quilting
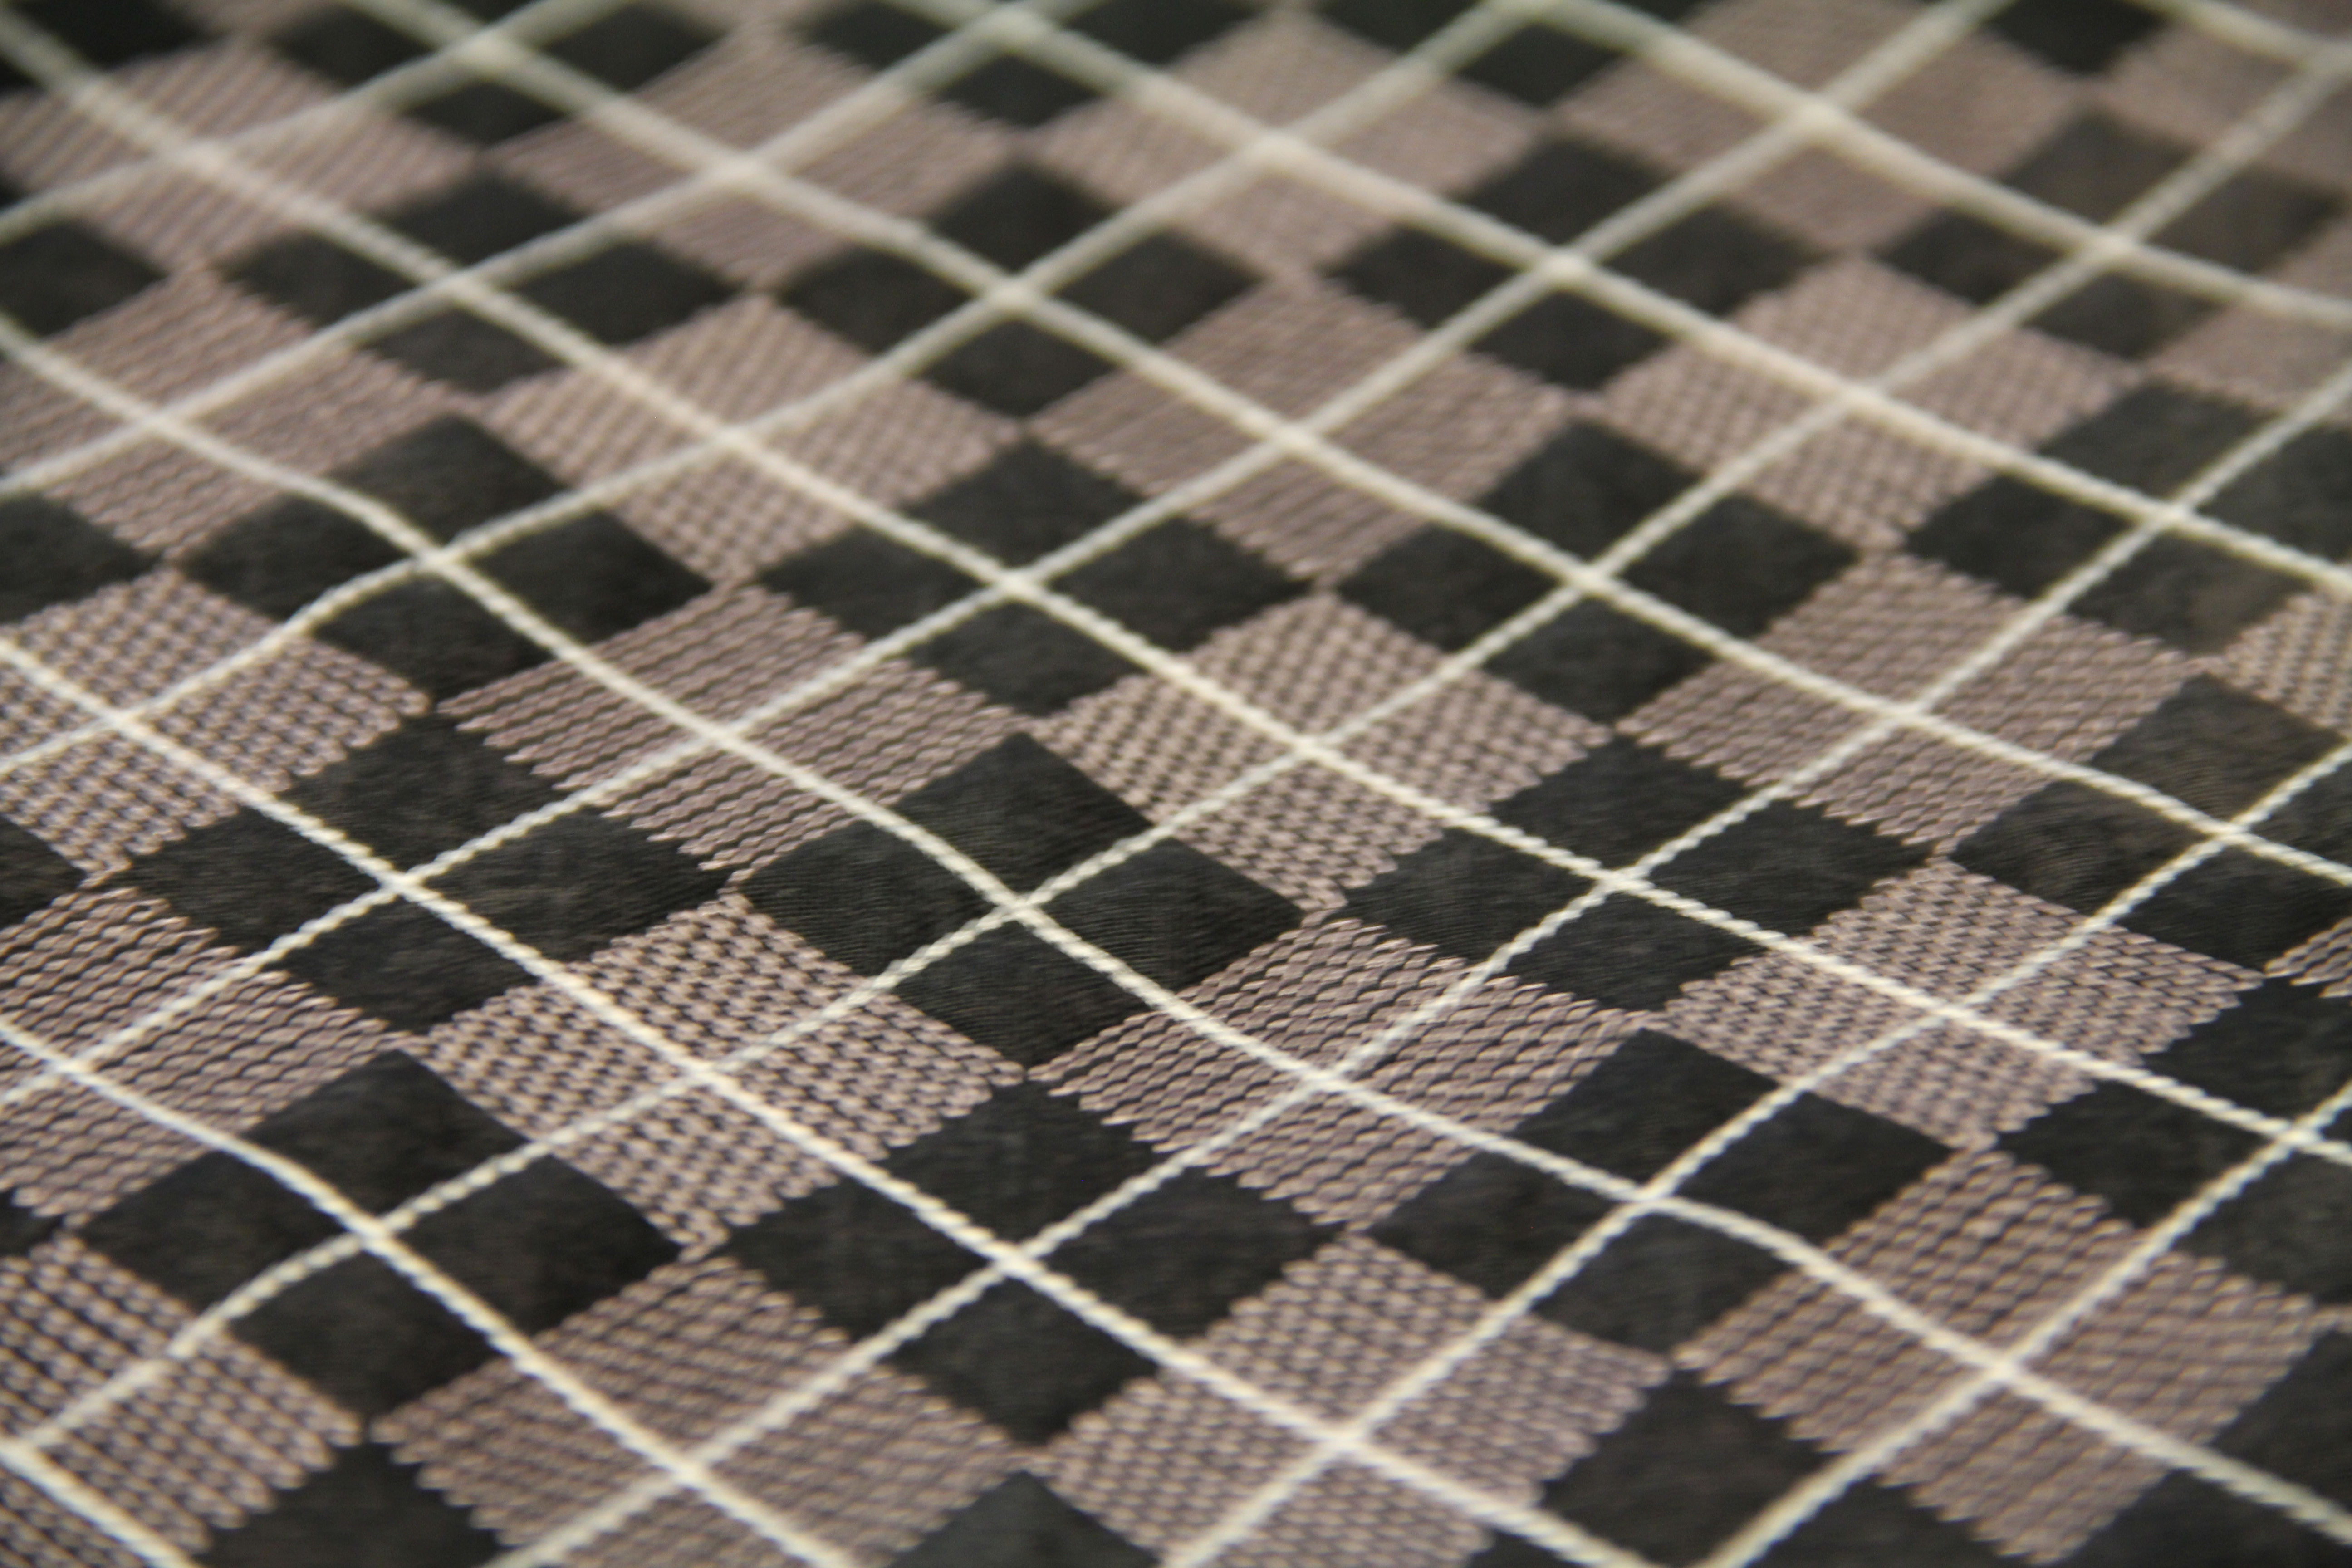
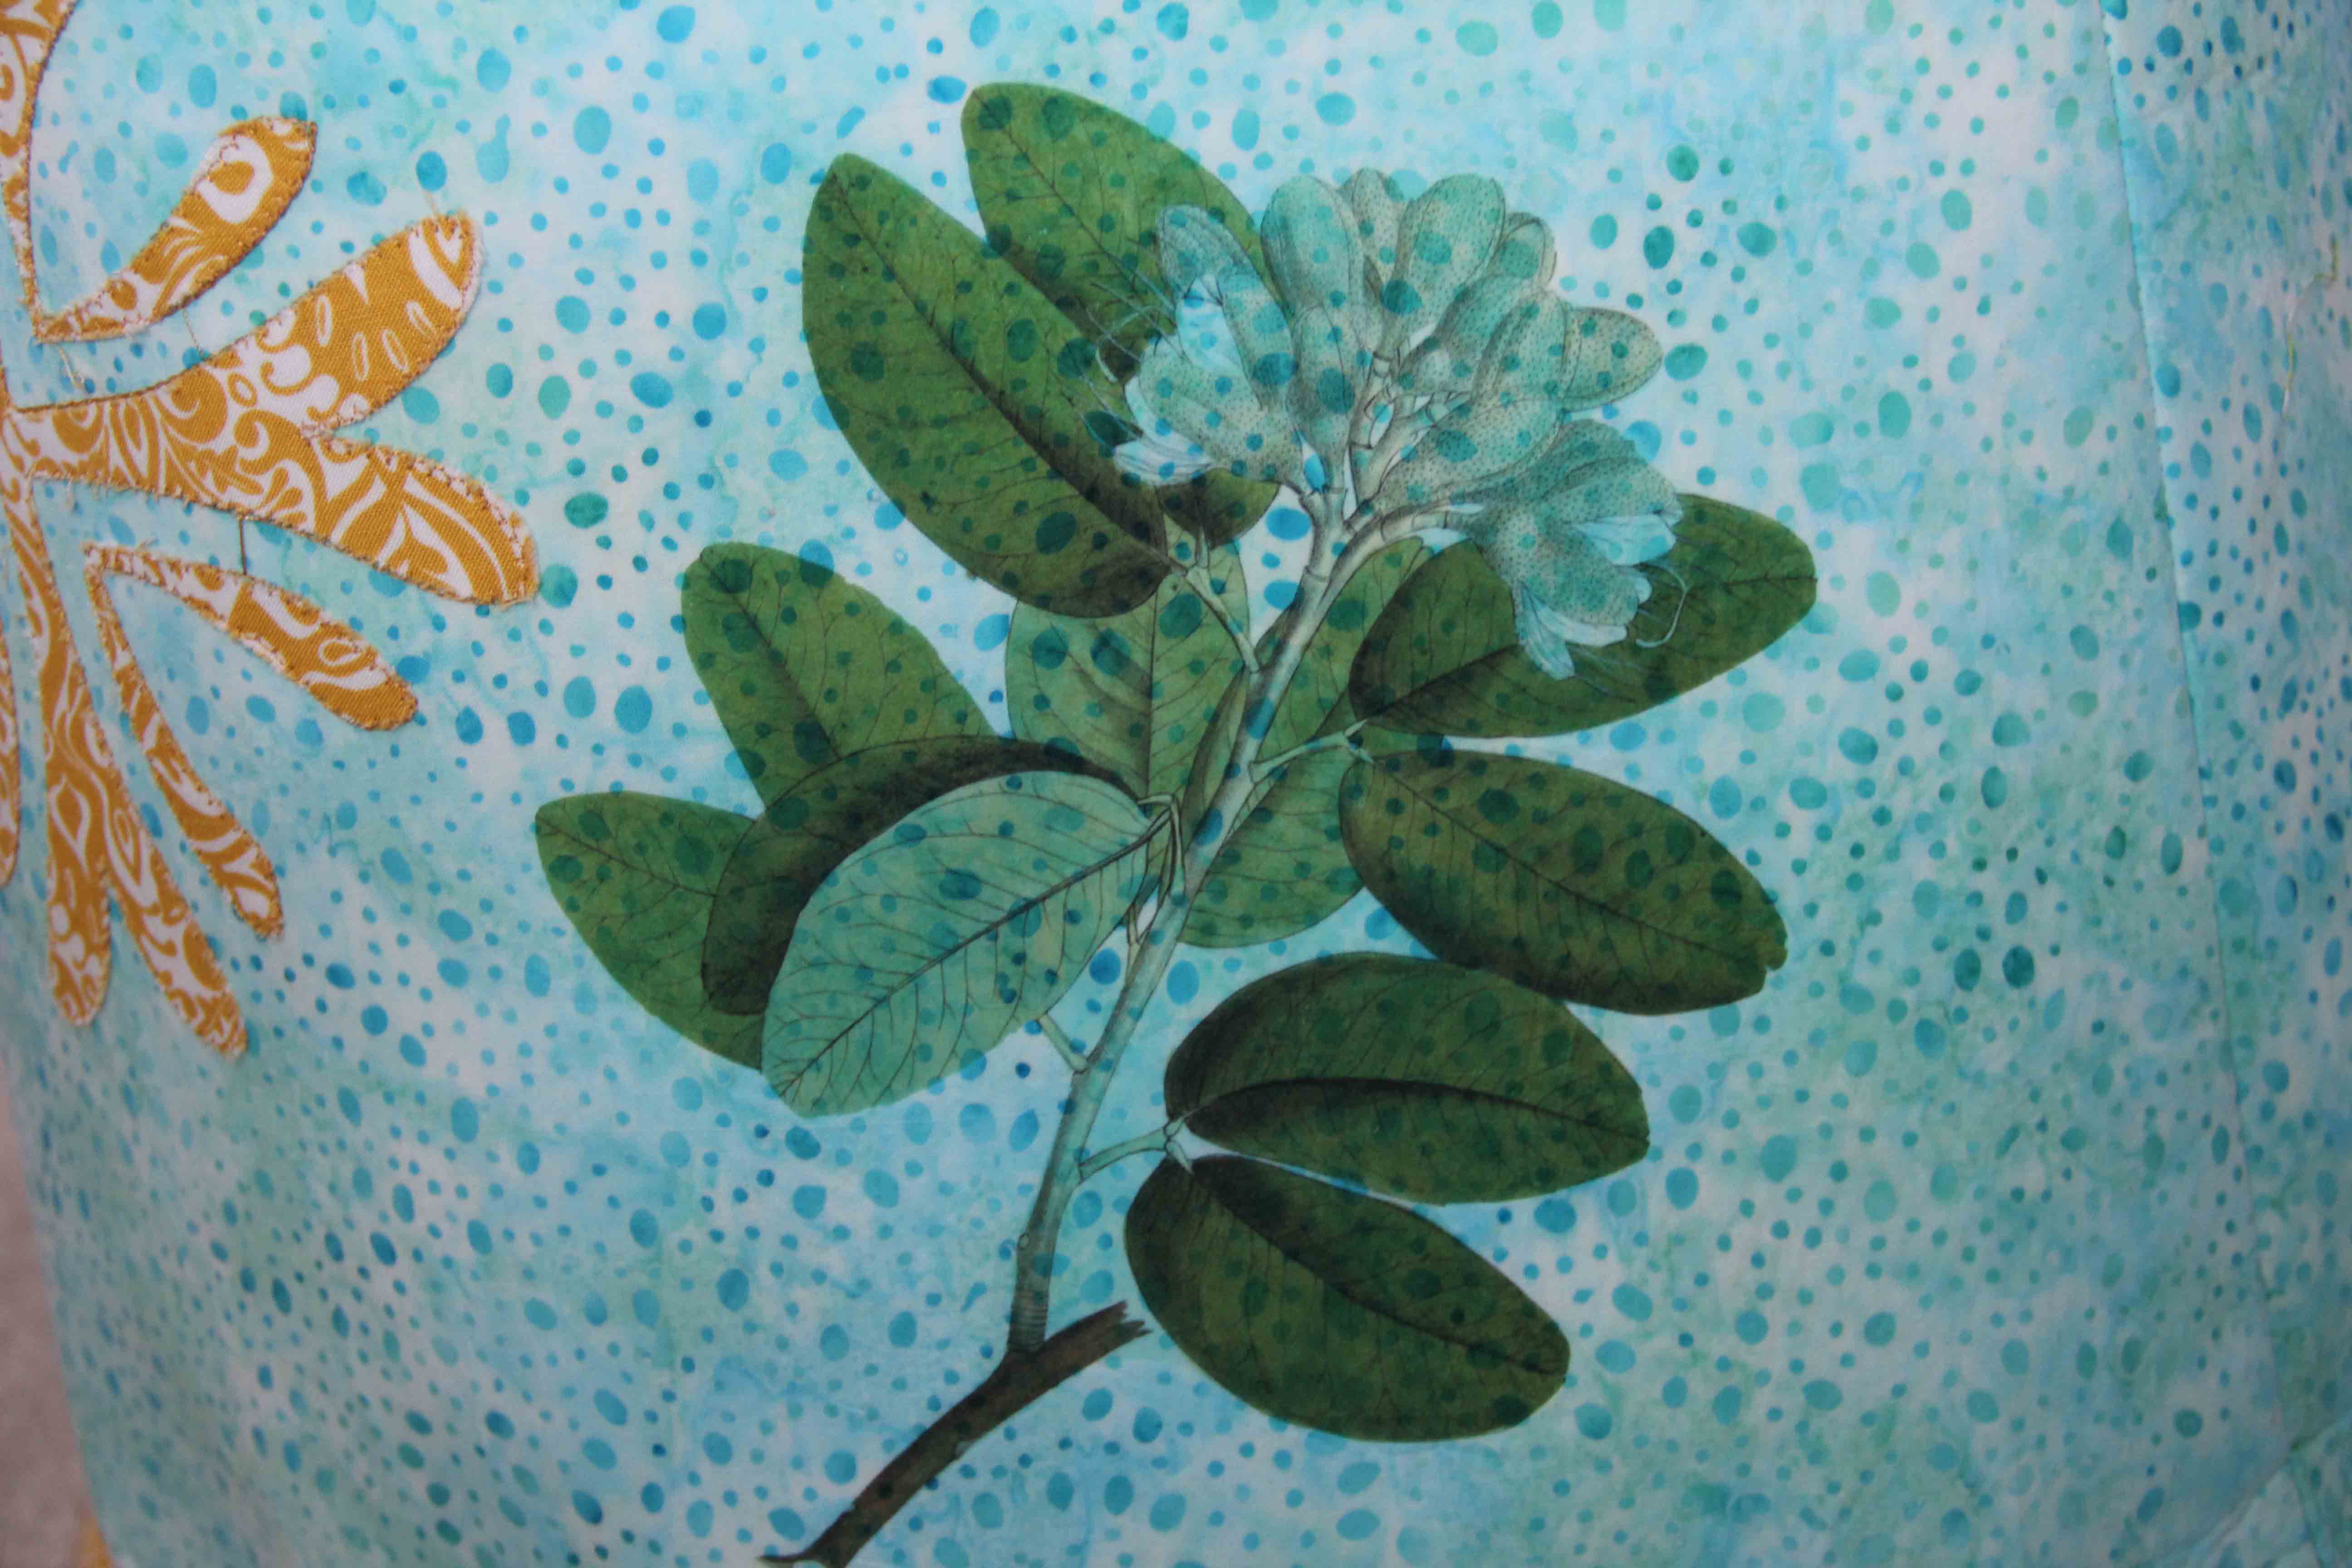
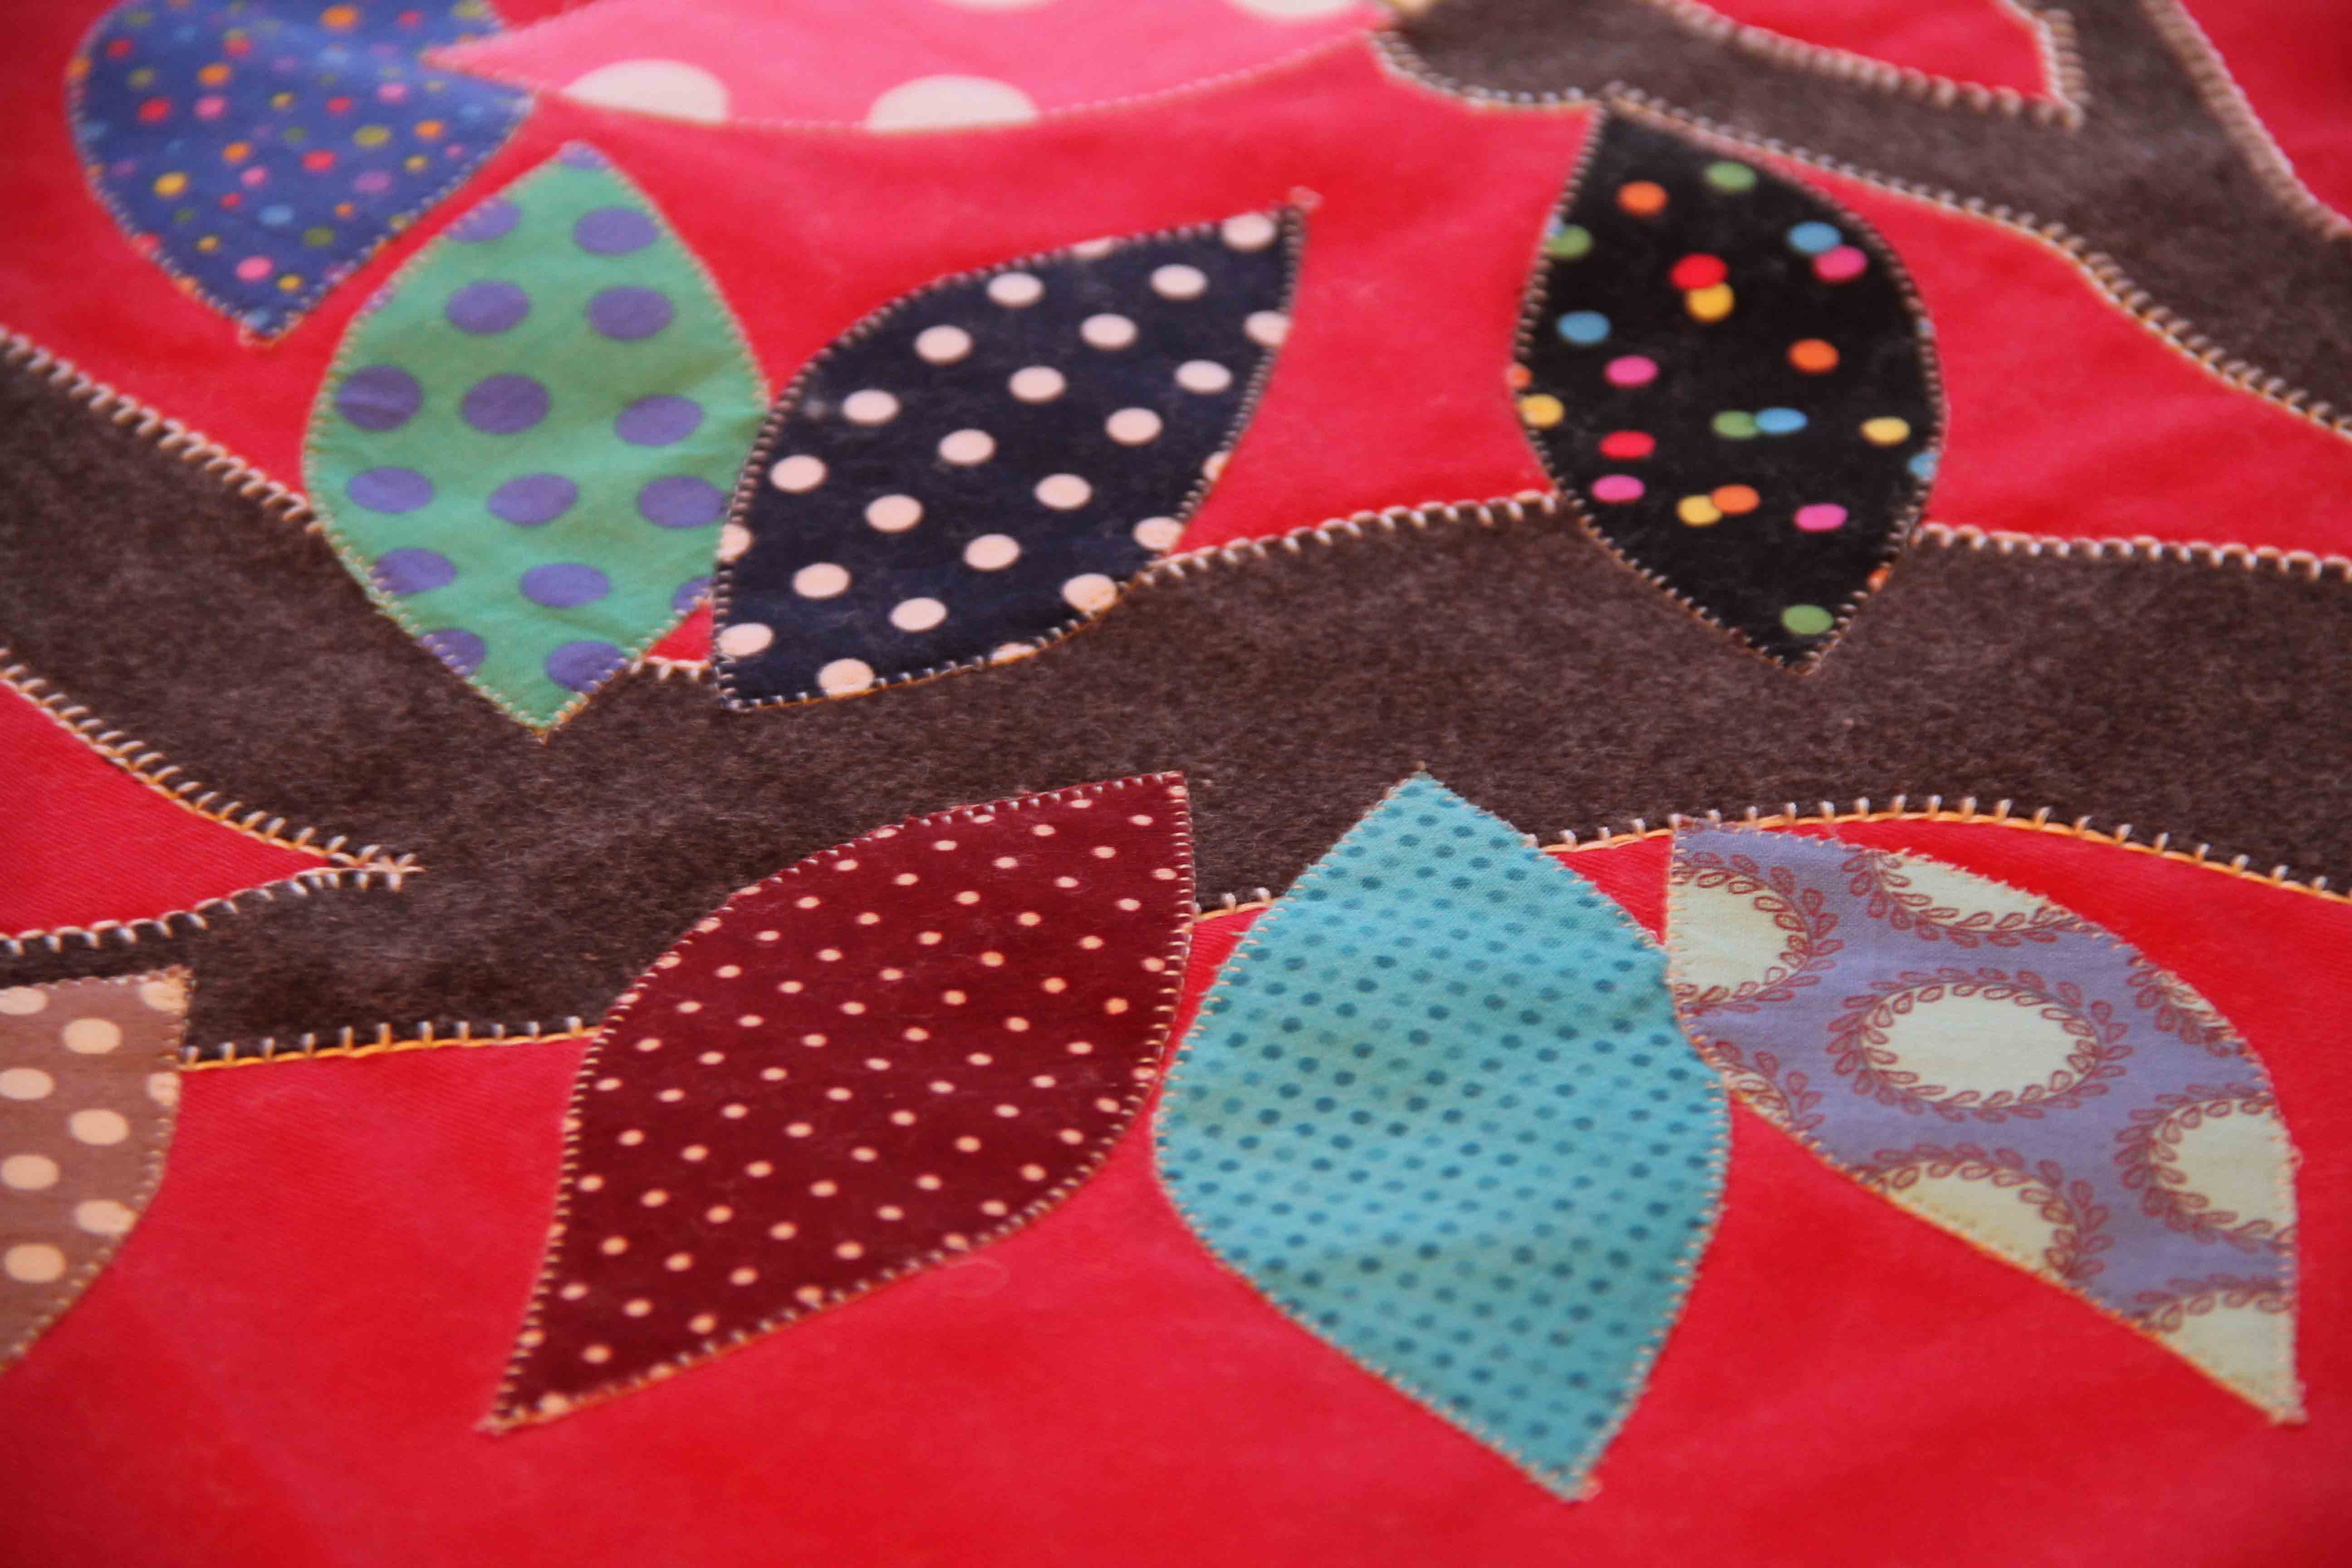
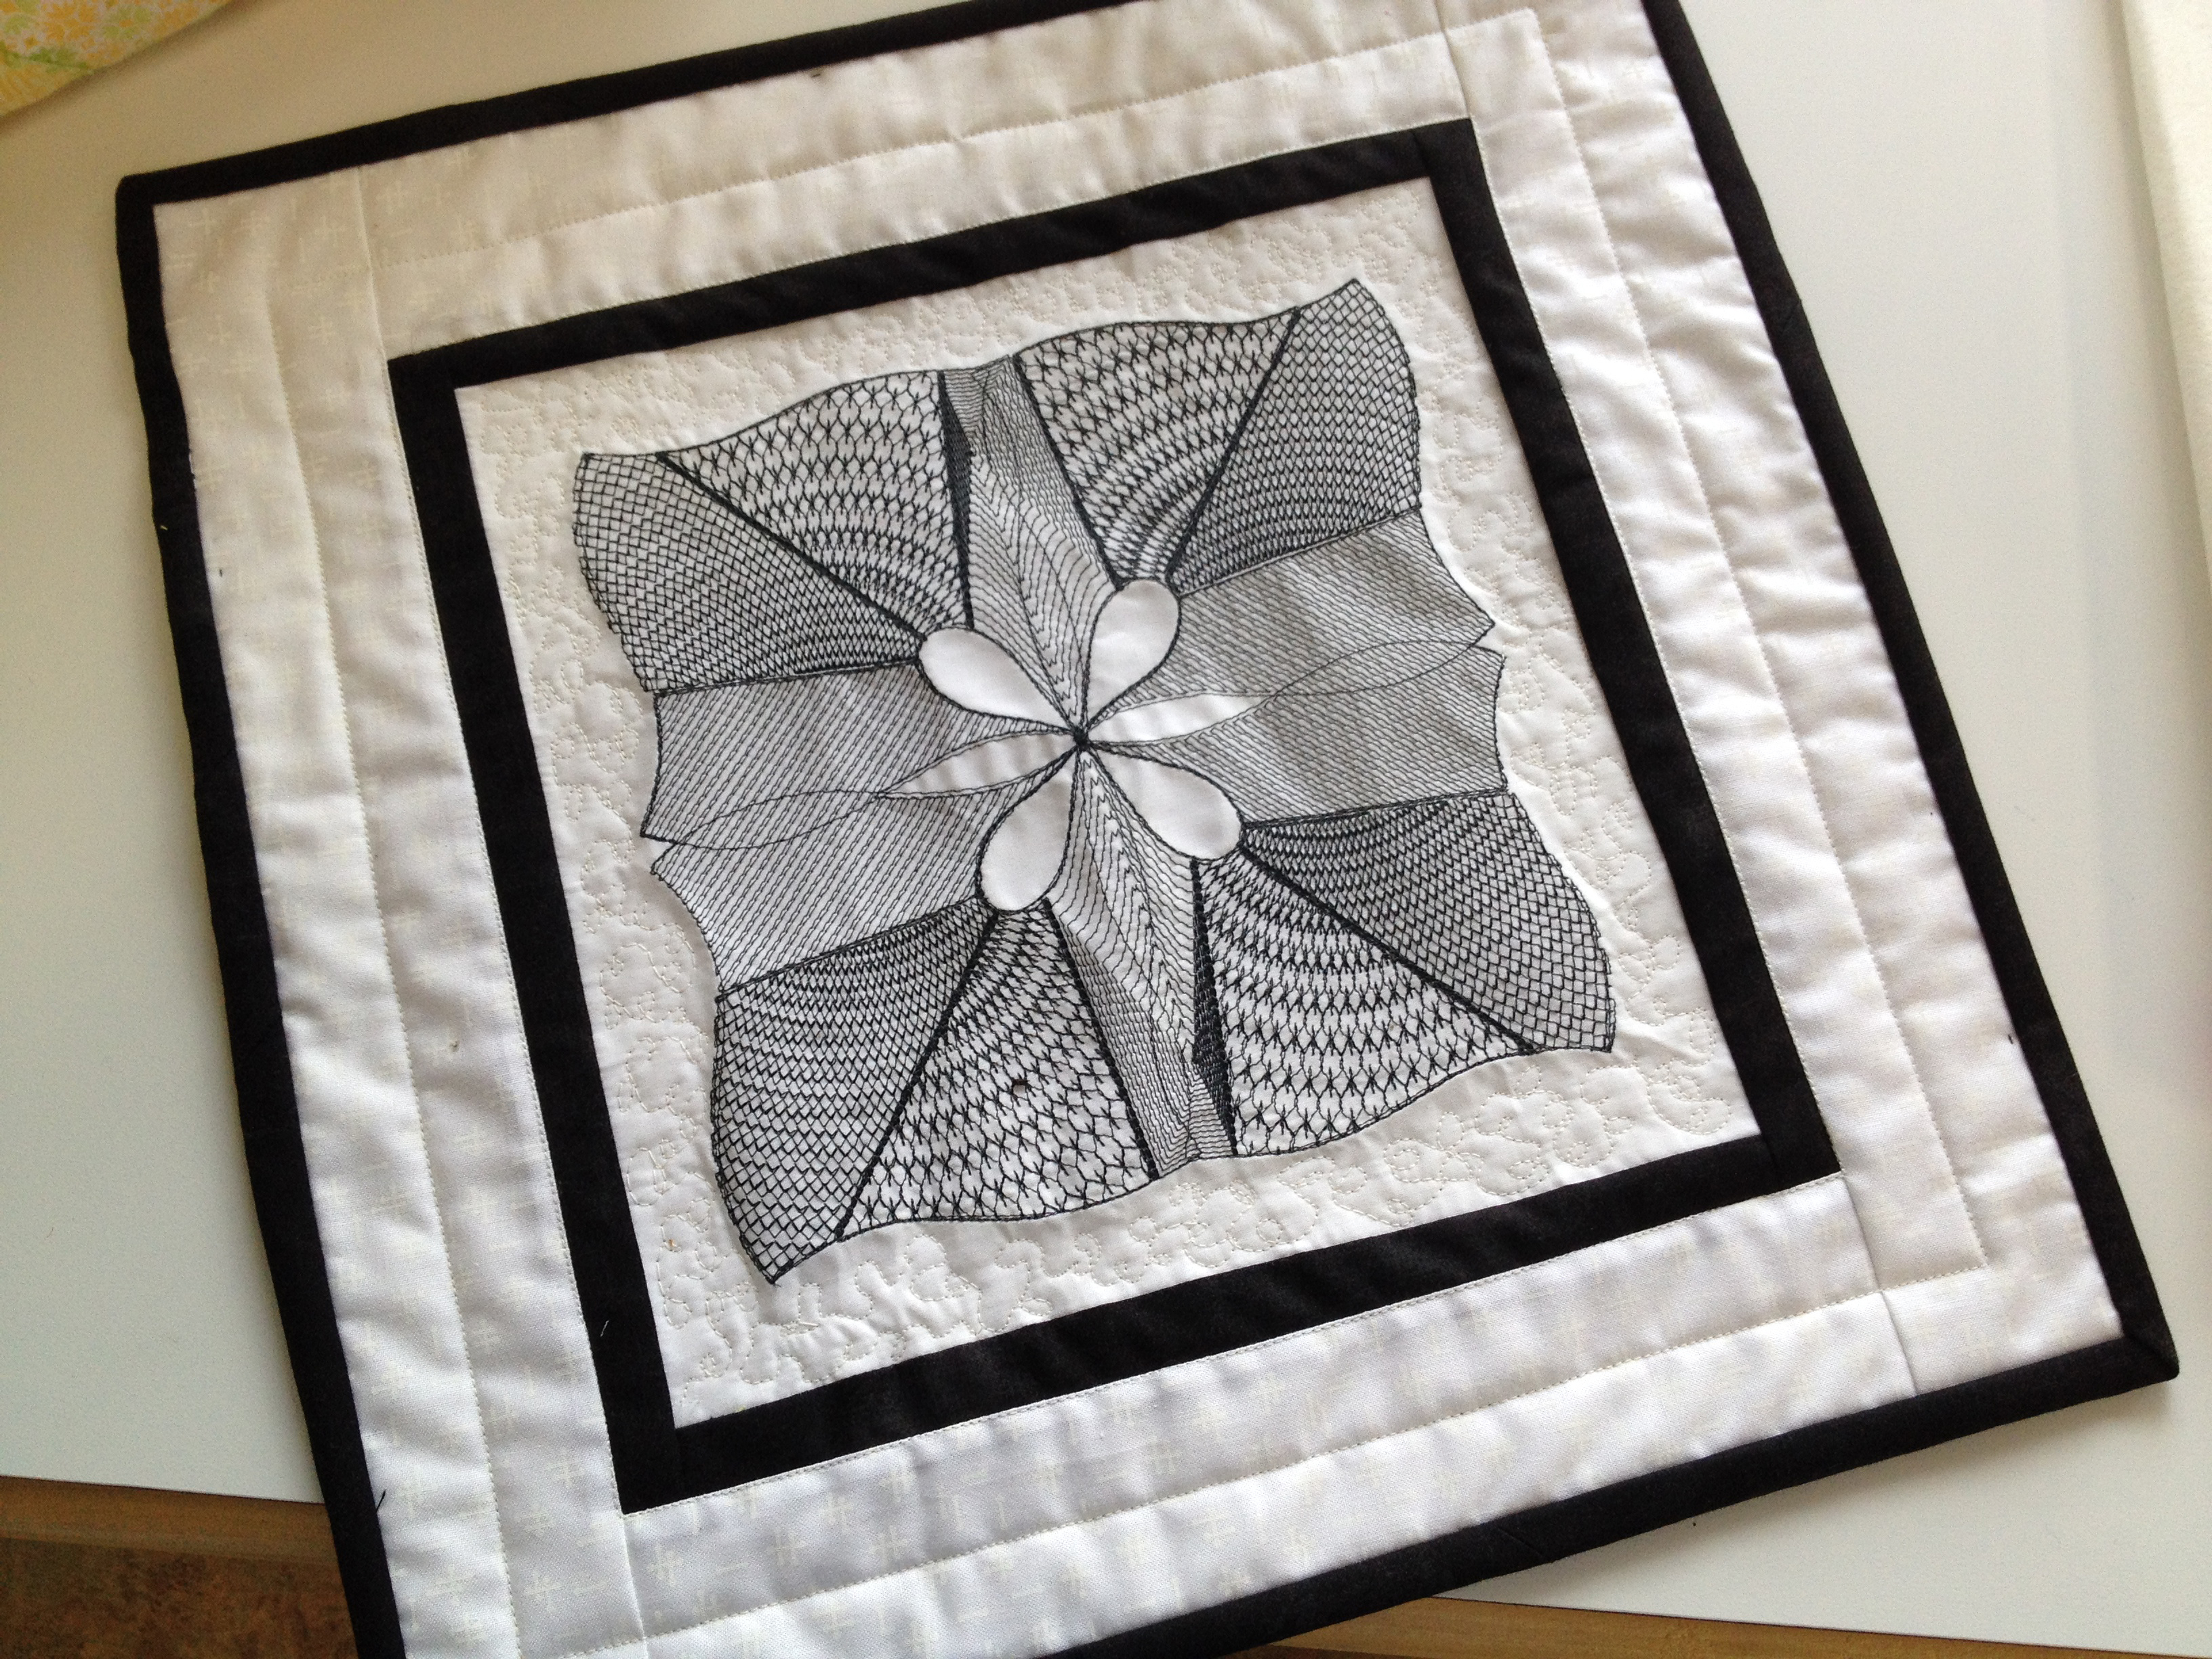
You use 2 different files…an “A” and a “B” file.  You alternate them in rows so that the design looks randomly spaced. This really does work and the finished quilting technique is lovely.  While I can free-motion some great spirals or stippling or loops or hearts, I know I would never be able to get the perfect consistent quality of these daisies.

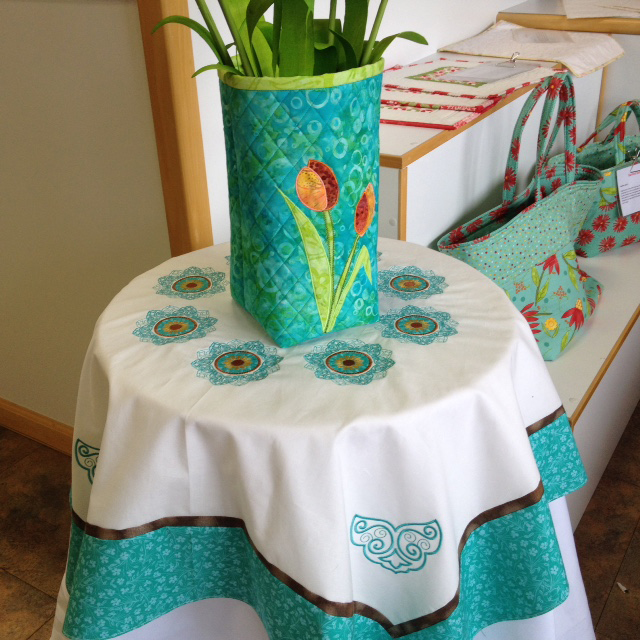
This 60 x 60 in. quilt took 32 hoopings, and my time invested was somewhere around 7-8 hours at the machine.  I love the way the quilting looks  — whimsical, yet professional.

machine embroidery quilting5 Would I want to do this for every quilt?  Of course not.  I like to be able to customize some of my quilts.  Is this great for gift-giving and finishing some of those UFO’s?  A resounding yes!  And a terrific way to get more use out of your embroidery module.  Your local quilt shop should be able to get you the book.

What are you waiting for?  Let’s get those quilt tops quilted!


Improv and More

I have started working on an improvisational quilt.

Basically , it means I start sewing before I have any idea what I’m creating. For anyone who knows me, this way of doing things is right up my alley.  I just purchased this book, “An Improv Handbook for Modern Quilters” by Sheri Lynn Wood.

improv2

Naturally, I flipped through the book and then started without so much as reading a paragraph.  I promise I will go back and read. The book looks great.  I just was inspired by the word “improv” and began immediately.

improv1


Here’s a sneak peak and to be honest , I don’t know how I will complete it. Just know that it’s a gift, so I don’t want to divulge the whole quilt til it’s been given away.  At that point, it’s done and there can be no regrets or turning back.  For now, it’s simply a work in progress.

In machine embroidery, I am preparing to teach a Software Inspirations class based on a tutorial from Sylvain Bergeron, Bernina educator.  In it, we learn to create textile fabric using embroidery…like argyle.

argyle1This is done completely in software, then stitched out as machine embroidery.  It can now be cut up and used as a handbag piece, or in a quilt, or basically used as any other fabric.  Would be fun to do a small series of these in different shades and then put them together as a quilt or table runner.  Although I’m sure this image looks black and white, the thread used in the squares is actually a mauve with white lines, on Moda’s black grunge fabric.

That being said, like many sewists, I spend a lot of time in the garden in the spring, head back into the sewing room when it rains or as the weather gets too warm and buggy to be hanging around outside.  I leave you with a few lovely pics from around the area this past couple of weeks.  The earth is stunning.

peonies2

Peony tree

Wild  phlox

Wild phlox

Crabapple tree

Crabapple tree

Adventures in Transfer Artist Paper

I love transfer artist paper.  I’ve used it a number of times with differing effects.

transfer artist paperYou can purchase this online or at craft stores, possibly your local quilt shop.

It works only with an ink jet printer, and your results will come easier to you if you have a little bit of experience in photo software, like Photoshop or Corel.

You print the image onto the paper and then iron the image onto your fabric.  The BIG difference between TAP and printing directly onto fabric paper is that the transfer actually becomes a part of your fabric…any fabric.  It never washes out.  It’s permanent.

botanical transferYou can see on this image that this botanical transfer prints right over the fabric and the underlying pattern shows through.  This particular print worked beautifully because it ended up looking like dew on the plant.  The instructions say you can print on wood, glass, stone, basically anything, as long as you can iron on it.  It takes a little practice but here are a few tips:

–Always use a hot DRY iron —  no steam.

–Remove the transfer while it’s still hot.

–Illustrations tend to look more interesting than photos, but worth trying both.

–Reverse anything with lettering before you print it on TAP or it will read backward.

–Cut as close to the image as possible before you iron it on your fabric.

–Try ripping the edges of your paper before ironing.  It gives a torn, aged effect.

–Experiment, experiment, experiment!  If you are a photography junkie like me, this is a great way to play with your images.

Here’s an example from the upcoming Software Inspirations program I’ll be teaching next week:

transfer artist paper 3I also added some embroidery to this project, which is actually a travel pillow.

cameraThe final image is from a Messenger Bag, the project I created from a previous Software Sampler lesson — a good text example of using Transfer Artist Paper to convey an emotion, a worn timelessness.

I’ll leave you with my all-time favorite quote from Macbeth:

Tomorrow and tomorrow and tomorrow,
Creeps in this petty pace from day to day,
To the last syllable of recorded time;
And all our yesterdays have lighted fools
The way to dusty death. Out, out, brief candle!
Life’s but a walking shadow, a poor player,
That struts and frets his hour upon the stage,
And then is heard no more. It is a tale
Told by an idiot, full of sound and fury,
Signifying nothing.

transfer artisp paper3

Photography and Stitching on Organza, with a Touch of Needle Felting

I worked on this piece several years ago, but I recently brought it out again because of my work with Transfer Artist Paper. (I’ll show you that in my next post.)

In this example, I transferred my photography onto printable organza.  You can buy sheets at an art supply store or even an office supply store…certainly online as well.  They are designed for ink jet printers only.

printable organza sheets

I played with black and white photography and used a (more or less) abstract photo and began a collage. stitch on organza  You can see from the photo that I added a number of different layers of texture — background fabric, organza photo, embroidery.

And believe it or not, the whitish fabrics floating a little ghost-like around the edges, are used-up bounce dryer sheets.  They are shredded and needle felted onto the surface, with embroidery on top.  (Incidentally, the photo is a detail of a wrought iron gate on the side of the road, which surrounded an old farm family tomb.  It is just down the street from my house. The gate has since collapsed and been replaced with something much less ornate.  But the tomb remains.)

In the detail below, you can get a good look at the needle felting used to attach the organza and the dryer sheets.  On the organza, the more felting I did, the more the organza began to sort of pull apart and shred, which gave it a wonderful, antique faded look.

detail machine embroidery

detail needle punch organza

The embroidery over the top added a whole new level of detail and interest. This is one of those experimental pieces that gets more interesting the closer you look.  I really enjoyed playing with textures other than simple quilt cotton.  Our sewing machines are designed to sew through many different types of fabric and materials.  While quilt cotton is easily accessible and stunningly designed these days, you just never know what fun things you can use in your “art quilting” travels.

Machine Quilting with Embroidery

I love doing my own quilting. But it’s not the easiest thing in the world, is it.

I’m actually OK at it, as long as the quilt is less than twin size.  Bigger than that, and well, let’s just say I am still in the process of hand-quilting a queen size quilt I started quilting over a year ago.  Still, I find it difficult to bring myself to hand over my quilt to someone else.  Maybe one day I will change my mind.  But for now, if I make a quilt, I want to be the one to quilt it.

So I have been experimenting with using my embroidery module to quilt.  The largest hoop I can fit on my machine only goes to 8 inches wide, so that limits the size block I can quilt.

Nevertheless, my first experiment is with a simple block and a couple of simple quilt designs.

machine quilting 2I know the hoop looks like it will go wider, but I am using a hoop that’s larger than my machine will go.  (For all you Bernina fans, I have a 780 machine and a jumbo hoop instead of the maxi hoop.)

Using King Tut variegated thread from Superior, I got a beautiful stitch that really added dimension to the quilt.

IMG_3625When doing this kind of quilting, the trick is to use a machine that has “perfect placement”.  This simply means that even after you have the block hooped, the machine gives you the option of moving the design in tiny increments to get your placement just right.

I still need to add the binding, and this was not a huge piece.  But I look forward to trying this with larger and larger quilts.

I also have another technique in mind that I will be trying soon, so I’m hoping to show you more options using your embroidery.  Lots and lots of quilting embroidery designs are available.  Let’s make the most of our embroidery and get those quilt tops quilted!

quilt in the hoop


Art and Art Only

“Art and art only can cause violence to be set aside.”  –Leo Tolstoy

For anyone with a child in the school system within the last 15 years, you know what STEM stands for:  Science, Technology, Engineering, Math.

Experts (MANY experts)  tell us that’s what all our children must be trained in, in order to move the country forward, in order to get jobs, in order to be successful.

Do you agree?

As for me, I have mixed feelings.  No doubt, STEM provides key strengths for our kids to make a living in the future.  No doubt, we all need these skills to build infrastructure, cure diseases, and solve problems.  No doubt.

Where, then, in society, do we learn more subtle skills?  Things like anger management, empathy, caring for one another, caring for the planet and the rest of the world around us?  Or even less subtle skills like critical thinking, decision-making, morality, justice and local and global citizenship?

In the last election, only 12% of 18-30 year-olds even bothered to vote.  I wonder what percentage of them own a smart phone.  My guess is somewhat more than 12%.

“Art and art only can cause violence to be set aside.”

Tolstoy had a wide vision of art:  literature, paintings, music, poetry, drama.  Soft skills to say the least.  Don’t get me wrong.  I love doctors, scientists and engineers…(I’m married to one).  But STEM is only useful when it is accompanied and partnered with creative thinking, creative expression, beauty, appreciation, and acceptance of our common humanity.

IMG_2466My embroidered tablecloth and fabric tulip vase. I ‘ll teach it at a Software Inspirations class.

IMG_2468


What Have You Done With Machine Embroidery Lately?

machine embroidery2I ask myself that all the time.

My latest project is one I’m doing for work, which will be for a class in April.  It’s a part of Bernina’s Software Sampler presentation.  I am stitching out a ring of 8 designs to be used (ultimately) on a tablecloth for a round table.

It’s far from complete, but I promise to show you when it’s done.

But what’s new in the home embroidery industry?  Well, that’s where this gets interesting.

I have a few favorite sites that I visit, but I’ve noticed some trends and thought I’d share some of the best with you.

Urban Threads, always on the cutting edge (no pun intended) of embroidery, has a new Look Book out. You have to take a minute to browse…very fun stuff.

You’ll notice that lettering, in many forms, has re-emerged as one of the most popular uses for embroidery.  I see this trend at work very often as well.  Everyone wants an item that is personalized, whether that is for a wedding, or just a simple monogram, the birth of a baby, you name it.

Bernina has just released new, inexpensive software that lets you add lettering to any embroidery design or just create your own lettering in any true type font that you have loaded on your computer.

This is a big deal.  In recent years, Bernina’s software with lettering had an entry price of over $1000.  The new software, called Customizer, saves to any machine format and is available for under $250 at any local Bernina dealer.  But, as I say, anyone with any type of embroidery machine can use this software. Find out more about it here.

And all you techies looking for something new and fun for your machine embroidery?

I found just the thing.

Janome has introduced an app for ipad or android that is called AcuDesign.  It’s a $49.99 app.  But before you get nervous about the price, you have to see all that it does:

–Comes with 500 designs.

–Allows you to see animated stitch-outs.

–Edit your designs.

–Resize them.

–Send them directly to your email when you want to stitch.

–Save in any format, work in any machine’s hoop.

acudesign2acudesign1Might be hard to see on my ipad in this picture, but the way you scroll through the various designs is so easy, and the work screen is intuitive.


And if you ever need more info, Janome has created a webinar, over an hour long, that goes over all the features. (Love these gals in the webinar, they sound like people I should know!)


Finally, I am seeing a bump in interest in crazy quilting.  The website mollymine.com has a lovely collection of crazy quilt designs, from quilt blocks to holiday-themed.  And our friends at Designs in Machine Embroidery have featured crazy quilting on the front cover of their April issue, with a free crazy quilt design available.

dime


Soooooooo…..what have you done with machine embroidery lately?

We have a world of opportunities in front of us. And we haven’t even looked at Pinterest yet.

(Yet.)

When Your Quilt Needs a Time-Out

If you have followed this blog for any length of time, you know I participated in a polka dot fabric exchange last year.  I received 60 – 10 x 10 in. squares of polka dot fabric from all around the world.

I resolved to include them all in a quilt somehow, and managed to cobble together a tree with the fabric as leaves.

But then I had to put the quilt in a “time-out”, as a friend of mine likes to say.  Quilts need it, you know.  They become unruly, arrogant, resistant.  Or sometimes they just become passive or apathetic.  Either way, when a quilt reaches that stage of behavior, it’s time to put it in time-out.  It makes absolutely no sense to argue or to fight your way through.  The quilt needs time to find its way.

So I put it in the guest bedroom where it could have some time alone to ponder its future.

I checked on it  occasionally, offering ideas and solutions, a way out.  But the quilt obstinately refused.  “OK for you,” I would think.  And walk away again, to work on another, more cooperative project.

For months it sat, sulking, pouting, depressed even.

Then one day, shortly before Christmas, when I walked in to check on it, the quilt looked eager. Just a hint of it, you understand, but there it was:  a small little whisper of earnestness.  It had formed an idea about its future.

So I listened.

And I let the ideas float around for awhile with no pressure or desire for any of them to be successful.  Tentatively, we tried something.  And then another thing, after that.

And now, the polka dot quilt and I are moving forward together, both listening, both asserting, both with renewed vigor.

I’ll let you know how it all works out.

Truth and LoveGandhi

Zen Again

Don’t even tell me you don’t know what zentangles are. By now everyone has heard of a zentangle.  However, in case you’ve been living under a creative rock…here’s a link explaining them.

In playing with Bernina’s Embroidery Software, I’ve been doing a few lessons from a book written by Sue Shrader:  “Creative Sewing Machine’s Workbook for Bernina Embroidery Software 7.”

sue schraderThis workbook covers all aspects of Software 7, and can be purchased from their website.  I have found it to be a valuable investment for beginners, and even for people like me who use the software on a regular basis, but still don’t know everything it can do.


One of her lessons involves creating a zentangle piece of artwork.

zentangle stitch 2I had fun with this lesson as it changes every time I do it.  I settled on one version and went through the motions of stitching it out.  I used a heavy-weight cutaway stabilizer in my machine’s jumbo hoop.


zentangle stitch 3After 30,000 stitches, I knew I’d be leaving the stabilizer behind the design no matter what I ended up making.  Besides the white stabilizer would show if I cut it out behind the design.


zentangle stitch1Here’s the finished stitch-out.  I spent a lot of time debating what to make out of the design and in the end I just finished it off with binding and did some quilting.


zentangle finalNot sure how much of the detail you can see in the design, but the various stitches actually form unique patterns. I’m always stunned at the number of things that can be done with the assistance of software.

It may not be everyone’s cup of tea, and I’m not sure it even suits me very well.  Still, I’d rather push the envelope.  It’s the only way any of us improve.


Sometimes a Locker is Just a Locker

One more week and school starts.

Yesterday, my son and I dutifully scrambled over to the middle school to get his schedule, locker, locks, gym uniform and all the stuff that gets done a few days before school starts.

When we stepped through the door, we found a barrage of mom-volunteers, lined up with clip boards and boxes, maps of the school, directives and summaries of where to go and what to do.  Bless their hearts.

The noise was deafening, as parents (mostly moms) and students clamored to drag in their wheelbarrows full of school supplies, divvied up into copious plastic bags from Target or Dollar General or Walmart.

Some remembered our son from elementary school.  “Don’t worry,” they all shouted, “you’ll love it here.”  Good thing I’m not going to school any more.  I already hate it.

As we lumbered up the “up” stair case and down the hall, I saw a frantic mom “wallpapering” a locker.  Seriously.  I glanced at my son.  “Don’t even think about it,” he said without slowing down.

Others were furiously unpacking their child’s supplies, taking plastic wrap off of folders and loading up lockers.

When we reached my son’s locker, we opened to a yawning empty abyss. He could barely reach the one and only top shelf.  To the right of us, a mom and daughter team had just finished their remodeling job.

Her locker looked like my first apartment.

It was decked out like a California Closets ad.  She had a mirror…at the perfect height, a small organizer on the door and on the back wall, shelving, decorations and a tiny chandelier hanging from the top. (My first apartment did NOT have a chandelier). Her books and binders were all lined up neatly on the shelves. She flipped her hair and looked at me.

I looked back at my son who had managed to throw all his Target bags on top of one another on the floor of his locker and was shoving at the door trying to get it to close.

“Where did you get all that?”  I asked the mom on the right, shouting above the din.  She was on her cell phone.  “Container Store!” she yelled back.  “And they only have 9 more left!  My friend is picking up more shelving for us!  Call right away and they might reserve one for you!”

I sighed. It’s been 40 years since I was anywhere near 6th grade. I was not driving 20 miles to the nearest Container Store.

We trudged home.  “Don’t you think it would be nice to have some of those shelves?” I asked.  “Yeah,” he said.  “That would probably help.”

To be honest, I did not even know what to google.  Locker shelving? Locker organization? Locker stackers, as I heard someone refer to them?  I called the nearest Staples.

“Do you have any shelves for lockers?”

“Oh yes!  We have lots of pink ones!”

“Do you have any other colors?”

“hmmm…let me see…ummm…yes there’s one black one.  Maybe one more in black.”

“Good! Hold it for me, I’ll be right over!”

I have often wondered why our son just simply does not have huge organizational skills.  I don’t wonder any more.  Apparently it’s genetic.

But I’ll say this much:  At least today in school I learned something.

Here’s a pinterest link to locker organizers!

Multi-hoop project is quilted, bound and finished.

Multi-hoop project is quilted, bound and finished.