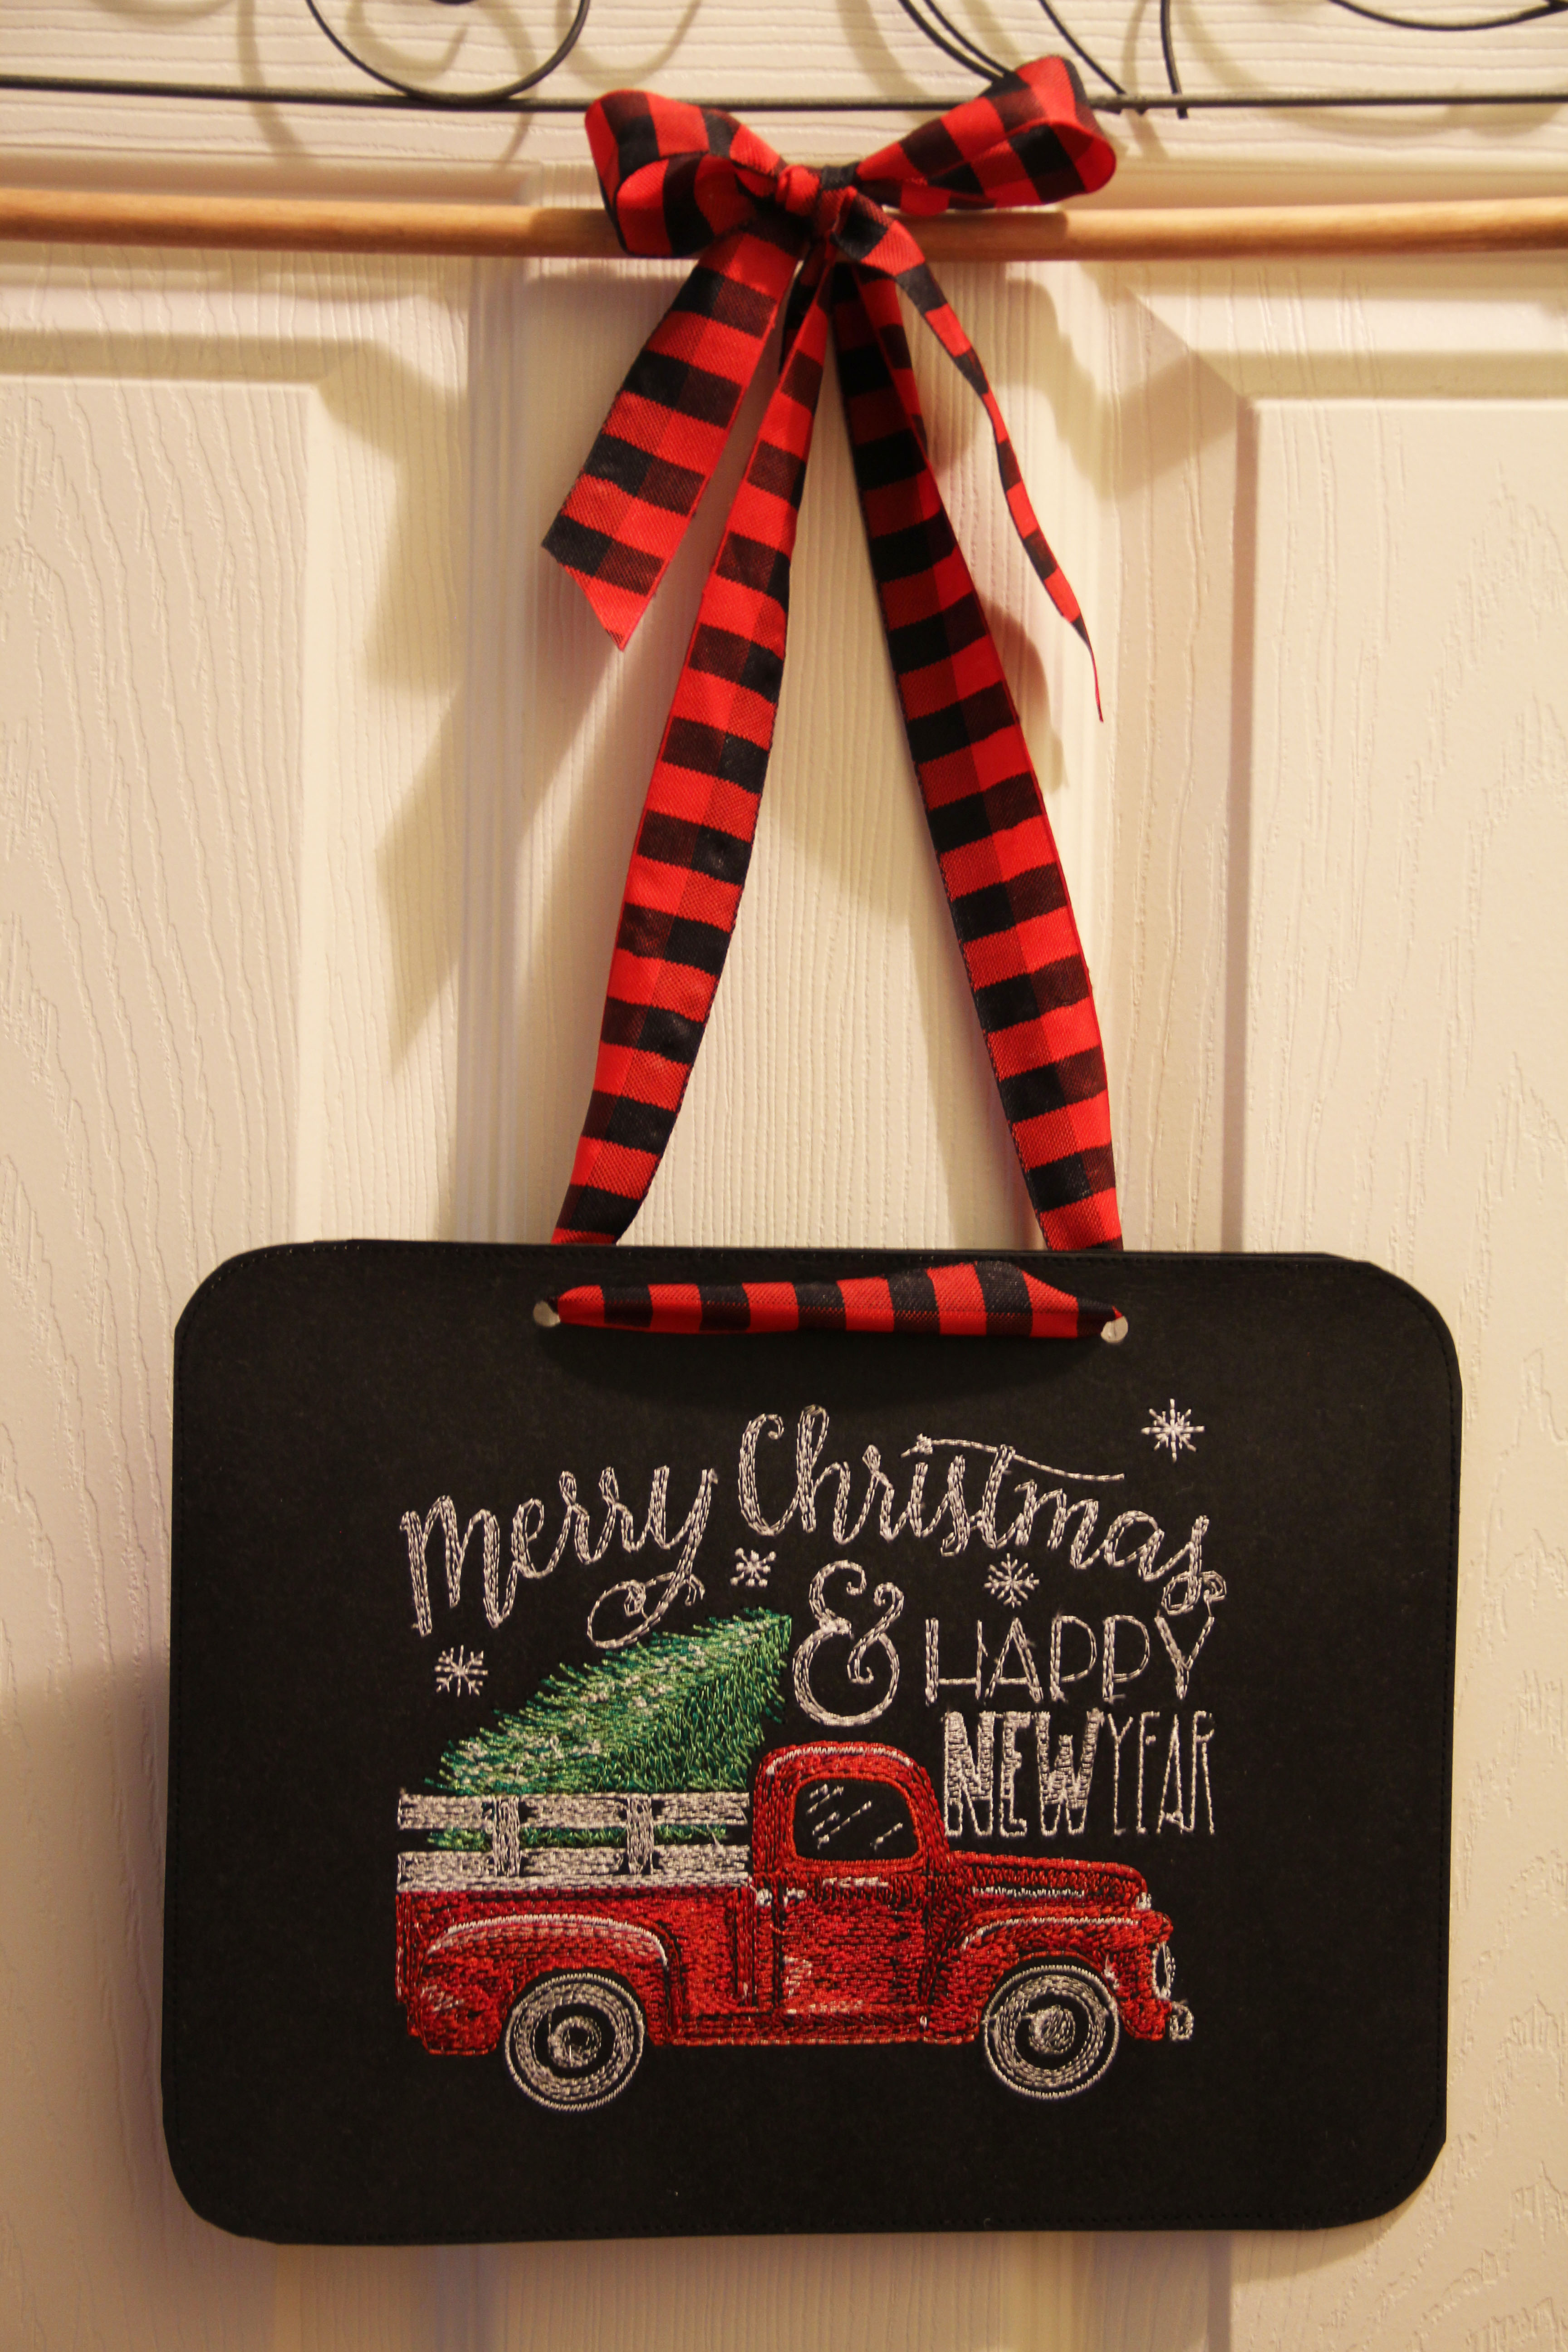
The Ubiquitous Old Red Truck — And Other Holiday Icons

C’mon. You know you’ve seen this truck everywhere.

I’m not sure when it became the definitive retro/vintage/holiday symbol. But somewhere along the way it did. I’ve seen it in catalogs, in charming shops, on TV (Hallmark Channel has at least one movie where the truck is a co-star.) I’m sure this old truck obsession is a simple longing for tradition, simplicity, home-baked cookies and the scent of actual pine. But let’s remember: this cute, sentimental old truck could put out enough dangerous fumes to choke a horse pulling an open sleigh. We are excellent at suspending reality during the holidays.

That said, my grandfather had a dark green/blue one just like it on the farm. (You can see it in the pic with Mom and me below.)

Since I’m as sentimental as everybody else around the holidays, I found myself purchasing the truck machine embroidery shown at the top. Buy it here.

I stitched it out on Kraft Tex.  If you’re not familiar with Kraft Tex, it’s the miracle textile that the Levi’s logo is made of.  It doesn’t rip.  It’s washable. It lasts forever and takes a beating and doesn’t show wear and tear. And you can sew with it and on it.

I wasn’t sure how it would hold up with 22,000 stitches on it, but I used Stabilstick Cutaway stabilizer and it was perfect.

Then I started getting more ideas about holiday decor using Kraft Tex and machine embroidery. You can find some cute and simple designs here.

I stitched them out, again using the Stabilstick cutaway stabilizer.  I put a design on the front and on the back, trimmed them to size, rounded the corners, and stitched in black around the outside.  They are the perfect shape for mouse pads.  But I added ribbon and will give them out on Thanksgiving as a holiday decoration.

Once I did those, I started testing ornaments.

CAUTION: Don’t just resize the designs.

I tried to take them from 7 or 8 in. wide down to 4 in. Even in software, they did not size down properly.  They were not originally .ART files, so the software was struggling to reduce stitches. I tried it anyway, but…

Yuck. Big mistake. So I went back to the website and ordered some new ones in smaller original sizes.

These turned out just fine.  I’ll be adding ribbon and using them as ornaments. They will have different designs on each side. I’ll share more when I get them completed.

For now, I’m wishing all of you a wonderful Thanksgiving and a relaxing weekend with loved ones. My holiday will be spent with 10 close family members and 2 dogs. That’s charming and sentimental enough for me.


Machine Embroidery Cross Stitch for Halloween

I found this cute embroidery in Cross Stitch Magazine, Halloween edition.

I am not someone who is into cross stitch, but I think it looks so charming around the holidays. My way of handling this is to digitize it and then use the machine to embroider it.  I use Bernina Embroidery Software 8, which has a cross stitch application within the program. If you are not familiar with it, the sub-program has its own “help” section and manual.  I find that it is really pretty simple if you know a few basics.

I will share with you what I did to create this design, and you can explore another of my Halloween posts right here.

The first step is to scan the pattern at its original size.  This design was approximately 7.5 in. x 6 in. Shown above is the black and white scan of the image, but you can see that this image is enlarged enough to show that I can see the markings of all the different thread colors. That will be important later when I manually add them.

A few basic steps:

  1.  Crop the image right up to the outline of the grid.  You want it to be cropped as perfectly as possible when you load it into the cross stitch program. I use Adobe Photoshop to do this, but Corel is built into the software program and you can easily use that instead.
  2. Count the grid.  The heavy lines indicate ten spaces, so you can get an accurate count. You’ll need that later.
  3. Open the cross stitch program in applications.
  4. Click the “picture” tab and load the picture.
  5. Right click on the picture (this is an important step!) and plug the dimensions of the grid in the width and height. These are the number of grid boxes you counted in the second step. This aligns your image with the grid in the program.
  6. Begin adding in your stitches by clicking on the pencil.  At the bottom you can choose the type of stitch…I almost always use a full cross, but you have a number of options.
  7. Choose a color, and you’re ready to fill in your stitches using the image as your guide.
  8. Left click on each grid box to add in your stitches.

In the image above, you can see what it looks like after I added all the stitches.  This did not take long at all, maybe half an hour to get them all filled in.

Save the file as  filename.arx. .arx is the extension used by the cross stitch program.

Now you can close the whole cross stitch program and your embroidery software will still be open. When opening this file, just be sure to choose the .arx extension or “All Files”.

This is the great part. The software will digitze those cross stitches and turn the whole design into an embroidery file. Above, you can see how it turned out on my screen. I exported it then as .exp as I would any embroidery design file and saved it on a usb stick.

The first time I stitched it out, the ghost in the background was just a little too faded. I switched to a slightly darker fabric and the ghost appears more clearly on the right (although I think the picture is a little fooled by the lighting.)  In real life (!) the one on the right lets the ghost show up much better.

I had fun with this project and it’s actually a lot less time consuming than cross stitching by hand — though I have great appreciation for those who do that!

This way, I can stitch it out over and over again…on a pillow, as an ornament, on a bag, etc. I used Isacord thread for these, which is 40 weight embroidery thread.  But I am curious how it would turn out if I had done it with 28 weight, a heavier weight thread. I think that would be really sharp.  The cross stitch program would allow me to adjust the size of the grid as well, so I have lots of opportunity to go deeper and try new things.

Hope this inspires you. The cost of one magazine provides you with so many cute patterns to try. And cross stitch is a program that is so often overlooked in digitizing software.

It’s really worth some experimentation.

Mini Quilt Accents

From time to time, I find myself just needing to focus on a small project with comforting and cozy colors. In this particular case, I had some parameters…it cannot be more than 16 in. wide.

Where do you find a quilt that size?

If you are familiar with Jo Morton, you can find them in her books.  She now has 3 books out with her “Little Favorites.”  These little quilts are wonderful as decorating tools.

The pieces go together pretty quick as I assembled this one in less than a week, working sporadically…one day for an hour, one day for two hours, etc.

The satisfaction comes from finishing something that looks nicely put together in no time.

I’ve been on the hunt for hangers and ways to display these little quilts. I found a gentleman at Quilt Fest in Madison who sells every imaginable type of quilt hanger.

I found a couple of things I liked but I’m sure I’ll go back to him as a resource. Just be sure to pay attention to measurements otherwise you’ll be fudging the sleeve and squishing your quilt.

Enjoy the process, because nothing warms up a house in the fall like a quilted accent. That and some apple pie.


It’s the Neutral Pumpkin, Charlie Brown!

Neutral, white pumpkin

My kitchen table collection.

We’ve all seen them, because they’re everywhere.

I admit, I really like them. Maybe I’m just sick of the same old orange pumpkin. Maybe they make a display look just a bit more elegant. Maybe it’s just a trend that started years ago, has reached its max-out peak and will be gone soon.

Whatever the reason or the cause, white pumpkins are more “in” than ever.

Don’t get me wrong.

When the fall colors roll around, I am the first to love my reds and browns and shades of burnt orange. I will never cease to be amazed by nature’s color palette with the change of the seasons. The trusted orange pumpkin is still prolific, as well as many other shades and sizes of squash.

Have you noticed that the new trend is more pumpkins are better?  I don’t know how I feel about that, but 50 pumpkins on your porch or deck seems to be what the magazines/pinterest/social media tells us is the best way to celebrate fall.

Here’s a screen grab from Better Homes and Gardens on Instagram (they DO have cute posts.)

I hope they don’t have any need to use those stairs in case of a fire.

Nevertheless, the pumpkins are neutral neutral neutral.

Oh sure, a few orange pumpkins are thrown in, but even those are pale and muted. Understated. Quiet.

None of these are the rowdy, screaming, terrifying jack-o-lanterns I grew up with.

I confess, I think it looks fresh. Sometimes I wish the holidays could be anything other than red and green (and sometimes blue).  I get sick of the same old thing.

Apparently these artisan pumpkins and gourds do grow naturally (as opposed to white christmas trees.) They are just heirloom and specialty seeds. They are ideal for carving as they’re softer on the outside…not as tough as those big orange pumpkins.

At this point, I’ve seen them now at every grocery store, every farm stand, and every pumpkin patch. I put them on my kitchen table.

This too, shall pass, and we’ll all move on to the next big thing. But for now, we’re all Martha Stewart, who, by the way, was using white pumpkins in her displays in 2003.          (I read about her in this article.)

Whether your pumpkins are white,tan, bright orange, or anything in between, I hope you have fun with them this season.  They only come around once a year. Let’s enjoy it while it lasts.

More Freestanding Lace

Boo!

Machine embroidery has so many uses, but the one I’ve been dabbling in the most lately is freestanding lace. I’ve blogged about it a few times in the past. You can read those posts here and here.

Lately, I tried something new and I wasn’t sure how it would turn out. I took a simple lace embroidery, meant to be a small doily.

Then I stitched a number of them together after creating a design in software to see what it might look like.

Freestanding lace, Bernina Software 8All you have to do is use a simple zigzag with an open-toed foot on your machine.

Just pin the multiple pieces together and sew the zigzag in various points to hold it together.

Keep the zigzag stitch narrow and tight, and it will be hardly visible on the finished piece. I went forward and back-stitched, just to make sure it would not unravel.

The finished product turned out better than I had expected.

While I am using it now for Halloween, it obviously will be gorgeous for the holidays, as well.

I also have to admit that I am in love with these tiny LED lights, lit by battery packs. Of course, they cannot stay on all evening as my orange lights do around the fireplace, but the teensy ones on the Halloween tree and surrounding this ceramic pumpkin are just perfect.

Like those ornaments? I’ve made them over the past couple of years in machine embroidery.  You can search “Halloween” on my site or view one of the posts right here.

I hope I have inspired you to make more use of your machine embroidery.  It’s fun and festive and the ideas are endless.

Speaking of JoAnn’s…

I wanted to add a follow-up to my last post about JoAnn’s.

I recently read an excellent article on the Craft Industry Alliance blog, and I want to provide a link to all of you.

The article very thoroughly goes over the impact of recent tariffs on the craft industry.

Answers are not simple or easily resolved. It is important for all of us to understand that this impacts us all. Thankfully, the article makes it clear that good quality quilt fabric, the kind we purchase at quilt shops, is manufactured in Korea and Japan, and therefore not affected by the tariffs.

I urge you to read the article.  Please note the sidebar that covers the list of products that will now be priced higher. This is our industry. These are the products of our hobbies and often our businesses.

The least we can do is be aware and well-educated.

(Thought it might be a good time to re-up this blog post of mine about where sewing machines are currently manufactured. In light of recent tariffs, the country of origin may become pretty important when purchasing a new machine. Clearly, those made in China will be going up in price…unless we see something else happen in the news.) Here’s the post.

Happy 75th Anniversary Joann’s!

This August, Joann’s Fabrics is celebrating its 75th Anniversary by giving a gift to all of us who love fabric, crafts, paint, DIY, etc.

They are getting a makeover, and all I can say is: It’s about time.

I do like to go to my local Joann’s, but I can’t tell you how many times I’ve wanted to throw things on the floor at the checkout line (or the fabric line) and walk away. Either they don’t have enough help, or the help doesn’t care, or the place is just a mess or all of the above.

And yet, if I need plastic snaps, or a white button, or home decor fabric, or any number of sewing notions and I need it NOW, it’s the place we go.

They are starting with a name change…from Joann’s Fabrics to just Joann’s. Because they want folks to remember they are so much more than just fabric. (Honestly, I think that’s just their marketing department catching up to real life, because who of us already didn’t know that’s where to go for storage or plastic flowers or beads or…whatever.)

But the most exciting aspect is that they will be updating their 800 stores this fall and into next year.  They already have a prototype store that’s been updated in Columbus OH.

Who’s up for a road trip to Columbus?

New features in Joann’s stores:

A cutting bar:  You’ll be able to check in, and get a text when your fabric is cut.  In the meantime, you can wander around the store. Anyone who’s ever stood in line while folks dawdle and chitchat or worse, know this can be a frustrating and time-consuming wait.

Creator’s Studio: I love this idea. You can rent a sewing machine, grab a cup of coffee, a cookie, or attend an event or class. The studio is positioned in the middle of the store, not shoved away in a corner.  It’s meant to revolve around community…possibly a place for bees to meet? I don’t know how this will work but am anxious to see it in action.

A Custom Shop:  Tailoring, custom design? Sounds like they are working toward a specialization that very few other places have. (With good reason.) I’m guessing this would be a place for alterations and some custom services, possibly home dec.

Expanded merchandising:  They are planning on carrying more sewing machines from different manufacturers, for every budget.  Obviously, this gets complicated because sewing machines need service, but we’ll see where this goes.

All of this is great news for anyone who loves crafts of any kind. And we already know that all crafts overlap. Sewists are often also knitters or scrapbookers or bakers (or gardeners…hey, Joann’s don’t forget about that!) We need a place to go that’s inspiring and caters to customers’ needs.

Of course, we still love our independent quilt shops, and they will ALWAYS be our first choice for quilt fabric. But in a world where so many shops are disappearing because of online competition, it’s good to know that someone is investing in us.

And in our $3.7 billion in discretionary spending.

FreeStanding Lace Embroidery

It’s been awhile since I’ve done any freestanding lace. A friend recently gave me a few spools of white Isacord thread and so what else would I do with it?

I immediately purchased a few designs from OESD. Collection 12724 was perfect for what I had in mind.

When you are working on freestanding lace, you’ll want to use 2 layers of wash-away stabilizer.  I used AquaMesh from OESD. Not to be confused with Aquamesh PLUS, which is also a wash-away stabilizer, but has paper, almost like contact paper on one side, so the stabilizer is sticky.  You’d use that on towels or something where you want the stabilizer to disappear, but don’t want to hoop your fabric.

A quick look at the machine in action:

Now comes the finished product.

Once the design is complete, remove it from the hoop, trim away as much excess stabilizer as possible, then rinse it in warm water until the stabilizer has dissolved.

Next, pin it down to a piece of styrofoam or floral foam.  Cardboard will work as well, but it will get a little soggy. I invested in this piece of styrofoam years ago in the floral department of a Michael’s, JoAnn’s or Hobby Lobby. I don’t remember where. The point is that it will last for years.

When you pin, feel free to use all those pins that are bent or just not perfect for quilting or intricate sewing. These pins don’t matter much, they just have to hold the design in place. It WILL curl and stick up in strange places if you skip this step. Overnight is usually the perfect amount of time for a design to dry completely.

machine embroideryIt’s a perfect accent to a delicate teacup or a small jewel box.

I have been working on a larger project and I planned it out in Bernina Software 8. It requires a few of the pieces repeated and arranged and sewn together. I don’t know how it will look when it’s done, but I’m envisioning that it will make a nice centerpiece on a round table with a festive color underneath. It’s about 18 inches across. (It’s over half a million stitches, so…yeah, we’ll see.)

Freestanding lace, Bernina Software 8

For some of my previous postings on freestanding lace, you can click here.

And here.

Tell Me What You’re Reading

These precious last few days of summer (school starts back in less than 3 weeks) are the perfect time to settle in with that last book you wanted to read. Me, I spend my whole summer looking for something perfect.  My favorite thing in the world is to read books set in the season I’m currently living.

In the fall and winter, I like to read about cozy fireplaces, and blizzards and storms and the crunch of the leaves or the quiet of the snowfall. In the summer, I want to read about warm breezes and the sound of crickets, the scent of meadows, and long horizons of farmland.

I have no problem shifting from brilliant classic to current thriller.  It’s like a light dessert after a heavy meal. Or getting to eat a treat after my vegetables.

As I’ve mentioned in a previous blog, I also like to cover my books. You can see a bit of that here.

So here’s a list of some of the books I read this past summer.  I haven’t found a bad one in the bunch:

The Adventures of Huckleberry Finn by Mark Twain

Maybe you read this in school. I certainly did not, and I cannot imagine anyone teaching it now.  Just way too controversial, though it is brilliant in its capture of a time and place.  I sank right into it and laughed out loud at some points. Some may have difficulty wading into the mind of a young boy, but…I truly did not. I entered and never left until I was done. Mark Twain is a genius. At many other times I was sickened and appalled by the norms and lifestyles of the times. It is mind-blowing as an adventure story, and Hemingway famously said “All modern American literature comes from one book by Mark Twain called ‘Huckleberry Finn.'”  I agree. From this book comes Indiana Jones and every other Hero’s Journey that followed. If you’ve never read it, jump aboard the raft and travel the Mississippi with Huck. You won’t regret it. And you learn a bit about true friendship.


Gideon’s Sword  and Gideon’s Corpse by Preston and Child

This is a series I started with the most recent book, “The Pharoah Key.”  I bought it in hardback, and I got about 10 pages in when I decided to put it down and go back and start with the first book in the series and read them all through in order. Wow. Is all I can say. Start with Gideon’s Sword, and buckle your seat belt.  This is like watching an action flic.  I cannot say this is great literature, but man, it’s fun to read.  Some of it is a bit on the gory side, but they are thrillers. You can never imagine how our hero is going to get out of his next scrape. This author partnership will never win any awards for their character development of women, but still…fast-paced page turners. Reading this duo is like riding a roller coaster. Hang on.

Howard’s End by E.M. Forster

Now for something completely different. I found this book by wandering through the Classics section of Barnes and Noble.  I’ve been trying to read as many of them as possible, and I now have gotten through all the low-hanging fruit and am venturing into some of the (in my opinion) lesser known classics. It was this or “Moby Dick” and frankly, after reading “Mutiny on the Bounty” in high school, I’m not sure I ever got back my sea legs. At any rate, this is a novel about hyper-intellectuality vs. blind pragmatism and industry. Beyond that, you’ll have to read it, as it also has a sub-layer of willful obtuseness and the last thing I ever expected…brilliant feminism.

I hope you are enjoying these warm days. September will be here in no time. If you have a minute, share what you’ve been reading. I’m always ready for another adventure.