Through the years, I’ve come across a lot of machine embroidery books. Most of the time, I find they are complex, stuck in the weeds, focused on things that are not important, or are just plain hard to get through.
But this new book from Bernina really works. Because it is written and edited by Bernina educators, I thought it might simply be a hard sell for Bernina products. And make no mistake, it has no shortage of Bernina machine specifics.
However, it really gives a good breakdown of everything you need to know about machine embroidery, including tips and tricks that make life easier.

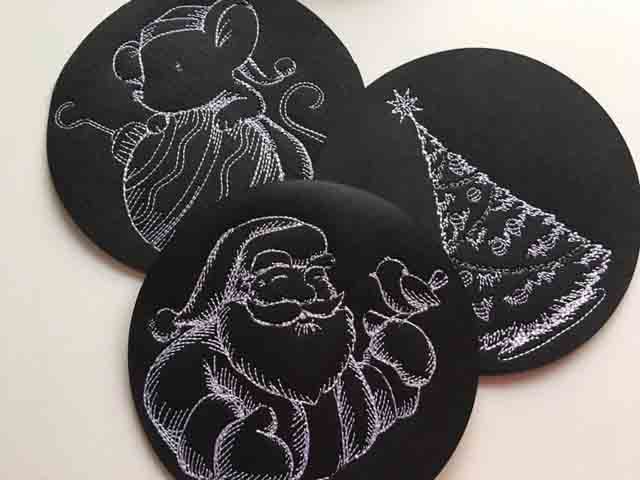
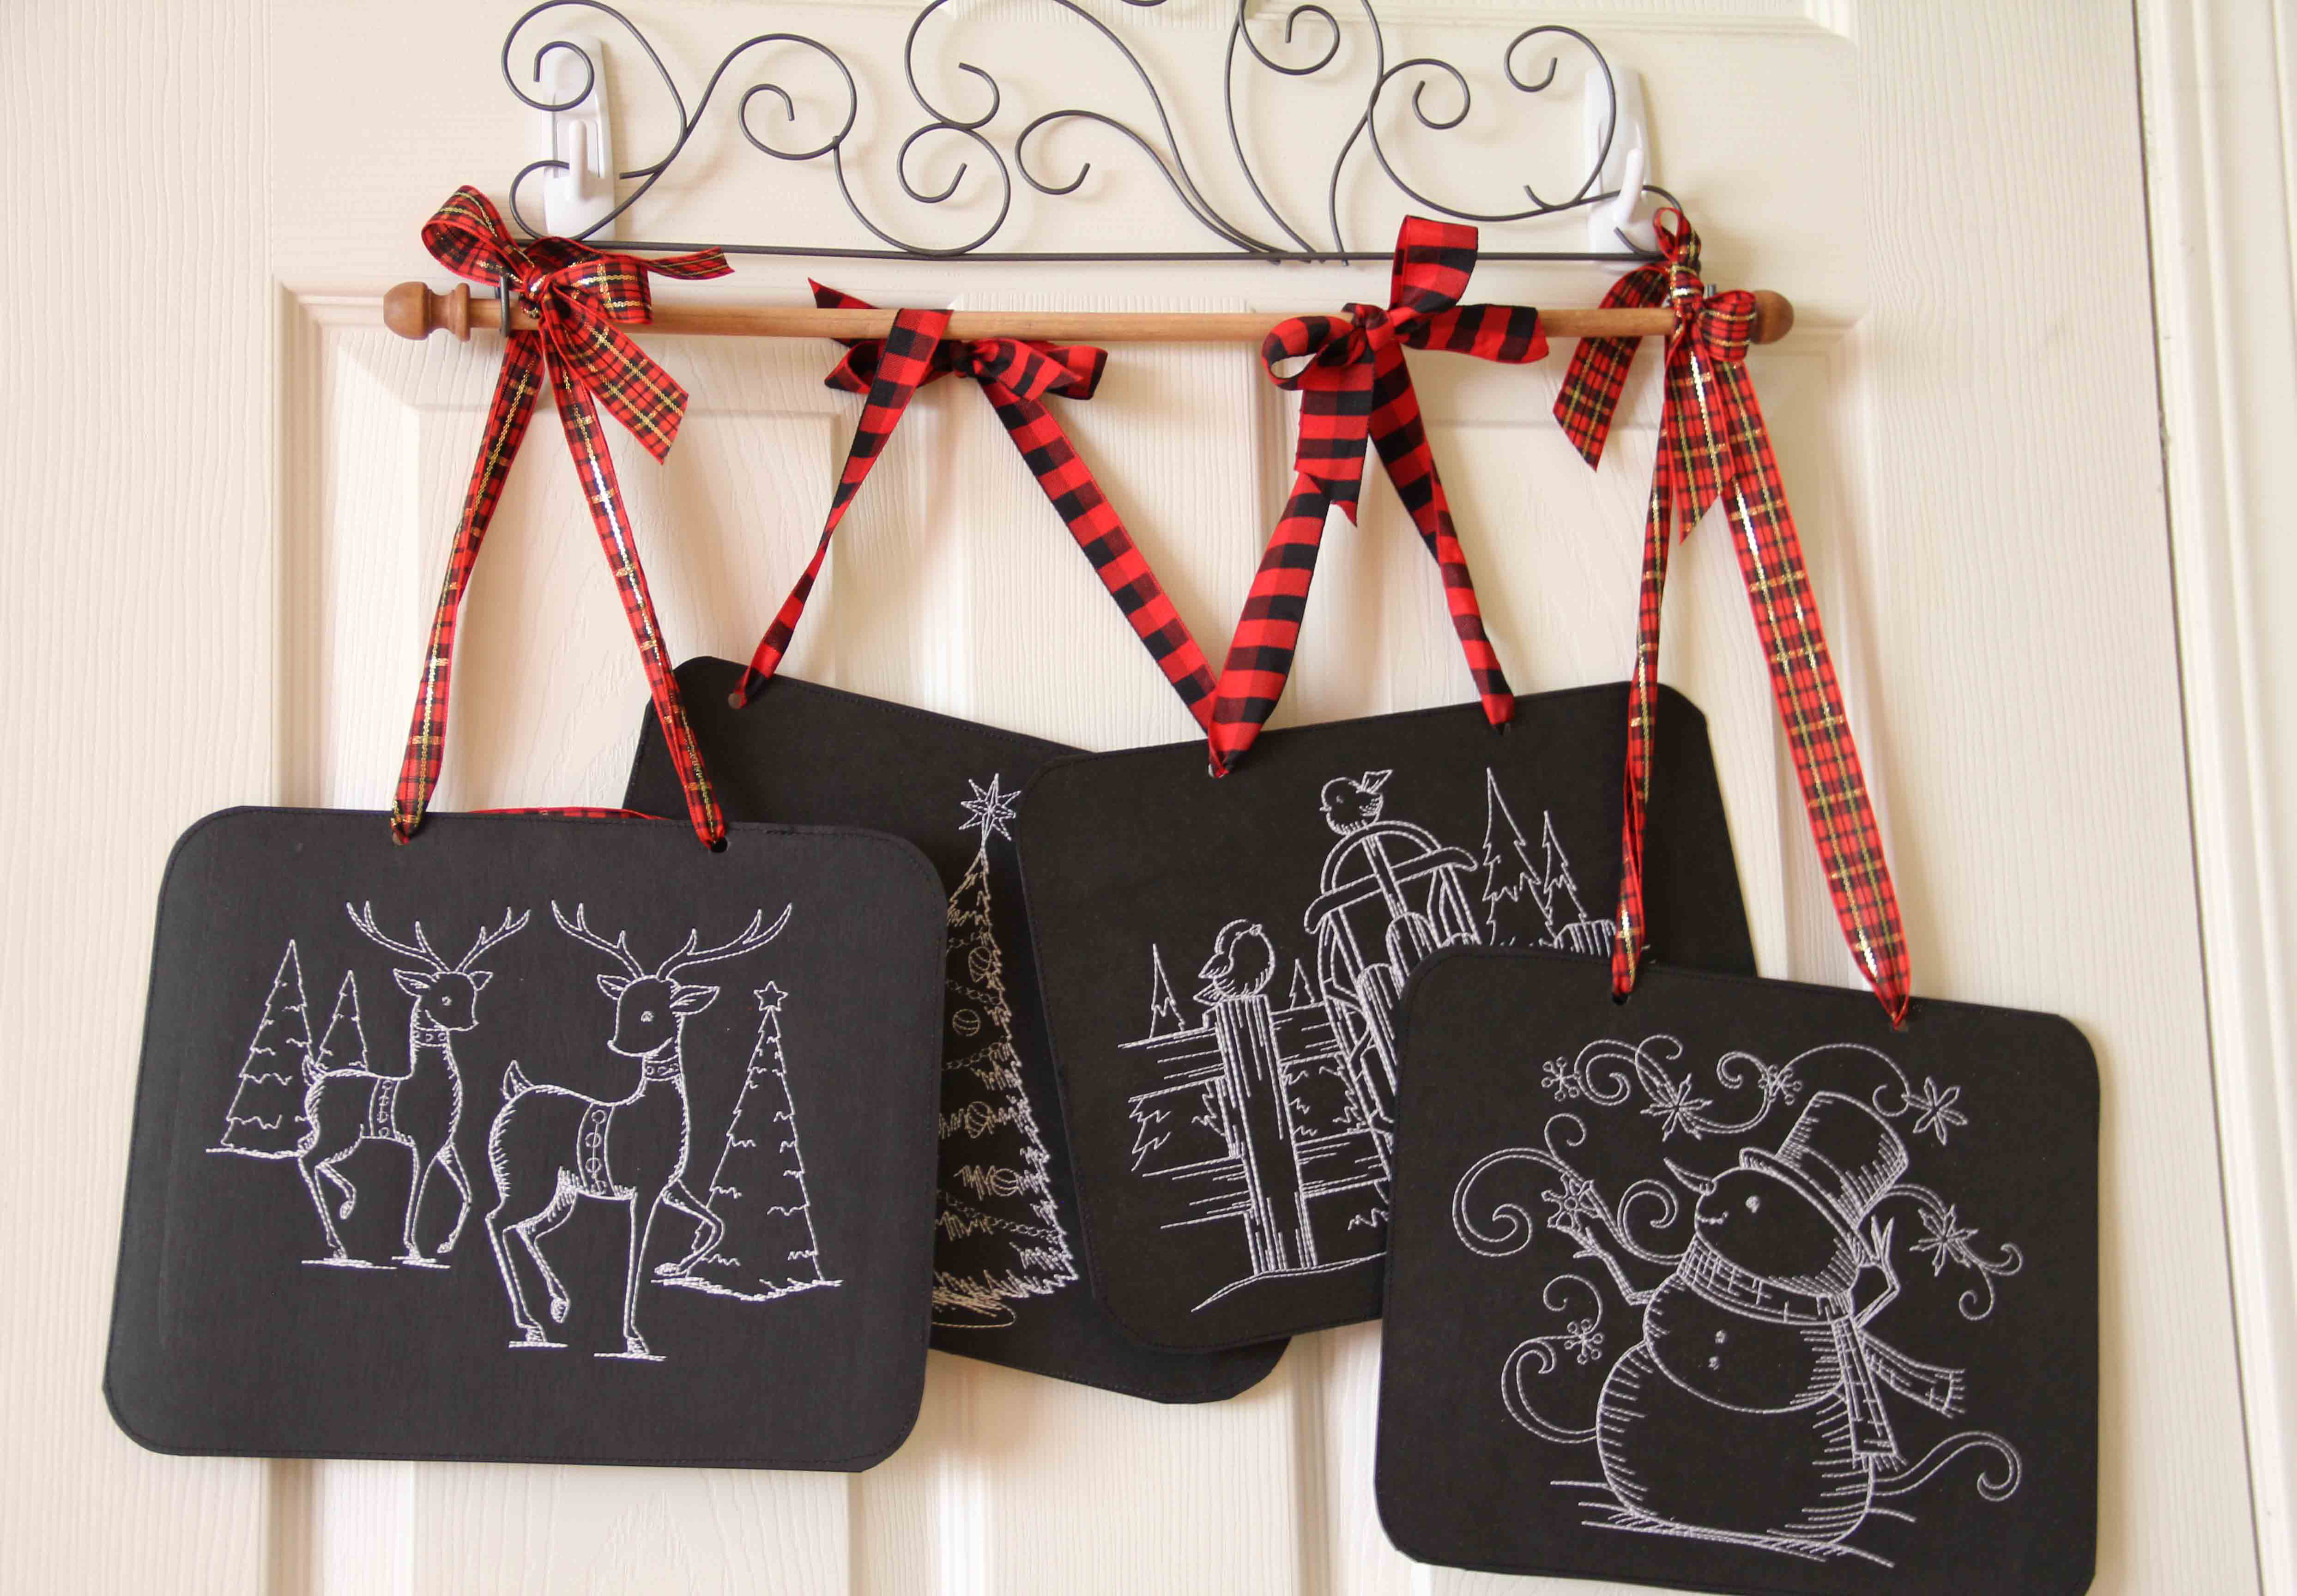
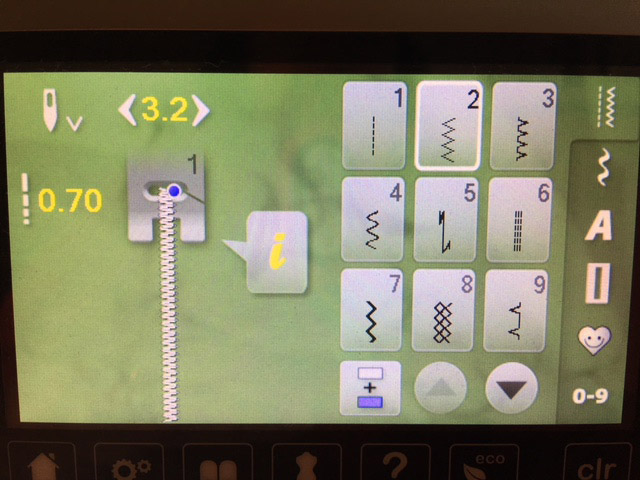
The images, graphics, tables and info in this book are all really easy to read. And the spiral binding is helpful. Nothing worse than anything step-by-step that won’t stay open.
Don’t get me wrong.
Wherever you purchase your machine, you should be sure to take the free classes they offer so you become comfortable with your machine (and all good dealers do that.). I don’t care how many books you read, you will not learn to hoop your fabric properly by reading. You can only learn that by doing.
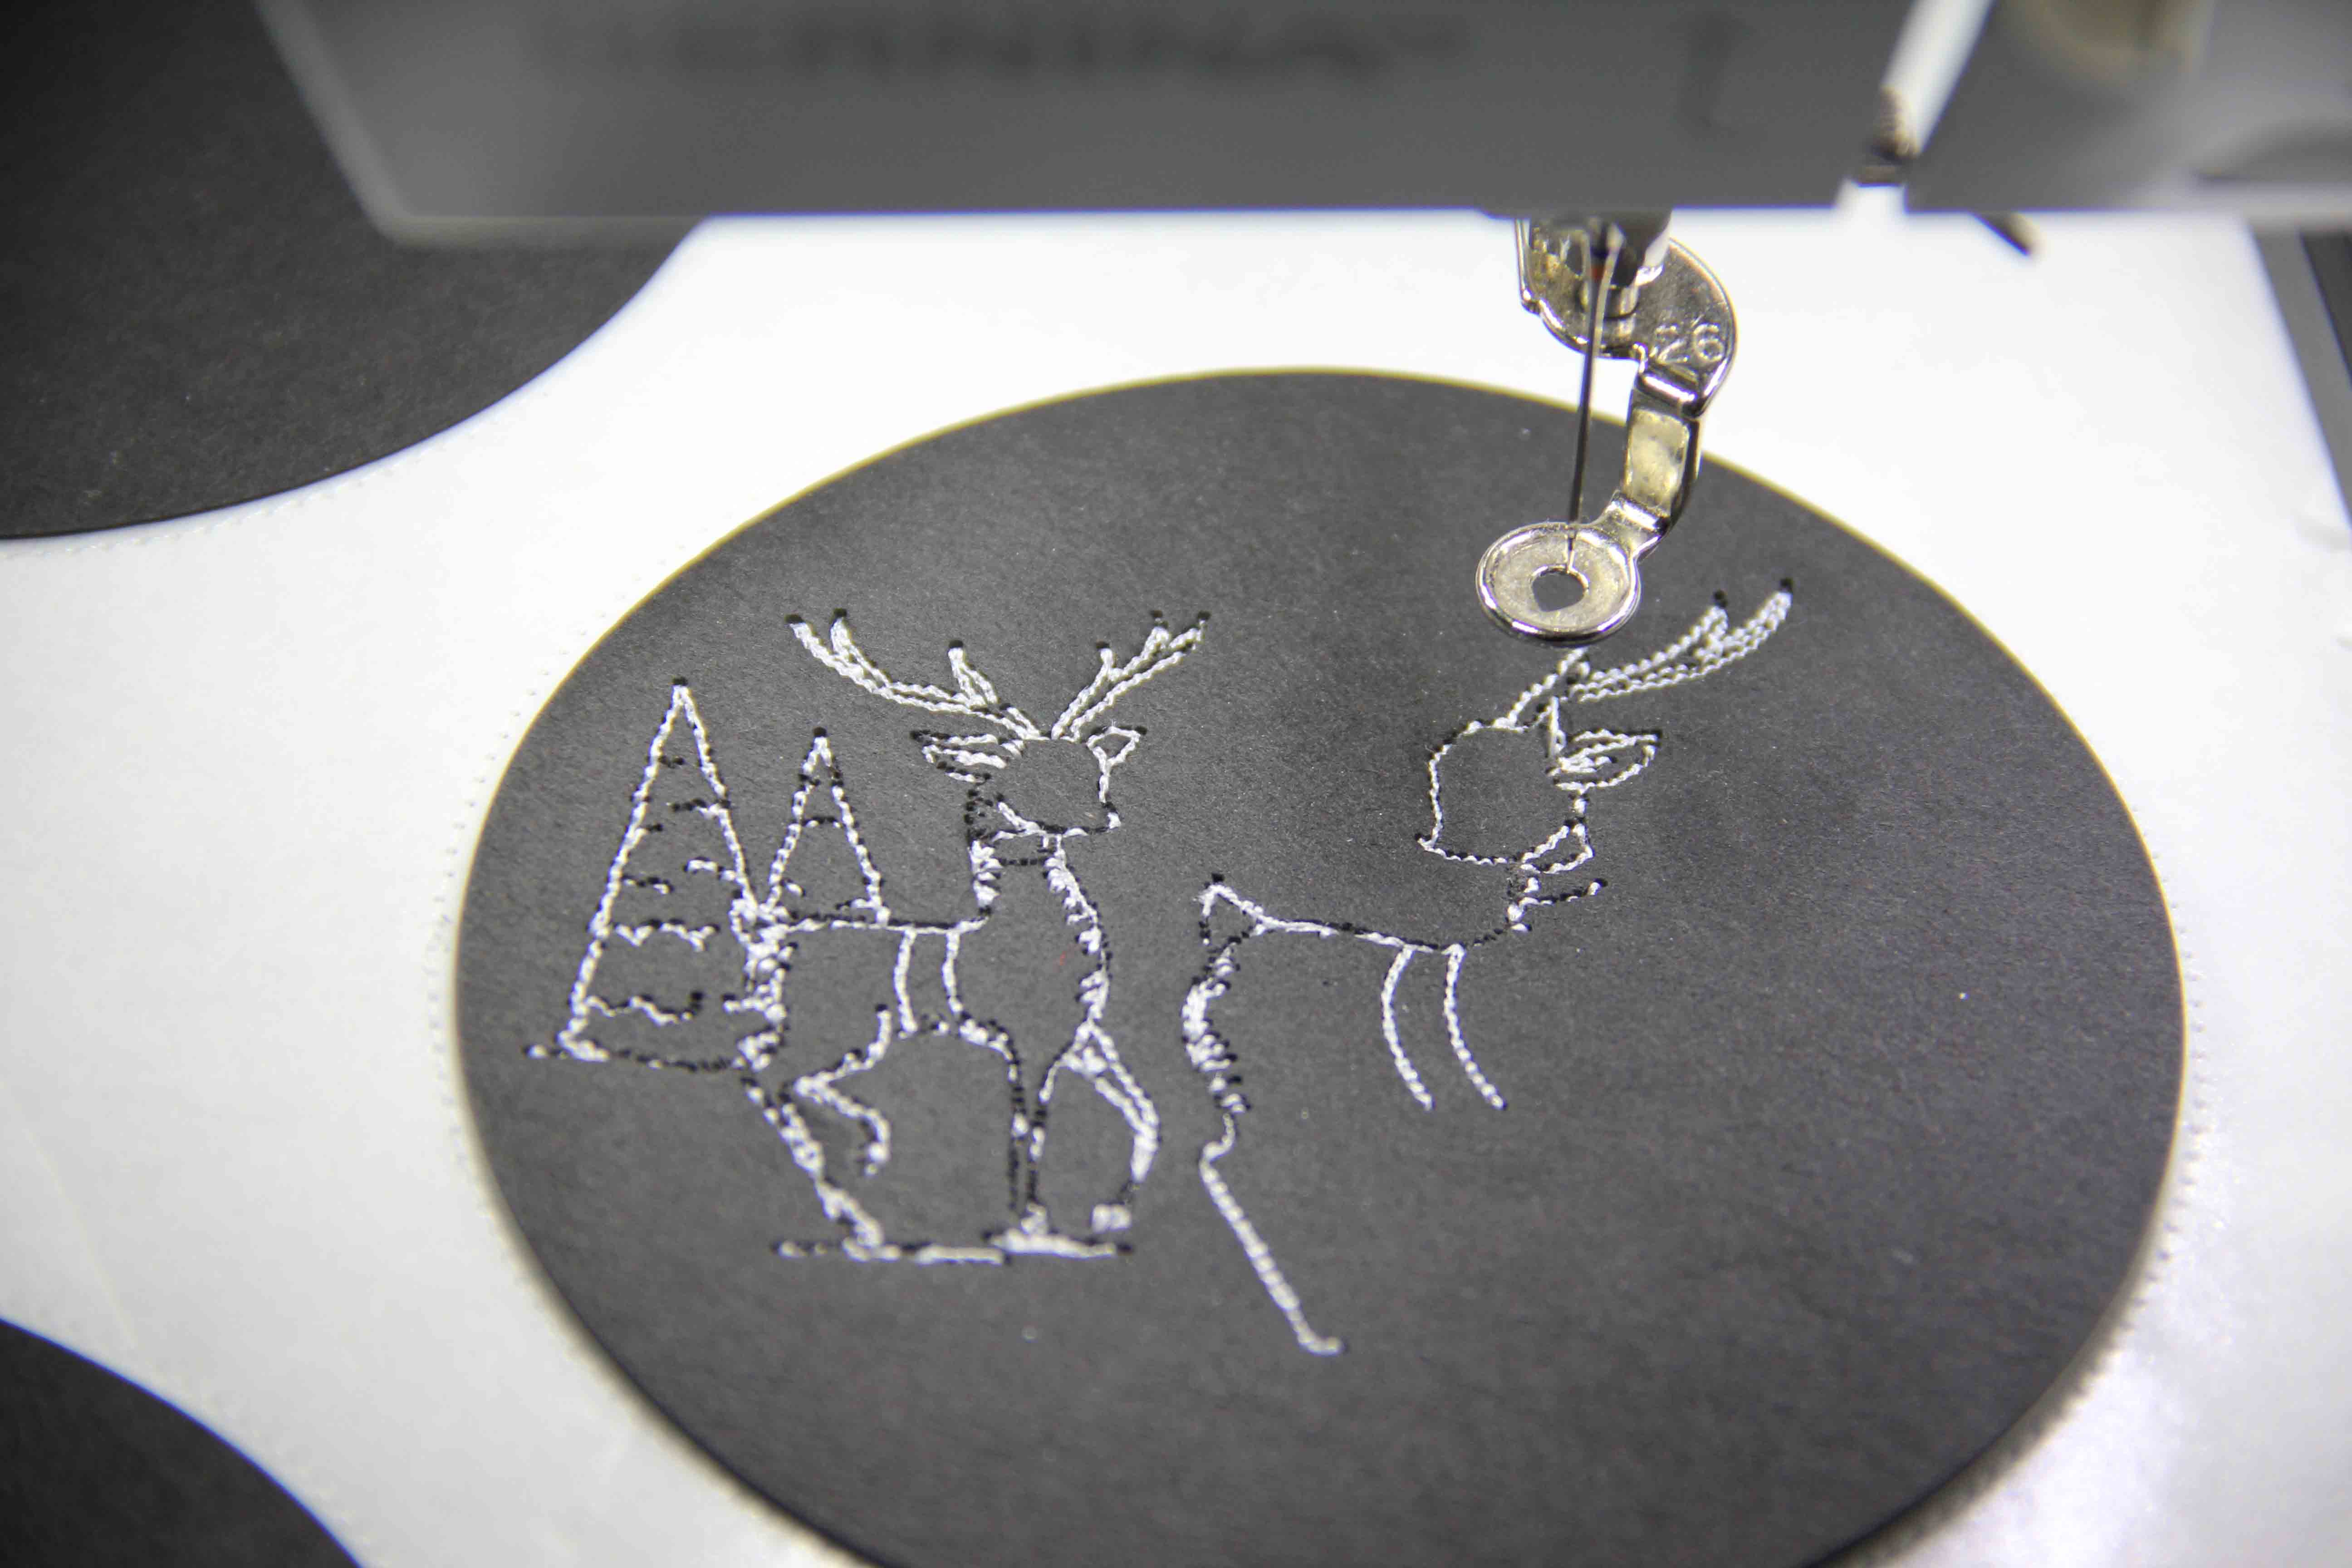
When I teach classes, I tell my students that there are 3 variables in embroidery:
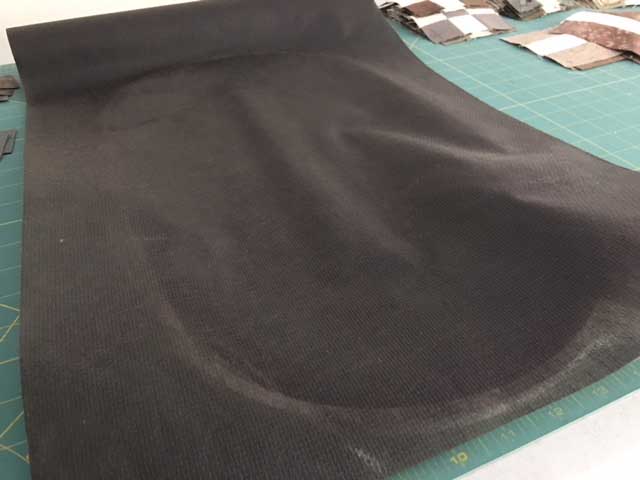
- Stabilizer.
- Your fabric.
- The density and size of the design
Any of these could and should change based on the others.
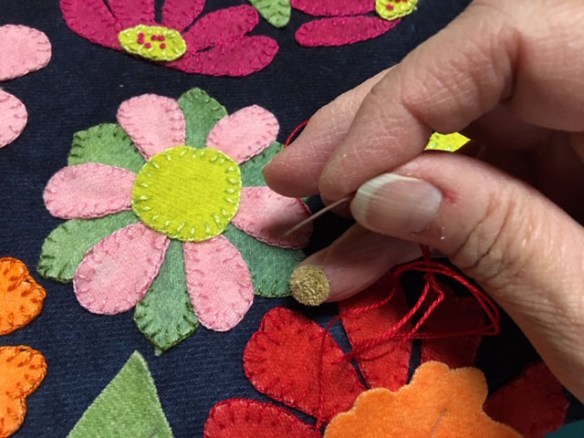
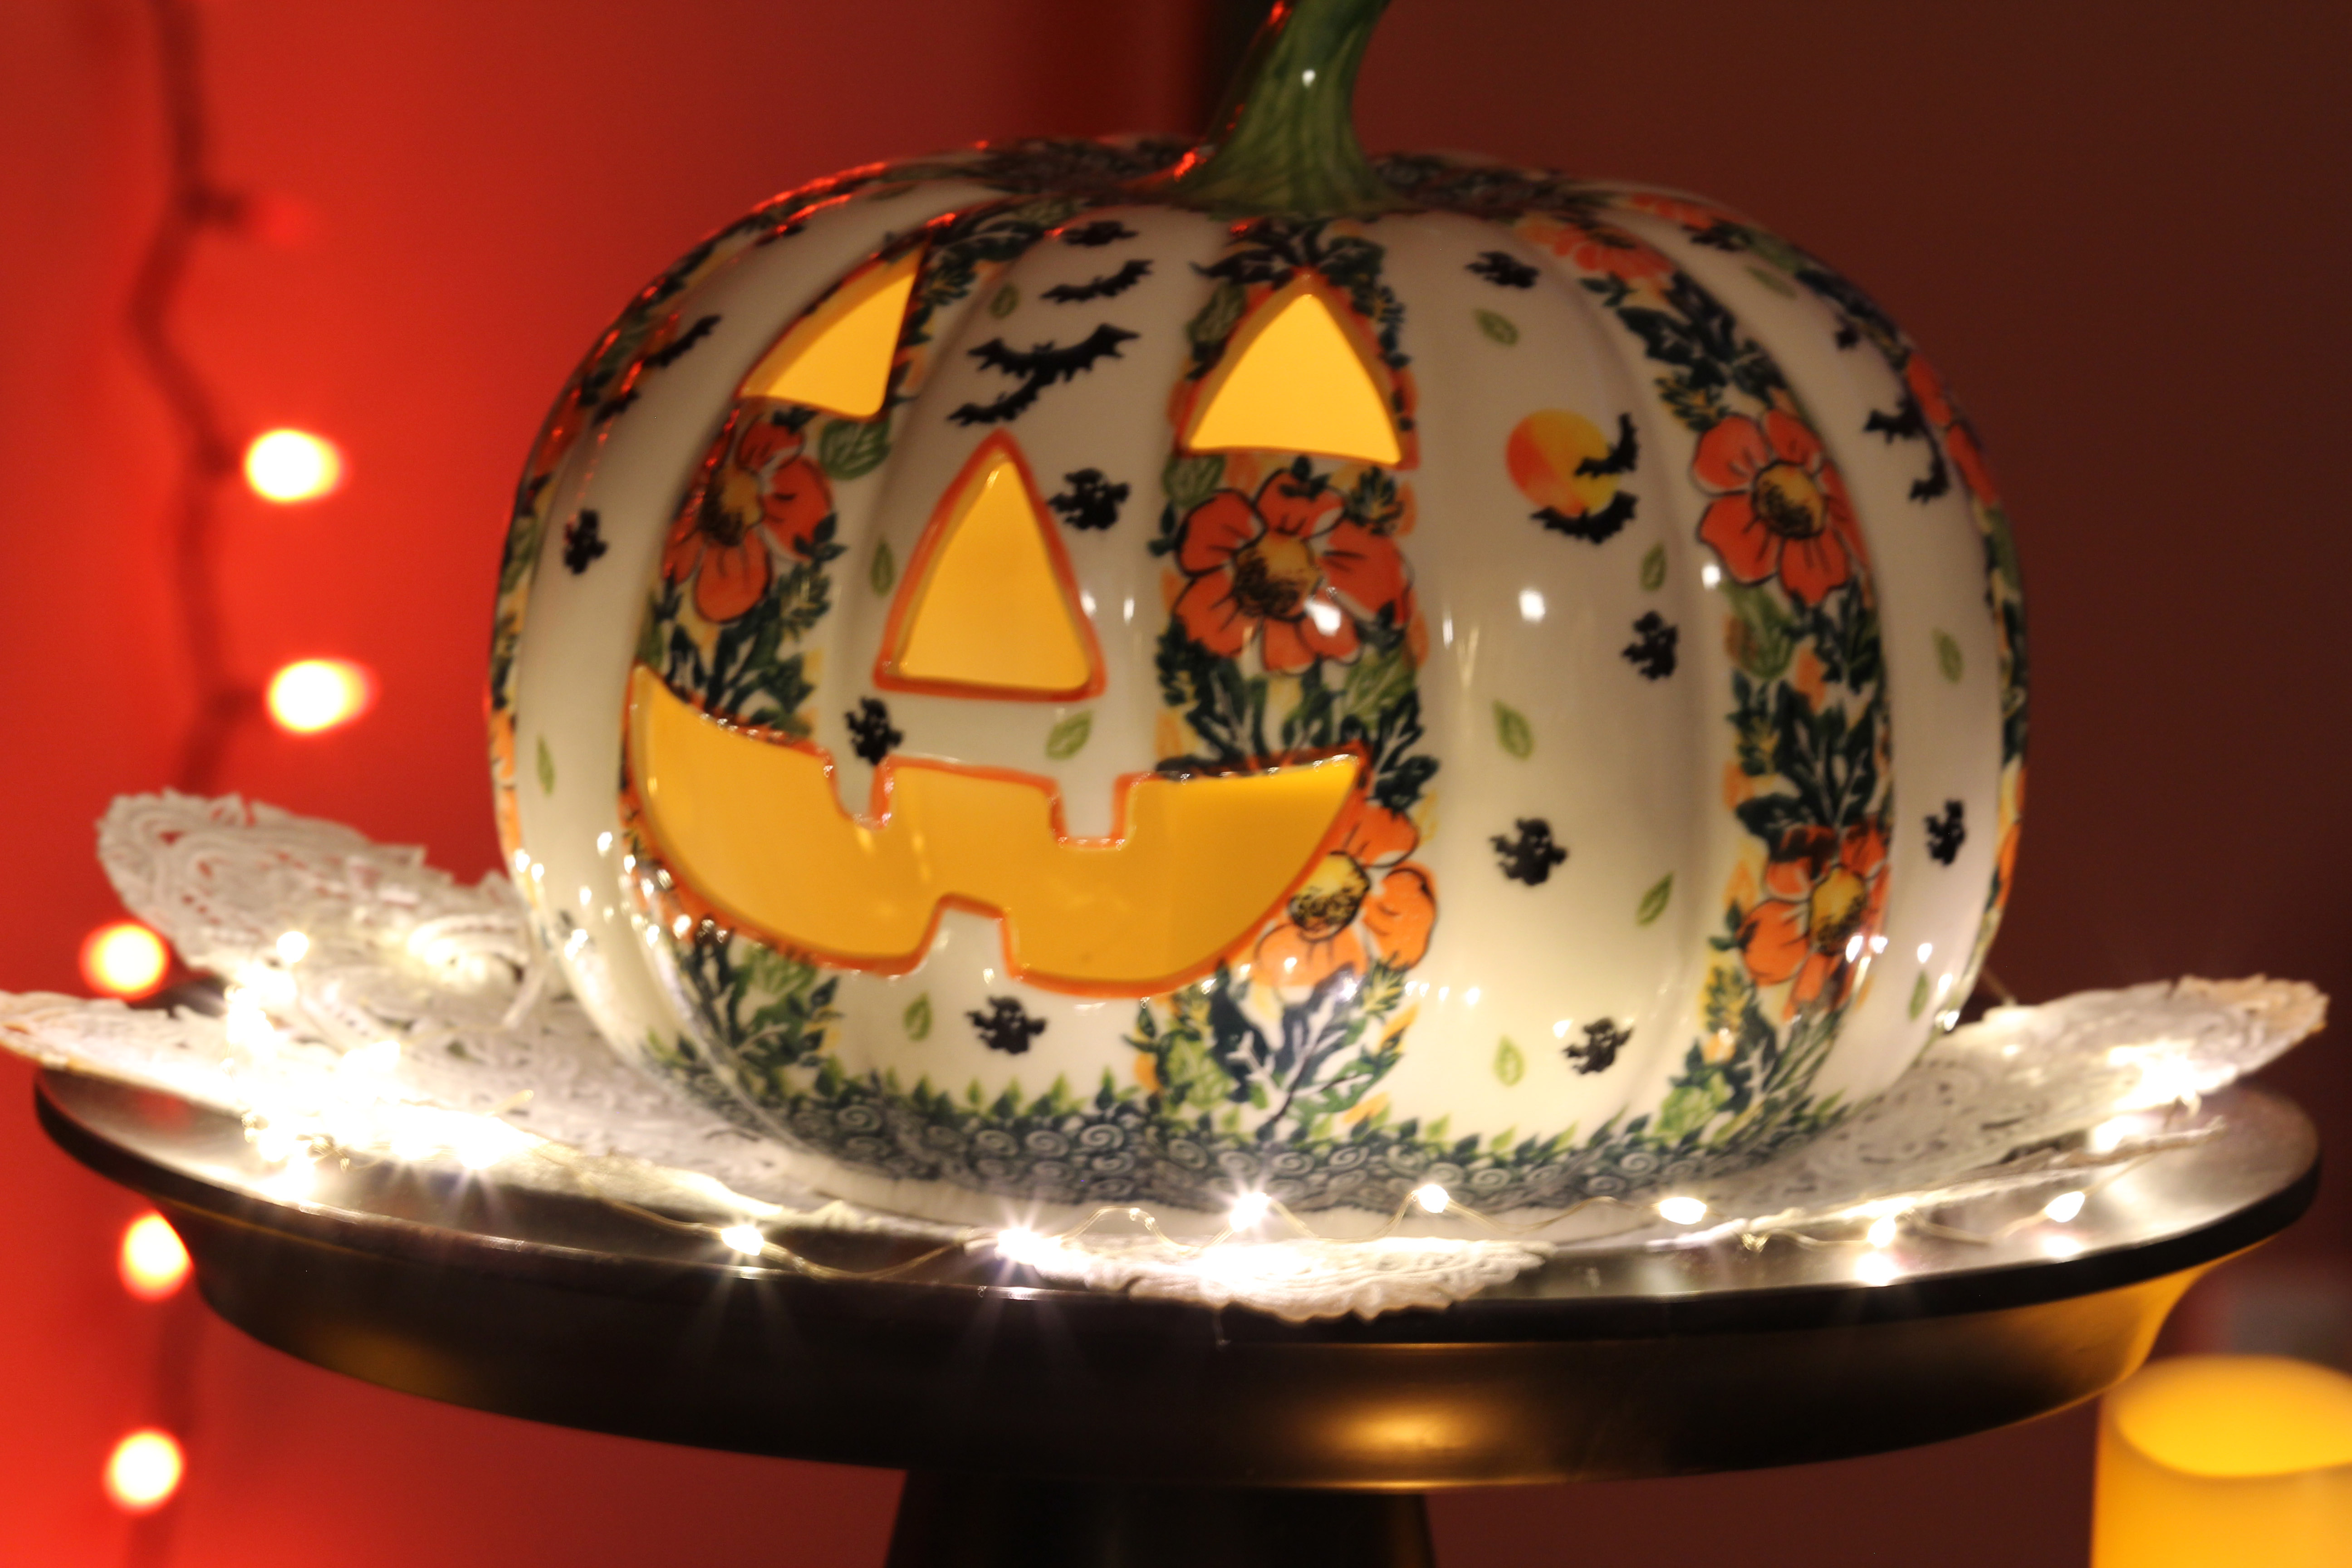
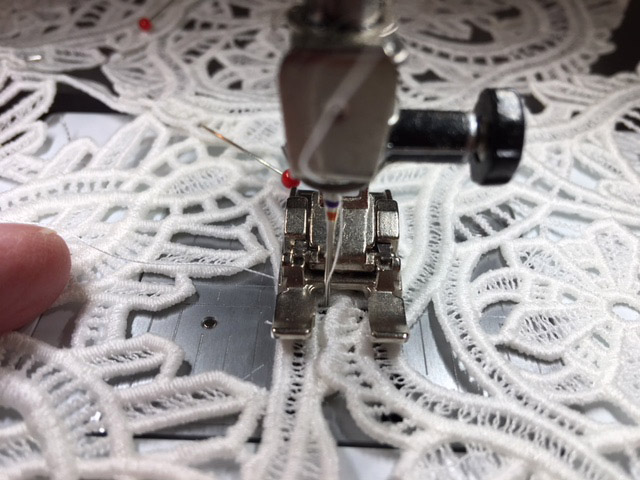
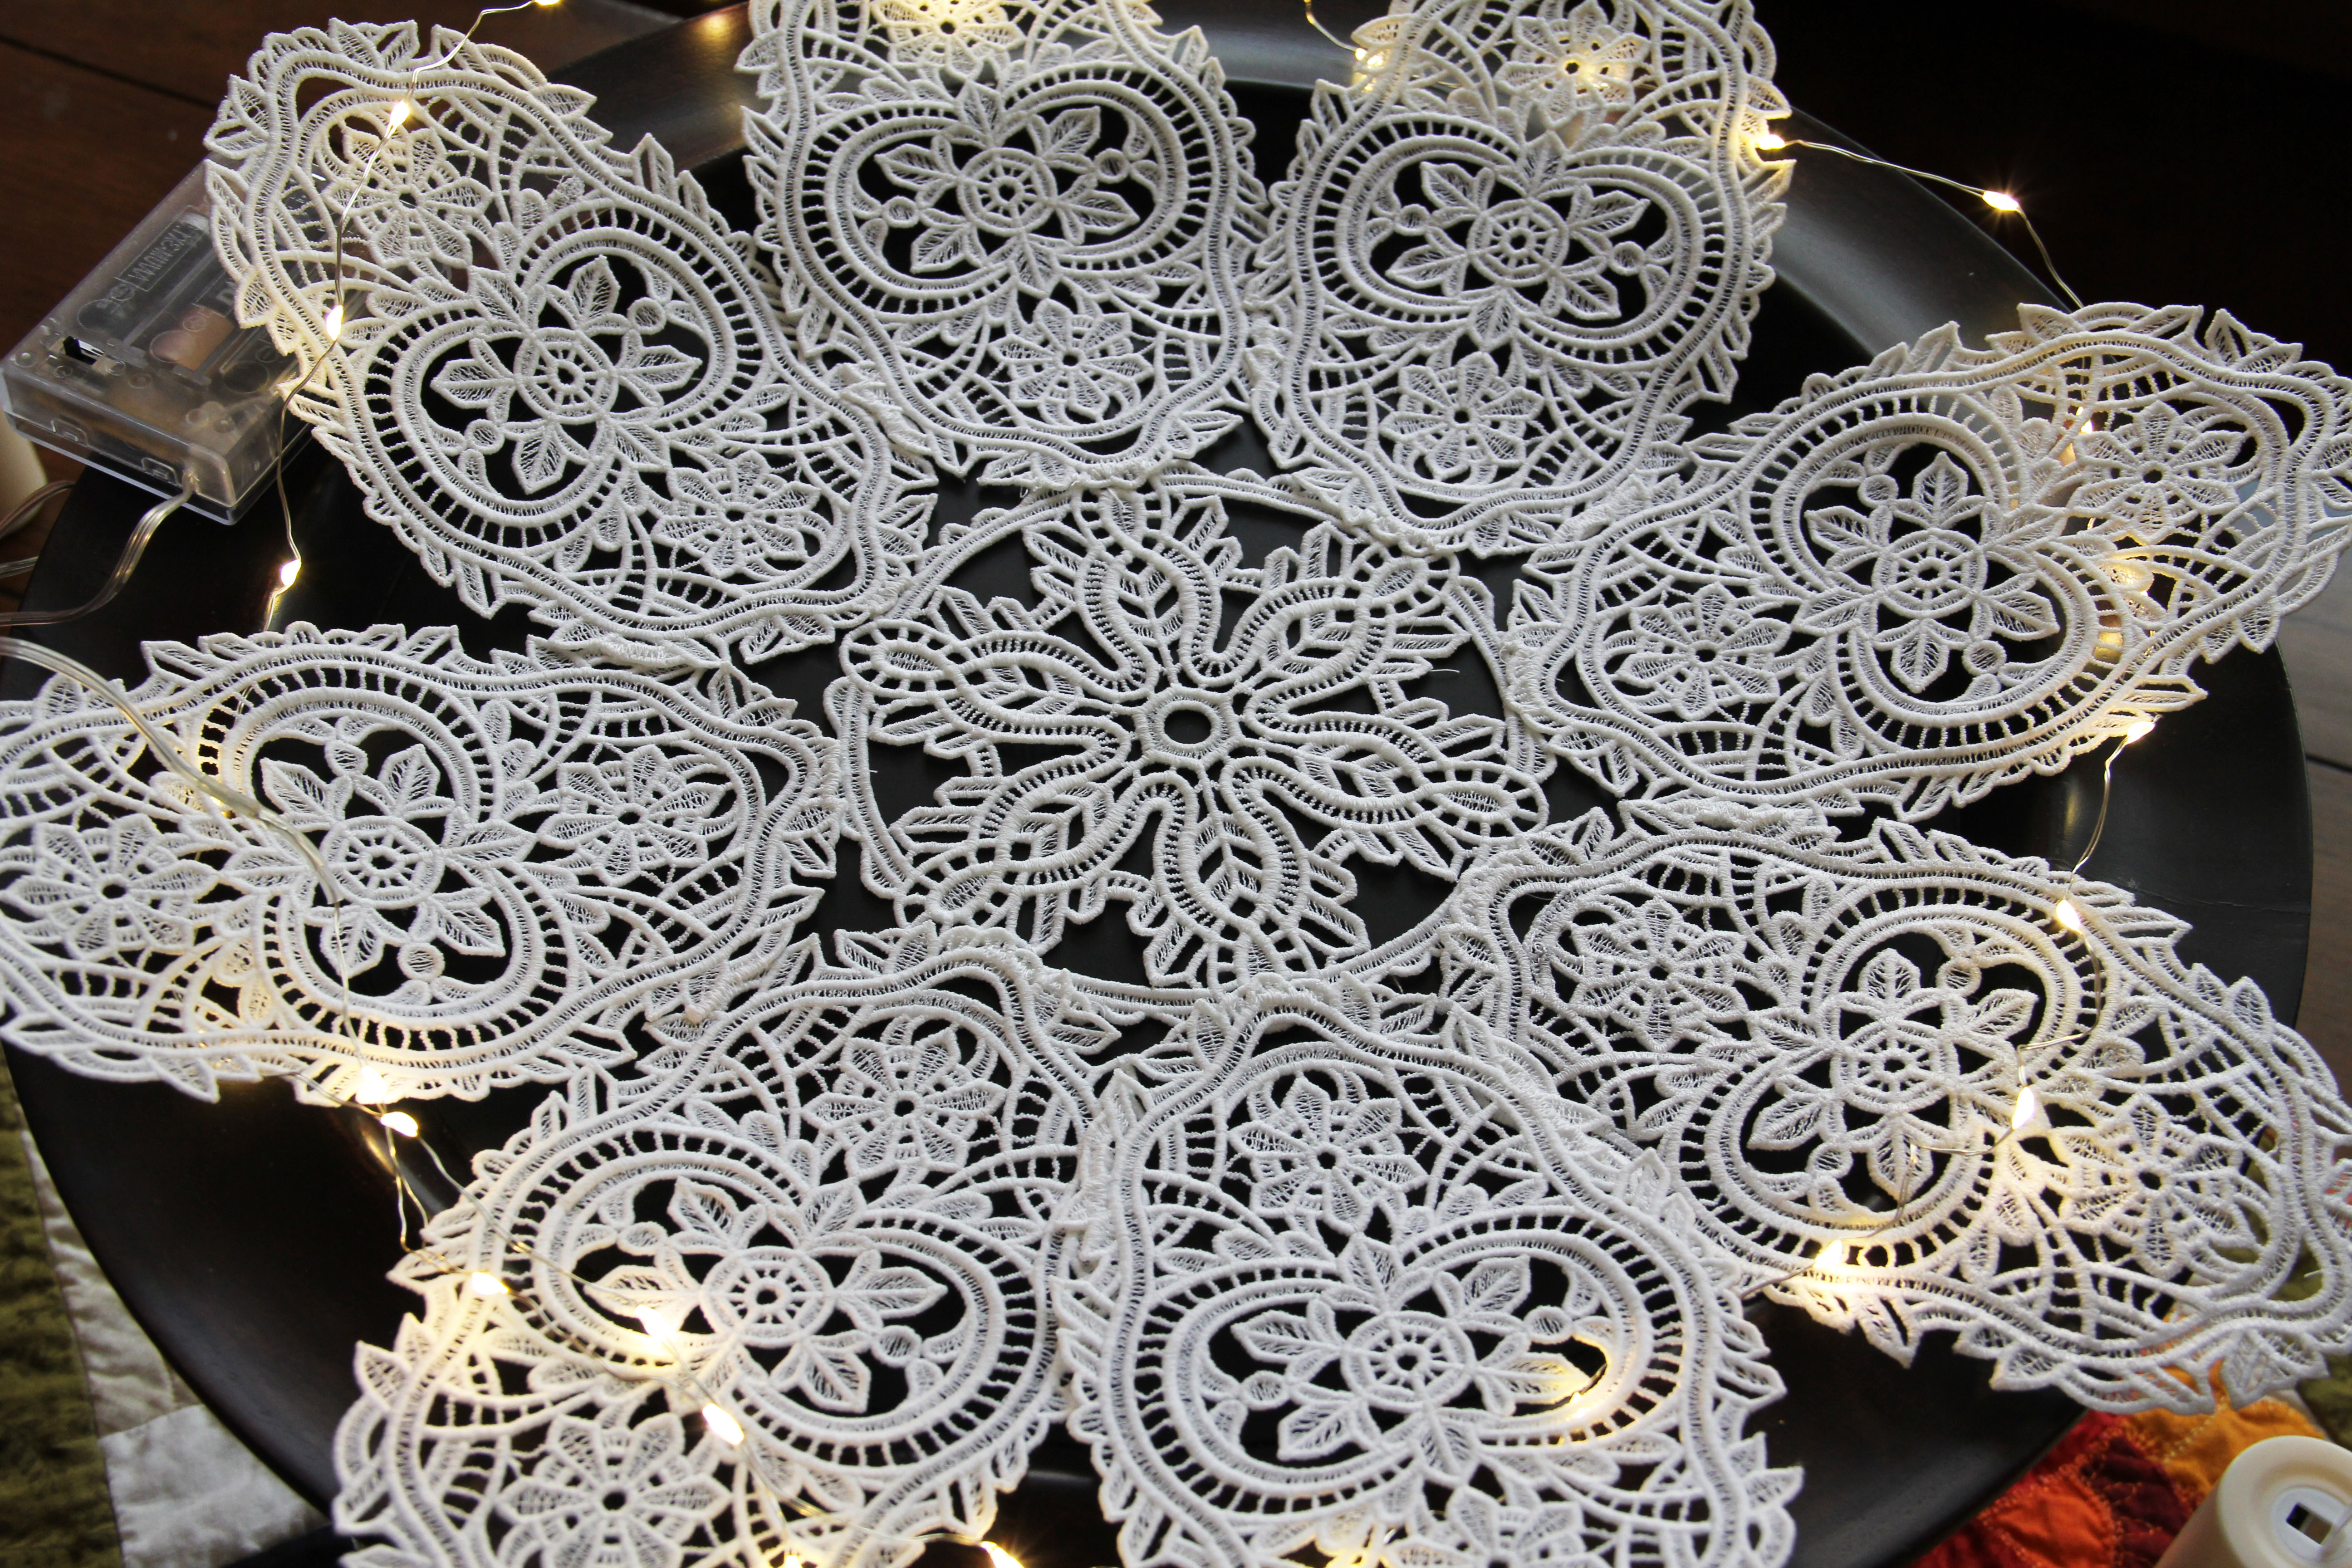
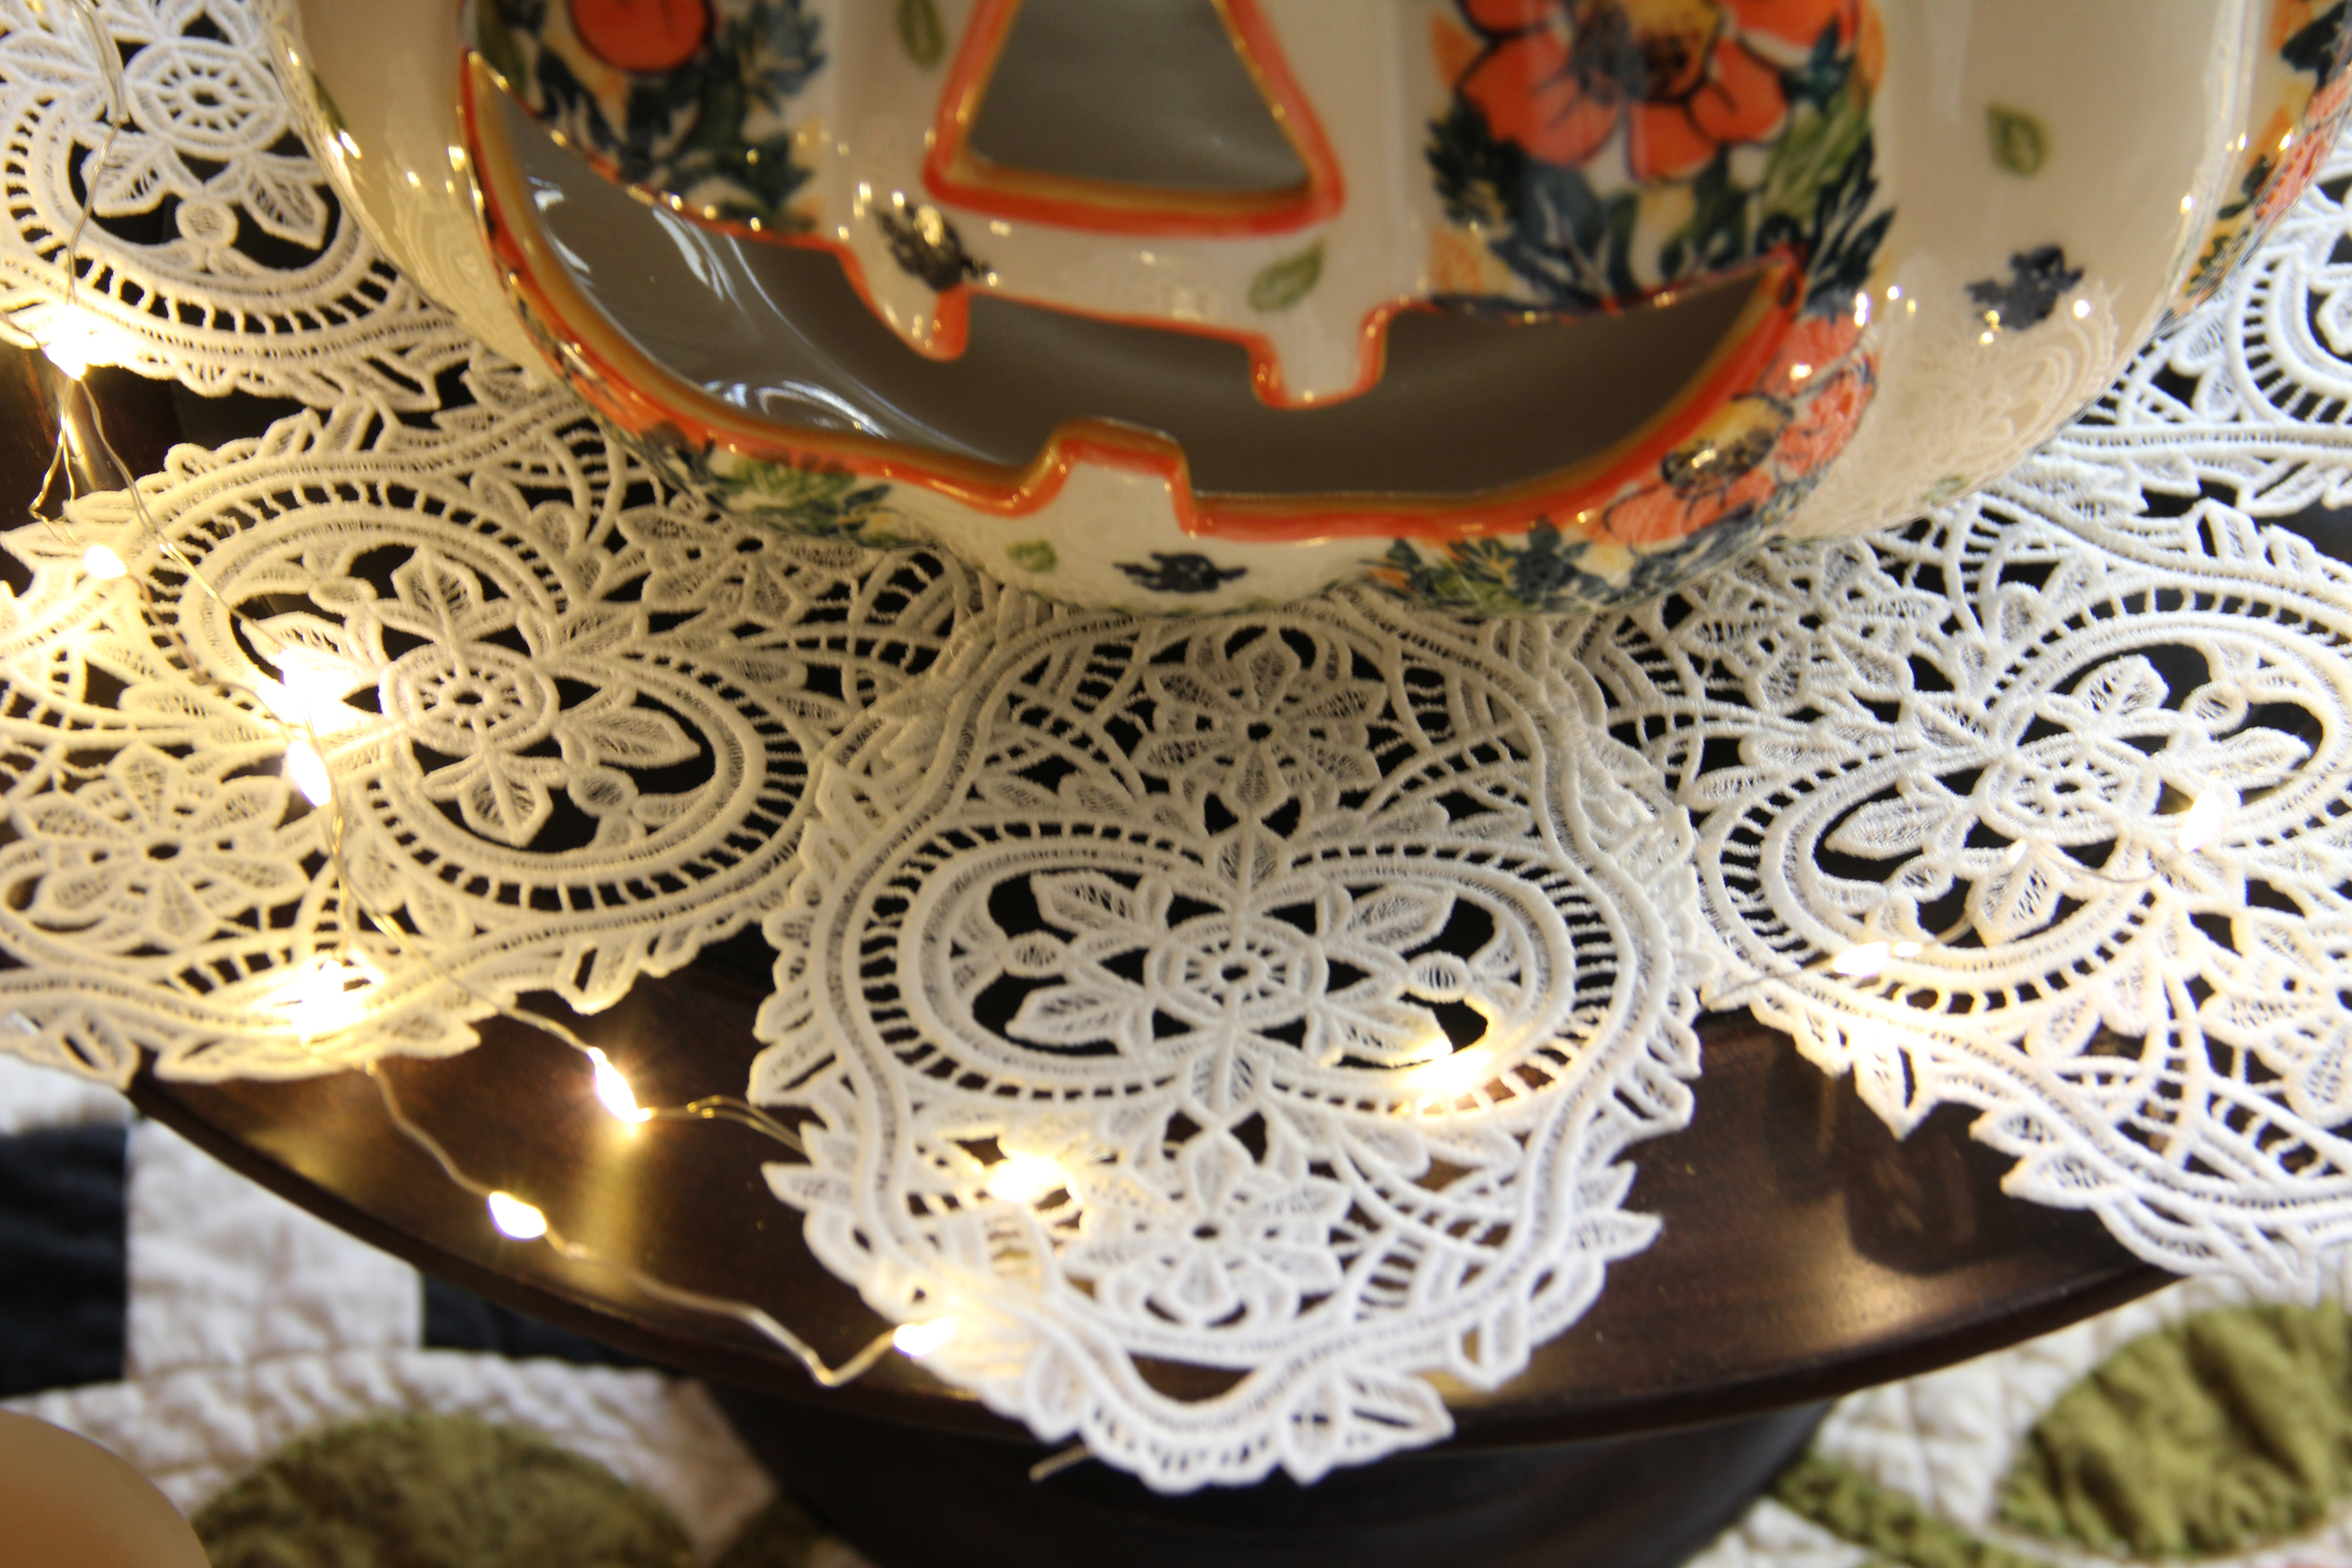
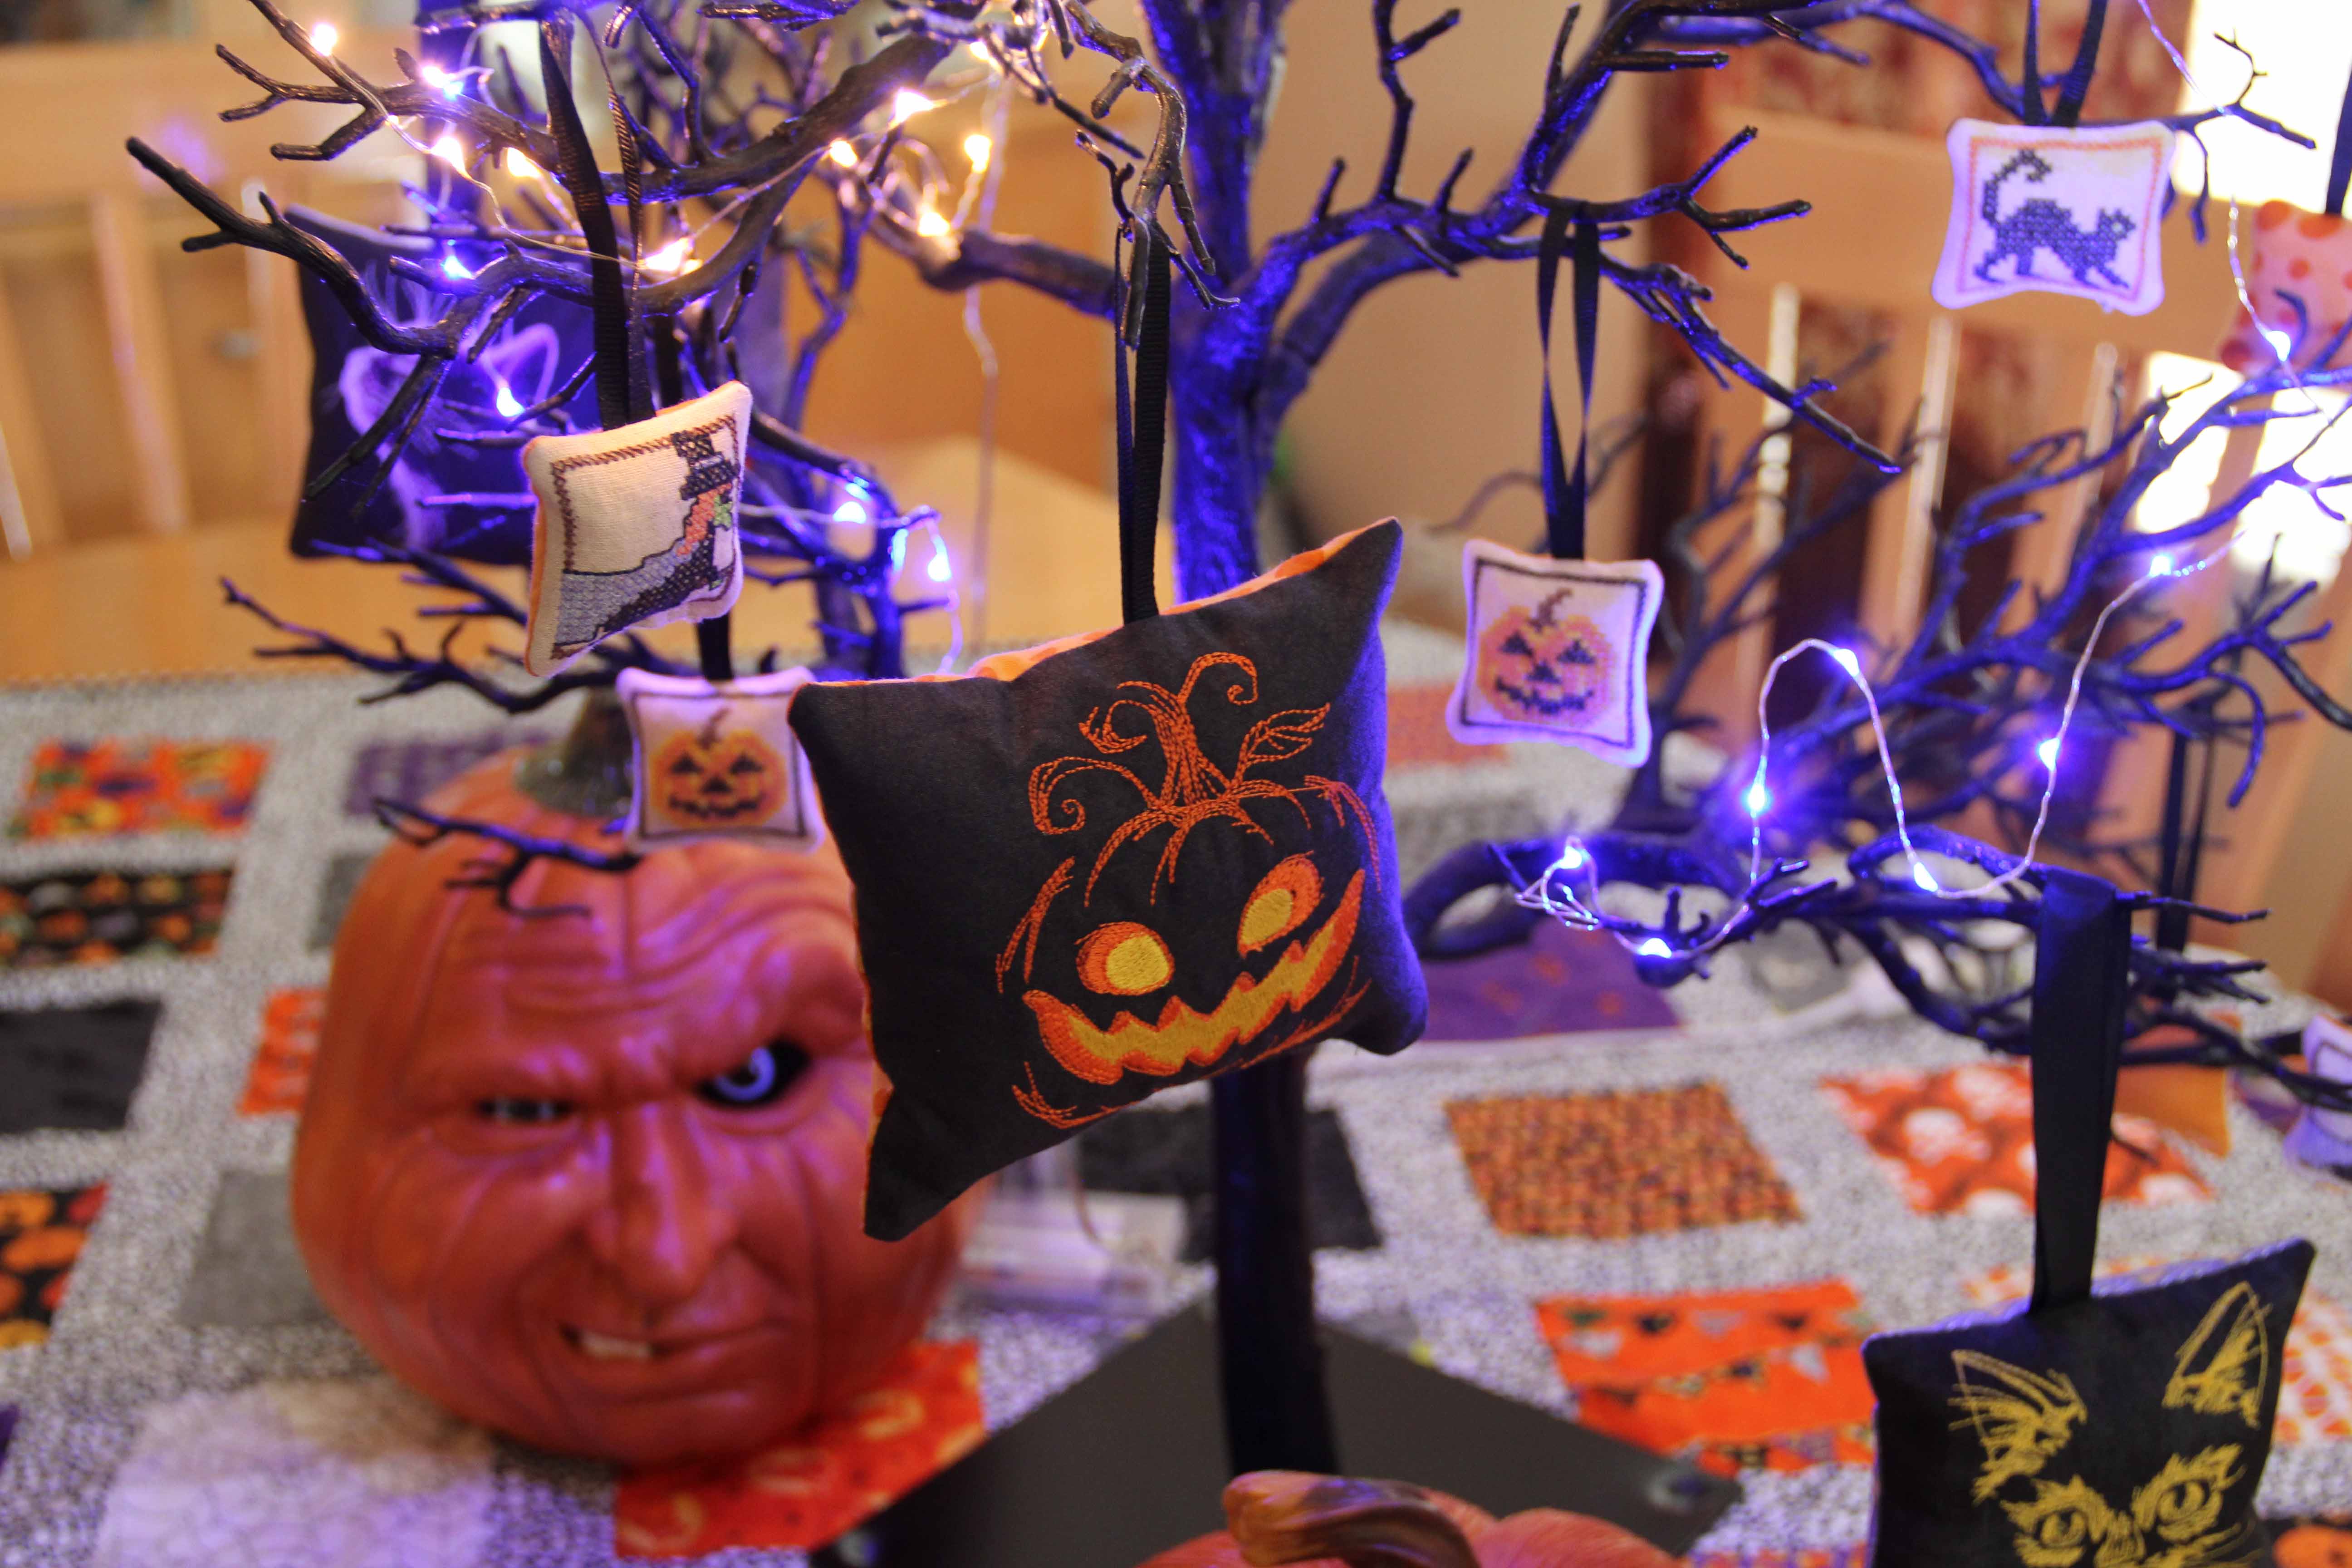
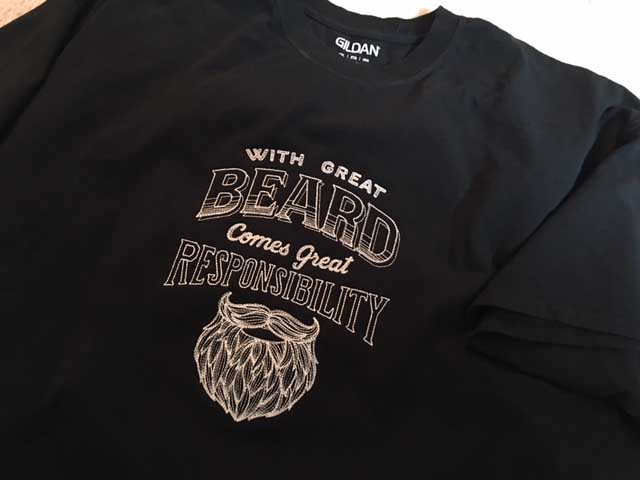
The book addresses all of these right up front. But more than that, it gets into techniques, and stitching on different types of fabric. Want to learn about minkee? It’s in there. In-the-hoop projects? Free-standing lace? No problem.
I’ve done all of these things, so I read with a critical eye. And I have to admit, all the categories are thorough and succinct.
Here’s a link to many of the techniques I have written about.
Will you read the book and be an expert? No. I tell my students that they will only become experts after making their own mistakes. No book can tell you what to do when your machine is acting up. Or if your thread is breaking or you haven’t cleaned your machine in awhile. These things come from experience and the only way to get that is to stitch.
But I’m putting this one on my top shelf and keeping it handy. It’s new this summer and is available anywhere Bernina machines are sold. It’s a solid resource for any machine embroiderer.